Deleted
Deleted Member
Posts: 0
|
Post by Deleted on Jun 29, 2016 16:52:24 GMT
Still working through my jobs before body goes back on but the list is getting smaller. Have managed to crack the screen so that job will get a redo. Engine bay is I think all done, just doing a tidy around the bulkhead but not much to do. Trying to get the interior done. Have cut the material for the tunnel but waiting for some foam to back it with to hide the lumps and bumps. The rear bulkhead will get the same treatment. Dash is done, had to sand the hazard switch to get rid of a sharp edge but is bolted in now with wiring all tucked out of the way. Also discovered from my tyre fitter that one of the new wheels is not true, he balanced the wheel with a load of lead but it has a wobble, spoke to Weller who supplied and they are sorting a replacement. Hoping it will not be too long before the body goes back on but also holding back to make sure all the jobs are sorted. 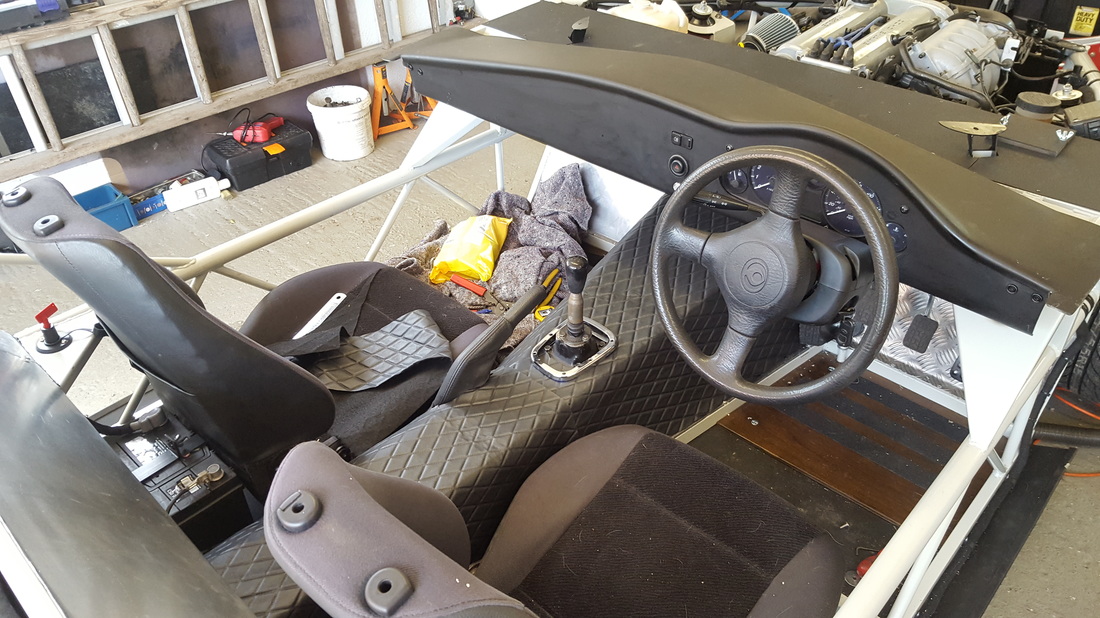 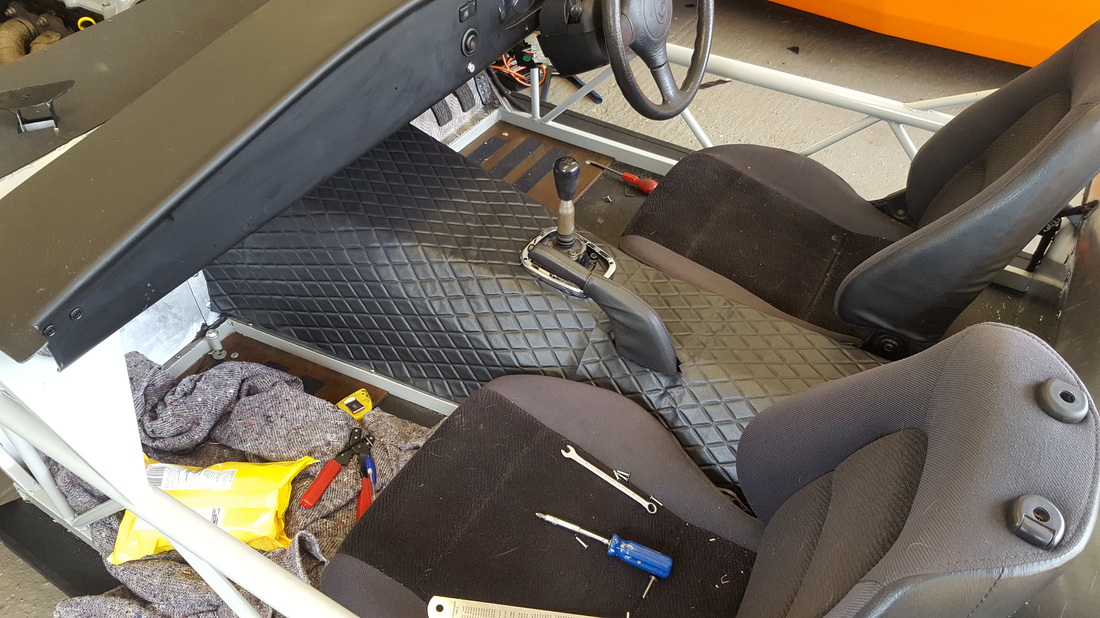 |
|
Deleted
Deleted Member
Posts: 0
|
Post by Deleted on Jun 29, 2016 17:02:18 GMT
looking good, love the nose bars. Of course a good place for a shake down is Curborough, how about July 16th? Then we may have more than one Replicar. I don't mind a challenge but this is a little too close. Maybe next year. |
|
Deleted
Deleted Member
Posts: 0
|
Post by Deleted on Jun 29, 2016 17:05:03 GMT
So I have sourced some Lexan to replace the screen I broke. It is coming down to either Grey or Bronze tint. The sheet is large enough to replace the door glass as well if I change the colour but what do people think of using a bronze tint? 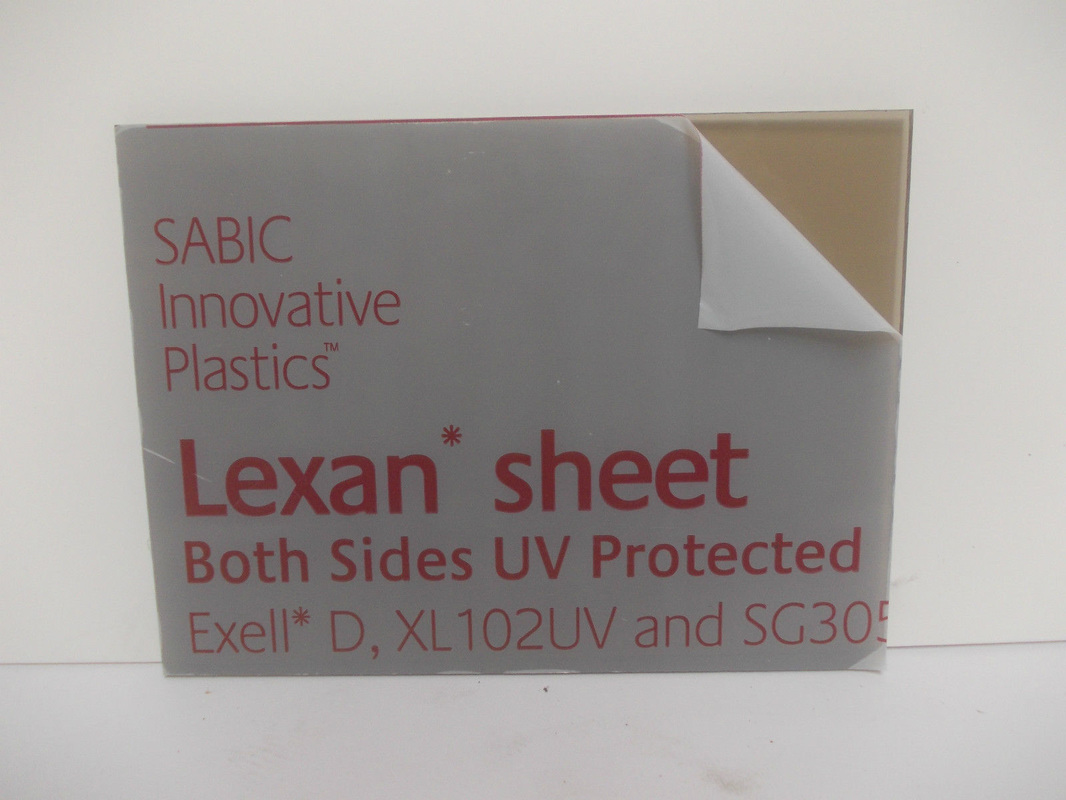 |
|
|
|
Post by marmot0 on Jun 29, 2016 18:15:59 GMT
For what it is worth I found the tinted lexan difficult to see through at dusk/night so opted for 5mm clear in the end.
Cheers
|
|
|
|
Post by gwnwar on Jun 29, 2016 21:07:36 GMT
I would use the clear..Are you going to run the OEM head rests.. If not a long bolt to fit holes with a plastic dome cap on them would finish the seat off and hide holes.. Dash looks good and really like the wood flooring job..
|
|
Deleted
Deleted Member
Posts: 0
|
Post by Deleted on Jun 29, 2016 21:17:29 GMT
For what it is worth I found the tinted lexan difficult to see through at dusk/night so opted for 5mm clear in the end. Cheers With the MX5 seats my line of sight is well above the screen but the post IVA seats will be lower so I may have to look through it. Definitely worth considering the clear. |
|
|
|
Post by john on Jun 29, 2016 21:25:48 GMT
Really nice mate, have you used the original fog lights switch ? I had a look at this today but was wondering how you cut a nice square shape it's about 4cm x 2cm square hole?
|
|
Deleted
Deleted Member
Posts: 0
|
Post by Deleted on Jun 29, 2016 21:27:38 GMT
I would use the clear..Are you going to run the OEM head rests.. If not a long bolt to fit holes with a plastic dome cap on them would finish the seat off and hide holes.. Dash looks good and really like the wood flooring job.. For the IVA the standard headrests will be in, I only removed them to make it easier to get the body on/off. Post IVA I am thinking of no headrest for driver but with a pad made for the hump and a headrest for passengers but left off when I am on my own. Will have new seats post IVA. My wood floor is a little nod to the original, pleased you like it. The pedal position is really good on the kit so I didn't want to mess with heights too much. The dash should be minimum required for IVA, already collecting parts for post IVA dash as shown previously. I am going to be using a piece of 2mm ali for the new dash with lots of work to get all the dials and switches fitted so figured I may as well get started on it as there will be many hours in making it. And another vote for clear screen. Clear would be in keeping with the original. |
|
Deleted
Deleted Member
Posts: 0
|
Post by Deleted on Jun 29, 2016 21:34:53 GMT
Really nice mate, have you used the original fog lights switch ? I had a look at this today but was wondering how you cut a nice square shape it's about 4cm x 2cm square hole? Hi John, the fog light is the original, surprisingly hard to find a fog light momentary switch plus this is just for IVA. One issue is you need to pull the switch back from the position it wants to sit as it stands very proud and has sharp edges. Sounds daft but I had a fail point on the Westy IVA with a cover on the 12V socket, sharp edges. To get it through I just removed the cover but stuff you think will be ok might not be. I have even ground the edge of the hazard switch down as it had a sharp edge. Can't remember the exact hole size, think I made a card template. |
|
Deleted
Deleted Member
Posts: 0
|
Post by Deleted on Jul 3, 2016 18:10:29 GMT
Still waiting for the backing foam for the material on the transmission tunnel but done some work on the rear bulkhead while waiting. On the bulkhead the material is stuck to some thin hardboard and held in place with velcro. On the tunnel the plan is to hold it down with snap fasteners. The crease in the material is from the way it was packaged, hoping it will come out with a little heat. Trying to get the interior just about complete before the body goes back on. 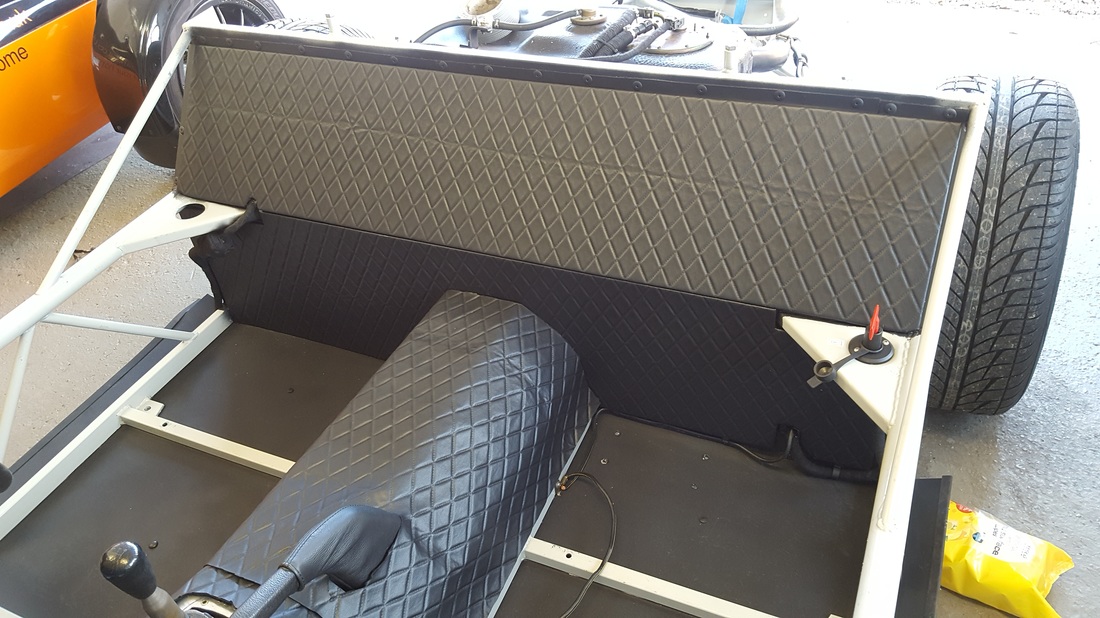 |
|
|
|
Post by R2S on Jul 3, 2016 21:54:13 GMT
Westie66 bit of steam on the crease should remove.
|
|
|
|
Post by gwnwar on Jul 4, 2016 4:02:33 GMT
Roll it out into the sun for a few hours..
|
|
|
|
Post by martinw on Jul 4, 2016 8:42:05 GMT
Roll it out into the sun for a few hours.. ......this is England and it's summer gwnwar . Do the "few hours" have to all be on the same day?  Martin |
|
Deleted
Deleted Member
Posts: 0
|
Post by Deleted on Jul 5, 2016 10:29:04 GMT
I did have a heat gun which I was going to use on the creases but sods luck got it out and the fan has quit. Looks like I will be waiting for that hot day.
Got the foam to back the tunnel material and now waiting for some more spray adhesive so that job is still on hold.
Decided to have a play with the seatbelts, have bolts in the kit but no nuts, checked my stock and I have two the same size. You need to raise the fixing on the outside to get over some box section (or mount at a funny angle) so after spacers the bolt is too short, all the bolts I have for the rear mount are also too short so put in a new order for all new nuts and bolts, high tensile steel, with nylocs, bit expensive but at least I will know the belts are going to hold and IVA man will approve.
The build has hit a funny stage where I am always waiting for deliveries. Once I have got passed these delays with the interior the body goes back on.
|
|
|
|
Post by R2S on Jul 5, 2016 11:26:38 GMT
you'll probably find creases will drop out over time anyway.
|
|


