|
|
Post by gwnwar on Jan 13, 2014 23:25:40 GMT
There are 2 large connectors by the blower motor same size and will mate to the wrong one so mark them. Also red flag all your grounds they are easy to miss when installing the harness.. Miata.net has a lot of good info.. If not a member join the forum.. I have been a member for 13 years..use same sign in name as here.. Yes let the fun start..
|
|
|
|
Post by donboy1983 on Jan 14, 2014 23:21:20 GMT
Ok so I had quite a good night with the car, managed to remove the hood, steering column and dash, removed the harness from the dash and from the rear of the car which left the main harness that goes in to the engine bay on both sides of the car. I'm struggling a bit with marking up the conecectors from the engine bay as some of the components are hard to ID for a novice like myself. I left it all connected until I can find some info to help me ID the parts so I can mark them up correctly on the wiring loom. I also could not get the rubber hoses to come off of the copper pipes that go through the bulk head to the centre heating console inside the car. I had to cut through the rubber hoses with a knife but figured this would be ok as I'm guessing this will all be removed anyway, is that correct? Anyway here is a pic of the progress from this evening. 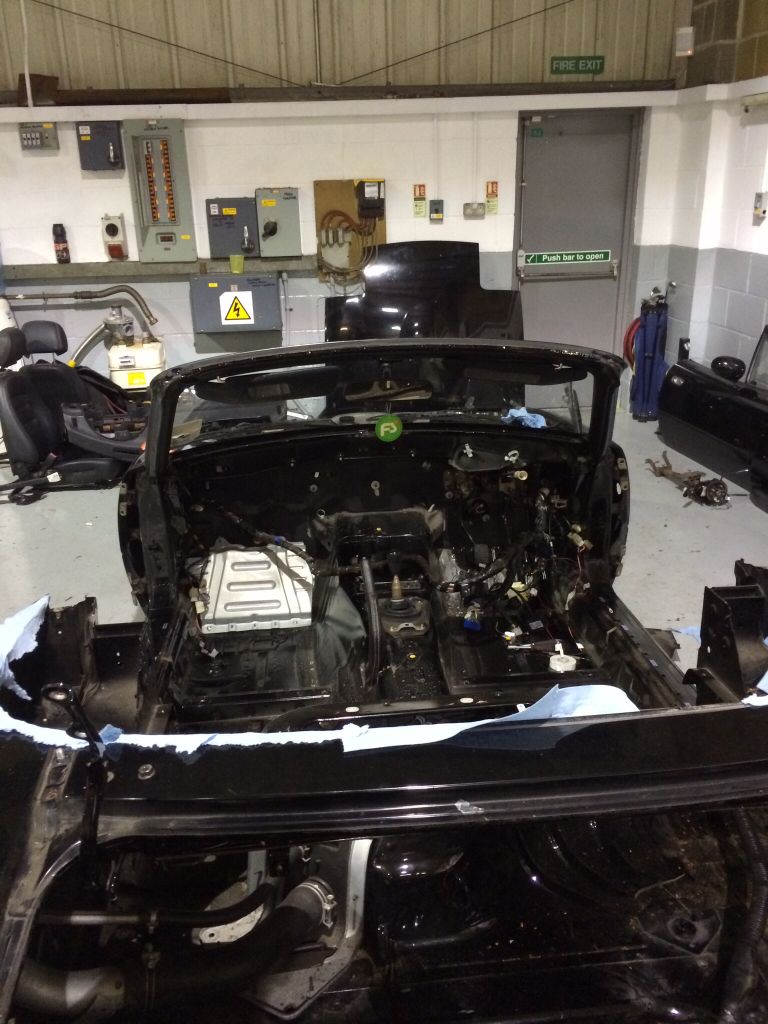 |
|
|
|
Post by gwnwar on Jan 15, 2014 7:24:15 GMT
If you don't know the part name use letters like A and A on both sides of connector. Take a pic of it with letters before removing.. You can leave the harness on the PPF to the battery just push it through the floor and leave it connected up front to the engine.. remove it with body off later.. Cutting heater hoses off is ok you will loop the 2 tubes together later.. Don't just cap them as they are need for coolant flow from back of engine back to the water pump..
|
|
|
|
Post by donboy1983 on Jan 15, 2014 22:40:16 GMT
Quick question about wheels, am I right in thinking I need a PCD of 4x100 and also an offset of ET15 or ET45. What are the pros and cons of each offset?
|
|
|
|
Post by mrjingles705 on Jan 16, 2014 1:15:03 GMT
ET15 means no need to use wheel spacers, but a much more limited choice in wheels - ET45 (with 32mm spacers) opens up more wheel choices, but it does require those aforementioned spacers.
|
|
|
|
Post by tomaff on Jan 16, 2014 7:20:00 GMT
|
|
|
|
Post by donboy1983 on Jan 16, 2014 8:09:33 GMT
Thanks for the info, I was offered a cheap set off alloys last night but found out the offset is neither 15 or 45. Will give them a miss.
|
|
|
|
Post by tomaff on Jan 16, 2014 13:27:48 GMT
You can use any offset, but will just need wheel spacers.
If the ofset is ET45 then used 30mm spacers to make it ET15, if the offset is ET22 then use 7mm spacers. As long as the offset is not less that what you want you can use a spacer to adjust.
I only went for a set of new alloys at the right offset as after i looked at the cost of ones i was offered and added tyres and Spacers it was a £50 difference.
"Thefreak" member on here sell spacers i think.
|
|
|
|
Post by driver on Jan 16, 2014 17:57:38 GMT
Can zero offset be used? I found some nice concave alloys with et0 offset
|
|
|
|
Post by tomaff on Jan 16, 2014 21:04:48 GMT
I personally don't see why not. It would just mean positioning the arches 15mm further out.
If it was me though I would aim for some et15. That's what I got in the end and it fits perfect
|
|
|
|
Post by donboy1983 on Jan 16, 2014 23:40:21 GMT
I will get some ET15 wheels I think, makes sense as I have lots of time to find a set.
Managed to remove the main loom from the engine bay tonight :-) glad that jobs done. Next job is to revove all the parts from the body shell.
|
|
|
|
Post by donboy1983 on Jan 18, 2014 20:50:10 GMT
Well after a 6 hour round trip I now have my kit tucked up in the workshop :-) I'm a long way from needing it but thought I would get it so it will make me get on and finish the dirty work.
|
|
Deleted
Deleted Member
Posts: 0
|
Post by Deleted on Jan 18, 2014 21:35:38 GMT
Good luck mate and enjoy it.....
|
|
|
|
Post by donboy1983 on Jan 19, 2014 20:17:36 GMT
Made some good progress today and started to remove all the parts in the engine bay that are attached to the body, i also drained the coolant and removed the radiator. I got stuck when I come to the brake lines so thought I would come and ask the question before I made a mistake. 1st question, do I undo all the brake lines at the master cylinder and then leave the lines attached to the body that will be removed? Or are the attached to the PPF? 2nd question is to do with the fuel tank, how do I go about removing the pressurised fuel line? Are there some do's and don'ts ? And also will the fuel tank be left attached to the body when it's removed or will it stay attached to the PPF? Here is some pics of he progress. 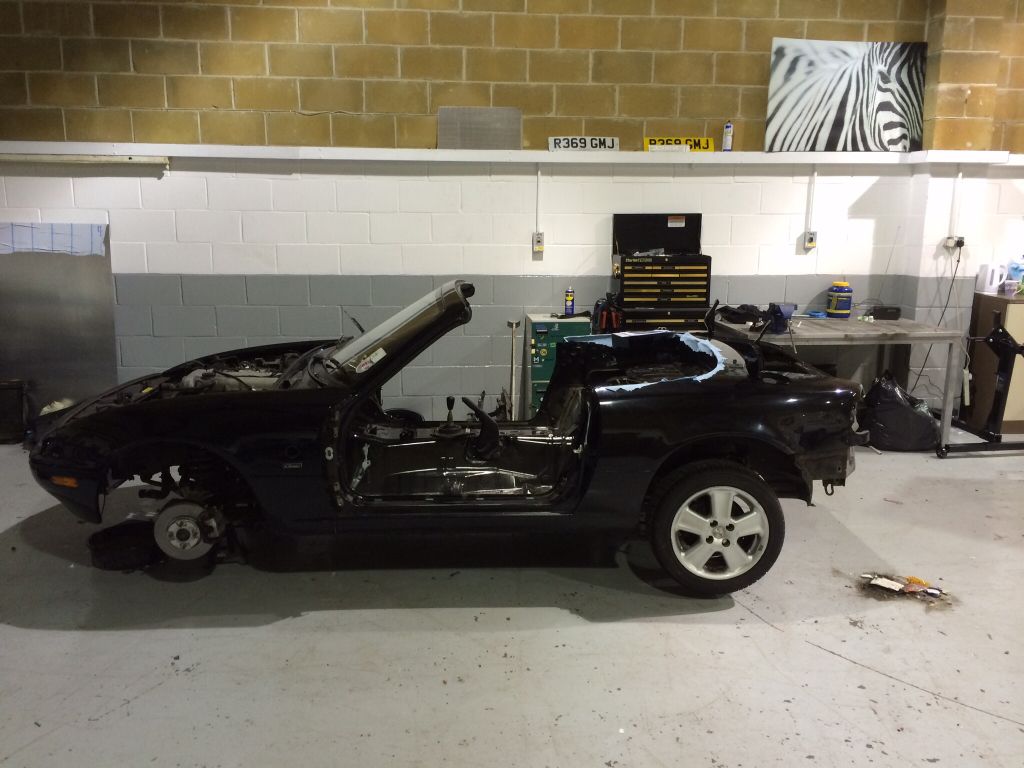 some help form the boys :-) 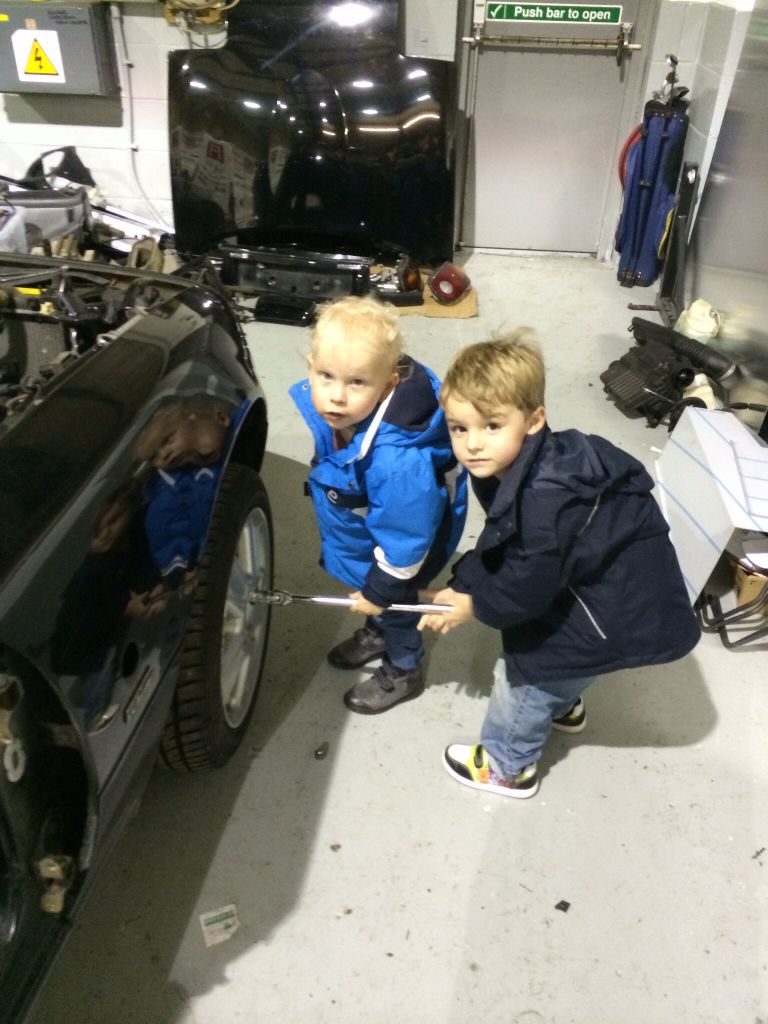 the engine bay after remove some bits. 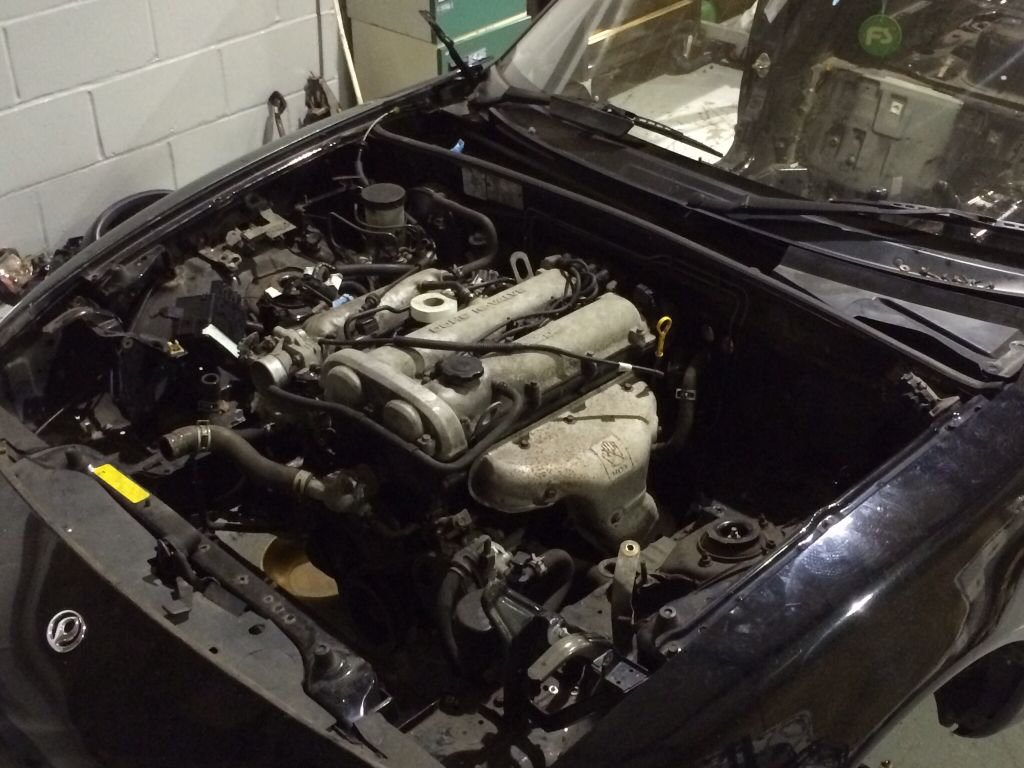 and the new chassis from MEV waiting for some love and attention :-) 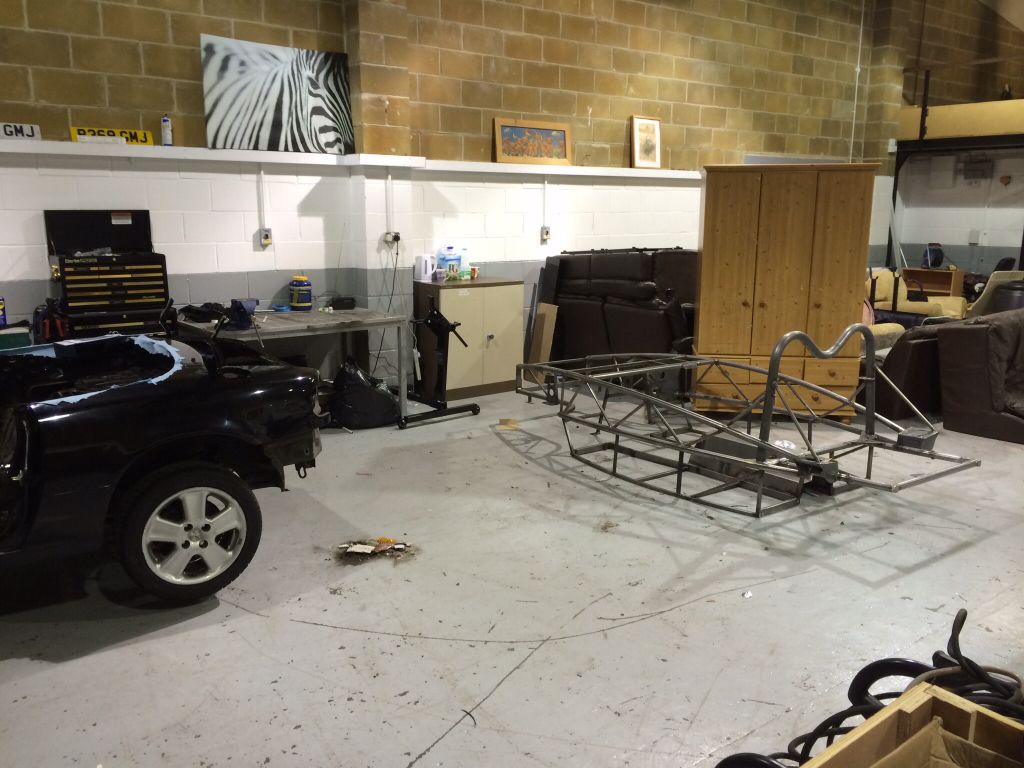 |
|
|
|
Post by gwnwar on Jan 19, 2014 21:02:30 GMT
You can just pull the brake master and booster now or later.. the brake and fuel tubes are attached to the body..
Just pull the brake rubber flex hoses from there hard tubes.. remove clutch hard line from slave.. Fuel tank.. drain it left side bottom. It stays in till body removed.. Harness on PPF push harness from battery through floor to floor and were it comes up front you can leave were it attaches to engine till later.. Remove speedo cable from firewall let it drop..
Pull E brake cables from rear calipers. After loosing the rear axle nuts..
|
|