|
|
Post by casesensitive on Nov 24, 2013 23:38:05 GMT
New aux beltWith the power steering and air con pumps removed, I needed a shorter aux belt, so I brought it down the my mechanic who's fit a 1113mm belt 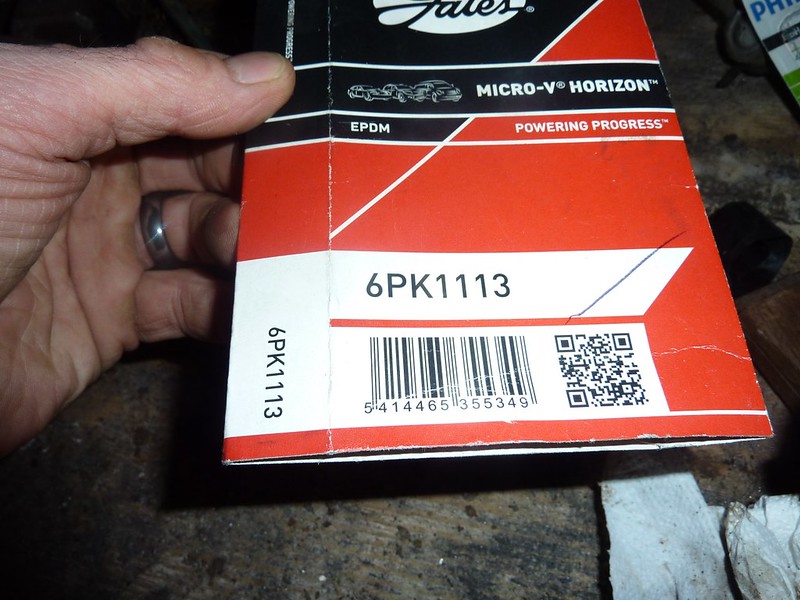 New routing 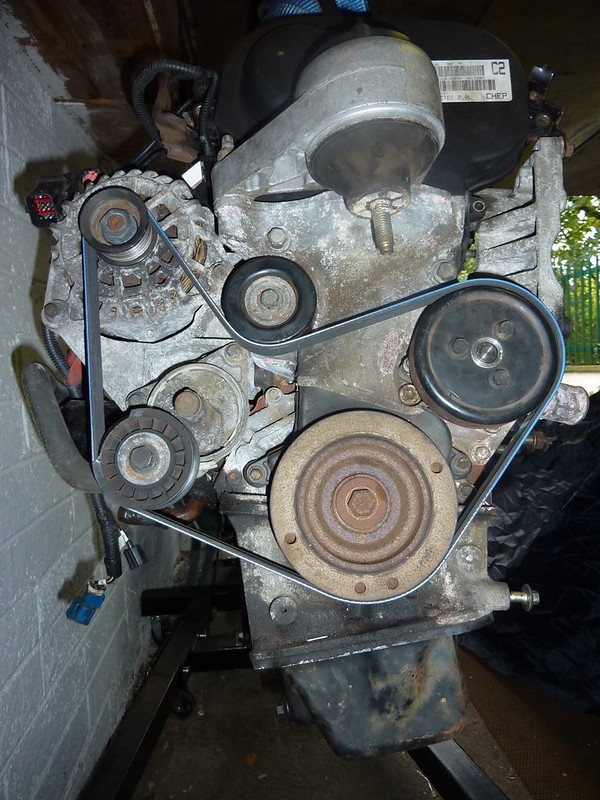
|
|
|
|
Post by casesensitive on Nov 24, 2013 23:45:18 GMT
Chamfering the bushes
With 44 to do, I wasn't about to cut each one with the appropriate tool, so turning a variety of tools into bench grinders based one which ones could stay on without any hands, the dremel with a small 80 grit flapper attachment, and an upturned mouse sander did the trick. Took ages.. 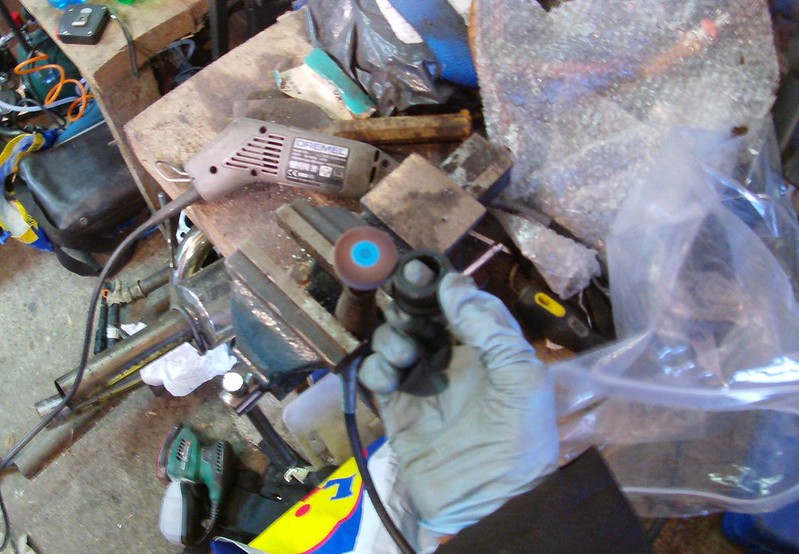 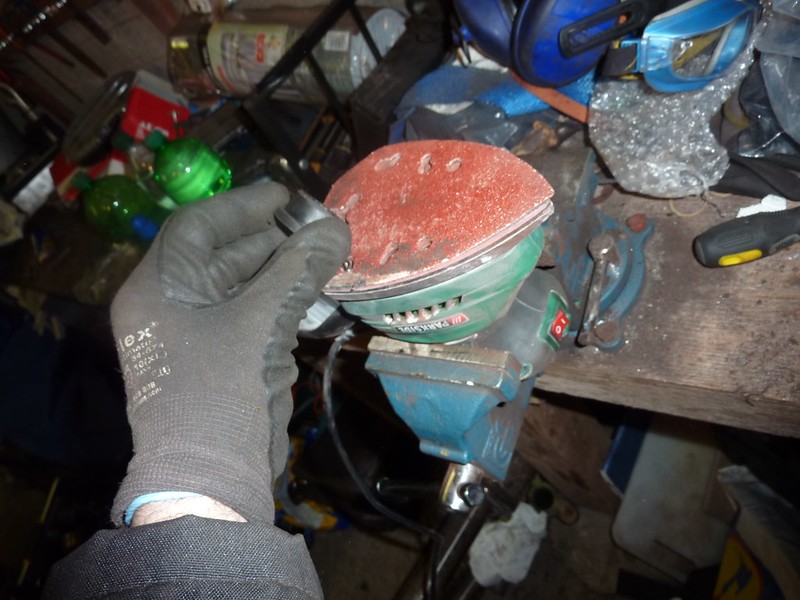 Grinding bushes with dremel Grinding bushes with dremelEdit This way turned out to be a mess, instead I found an 80 grit flapper attachment for my drill, clamped it in a vice and did every one of the bushes in around half an hour. I tumbled them together in a watering can for a minute, then into a bag with some WD40 until I'm ready to install them. 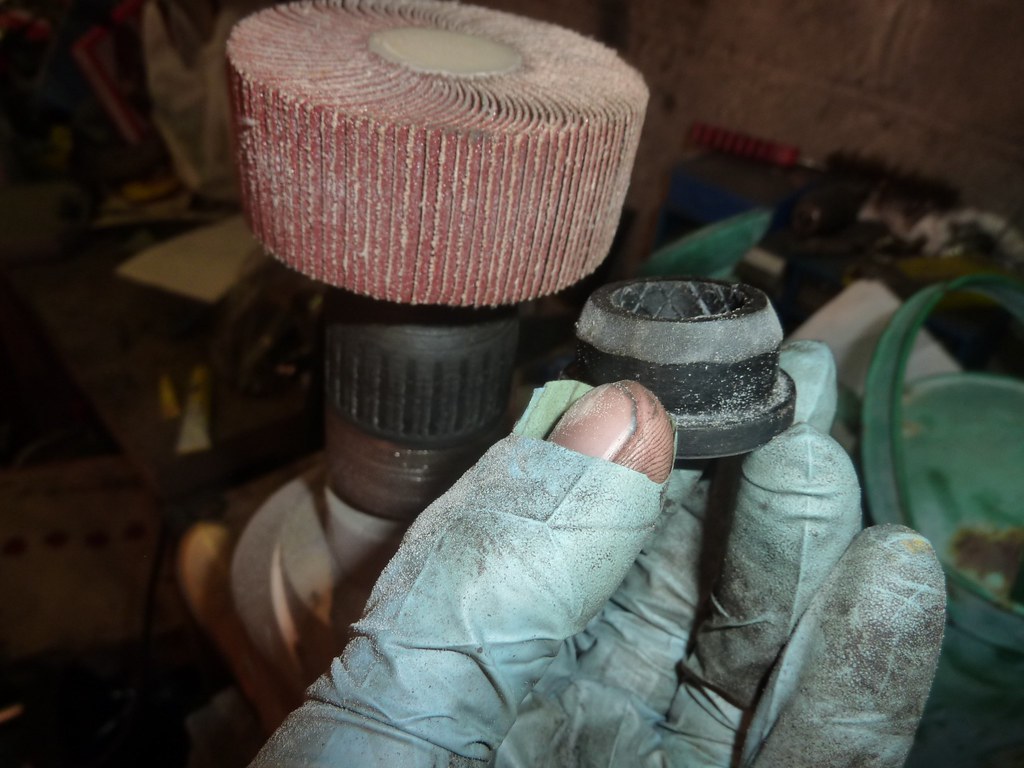 50 seconds of your life probably spent doing something else: www.flickr.com/photos/43278150@N00/11233523704/
|
|
|
|
Post by casesensitive on Nov 24, 2013 23:48:58 GMT
Refitting the gearboxI took the gearbox off to transport the engine, and I was not looking forward to refitting it. Having kept the bolts in order was probably overkill, there are only two short ones, and it's not hard to figure out which they are. I lowered the engine into the gearbox using the crane, and angled the gearbox using two wheel chocks, but it was still a bugger to line up. I fit 3 critically positioned bolts and got each to 'bite' a little. Turning each a couple of turns at a time pulled the engine onto the gearbox, and I added the other 5 long ones until it was almost home. I've left a couple of turns slack in each until I'm certain nothing has fouled, and two earth (?) wires are in the correct holes. The starter looked like it was going to be a pig, but it just sort of fell into place once those 3 bolts tightened. 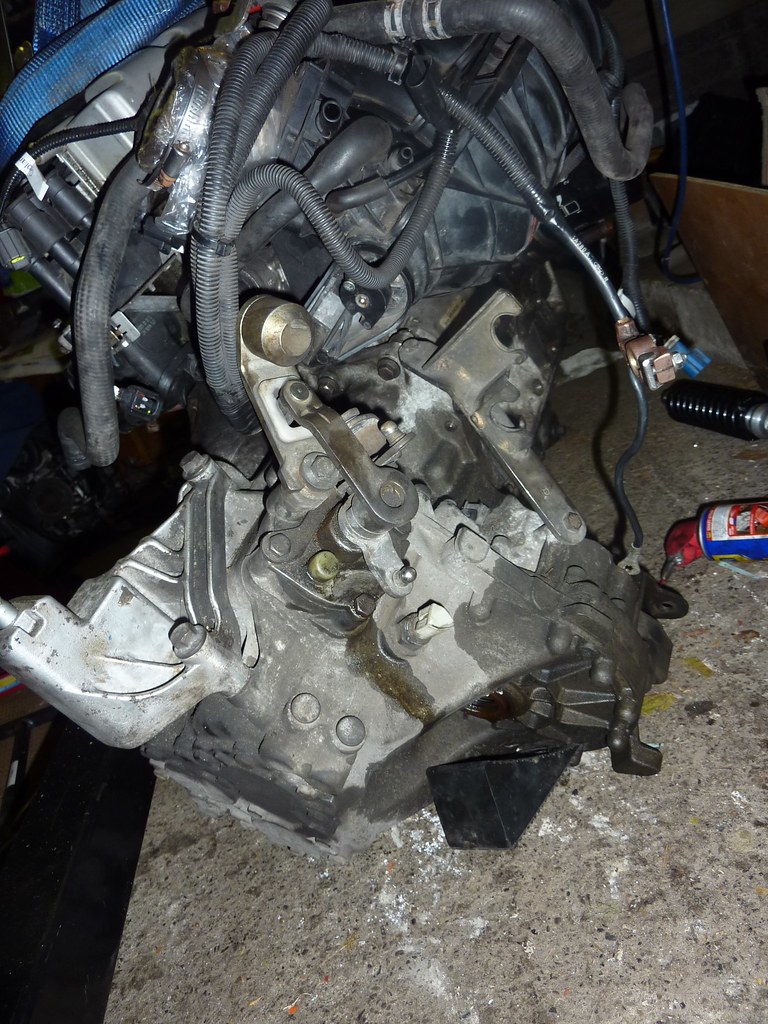 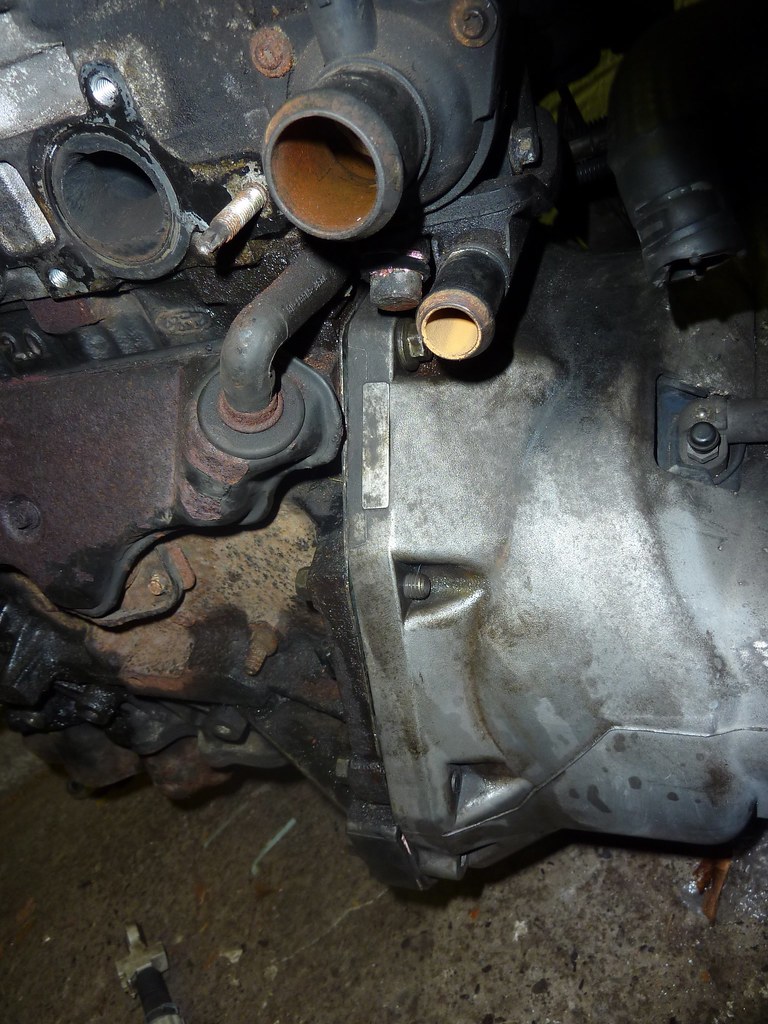 I'm not going to get any time on it this week, but I have a few days off the week after, hope to get the engine dropped in and test fitted then. I've got some degreaser, followed by corrosion remover gel, and once that's washed off and dried, there's high-temperature paint (anthracite) to go on, and finally a new oil pan, all to give the engine a 'new' look. I'll bring the rocker cover to get powder coated with the rest of the chassis.
|
|
Deleted
Deleted Member
Posts: 0
|
Post by Deleted on Nov 25, 2013 8:43:04 GMT
New aux beltWith the power steering and air con pumps removed, I needed a shorter aux belt, so I brought it down the my mechanic who's fit a 1113mm belt  New routing  Don't think this will work, the pulley is bald on the waterpump to provide a path for the non ribbed side of the belt. By doing this, the rotation changes. The pump will now run backwards, and your engine will overheat as the pump cavitates. The only kit in existence is from the USA, and is a re-impellored pump, and a ribbed pulley. |
|
|
|
Post by Paul (madeye) on Nov 25, 2013 9:24:29 GMT
i looked at the reverse pumps to try negate the extra pulley, they came up after research as not very efficient.
im putting the extra pully in, will obviously be different as i have the charger to loop round too.
|
|
|
|
Post by casesensitive on Nov 25, 2013 13:51:35 GMT
Don't think this will work, the pulley is bald on the waterpump to provide a path for the non ribbed side of the belt. By doing this, the rotation changes. The pump will now run backwards, and your engine will overheat as the pump cavitates. The only kit in existence is from the USA, and is a re-impellored pump, and a ribbed pulley. Balls. Yeah, sort of makes sense. Can't find the picture I took before he modded it but assuming the routing below is accurate, I'm going to put something at (5) that pulls the belt over the crankshaft pulley the right way? I remember seeing this in place on someone else's build. Anyone got a link?  |
|
|
|
Post by dgibson on Nov 25, 2013 14:54:30 GMT
This thread seems to have a good discussion on the belt routing and extra pulley mevowners.proboards.com/thread/1223/extra-idle-wheelA search in the engine forum for "Belt" gives a number of others...Seems there is a unipart pulley that does what you need. Dave |
|
|
|
Post by casesensitive on Dec 3, 2013 22:11:39 GMT
Fuel tank and senderRather than let the fuel sender potentially slosh around in the tank, I plan to reuse the clip-in base from the Focus's tank. 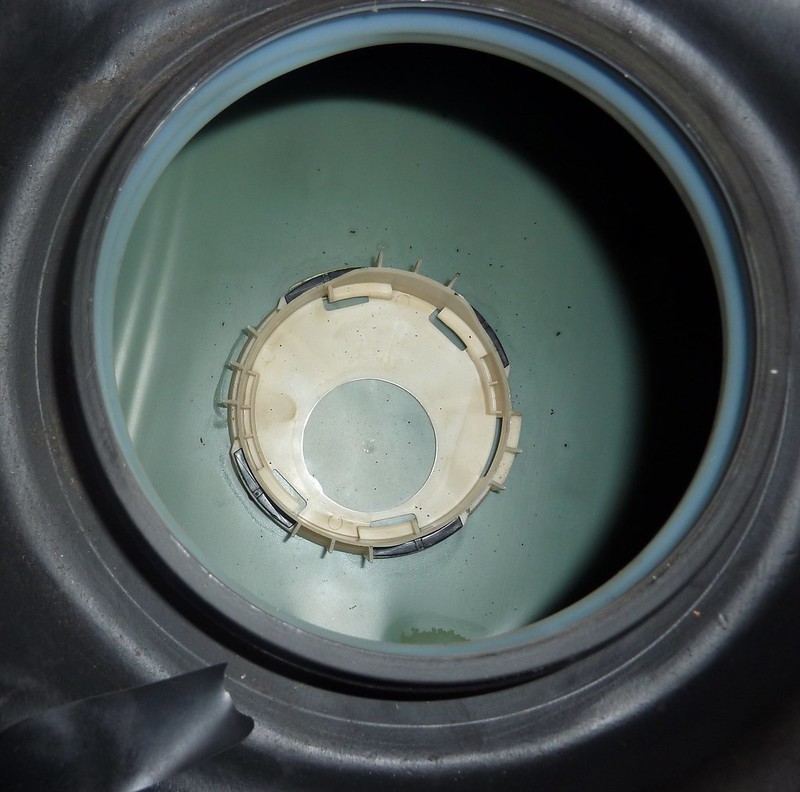 Probably going to struggle to sell the tank now. 1mm angle grinder did this 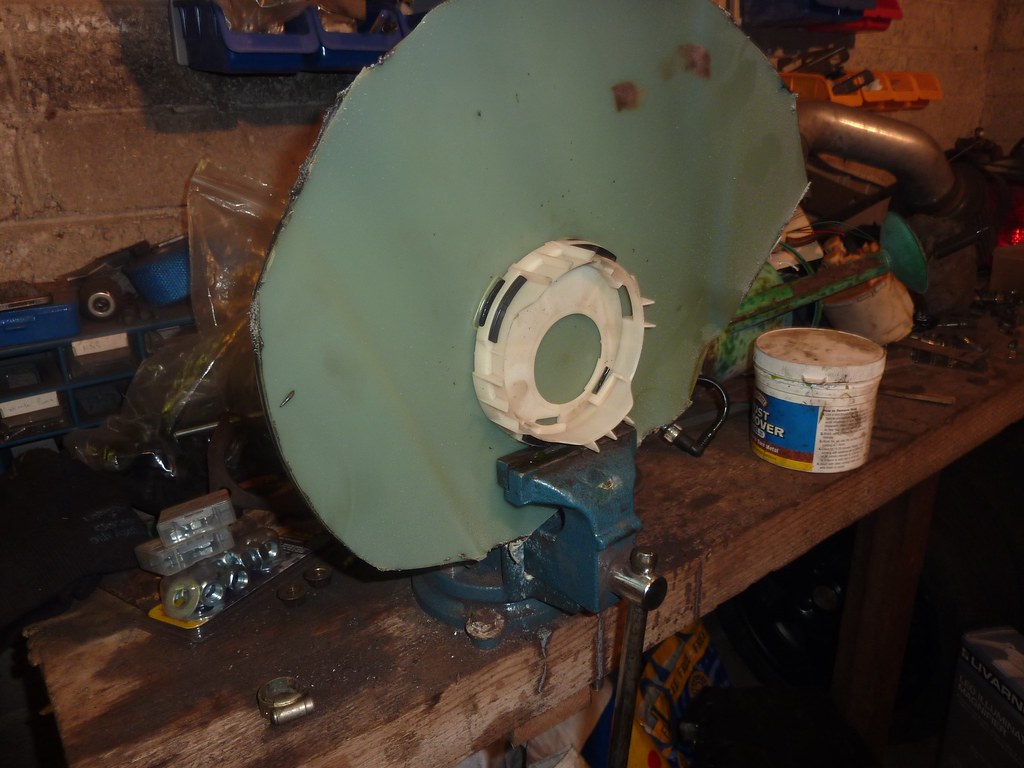 Further grinding, dremel, rasp and sandpaper got the base roughly the shape of the base of the sender 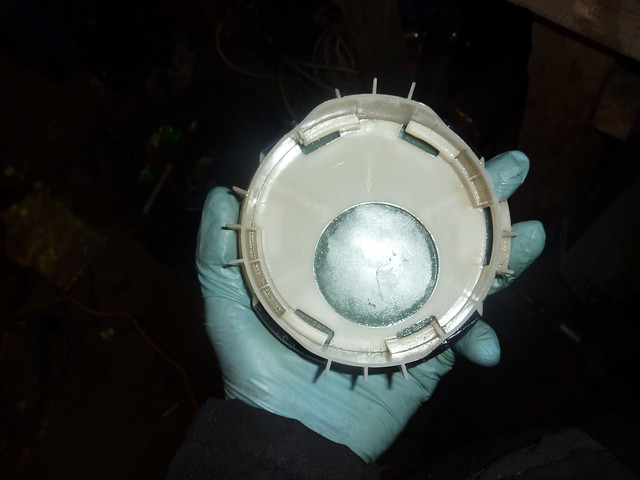 Most glues won't work in petrol, so I test-stuck a small piece of the tank to an offcut of aluminium with this Plastic Padding Leak-Fix 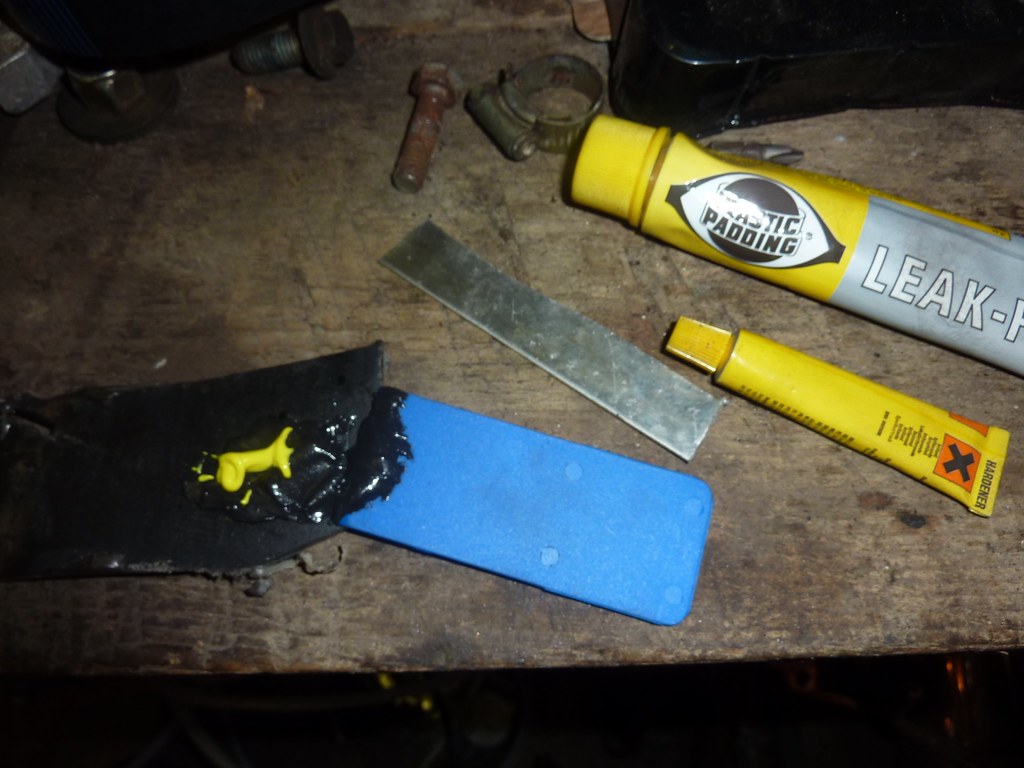 I straightened a bit of old coat hanger, and cut off 230mm of it. 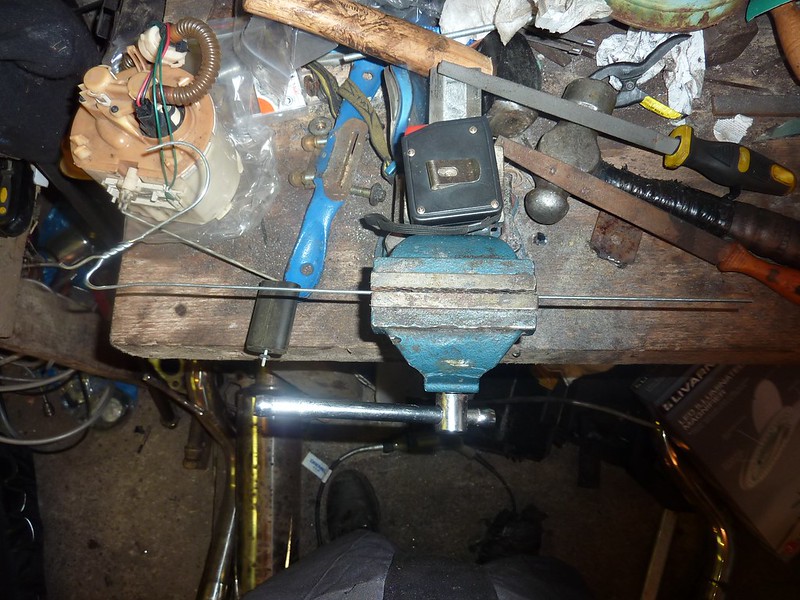 I snipped the sender in the middle, it only has to go from its low point at 10mm from the base to its top fill point at 75mm, and the tank is 300mm tall. It's temporarily attached with duck tape, I'll weld it on properly as soon as I figure out how. 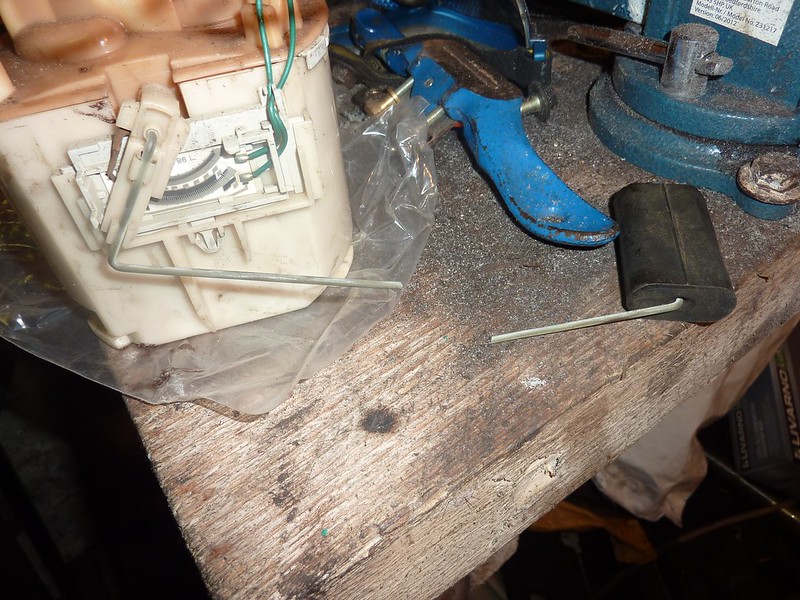 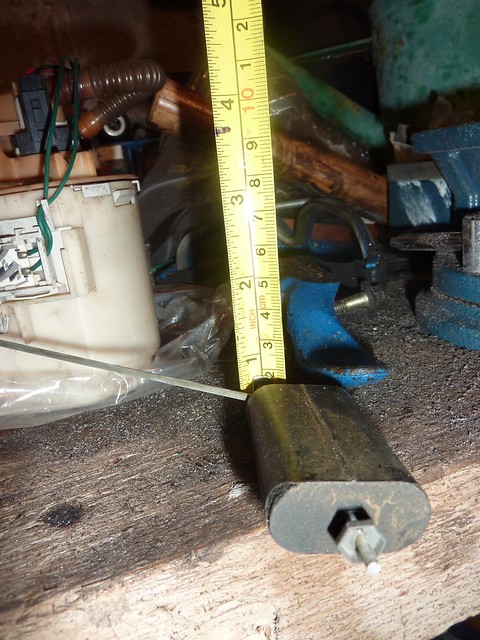 Video of test fit Video of test fit. After I added the coat hanger extension, I was worried about the extra weight, that the float wouldn't have enough positive buoyancy. 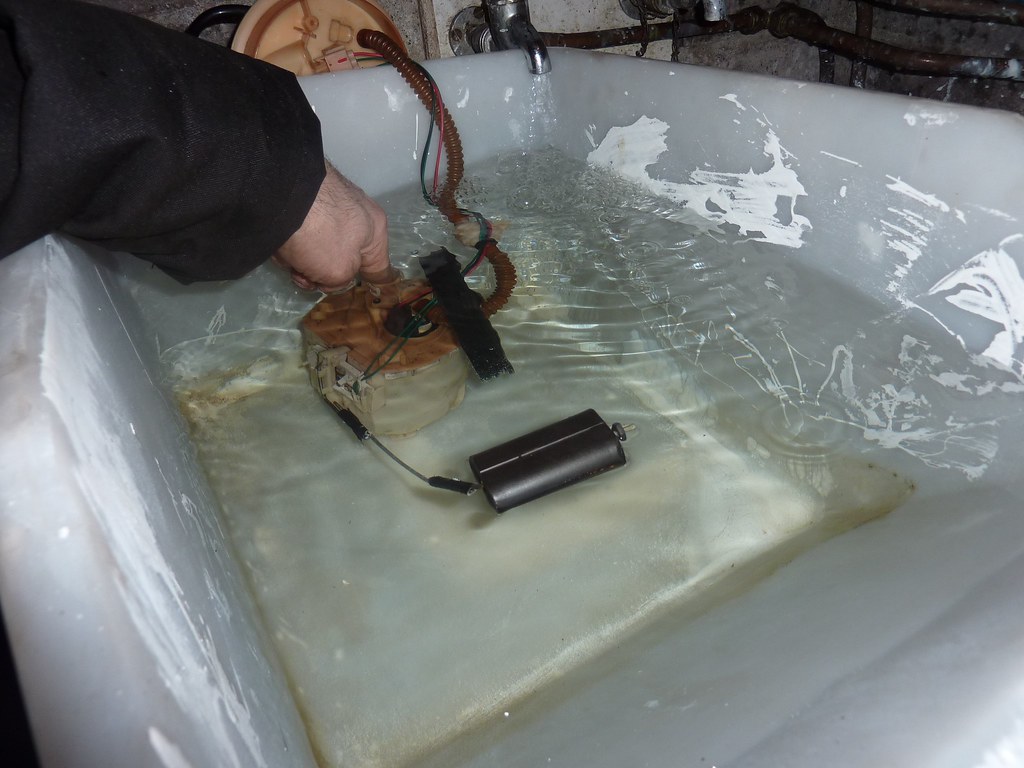 It did. Must make sure I get rid of all the water before plugging it into my engine! After a few test attempts to weld together the <1mm thick extension (burned right through) and soldering (wouldn't heat up enough), I resorted to good-ol' two-part petrol-proof epoxy. Horrible stuff, and it dries so quick you can't make up much at a time but it does hold. I did a good covering of epoxy, then a holding layer of tape, then a sealing layer of epoxy so the tape isn't exposed to the petrol tank. I'll do a 3rd 'coat' when I'm back next. 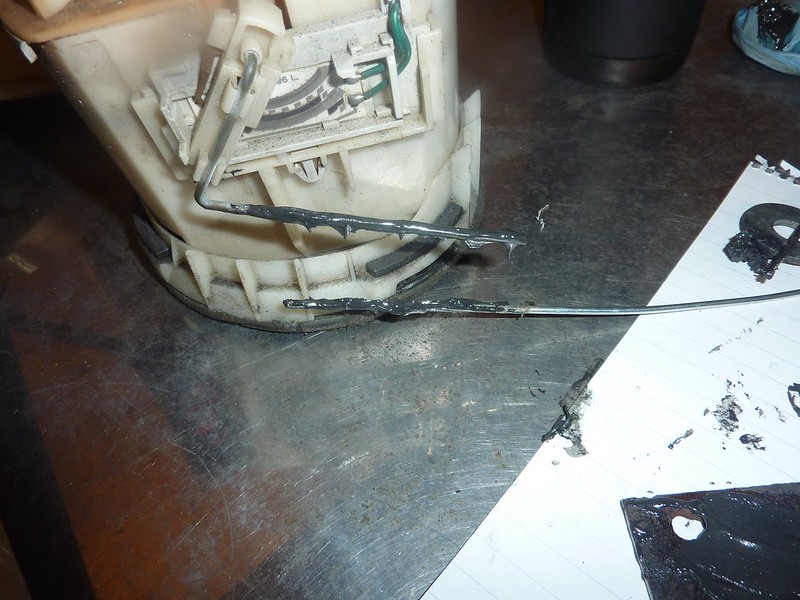 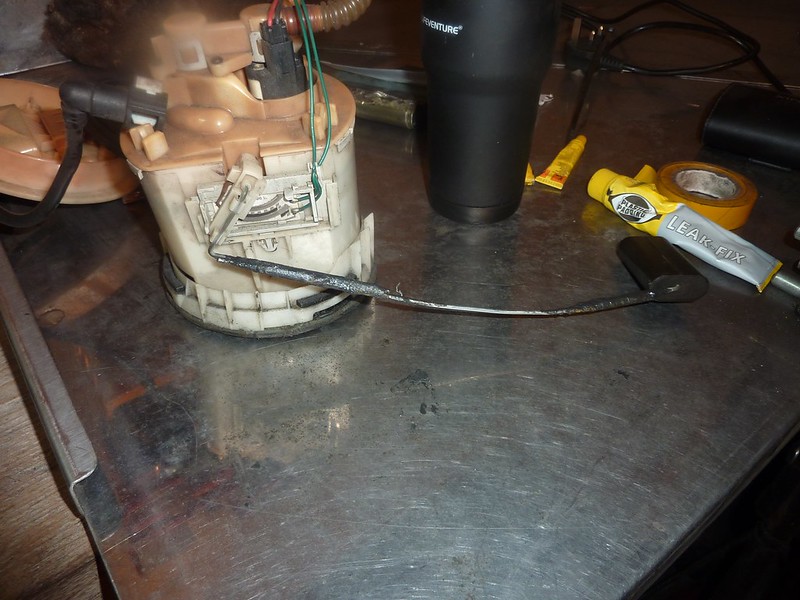 Edit: put it all together today I stripped the whole thing down, because it had picked up a lot of dust, and I wanted to make sure I hadn't got any water into the pump. 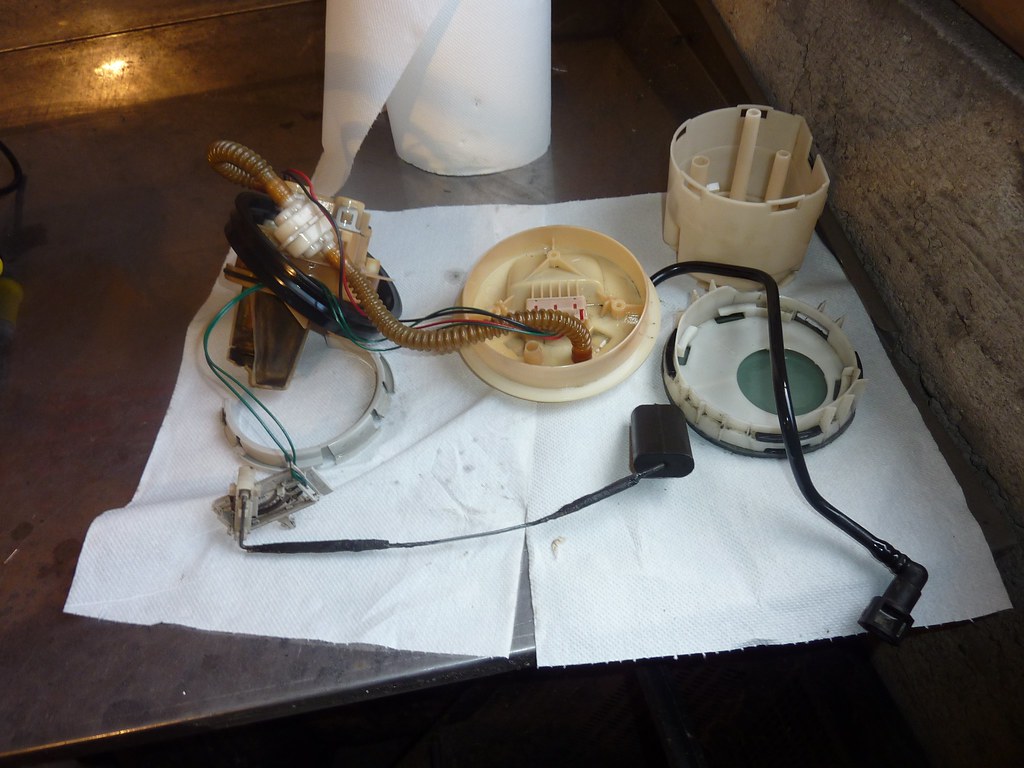 This was filthy, gave it a wash with petrol. 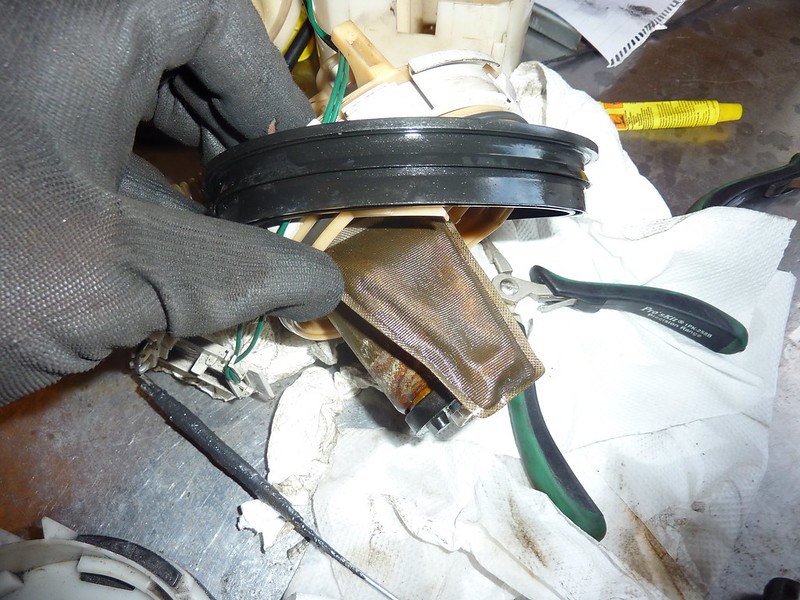 I found it much easier to work without this clip in, base was removed a dozen or more times. 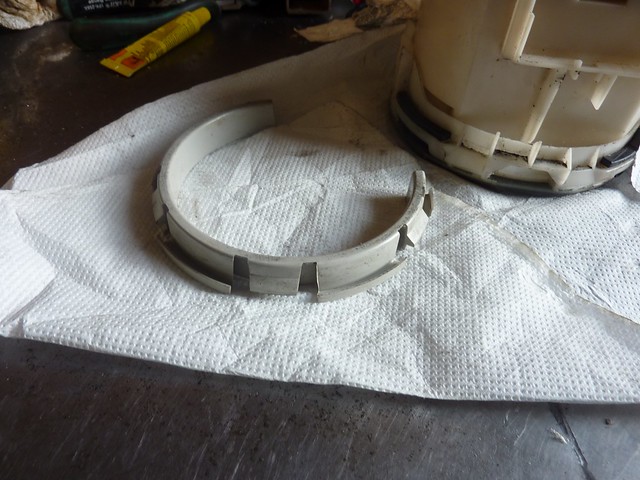 I drilled three 6mm holes (1, 3, 5, 6) for the the 6mm threaded bar. I initially tried tapping an M6 thread in it, and it did work, but opted instead to tap the 'lid' instead. 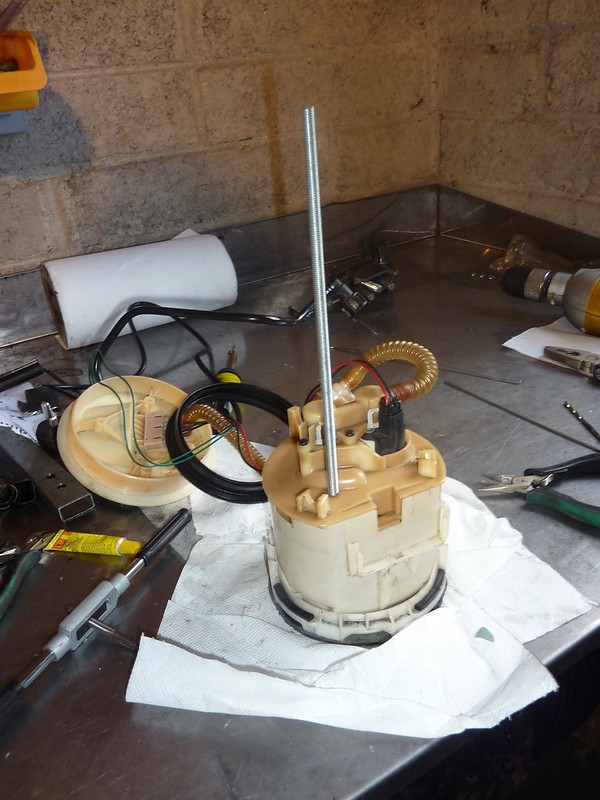 I expanded the 3 holes in the lid to 5mm, being really careful not to go all the way through, and then tapped them out to 6mm. Really happy with the result. 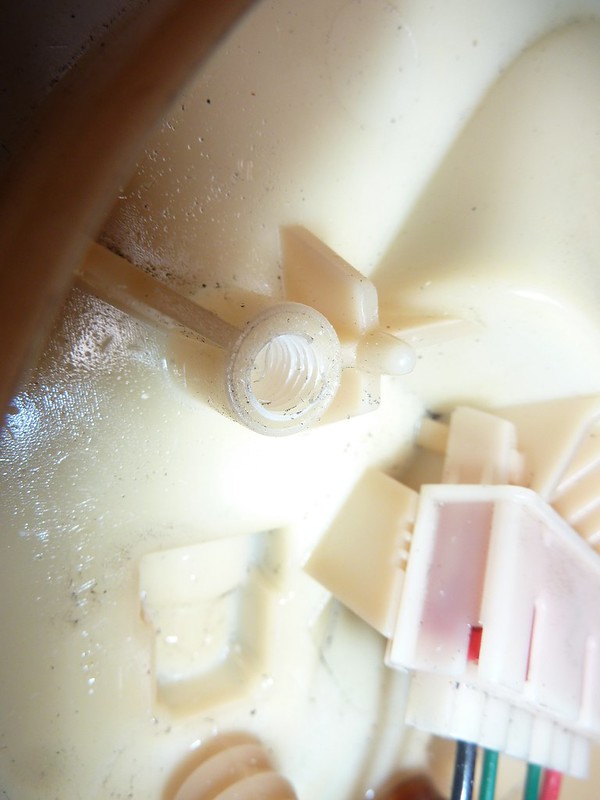 If I were doing this again, I'd drill the holes in the lower part AFTER running the threaded bar from the lid. 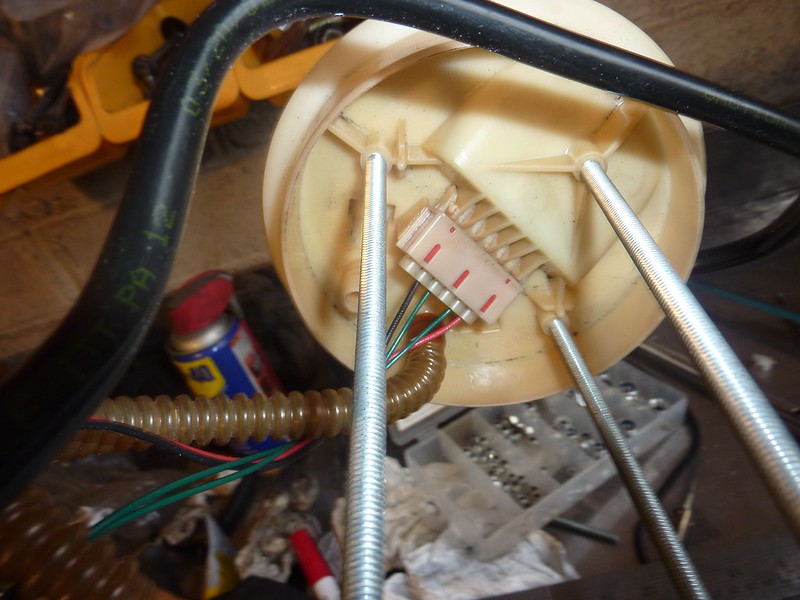 I then wound on an M6 locknut on to each one to hold the lower part of the sender from travelling up, and another on the underside to stop it from travelling down the threaded bar. I started with 290mm of bar, initial plan was to have it touch the lowest part of base, but I ended up cutting through it in the end, not required. 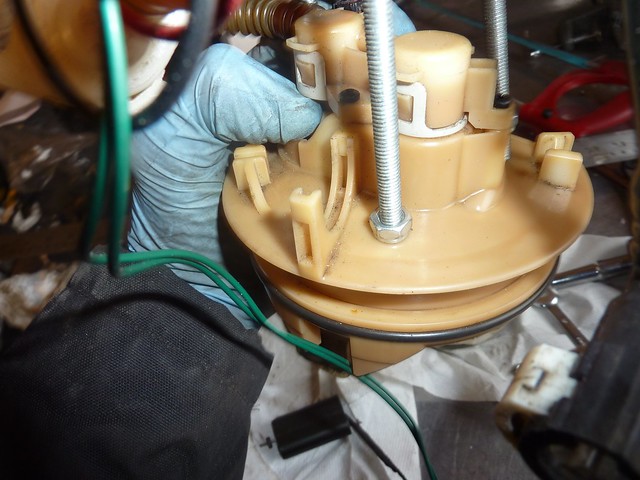 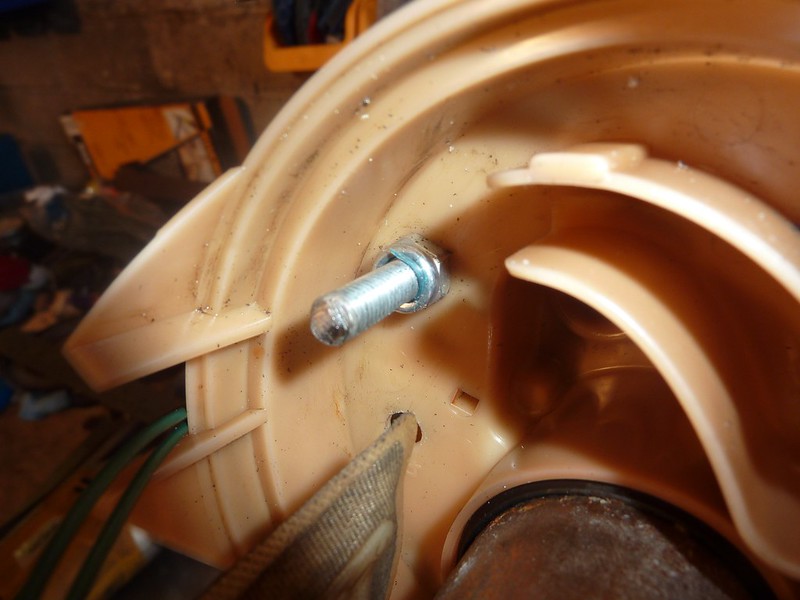 Horrible leak-fix stuff to bind the chopped section of Focus fuel tank to the RTR one. Whole operation twists off and out just like the Focus one. 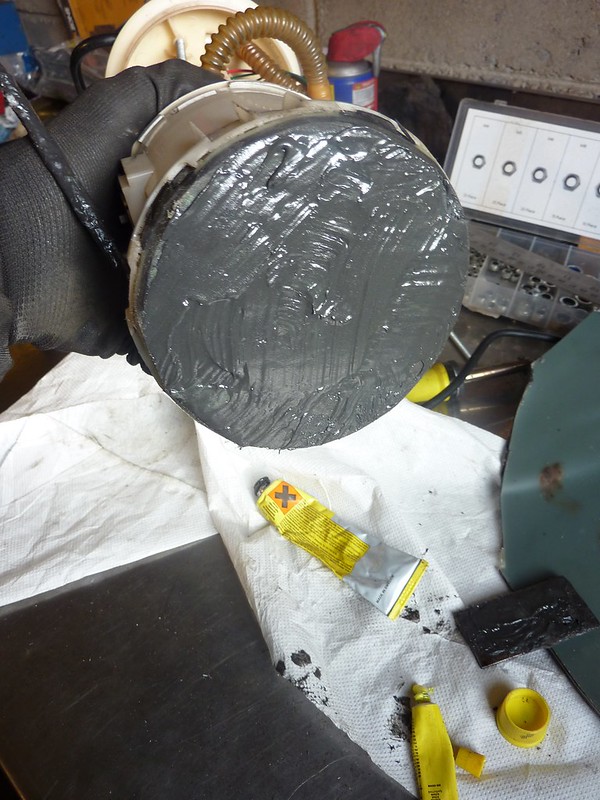 All put together again 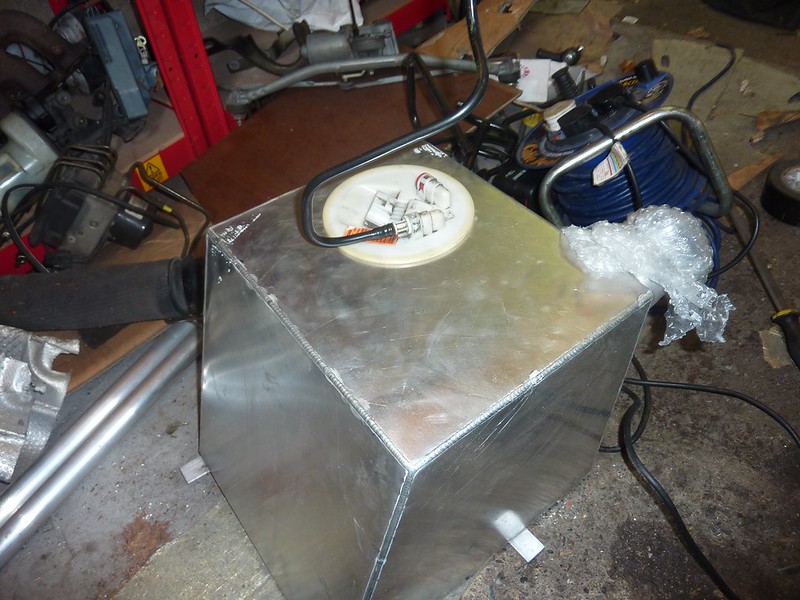
|
|
|
|
Post by casesensitive on Dec 3, 2013 23:59:35 GMT
Exhaust WrapI had a pretty frustrating day with things not working out, and finding out I was missing bits and bobs etc, so I wanted to do something quick and easy. I bought 2 10m exhaust wrap sets ages ago, and even with about 13m of wrap, I ran out *just* before the end. I was pretty disappointed to discover that the wrap on my daily goes white in use, so the colour is pretty irrelevant. 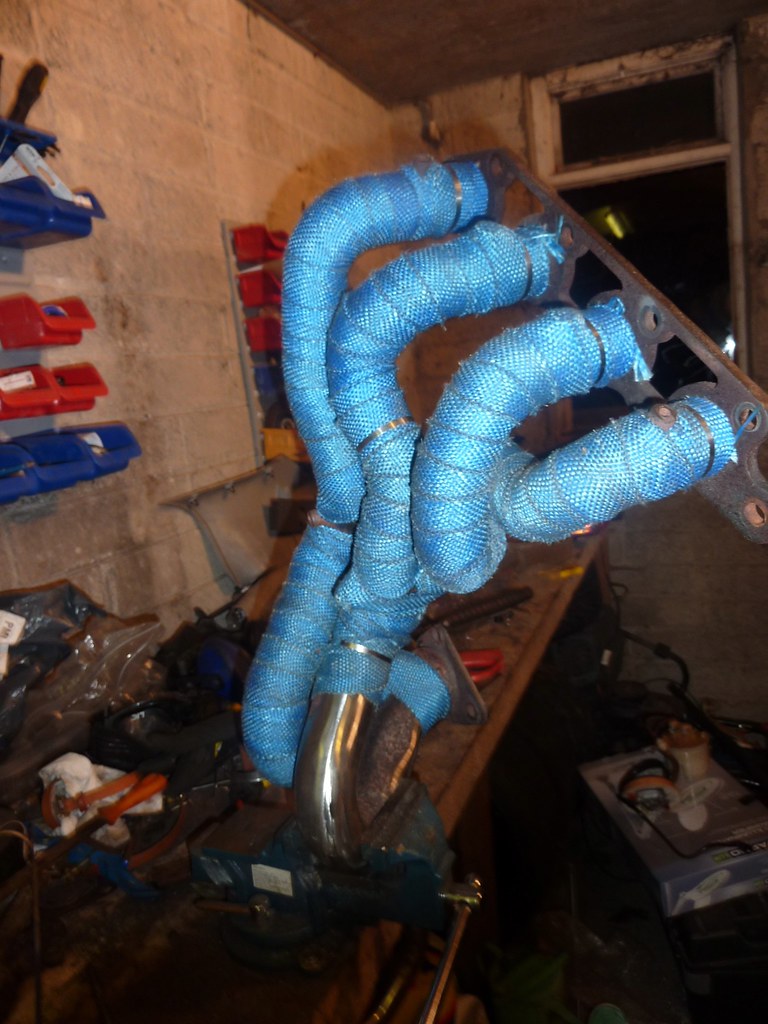
|
|
|
|
Post by casesensitive on Dec 5, 2013 13:16:49 GMT
Nuts 'n' boltsI had originally planned to reuse my Focus donor's nuts and bolts as far as possible, and had kept every bolt and nut from both the Puma and Focus teardown, and even sized them with my calipers. Two problems prevented me from using them; 1) I didn't have enough of the right lengths of any of them! I have a lot of very short M10 and M8s, and a lot of very long M12s 2) none of them appear to be visably graded So, after searching Woodies, B&Q, Heiton Buckley, Halfords and a selection of builder providers who wouldn't sell to me, I had all but resolved to suck it up and order from Ebay. But I couldn't find one seller than had 10.9 graded M8 x30mm AND M10 x35/40mm. inox.ie was pretty close, but again with the grading, they're a stainless supplier, and only sell corrosion-rated SS A2 and A4 (Marine) grade, which wouldn't impress Mr. IVA. In the end, I was put on to All Metal Fasteners, who have a brilliant outlet in Finglas. I dropped in with a scribbled list of M8 and M10 bolts in various sizes, not more than 8 of any of each, and a few minutes later he presented me with 4 heat-sealed baggies with each of my sets of bolt in. 12.9 graded and handsome black anodised steel, so no arguments from the IVA. I was absolutely delighted, the price was cheaper than Ebay and they take cold, hard cash. 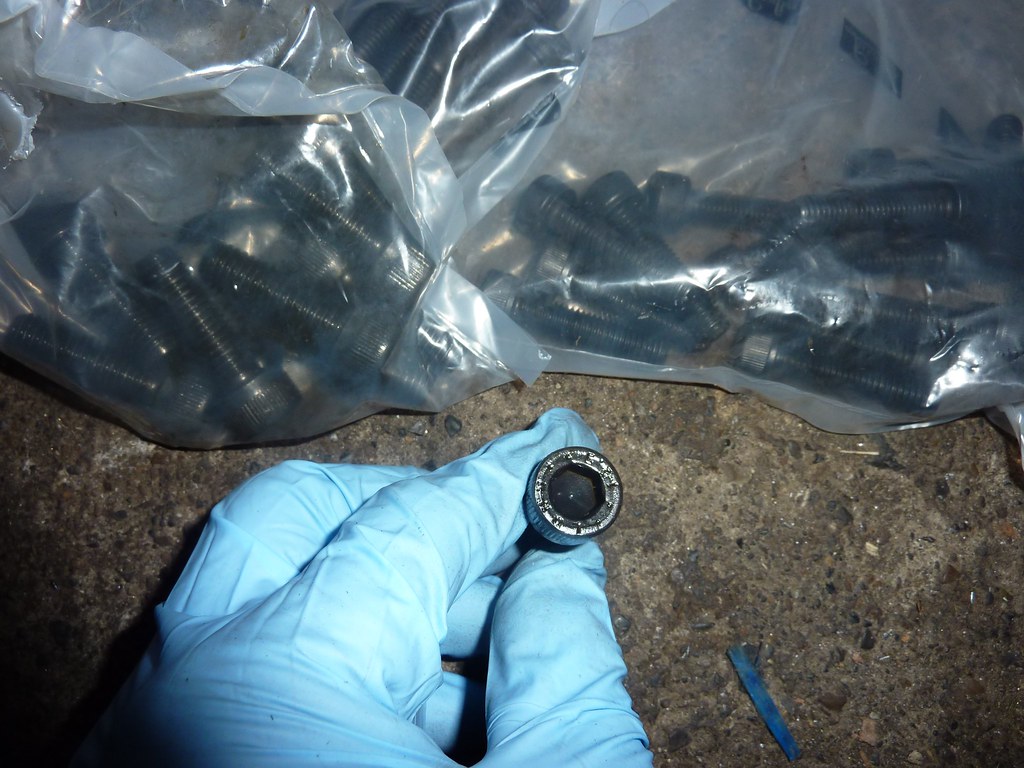 Got a nice Sealey set of heads in a myriad of sizes and configurations 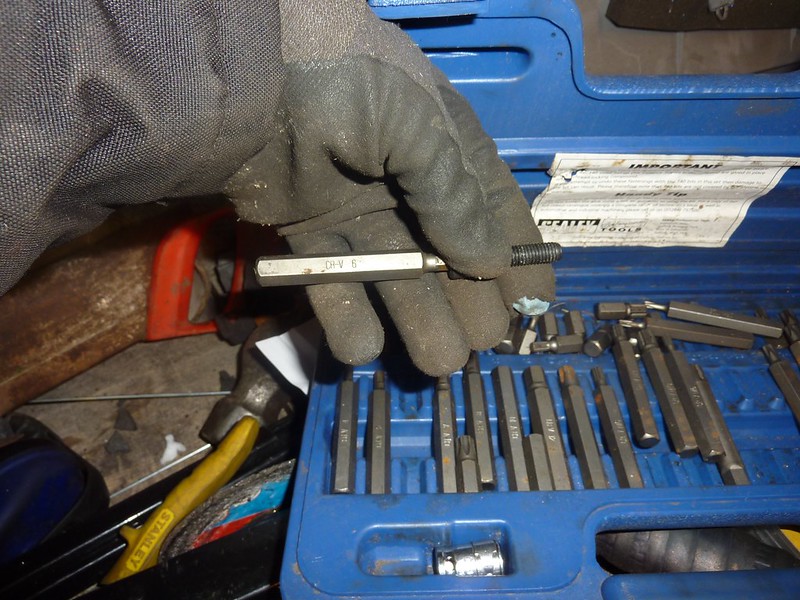
|
|
|
|
Post by casesensitive on Dec 5, 2013 13:51:08 GMT
Front hub assemblySetup Bought 8x M8 35mm 12.9 graded socket head cap screws. I cleaned the donor rear hub with a flapper disc, a sander and a round file. I had my mechanic extract the rear hub bearing from the stub axle with a very clever bearing puller for the price of a cup of coffee. I cleaned the rear stub axle (non-turning parts) with the flapper and several costs of that disgusting rust remover gel and a wire brush (drill-based and then old-fashioned elbow-grease version). 'Before' is on the right 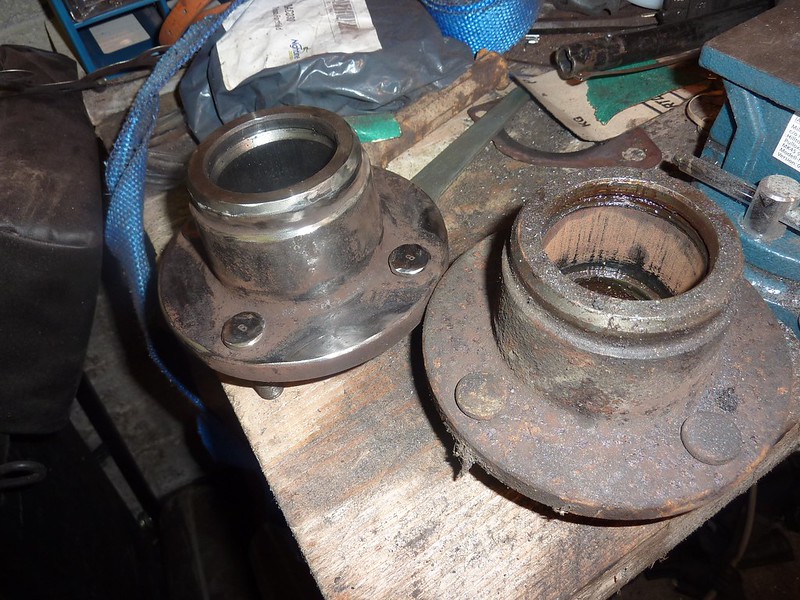 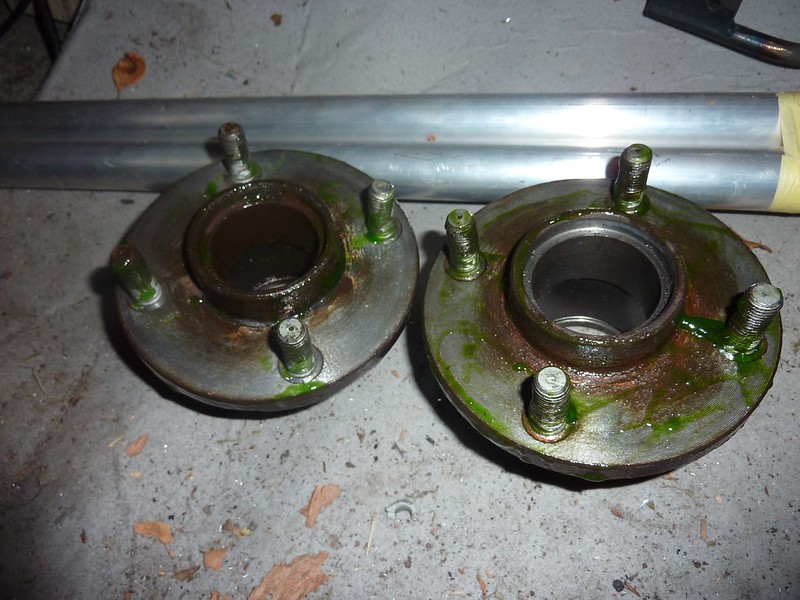 I then coated every moving part with a layer of copper grease I'd bought on impulse in Halfords one day (e16). I had Mario push this back in his bearing press. 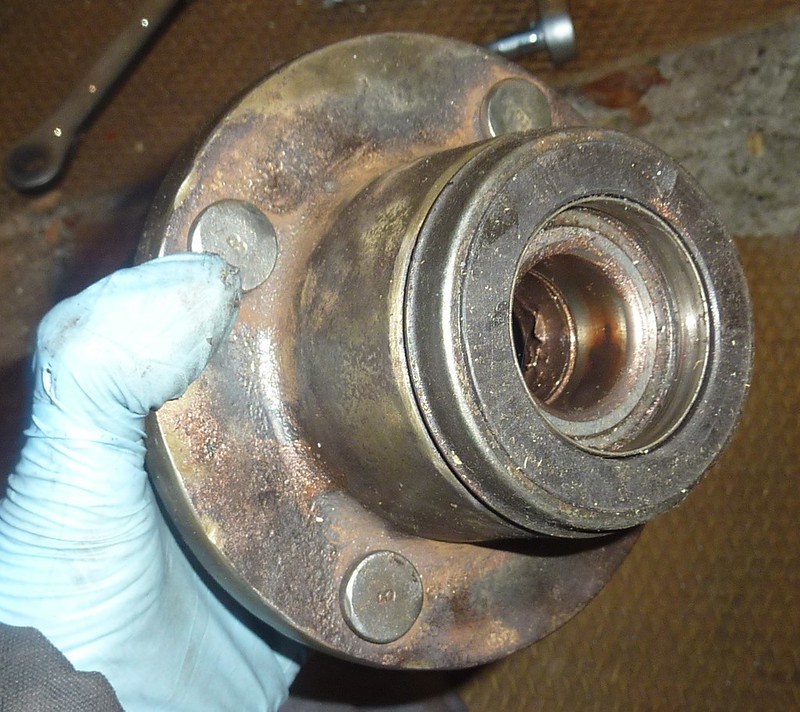 Dry build Dry buildI'll have to repeat some of this after my chassis comes back from powdercoating, but I've only a couple more bits to do before I send it off. Fingers crossed the tow bar arrives soon. I lined up the components in order, and in the correct orientation (I think!). 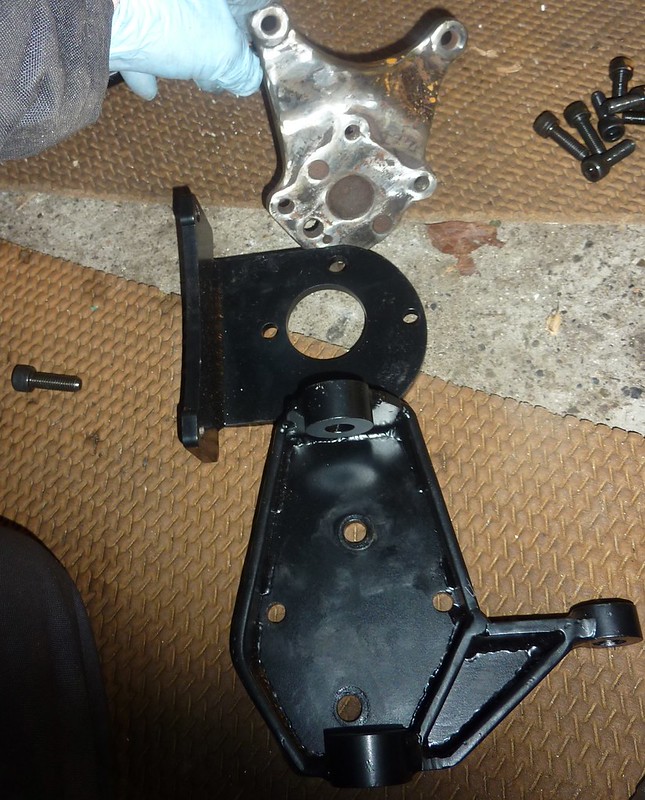 Nearside (passenger) The two RTR hub components line up like so, steering to the right, brakes to the left. 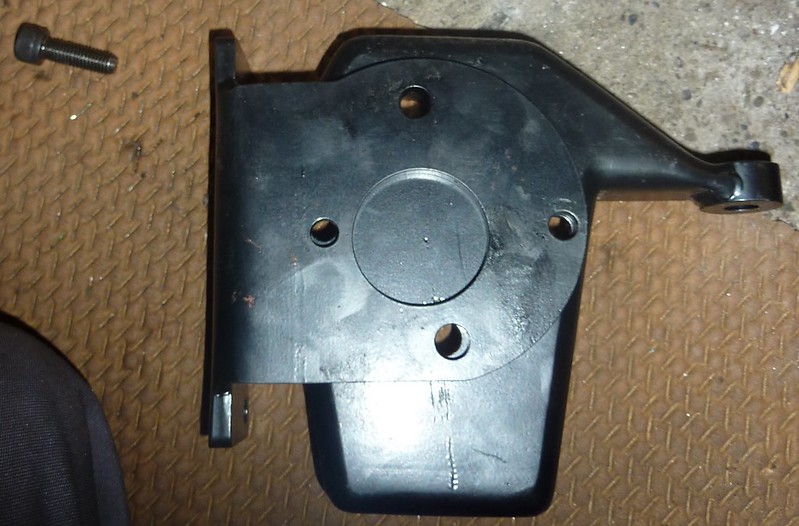 And the donor stub axle on top, with the holes roughly lined up. When I was working this out, I used a few screwdrivers in the holes to hold the ones I wasn't using in place. 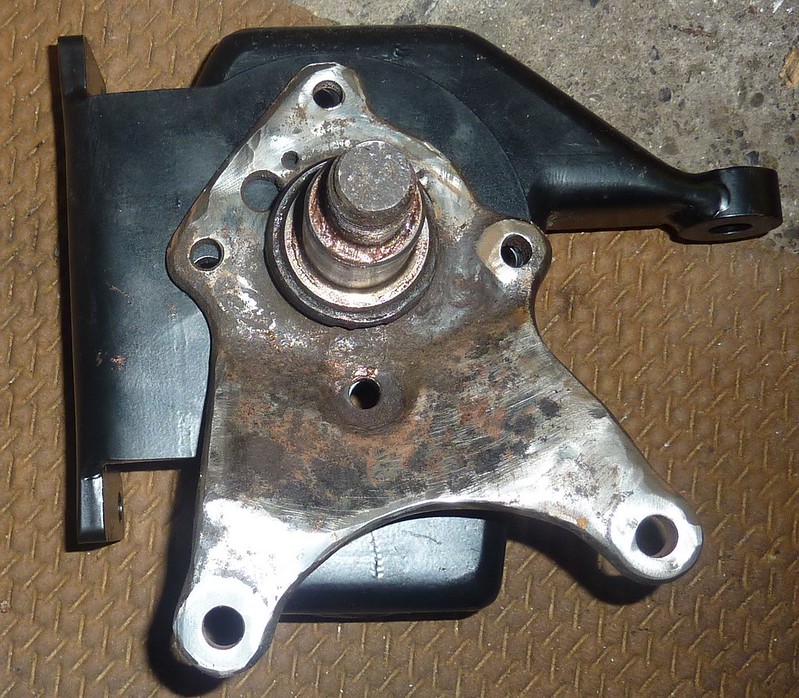 With the piece flipped over and rotated through -90 degrees, the bolts go in from the back. You'll have to use Socket Cap screws or pozi-drive, hex won't turn. I started by dropping in the top (in the above picture) one, and screwing it about 2 full turns into the donor hub (the RTR pieces aren't threaded), and then dropping in the lower bolt, followed by the left then right. I turned each 1 or 2 turns with a T6 allen 'key'.  I invested in a really fancy Sealey set when I was doing my tear-down, becuase I needed T40 and T50 torx to remove the interior, and Halfords wanted e19 each for them! Realistically, I'll never use 80% of them, but nice to have anyway. Here's the remainder of the suspension, fitted without bushes, washers or nuts 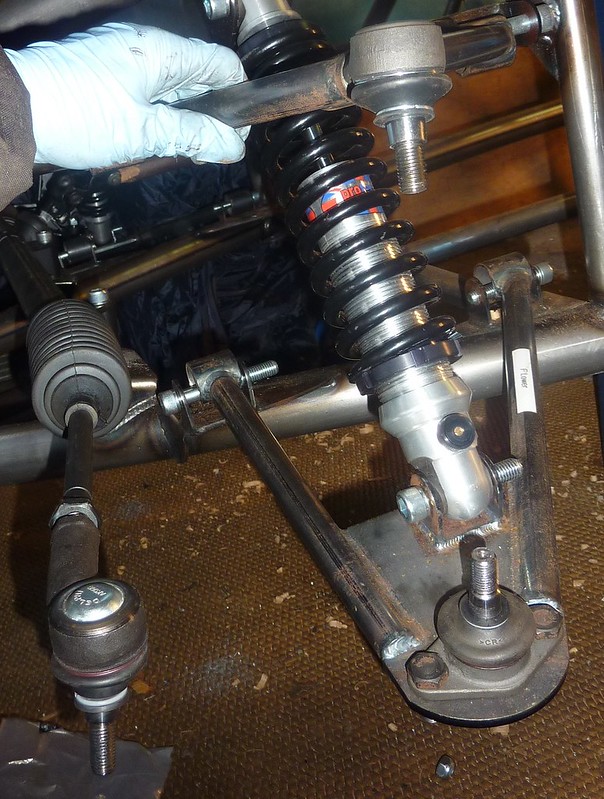 And the hub fit like so, with the steering receiver facing forwards, and the brakes facing back 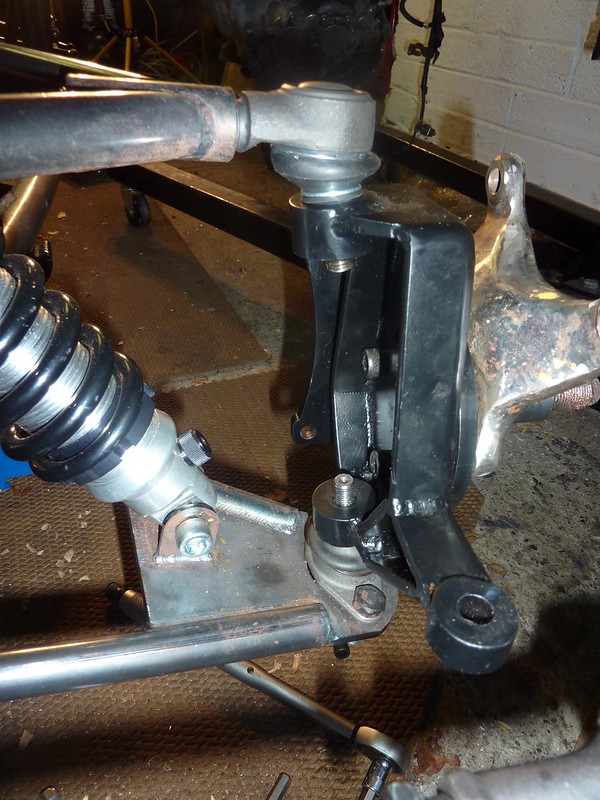 And with everything dropped in (incorrectly! correct pic at the bottom! 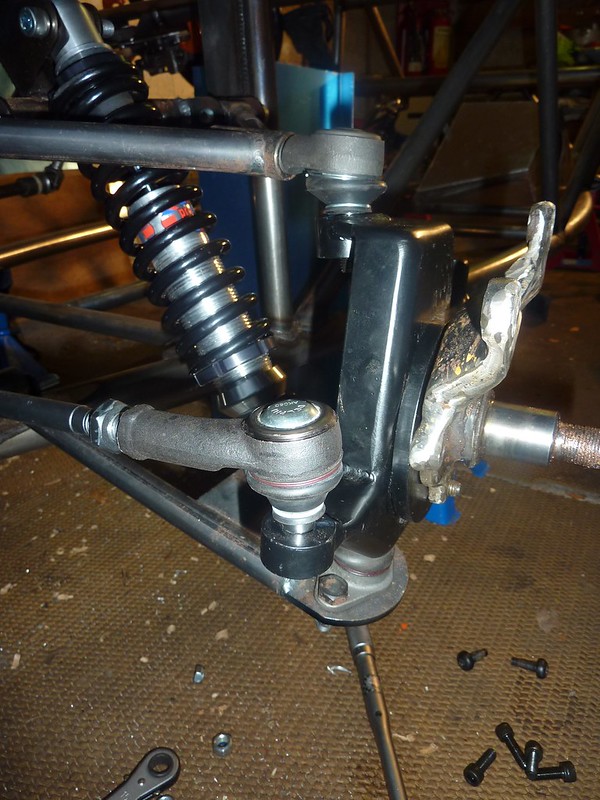 The bearing and hub are reintroduced to the stub axle, with plenty of copper grease, a good whack with the rubber mallet pushed it home easy enough. 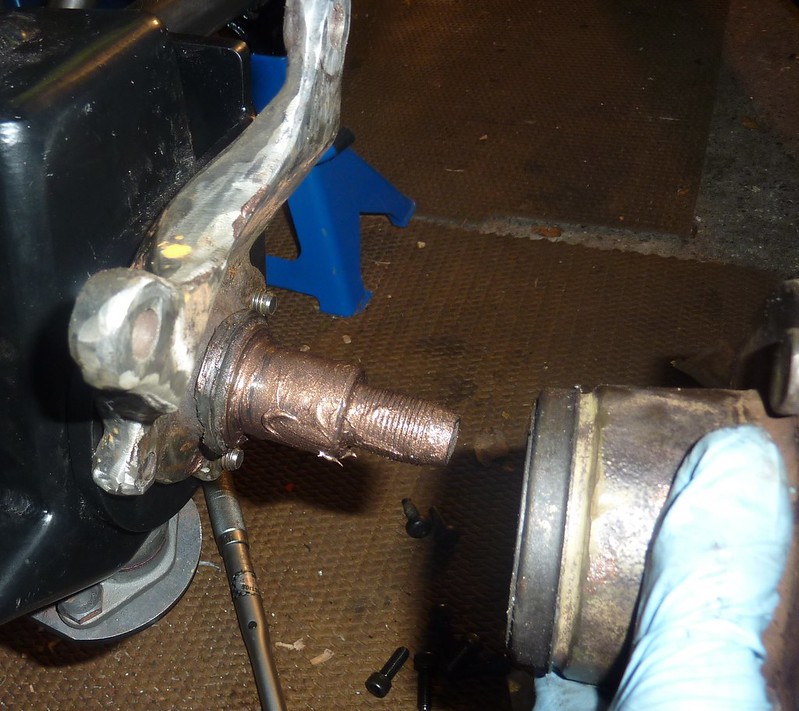 And checking for sufficient clearance on the bolts! You don't want these sticking into your hub. It rotates nice and freely. 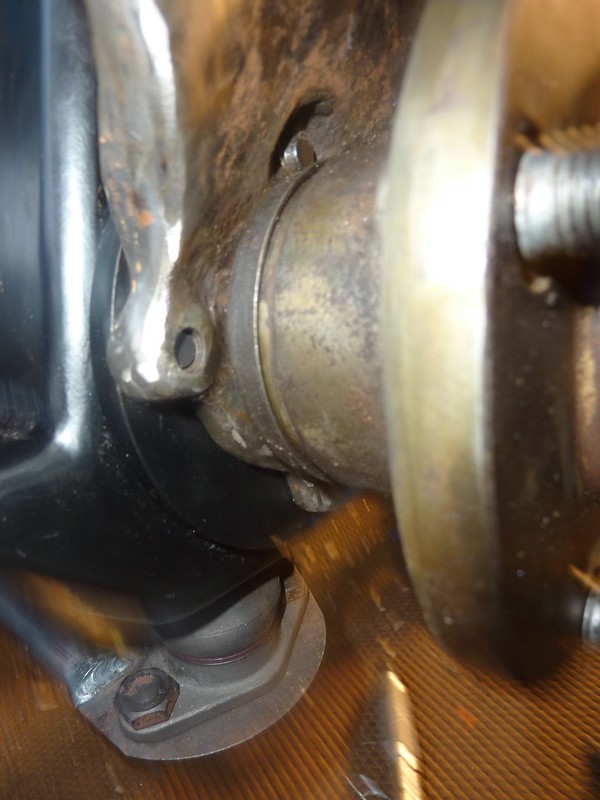 Replacing the nut, finger tight only, because.. 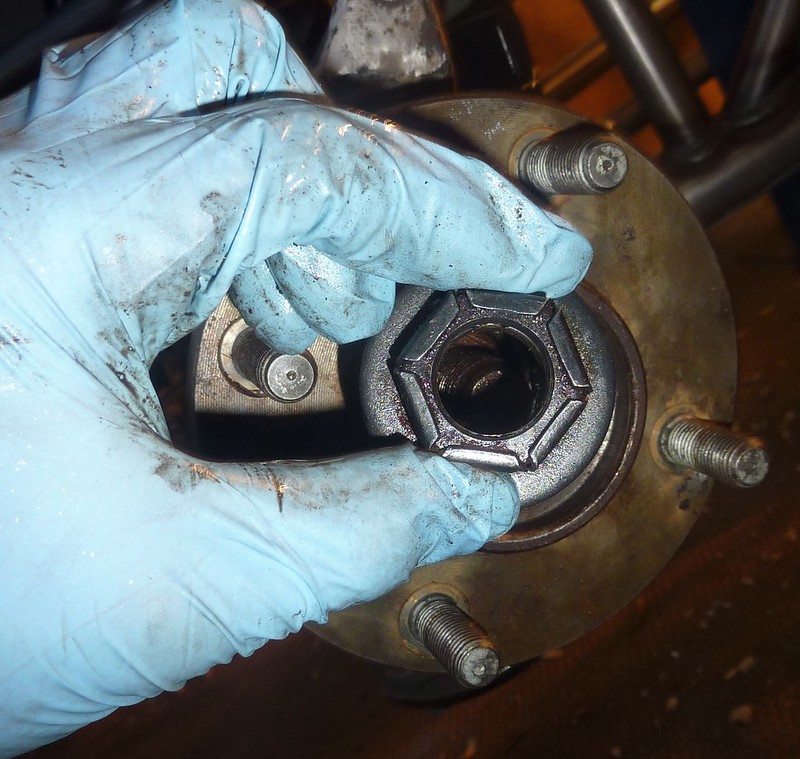 Doh, have to borrow a 30mm socket from somewhere 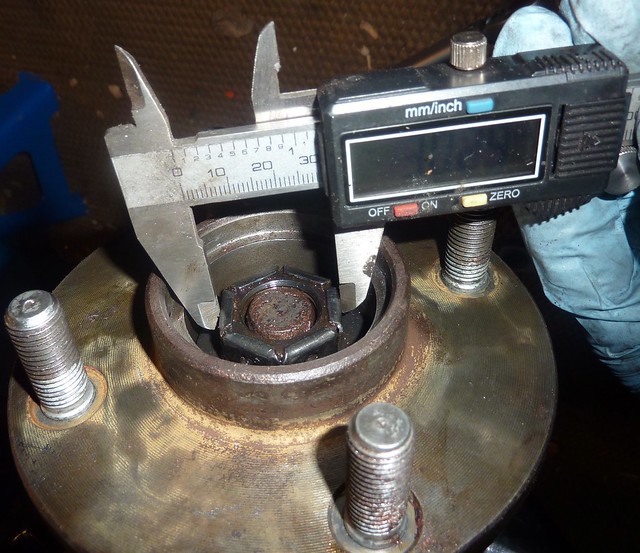 All together now! (I have no brakes yet :-( <corrected steering> 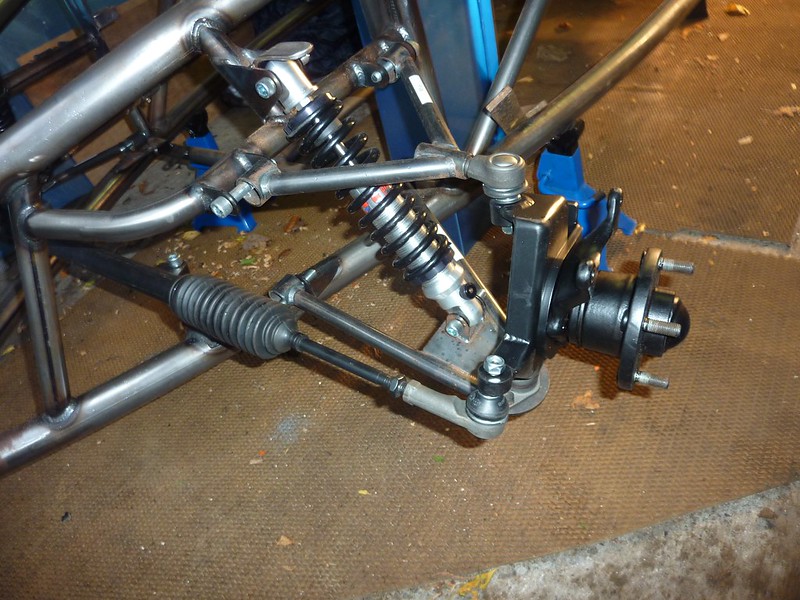 I then removed the whole assembly from the steering rack and wishbones to paint. Tallaght Powder Coaters said that powder coating the whole rigmarole together could destroy the bearing seals, so it looks like regular paint will have to do here. Picked up some Hammerite satin black 'direct to rust' in Halfords. Direct to rust me hoop, I did 3 coats of this, with double the suggested drying time in between, still looked runny and slick. I'll probably re-do this with my compressor-driven paint gun, with primer, and in RAL 5002 when I get the nerve to figure it out. 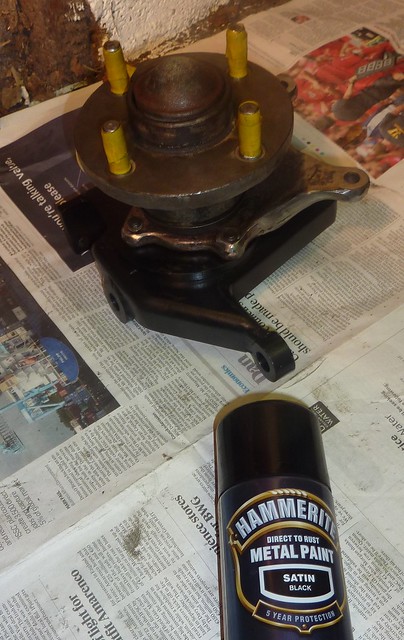 After 3 coats, which were a little runny, so light sanding and a fourth 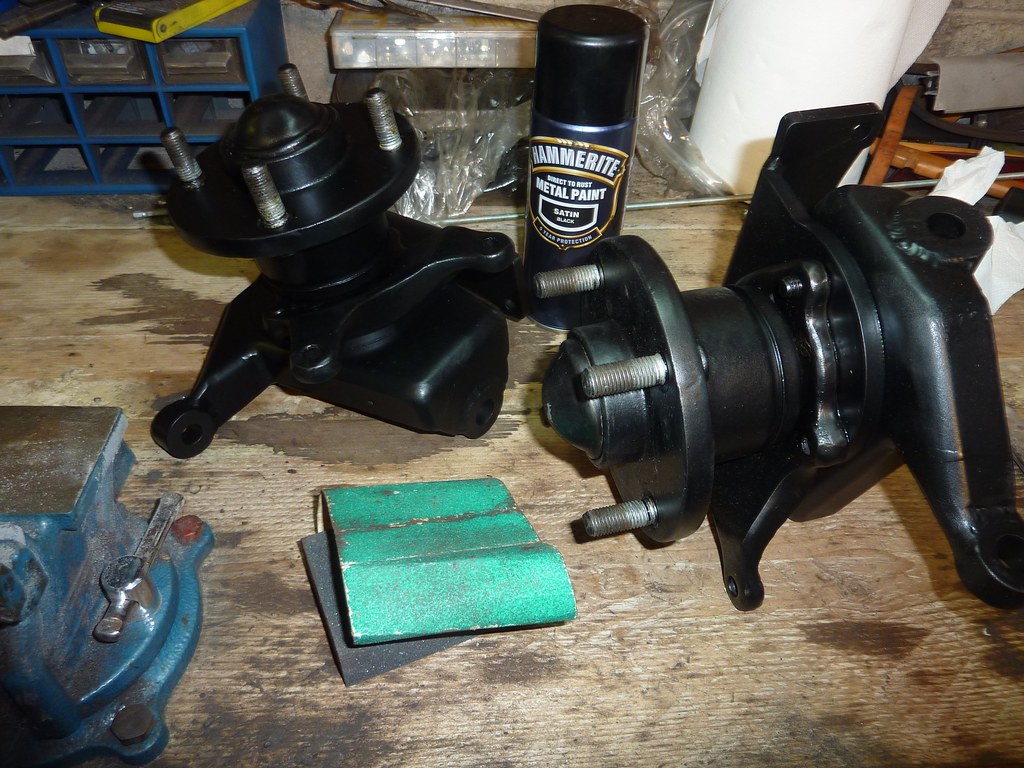
|
|
|
|
Post by Barney on Dec 5, 2013 14:46:17 GMT
You'll need to check with others but I think your steering trackrod ends should fit with the nut on top in order to keep your trackrods parallel with the wishbones. This is to stop bump steer.

|
|
|
|
Post by casesensitive on Dec 5, 2013 15:20:02 GMT
You'll need to check with others but I think your steering trackrod ends should fit with the nut on top in order to keep your trackrods parallel with the wishbones. This is to stop bump steer.
Hmmm, wasn't sure about that, and the Build CD (that bastion of information!) appears to agree with you. Thanks, I'll sort that accordingly. |
|
|
|
Post by casesensitive on Dec 16, 2013 13:46:18 GMT
Rear uprightsIf I were doing this again, I'd have the uprights powder coated before I put the hubs in, but I didn't and I wasn't about to bring them back to Mario to pull them out a 3rd time, so assembled I decided they'd be black. The reason I had to bring it back a second time was that I pushed the bearing into the hub in my own vice, when I should have pushed bearing into upright, and hub into the upright from the other side. 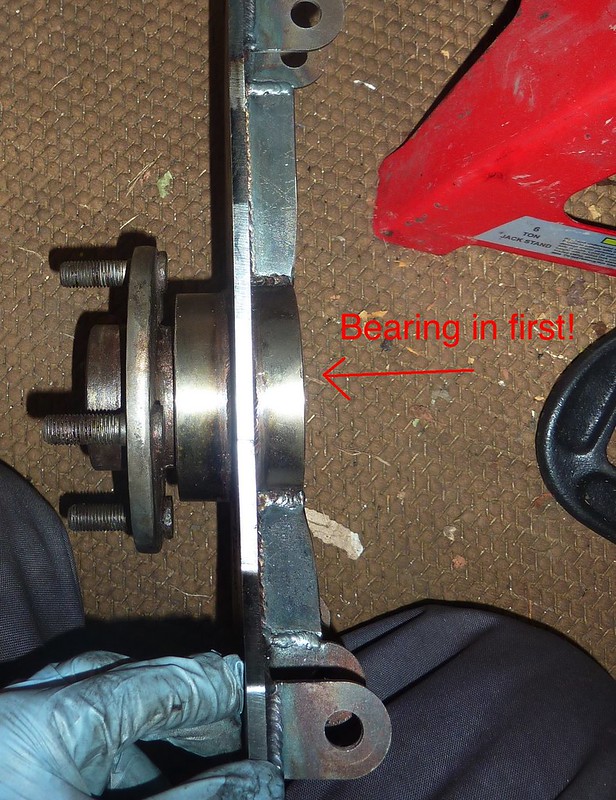 After light sanding, and cleaning with meths, I stuffed the important bits full of newspaper and duck tape Rather than have the paint run and stick to the newspaper like on the fronts, I hung them from an old TV aerial straddling my engine bay and shelving rack with some zip ties. I primed them with 3 coats of Halfords' finest grey primer (all one can). I've done 2 light coats of satin black so far, and I'll do two more next time I'm down. That paint's not cheap at €15.99 a can either, I went through 3 each of satin black and dark grey (high temperature paint) at €15.99 and €9.99 respectively. 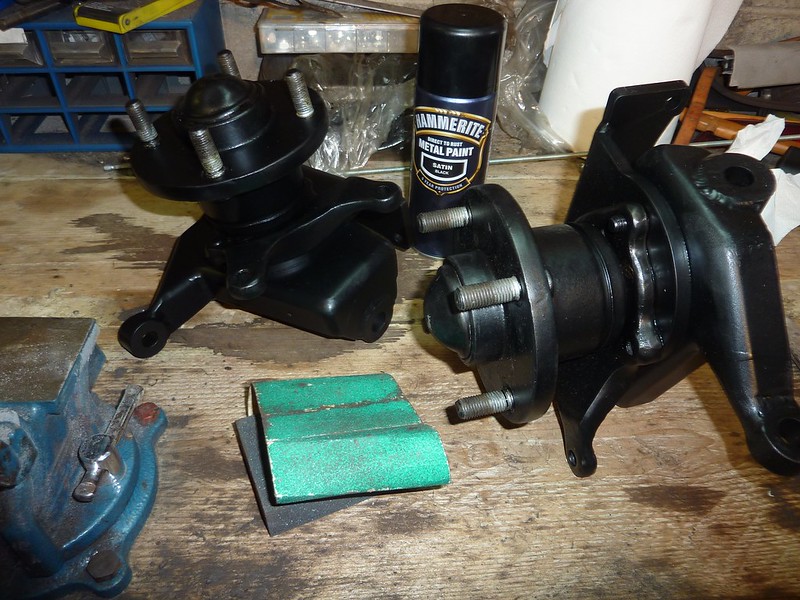 Edit: Flickr keeps 'eating' these same photos for some reason. Looking into it.
|
|
|
|
Post by casesensitive on Dec 16, 2013 13:53:53 GMT
Very little significant progress to report, still don't have access to a towing car to bring chassis to the powdercoaters, so I'm taking my time with everything else. This weekend; painting! Painting the engineI initially got this very wrong; I degreased the donor engine (used the whole can) but I didn't stuff the various ports properly and got quite a bit down the exhaust ports. I spent hours stuffing rolled up kitchen roll to soak it up and then a couple more with a heat gun to evaporate what was left. Tedious doesn't begin to describe it, and there's still a small chance my engine will eat itself when I turn it over. Might tip it on it's side and see if any liquid comes out! 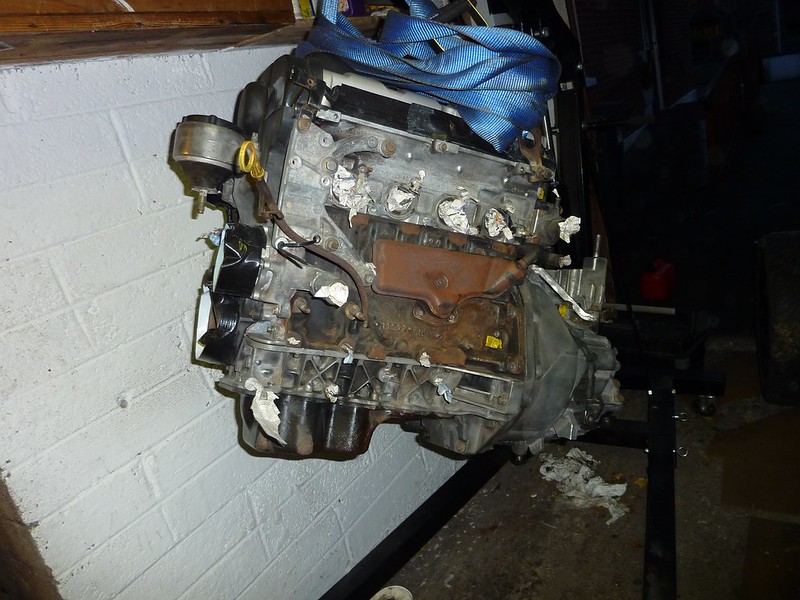 I spent a good day with the flapper and sanding block getting all the loose rusty bits off, and then a vigorous go with first a long handled wire brush, then a neat little drill-mounted one, the engine was reasonably clean. Gearbox came up lovely. Three cans of this (leaving half a can for the new oil pan I haven't installed yet) 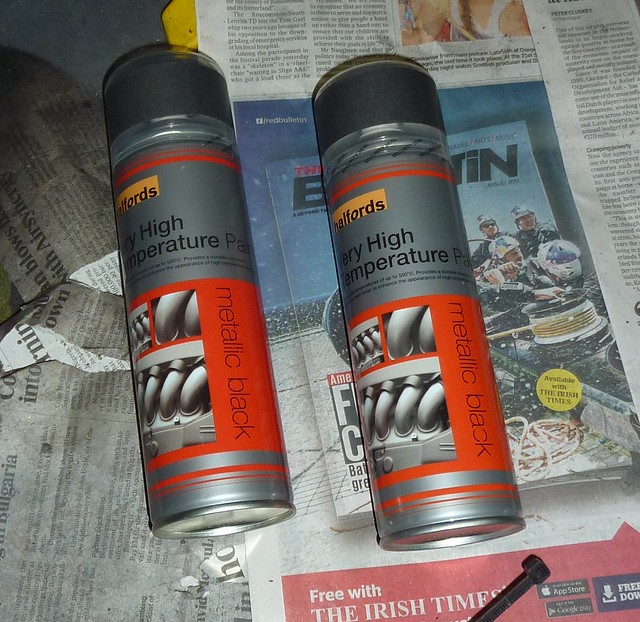 Et voila 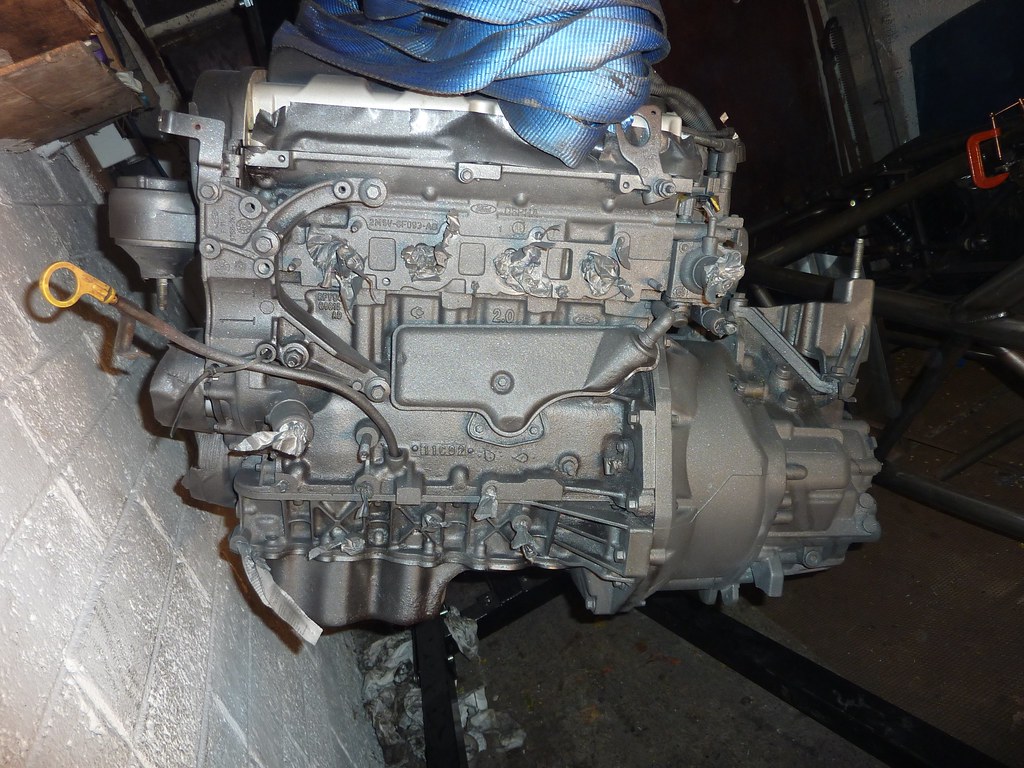 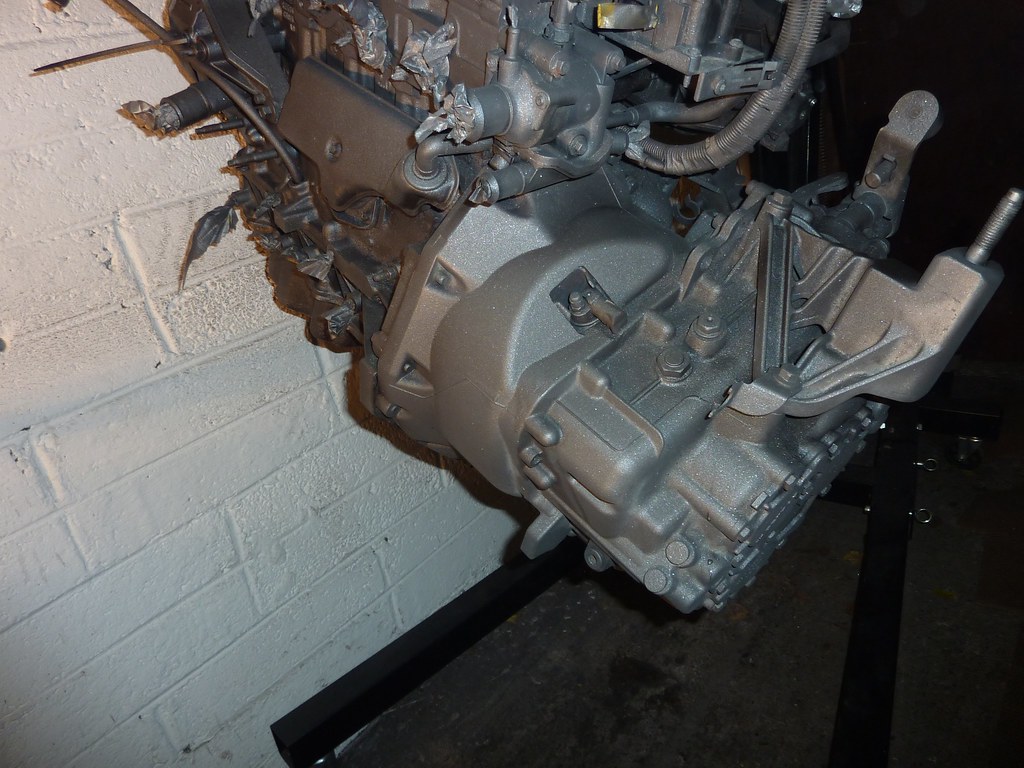 and you  Really happy with how they turned out. |
|