|
|
Post by martinw on Nov 11, 2013 11:51:50 GMT
The fuel sender fit into the RTR tank beautifully, the first thing that did, but here's a thing, the Focus tank is about 12-14cm high, the Rocket one twice that. Presumably when the tank is 50% full, the sender will think its 100% full? Unless the floating arm can be extended and the sender raised off the base of the tank somehow? And about the sender, even with threaded bar extensions, it's going to slosh around in there surely? The donor tank has a plastic mounting ring into which the sender clicks, but the base is going to wander all around the inside of that tank. I extended the float arm for that very reason. Or rather, more correctly, I replaced the arm with a longer one.  The metal arm unclips from the plastic adjacent to the pump / sender, and on mine the float itself was held in place with 2 circlips around the wire. I think I used a metal coathanger, suitably re-bent and cut. I wasn't expecting a very accurate reading, but at least you do get something changing before you get to a half empty tank, so on balance I think it's worth doing. As far as the pump / sender sloshing around in the tank - the threaded bar extensions make the two parts (the top part outside the tank with pipe outlets and electrical connections, and pump / sender in bottom of tank) into a single rigid unit, so once the top part is secured by whatever means you use, then the bottom part is fixed too  . Martin |
|
|
|
Post by casesensitive on Nov 11, 2013 15:01:35 GMT
Cheers Bob, I'll keep that open along when trying to figure out what goes where on the front :-? |
|
|
|
Post by casesensitive on Nov 11, 2013 15:07:15 GMT
I extended the float arm for that very reason. Or rather, more correctly, I replaced the arm with a longer one.  The metal arm unclips from the plastic adjacent to the pump / sender, and on mine the float itself was held in place with 2 circlips around the wire. I think I used a metal coathanger, suitably re-bent and cut. I wasn't expecting a very accurate reading, but at least you do get something changing before you get to a half empty tank, so on balance I think it's worth doing. As far as the pump / sender sloshing around in the tank - the threaded bar extensions make the two parts (the top part outside the tank with pipe outlets and electrical connections, and pump / sender in bottom of tank) into a single rigid unit, so once the top part is secured by whatever means you use, then the bottom part is fixed too  . Martin Yeah, I figured that's the intention, but I wasn't convinced it was as stable as the Focus method. I'd be tempted to find a petrol-proof adhesive and glue the original securing ring into the RTR tank. In terms of your extended (I love the coat hanger idea! I presume you obfuscated the origin for your IVA docs?) arm, what do you do about the low level? If it's elongated, empty will be somewhere around 20-25% full I'd have thought? Or did you raise up the base of the sender so that there's somewhere for the lower bound to go? Or did you literally add a bend to it so that the low points were the same? |
|
|
|
Post by martinw on Nov 11, 2013 15:23:12 GMT
I did exactly as you suggest (added a bend in the arm for "empty") - and I did draw it first (.....I have a habit!  ); the trickiest part was making sure that when the pump / sender was in the tank, the arm didn't hit one of the walls at any point in its travel. I have to say I was pleased to be able to incorporate a metal coat hanger somewhere in the build  . I'll see if I can dig out a picture.....pretty sure I took one, with the completed unit sitting on the dining room table. I'm using the MEV supplied switch panel in my Sonic, so the fuel "gauge" is 4 LEDs.....so it really is only a rough indicator anyway. Martin |
|
Deleted
Deleted Member
Posts: 0
|
Post by Deleted on Nov 11, 2013 16:22:33 GMT
I used the RTR uprights, no issues, no problems with top hats, and stars not in alignment issues. So glad that I spent my budget elsewhere lol. Pictures are on another site.  |
|
|
|
Post by casesensitive on Nov 15, 2013 23:28:13 GMT
I'm an awful one for buying something in case I find a use for it. This stuff is used to send the heat from a rad into the room and not into the walls, so in my head it's going to be useful. Somewhere. 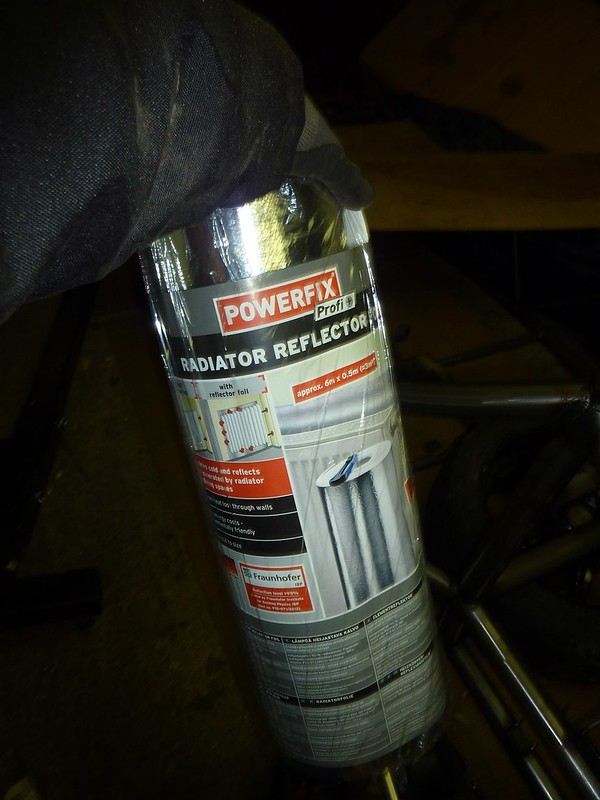 |
|
|
|
Post by casesensitive on Nov 15, 2013 23:35:46 GMT
I'll fill this in properly tomorrow.. Timing BeltThe engine is off to a man who knows what he's doing (Mario @ Getitfixed) to change the belt and water pump, which will work a lot harder in the Rocket than in the Donor. Timing belt kit, tensioner, water pump. I've removed the alternator belt already, having removed the air con and power steering pumps, and Mario will measure the new path and fit a new one. 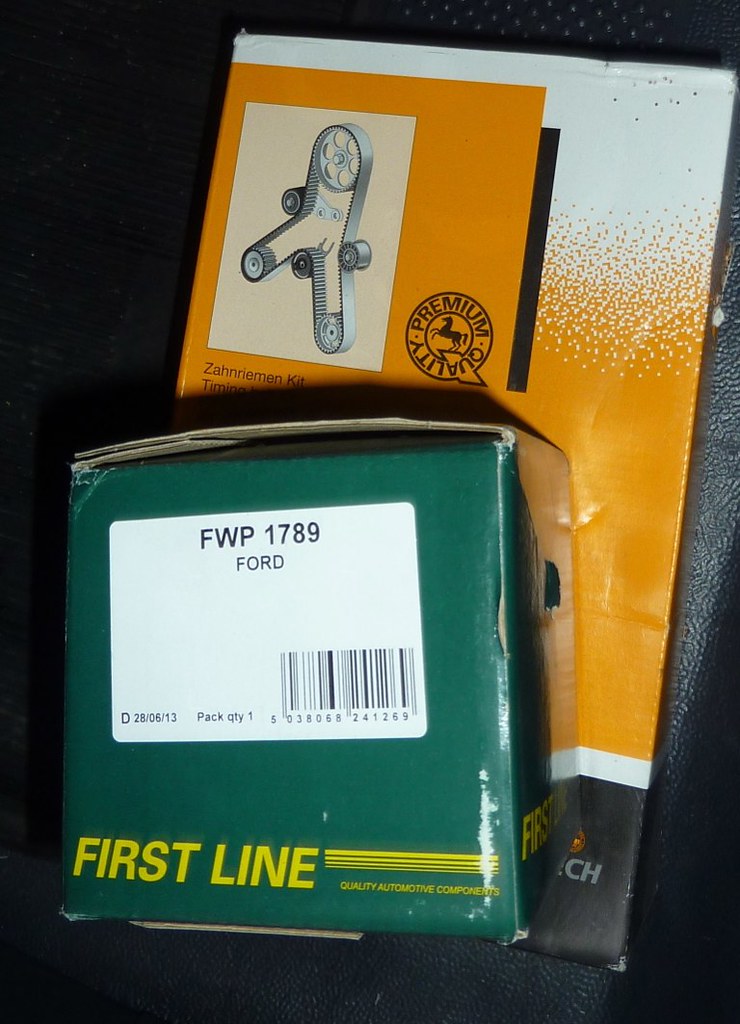 As the engine is unlikely to fit in the boot of my Puma, I joined GoCar, a car-sharing scheme, you rent cars and small vans (Transit Connect) by the hour (€6 per hour). Took 2.5 hours to get to a from the base, to the my garage and across the city to my mechanic. GoVan with the ST170 lump, less the bulky, heavy exhaust manifold and Getrag gearbox. Tie it down, no matter how carefully you drive, it'll fall over. 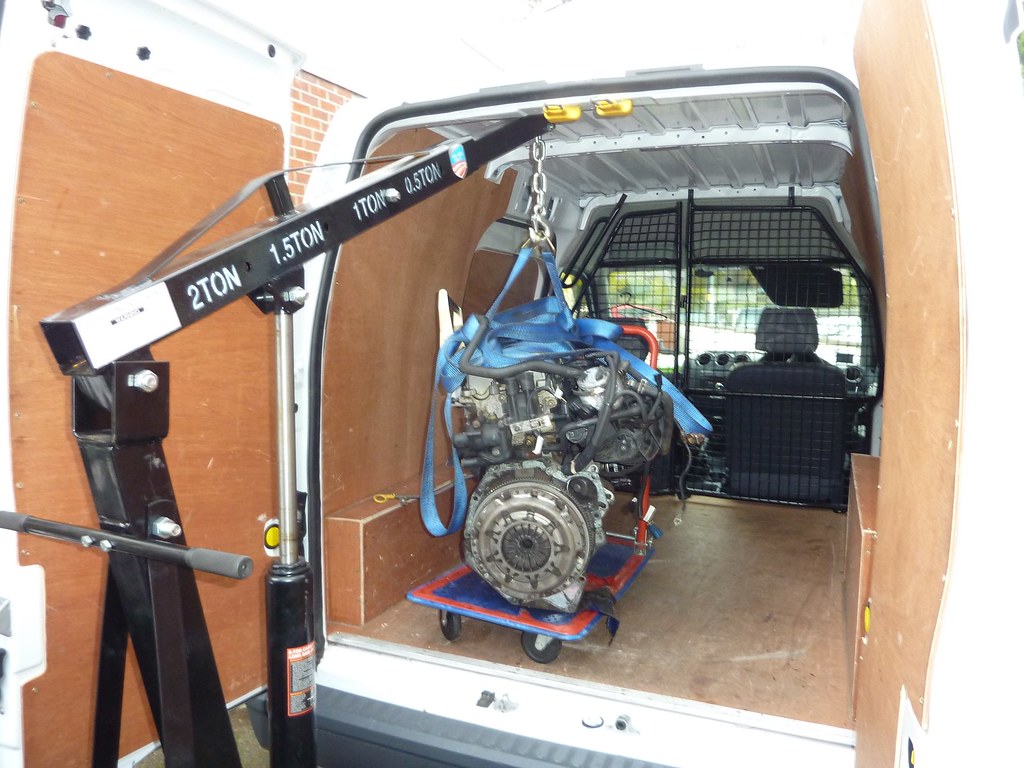 I found some old bits of 3mm ply in the shed, in pretty decent sizes; Granddad's hoarding comes in handy again. I ran a pencil around the edge of the 4 ally sheets, with as few cuts as possible using the edges. 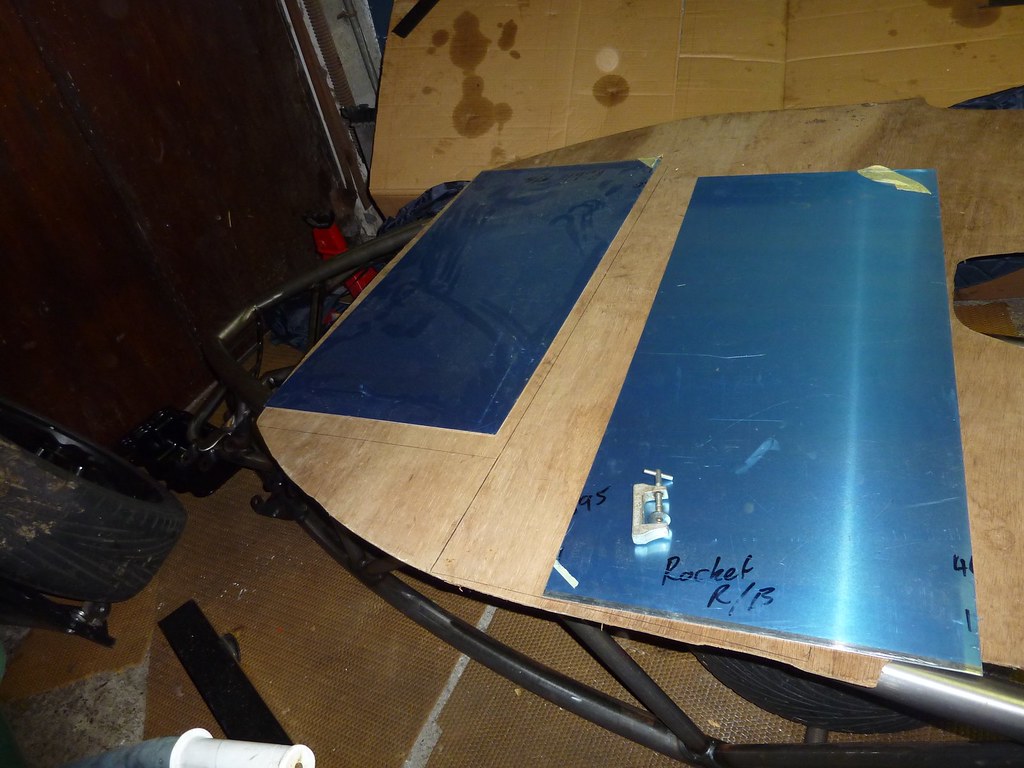 Weapon of choice was a fine tooth hand saw with lots of WD40 to lubricate. 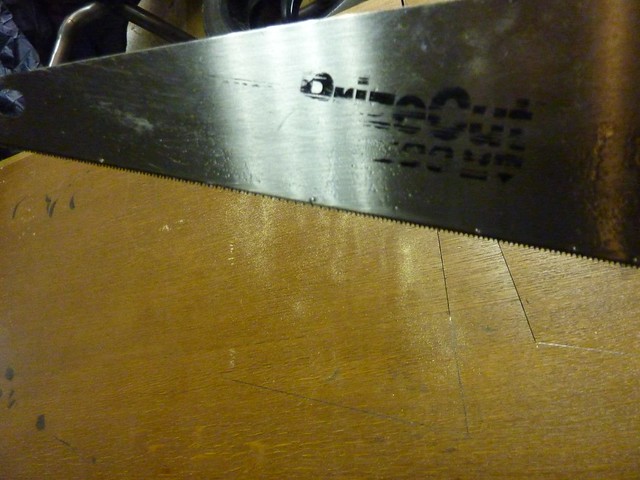 Plywood templates for front and rear bulkheads and both side panels  |
|
|
|
Post by casesensitive on Nov 19, 2013 10:27:03 GMT
Donor part clean upI took the flapper disc to the rear stub axles, donor's were thickly rusted, but came up really nice where the disc reached. A round file and 80 grit sandpaper did a poor job of the other areas. 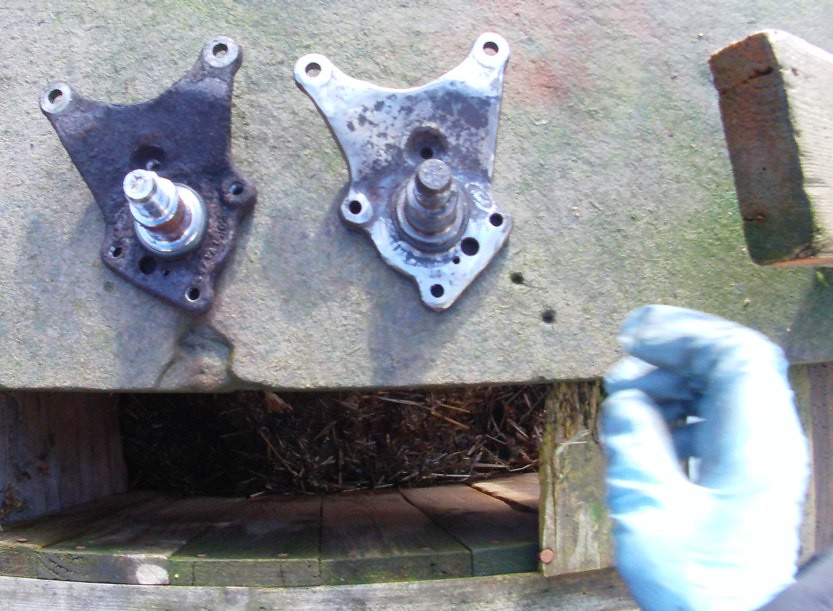 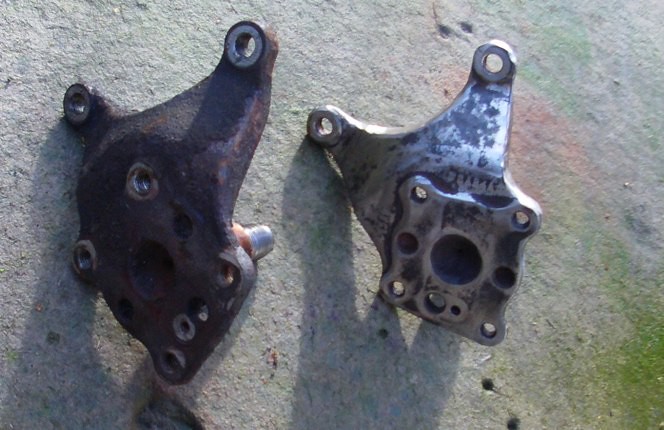 Having learned from other's mistakes, I'll wait till it's all assembled before I rust-proof and paint it. My first brake pad change was spooled by getting the beautiful blue paint in the channels where the pads should have slid, and didn't. Front hub carriers and their hubs. 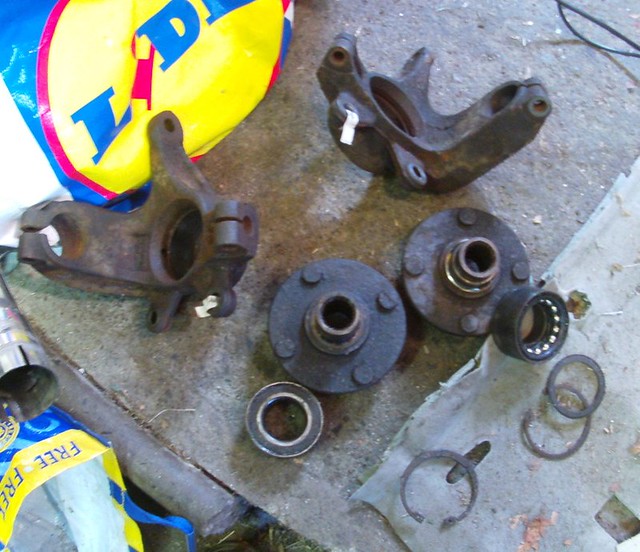 Not wanting to damage any of the bits I plan to keep, I've made up my electrolysis bath, with a 3mm ply panel cut to fit the bottom to ensure no contact with the container. I've wired in an variable voltage laptop PSU and battery charger to the same clips, and stuck a good lot of washing powder in. As there's possibly some stainless steel in them (?) I took the bath outside until closing time, can't be too careful. 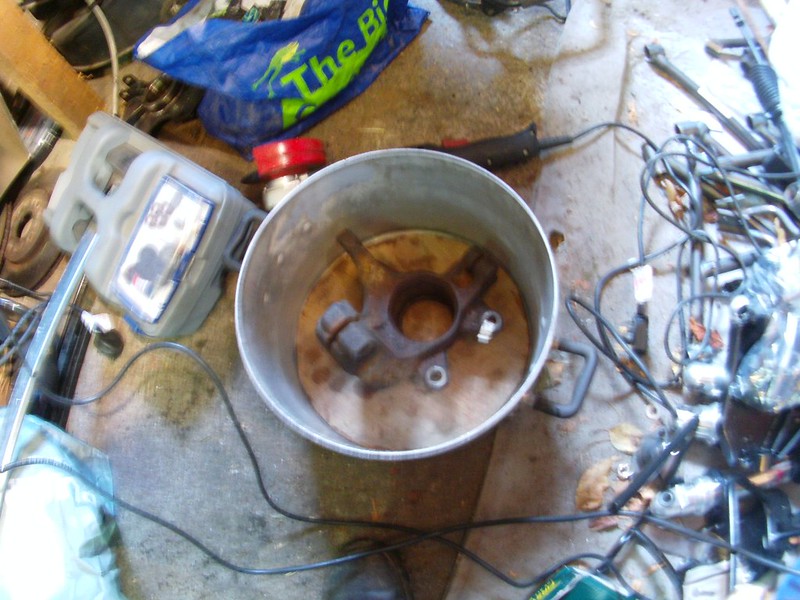 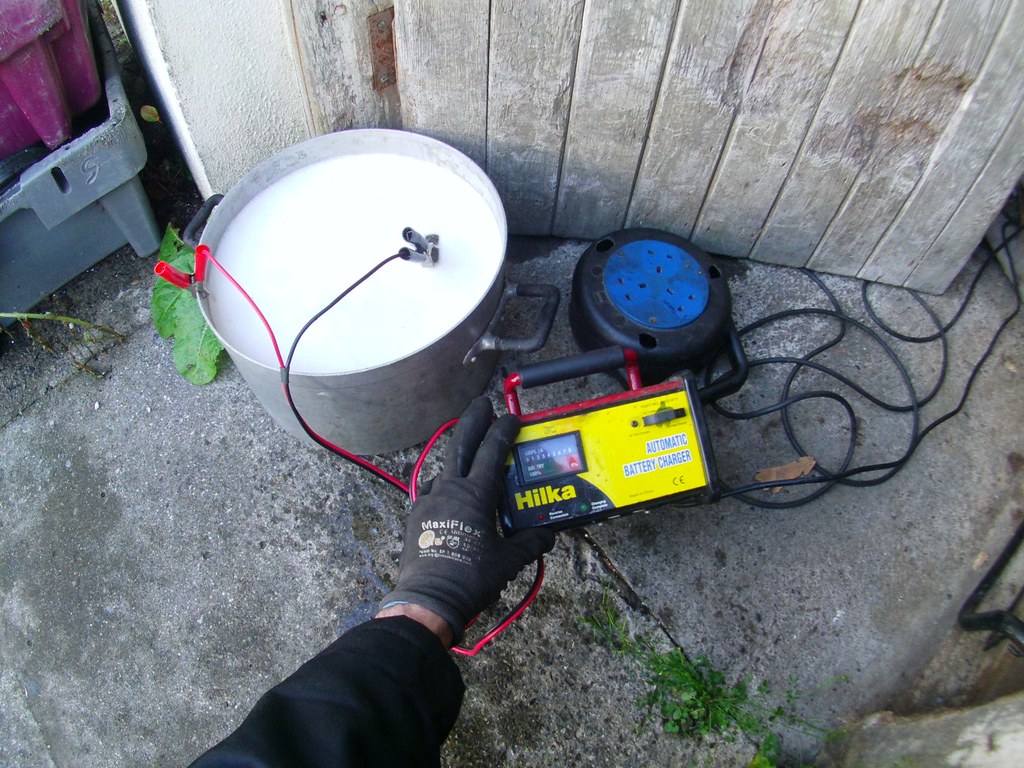 I'll pop back tonight and see how they got on, if their bath doesn't ruin the carriers, I'll give one of the hubs a go, but I'll check up every few hours.
|
|
|
|
Post by casesensitive on Nov 19, 2013 15:27:58 GMT
Also VERY temporarily fitted a few bits; steering wheel and column. 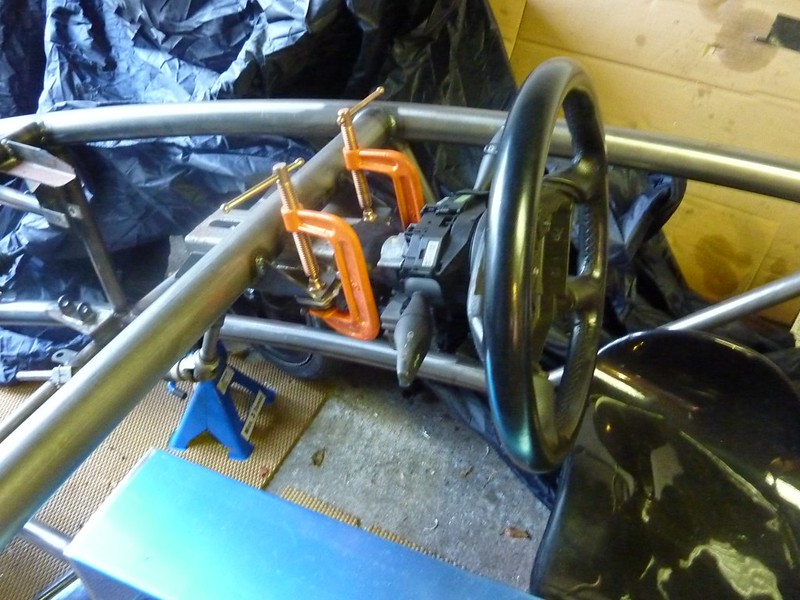 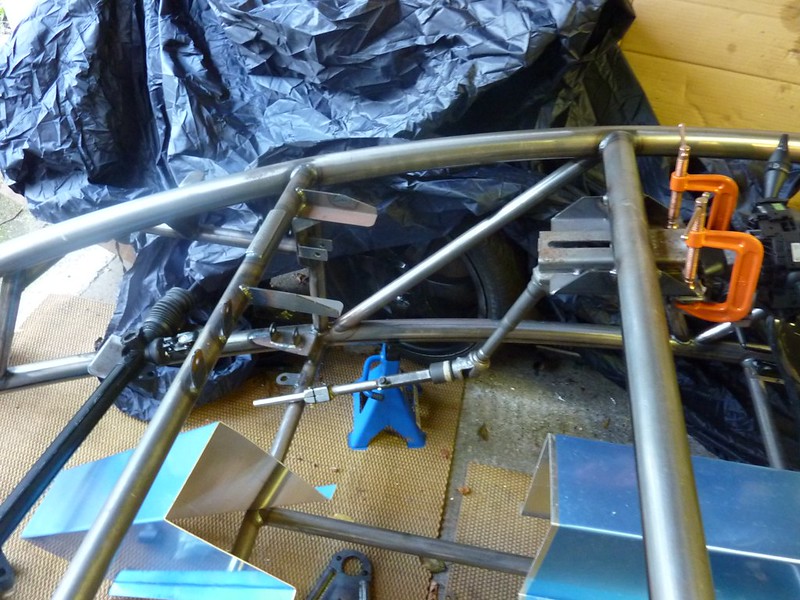 I also loosely assembled the front nearside suspension to check where everything goes as much as anything. Thanks to BobN for the pictures. 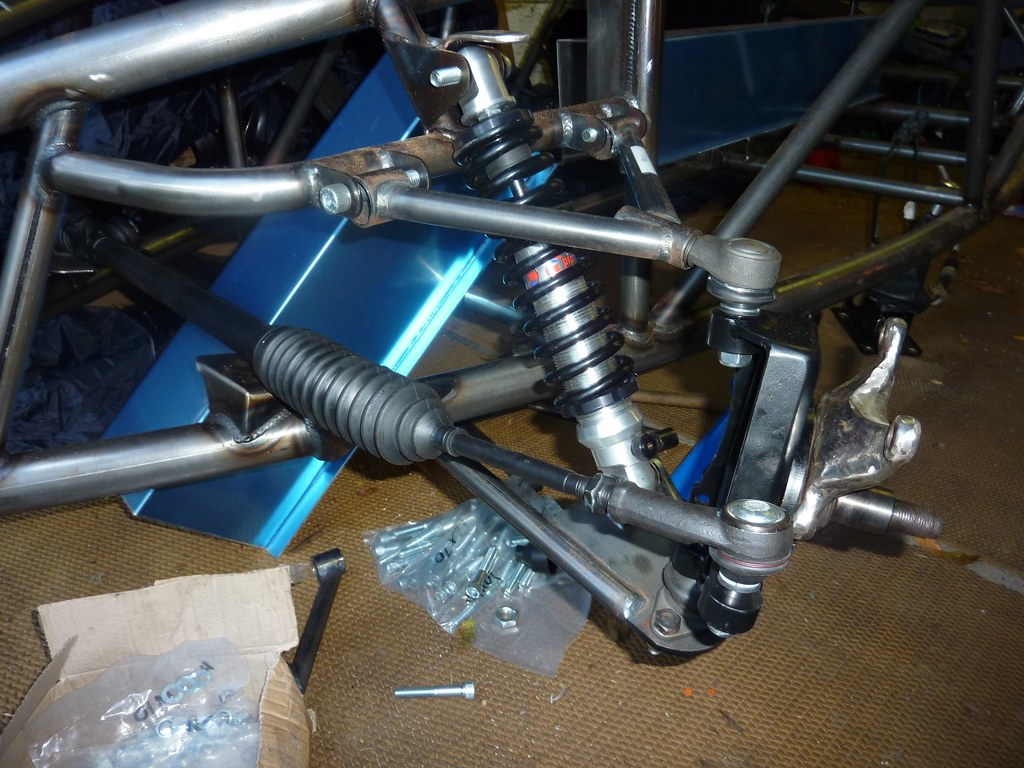 No bushes, no crush tubes and as few nuts as I could get away with   Once I have everything laid out, I'll mark the various points where brackets and / or welding need to go, and once it's all solid, off to the Powdercoaters. Getting impatient! From the front, driver's seat, steering, front N/S and rack.  Need to locate some 16mm hex bar and a front floor section; the promised-but-MIA components. |
|
|
|
Post by bingo on Nov 19, 2013 21:10:25 GMT
You will need 17mm not 16mm
Sent from my SM-N9005 using proboards
|
|
|
|
Post by Barney on Nov 19, 2013 22:53:19 GMT
Is your electrolysis pot made of steel or Aluminium?
|
|
|
|
Post by kiwicanfly on Nov 19, 2013 23:06:03 GMT
What's the hex bar for?
|
|
|
|
Post by casesensitive on Nov 20, 2013 11:09:48 GMT
The hex bar runs from the KA U/J that RTR supplied to the donor steering column (in the second picture showing the steering column, from the side, I've inserted a 15cm x 16mm diameter cylinder, which was pretty loose, 17 it is. I have to pick up some threaded bar for the fuel sender extension, and some socket cap head bolts, hopefully in B&Q, postage of fiddly bits from the UK is murdering my budget. |
|
|
|
Post by casesensitive on Nov 20, 2013 11:17:28 GMT
Is your electrolysis pot made of steel or Aluminium? It's galvanised iron as far as I can tell, lots of old buckets and hand-washing basins knocking around in the shed. That said, it doesn't nearly as well as the previous one I made, looks like the same stuff. The rust did loosen, but didn't come off in the water like the previous time, but I was able to knock nearly all the rust off the hub carriers with a light wire-brushing. I'll try a non-smart 12V source, my multimeter is only showing a very small voltage across the croc clips, reckon the two sources are in trickle charge mode. |
|
|
|
Post by casesensitive on Nov 20, 2013 11:29:33 GMT
Do you happen to remember what length you needed? My trial tube is 15cm, and may be a little short to give the correct angle to not send the column through the driver's face for IVA. You will need 17mm not 16mm Sent from my SM-N9005 using proboards From IVA manual I'm reading that as saying it should be at least 10 degrees off either horizontal or vertical. I'm planning for about 15 or more degrees in both (up and right from drivers face) if I can. |
|
 The metal arm unclips from the plastic adjacent to the pump / sender, and on mine the float itself was held in place with 2 circlips around the wire. I think I used a metal coathanger, suitably re-bent and cut. I wasn't expecting a very accurate reading, but at least you do get something changing before you get to a half empty tank, so on balance I think it's worth doing.
 .
.

 ); the trickiest part was making sure that when the pump / sender was in the tank, the arm didn't hit one of the walls at any point in its travel. I have to say I was pleased to be able to incorporate a metal coat hanger somewhere in the build
  .
.


