|
|
Post by kiwicanfly on Sept 27, 2013 21:34:54 GMT
Reckon that'll do the job just as well.
|
|
|
|
Post by Paul (madeye) on Sept 28, 2013 8:06:42 GMT
That is only a 300ml tin, that stuff is to spray over computer terminals. Think its like CPL spray. Will cost you a few quid that will
|
|
|
|
Post by Barney on Sept 28, 2013 10:13:36 GMT
That is only a 300ml tin, that stuff is to spray over computer terminals. Think its like CPL spray. Will cost you a few quid that will
Kiwi in his post suggested I'd have some left over from 1 tin (400ml) of his suggested product, I ordered 2 tins to be on the safe side.
I've already noticed a little corrosion setting in where the chassis became wet from a brief encounter with Dartmoor Mizzle when I was unloading it from the van.
|
|
|
|
Post by kiwicanfly on Sept 28, 2013 22:59:23 GMT
I used one full tin @400ml and it was just enough, I used it quite liberally as well, I bought a second tin for random use.
The stuff you linked to looks very similar, drying to a waxy finish. You can feel it is there when you touch it but does not leave a stain on your best shirt when you are going out to dinner but pop in the garage to check on something that you suddenly thought about.
|
|
|
|
Post by casesensitive on Oct 30, 2013 17:09:09 GMT
Been a long while since my last update; since then I've received my missing track rod end, tunnel and steering column extension, but not the front floor, which I've just given up on, I'll buy it locally. I have made progress on my donor while I was waiting, most of the bits I need are now off. I had my local garage push the bearings and hubs out of the hub carriers for the price of a cuppa, very decent of them. And, flapper disc, where have you been all my life? I've been sanding things like a mug, when €4 would have saved me untold pain! Brought up a lovely shine on the donor exhaust manifold, which now looks as good as new (in the places the grinder could could reach). Short vid of me cleaning up the exhaust manifold At the moment I'm in a weird holding pattern, I can't attach the floor because I haven't got the chassis powdercoated, and I can't do that until all the welding is finished, which I can't do until I know where everything goes.. So, I may just test fit the engine, make sure the mounts are roughly right, then make up some bars for the seats to sit on and guess where they'll fit :-? Poxy seat runners are 3cm too short to span the bars. |
|
|
|
Post by Barney on Oct 30, 2013 21:38:38 GMT
At the moment I'm in a weird holding pattern, I can't attach the floor because I haven't got the chassis powdercoated, and I can't do that until all the welding is finished, which I can't do until I know where everything goes..
I've attached my floor with small self tappers in every other hole.
The floor is needed to keep the cup of coffee and other essential tools such as biscuits close at hand.
The wife's contribution? To keep them regularly supplied! |
|
|
|
Post by Paul (madeye) on Oct 31, 2013 14:56:19 GMT
keep your old flapper pads as they are good when worn for lighter sanding.
i bloody love them
|
|
|
|
Post by casesensitive on Nov 3, 2013 21:28:55 GMT
Going back in time a bit, got loads of pictures I didn't put up, but no new progress to report, so quick recap. Before I took the engine out altogether, I'd given it a pretty decent service, new rocker cover gasket, new iridium plugs, new oil, filter, oil filter plug, so I thought I'd run the last bit of petrol out of the system with some cleaner in it. 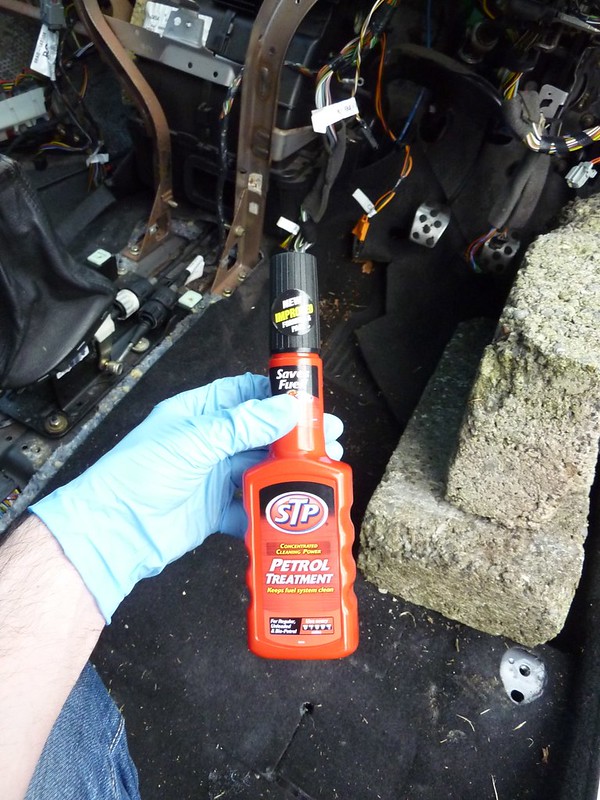 And with the help of some pretty simple tools (which have come in really handy at various stages!), held it at 2500rpm to give a good vigorous scrub to the injectors and exhaust (in theory). 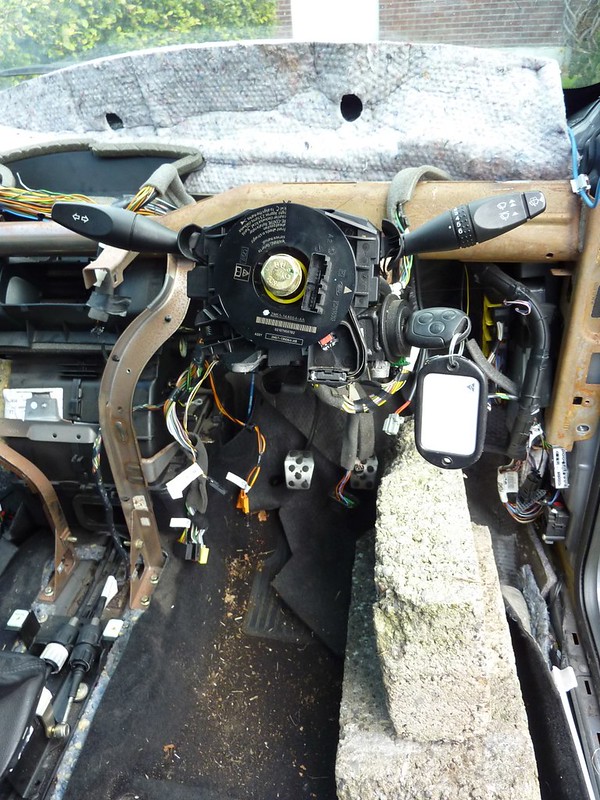 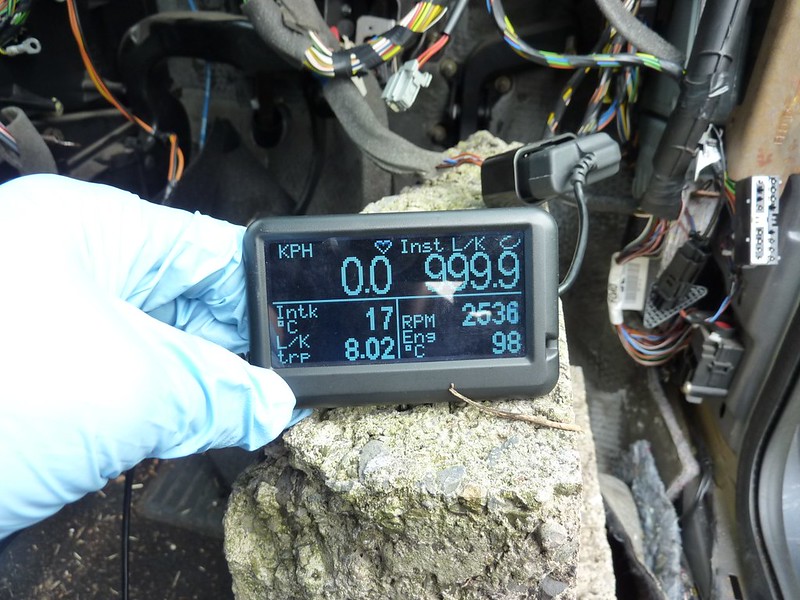 Ran that through until the system was empty. I did this because during my last strip down I got covered in petrol taking the connectors off the lines going to the fuel tank, and because my clothes and the ground had petrol on them, I had to introduce an angle-grinder and drill ban for the rest of the day. All the same, the lines are very empty, and some did escape taking off the lines, but not the 1.5L the first one deposited. The display is an Ultra Gauge II, about $70 from the US, brilliant thing, connects to the OBD port, and I use it in my daily driver for fault diagnosis and instantaneous fuel economy figures. More recently I'd been having over-heating issues; fan was not coming on. Changed the display to give water temp; by default the fan doesn't come on till 108 and goes off at 102. Handy tool anyway. |
|
|
|
Post by casesensitive on Nov 3, 2013 22:46:40 GMT
Tear-down part IIIAt this point the kit had finally arrived, and the garage space gave way to the chassis Doing this again, I'd have done the entire tear-down before the kit arrived, and if I couldn't manage that, I should have laid down a more solid surface over the grass, even an inch or two of ply would have helped. As you'll see, it's VERY 'sinky'. Just getting the jack to stay out of the ground was a mess. So unsure was I that I had the skill and nerve to do this build that I bought a 'trial' donor and tore it down, in the garage over a few months, this done, I bought my proper donor. However, in the meantime, I'd ordered the kit, and it arrived before I had a much in the way of face-time with the Focus, so I ended up doing 90% of the strip outside on the grass. As it was, this will only serve to instruct others in how NOT to do this. I don't really think at this time I has any real plan for how I was going to get the engine crane to roll, once the engine was lifted off its moorings! 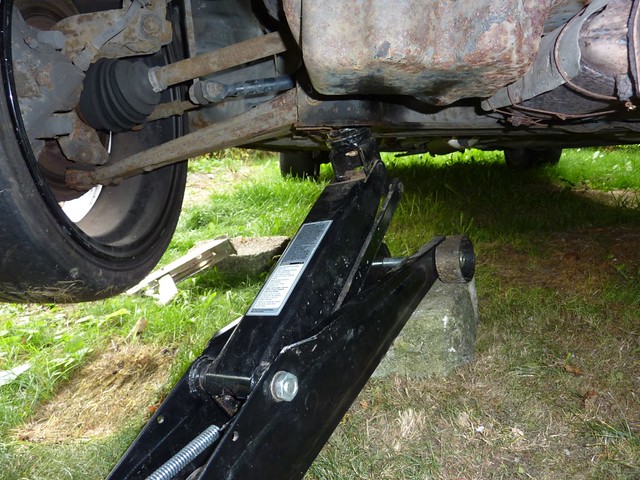 Another thing not to do, don't rely on uneven concrete blocks on soft grass, in the rain, to keep 1.5 tonnes of Focus off you. I'll deny it black and blue if my wife asks, but it *did* topple over at one point, landing at an awkward angle. I had plenty of time to roll out, but I've since borrowed the axle stands from the chassis, and put them on 8 of the most even blocks. Live and learn. 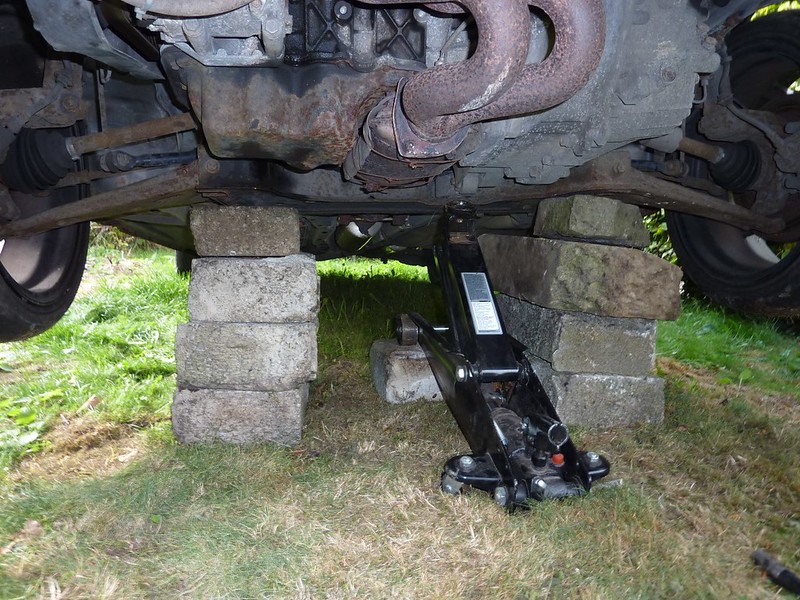 Draining the coolant gave me a childish giggle. I later ruined the careful collection of this perfectly good coolant by mistaking a power-steering fluid pipe for a coolant one, horrible stuff, mix had to be bottle up and disposed of at the local garage. 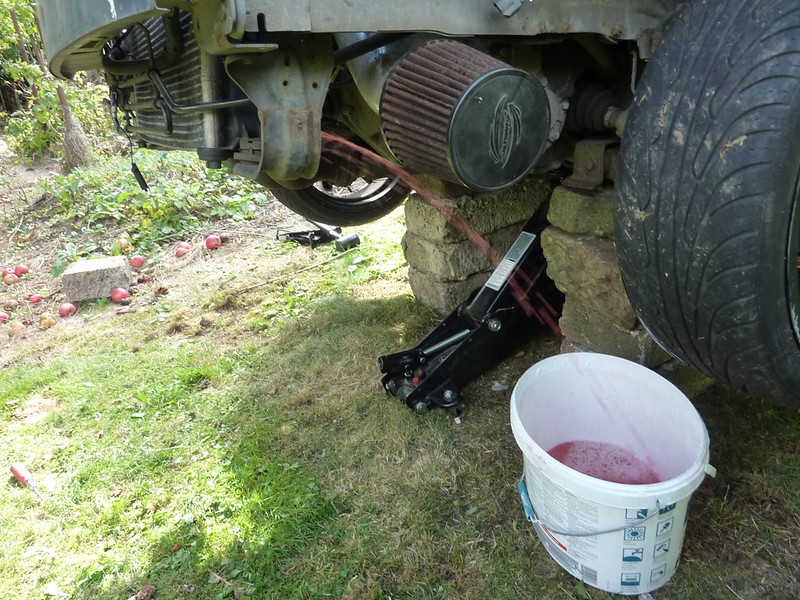 Goodbye power steering! 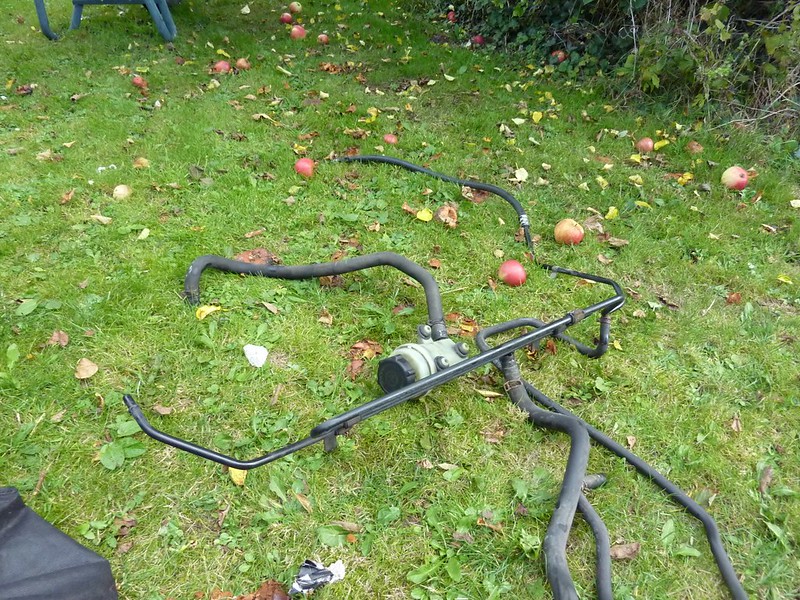 And air con 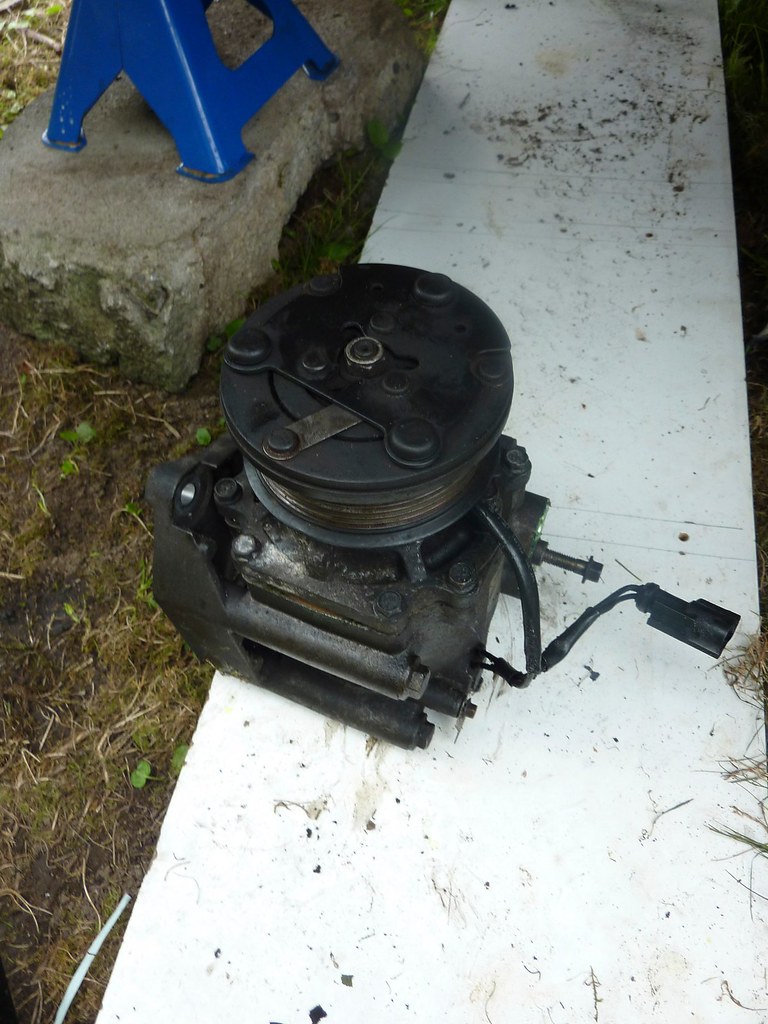 Amongst such filth and muck, lie some beauty 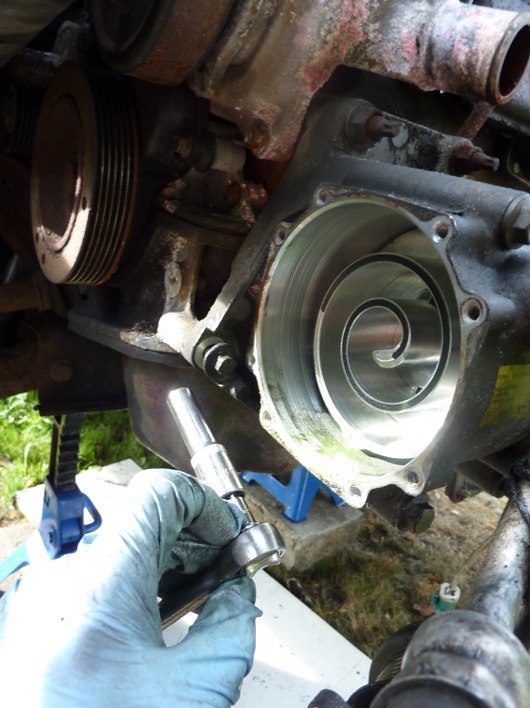 Leaving me with a much more bare and slightly lighter lump 
|
|
|
|
Post by casesensitive on Nov 3, 2013 22:56:41 GMT
Off with the rest of the cooling system, rad too big, but the fans will be cut and fitted 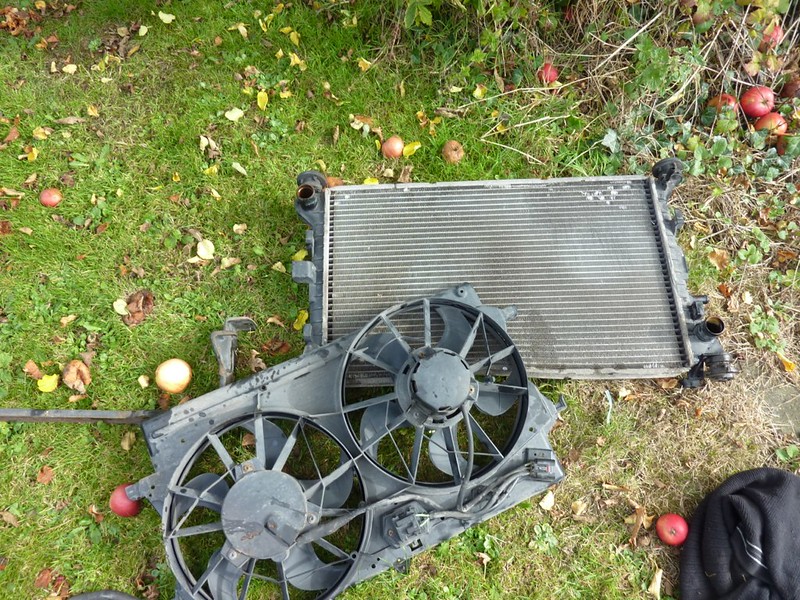 The nuts on virtually everything less than 14" off the ground all looked like this, suspension, cat, everything. 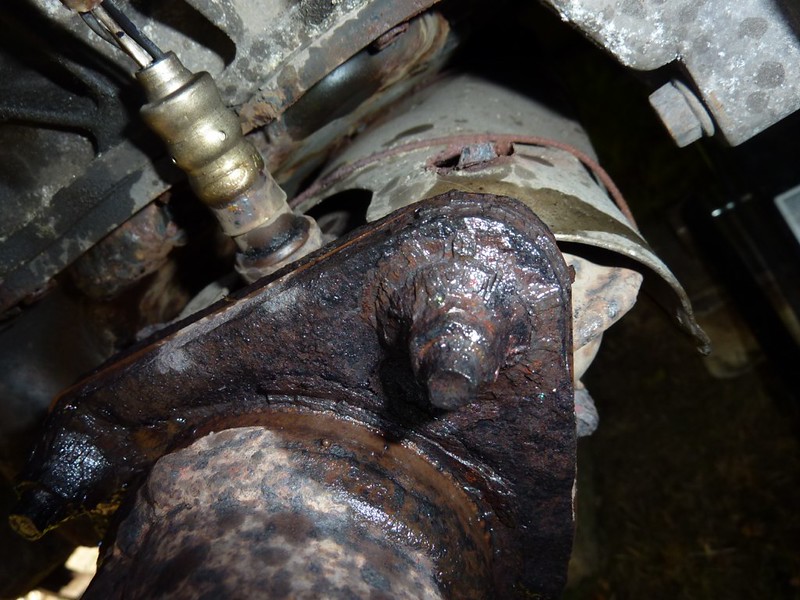 and had to be cut off with an angle grinder, when the nut extractors broke. 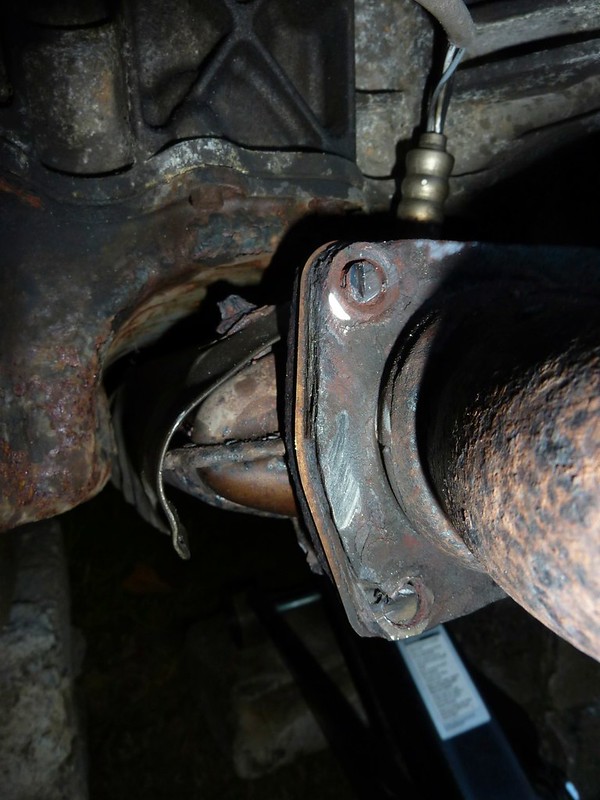 I was chatting to the boss in our place, he bought an old MG Midget and is having his mate restore it, apparently they left it up on a lift for 2 months, applying WD40 every few days, and replaced virtually every nut on the underside. Haven't got the patience or space for that. Or the height, its barely far enough off the ground to get me + spanner under it. |
|
|
|
Post by casesensitive on Nov 4, 2013 8:31:16 GMT
The absolute sickener was this one; LHS engine mount, one of the nuts just wouldn't budge. 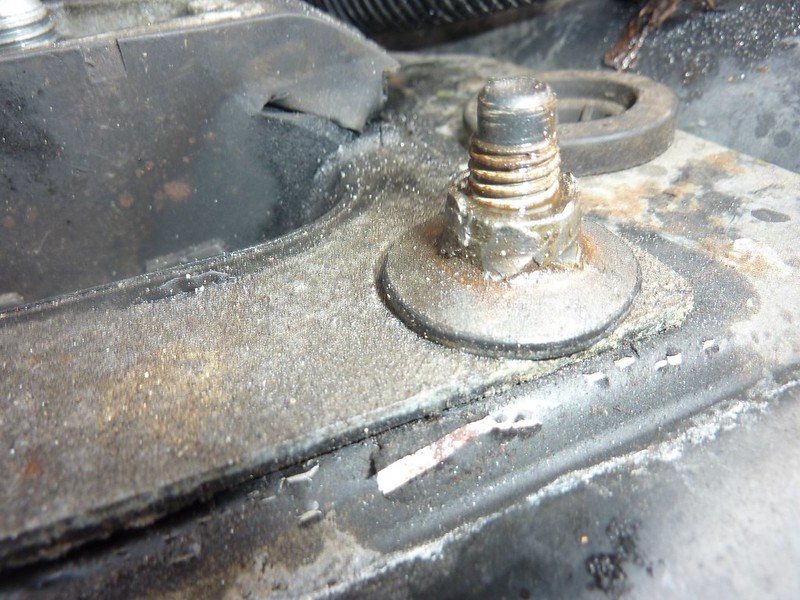 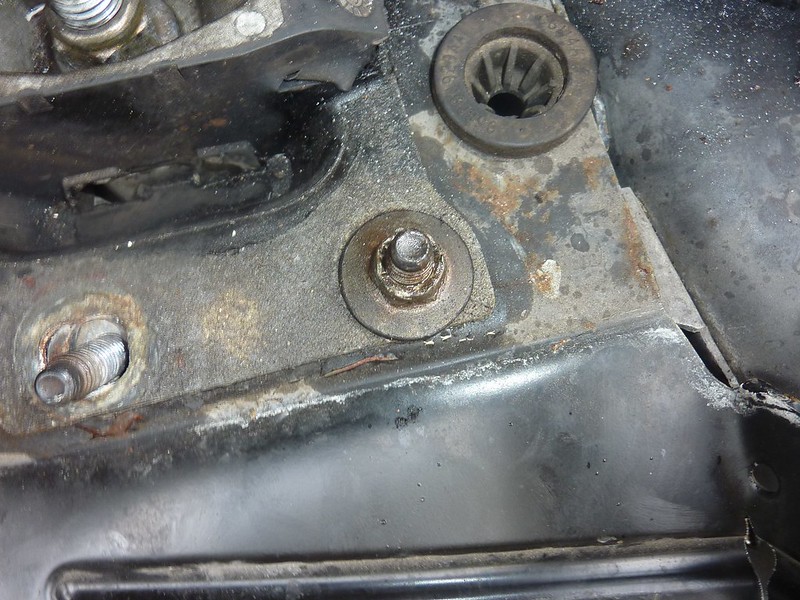 Broke the 15mm nut extractor, rounded it, and after a fair bit of checking the 3 that did come out, decided on a fairly extreme course of action. |
|
|
|
Post by casesensitive on Nov 4, 2013 11:22:23 GMT
|
|
|
|
Post by casesensitive on Nov 11, 2013 9:56:46 GMT
Had a good day of work this weekend; sold a few bits, got the fuel sender out, handbrake lever and cables freed, the pedal box released and the aftermarket exhaust off.
I've finally got some bits that go on the car!
Fuel Sender
The fuel sender fit into the RTR tank beautifully, the first thing that did, but here's a thing, the Focus tank is about 12-14cm high, the Rocket one twice that. Presumably when the tank is 50% full, the sender will think its 100% full? Unless the floating arm can be extended and the sender raised off the base of the tank somehow?
And about the sender, even with threaded bar extensions, it's going to slosh around in there surely? The donor tank has a plastic mounting ring into which the sender clicks, but the base is going to wander all around the inside of that tank. Hard to imagine the IVA being ok with that. The Build guides seem very quiet on this point, anyone done anything interesting with the sender?
With light fading I went inside and had a brief test engine fit. With the Rocket chassis in its current position the engine crane hits the garage door (it's slides overhead, but not all the way to the roof). So I lowered the axle stands to their lowest position, and the oil sump just about cleared the bars. It didn't get any better after that though, because the engine mount (offside) couldn't line up, the oil sump was sitting firmly on the lower bar of the chassis engine bay. I should preface this by saying that I've taken the gearbox and exhaust manifold off so I can move the engine around easier, so it's skewed a bit to the offside.
When I have a bit more time I'm going to reattach the gearbox and see if I can get the mounts to sit together, or is going to be a big problem.
I'll reserve judgement until it's all properly together, hopefully it'll sort itself.
On the positive side, I loosely fit the exhaust manifold back on and there looks to be clearance.
The donor is proving itself a useful external shed too; all the bits I'm not ready to use, and the spagetti of wiring staying nice and dry inside the still lockable Focus. I've had to hold off selling any door parts, and I've covered it with Lidl's finest car cover, but definitely a positive.
I'm almost completely finished with it other than that; a few brake lines, fuel pipes and I can rip the jack out from under it. Just a day with the grinder then :-)
|
|
|
|
Post by casesensitive on Nov 11, 2013 10:06:11 GMT
Also, is anyone NOT using the RD front uprights? I'm curious to see a build using the RTR/Donor parts.
My build is going to reuse as much as it possibly can from the Focus, in part because its cheaper, but also because I know it fits, because it already did :-)
Anyone got a picture of the RTR front combination? Do you really reuse the hub carriers from the Focus like the Build guide appears to show? There's nothing in my kit that realistically looks like a front upright.
|
|
|
|
Post by BobN on Nov 11, 2013 11:02:20 GMT
|
|