vtR1k
Full
   I'm a trike lover...
Posts: 398
|
Post by vtR1k on Jul 3, 2012 17:53:07 GMT
Delrin is indeed a fine material for this purpose!
If have a piece of it, if you send me a drawing of the bearings I can take a look whether I can make them for you.
Sent from my HTC EVO 3D X515m using ProBoards
|
|
|
|
Post by erik on Jul 3, 2012 18:34:00 GMT
Hi All,
I rebuild the rails with a better qty rails, with plastic cage around the bearings instead of metal. Both rails run alongside the slot on top of the tunnel and the bearings will be behins the slot. I'll add more vaseline on those on the final assemble. best of all is I managed to place a alu strip in between the slot and rails to close the slot gap. The downside is the strip makes a scraping noise so it will be exchanged for a plastic version later. The rails move like snot now!
I exchanged the throttle inner cable with nylon coated fishing wire and the movement felt sluggish too so I replaced the metal cable back on the tR1ke. It seems the slow movement may be inside the carbs itself. The engine hasn't run for a few months which may be the cause. Perhaps it is not too bad after all.
I started to mount the clutch cable but got a bit stuck on the pedal linkage. needd to do some research now.
The good news is the Momo gear knob is on it's way home. The bad news is I need to get me a choke cable i forgot to buy last weekend LOL!!
pics will follow.
|
|
|
|
Post by erik on Jul 3, 2012 19:43:47 GMT
Note. Hooked up the fishing scale to the clutch lever. The clutch is in need for 20kg to open.  The clutch pedal leverage with 35mm linkage to centre distance is 150/35=4.3 pedal force 4.7kg. Just 0.7kg higher as the Ford Ka throttle pedal May have to use 30mm for 4kg pedal force. Will measure travel first. I will connect the clutch cable to the clutch pedal identical as the parking brake tomorrow. btw, original linkage makes 150/50=3 ==> 20/3=6.7kg! |
|
|
|
Post by slugshot on Jul 3, 2012 22:17:14 GMT
I do like your endless need for exactness, i never would of thought of measuring the force with a fishing scale. I never even considered that moving the cable closer to the pivot would alter the force needed to press the peddle, i did it to make it easier to slip the clutch. BTW the springs in the barnett clutch are stronger than std i don't know how much i don't have any fishing scales.  cheers kevin. |
|
|
|
Post by erik on Jul 4, 2012 20:54:37 GMT
Hi kevin, Well, the need for endless fine tuning is a mandatory feature in my other hobby (RC electric ducted fan jets). Only the complete package will get my jets up to 300kmh. If the response is not good it will become a dangerous flight. Today i had the same experience with my pedals settings. As you can see below, the throttle pedal stop is about to be welded but I am reconsidering to lower the cable hole again THROUGH the square tube. reason for this is the pedal travel is only 40mm which seems to be marginal for a 147bhp engine. I want to have more control on those horses. The clutch pedal force and travel is spot on. The travel is about the same as a normal car clutch pedal and the force feels good. The bad news is the cable bracket is too close to the pedal. it functions right but the space for the cable linkage is too tight to name it a neat construction. The pedal is in need for an additional stop below the cable as well. I have to sleep on this but it is very likely I will remove the clutch cable brackets and build a new one. Both pedal modifications will keep me busy for a few days but at the end I think the pedal movements are spot on. regards, Erik 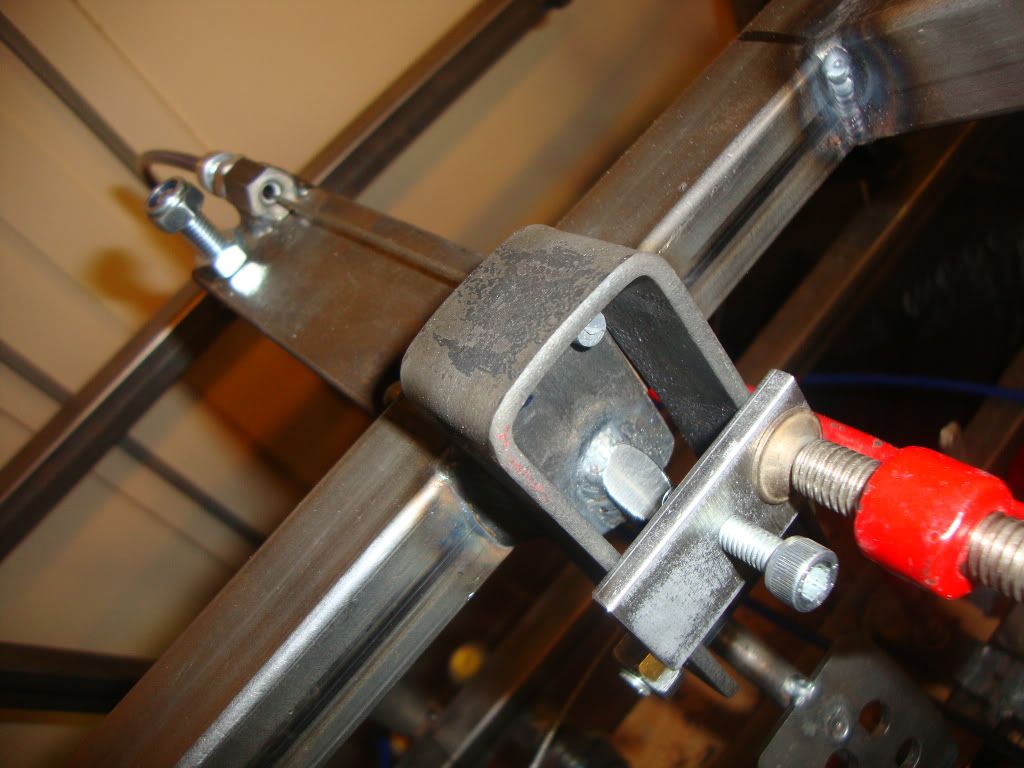 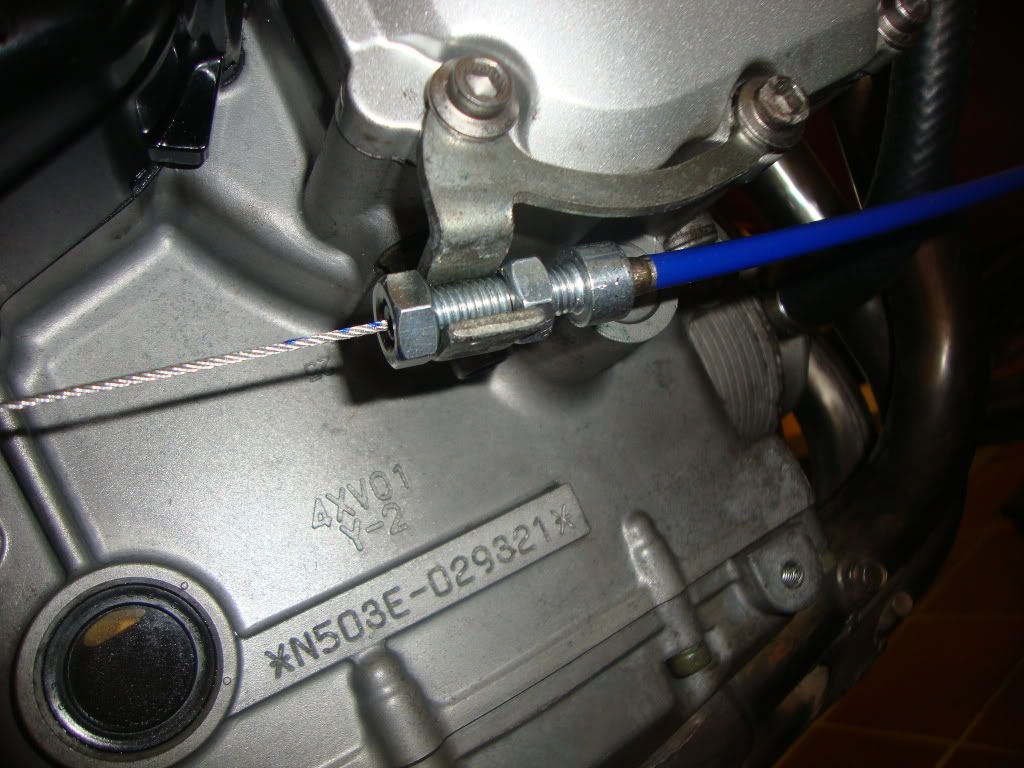 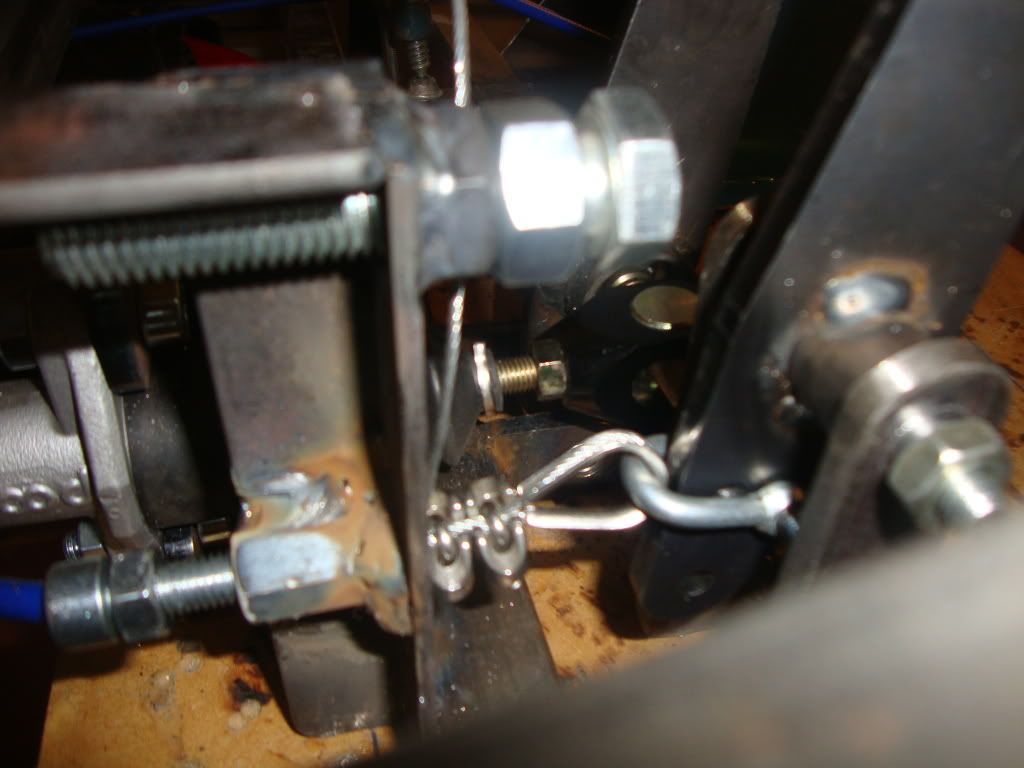 |
|
|
|
Post by slugshot on Jul 4, 2012 21:25:58 GMT
Hi Eric, i have my throttle cable routed through the chassis for the same reason it feels good not too on off and also not too light to use.
when i re positioned the clutch cable i used the original position for a cable return stop, it seams to work well.
I have the brake and the throttle peddles sat at the same level, its good for blipping the throttle while braking and changing down gears.
|
|
|
|
Post by erik on Jul 5, 2012 21:00:44 GMT
Today is the 5th day I am working on the pedals. The throttle pedal has been modified as described and a full throttle stop has been welded. The pedal throw is 6cm now and the pressure feels like an all day cruiser. I may have to add the spring back later. The clutch pedal has a M12 nut welded underneat the cable to remove the remaining slob out of the cable. Somehow the clutch pedal is slightly farther away as the throttle pedal but if i change the cable linkage later (thinking about removing the bracket in the loop or make it a smaller version) I will gain some space to adjust the pedal position. I think the double clamp is not a bad thing after all. I can adjust the pedal position by adding a spacer(nut) in between them. I am not toying with this issue anymore until the tR1ke will be rebuild. @ Slug, Your pics in your thread are nice reference  I am happy to read I am not the only one going an extra mile. Nuf said, pics later. |
|
|
|
Post by erik on Jul 6, 2012 20:31:48 GMT
Tunnel, throttle and clutch pedal and switches. I made a study of Nick's vids to see how to enter the tR1ke and located the units at a convenient place for entering and driving. Relevant unit under thumb, irrelevant unit in my palm. I want to use the original switches to keep the origin of the "motorcycle converted to car". The "car with motorcycle engine" makes it look less hooligan and not so close to basic as i intend to build this kit. Regards, Erik 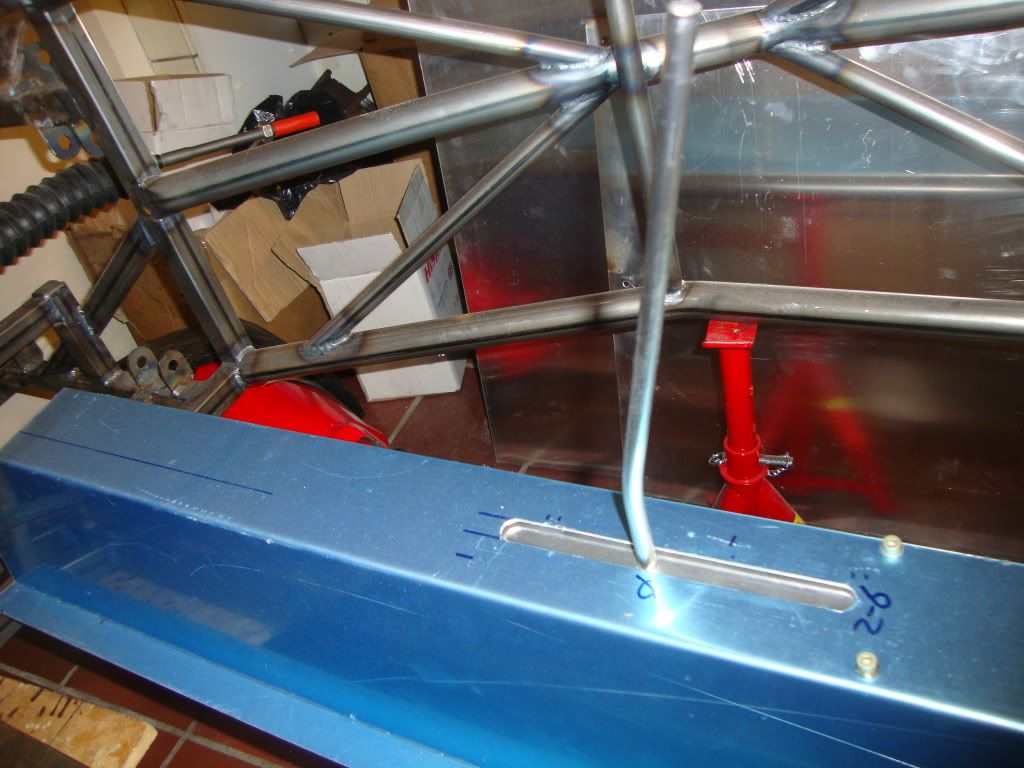 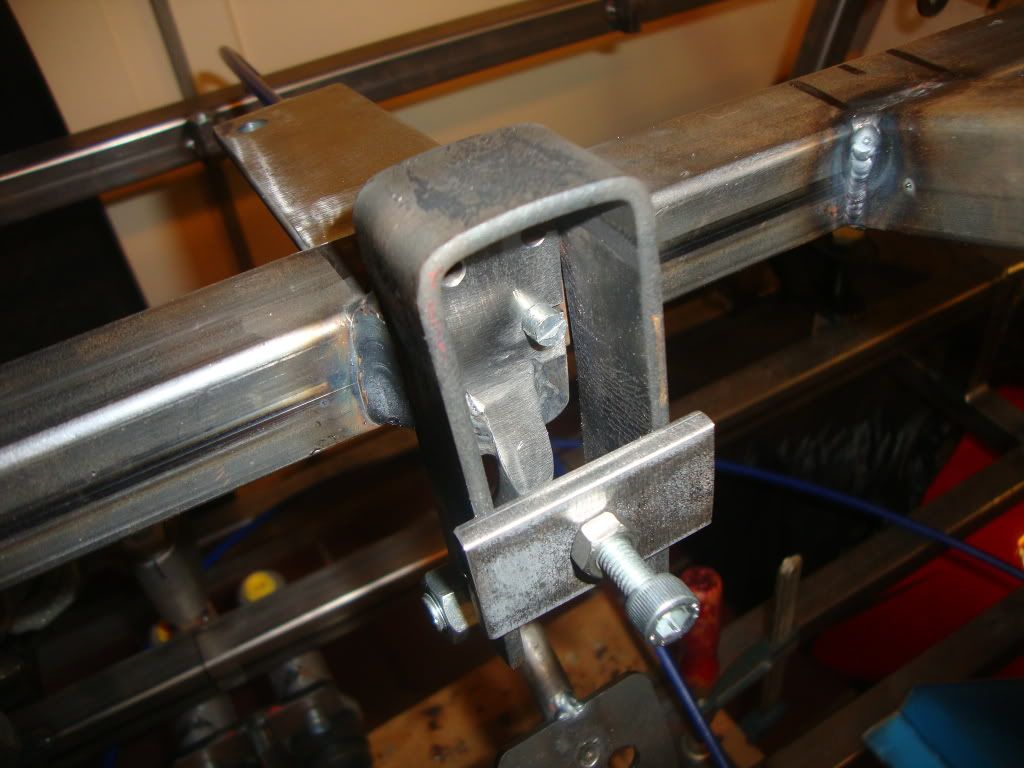 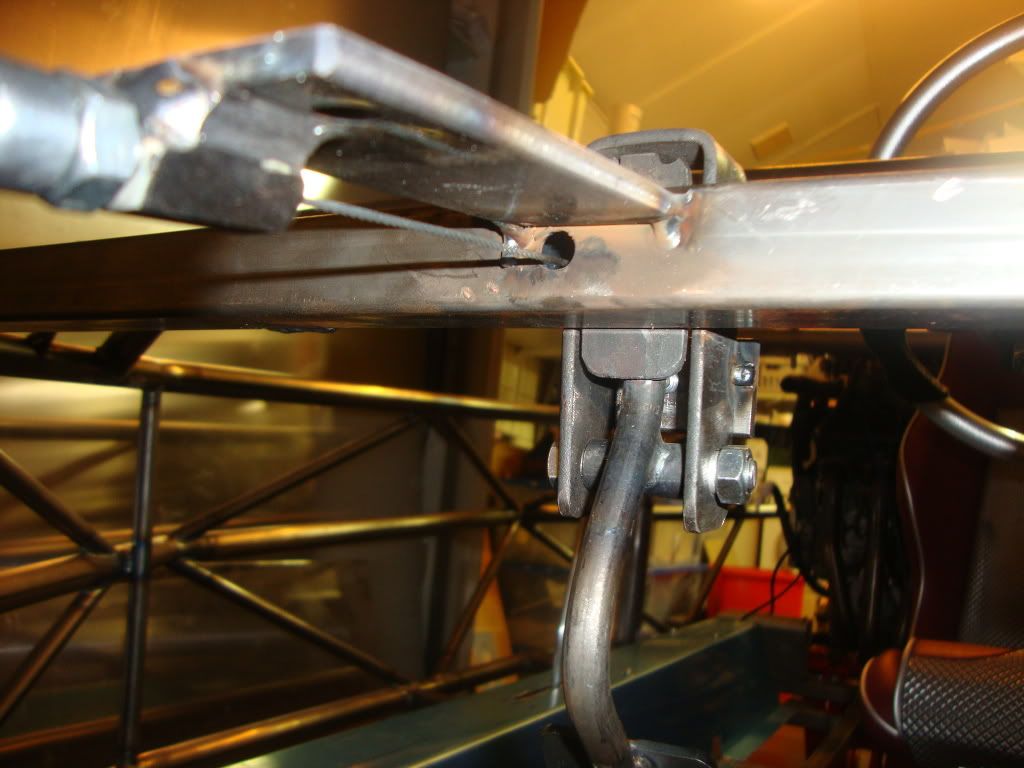 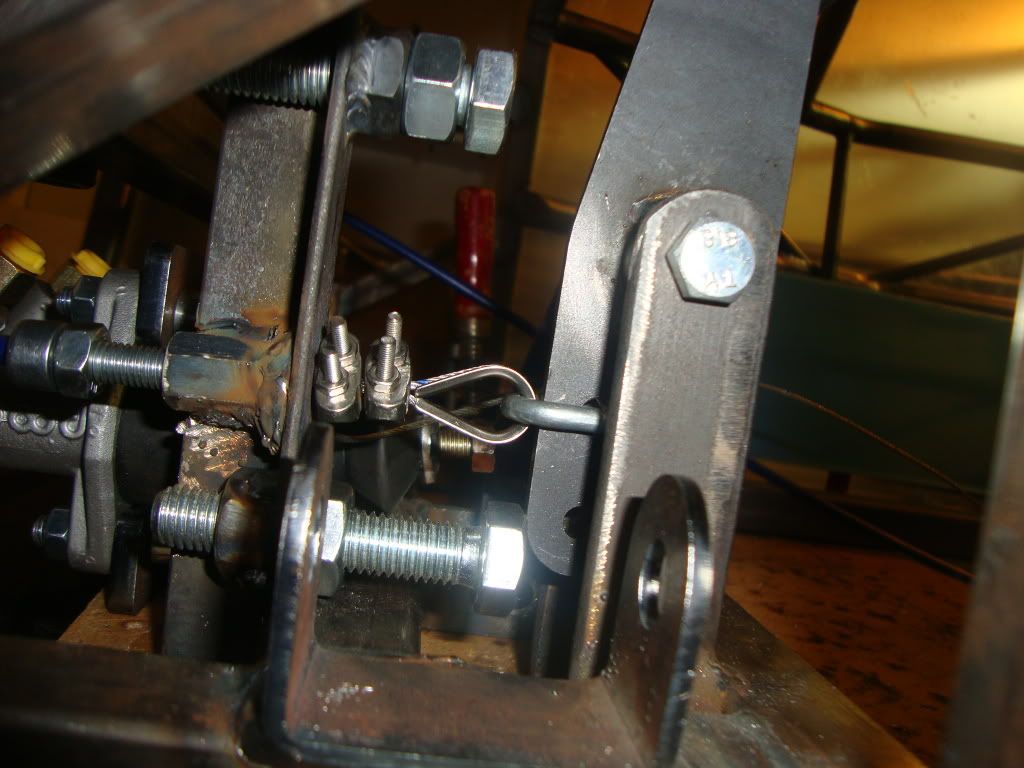 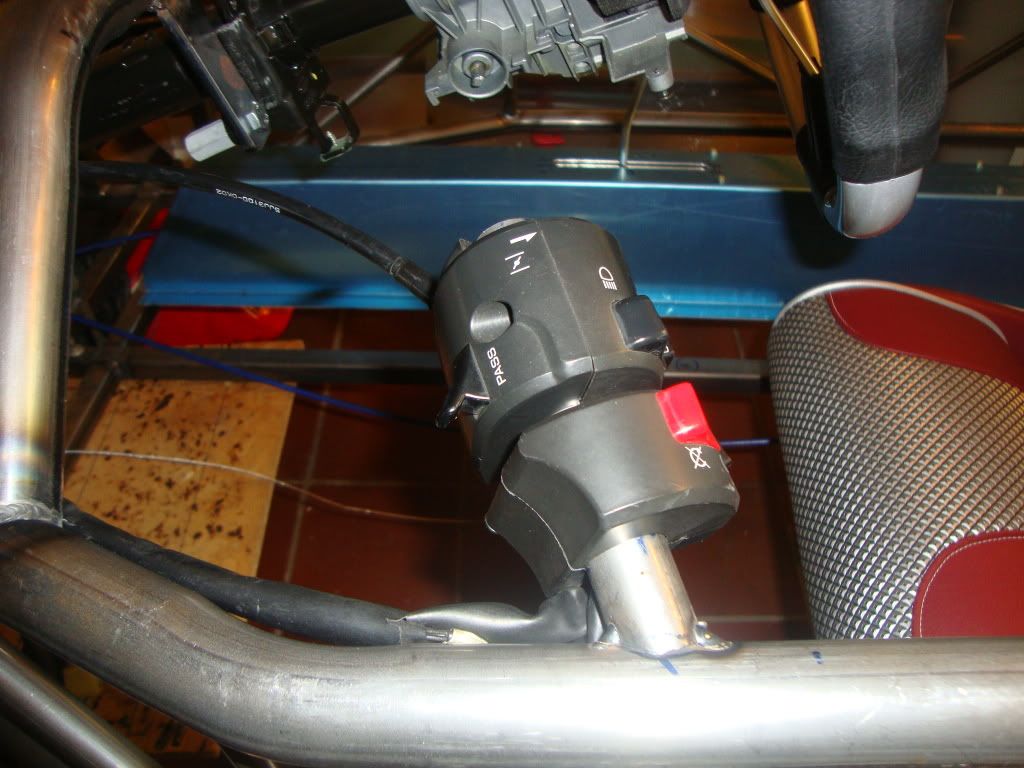 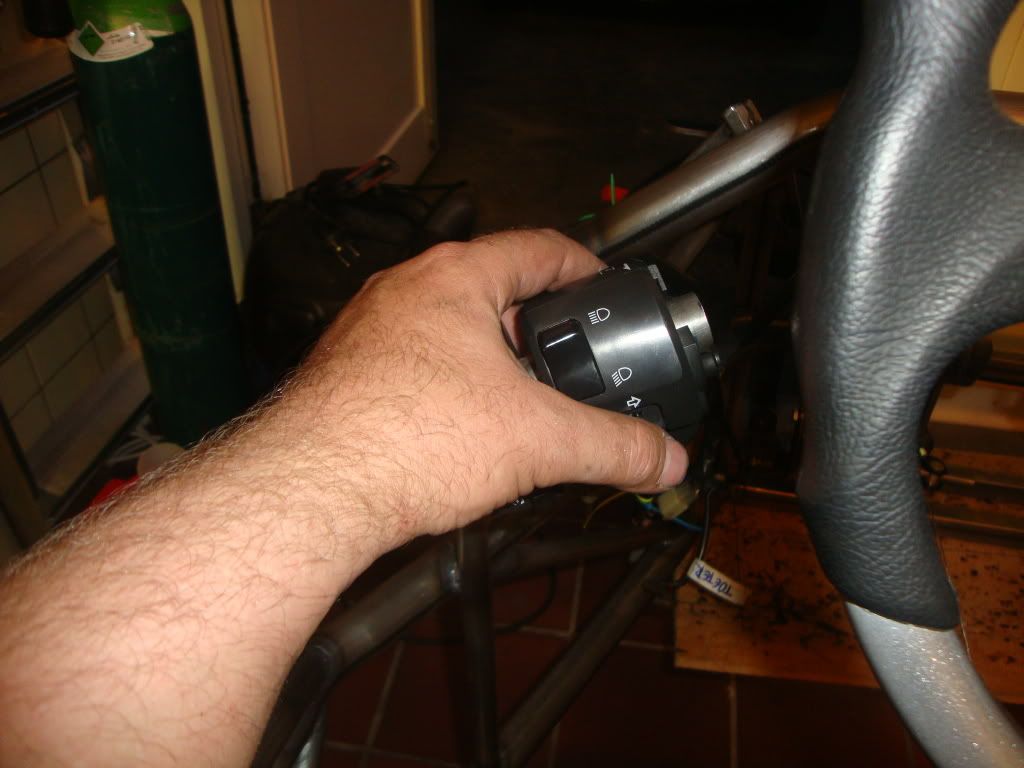 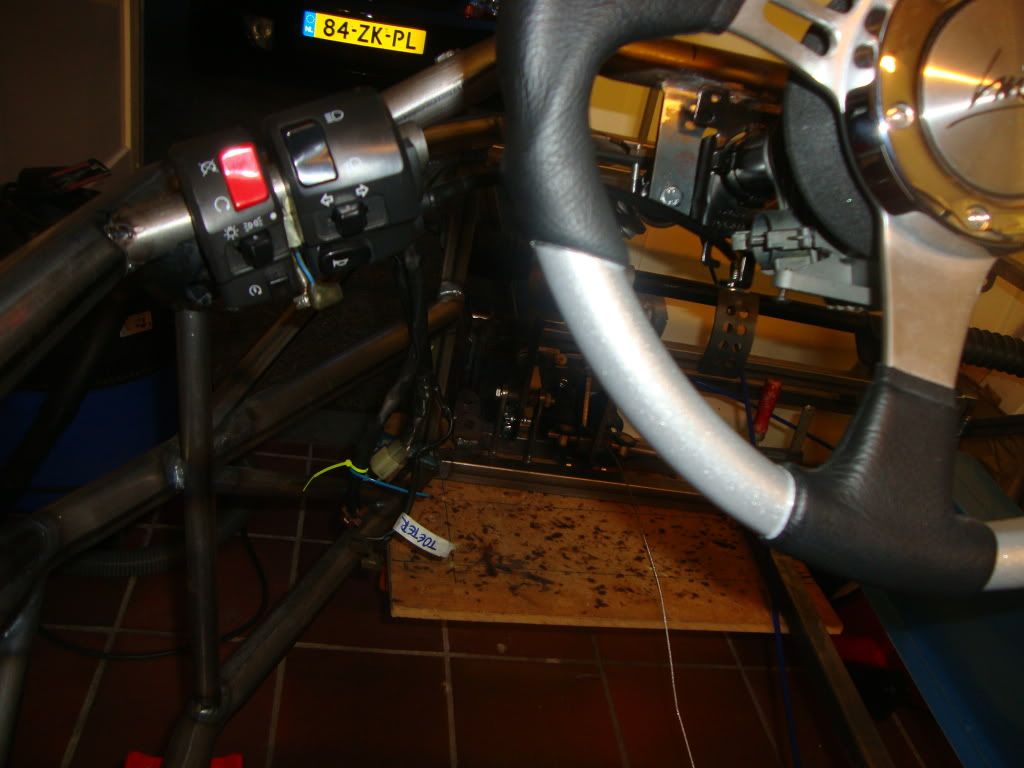 |
|
|
|
Post by erik on Jul 21, 2012 18:04:29 GMT
Small update... I ran out of the list of construction work and was kinda forced to start with the loom to see where I have to make some more brackets etc. It took me approx 2 weeks to find a good location for the Li-ion batterie and the hardware on the main loom btu i thiink I nailed this SOB pretty hard  The batt, hardware and Y-spit in the loom and the connectors of the rear lights have been placed in the red box on studs and brackets. the loom has been firm t-wrapped and the connectors have max flex in the box. The voltage regulator has been placed outside the box for cooling (bulkhead will act as a cooling plate as well) and behind the passenger seat it isn't likely it will have issues in wet conditions. The wiring coming out of the box are batterie(-) and starter(+), engine loom and front light/switches/dash. The Baterie(-) is mounted on the starter(-) pole but I recon I can attach this to the engine or chasis as well (cleaner finish) The engine loom connectors will be placed between bulkhead and tank. An alu "roof" will be made to protect from rain. The Loom to the front of the tR1ke will have the connectors in the tunnel (hence the key switch location  to keep it dry) . There is a slight chance I am not in need to cut the main loom in half and extend to the front. The engine loom will be in tact and plan to extend the sensor wires instead. I haven't figured out the routing of the engine loom yet but i recon the loom to the sensors will be split and t-wrapped on the 25mm radiator hoses on both sides of the engine. Like this I don't need to make additional clamp brackets on the chasis for hoses and wiring. it took me approx 5 hrs (2 evenings under the tR1ke) to find a good location for the pump and exup servo. Thx to Slugshot build I was able to find the routing for the exup cables  . Finding a place for the shock adjuster took me a while as well. The rear lights have been a compromise between Edwins indicator location and Nicks rear lights. Having it mounted on the bulkhead would result in a very tight tank cap approach. Still haven't figured out a nice wat to mount the licence plate tough. I am leaning towards brackets on the upper tubes and plate lights wiring trough the airbox which seems to be the cleanest option. i may use alu plate left overs and weld socket nuts on the chasis for this. I think I will have a very clean engine like this. If lucky the gearbox will have a clean look. I think I will extend wiring after coating the chasis. Need some time to plan ahead tough  br, Erik 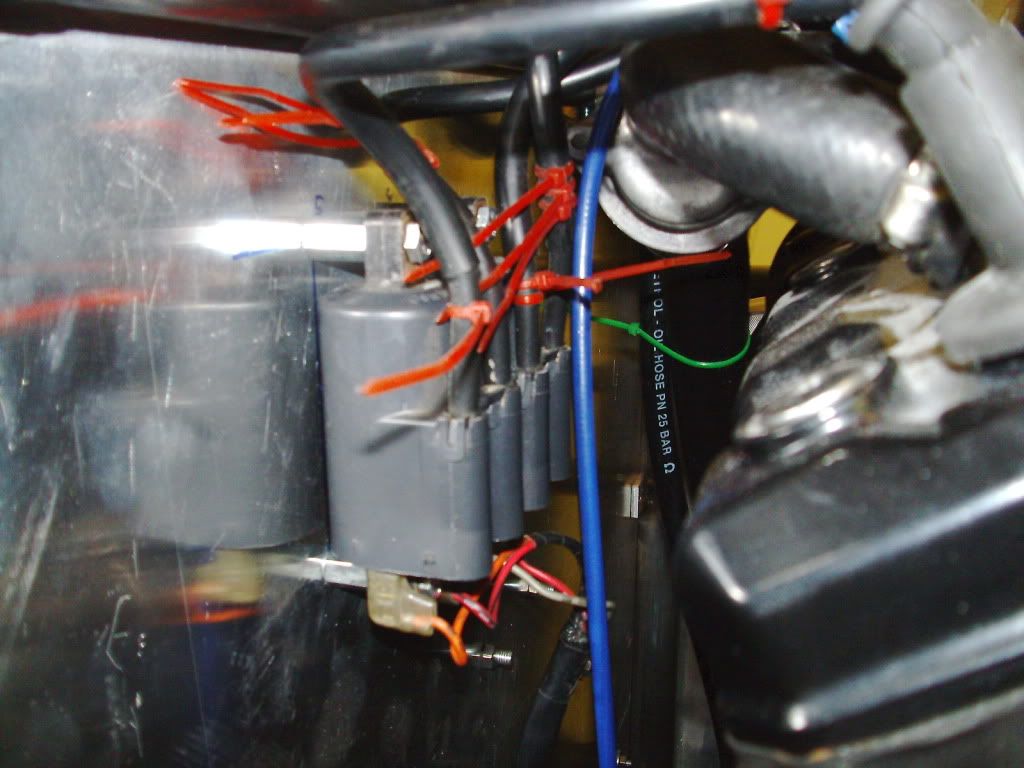 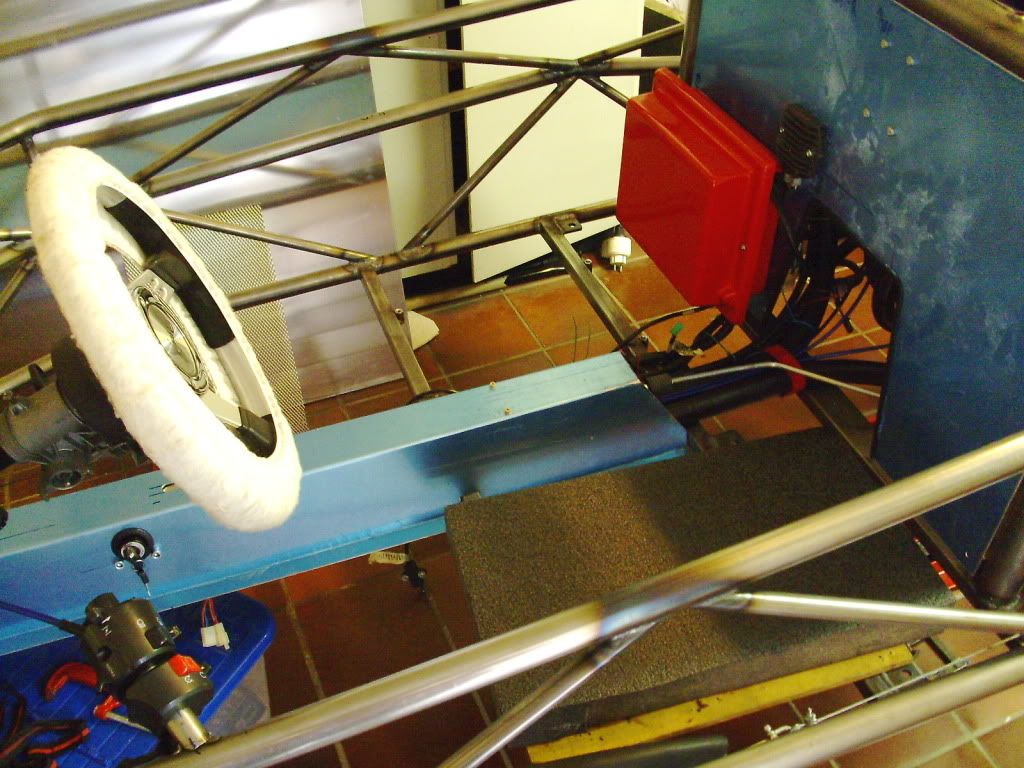 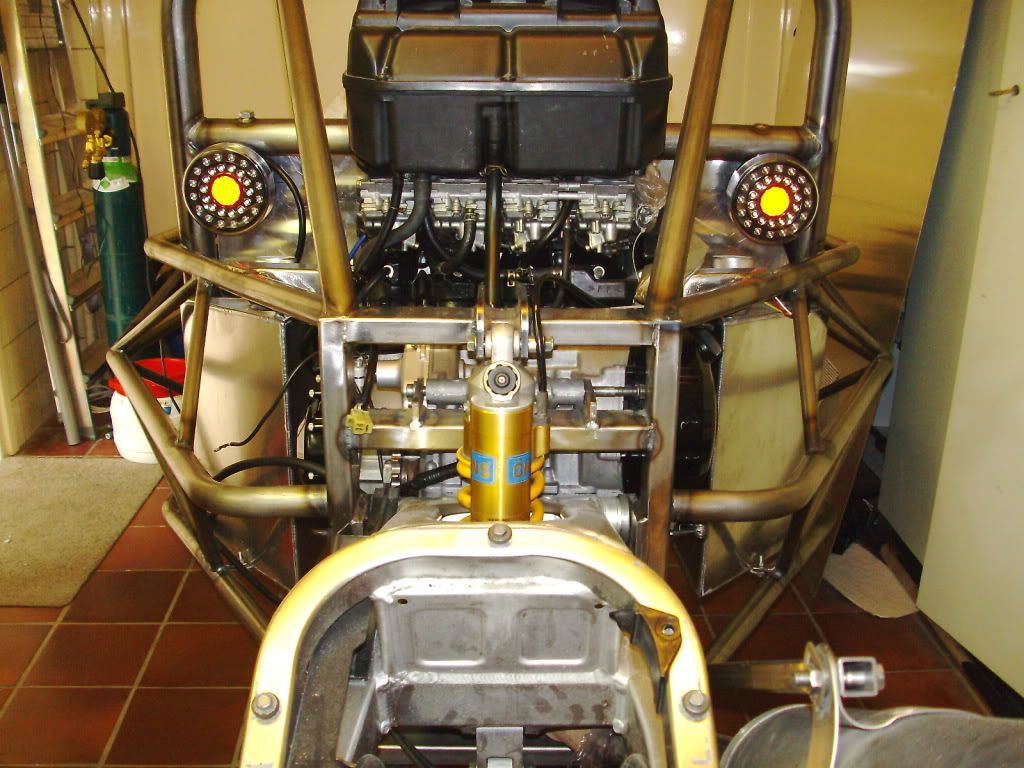 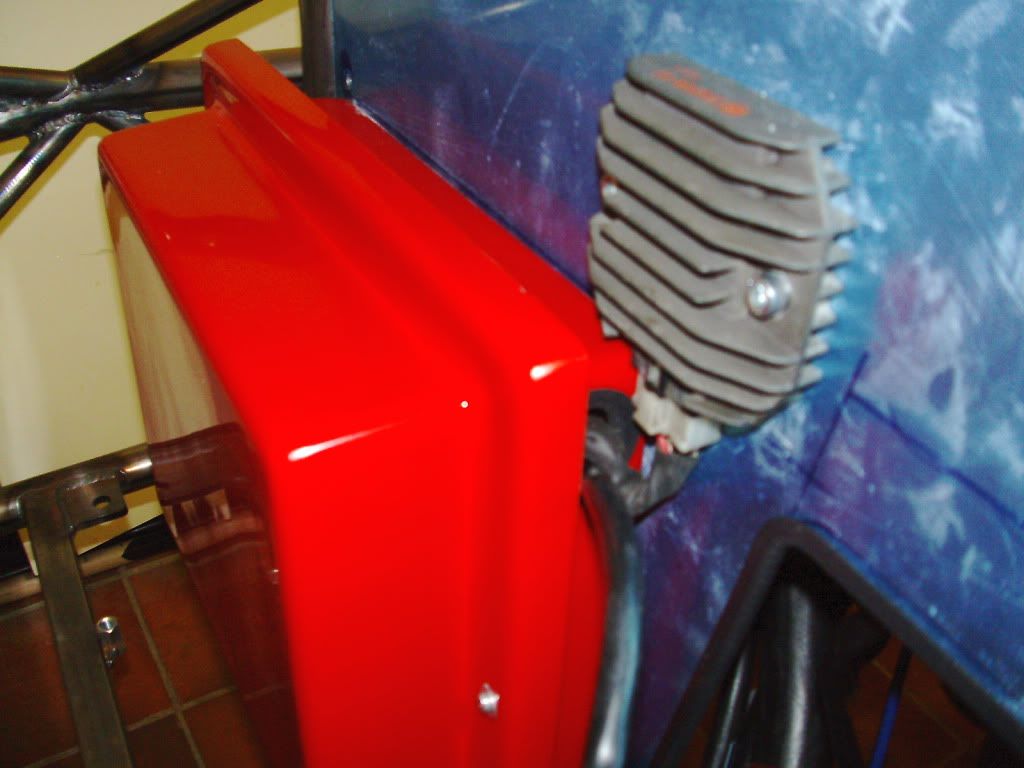 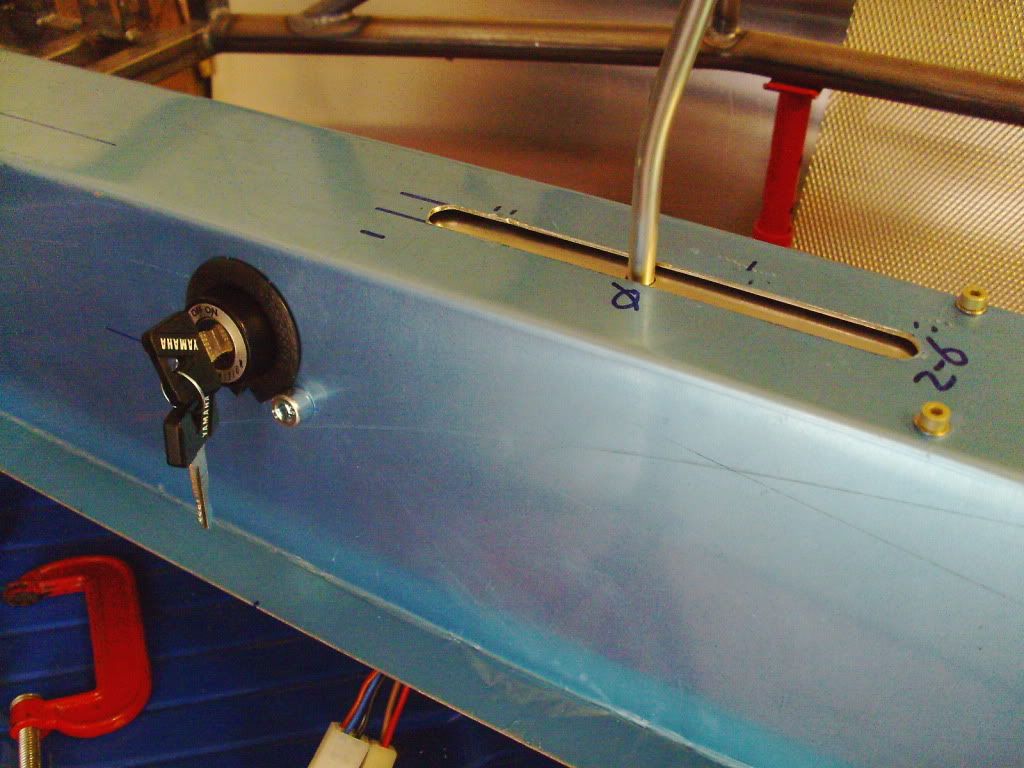 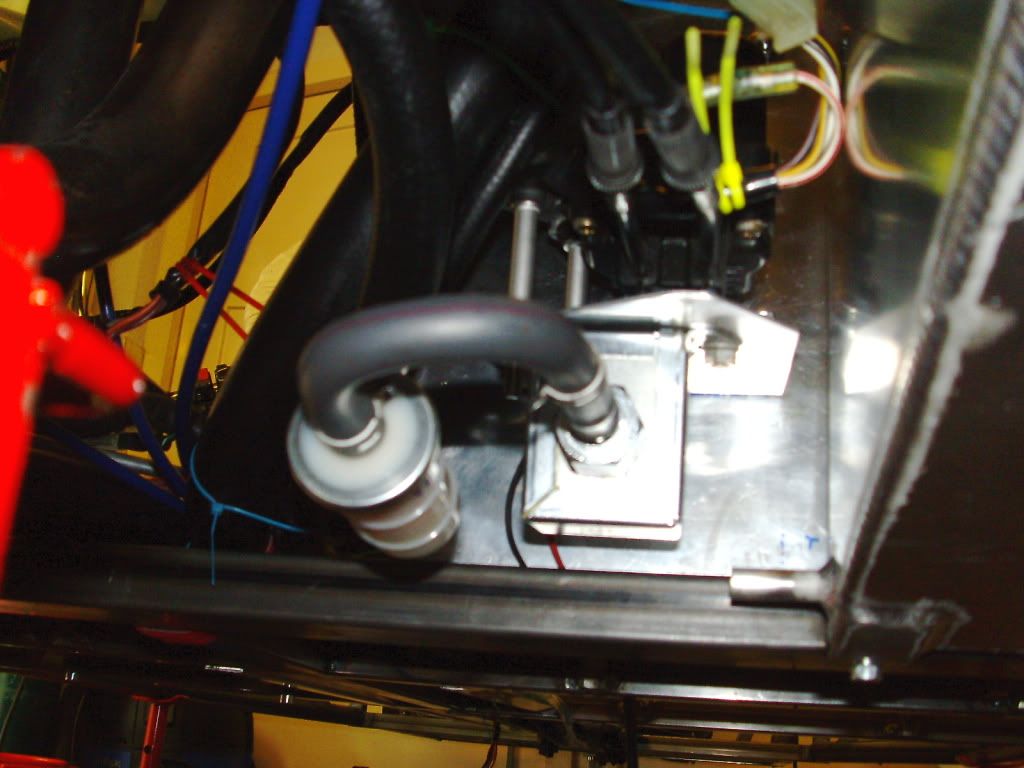 |
|
vtR1k
Full
   I'm a trike lover...
Posts: 398
|
Post by vtR1k on Jul 22, 2012 7:59:31 GMT
Nice work! You are working very thourough, looking forward to see it finished!
Sent from my HTC EVO 3D X515m using ProBoards
|
|
|
|
Post by erik on Jul 23, 2012 18:04:31 GMT
Nice work! You are working very thourough, looking forward to see it finished! Sent from my HTC EVO 3D X515m using ProBoards THX! Just trying to keep the system working in poor weather conditions  Takes some time but worth the effort! Right now I bumped on to the clutch switch, rear brake switch and sidestand switch. I noticed there isn't a front brake switch in my loom (??). How do you guys deal with these switches? Discart the sidestand switch, incorperate the clutch and rear brake switch in the system? if so, i'd like to see some footage of the clutch switch mounting. Up to now i am only in need to weld some brackets for the brake fluid reservoi, horn, clamp for the exup servo cable and brackets for the bulkhead and that's it I guess. After this i should be very close to strip down my chasis to outsource the final welding. Best regards, Erik |
|
|
|
Post by erik on Jul 24, 2012 20:21:30 GMT
Slooow progress now because i feel i ran out of the "to do"list way faster as expected: -need to get me various sized clamps to see which thread sockets I am in need for to mount the fuel hose in between the tanks to the chasis. -License plate brackets+lights -order hazzard switch and brake reservoir light. -dissasemble or check the wishbones first. Not sure how to deal with the remaining unused switches in the loom tough. i noticed the sidestand switch and clutch switch are interchangeable so I may connect the sidestandswitch to the clutch pedal and add a 6-coded window knob to the sidestand switch. The only fart on that knob is it needs to be out of sight or anyone can read the code one presses in. enjoy: 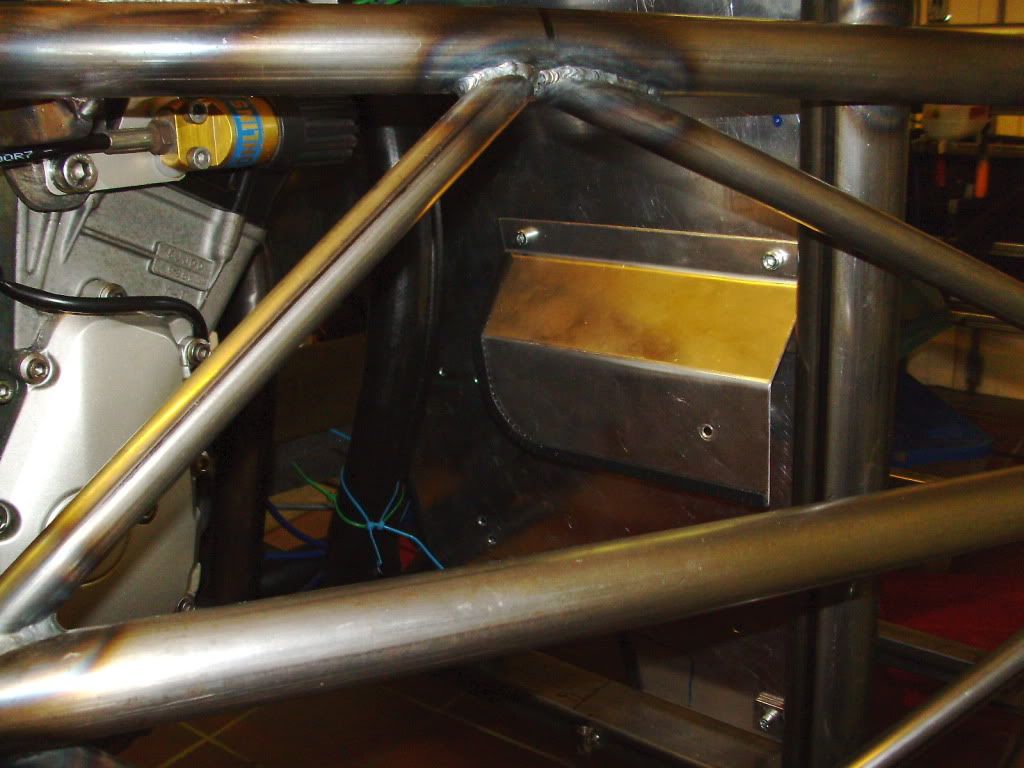 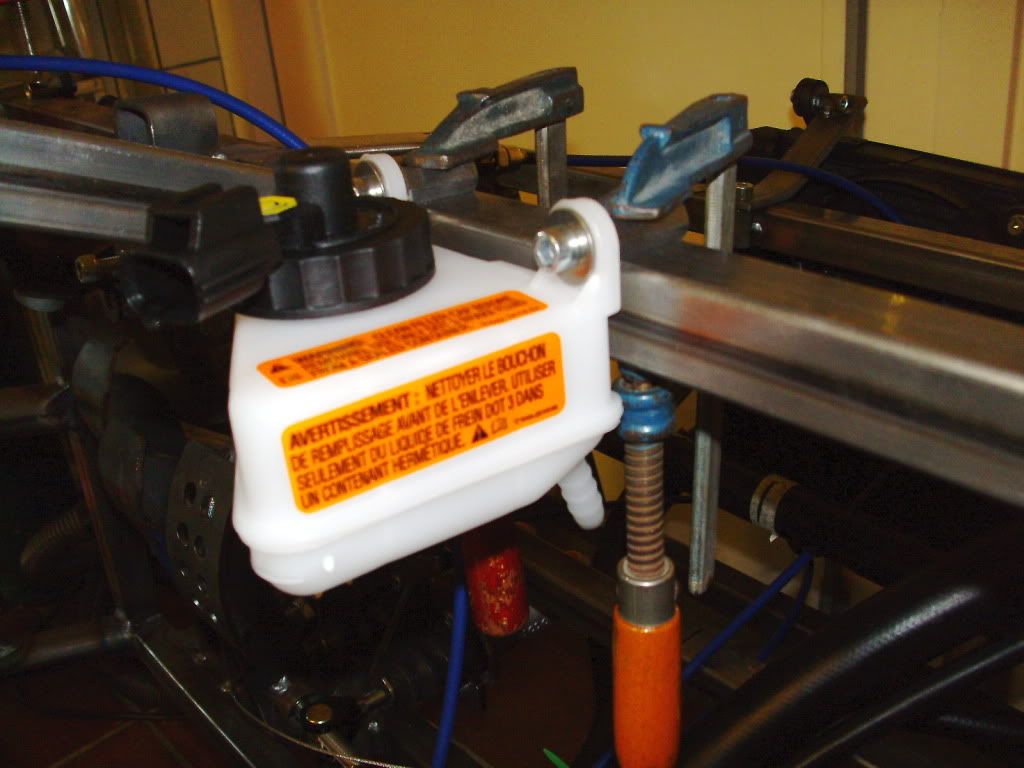 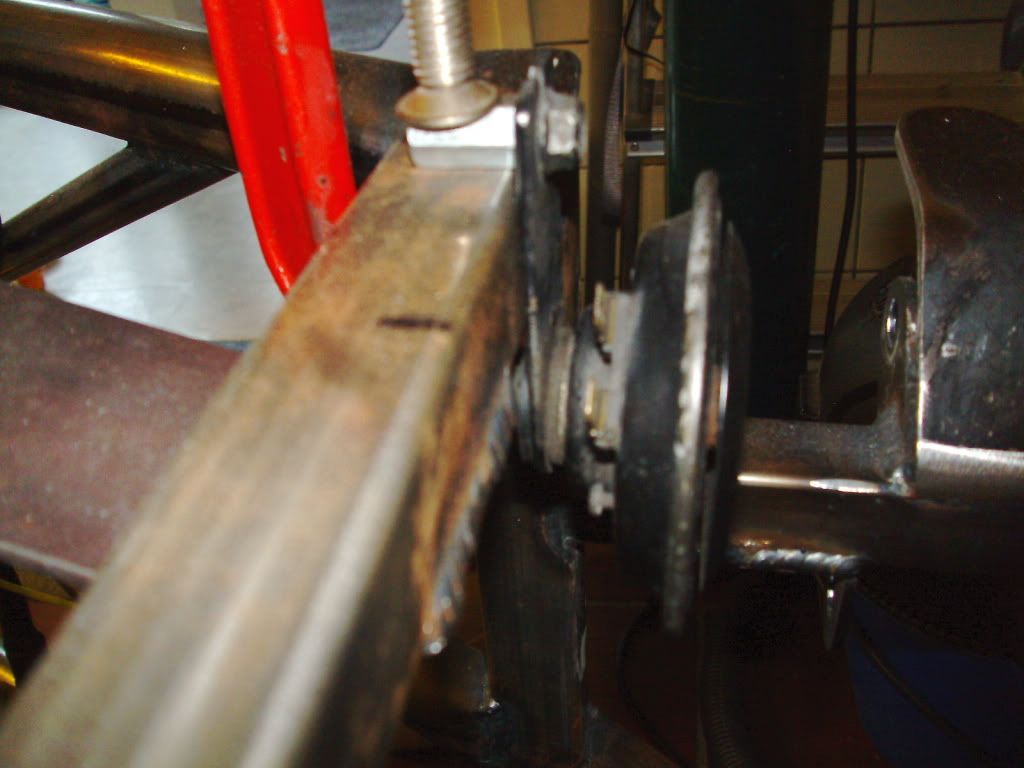 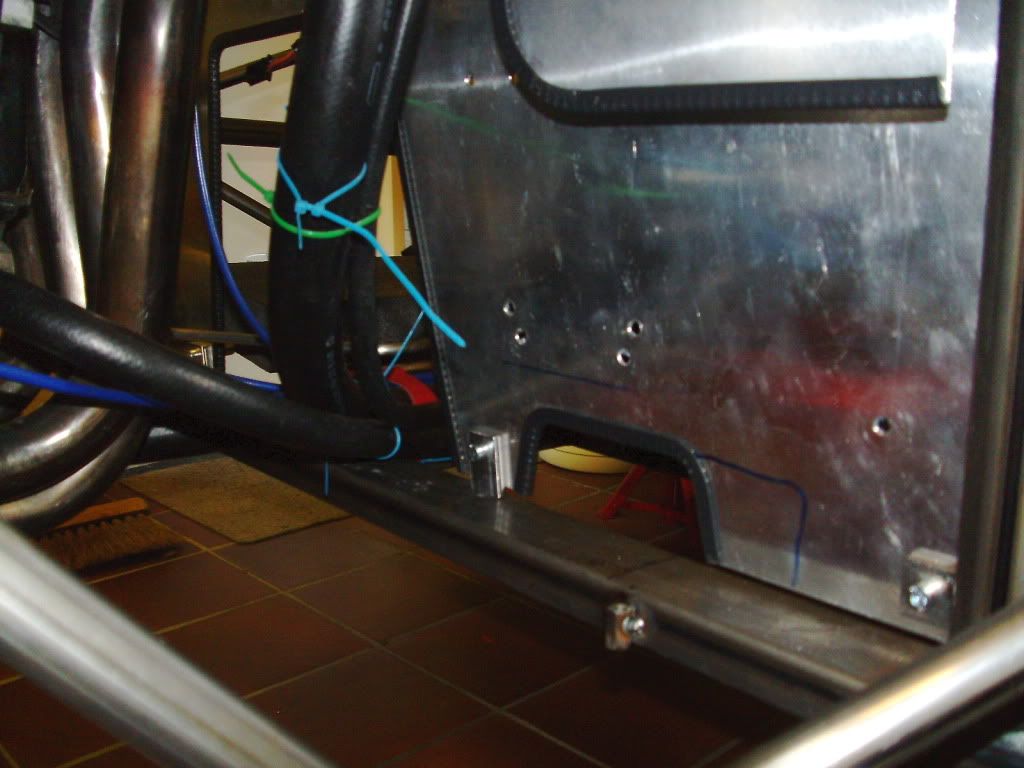 |
|
|
|
Post by erik on Aug 1, 2012 22:26:23 GMT
Woah!!! Done a lot lately ;D Made the licence plate brackets (took me a lot of thought to make them a no brainer like this  Converted the DRL waterproof ledstrip housing to a iron version, welded to the rear shock bracket  . Hope this will get approval because the leds reflex are visible in the plate under an angle which night be tricky for high placed speedguns but still readable licenseplate numbers. After some thourough research on Rik's fotoblog I was able to convert the R1 rear brake switch to Tr1ke clutch switch(30min). This will prevent to start the engine in gear. Converted the R1 sidestand switch to tR1ke handbrake switch (5hrs!!). This will prevent worn pads because the enging turns off when shifting gears. The steering column parking lock key switch needs to be connnected in series with the starter button to prevent starting the engine while steering wheel is locked. This will be on my "to do" list. Need to find me an other anti theft immobilizer feature. because of the use of a Li-oin batterie I need to have a Voltage gauge (12V minimum!). after some research at my local dyno mechanic's place It was recommended to add an additional oil temp gauge because oil temp is only slowly catching up with water temp. It took me a long time to find proper gauges matching close with the R1 dash and Raid sells OilTemp+Voltage incorperated in one gauge. Because the R1 dash displays ODO/trip/time in one ray I ordered a matching clock as well. I always get highly irritated on my bike not able to see my watch underneath my gloves (Ducs have no time display just like casinos  ) Strangest thing is having only a R1 dash in the centre of the body and not able to find a proper location for 2 gauges and hazard switch(+light). Biggest problem is the tube behind the body cancelles out a lot of neat locations to reach the hazard switch (unless one is open to reach through the steering wheel to actuate the switch  ) The only location what seemed to be highly accessible is on the passenger's side of the R1 dash which does look quite lame. Fortunately I just found a place on the tunnel if I do some rework on the gear shift mechanism. As for the 2 gauges... placing them above the steel tube to prevent a time consuming removal of the body seemed to be not in line with the R1 dash and appeared to be goofy. I am highly considering placing guage pods on the tunnel or on top of the body which looks quite hooligan IMO  Still haven't received my RTR windscreens tough which I really like to have by now to speed up the paint job on the body. I really don't fancy drilling holes in a sprayed body. haven't received my wheels either which highly stalls the rear wheel paint job which makes it quite hard to move the chasis around the place without rubber on them! Ordered a brake light Banjo bolt as well. This highly reduces the linkages in the braking system. Delivery time unknown. Made some fixing points close to the shock brackets in the chasis to route the braking hoses to the calipers. This results in an S-bend in the hose to the caliper to prevent exessive wear on the caliper coupling. haven't seen this detail in a MEV vehicle before other than the Rocket at Bas's place, in my C1 and in a Ford StreetKa  Only things left to do on the chasis now is some additional strips in the tunnel to carry the cooling hoses and a few additional clamp fixing points. That's it. 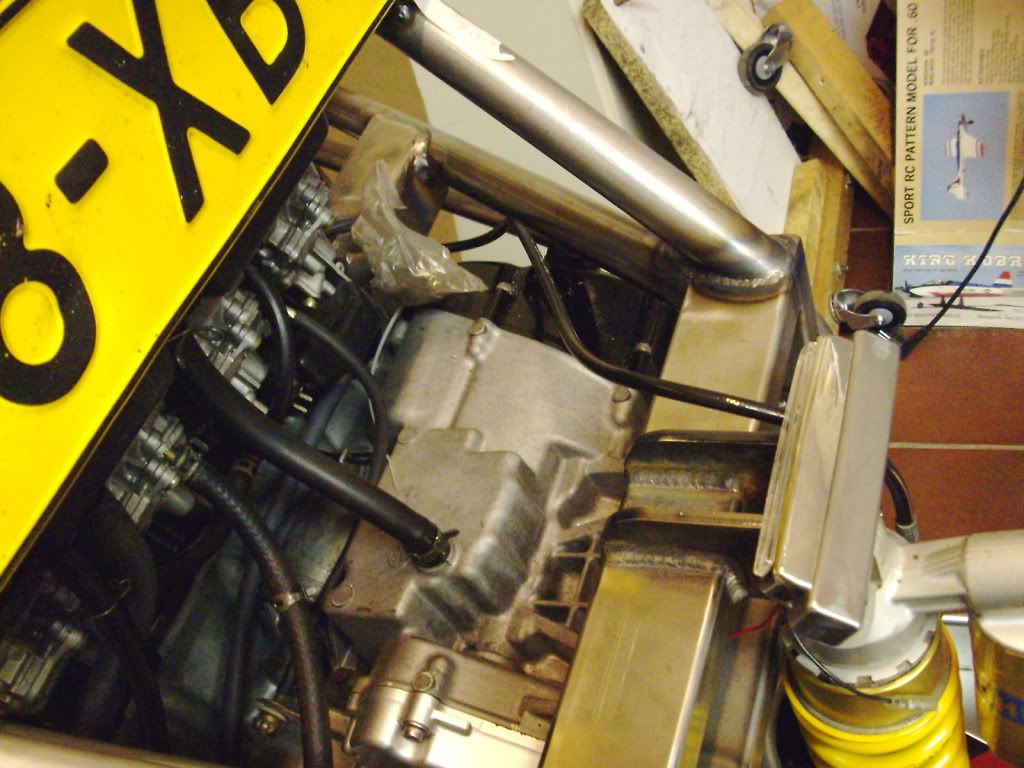 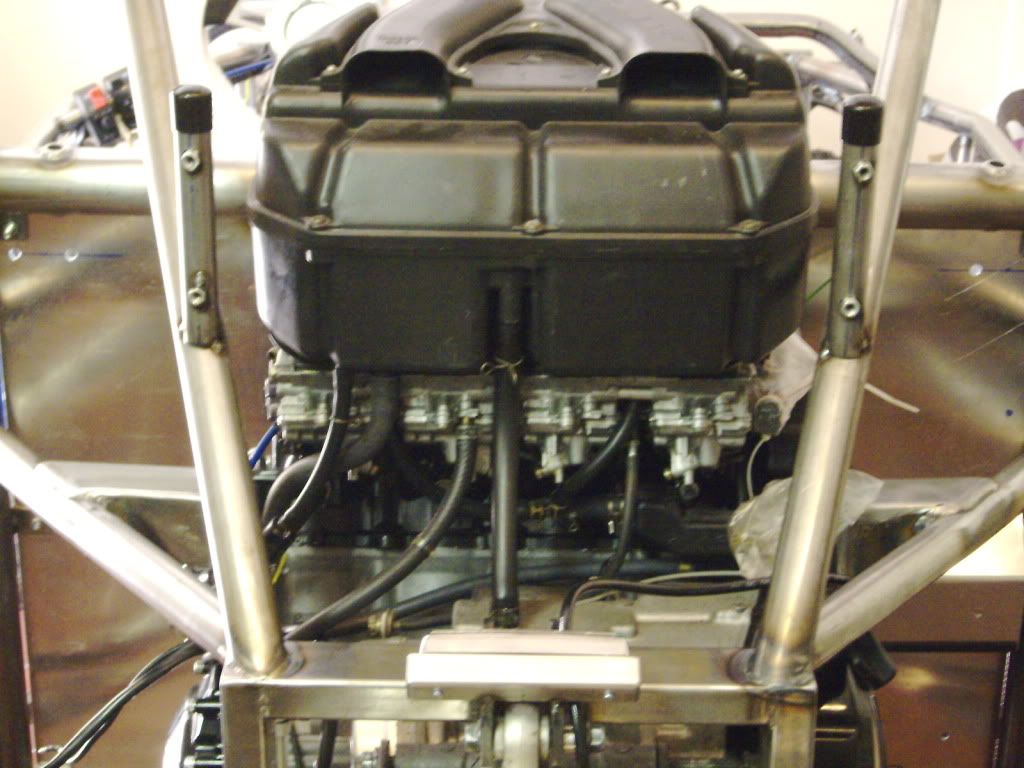 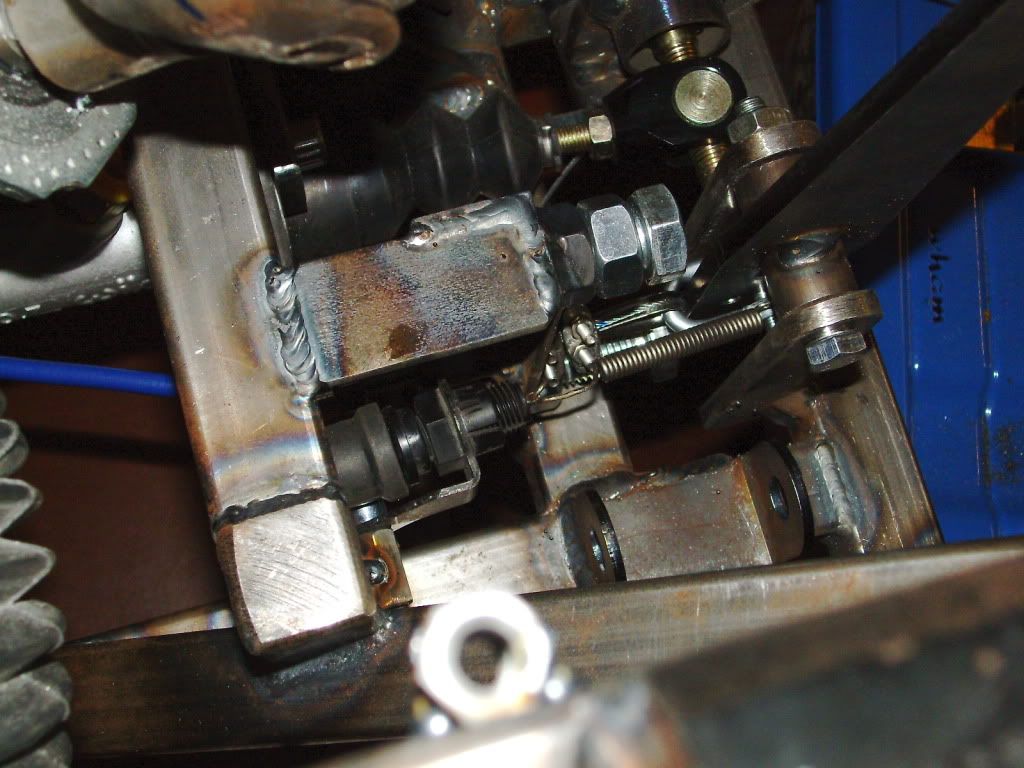 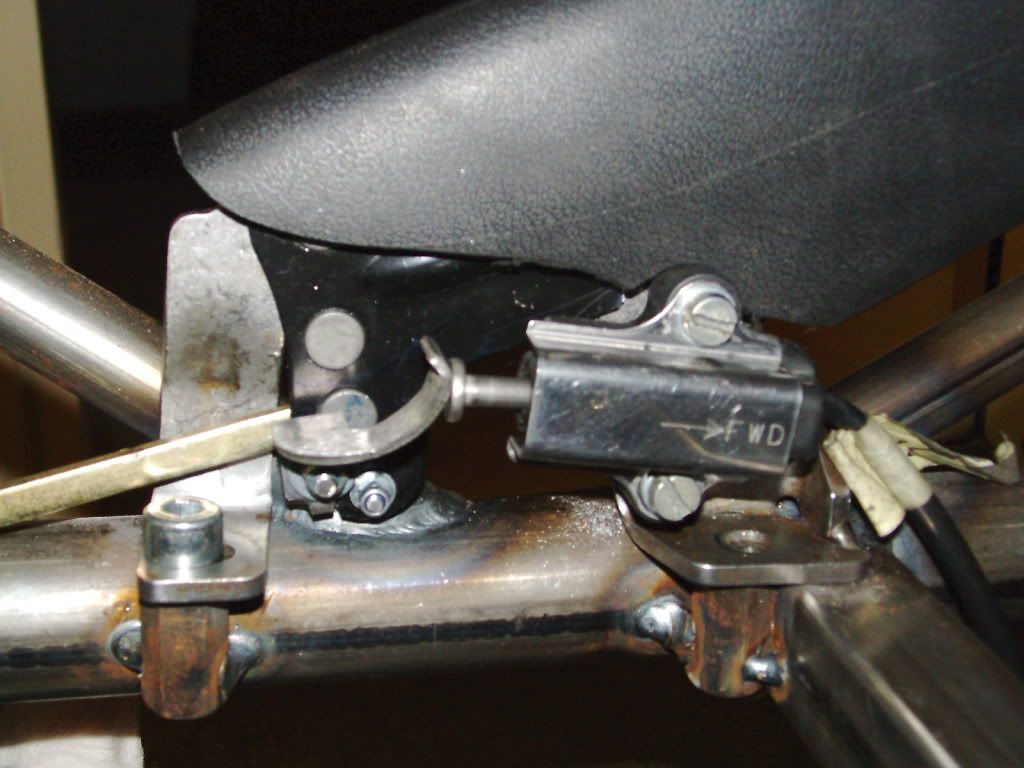 |
|
|
|
Post by erik on Aug 3, 2012 20:04:28 GMT
I stripped the chasis within 2.5hrs.
Need to make some minor things and she is ready for next phase.
br,
Erik
|
|
|
|
Post by edwinwl on Sept 5, 2012 18:47:27 GMT
What is the status over here? Having a sabbatical?  |
|