|
|
Post by erik on Feb 17, 2013 10:01:31 GMT
I assume RTR added the reflectors for MVSA and removed them afterwards. I noticed on UK bikes side reflectors are mandatory which isn't in pace with EU regulations as well. Found your red dots: www.mevowners.proboards.com/index.cgi?board=tr1ke&action=display&thread=2151&page=7May have be able to get them locally. would be a shame if it needs to come overseas. since my mudguards are red already they don't seem to be aestatically disapproved  I don't have rivnuts tooling at all. Buying them for 5 rivnuts is in a no go area for me. sure sound nice in stainless tough! Standing on the rear part of the chasis showed the slack is close to none. Need to losen this up a bit. thx for noting! Is that gear indicator added value to the tR1ke? Need to hide a hole in the dash on the left side of the R1 display which seems to be worth reconsidering. br, Erik |
|
|
|
Post by slugshot on Feb 17, 2013 13:45:50 GMT
(Quote ) Since my mudguards are red already they don't seem to be esthetically disapproved  hehe only you would think of that Eric  (Quote) Is that gear indicator added value to the tR1ke? Need to hide a hole in the dash on the left side of the R1 display which seems to be worth reconsidering. Yes I think having a gear indicator is worthwhile, although the wiring needs extending to the front, the manufacturer might do an extension to the loom as an option which would be helpful. There are different makes to choose from, mine is from heal tech so it has the correct connectors to plug into the heal tech speedo healer. It's quite small but is easy to see when driving. Cheers Kevin |
|
|
|
Post by erik on Feb 17, 2013 15:15:07 GMT
|
|
|
|
Post by slugshot on Feb 17, 2013 19:38:48 GMT
I got mine from my mates Mot garage...I can find out if the supplier has outlets in Holland. If not I can get some ready for you, they only cost £1 each so ill treat you  |
|
|
|
Post by erik on Feb 19, 2013 10:11:53 GMT
Did some inquiries at RTR which was very enlighting.
-nut caps not needed
-sleeve over the track rod lock nuts not needed but recomended to keep thread clean.
-additional reflectors on the mudguards not needed but makes sense to place them as position marker. reflectors on the brake lights are good enough for MVSA
-in home VOSA spec brake tester breaks in the pads
-transport for MVSA is always on a trailer due to fast moving traffic which is not ideal for 1st drive.
-RTR doesn't take vehicles out on salty roads
-no money savings on MVSA. only IVA exluding kits before 1-10-12
So basically it's chain adjustment ,fluids and engine testing. adding a sleeve will be done in future because I just dialed chamber in. Reflectors will be added when I have located them.
I'll add the nut caps I have now to keep the threads clean.
No gear indicator will be added in near future. The speedo healer needs to be dialed in first before I can install one. to attach the connectors the right fuel tank needs to be removed. The connectors are located in between bulkhead and tank and have weather protective plate on top.
|
|
|
|
Post by slugshot on Feb 19, 2013 19:37:11 GMT
Sorry I gave you misleading info regarding the reflectors Eric,I must of read it in the Iva requirements I don't think that they're happy with them in the rear lights.
As for the track rod covers, it would be odd if they were required but not the other steering fittings. Although personally I think they look neater with covers.
Cheers
Kevin
|
|
|
|
Post by erik on Feb 19, 2013 19:56:49 GMT
For the tR1ke they are fine in the rear lights but paul's preference is on the mudguards as well to avoid your wheels being bumped off by other cars trying to catch up with you  Makes sense. Just started to ad the coolant and I noticed I connected the thermostate air vent hose to high on the expansion bottle. Need to replace the hose to the bottom along with the pump vent hose with a T-piece to be sure no air will get into the thermostate via the expansion bottle. oops  |
|
|
|
Post by erik on Feb 20, 2013 21:09:15 GMT
Well, rerouted the coolant hoses today. This morning it came to me the radiator cap isn't acting like a valve but more like a restrictor which bleeds out when overpressurised and sucks in when under pressurised. Closing the outlet in between valve and cap disabled the 1.1bar valve and acts as a solid cap now making the pressure cap on the breather tank functional. because of this the reservoir had no function anymore next to the radiator and I replaced it to the front of the bulckhead in clean sight of the driver and easy to maintain jet fully aestatically approved by  bottom outlet of breather tank is connected to the pump air vent hose by t-pies as aerlier shown, thermostate vent hose to top outlet below the cap valve and routed to the radiator by the lower outlet. highest outlet goes to the reservoir. Filled the radiator with coolant up to it's neck and closed the cap and filled the breathertank and reservoir. A large amount of air came out of the breather outlets inside the tank which is good ;D However, not sure how to deal with the little trapped air in the system that will meet the radiator later if there is any air trapped at all. I assume the rad will be functional for 95-100%. Last thing to do is brake fluid and fuel. like to do this with a friend. and make me a racing number plate for the bonnet. Reconsidering an oval type (bike version, car is round) to honor the bike engine because it is still a bike converted to a car and not the other way around hence the indicator switches! 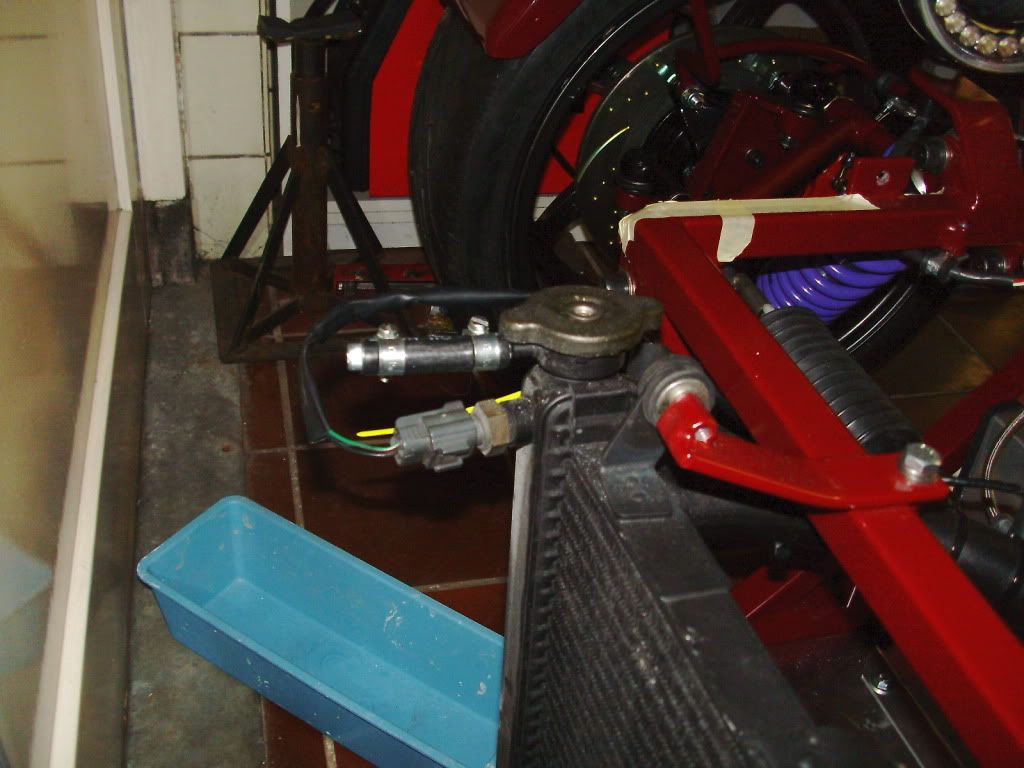 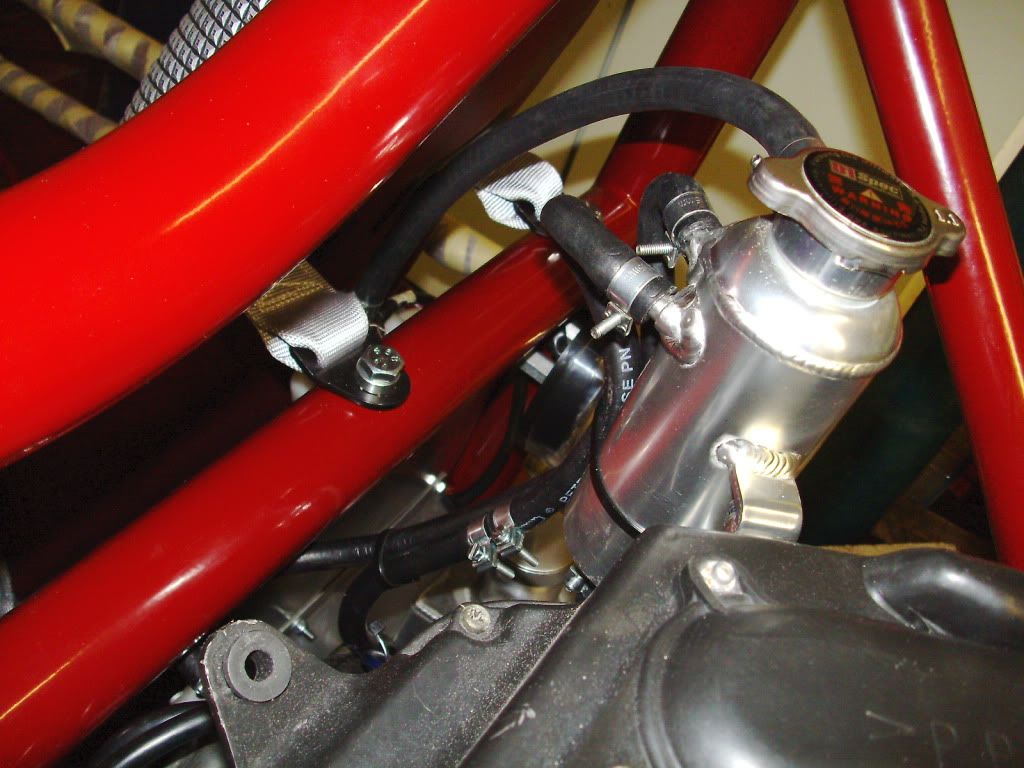 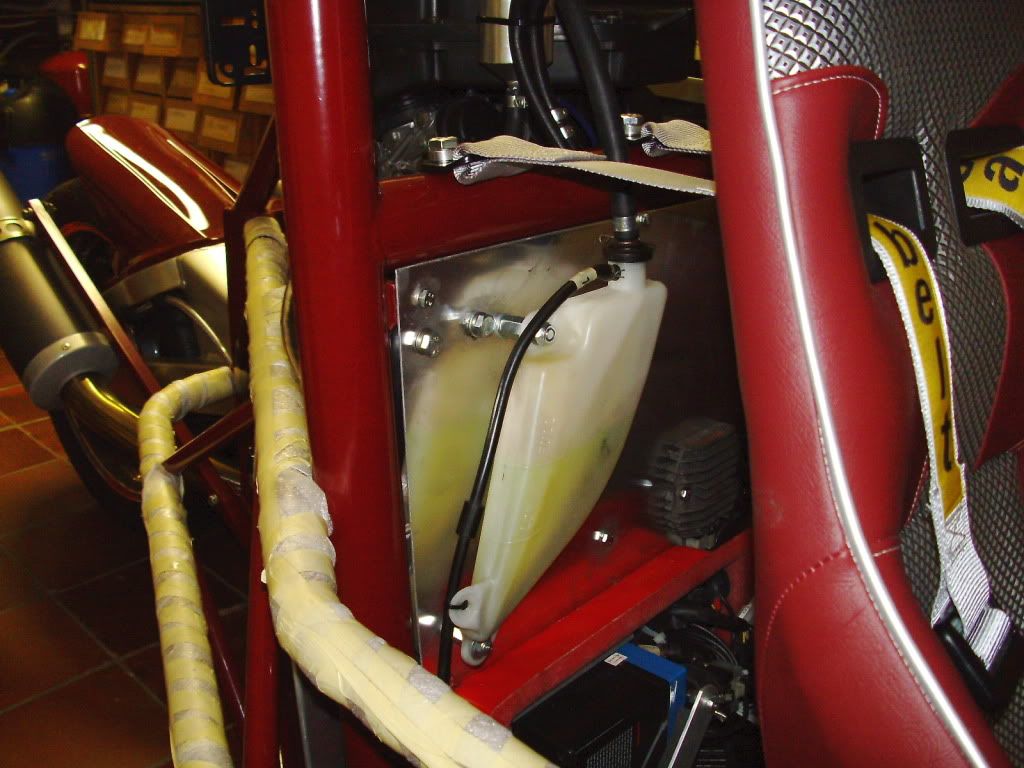 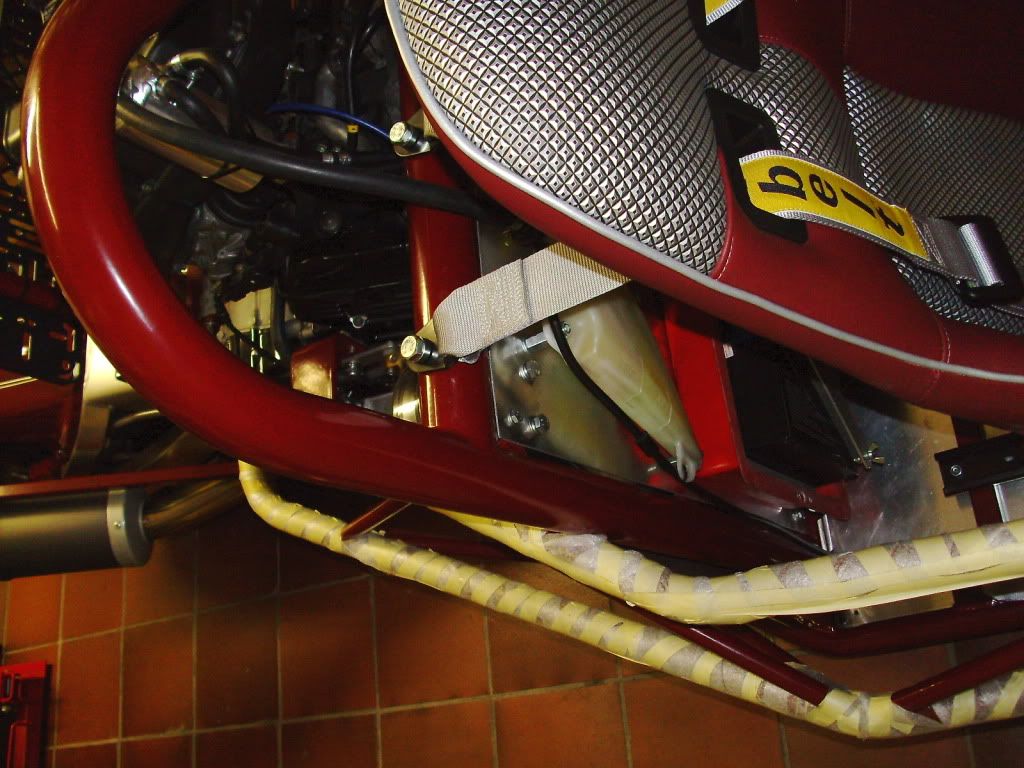 |
|
|
|
Post by erik on Feb 20, 2013 21:28:02 GMT
Isn't google great! Just copy paste print with a little cad work no brainer exept 3 or 4? Think 4 is nicer to replicate and retro, not classic. 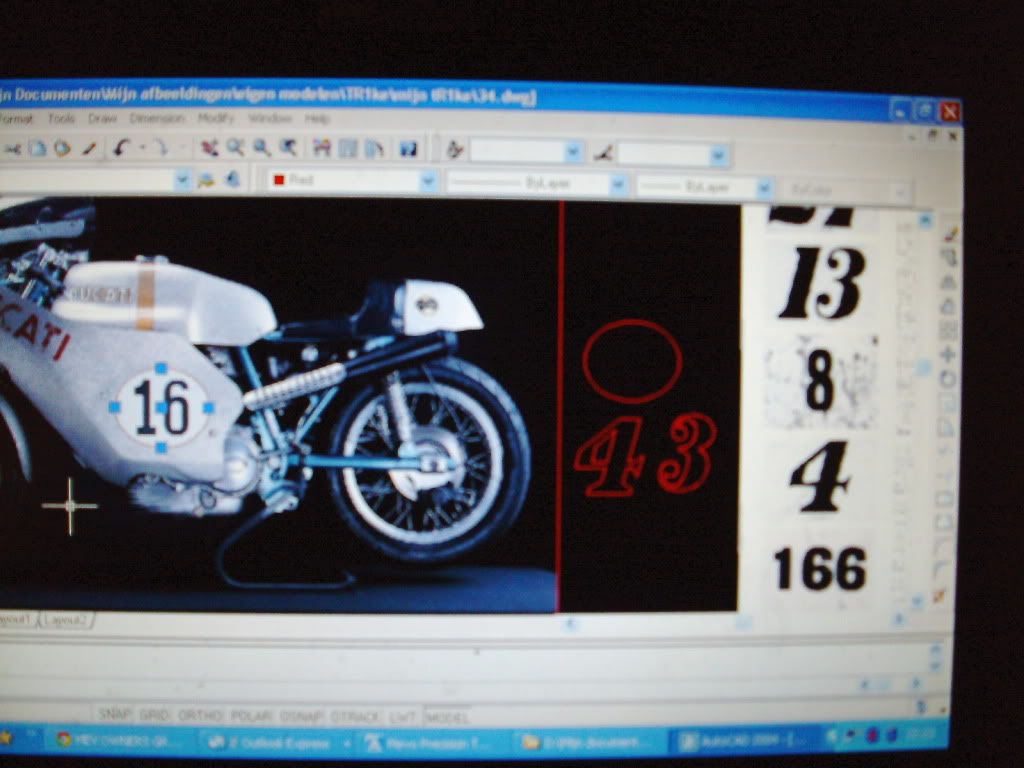 |
|
|
|
Post by erik on Feb 20, 2013 21:29:07 GMT
if that pic is fuzzy you're to close!!
|
|
|
|
Post by erik on Feb 21, 2013 10:33:13 GMT
I'm undecided right now. Looks very neat but have to see this from a distance when placed on the chasis. I wanted to add this plate from the day I decided wanting the kit to be maroon like the Alfa Romeo racer I posted earlier but recently decided to go for retro look instead of vintage and binned proposal #3. However, I do have a rattle can of white but real white doesn't come in rattle cans and tend to be slightly cream. I might make the #4 in dark red instead of gun metal or black. To make this a more weathered look I might spray a light mist which doesn't fully cover the background. i really need to take her outdoors first after testing. br, Erik 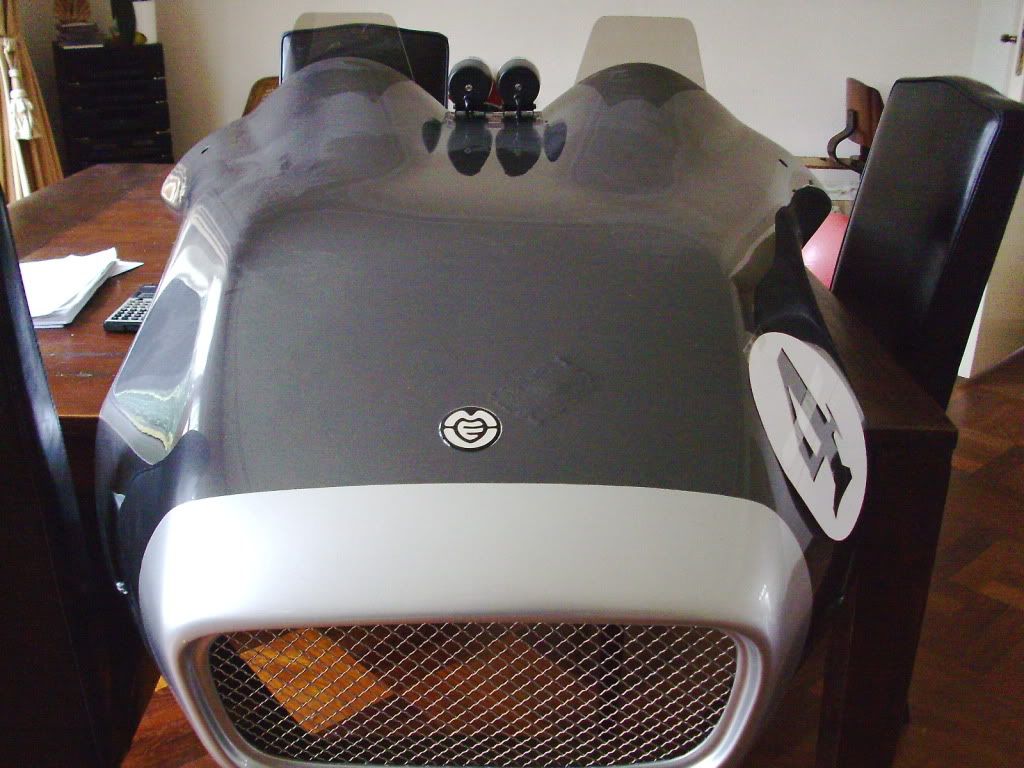 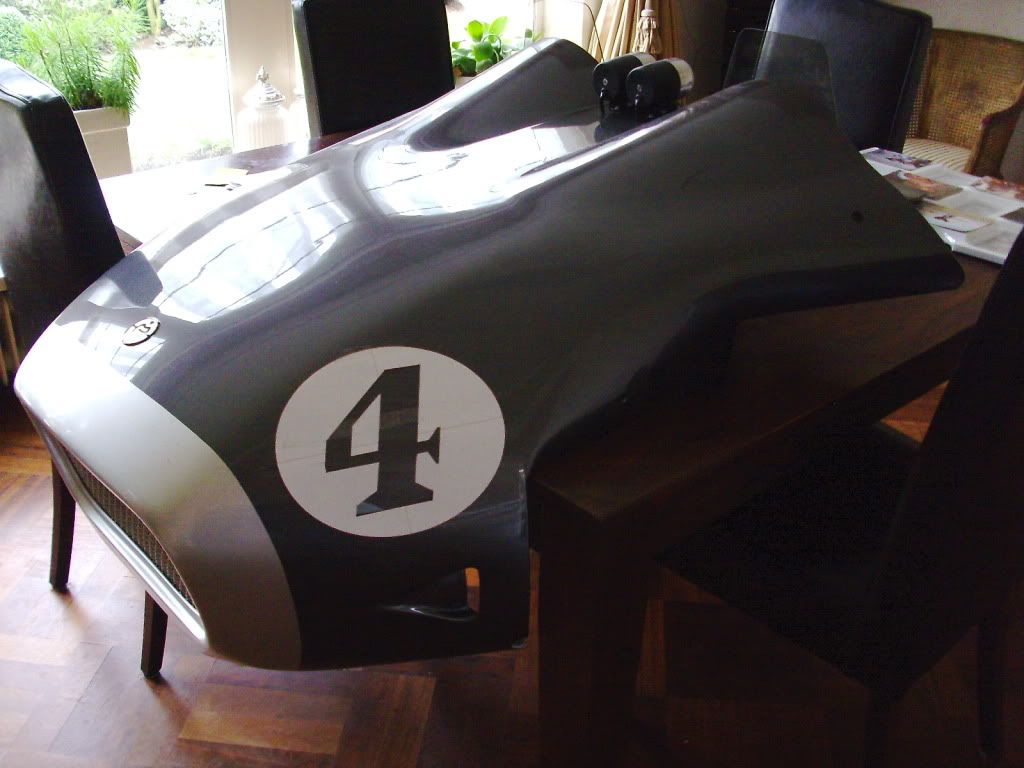 |
|
|
|
Post by slugshot on Feb 21, 2013 17:44:35 GMT
Hi Eric
It looks good but you need to have it fitted on the tR1ke with the lights in position to get a better idea.
I thought a slightly off white or cream background might give it a more period classy look.
Cheers
Kevin
|
|
|
|
Post by erik on Feb 21, 2013 20:26:00 GMT
yeah you may be right on that. a friend has a vinil cutter but only white and black to match the bonet. will place the bonnet on the chasis tomorrow and make pics.
grtz!
Erik
|
|
|
|
Post by edwinwl on Feb 22, 2013 10:40:11 GMT
The tr1ke is looking fine!
Be carefull testing your cooling system. Ohms law also applies to the cooling system waterflow.
|
|
|
|
Post by erik on Feb 22, 2013 10:57:02 GMT
Thx! Yes I changed the system 2 times and yesterday I fully understood what I was doing. It took me a while how to figure out releasing the air out of the rad later if needed. as like home radiators with the heater up high under the roof one needs to open the crane on top of the radiator to release trapped air so if I remove the 6mm bolt out of the hose which closed the outlet under the cap and let coolant out of the system the air is gone as well. On a test this worked quite well but I was amazed the valve in the radiator cap didn't close too well letting coolant through. In this case it is no big issue because the valve has been disabled anyway by closing the outlet but I need to watch an eye on it. Just added 10litres V-power in the tank. All that is needed is 1) a friend to fix his jammed sewer pipes  or an other friend who 2) is getting his eyes fixed in a hospital. Not sure who will win this race LOL!! I really want to add the brake fluid first and tighten the wheel nuts before taking her out, lift the rear wheel and fire up the engine. I know Ohm too well by now. He doesn't like patience more as I do LOL!!! |
|