Deleted
Deleted Member
Posts: 0
|
Post by Deleted on Jan 19, 2013 19:21:37 GMT
They quoted me about £130 to collect my trike, because the truck is slow un-economical, and that's going 140 mile round trip.
|
|
|
|
Post by slugshot on Jan 19, 2013 20:01:42 GMT
He is going to transport it to rtr himself I think and just doesn't want it driven to the test centre in the crap weather. I would be the same this time of year as it would be a shame to mess it up.
Eric have you thought about how you're getting it to rtr.
I took mine on a big car trailer with a good quality outdoor all weather cover on it. And it rained very heavily for most of the way there, after taking the cover off at rtr the car was soaked and the seats were full of rain water.
|
|
|
|
Post by erik on Jan 19, 2013 21:46:33 GMT
I'd pay 130GBP any time for a shipment to UK!
May have to make me some seat covering just in case.
The crap weather isn't the biggest problem. It's the salt corroding the aluminium which would spoil my day. And yes, I'd prefer to keep it dry so I might be in need for good canvas.
I haven't paid any attention to the transport at all. Took me all day to sort the emblems LOL!!
The honey do list is getting shorter now. Need to get me bolts for the seat rails. Have to mount the mudguards and seats, lift the rear wheel and add fluids prior to ingite!
I think it is likely finished very soon now but don't have a deadline here. seems april/may might make sense given the poor weather in winter.
|
|
|
|
Post by slugshot on Jan 20, 2013 11:29:18 GMT
Somehow I don't think £130 would cover the cost do you  The vehicle that Edwin used for transporting looked good for the job, better than a trailer, less spray from the wheels but more expensive to hire although might be cheaper on the ferry or tunnel. What ever you use check that it's wide enough, tR1kes are wider than most cars. I noticed one of the jobs you still have to do is fit the mudguards...I was wondering how they were held in place, with no visible wing stays  I think I've mentioned this to you before how slow the process is when you take your finished kit to RTR for the msva. They don't book a test slot until you take it to them (that gives them enough time to sort any obvious problems that it would fail on) I think its a minimum of 3 weeks for the test date and if she passes another 2 weeks for them to sort the documents with the dvla. So 5 to 6 weeks in total that would mean mid June before you take it home, and then you will have to register it in the Netherlands. I admire your patience if you can wait that long. Cheers Kevin |
|
|
|
Post by erik on Jan 20, 2013 12:25:46 GMT
Yes that car Edwin used seems to be a good choice. perhaps a closed version would be available as well, but I make sure i have blankets and canvas here to strap around it anyway. I've been strugling how to locate the holes in the mudguards since day1. At first I didn't have the wheels and later i noticed I had 2 left side brackets. last monday I got the new right bracket back from the powder coater and I am about ready to mount them but need to pick up a leveller first. Yes it will take a long time before I could drive mine but I guess there is no way to avoid this. Luckely I have too many hobbies to worry about  |
|
|
|
Post by erik on Jan 21, 2013 16:52:32 GMT
took me a while but the mudguards turned out nice. The guards are tack kitted now and I'll empty the kit tube tomorrow under the guards. Too bad the front brackets seem to be a little short. There is only a very small seam of clearance of the tire while the rear seam looks pretty roamy. I noticed this on other kits as well. just a few pics of the proces Levelling the mudguards and taping the correct angle. 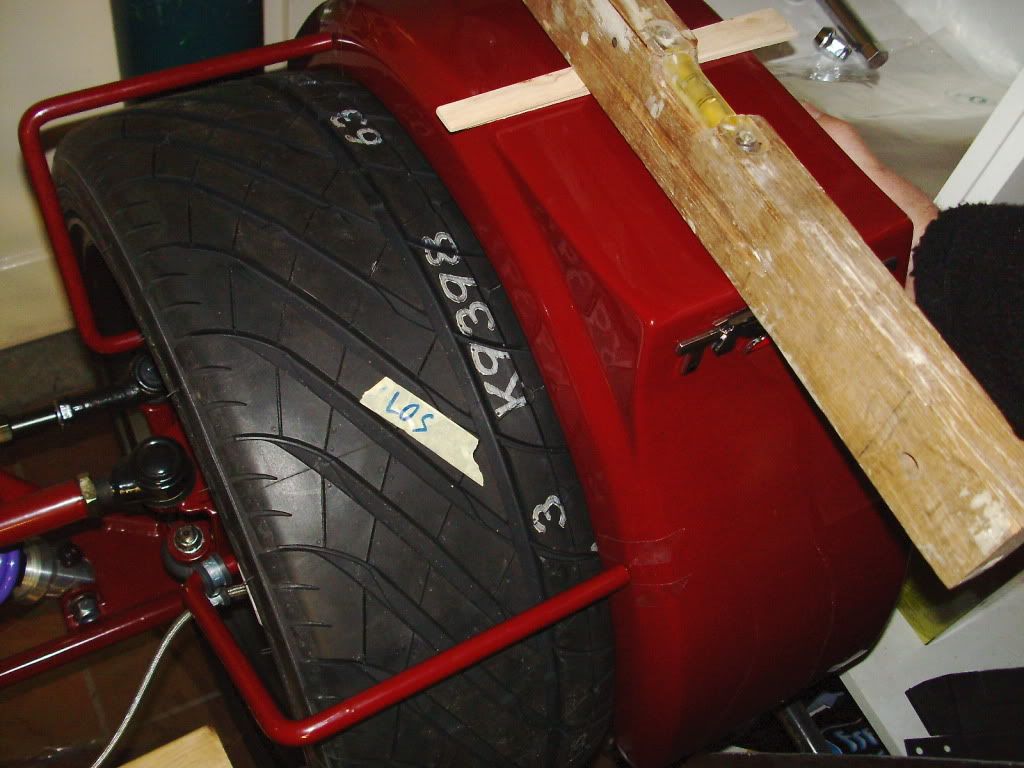 Measuring the thickess of the layup: 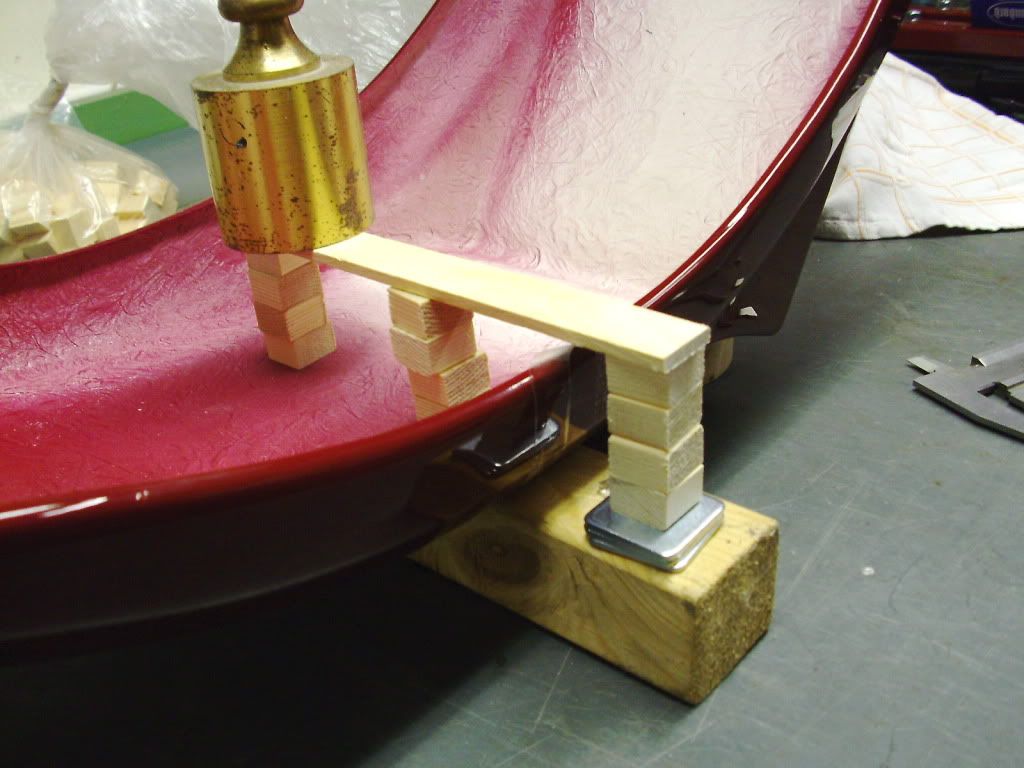 Marking the top of the hole with a small dent by hobby knife: 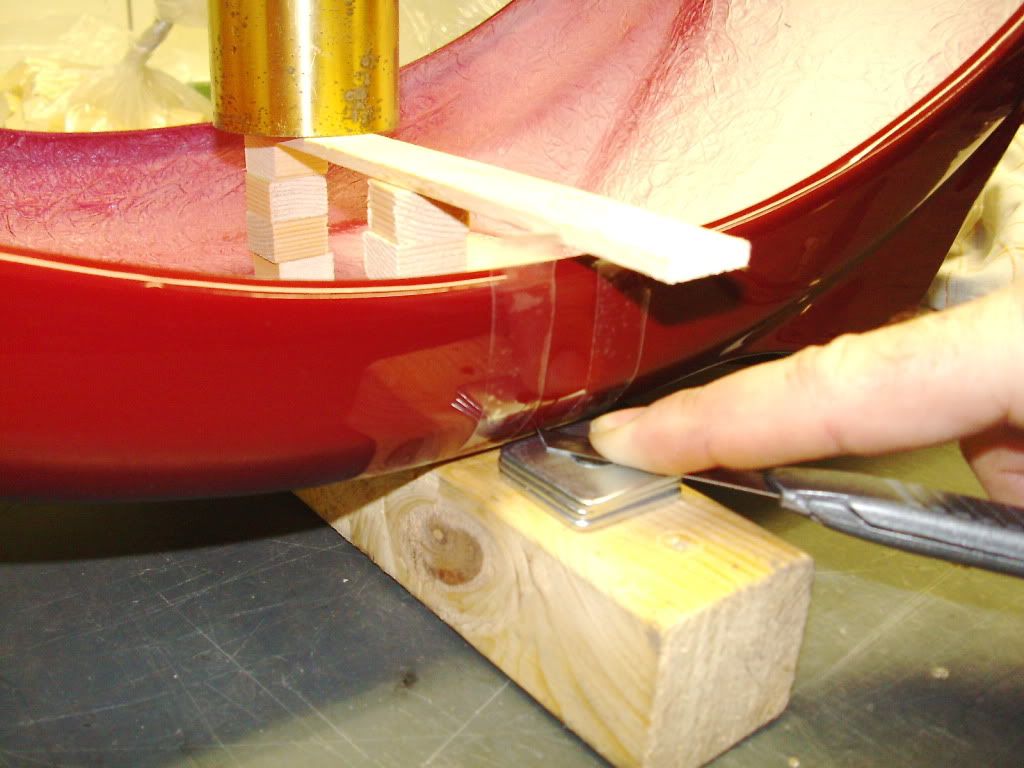 Drilling an undersized hole in centre of the hole to come: 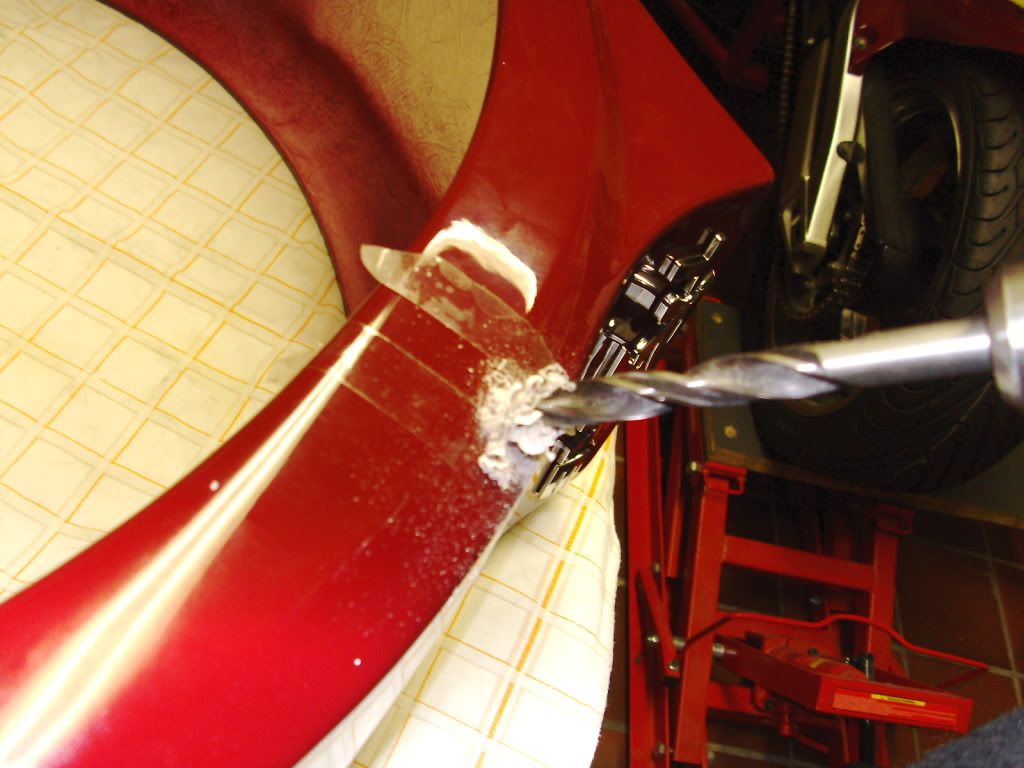 Filing down up to the inner surface: 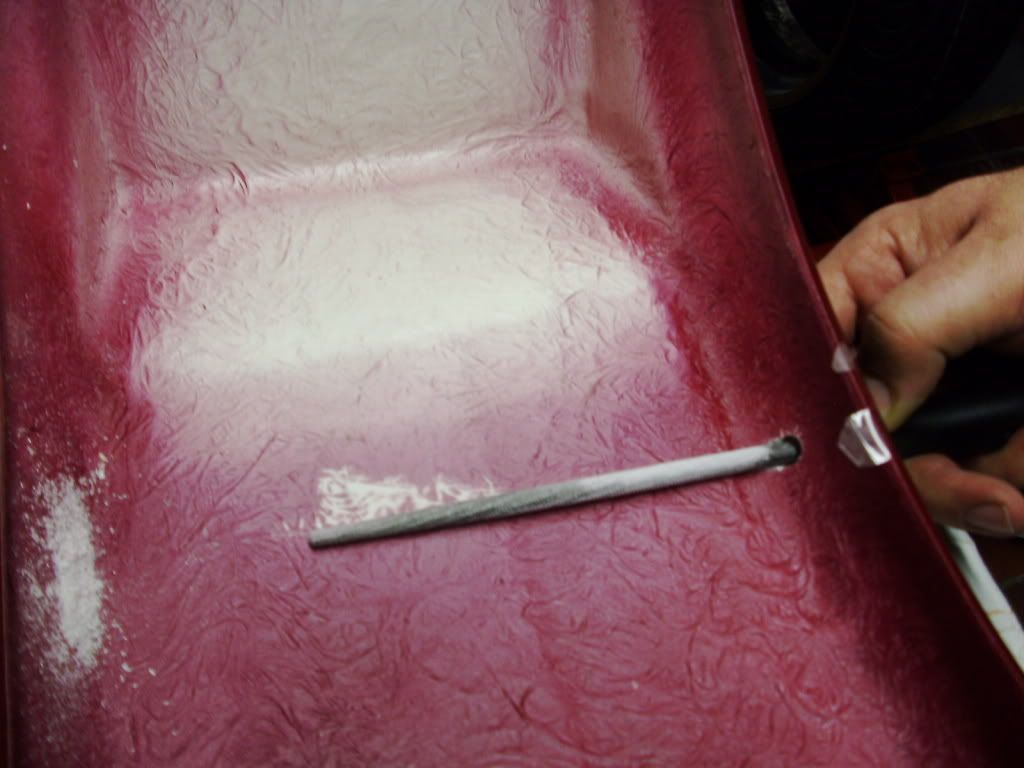 filing upwards to the bracket's diameter 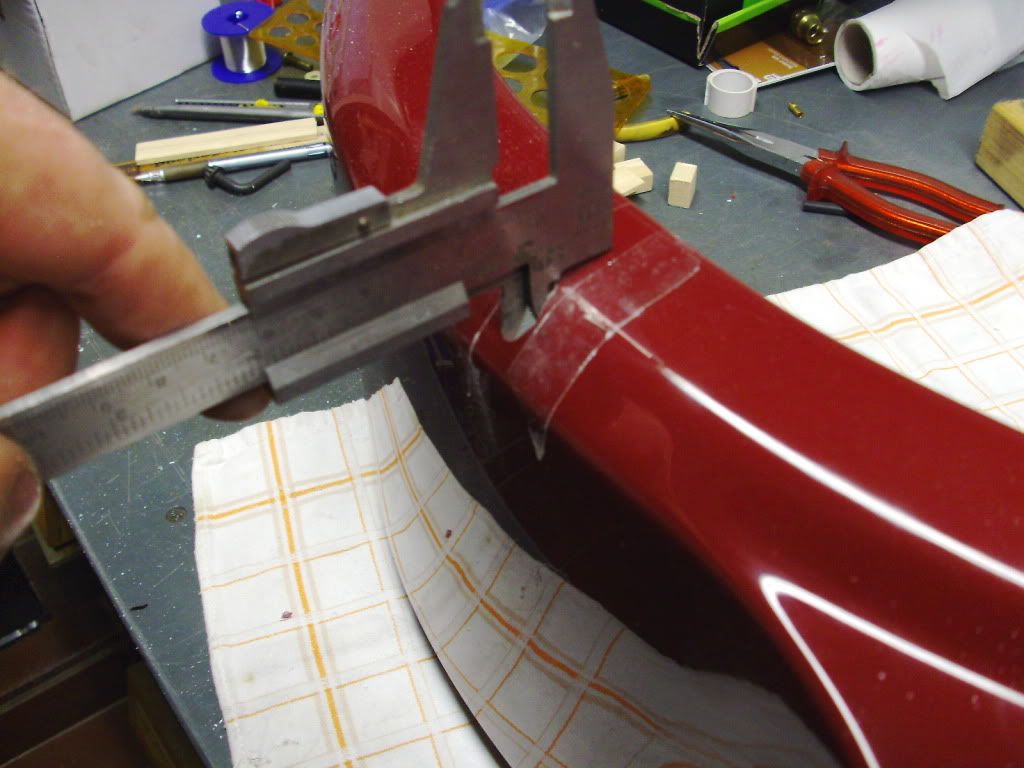 filing width 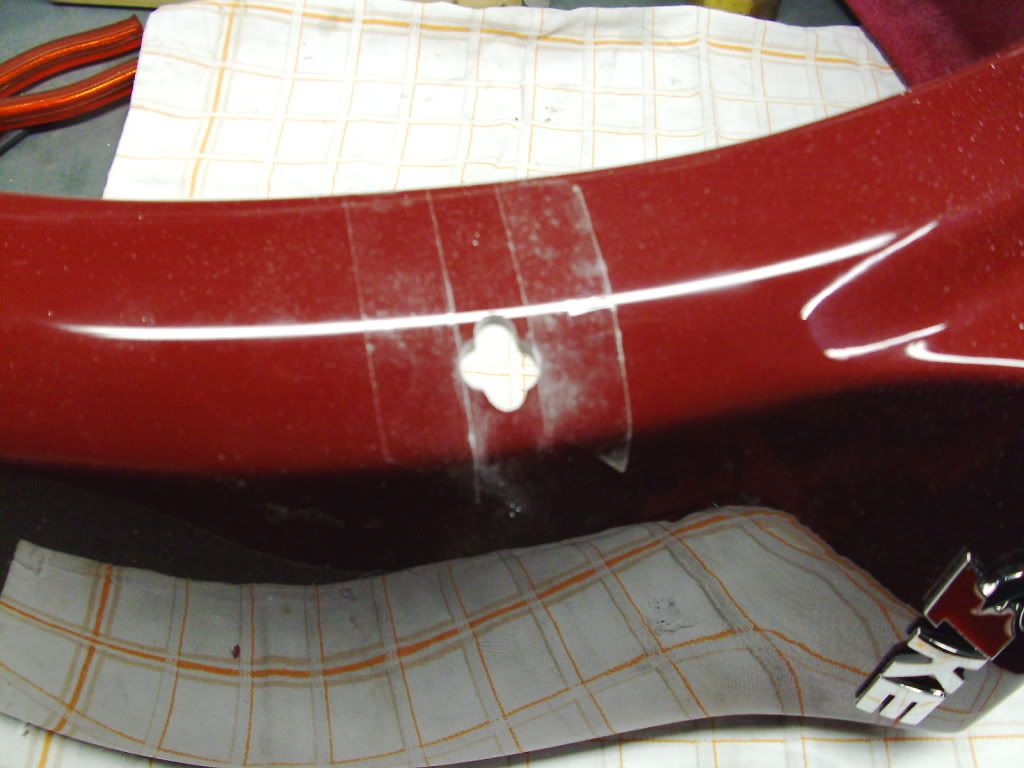 filing round. Use sandpaper wrapped around the biggest drill available to make the hole smooth. Top view: 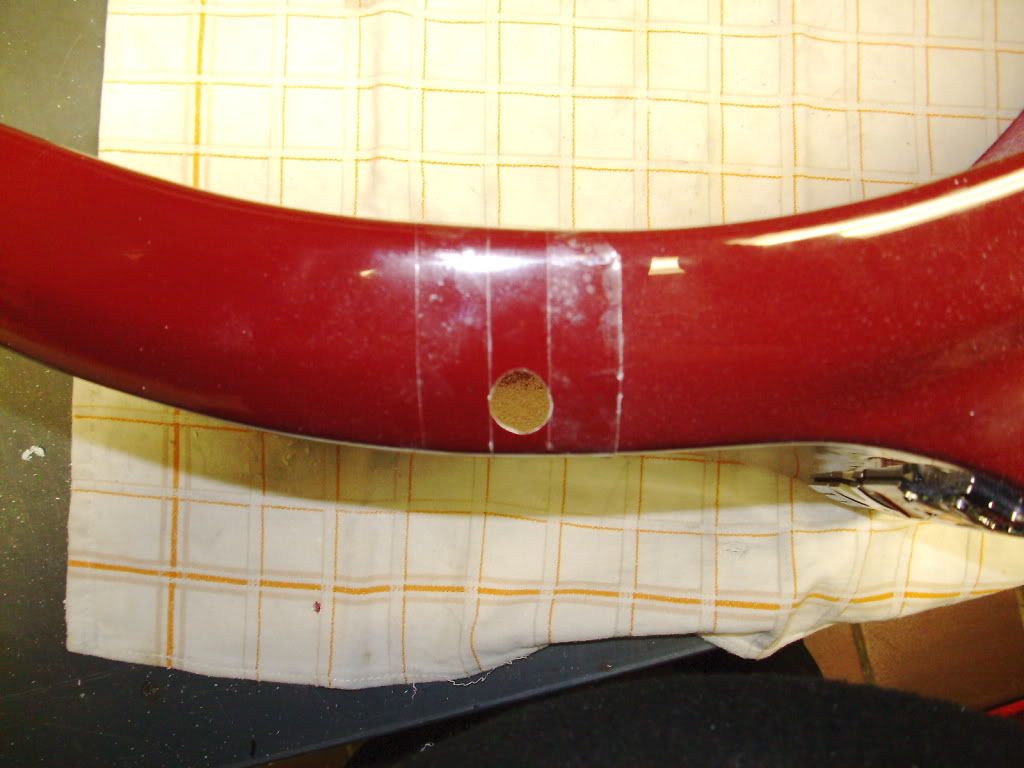 copying distance: 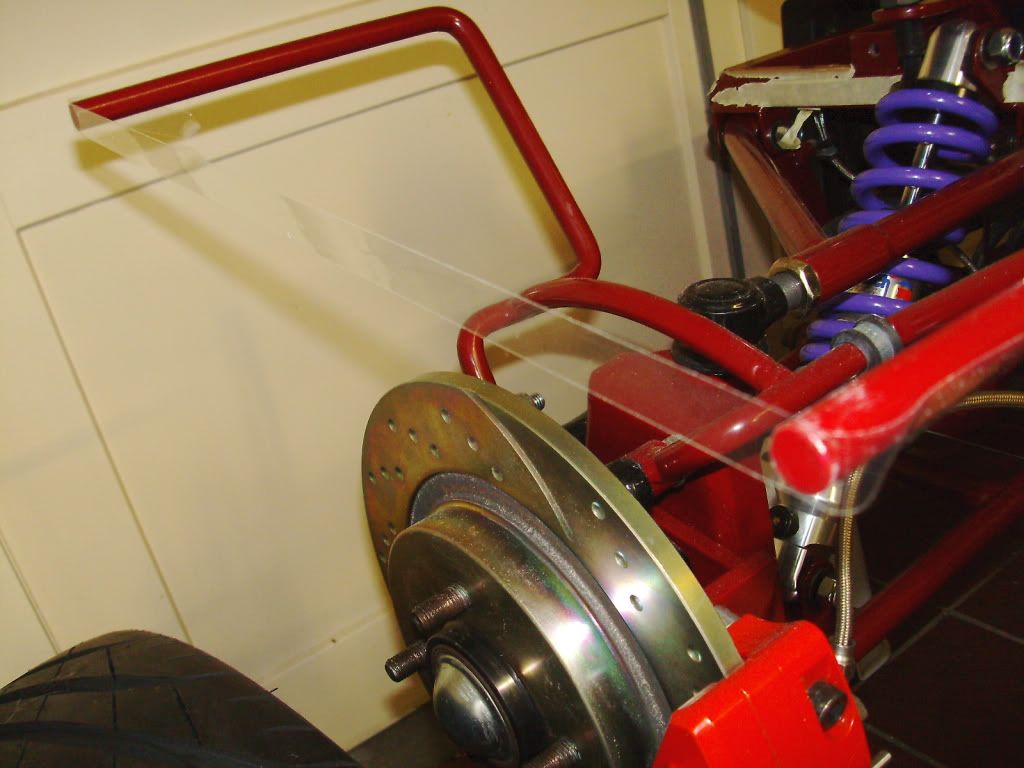 aproximate location od front hole: 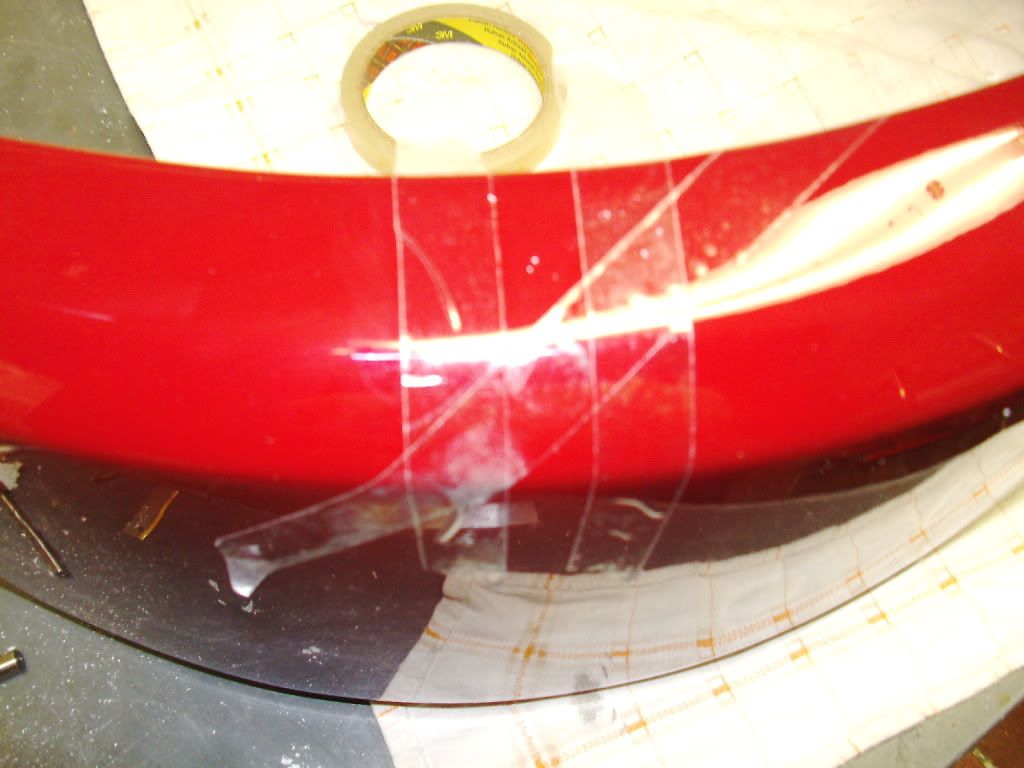 File the height as like the 1st hole. place the part to the bracket and make 2 dents with a knife for the width of the holes. File the cross and make the hole round. Pretty cool huh?  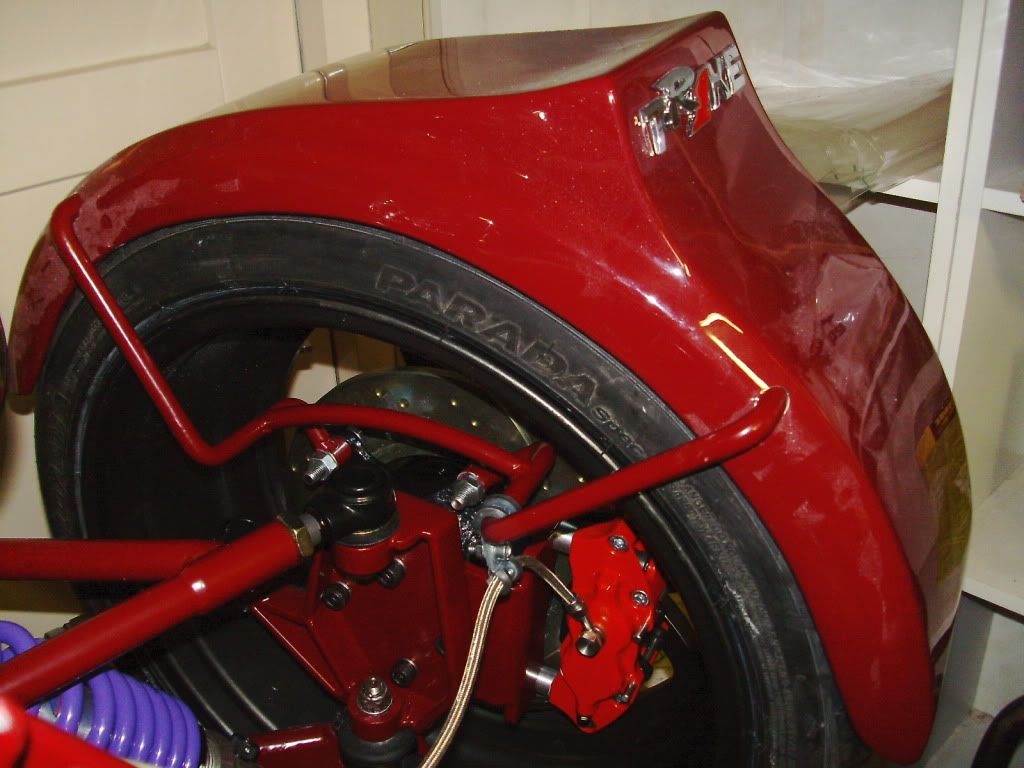 Other guard samewise. I filed off the coating underneath the bracket exept for the end tips to keep the guard aligned properly. Added some dots of kit on the tips of the brackets while the guards were already on and mounted the wheels for tweaking the proper location. As you see, the rear of the guard has a wide opening and the front is close to zero. Both sides are identical which seems to be a bracket issue just like other builders have similar odd placement like mine. 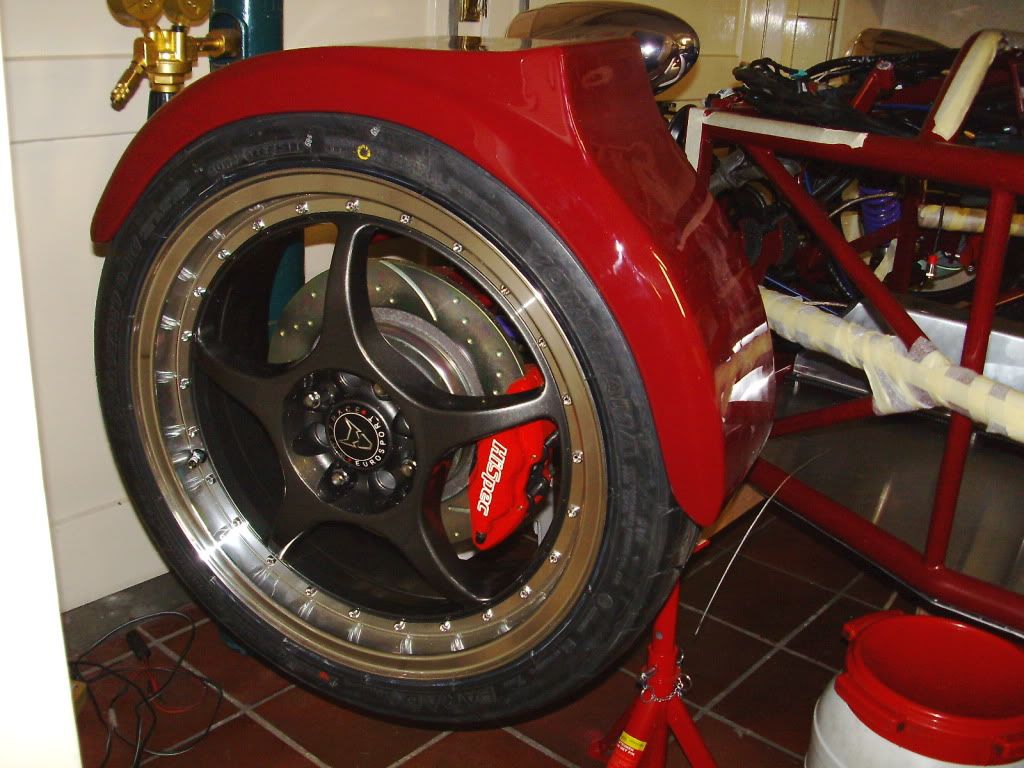 |
|
|
|
Post by erik on Jan 21, 2013 16:56:53 GMT
|
|
|
|
Post by erik on Jan 22, 2013 6:55:20 GMT
hehe, just noticed I cannot remove the wheels without removing the brackets first. is this a common thing?
|
|
|
|
Post by slugshot on Jan 22, 2013 17:44:08 GMT
Hi Eric I don't want to sound smug BUT ;D I can get my wheels off without taking the wing stays off. We have an old saying measure 3 times...cut once  Cheers Kevin |
|
|
|
Post by erik on Jan 22, 2013 20:59:21 GMT
Just looked at your tR1ke mudguards but they seem to be shorter as mine and you have 15" wheels where I chose 17" wheels. The 17" tires appear to be more square as 15"tires and the innerwidth of my mudguards is 205mm, just as wide as the 205-40-17 tire on it. The brackets have been kit to the inner surface of the mudguard as well which makes a tight fit over all. Not that this is a bad thing. Just lose the nuts of the brackets a bit and i have enough clearance to remove the wheel. Just finished the kitting.Because this is a huge volume I'll let them cure for several days. Hope this will do. grtz, erik the stuff: 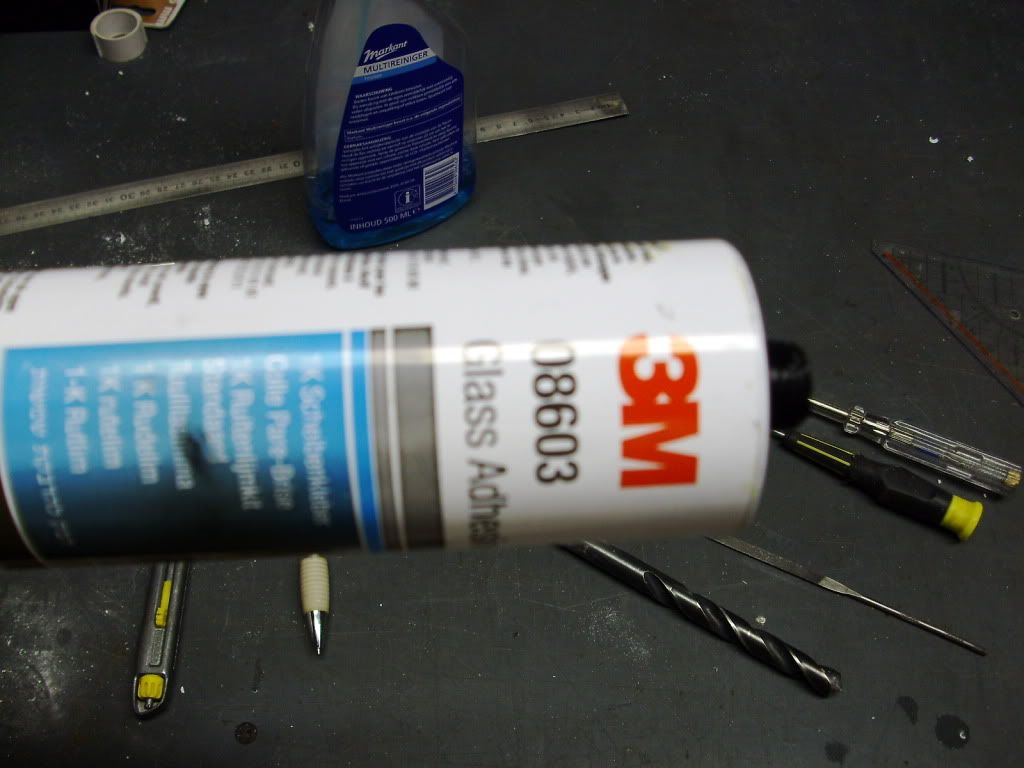 tacked yesterday: 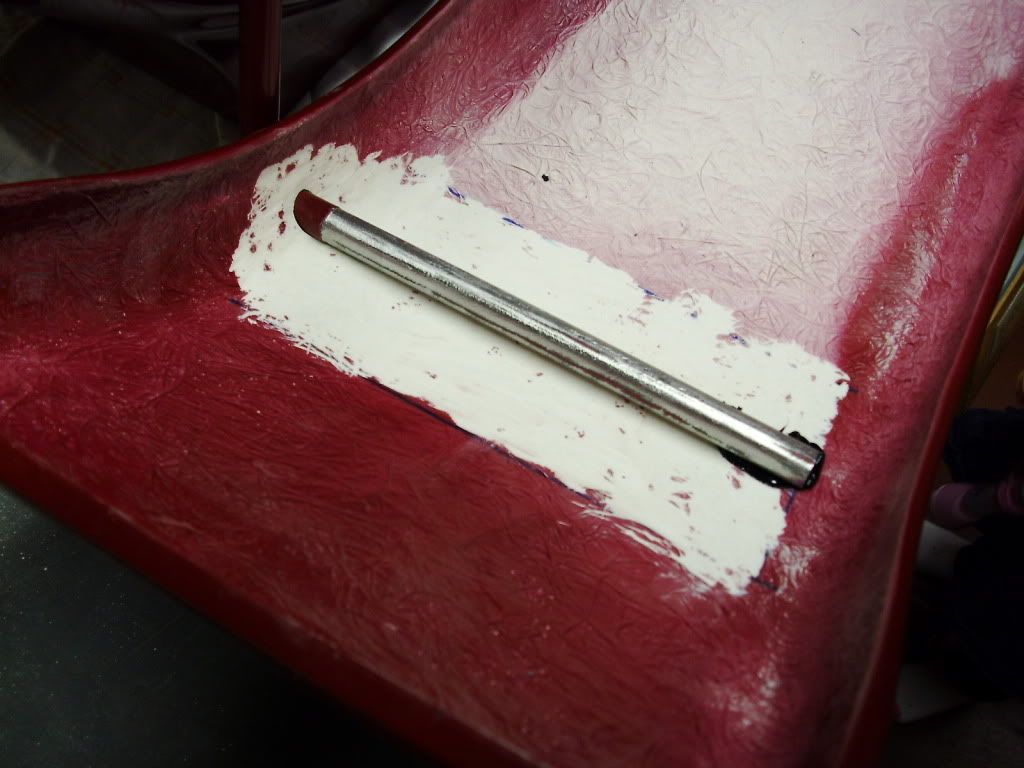 push the kit through the seam with scrap: 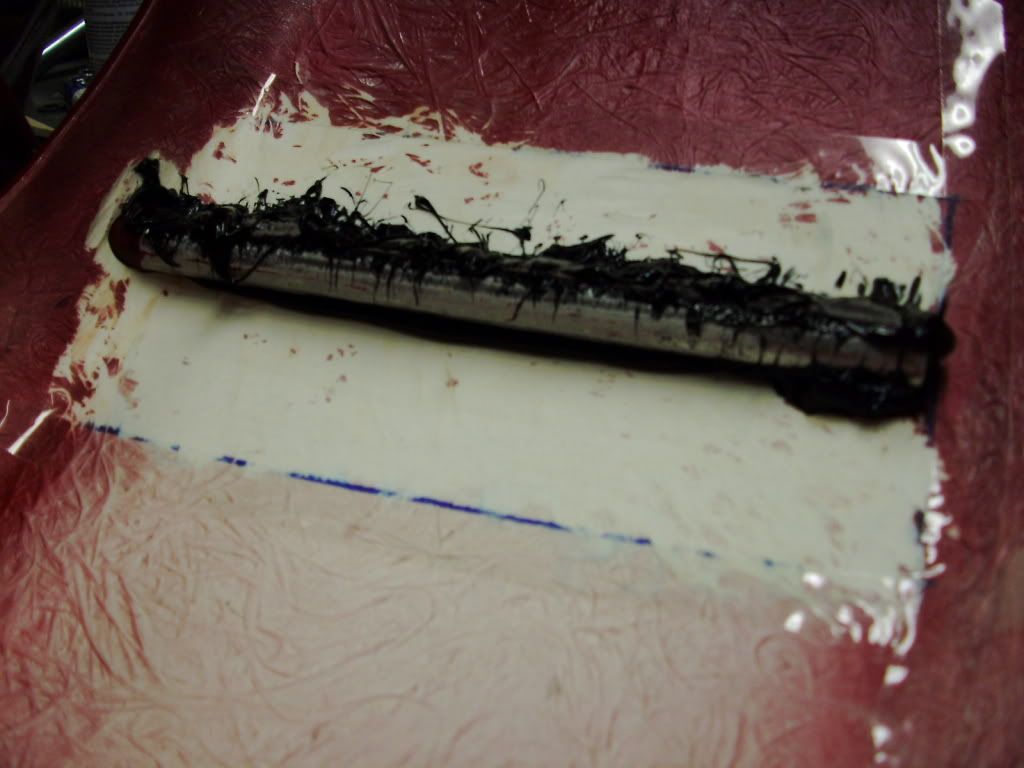 2/3 of kit volume applied here. Luckely I had 1.5 tube to start with. 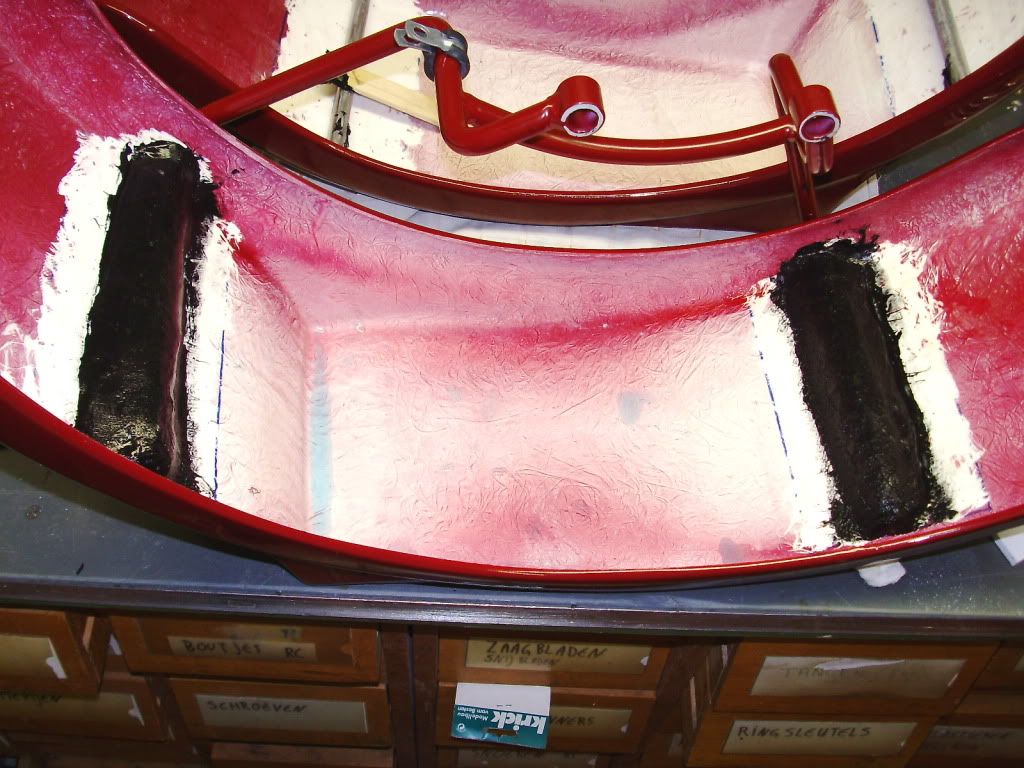  |
|
|
|
Post by erik on Jan 23, 2013 20:29:40 GMT
|
|
|
|
Post by erik on Jan 23, 2013 20:49:12 GMT
Hmmm, just noticed the marangony on the rear wheel ran flat over a couple of weeks. need to get me a small 10 euro compressor as maintenance tool.
Anyone experieenced similar issues?
The build is finished now. She is ready for the fluids. the kit is still curing now. because it is a thick volume I recon this may take a week. Might be able to make tests this week. as for now i have no reason why it wouldn't run like a sharm exept for those clutch+sidestand switches and the speedo healer. The removal of the alarm device may cause some issues as well but I think I sorted the connectors well with help of Edwin's pictures of his original loom to see how it should be.
Not sure if I should add a GPS tracker or not. these things don't seem to work under a roof so when stolen it may be impossible to find the exact location?
br,
Erik
|
|
|
|
Post by slugshot on Jan 23, 2013 21:08:43 GMT
That gear change setup looks very good Eric does it need much lever movement to change gear and does it return to centre quickly. You've not really shown us a good pic of how the gear change mechanism works. It definitely gives you a lot more space in the tunnel. I also just noticed that your indicator switch is next to the light and engine kill switch. Just be careful when using your indicator switch on a bumpy road, you could accidentally knock the kill switch to off. Or you might have a smoother ride with the Hyperpro springs  |
|
|
|
Post by paulh on Jan 23, 2013 21:13:58 GMT
Not sure anyone is going to steal a tr1ke Erik, its probably a bit to unique and easy to spot. And anyway, who else would be mad enough to drive one !
|
|
|
|
Post by erik on Jan 23, 2013 22:07:48 GMT
The lever moment is -6cm/+6cm which is very similar as like a conventional car gear knob movement only lineair movement instead of polair. I used beared drawer slides in the tunnel which gave me the width at the floor for the coolant hoses. Still it is a tight fit and needed to raise the tunnel about 15mm to place the ignition key switch and loom in it. The good thing is the 15mm seam is perfect for water drainage on the floor. I added several holes in the floor underneath the tunnel. It might help for cooling as well. At first, the drawer slides work too easy and I feared the gear knob might want to jump the gearbox in between gears under accelleration. I added 2 springs (pull/pull) to keep the gear handle in neutral . Both springs are cancelling out their forces in neutral so the actual force needed to change gear is very pleasant. The long rod with several bends to absorb the shocks from changing gears as well when the motor isn't running so I recon it will work like a charm under load. The big leverage of the stock rod I used appeared to be a spot on 6cm movement which cancelled out the ploair movement of the knob like other tR1kes have, unless one is willing to connect the rod to the knob to have correct leverage which isn't practical. However, I did reconsider to mount the gear knob in the dash like a Citroen 2cv but turned out to be a bit complex. when my wrist is resting on the chasis, the kill switch is in my palm and the indicators at my thumb so there isn't any chance to kill the engine per accident. I have been thinking a long time before I could find this location which is as relaxed when driving a Polo with open window hanging out your elbow. Looks a bit goofy on a Polo tough  The only downside of this configutation is that this might be to close to the knee for MVSA. I just noticed this today when the seats have been bolted in! hehe, i don't think I'll use the indicators on bumpy roads at all! just too much info to process LOL!! Well, those GPS trackers become affordable and I reconed this might be a usefull recovery tool. not even sure where to place it in this chasis lOL!! Do we need an airpump in the 1st aid box now or what? |
|