lad
Junior
 
Posts: 79
|
Post by lad on Jul 3, 2012 11:43:37 GMT
Yeah, once the subframe is bolted to the chassis in a normal Exocet, you could do the same thing. We had no problem fitting the shocks or bolting up the uprights afterwards by hand so yeah, red5's right.
|
|
|
|
Post by johnbrunt on Jul 3, 2012 17:51:26 GMT
So fit floors to frame, brake pipes then front and rear subframes, then add wishbones, diff, shocks etc.....?.
|
|
|
|
Post by red5 on Jul 3, 2012 19:29:21 GMT
id say yep
|
|
trident
Senior
   Improvise, Adapt and Overcome
Posts: 629
|
Post by trident on Jul 11, 2012 17:34:44 GMT
Nice build and nice colour..
just wondering what polybushes you use ? were they the ones being sold by poly-speed on ebay. If so would you recommend.. I don't really want orange bushes on my car if i can help it.
Cheers
Chris
|
|
lad
Junior
 
Posts: 79
|
Post by lad on Jul 11, 2012 21:36:21 GMT
Thanks Chris. I'm afraid I don't know what the polybushes are. We got them off an MX5 racer who'd broken his race car after a handful of races and flogged off the bits. I think they're of the sort of level of the ebay ones though, not full prowerflex for example. I think we paid 50 or 60 quid for them.
|
|
lad
Junior
 
Posts: 79
|
Post by lad on Sept 30, 2012 21:17:36 GMT
A few more bits done over the last couple of months. It's slow progress for us I'm afraid - both having young children. Anyway....... We paid Stuart a visit and he welded us in a harness bar on our rollbar: 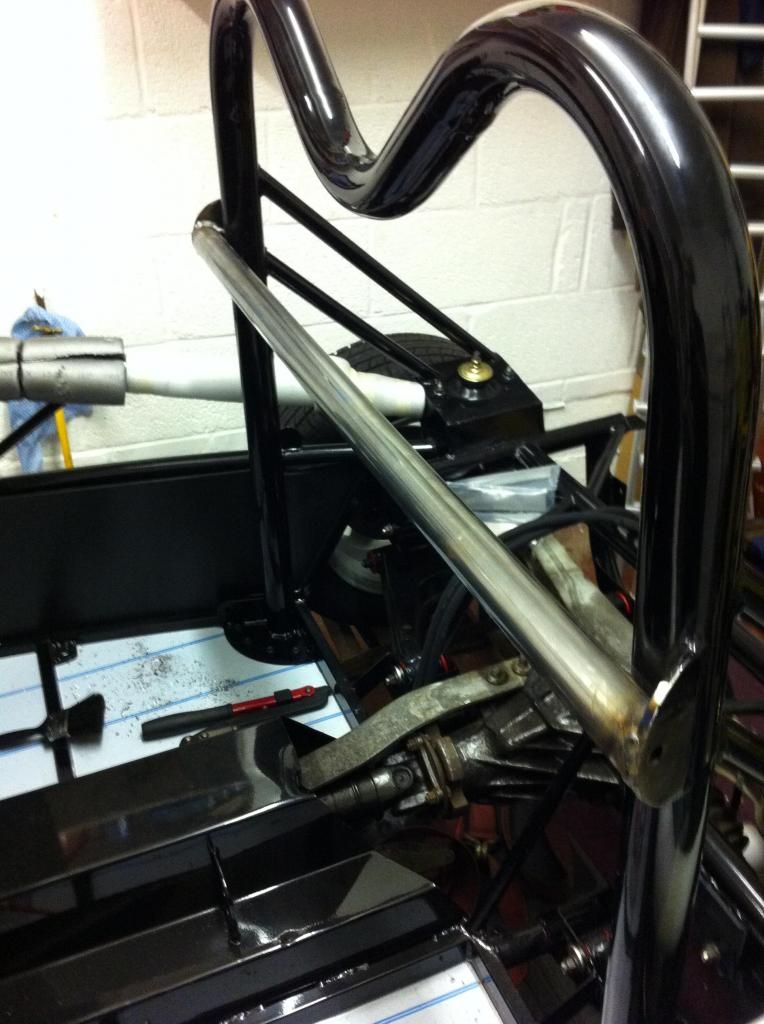 Nice job - just needs painting in the corners and we'll put some carbon wrap on it which we bought to do the floors and tunnel. We also got some new bits of ali from Stuart to deal with our rear bulkhead - as you can see its different a standard Exocet. Onward to the hoses and we got the fuel pipes in down the tunnel - we've chosen to put new braided hose all the way from the fuel rail so I had to split the inlet manifold to gain access to the rail. I've lost the pics of this unfortunately. Lad |
|
lad
Junior
 
Posts: 79
|
Post by lad on Sept 30, 2012 21:29:09 GMT
Next we started on the brake pipes and got the hangers in first: Front drivers side, with a shortened version of the original pipe: 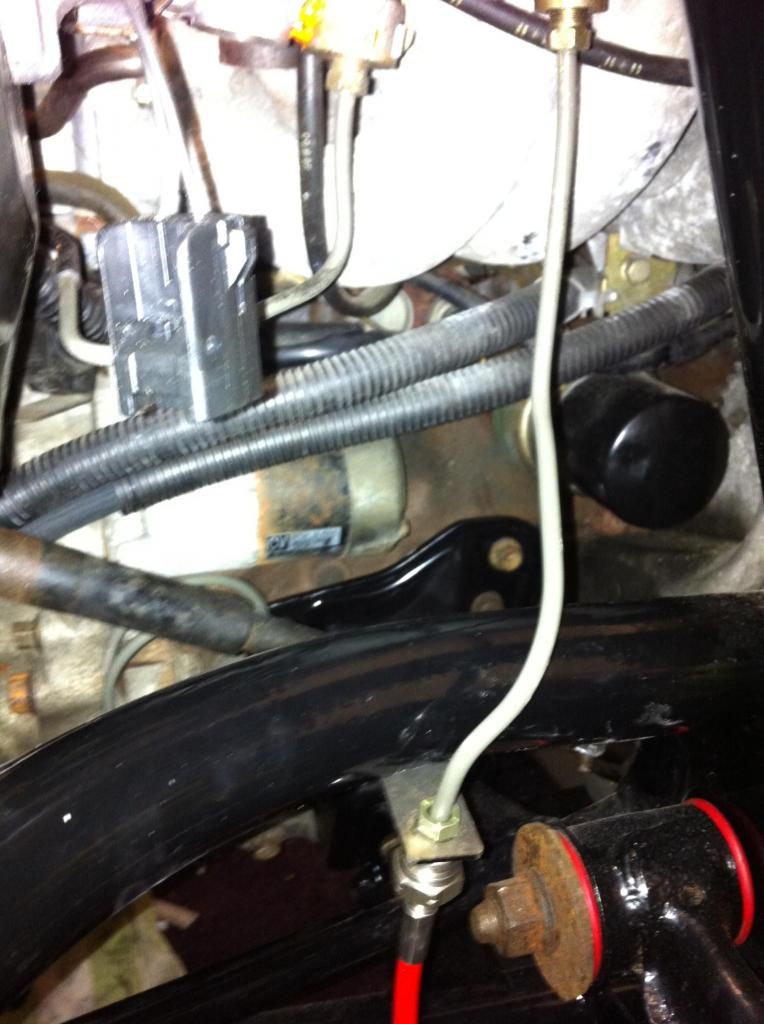 Front passenger side: 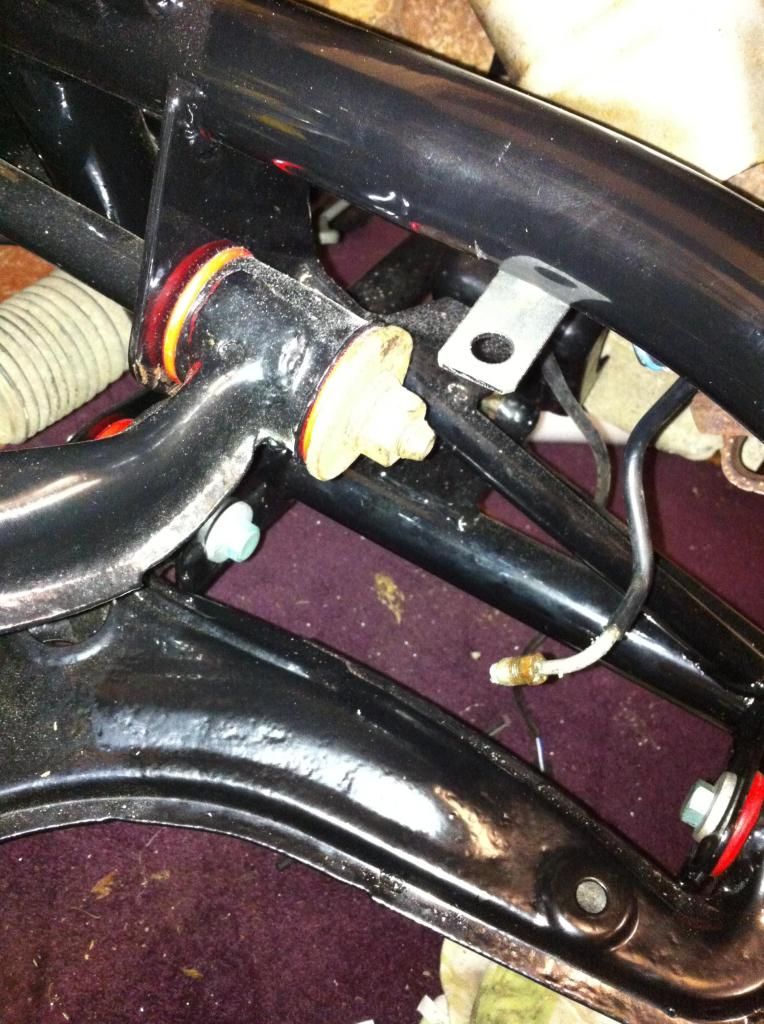 Rear passenger side with the T-block: 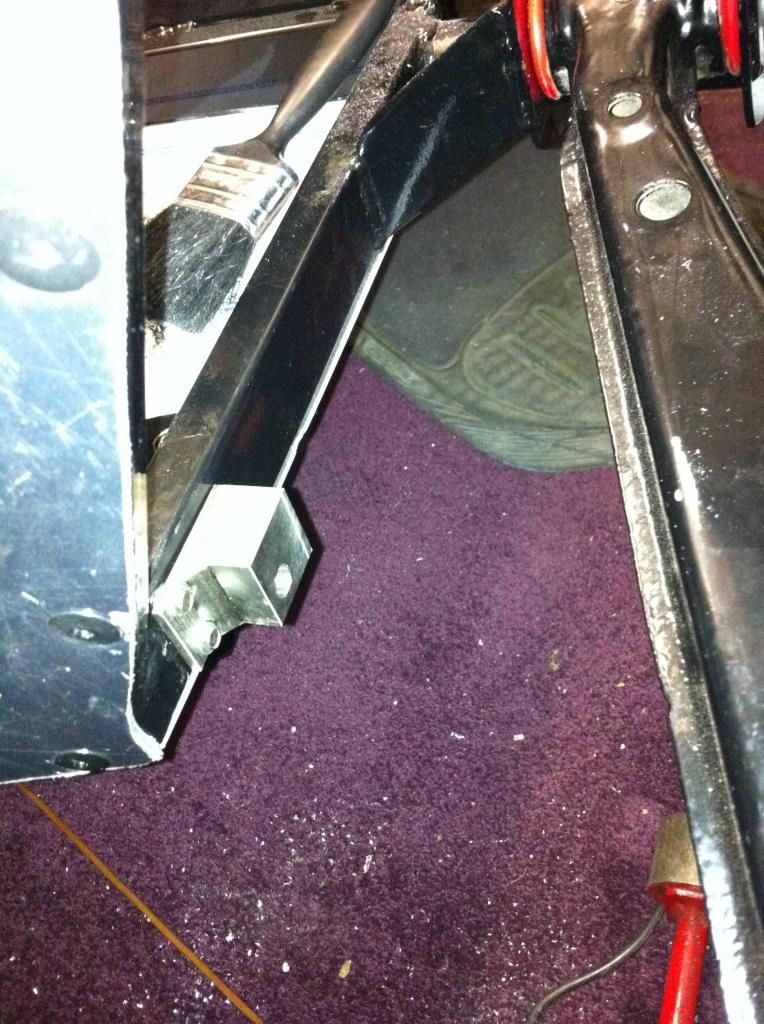 Rear drivers side: 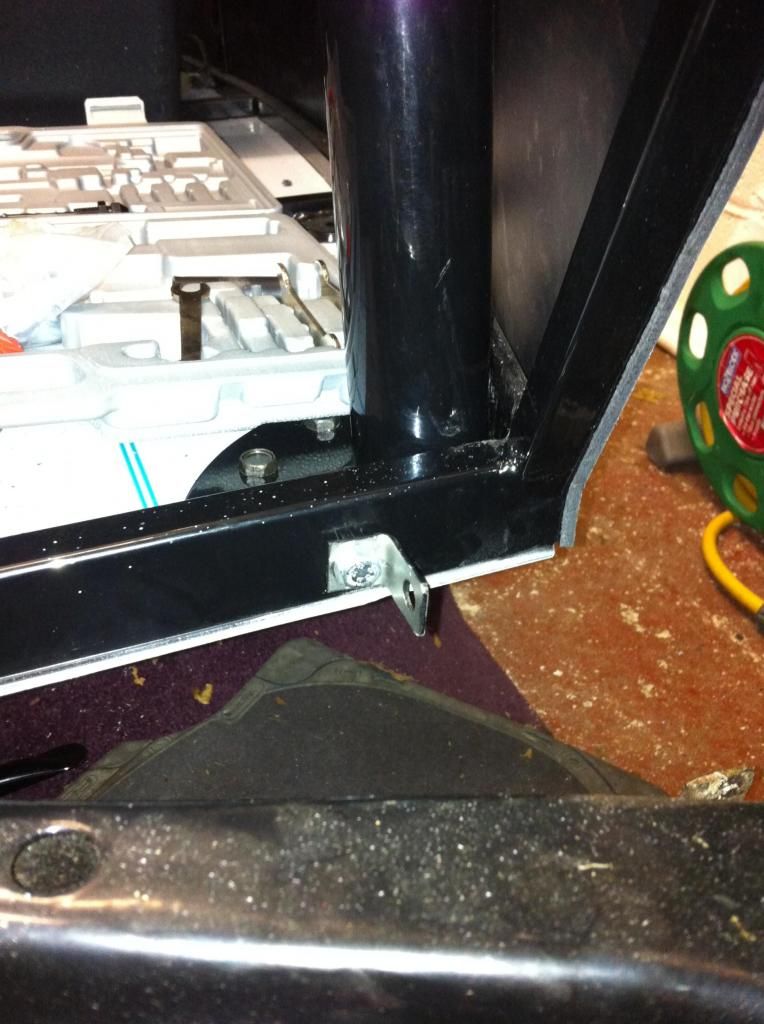 On the front passenger side I decided to go with modifying the original brake pipe although these pipes are far harder to bend by hand so I might not do that if I had to again. It looks tidy though with the clutch pipe clipped too. 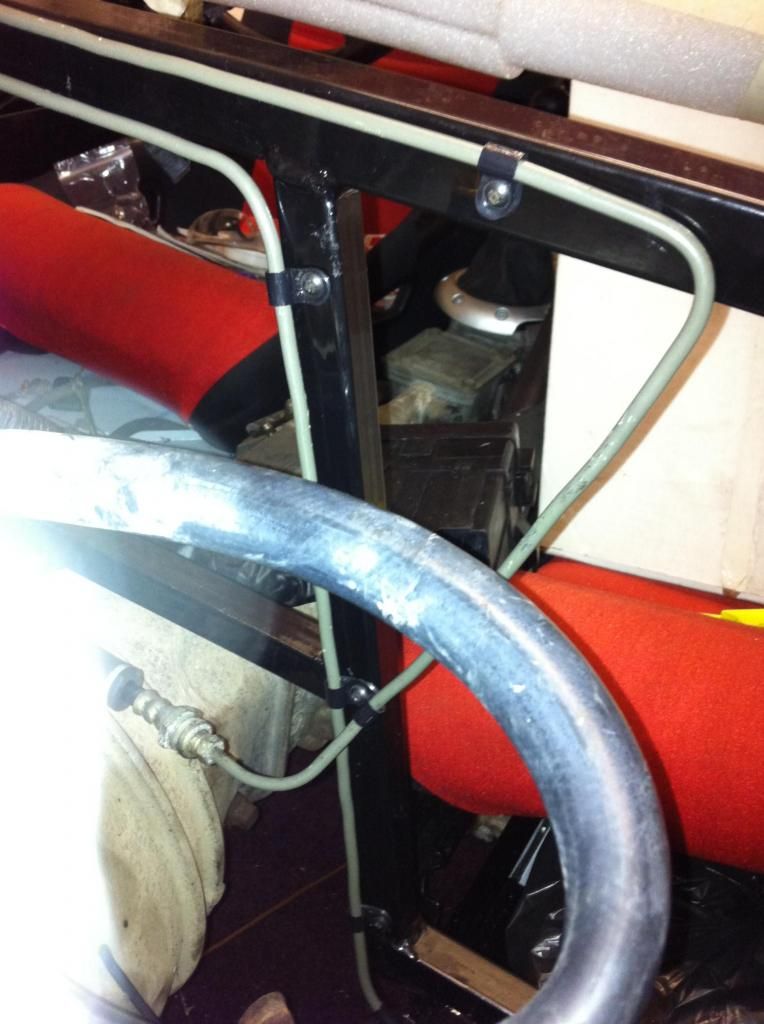 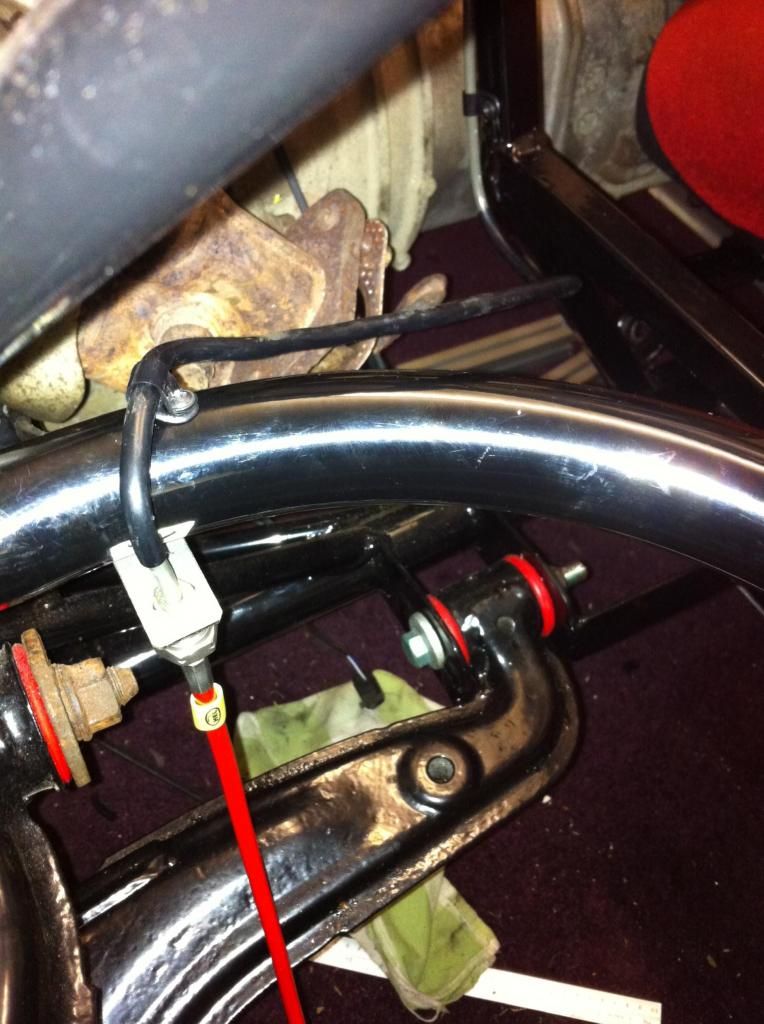 Its one of those things where the flash of the camera shows every small kink in the pipes that the eye doesn't see. They look straighter in real life! 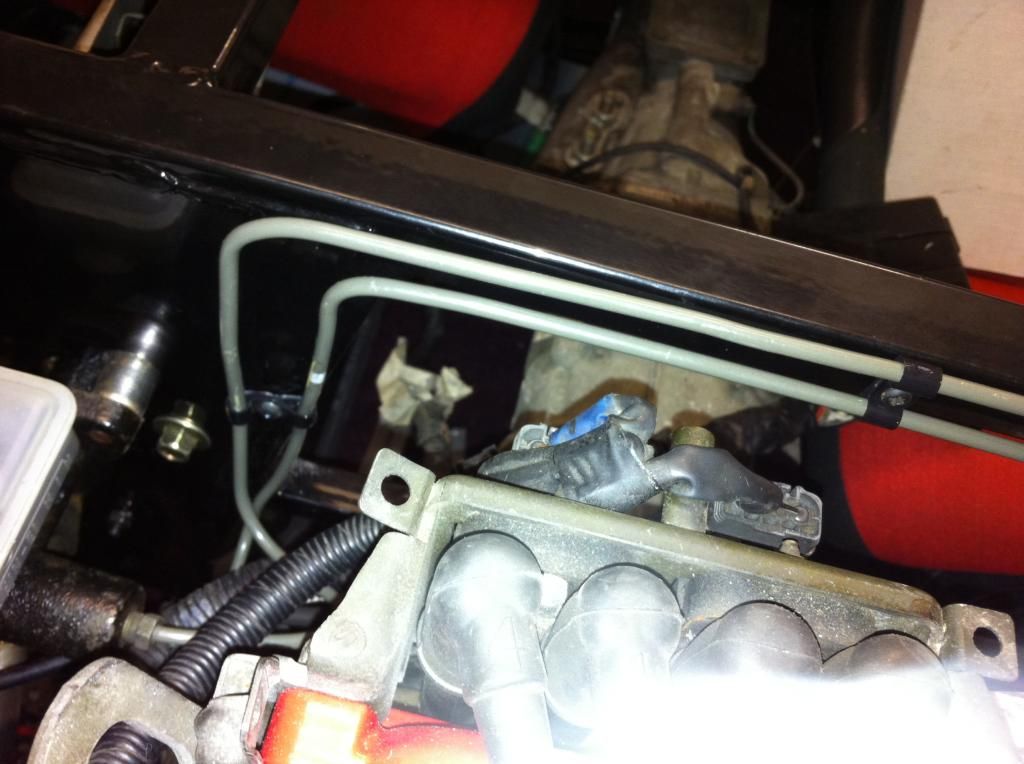 I started on the back but ran out of the P clips that came with the kit and had to order some more. This is how far I got: 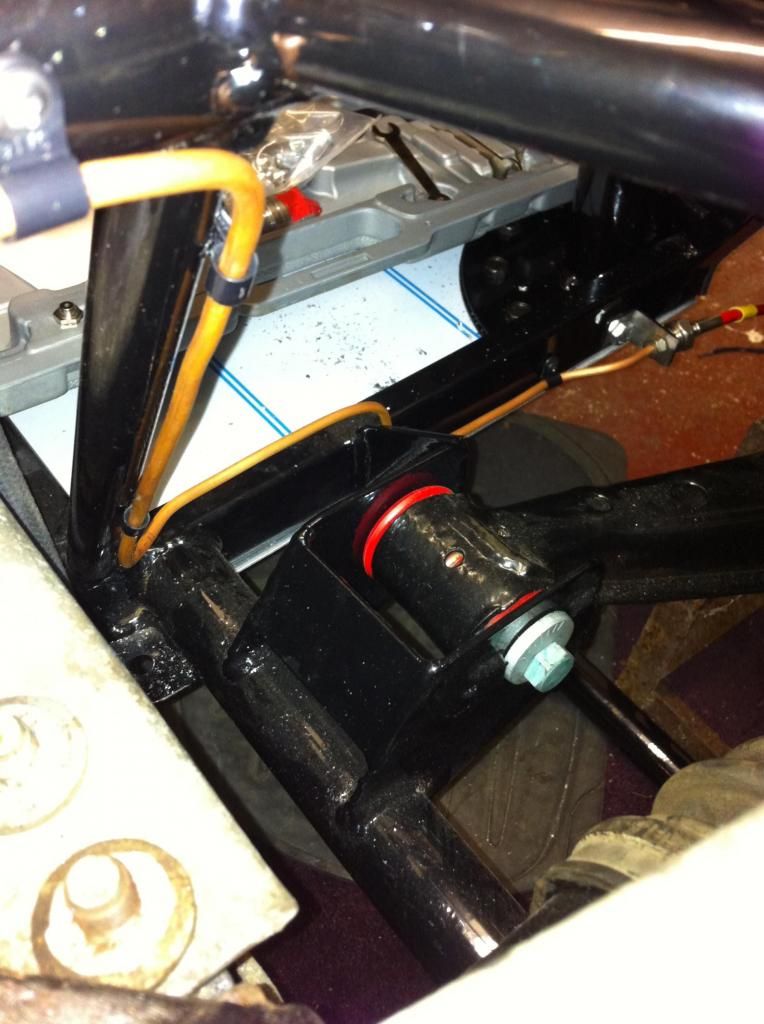 We've got no rear subframe so we don't have the cross-over pipe. This is going in instead of it before I finally run the front to back pipe down the tunnel next. Lad |
|
lad
Junior
 
Posts: 79
|
Post by lad on Sept 30, 2012 21:33:19 GMT
|
|
lad
Junior
 
Posts: 79
|
Post by lad on Apr 29, 2013 21:49:57 GMT
Time for one of our infrequent updates.......... We've got the footwells fitted: 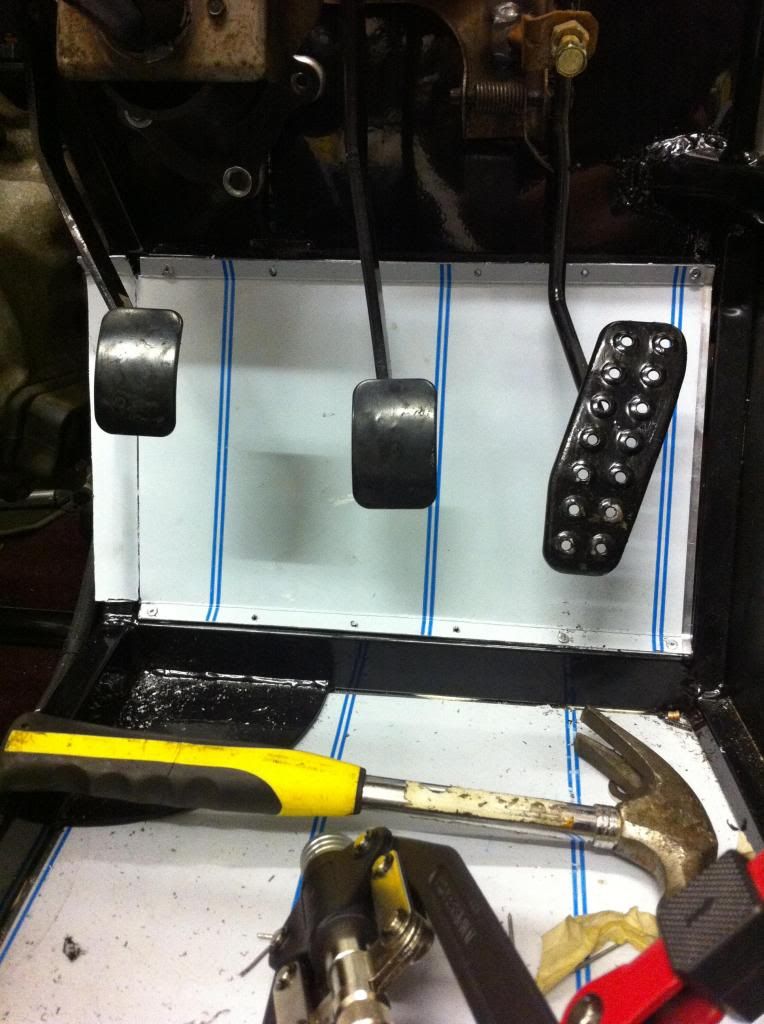 We left a little extra on the inside by the tunnel and shaped the ali around the frame with a soft mallet. Seeing other people struggle with the tunnel fit we're not looking forward to it so we thought this would help make a better joint. Next we started to think about getting it started and what we'd need. As it turned out we started it without the exhaust but this is where we started. We'd bought an almost new Elise Mk2 exhaust on ebay thinking it would look nice but on offering it up: 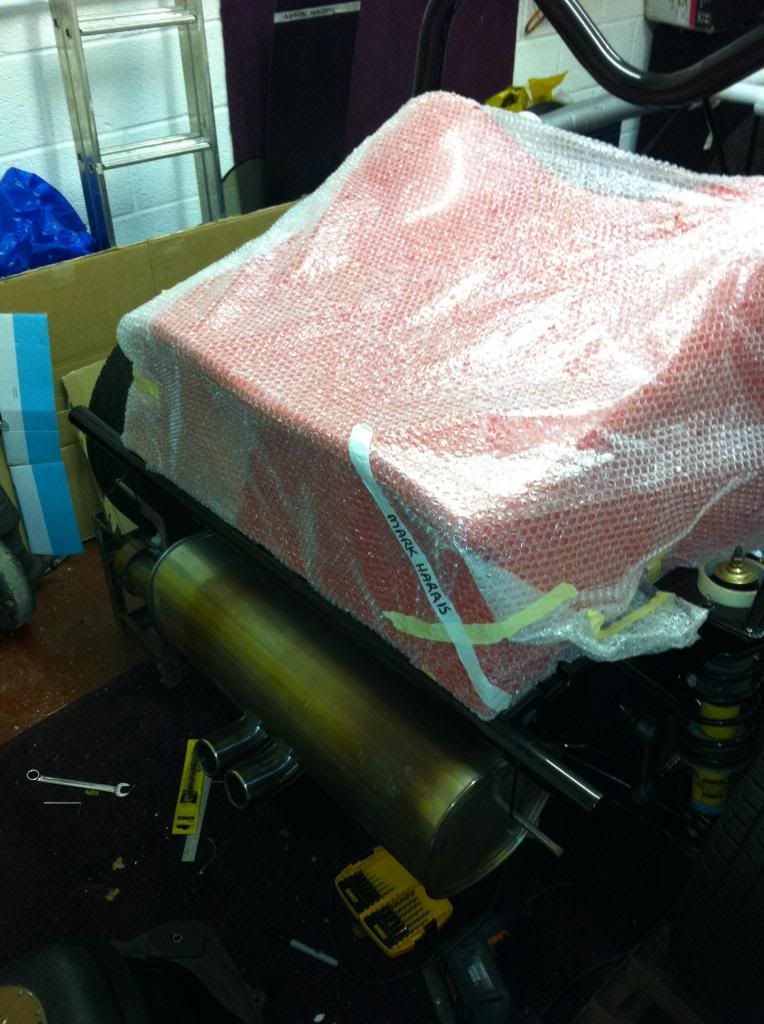 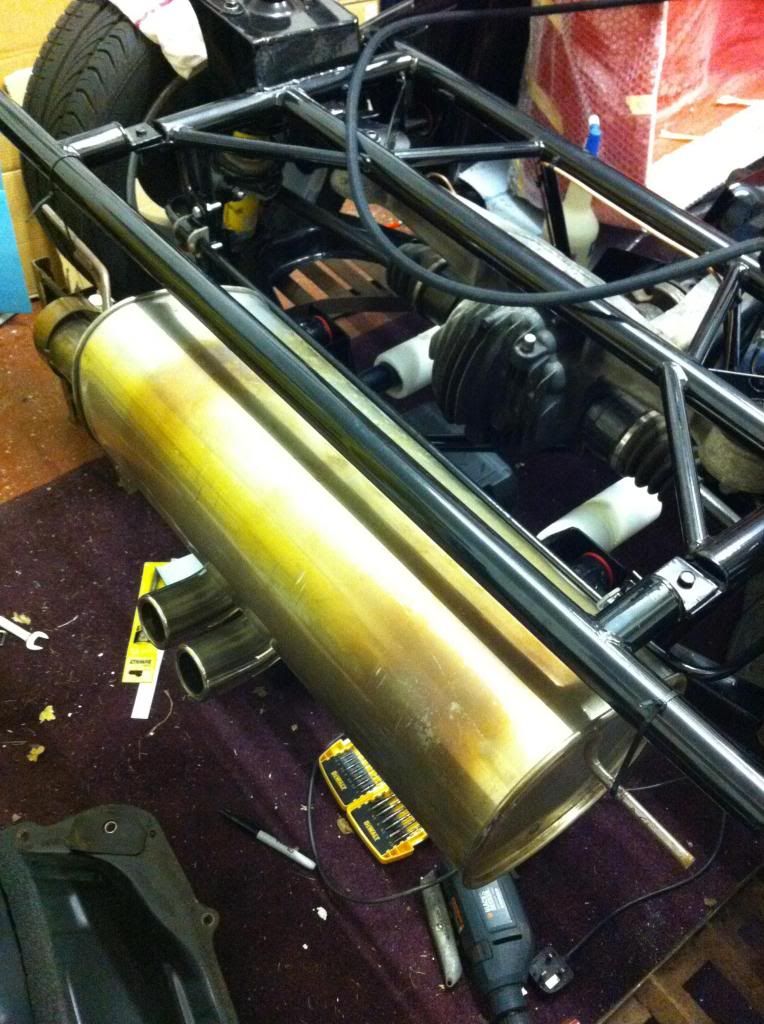 ......it's a bit big! It fitted nicely before we put the anti-roll bar in but now it sticks out the back too far I think. We'll see.... We also discovered that the mx5 mk2 exhaust doesn't fit the chassis so we had to chop that in half and just bolt the cat on for now. :-( Lad |
|
lad
Junior
 
Posts: 79
|
Post by lad on Apr 29, 2013 22:05:53 GMT
Next we moved on to fitting all the bits in ahead of the engine and mocked everything up first so it would fit and then the nose cone would fit over it. Here is the new air intake fitted with the coolant bottle and rad just taped in place: 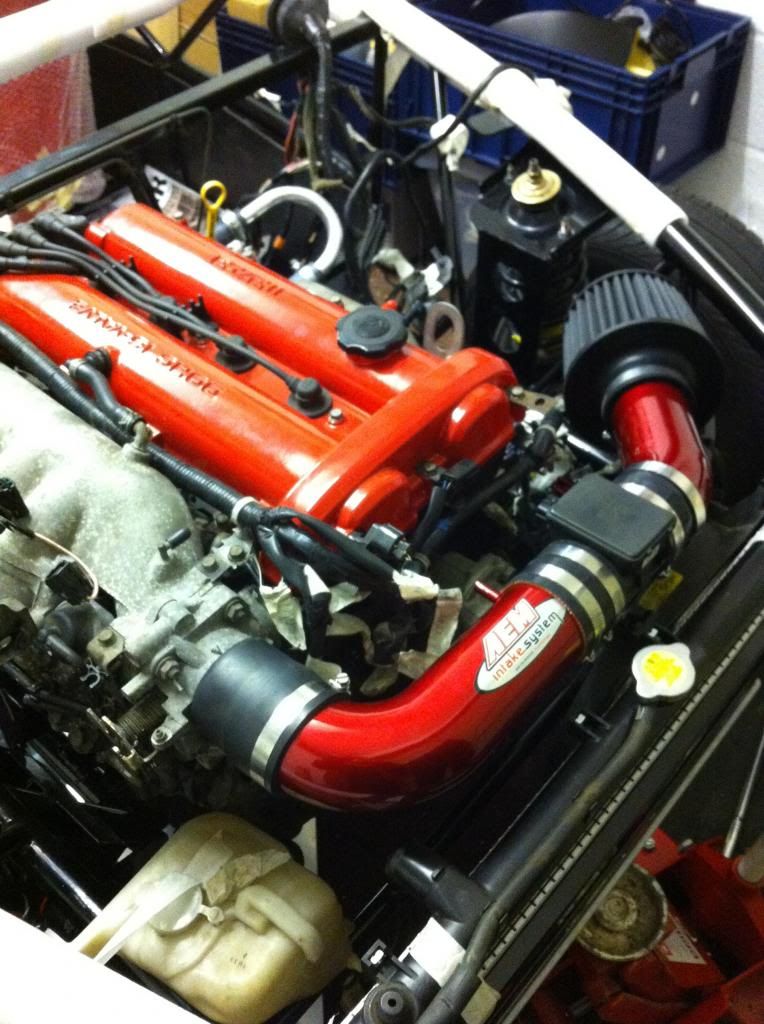 The intake needed angling downwards to fit under the nose cone. We did this by chopping the pipe on the throttle body end at an angle and it worked a treat. The whole intake needed shortening to fit in the chassis. The MAF also needed to be flipped upside down to fit. Then came coolant reservoir which is bolted to brackets made to fit the anti-roll bar mount and one riveted to the chassis cross-bracing: 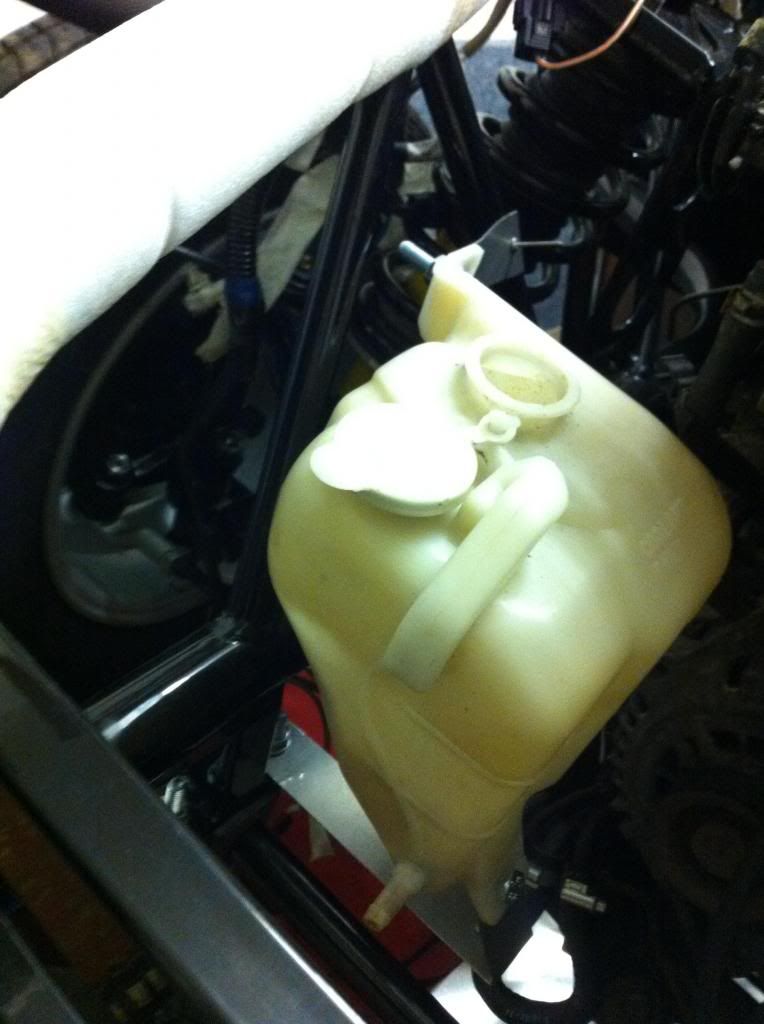 This was 2mm steel and later needed strengthening. Lad |
|
|
|
Post by gwnwar on Apr 30, 2013 6:41:26 GMT
Did you reinstall the air temp sensor in the intake system?? can't tell by pic..
|
|
lad
Junior
 
Posts: 79
|
Post by lad on Apr 30, 2013 17:25:11 GMT
Yeah it's under the intake tube between the filter and the MAF. Easy to forget though - we only noticed it when there was a grommet left in the intake kit box!
|
|
lad
Junior
 
Posts: 79
|
Post by lad on Apr 30, 2013 19:39:46 GMT
Oh there we go, the angled cut on the intake pipe: 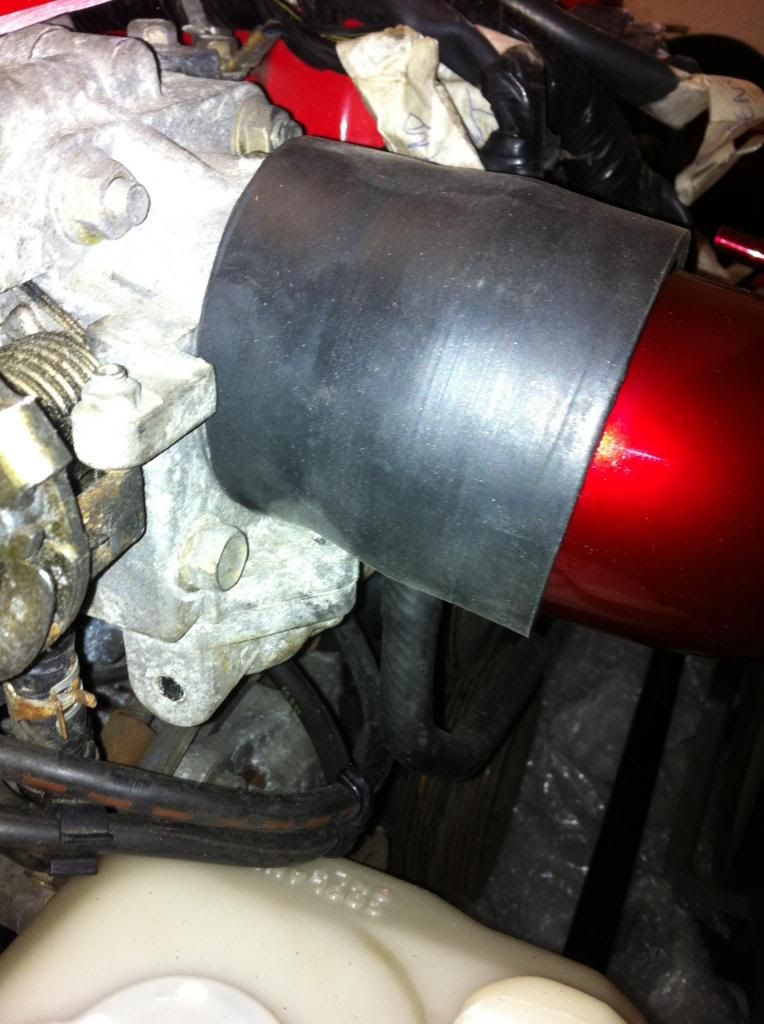 and a test fit with the bonnet: 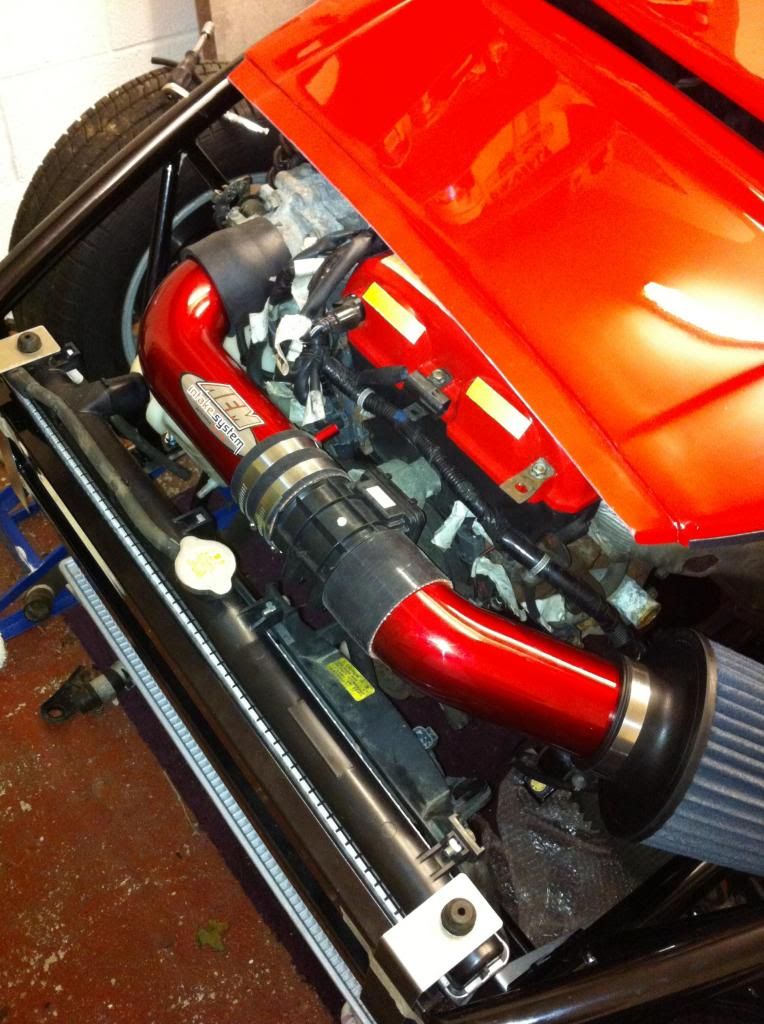 We had to get the edge trim on the bonnet straight away. It's amazing how easily the edge of the fibreglass scratches the powercoat on the frame. Also you can see some protection on the cam cover there too. Once we were happy with the positions of everything I fabricated some radiator mounts to use the existing rubber mushrooms on the rad (mk2 only) from the anti-roll bar mounts: 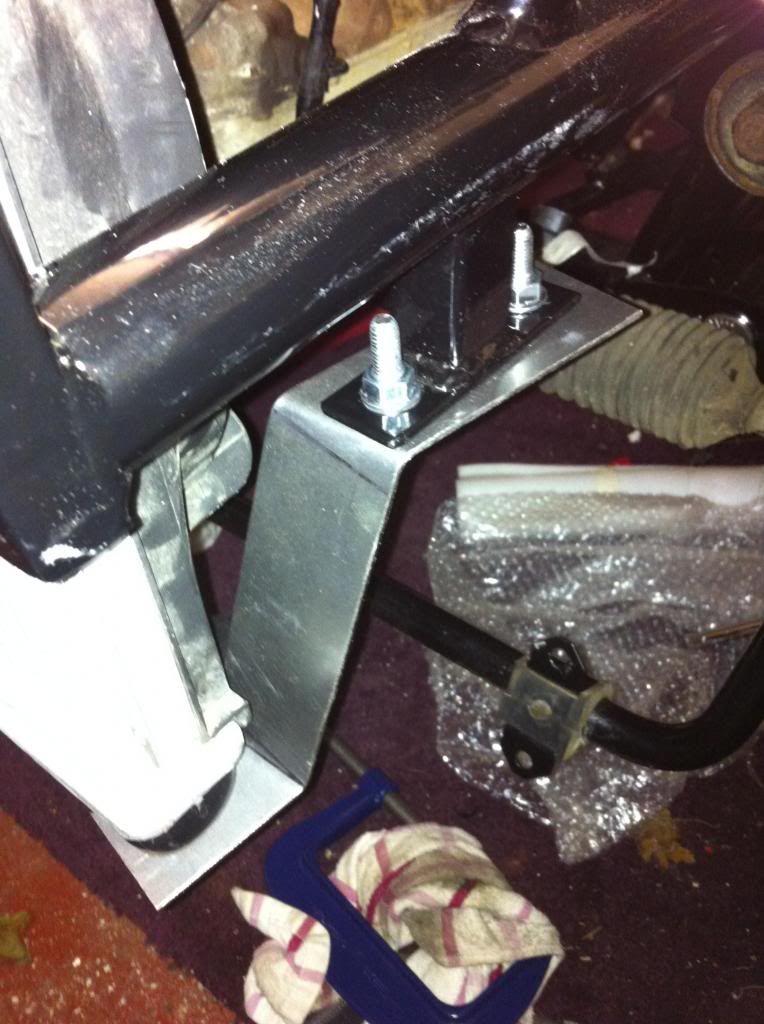 and 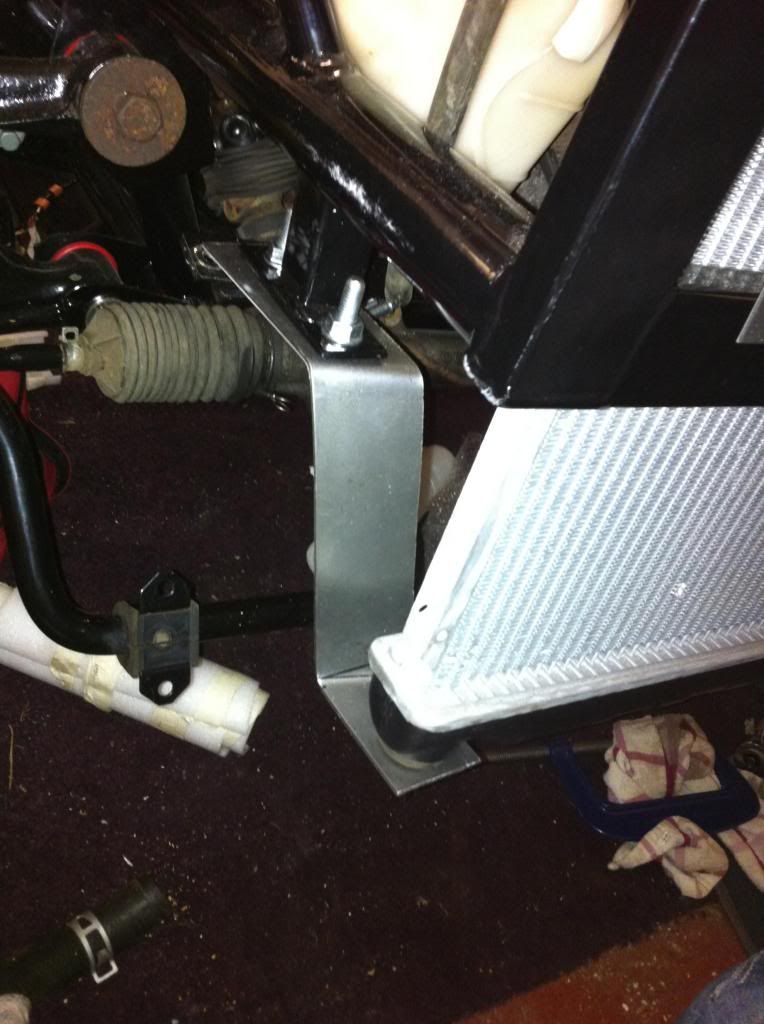 Got the horn mounted from an old Laguna I scrapped in the past: 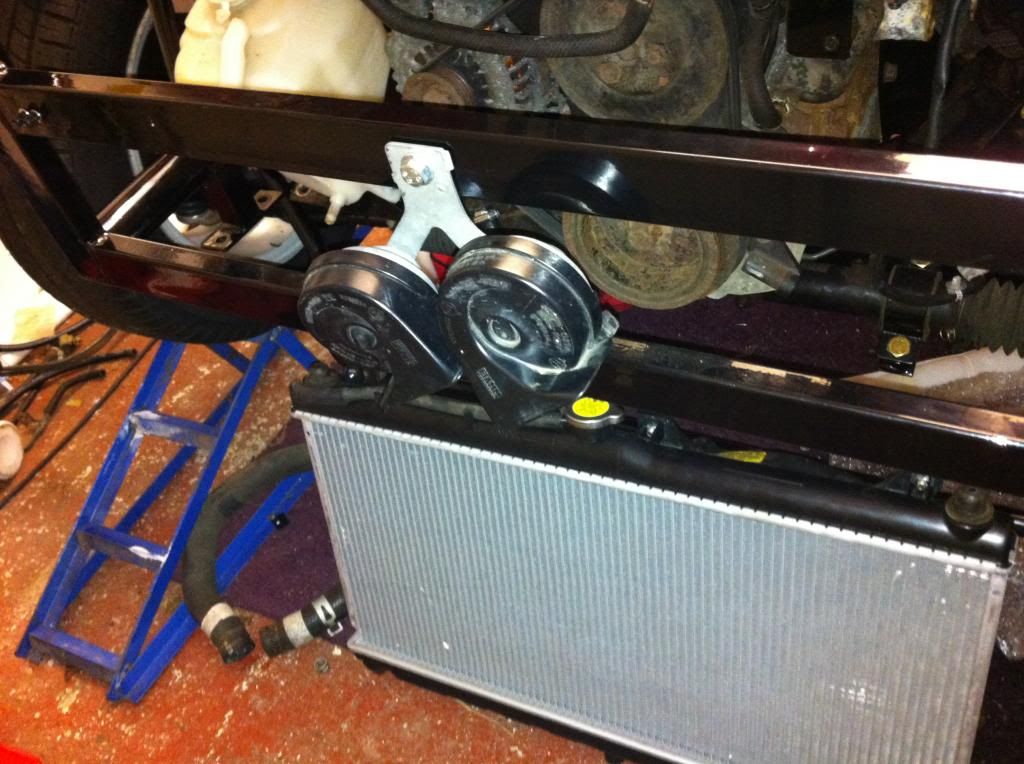 ......painted the rad mounts: 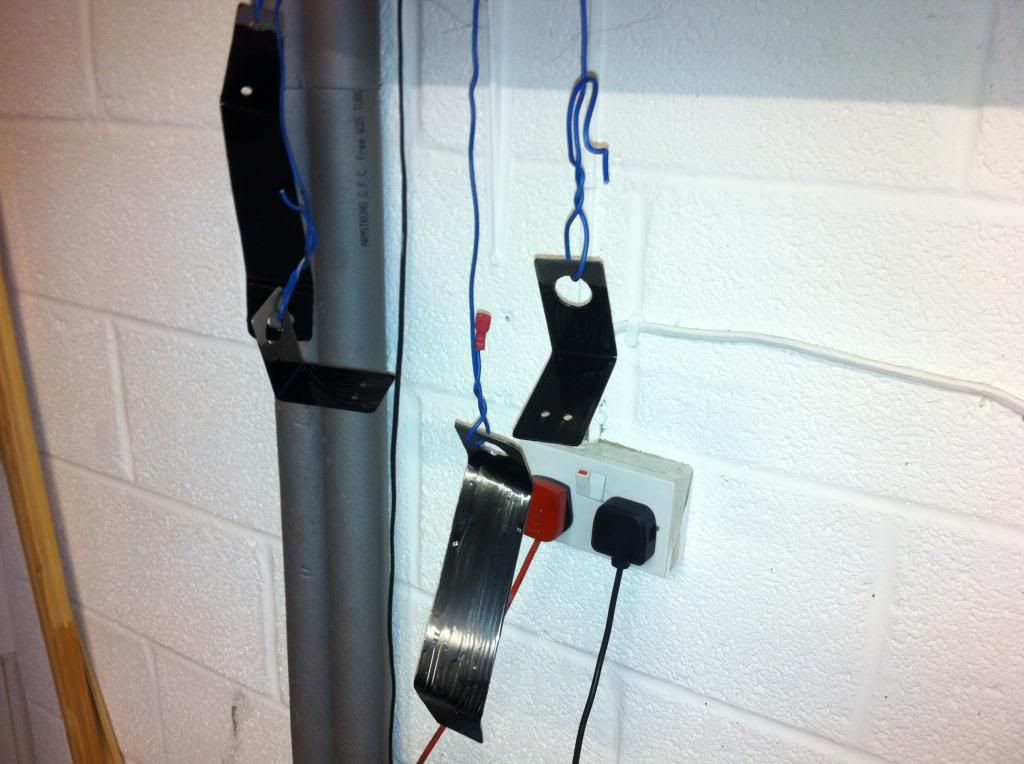 .....bolted everything up and fitted the nose cone: 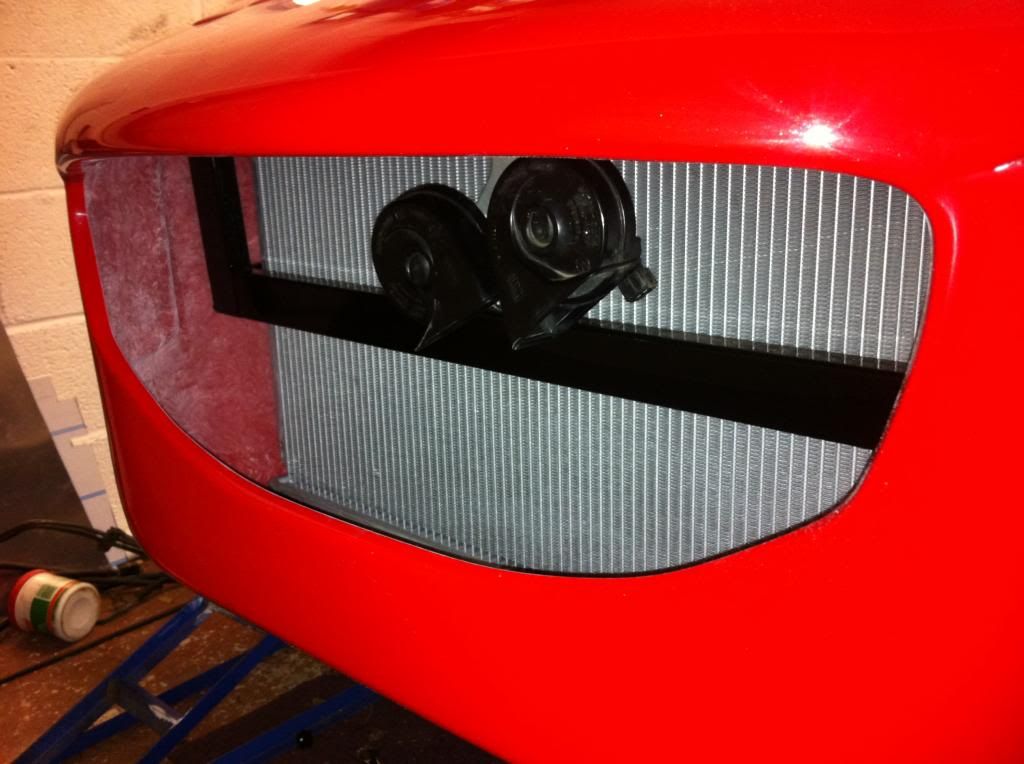 ending up with a nice fit on the bonnet: 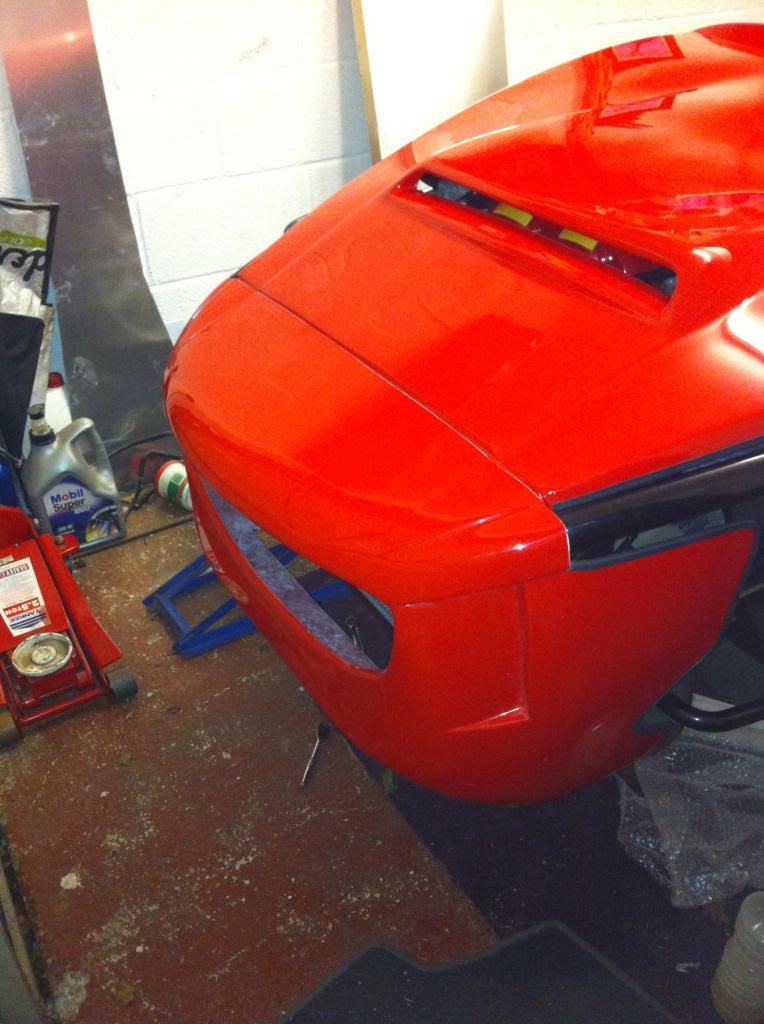 Lad |
|
lad
Junior
 
Posts: 79
|
Post by lad on Apr 30, 2013 19:53:34 GMT
Next came the week we started it up as seen in another post. In order to get the loom connected up before we stripped it I draped it over and connected everything up then created a spider's web of ground wires from the battery to all of the MX5 ground points. I strapped the ground post to the PPF for the starter motor too. 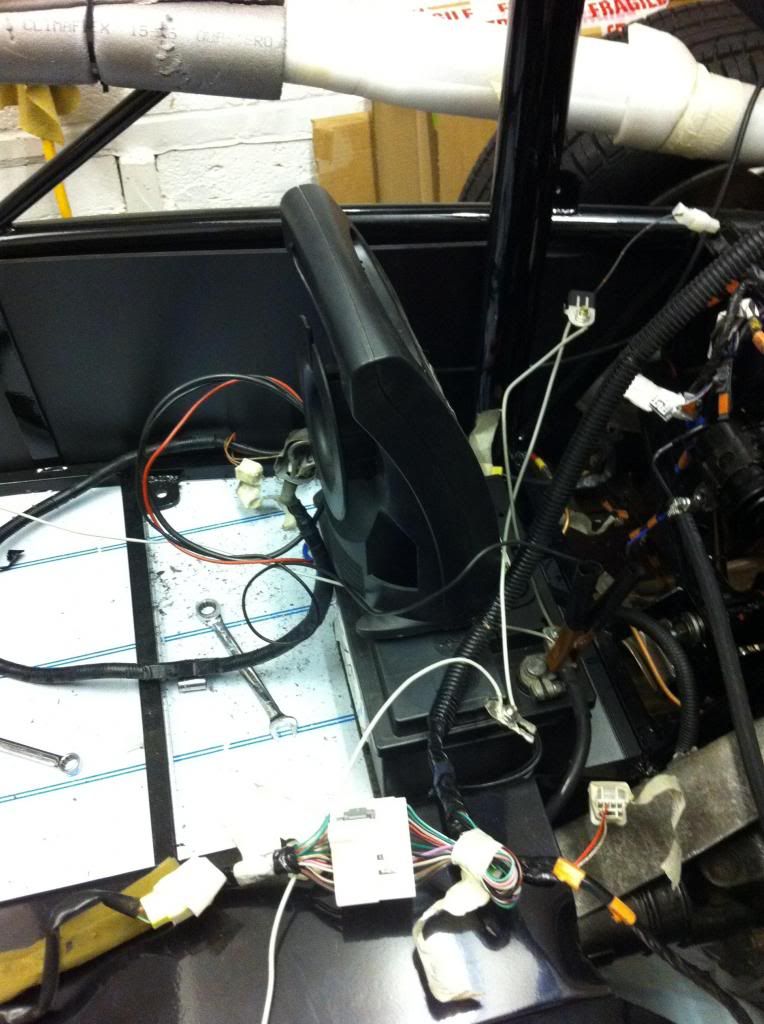 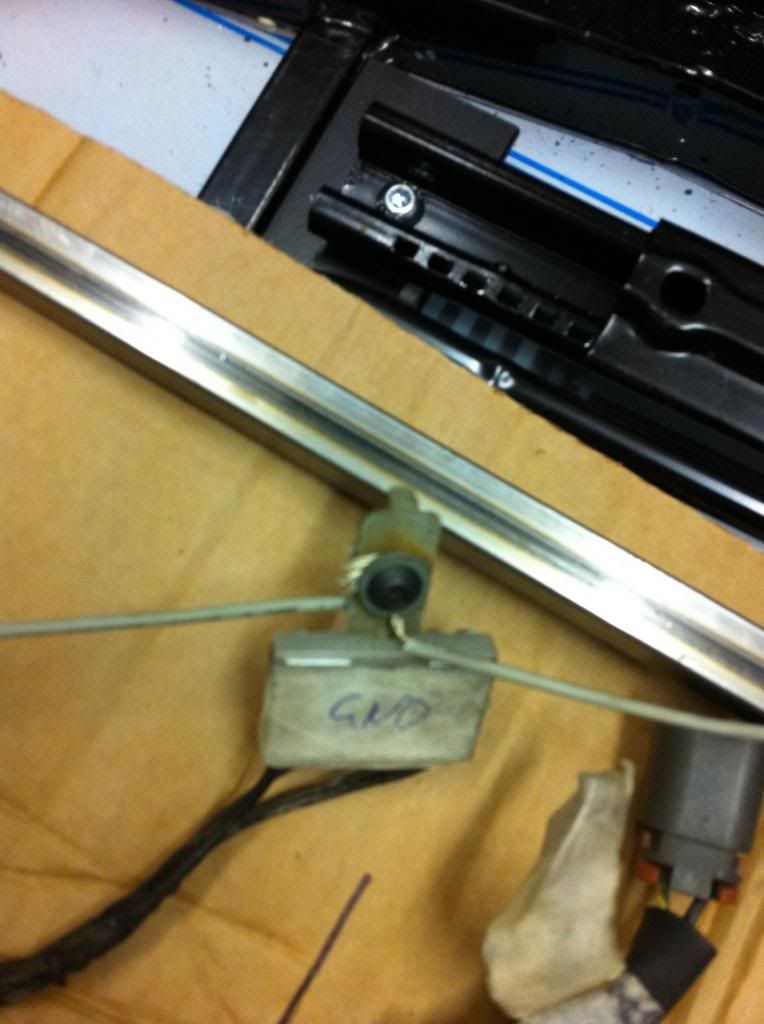 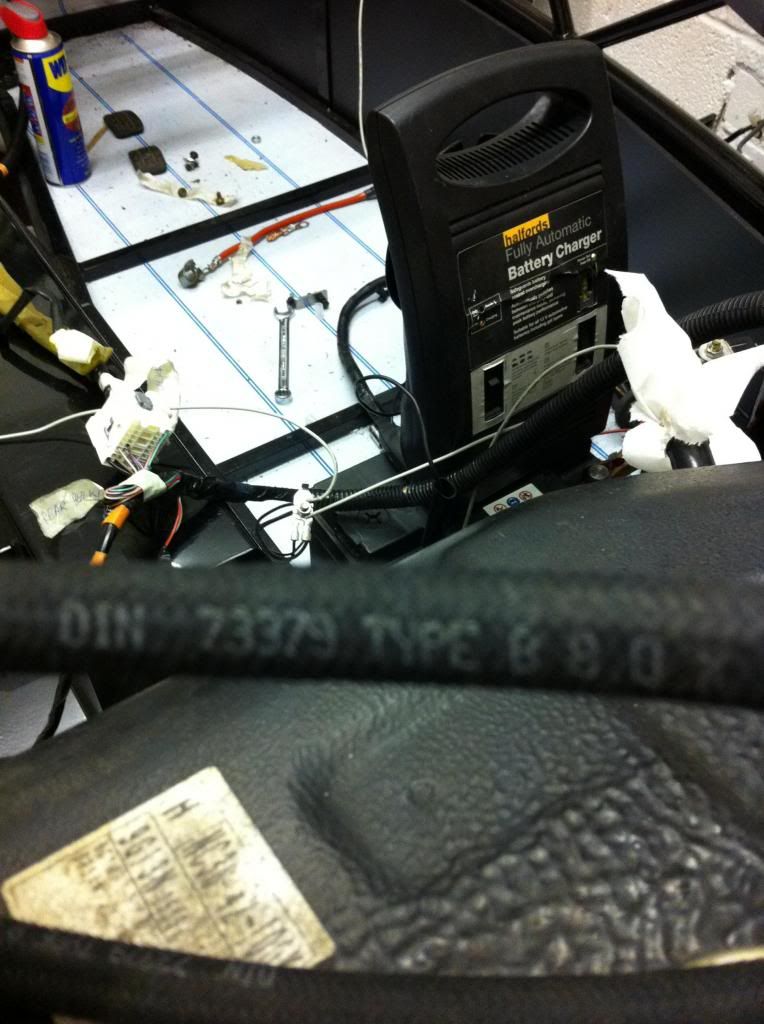 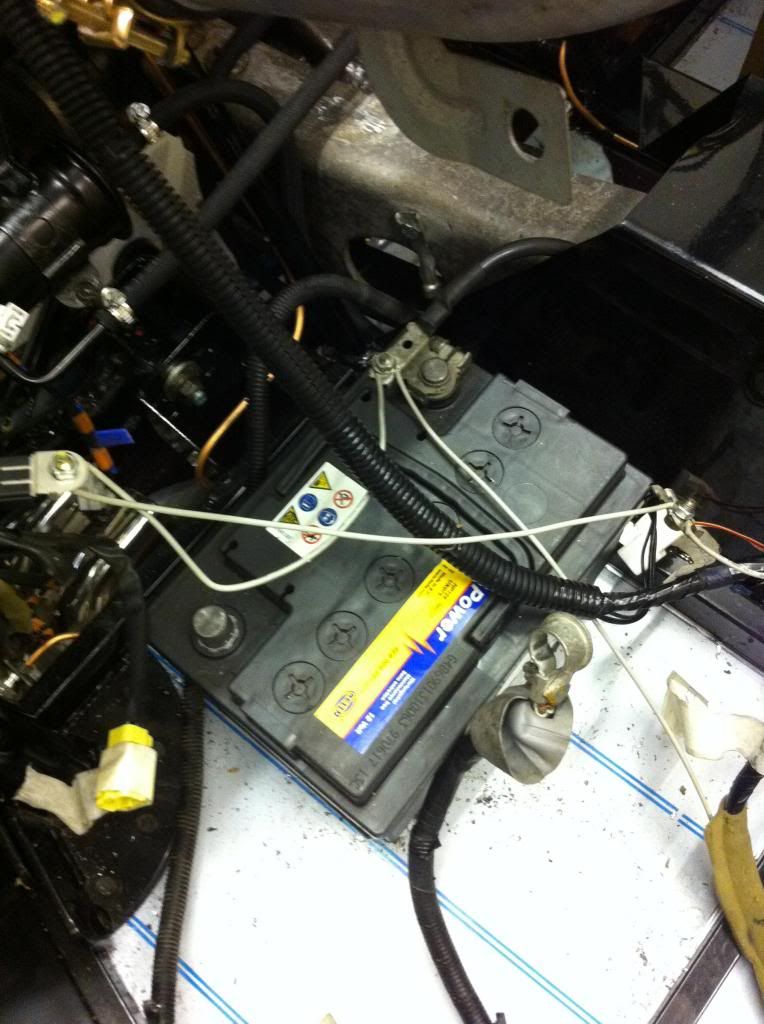 Got the fuel filter mounted on the rear bulkhead (our lightweight has an angled rear bulkhead but we intend to create a false one in the normal vertical position, this will be in the void). 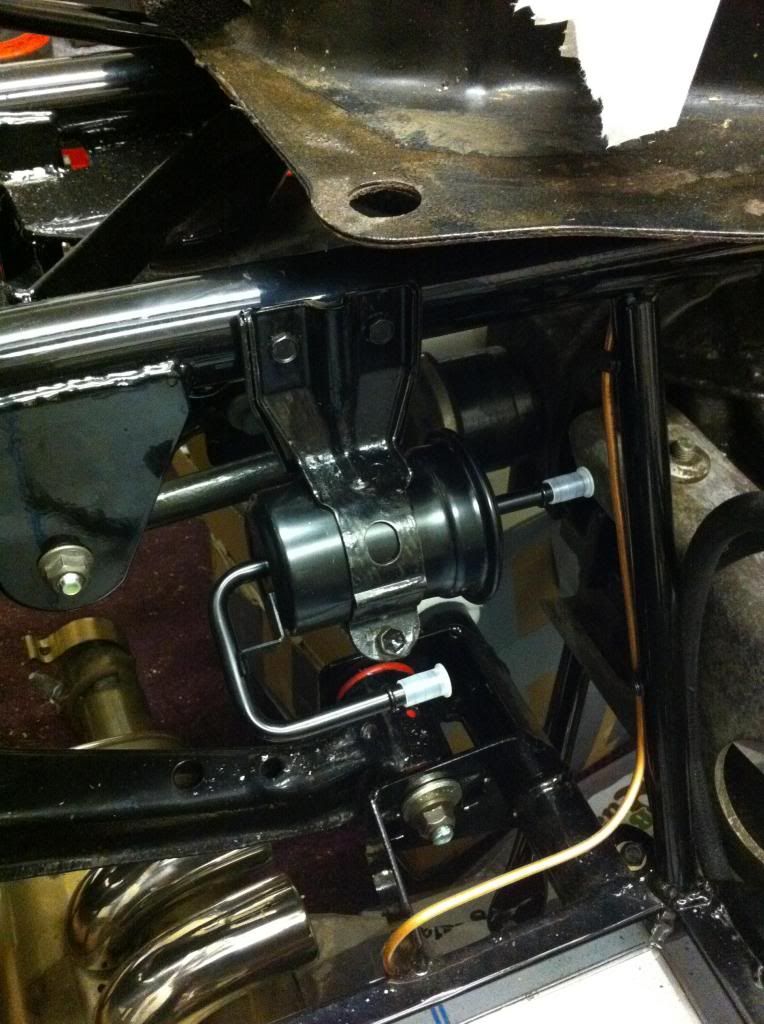 Took a photo of the fuel pipe labeling for the SVA man. 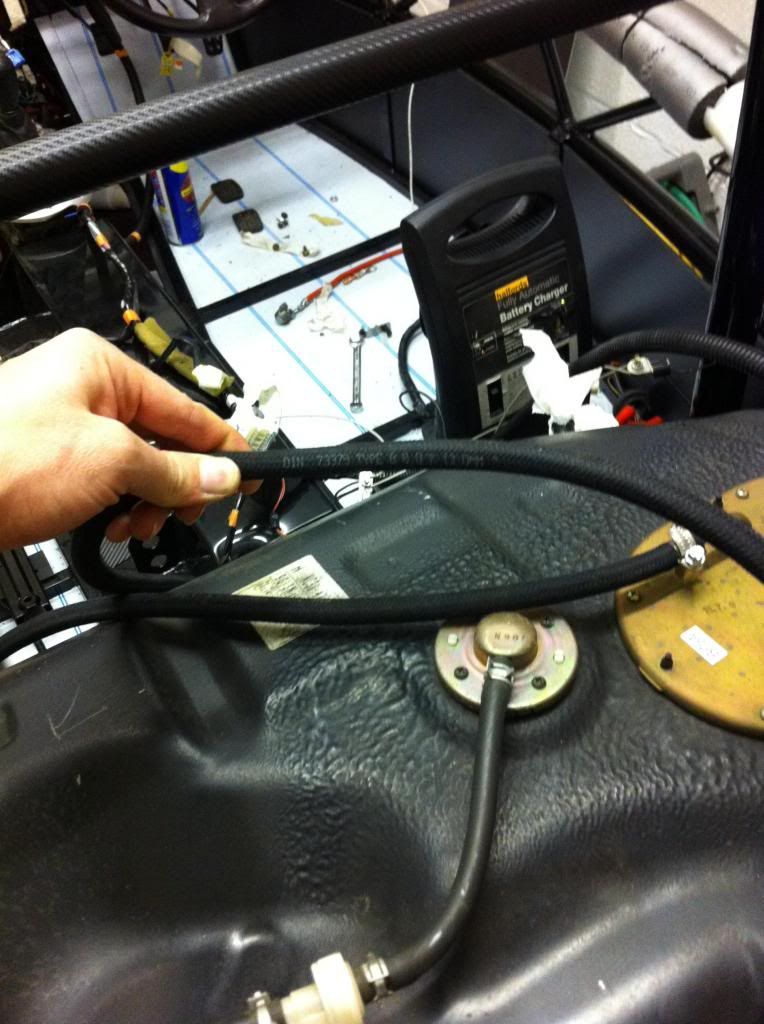 and plumbed it all up. I removed the inlet manifold earlier and ran new pipes all the way to the fuel rail so we have no breaks. With the fuel filler fitted temporarily: 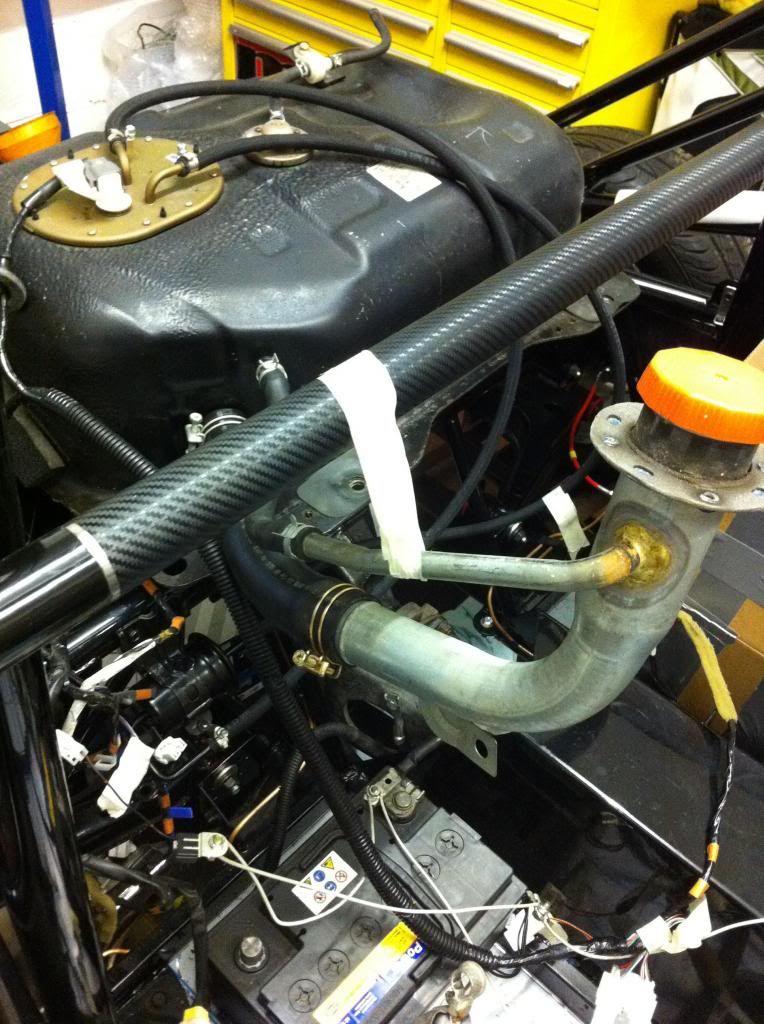 .......taped to our "carbon" harness bar  and started it up. It all went well except for finding our alternator had seized while in storage so we cut the drive belt and left that for later. Lad |
|
lad
Junior
 
Posts: 79
|
Post by lad on Apr 30, 2013 20:04:18 GMT
Finally with the engine now running we started stripping out the loom, starting it periodically to check we'd not made a mistake. 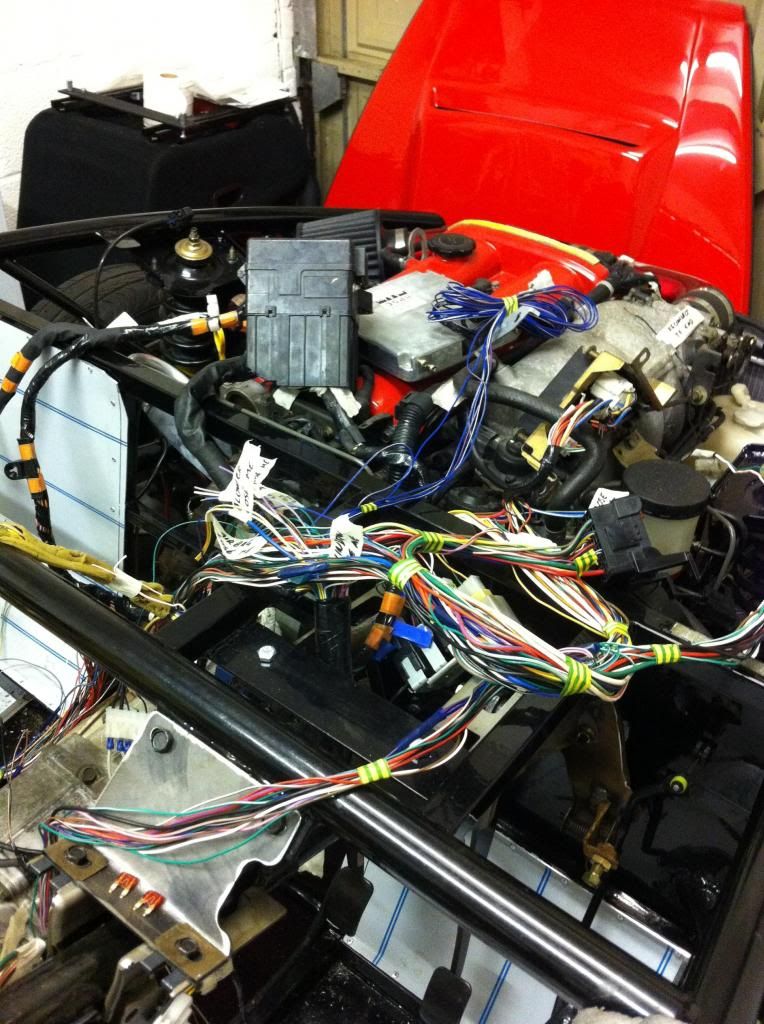 The earth tape is loosely keeping looms together, the masking tape labels are dead wires to be removed back to the relay box and fuse box later and the dark blue wires at the back are the wash wipe wires yet to be removed. Here are the passenger side wires - quite a few gone from here: 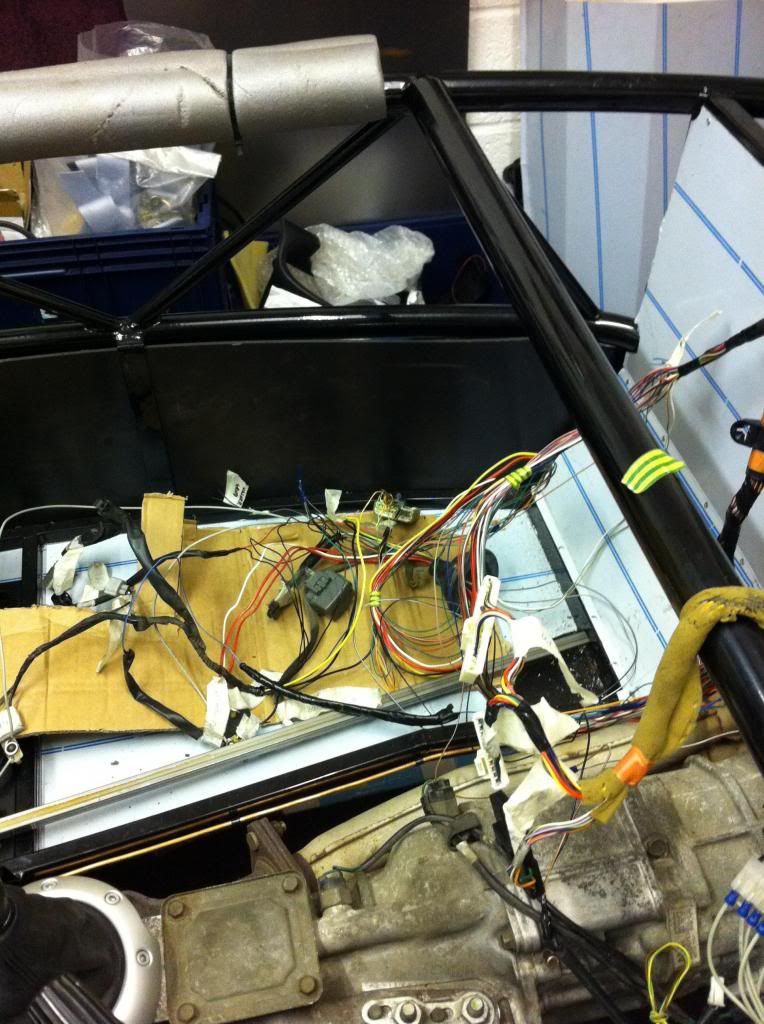 ...and here is the box of leftovers, not finished yet but not a huge pile I didn't think: 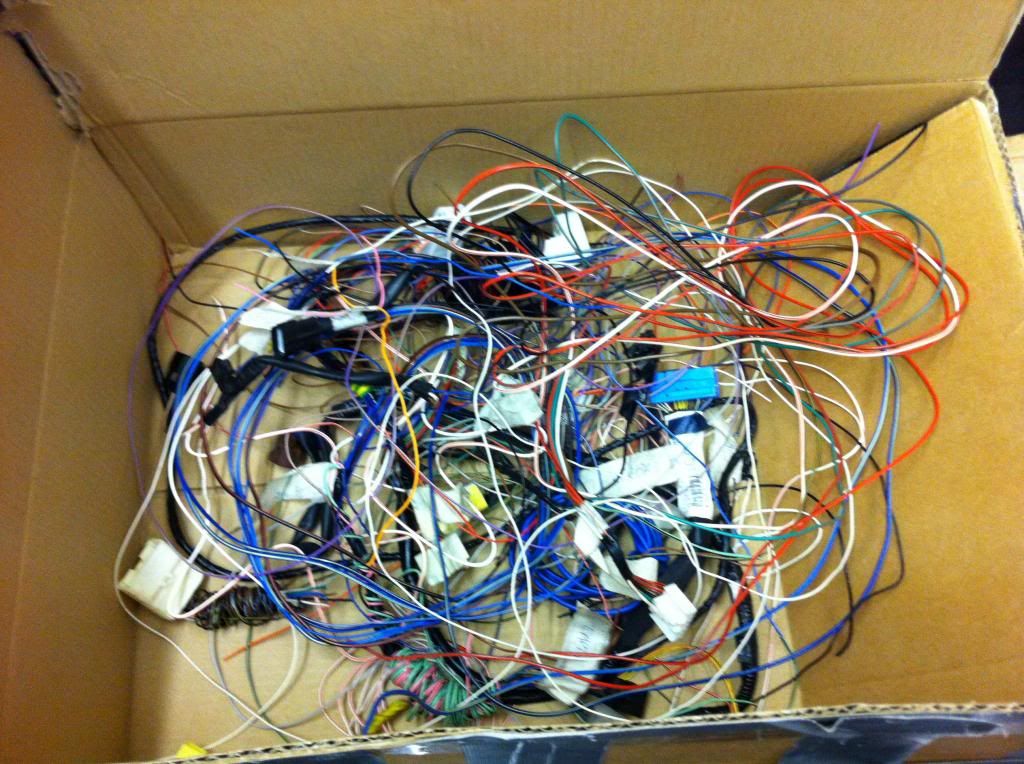 The wash wipe stuff needs to go in there and there's a centre console loom which isn't connected and needs 95% stripped out so that'll go in too. Lad |
|