|
|
Post by edwinwl on Oct 8, 2011 23:00:06 GMT
|
|
|
|
Post by edwinwl on Oct 30, 2011 8:10:26 GMT
Last Friday was steering rack day! Finally got my steering rack and quick rack. Originally got an new non-original steering rack. Unfortunately the quick rack only matches an original steering rack. It took some time to find out, but in the end the matter was solved by the Dutch MEV agent. First cleaning and careful disassembling: 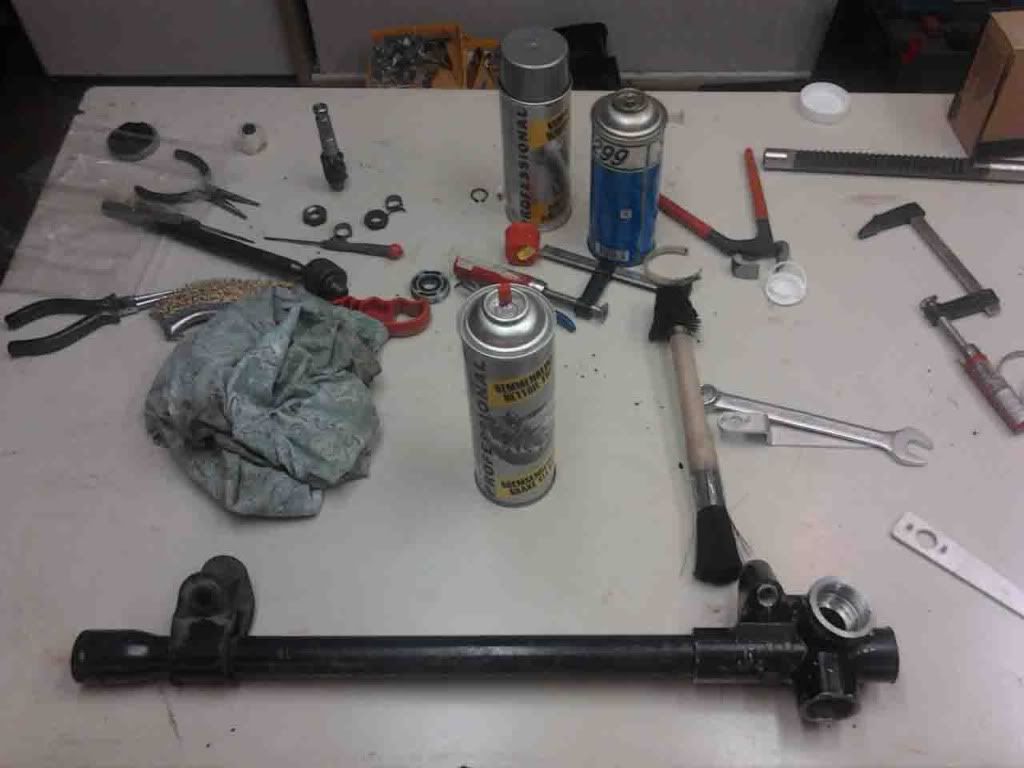 I "gently" modified the wrench of my axle grinder with my sledgehammer so it also fits the nut of the steering rack. 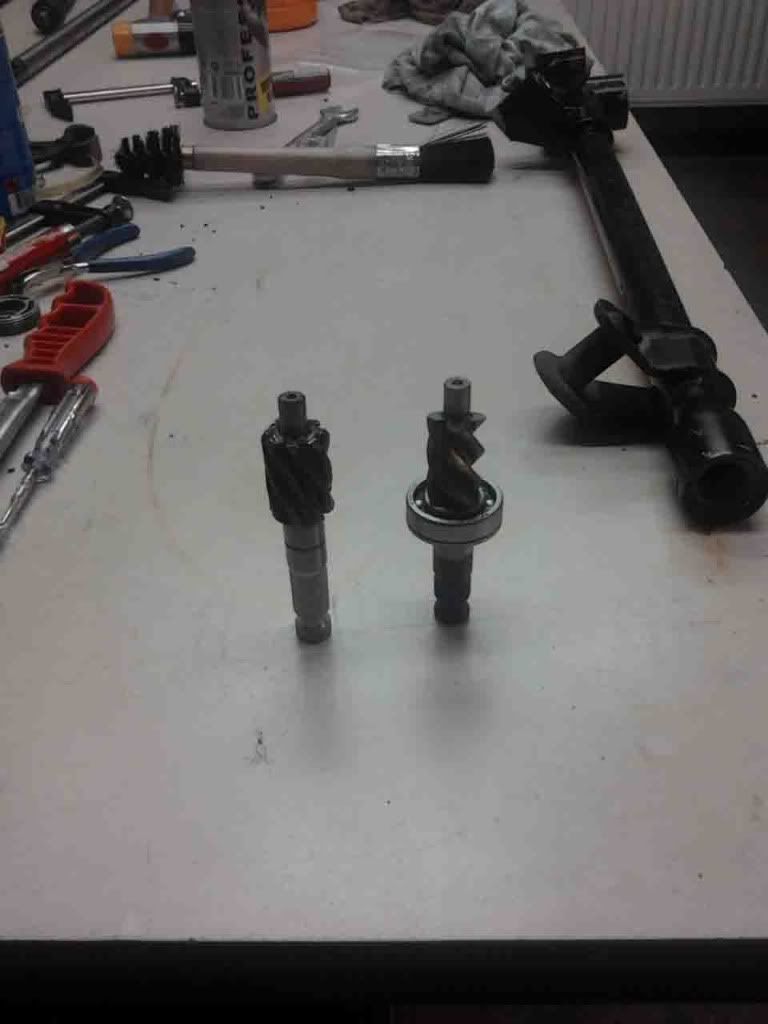 Removing the bearing was impossible. So I choose a faster solution: buy a new one. (8 Euro's) 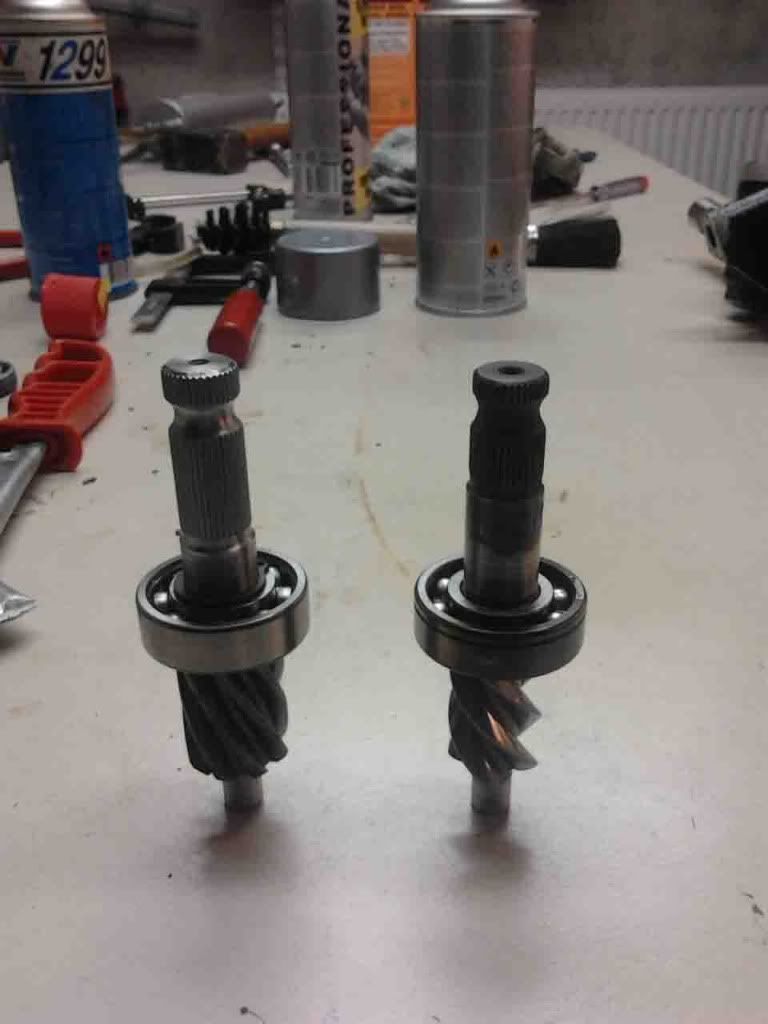 Sorry for the poor picture quality. The camera on my smart phone is no match for my Digital SLR camera  |
|
|
|
Post by edwinwl on Oct 30, 2011 8:16:53 GMT
Saturday I mounted the rack inside the car. I found out the steering column is getting very close to my clutch pedal.  I decided to give this some time to think about it and started with my clutch pedal. Made an robust bracket for pedal stoppers and cable connection. Top view: 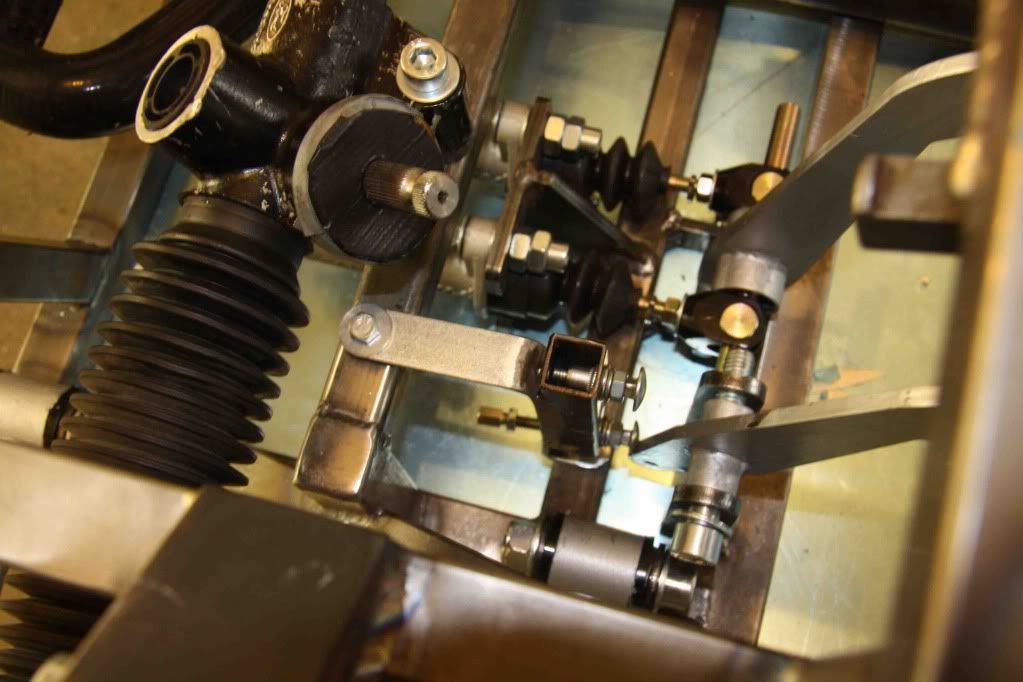 Side view: 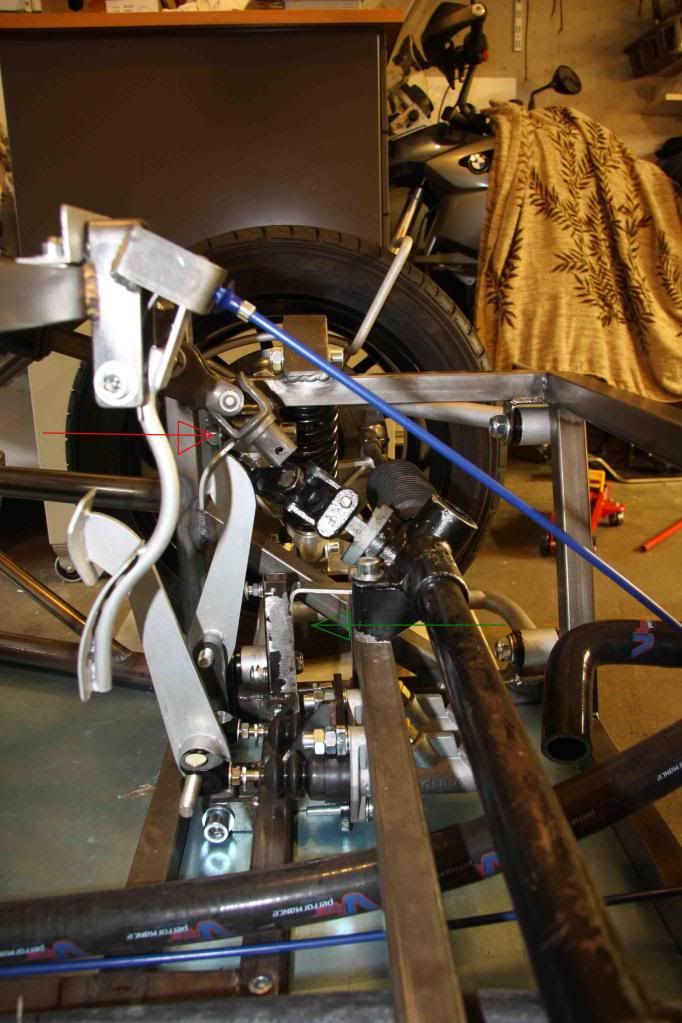 Green arrow is my bracket Red arrow is the close contact. Solutions I can think of: Any suggestions for the steering column? |
|
|
|
Post by edwinwl on Oct 30, 2011 12:32:10 GMT
With RHD tR1ke the steering colomn peeps trough the clutch and brake pedal.  |
|
|
|
Post by edwinwl on Oct 30, 2011 12:38:34 GMT
vtR1k has a hand clutch handle. So he has plenty of room: 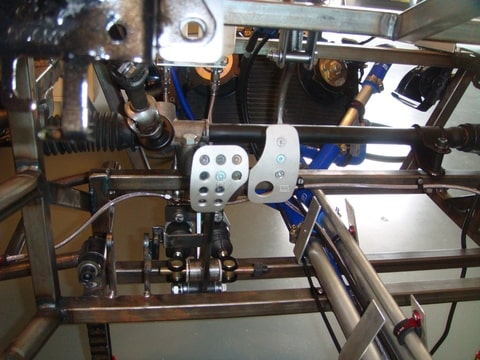 |
|
|
|
Post by edwinwl on Nov 5, 2011 21:43:44 GMT
Today, front wings: 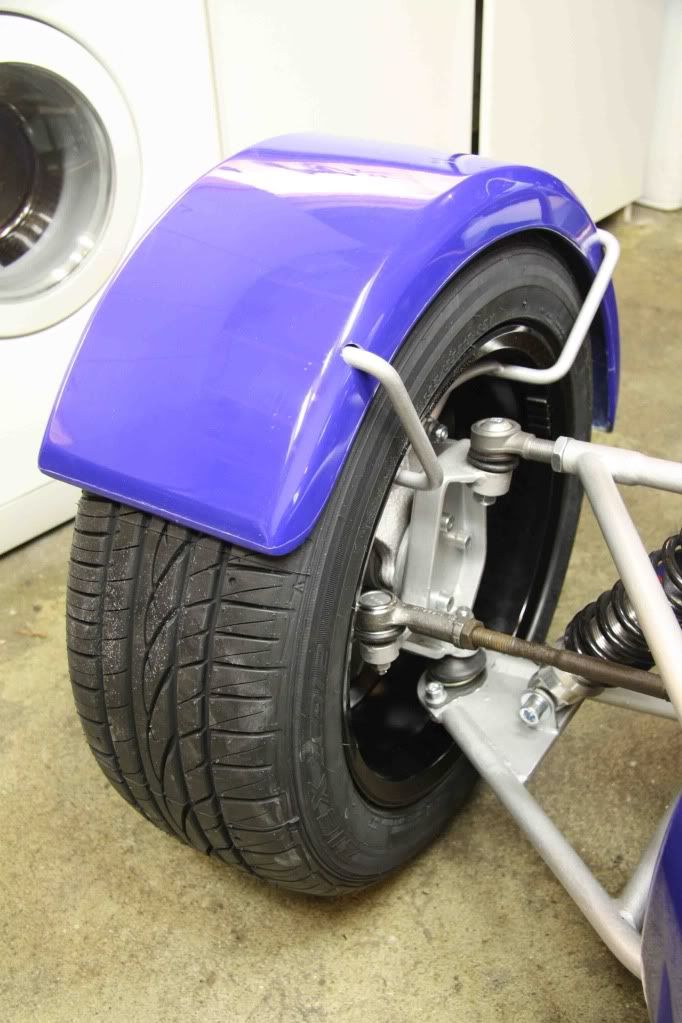 And started with the nose: 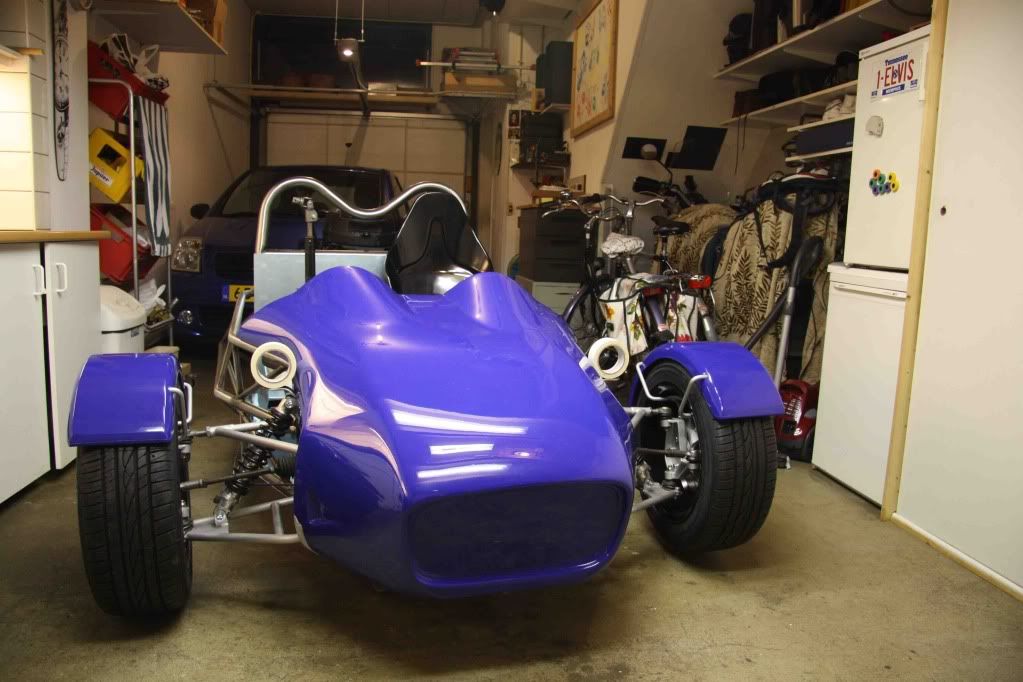 |
|
Deleted
Deleted Member
Posts: 0
|
Post by Deleted on Nov 6, 2011 11:03:36 GMT
It seems I am the only one unable to fit wings :-), Like the colour, how are you getting on with fitting the nose? I managed to fit it fairly quickly with a few test fits, abut 40 mins or so to fit it and then remove, its a snug fit if you get it right, and you should not need any securing bolts if you fit it right. You have to believe in yourself that it will fit over the crossbar and fit one side at a time carefully easing it over the crossbar. It takes me about 2 or 3 mins to fit the nose, just taking my time. I made extra cuts around the shockers to just help it fit, and I made some cuts where the lower wishbones are, but not sure the were needed :-)
I took a bit of material off the underside of one side where the cut outs snap over the frame in the seating area. Seems to fit nice and snug, can't wait to fit it for good, not far from that now, and then I can get my gauges in...
|
|
|
|
Post by edwinwl on Nov 6, 2011 11:58:12 GMT
The nose..
This is the first real trial fit. No modifications yet. At the driver side the cone is OK, but passengers side it does not fit yet.
I am not sure where the support comes from. Looks like the nose is supported by the light brackets and bit by the cross bar.
This week I will measure out the room under the nose so I can plan out where and how items can be placed.
In the end my plan is to fit the nose in a way, so it can easily be removed for service purpose. So I am not sure yet where my dashboard goes.
(BTW: My duct tape headlights are not a real success. They are cheap, but do not give much light.)
|
|
Deleted
Deleted Member
Posts: 0
|
Post by Deleted on Nov 6, 2011 14:17:27 GMT
I really like those headlights too ;D
I found that trying to fit the dash where it sits down over the frame in the seating area at the dash point was very tight indeed, so I just shaved off some of the Glassfibre here on the underside, its still a tight fit, but I know how to work it, so its fine, I didn't really want to bolt it down as I think it will not be moving too much as it fits now. I just need to fill my coolant up now and once thats done and no leeks are seen, I can finally fit the nose and crack on and fit my gauges. I decided to mount my main R1 clock above my steering wheel, so I could have my gauges in the centre of the dash
|
|
|
|
Post by edwinwl on Nov 6, 2011 16:02:18 GMT
I am cosidering to cut out the dashboard and fix it to the car in stead of fixing it to the nose cone. So all electronics can stay with the car, when removing the nose cone. A bit like this:  Or this: westfield-world.com/flash_dash.html |
|
Deleted
Deleted Member
Posts: 0
|
Post by Deleted on Nov 6, 2011 21:29:05 GMT
I understand that, not sure how you would do it and still maintain the sleek look of the front?
|
|
|
|
Post by edwinwl on Nov 7, 2011 22:20:54 GMT
Monday evening November 7th, 2011 Steve, husband of my collegue, is a prof welder. He welded my steering coupling. THANK YOU STEVE! All fits very well. Pedal has 1 cm of clearance. 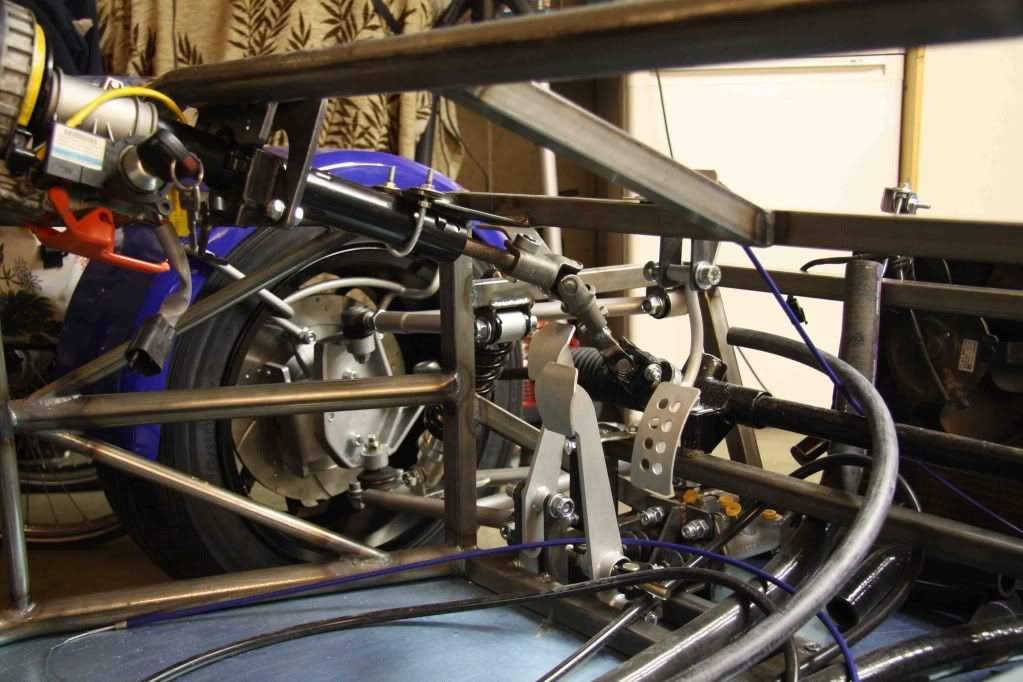 Also made the nose cone fit. 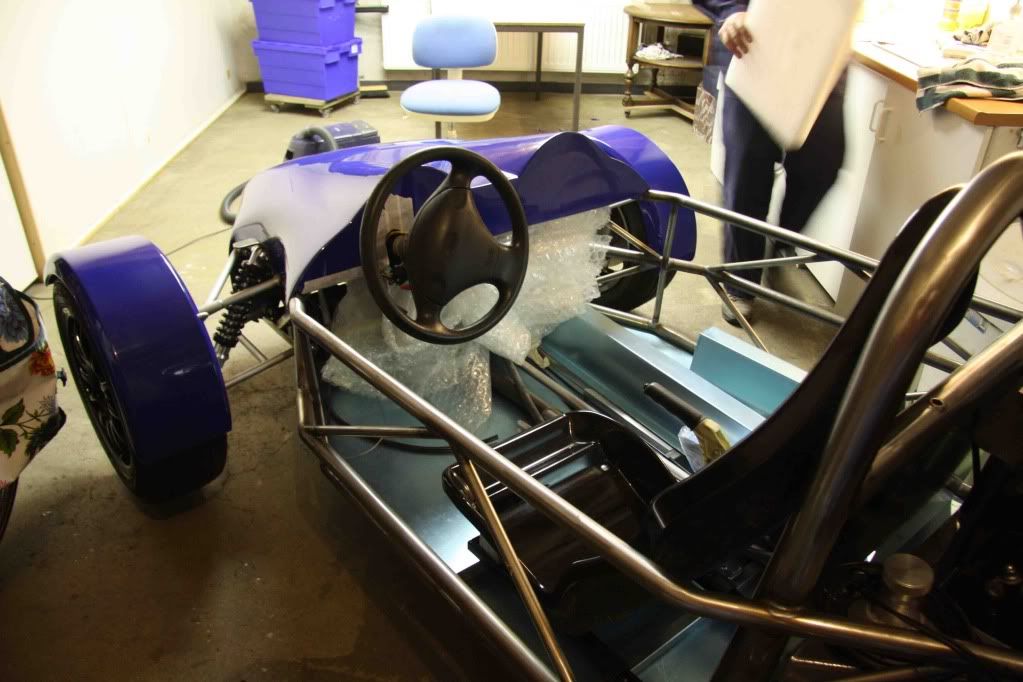 |
|
|
|
Post by edwinwl on Nov 13, 2011 12:26:29 GMT
One more picture of the 1 cm pedal clearance: 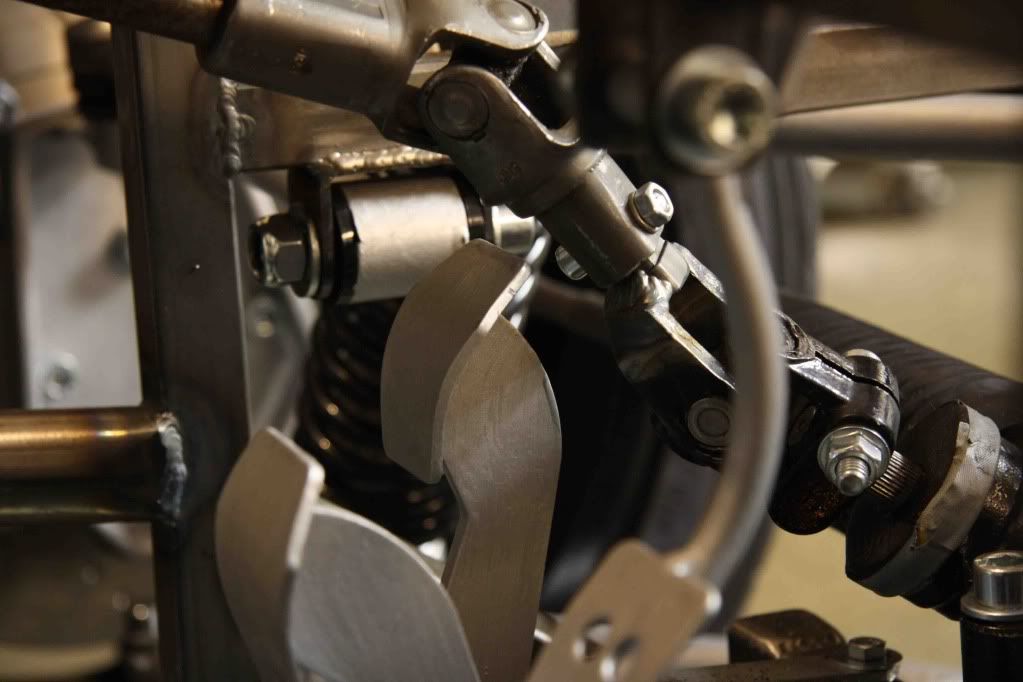 Made new upper supports for the radiator. When the iron is heated up by 10 seconds the metal can be twisted quite easily: (I felt being a real black smith) 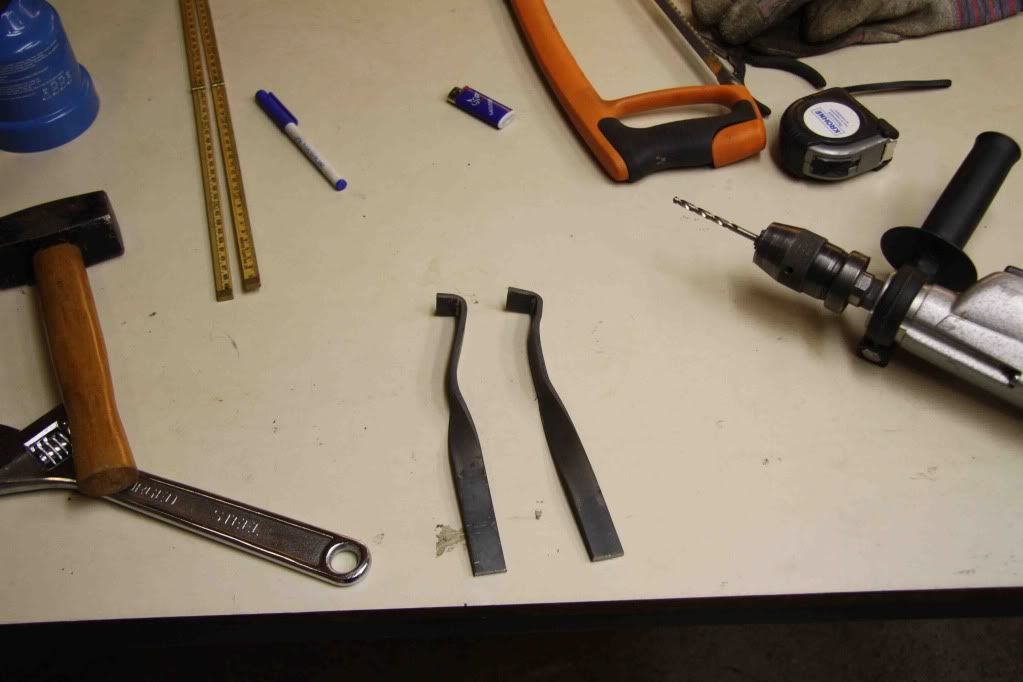 Now comes the next job: Electronics. All electronics will be placed high up into the nose cone at the passengers side. One level below the battery will be placed. Each cable will get it's own junction box for easy installation and possibility for future modifications. 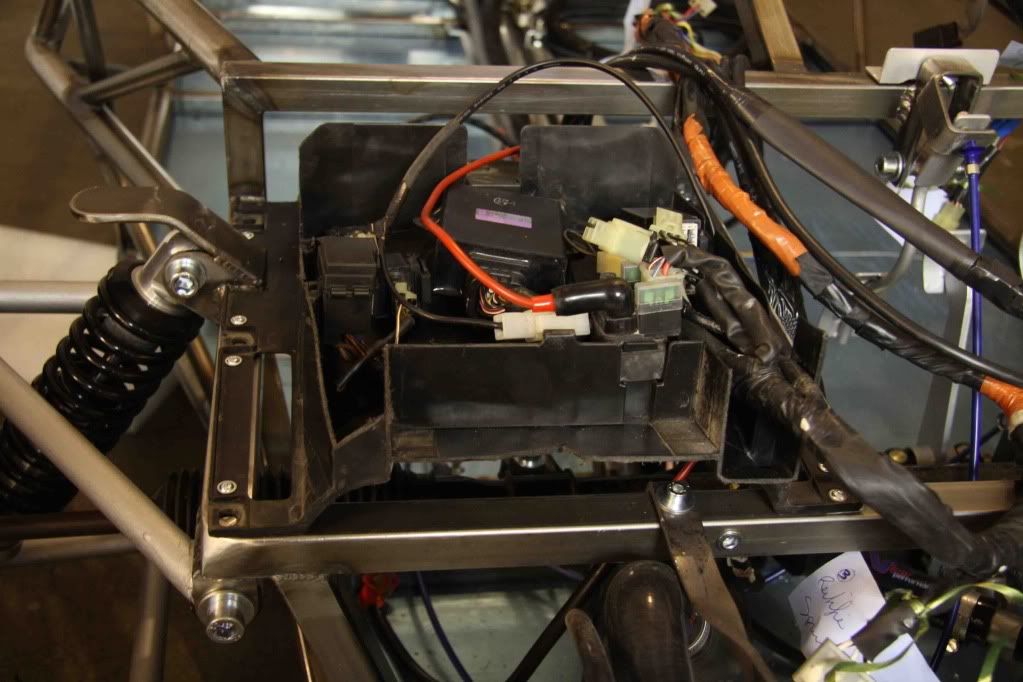 |
|
|
|
Post by roadtrackrace on Nov 14, 2011 11:20:59 GMT
Hi Edwin,
the clutch pedal only requires about 2cm of movement so with a little repositioning of the column you should be able to set the angle of the pedal so that you have enough clearence.
It is a close fit but you can get sufficient clearence.
Paul
RTR.
|
|
|
|
Post by edwinwl on Nov 14, 2011 11:50:42 GMT
Hi Paul,
For the moment I have set the pedal stoppers to maximum range. +/- 5cm of movement.
With this setting shoesizes up to 44 can operate the clutch without touching the steering column.
It is great only 2 cm of range is needed!
Regards, Edwin
BTW: My shoe size is <44...
|
|