|
|
Post by edwinwl on Nov 23, 2012 15:34:04 GMT
Today was steering free play fixing. Got myself a new coupling to weld in between. To protect the joints for getting to hot I wrapped it in wet cloth. 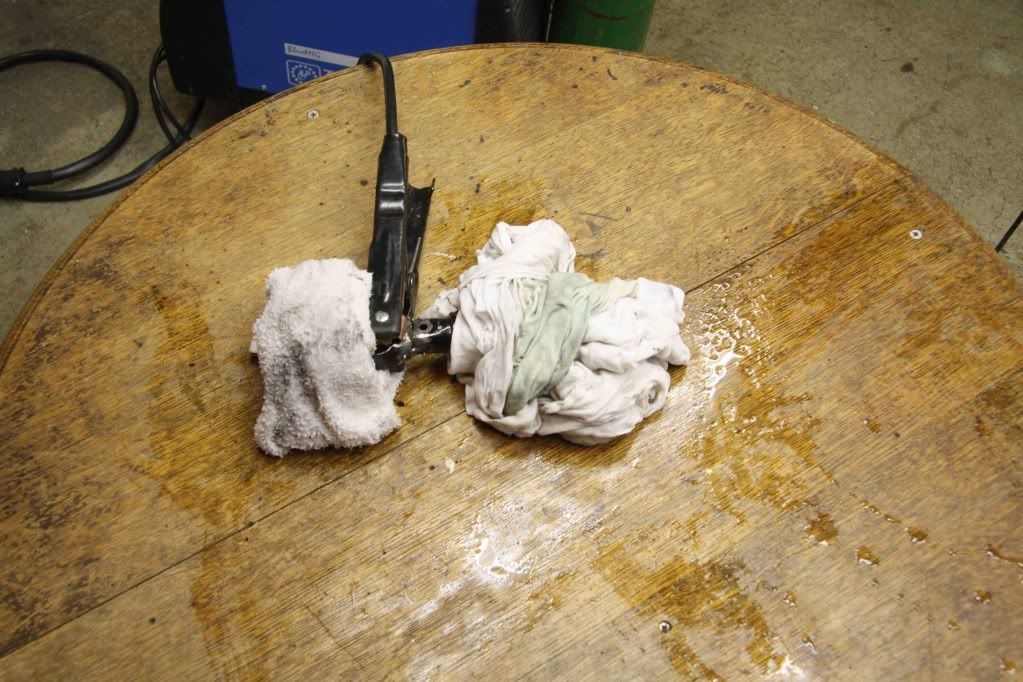 I am not dissapointed with my welding skills and more important: I am having fun of it! 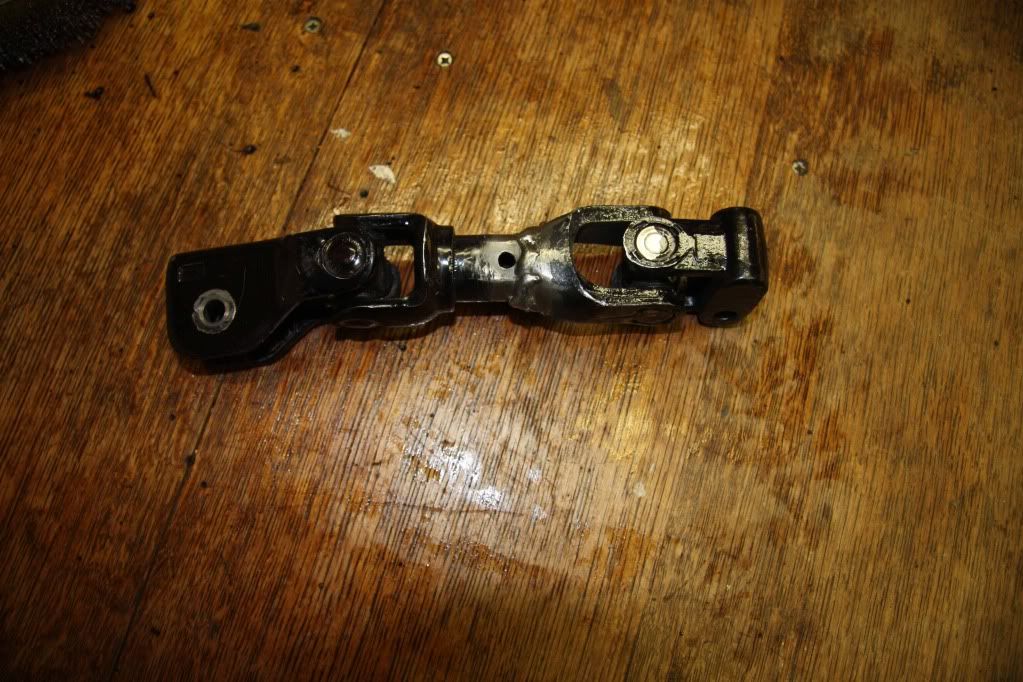 The whole thing installed: (clutch pedal has 1 cm clearance with steering column) 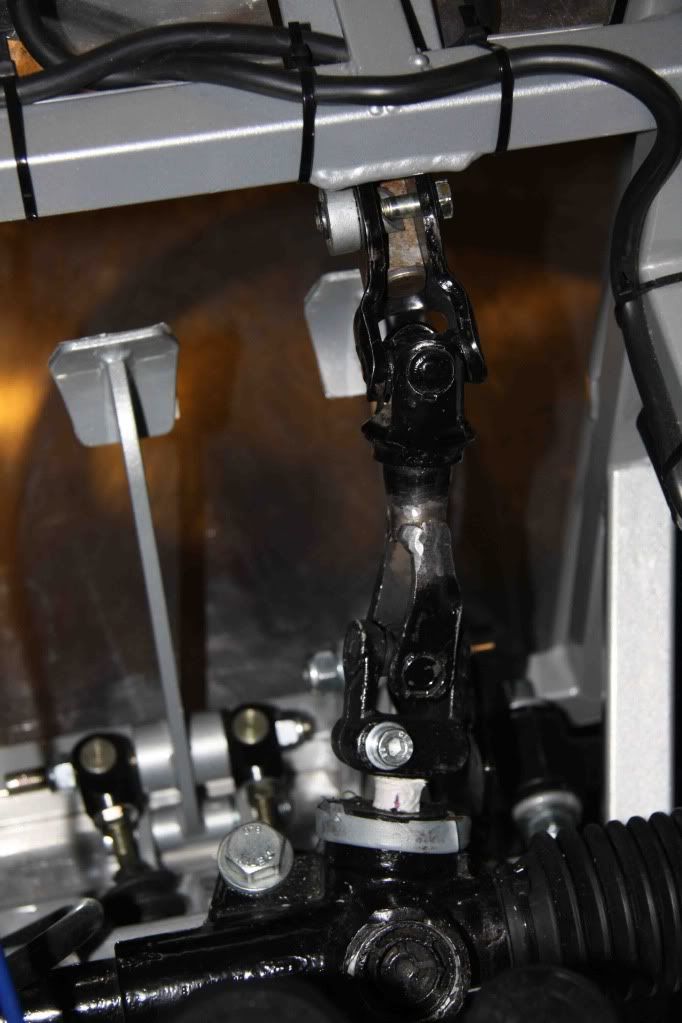 |
|
|
|
Post by edwinwl on Nov 23, 2012 15:36:59 GMT
Questions is: Does the new coupling make any difference? (Youtube insert does not work anymore?) Before, with old coupling: After: By video it seams there is not much difference, but there is. |
|
|
|
Post by edwinwl on Nov 23, 2012 15:59:07 GMT
This winter my list of to do items: - Making a spare column switch and share the connection plan.
- Chopping my exhaust, Venom style.
- Installing a gear indicator.
- Installing a camera mount.
- Some painting.
|
|
|
|
Post by slugshot on Nov 23, 2012 16:22:08 GMT
Well done Edwin you can now call yourself an expert welder  Manfrotto make very good camera mounts that fit most action cameras, they clamp to the chassis and are made of alloy. The gear position indicator I use is the same make as the speedo healer it works well but is very bright at night so would be better if it had an adjustable brightness control. Cheers Kevin |
|
|
|
Post by edwinwl on Nov 24, 2012 18:38:42 GMT
Hi Kevin.
Thank you for your suggestions.
My plan is to make multiple camera supports on my Tr1ke and also my motorbike. To have possibility to make recordings from different viewpoints. Will see.
Concerning the gear indicator. Plan is to keep my Tr1ke as plain as possible. On the other hand, a gear indicator is handy. Will see 2.
Cheers Edwin
|
|
|
|
Post by edwinwl on Nov 28, 2012 20:34:44 GMT
This evening made a second light switch. (for spare) Handy list to have: en.wikipedia.org/wiki/DIN_72552Before: 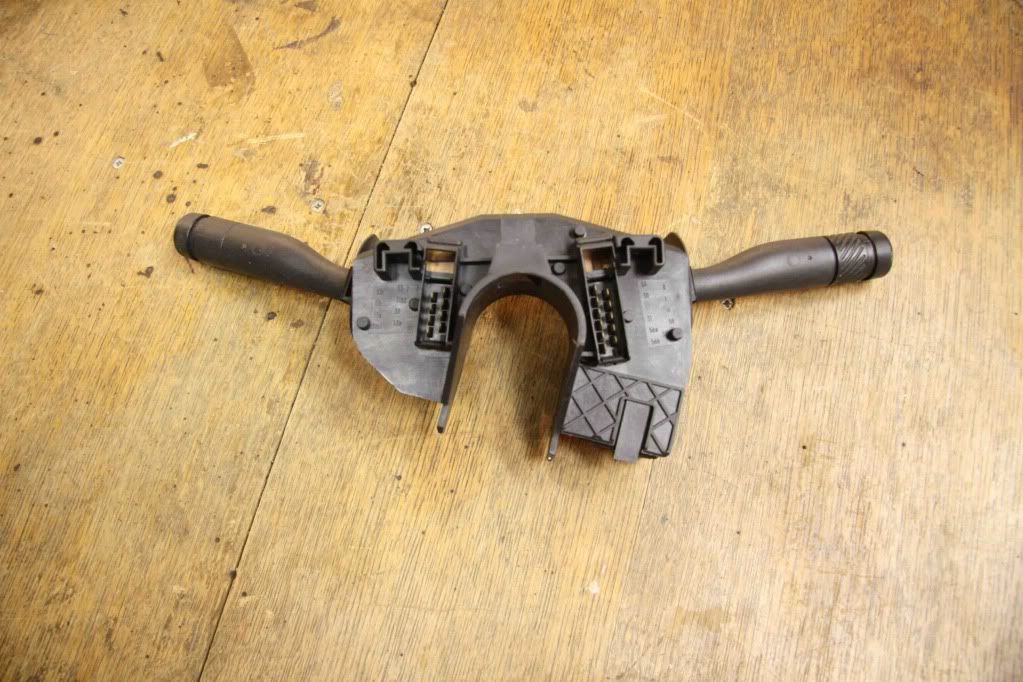 After: 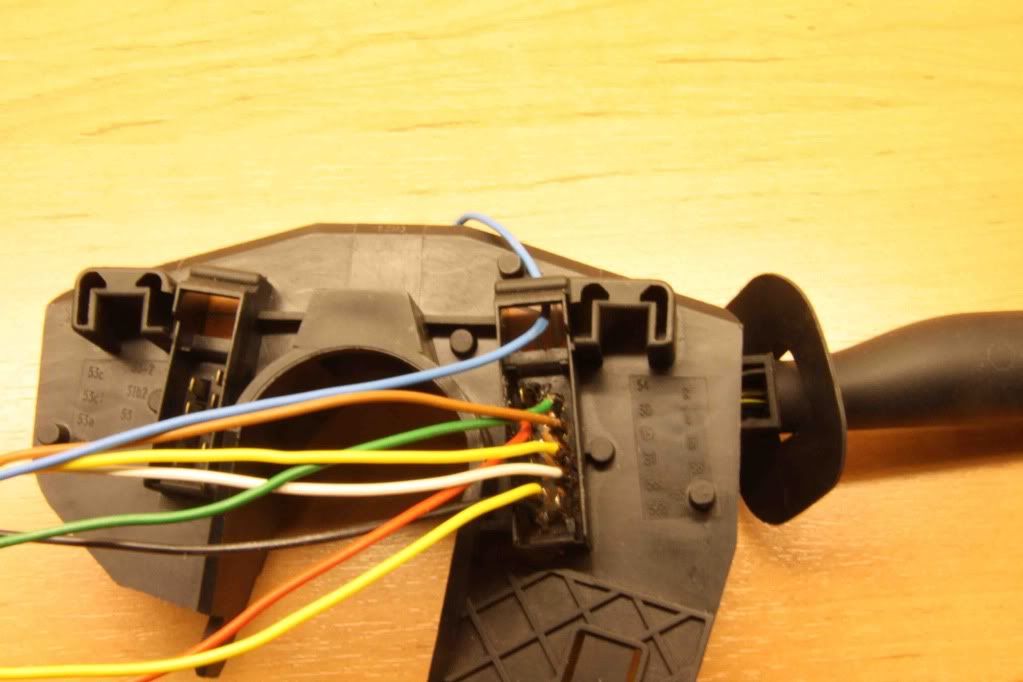 Connected: 15 & 30 = Key switched 12V = Motorbike Br wire (Officially 15 is switched power and 30 is direct power. But I prefer when my car is left without keys all electrics is dead.) H = Horn = Motorbike B/W wire L = Indicator Left = Motorbike Dg wire R = Indicator Right = Motorbike O wire 58 = licence, rear and front parking light = Motorbike L/R wire 56a = high beam = Motorbike W/Y wire 56b = low beam = Motorbike W/G wire This leaves one contact, indicator feed, this one I welded to the PCB (print circuit board). It's the blue wire on the picture. This one goes to motorbike Br/W (coming from indicator relais.) Car indicator switch also has a indicator blink relays. By welding one wire direct on the pcb this is bypassed. Welded wires will be extra isolated, covering the connections. |
|
|
|
Post by edwinwl on Nov 30, 2012 21:03:34 GMT
On the Dutch marktplaats (eBay) bought this:  It needed some free exercise to dismantle:  Left overs:  Almost ready: (need some 5mm pop rivets) Most work I did is inside. Standard exhaust has three chambers. Exhaust gasses are going from 1st chamber or compartment to 3rd, back to 2nd, to exit. This route I kept intact, so I made all chambers shorter. 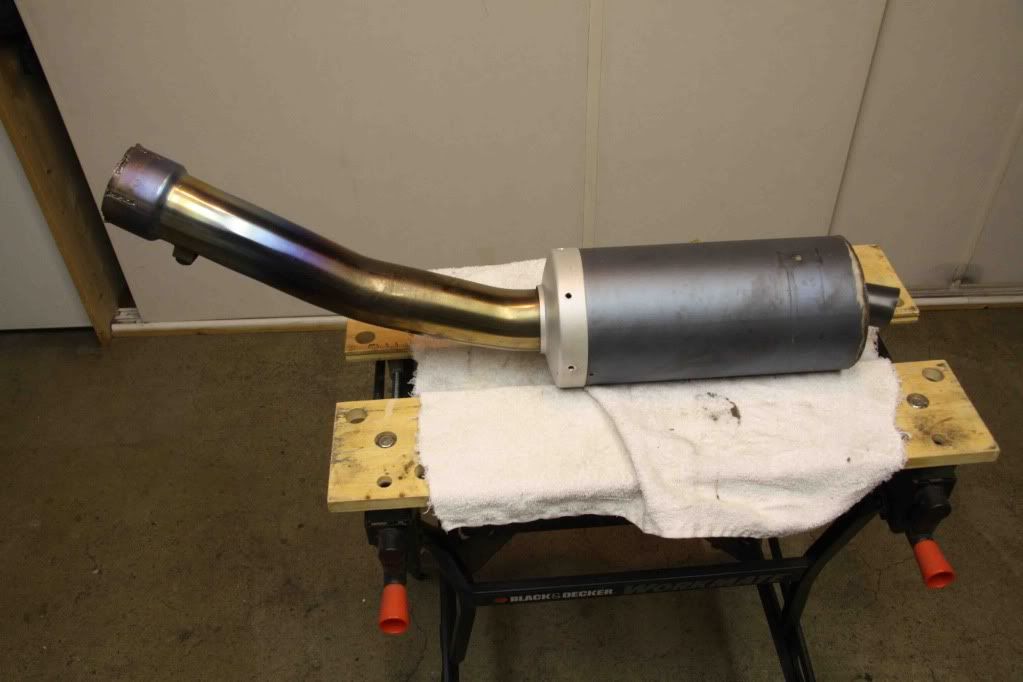 Tomorrow final assembly and sound check..... |
|
Deleted
Deleted Member
Posts: 0
|
Post by Deleted on Nov 30, 2012 22:31:25 GMT
It will sound like mine, which I really like
|
|
|
|
Post by erik on Dec 1, 2012 11:19:37 GMT
Nice can mod! I have those rivets here. If you fancy a visit I'd be pleased to pop them in for ya  |
|
|
|
Post by edwinwl on Dec 1, 2012 13:32:20 GMT
Thank you for offering Erik, but job is already done. It took some brutal squeeze force to get those 5mm steel pop rivets in. But I call it: free exercise. Of course I cleaned and firmly polished the modified exhaust.  Before: (Hubble-telescope-style)  After: (Like-it-style)  New exhaust sound is perhaps a bit darker. But not significant, no one will notice. |
|
|
|
Post by edwinwl on Dec 1, 2012 13:49:11 GMT
|
|
|
|
Post by slugshot on Dec 1, 2012 16:05:56 GMT
Hi Edwin you have been busy, its good to see you modified your silencer re using the baffles. Its still sounds neighbour friendly but with a more angry tone although you can still here the engine over the pipe.
There is a seller on eBay here that does a cut down std silencer for £25 good value until you look inside and there is nothing there, no baffling at all.
Cheers
Kevin
|
|
|
|
Post by edwinwl on Dec 1, 2012 22:43:51 GMT
Hi Kevin, Chopping the exhaust like the ebay-guy is 15 minutes of work. Most work was inside, keeping the damping in a compact way. I want my tR1ke to have civilized exhaust sound. This afternoon I found out I did not make pictures of my exhaust damping "art work". This winter my list of to do items: -
Lowering the rear end support for license plate and rear lights.
-
Minimize steering free play.
-
Making a spare column switch and share the connection plan.
-
Chopping my exhaust, Venom style.
- Installing a gear indicator.
- Installing multiple camera mounts.
- Some painting.
And winter has just begun. More modification suggestions? |
|
|
|
Post by paulh on Dec 2, 2012 1:09:08 GMT
You could always build another tr1ke if you get bored !
|
|
|
|
Post by erik on Dec 2, 2012 8:35:25 GMT
Looking exelent! have you made a trip with it too?
|
|