|
|
Post by snowbird1 on May 16, 2014 6:07:03 GMT
Hi, as my Replicar is in Arizona and I'm now in Wales I've been checking the '91 engine and wiring that I have here from my UK donor, it is a fairly straightforward system. This is a bit of a write up on the system:
I hooked up the minimum needed to get it cranking – key on power to the blue wire for the coils, igniter and the engine fuse. Power from the engine fuse energises the main relay via the black/white wire – the main relay connects power from the injector fuse white/green wire to the white/red circuit that powers the ECU, cam position sensor (CMP), fuel pump relay (circuit opening relay), diagnostic connector (DLC), purge valve, idle speed control valve (ISC), and injectors.
Main ECU and sensor grounds - black and black/green circuits are connected to the right hand rear of the engine, the main relay control is grounded to the chassis via the black single connector near the main fuse box, chassis grounds are also needed for the fuel pump relay and airflow meter (AFM).
With the system powered up you can hear the main relay click on and the ISC hum (160Hz if you are into trivia).
With the engine cranking the fuel pump relay clicks on when powered by the violet wire from the start signal fuse and light green wire from the AFM. The ECU drives the coils and injectors in response to the signals on the white and yellow/blue wires from the CMP. These circuits switch 0-5V once every crank revolution, you will need a fairly quick responding or recording DVOM to see this during cranking but you can see the signal and get a spark even when turning the engine slowly by hand.
Interestingly it worked fine without the permanent battery connection via the blue/red wire from the room fuse - this circuit is probably just retains fault memory and fueling adaptions.
Hope this makes a bit of sense, cheers, John T
|
|
|
|
Post by snowbird1 on May 1, 2014 2:09:07 GMT
7AM appointment at the MVD for class III inspection: 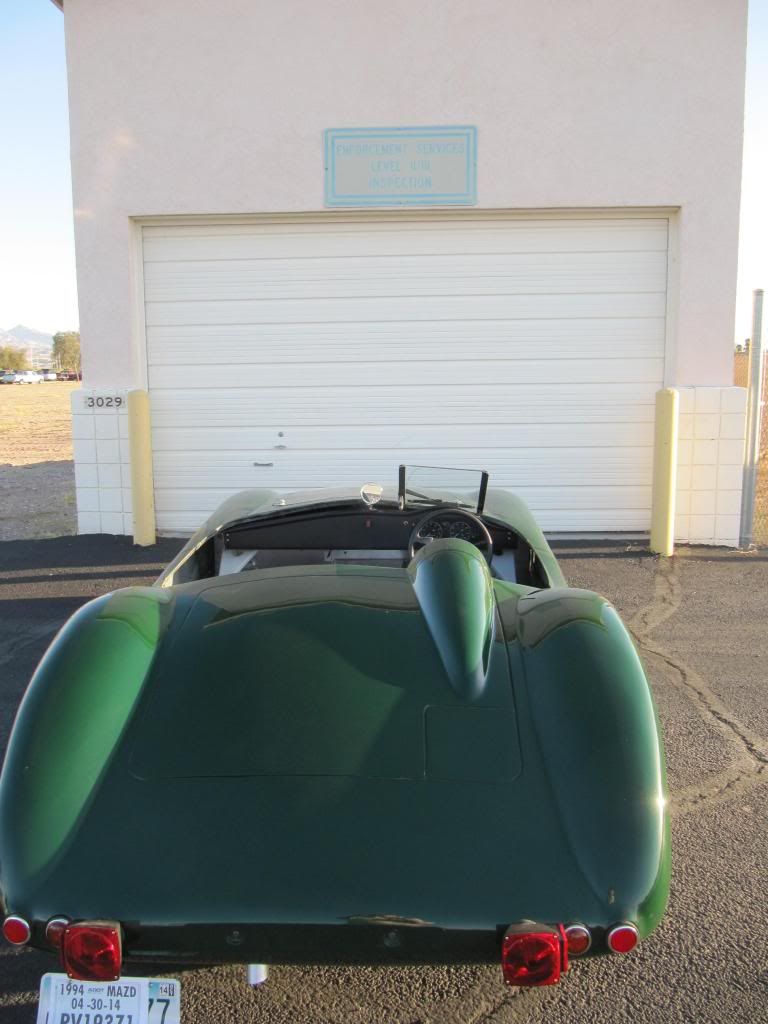 ADOT inspector checked numbers and paper work and assigned a AZ ID number: 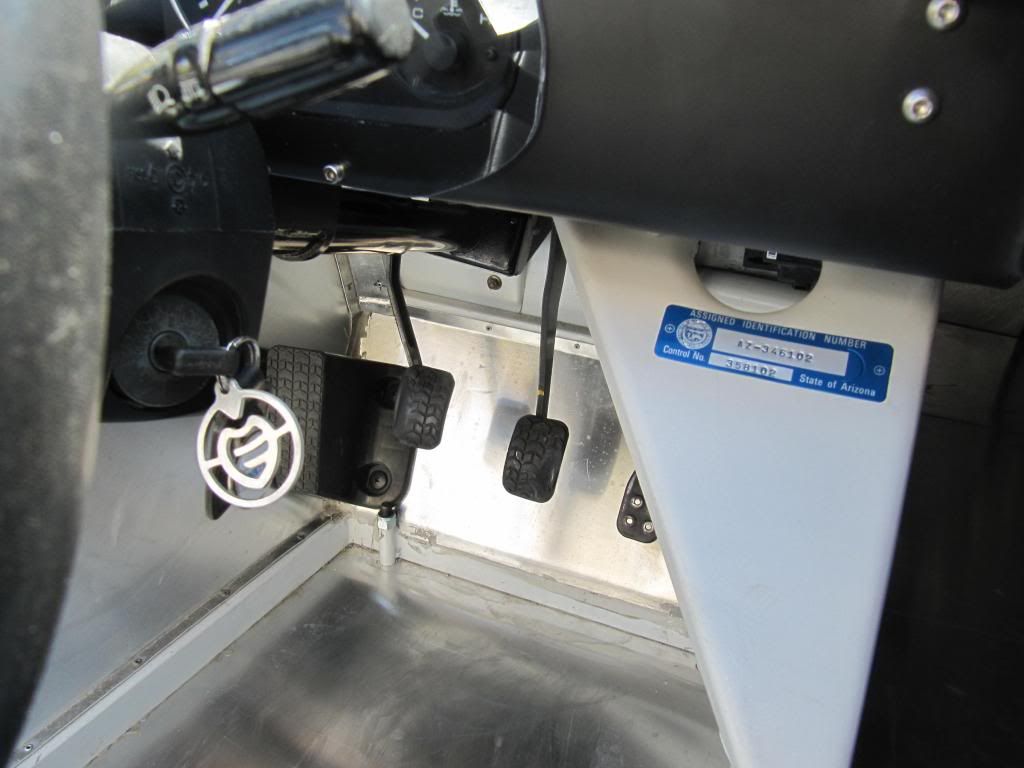 15 minutes - $25. Walk round to the MVD office, present paperwork and receipts to nice MVD lady, get issued with registration for a 1959 Aston: 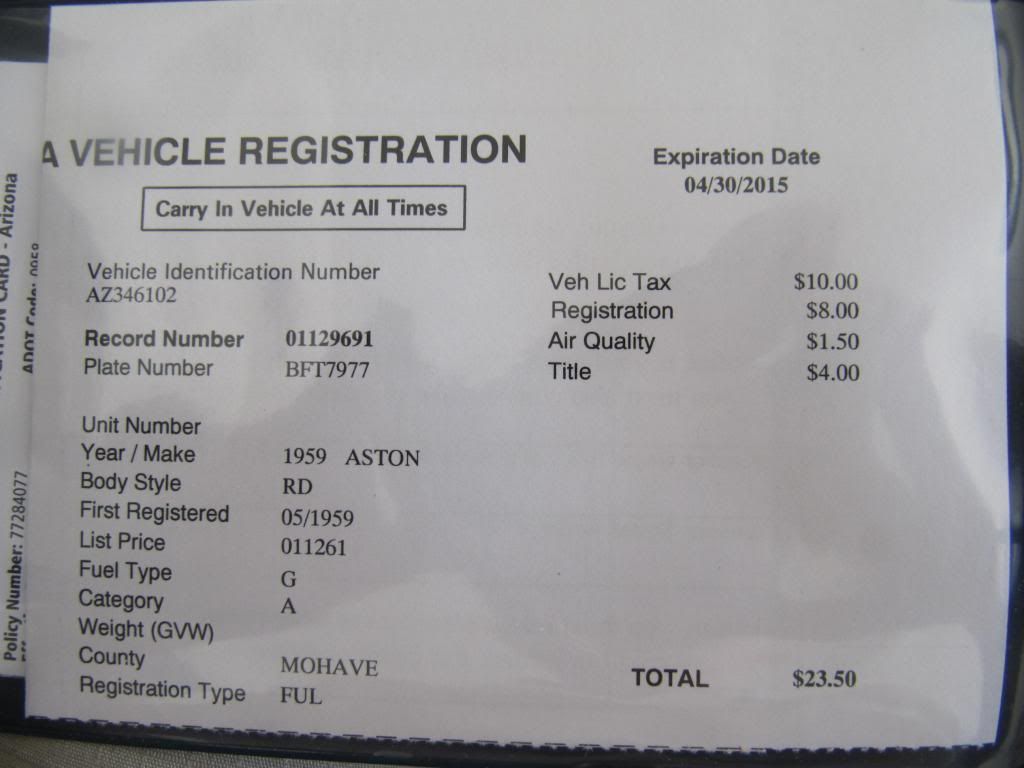 I love Arizona. 20 odd miles on the clock, runs great but have to leave for sunny 8-)Wales tomorrow, plenty to do when we get back in October, including fixing the coolant leak from the little core plug under the intake manifold in the center of the head  Made a start on the grill and headlamp bubbles: 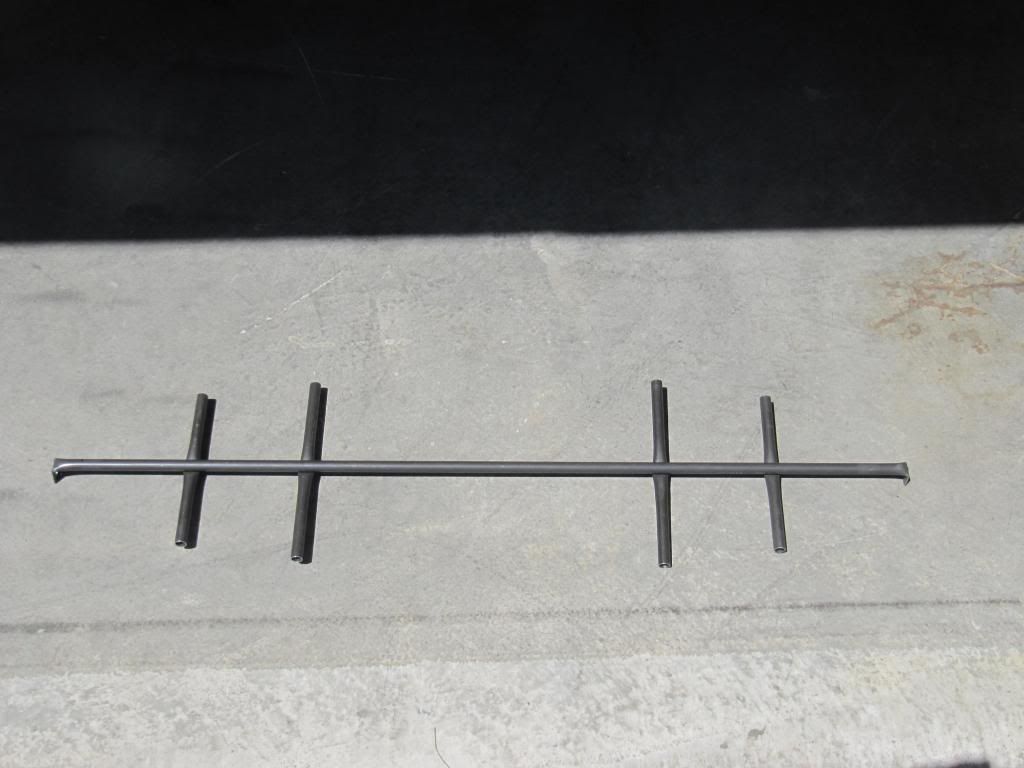 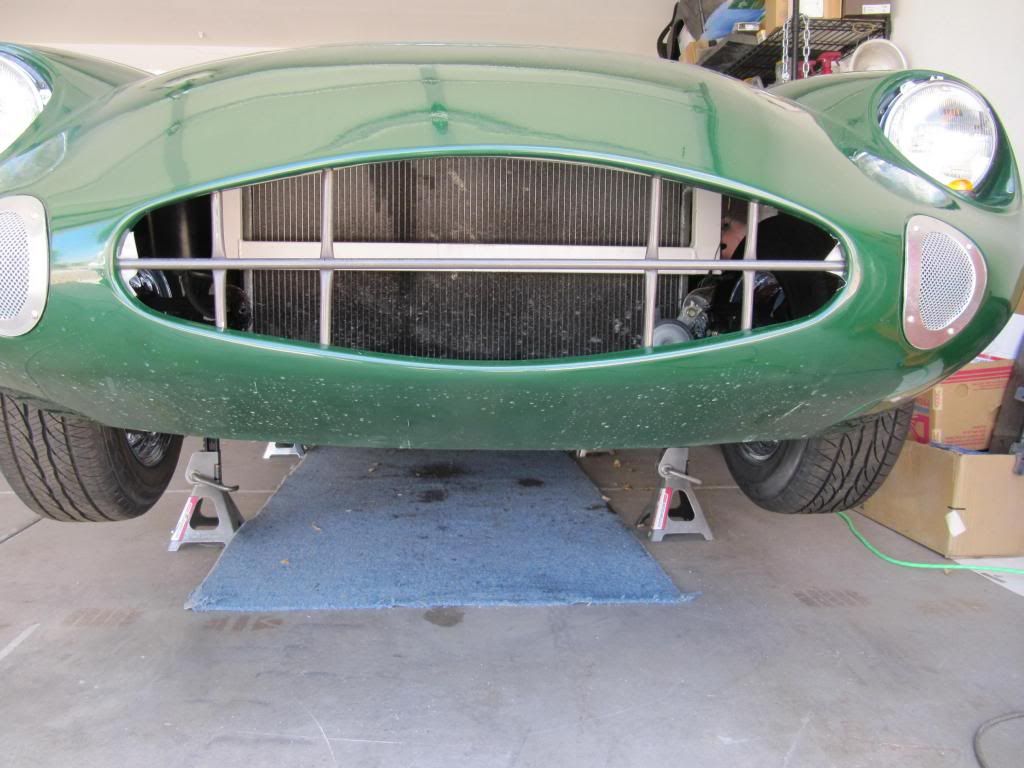 I shold be able to receive ITV on that! 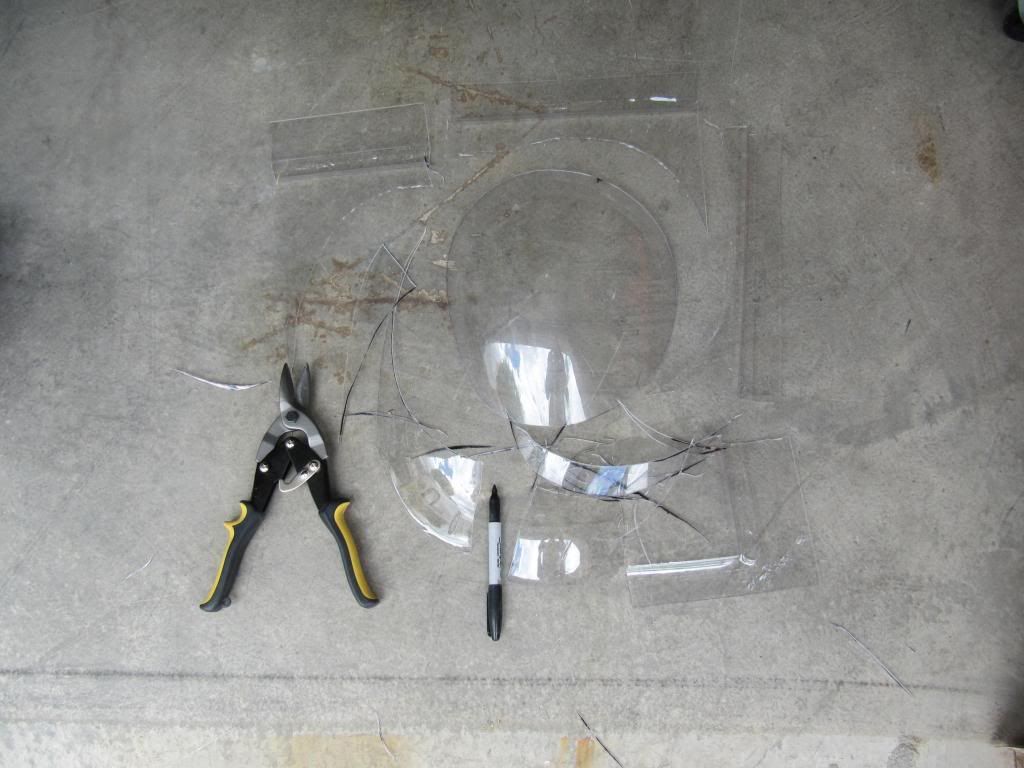 Easier than I thought, just keep trimming until they fit. |
|
|
|
Post by snowbird1 on May 1, 2014 1:34:39 GMT
Quite a bit of progress since the last post, the body is mounted: 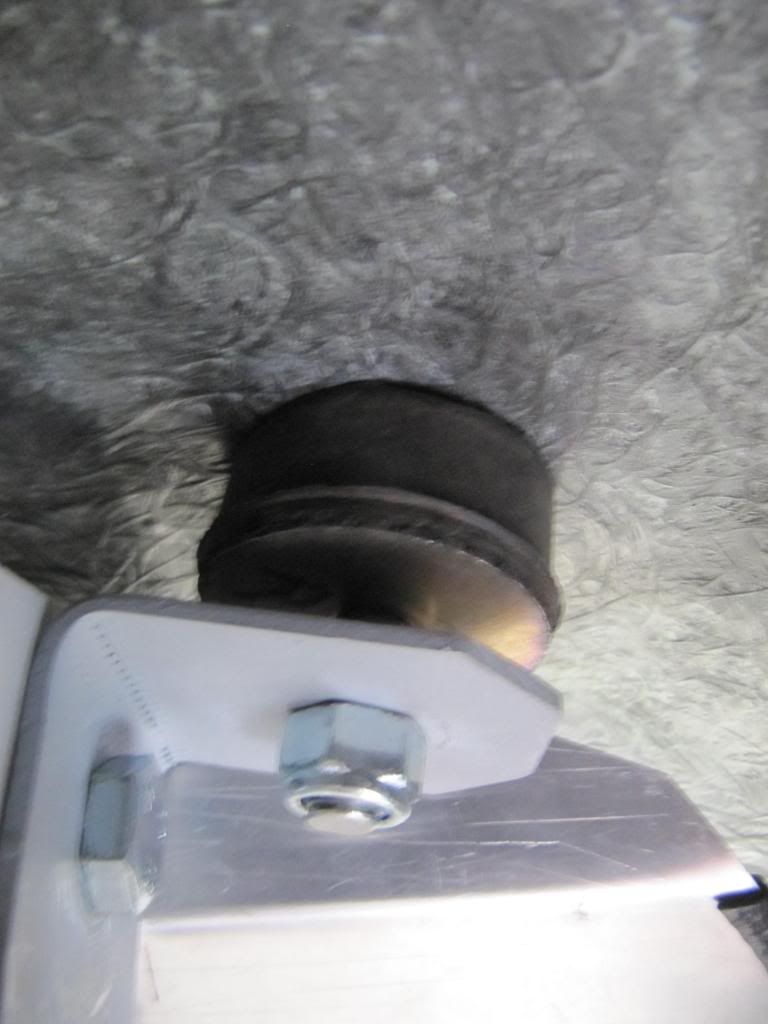 Rear upper body support. 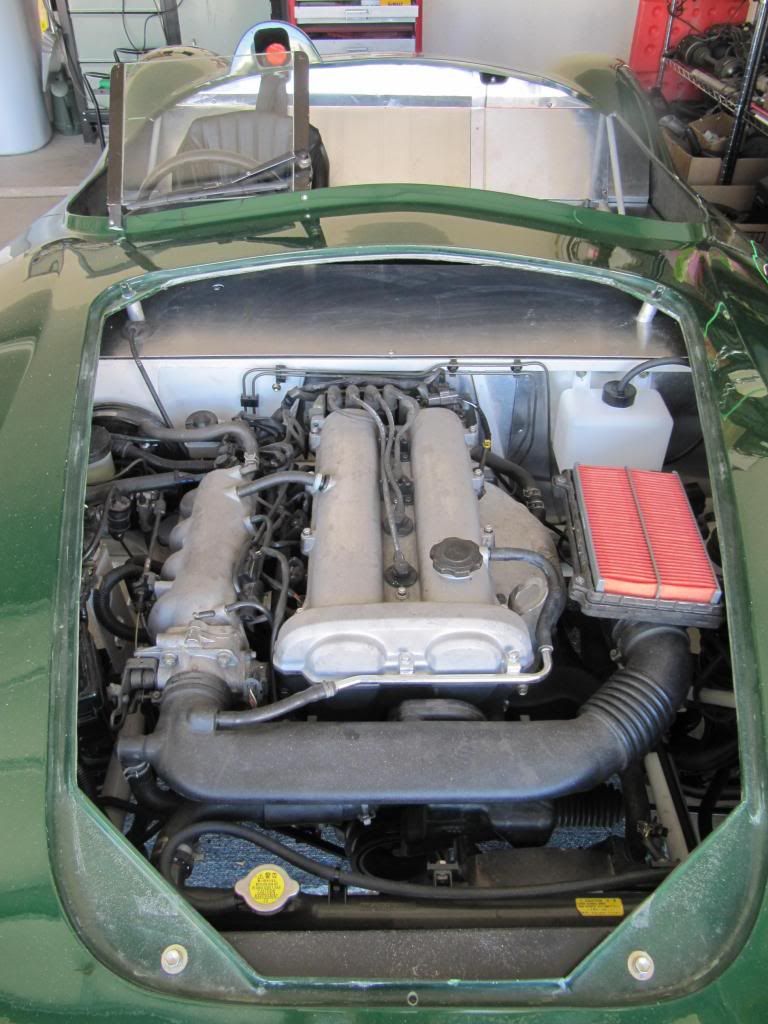 Front mounts. ADOT inspection requires DOT and SAE marked lights, not pretty but they comply: 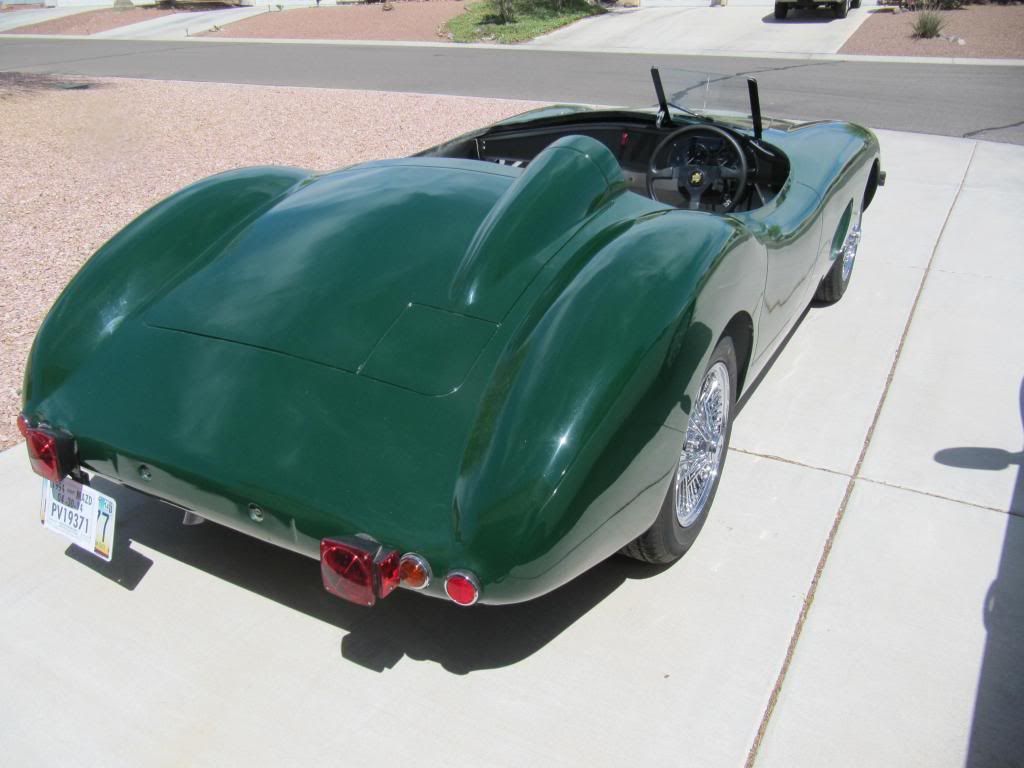 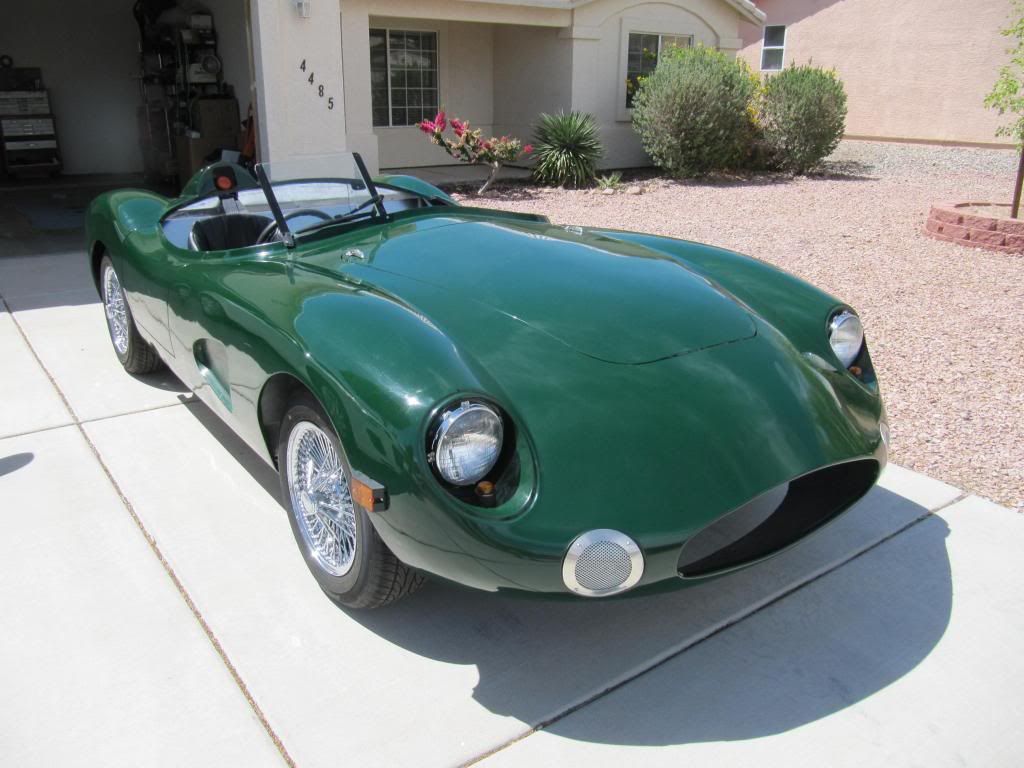 ADOT also requires a glass windscreen with wiper, note the car has only a single seat so a single screen should be all that is needed  I did not do a great job of fitting these items, I'm afraid they might 'fall off' after the inspection  . |
|
|
|
Post by snowbird1 on May 1, 2014 1:09:25 GMT
|
|
|
|
Post by snowbird1 on Apr 30, 2014 2:51:26 GMT
One other thought - make sure none of the female connectors have got loose while you were plugging/unplugging or probing.
|
|
|
|
Post by snowbird1 on Apr 28, 2014 13:42:48 GMT
No spark and no injector pulse still seem to indicate that the ECM is not getting a signal from the cam position sensor (CMP). You say you have good power and ground, checking the signal to the ECM will require back probing the white and yellow/blue, I'm guessing the CMP is a Hall effect sensor, on of the wires should be a 5 Volt reference and the other should a high low switching signal. Make sure you are using a high impedance tester and it will need a fairly good response to see the switching signal.
Alternately if you can get a 'known good' sensor, plug it in and spin it by hand and see if you get a spark.
|
|
|
|
Post by snowbird1 on Apr 21, 2014 15:03:27 GMT
I did the full de-power including welding the input shaft, there are a couple of different racks but this one is pretty straight forward. 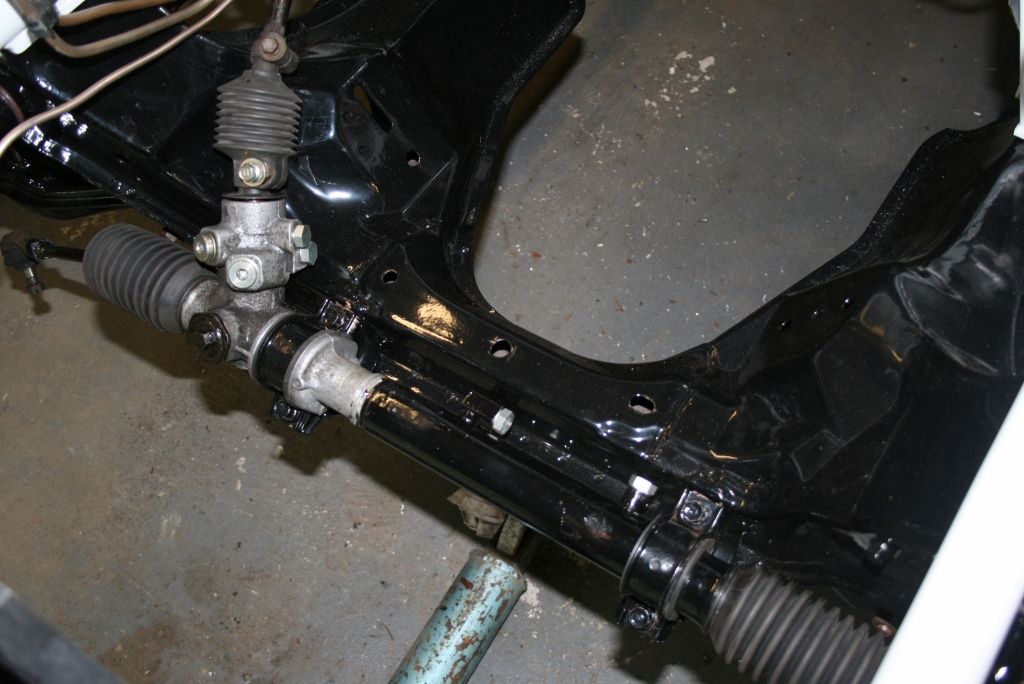 Finding plugs wasn't easy but the do exist, I had to buy a few of them and have a couple of sets left, simplest is just to weld up the old fittings. |
|
|
|
Post by snowbird1 on Apr 21, 2014 14:32:56 GMT
Check out this link 'http://reoriginals.com/hoodlatchkitvintagestylewithringthatyoulift-b0244.aspx' I think it's the same application as the DBR ones just not as stylish. If you look at price tag you might get someone to manufacture them for you to look better for less money. Those look like exactly what I need, summer project may be to make some, or may be find where they are made in Italy and drive there! |
|
|
|
Post by snowbird1 on Apr 19, 2014 20:19:03 GMT
Does anyone recognize these fittings that appear on the bonnet, boot and fuel flap of original chassis number 5 and the Shelby model:  I'm trying to figure out how to fit the bonnet and a pair of handles may look suitably vintage. |
|
|
|
Post by snowbird1 on Apr 11, 2014 19:08:01 GMT
6 Point impact socket is the way to go, if the bolt head is totally ruined it might be worth trying to hammer on a 16 mm socket, the hammering will help to break it loose.
|
|
|
|
Post by snowbird1 on Apr 11, 2014 18:52:24 GMT
OK, I won't try to copy it then! Thanks
|
|
|
|
Post by snowbird1 on Apr 11, 2014 14:13:25 GMT
Does anyone know what this badge is;  It is on at least one of the originals and the Shelby model. |
|
|
|
Post by snowbird1 on Apr 10, 2014 14:28:56 GMT
Hi Shaun, it looks like you have checked the coils and wiring pretty completely, have you checked that the ECM is getting a crank signal. The ECM has to get a signal from the cam position sensor in order to trigger the coils and injectors. The sensor is the 4 wire thingy driven by the camshaft - it should have power and ground on the white/red and black/green wires respectively, the white and yellow/blue wires go back to the ECM. The easiest way to check if there is a crank signal is to look for an injector pulse, I always used to have a 'noid light' in my kit, it is just a little LED device that plugs into a injector connector, if it flashes when the engine is cranking the you know the ECM is getting a signal. If your DVOM has a reasonable response time you should be able to see a voltage pulse at the injectors and ignitor.
My tuppence worth, hope it helps.
|
|
|
|
Post by snowbird1 on Apr 8, 2014 4:08:42 GMT
First drive in the Replicar chassis:
Goes, stop and steers, seems pretty lively, with the Torsen diff it needs to be pointing straight when you boot it. I realized it has been a while since I drove a front engine/rear drive car, fun to steer with the throttle. Now need to get the body fitted and the lights wired, they need to be DOT marked for the MVD inspection. |
|
|
|
Post by snowbird1 on Mar 31, 2014 14:31:03 GMT
Does standard air box fit under body work? and what is plan for wiring strapped to chassis in bottom picture is this final position?[/quote] It doesn't look like it but there is plenty of room under the bonnet for the filter, I've rubber mounted the air box and AFM to the chassis so it is not subjected to engine vibration. I'm planning to run a cool air duct up from the small front grill. Main wiring is in place but I need to finish the lighting wiring when the body is on. Gunwar- I do have the twin fan radiator off the US donor, but planning to try the single fan first. We don't have much traffic here and the fans actually create a restriction to airflow at speed. We head back to 'sunny' Wales May 1st so I'm running out of time but still planning to have it registered before we leave  . Regarding the timing belt cover, I think this is about the worst bit of the Mazda design, the one my car had been rubbing on the timing belt and fan belt! Tempted to leave it off but it does provide a splash shield and keeps rocks out of the belt. I haven't seen a good aftermarket fix either. |
|


 .
.
 .
.