
Post by howard on Jun 15, 2014 12:58:37 GMT
Build is progressing so I thought I would start a Thread on progress so far
I have benefitted from reading other peoples builds so thought I would try to post some of my own observations and photos
I started to take the plunge in Aug 2013 so after looking at all the options of 1.8/2.0 and disc brakes etc I decided to plump for a ST170 (rather than add a fast road cam to a 2.0 engine) the ST170 would have all the power and more and already had disc brake all around configuration and keep standard.
I bought the donor as an accident write off with only 65,000 miles and stripped completely selling a lot of parts on e bay making virtually all my money back from the purchase.
Fitted a new clutch & DMF as well as new cambelt .
Then collected the Chassis From RTR in January 2014.
Engine is now installed pending some final fiddling with the Engine Torque link and Engine Mounting and Additional engine idler to fit, all of which I will post photos later
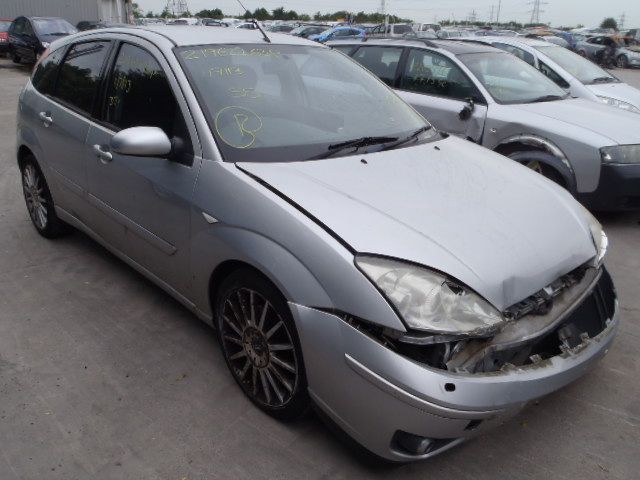
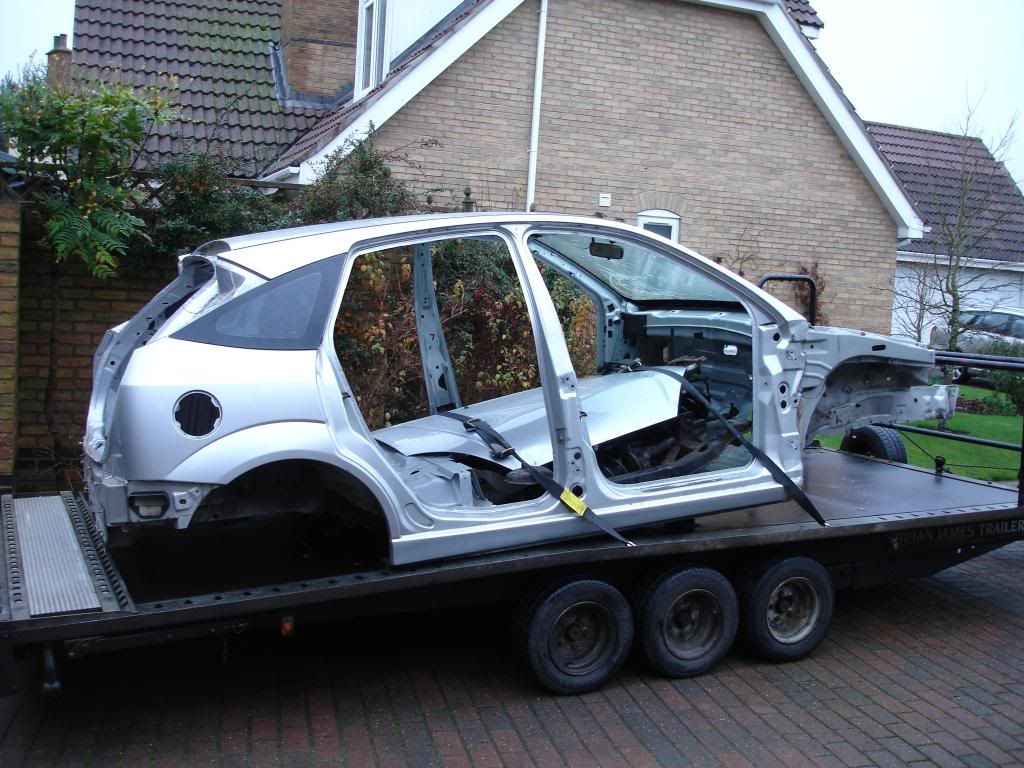
as you can see front end shunt all other panels which I sold were straight and unusually a 5 Door ST170
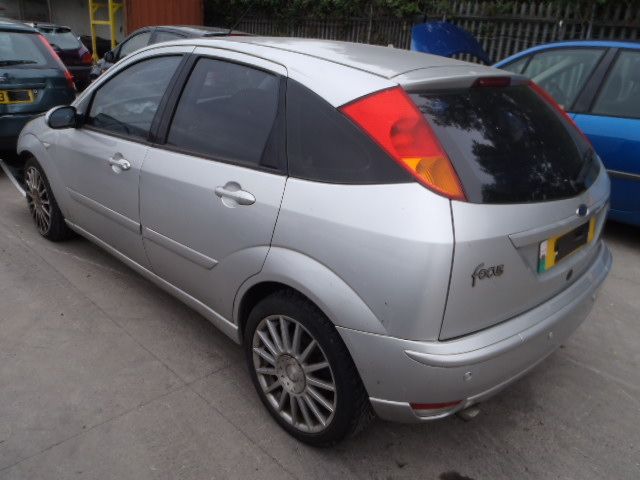
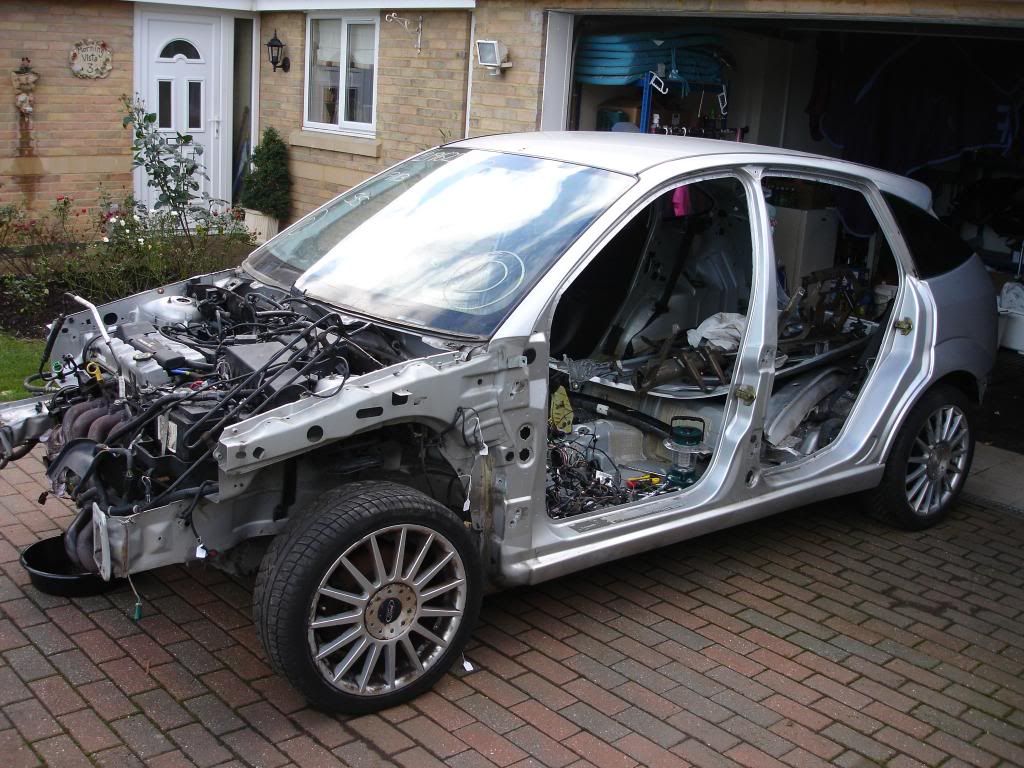
Stripping well underway
All stripped keeping the Gearlinkage, Engine, Gearbox, Hubs (all disc) wiring looms , ECU and everything I don't know if I need or not yet
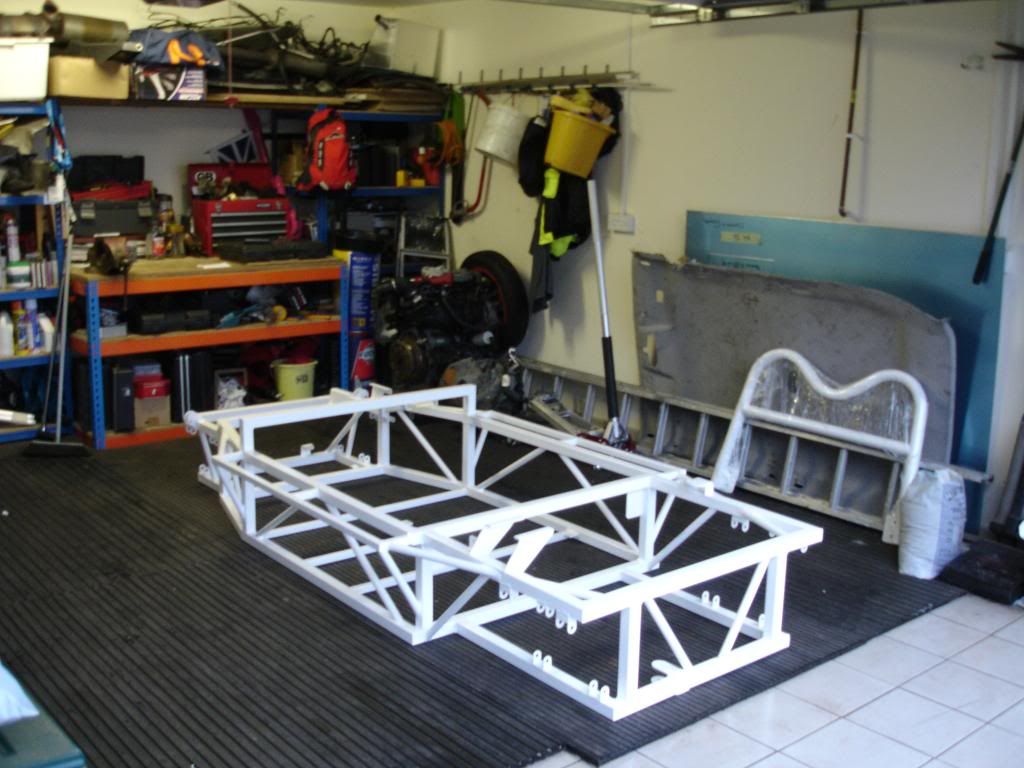
The big day the chassis arrives ready to fit the panels and brake pedal box, colours im planning to be will be White and Ferrari red although exactly which panel will be white or Red I have not decided yet that's a choice for the future
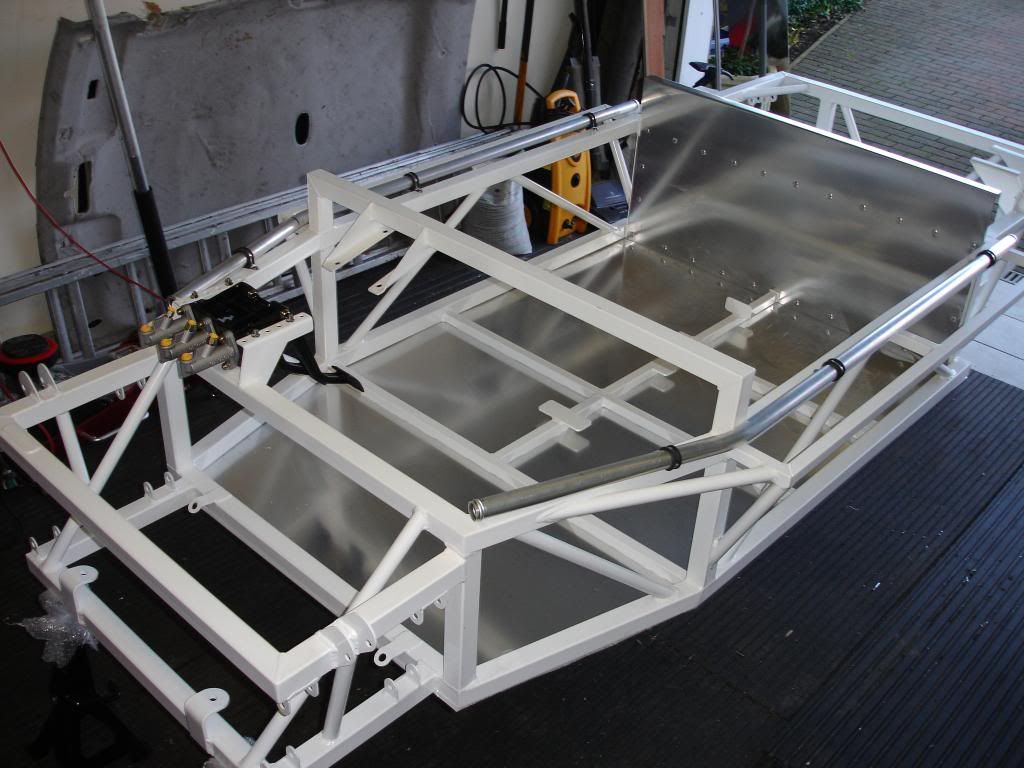
coming together
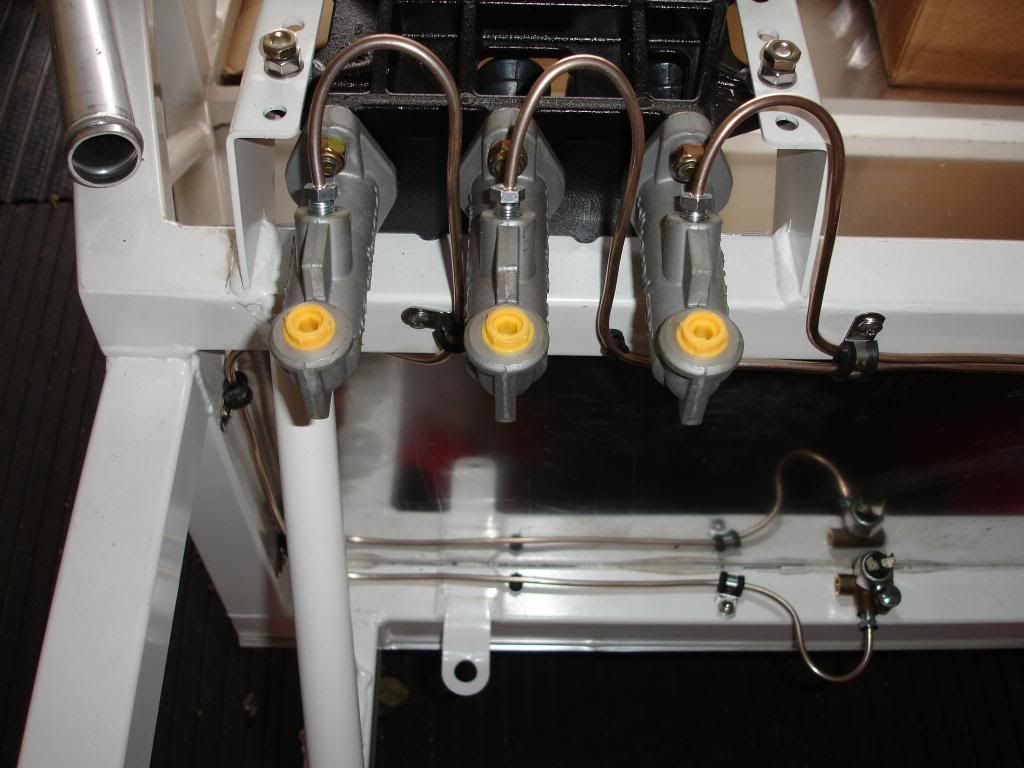
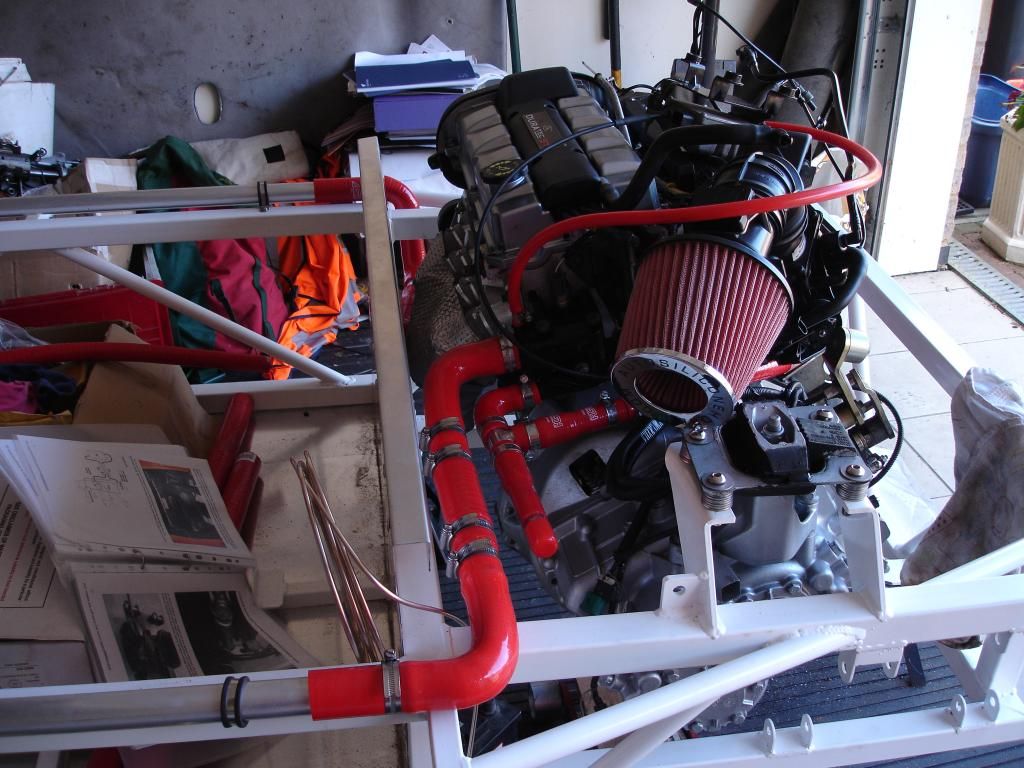
piped up at front, fuel tank will go in front space, didn't fancy it behind the seats and Radiator ahead of front member
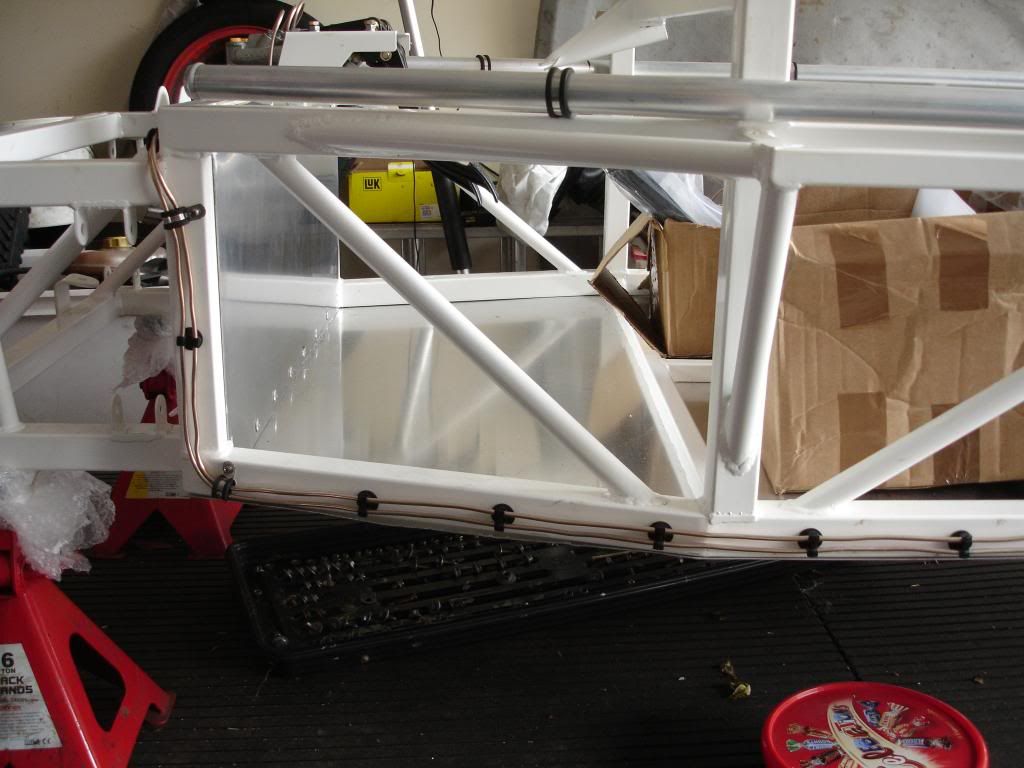
Piping down side is ok on double push in connector , but on bends and front I used P clips designed for double brake pipes which held better
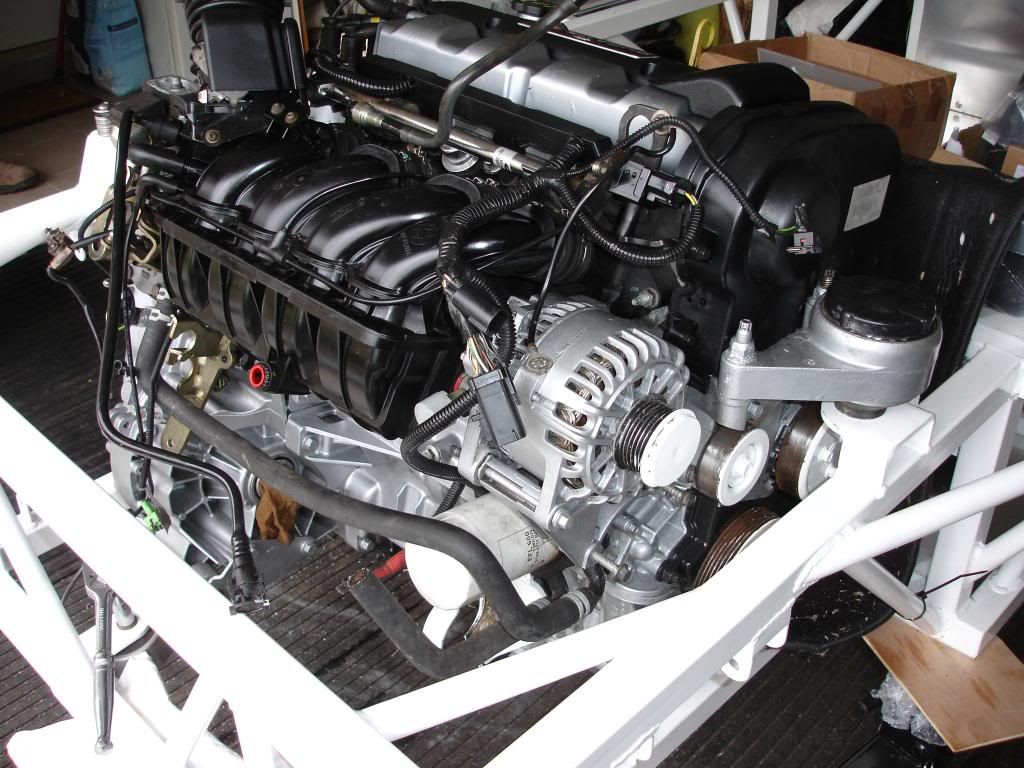
Engine in and painted up just engine mount to finalise
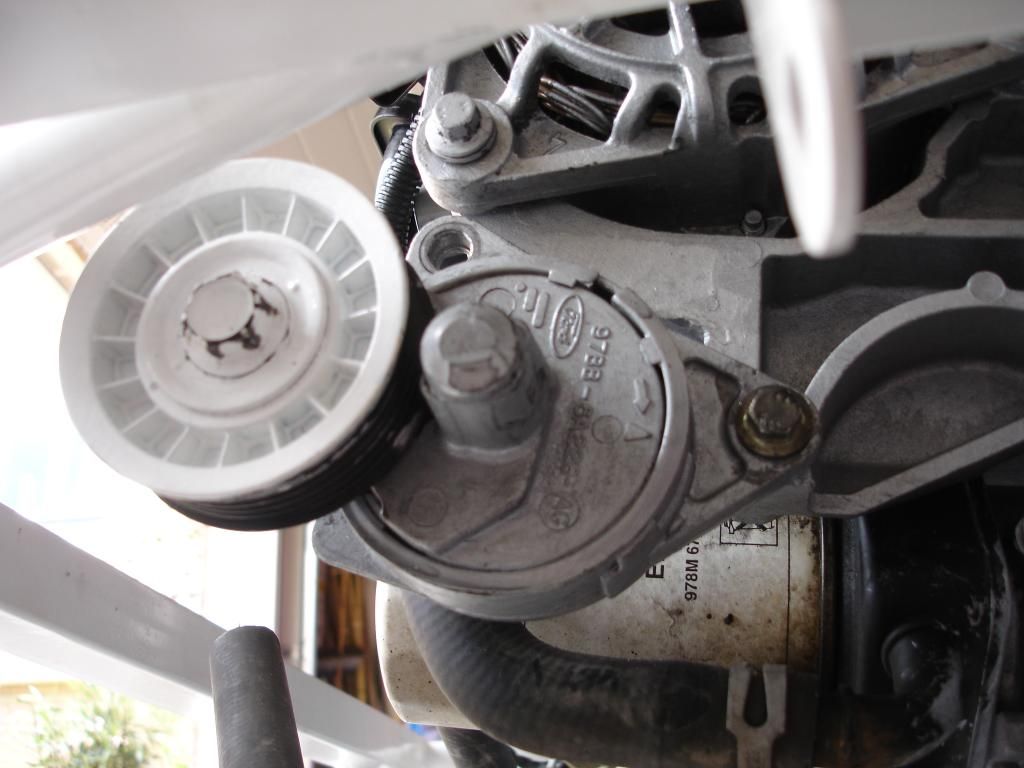
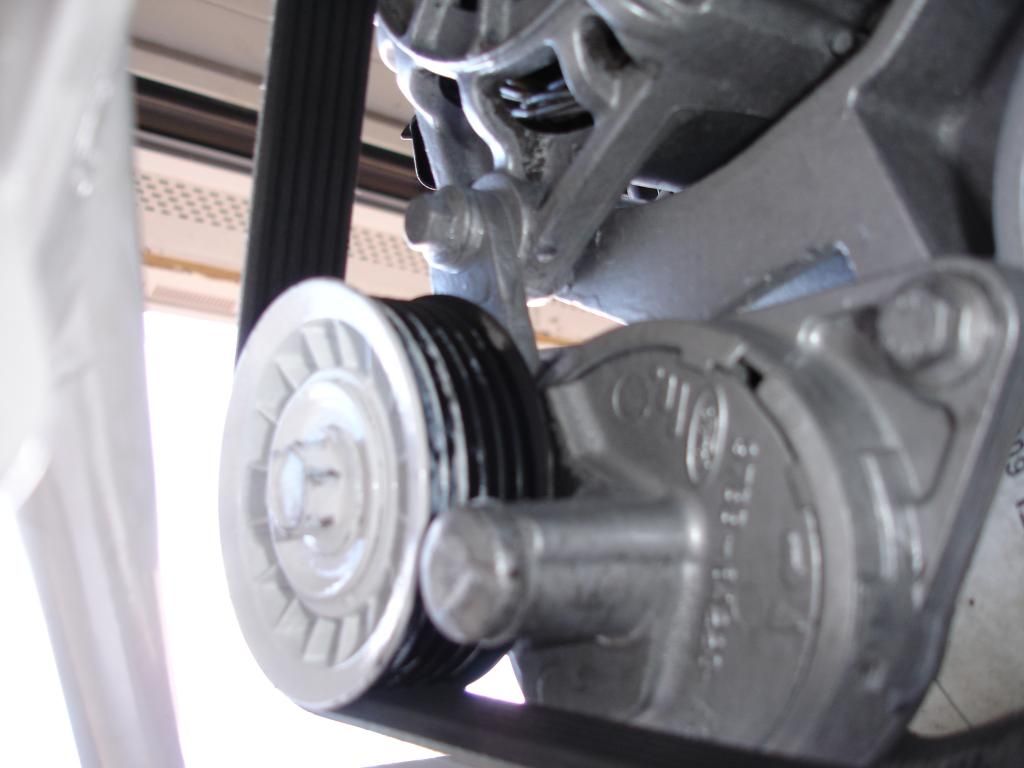
see below addition of engine idler pulley after power steering pump and Air conditioning compressor have been removed
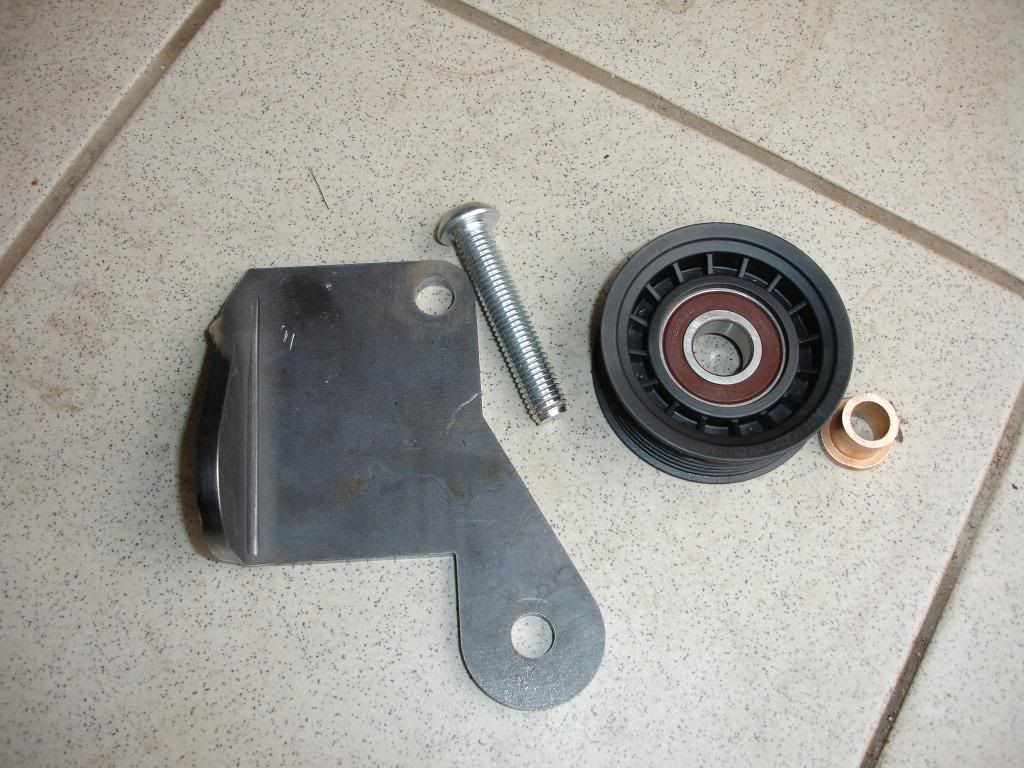
Bracket purchased from Road track Race, Pulley from a Transit and bushed down to a 12mm bolt
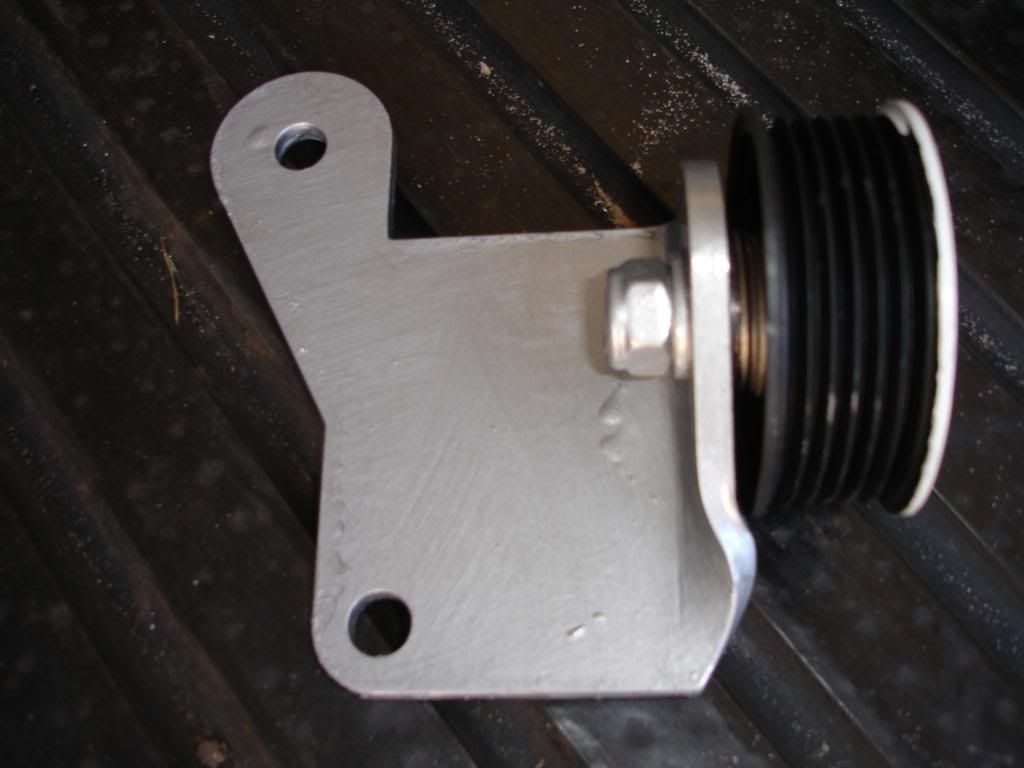
Fished Bracket
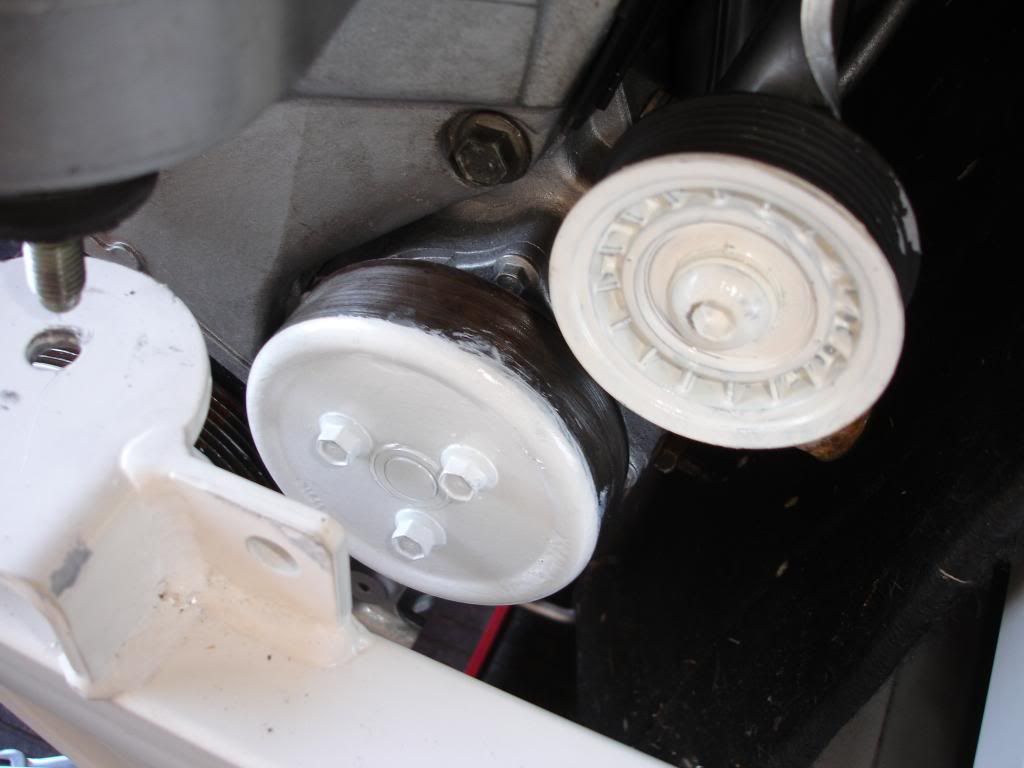
idler now fitted just need to sort out a belt.
Exhaust Manifold is now becoming frustrating , std is too wide due to the "C" curve on the base and hits the bulkhead see photo's below ,so bought an aftermarket which seemed narrower.

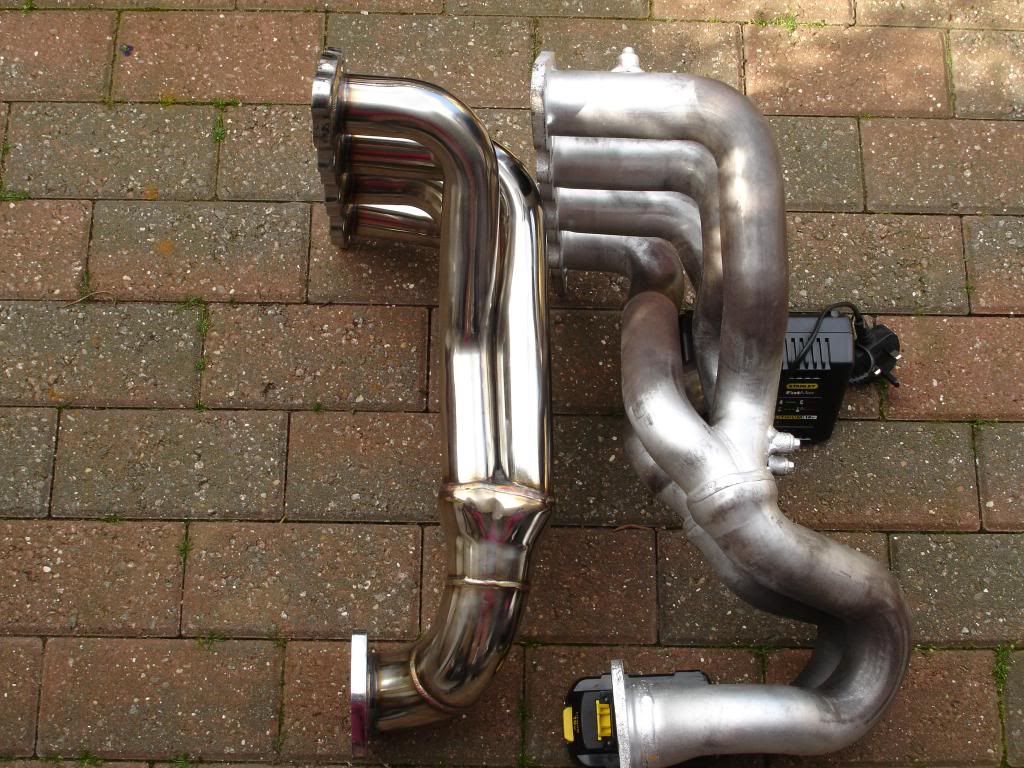
Guess what
Also hits bulkhead , so search continues for an even narrower one, hence my questions on the Forum, ordered on e Bay, a 2.0L Zetec manifold and a 2.0L Mondeo Exhaust manifold (see Below) However some good news, Sold new after market exhaust which did not fit , for £40 more than I paid for it Amazing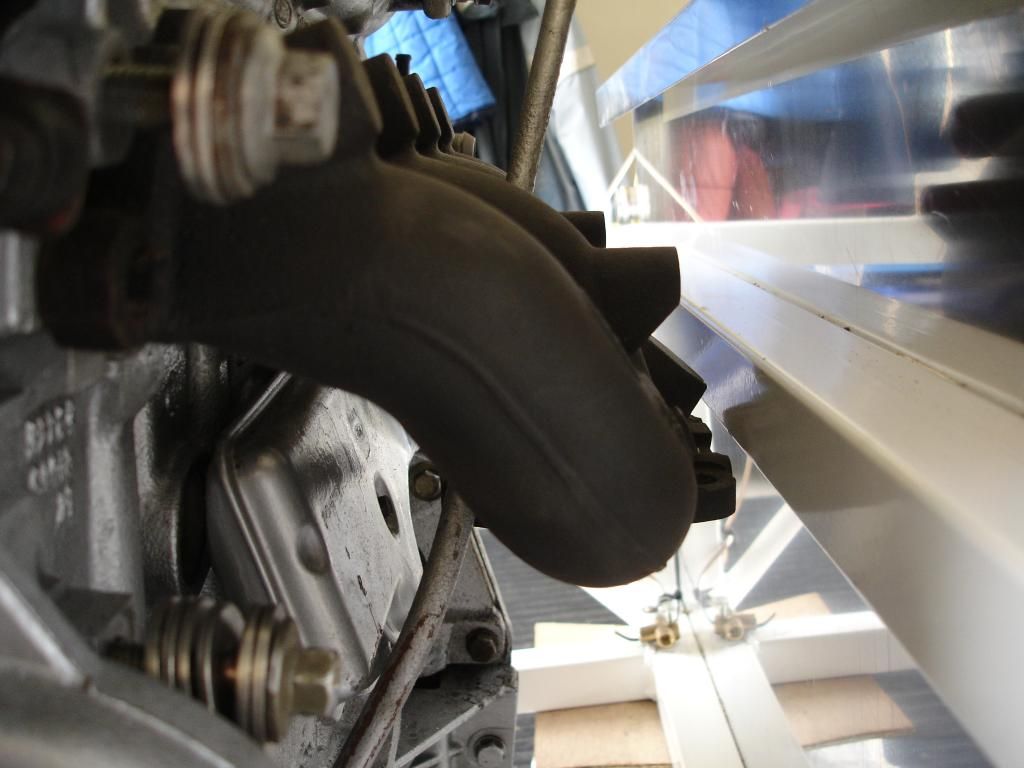
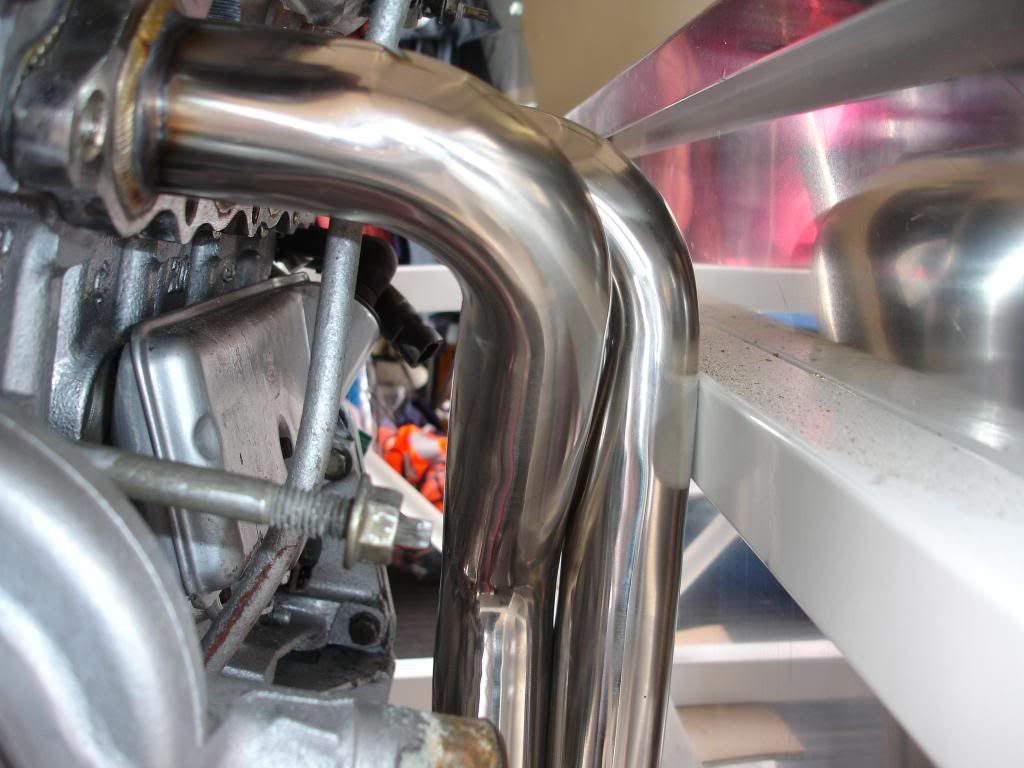
See Manifold now fitted went for the Mondeo 2.0 instead of the Zetec , as this fitted well and tubing was a larger diameter which I thought was essential as the ST170 engine would need better breathing than the std 2.0L Zetec
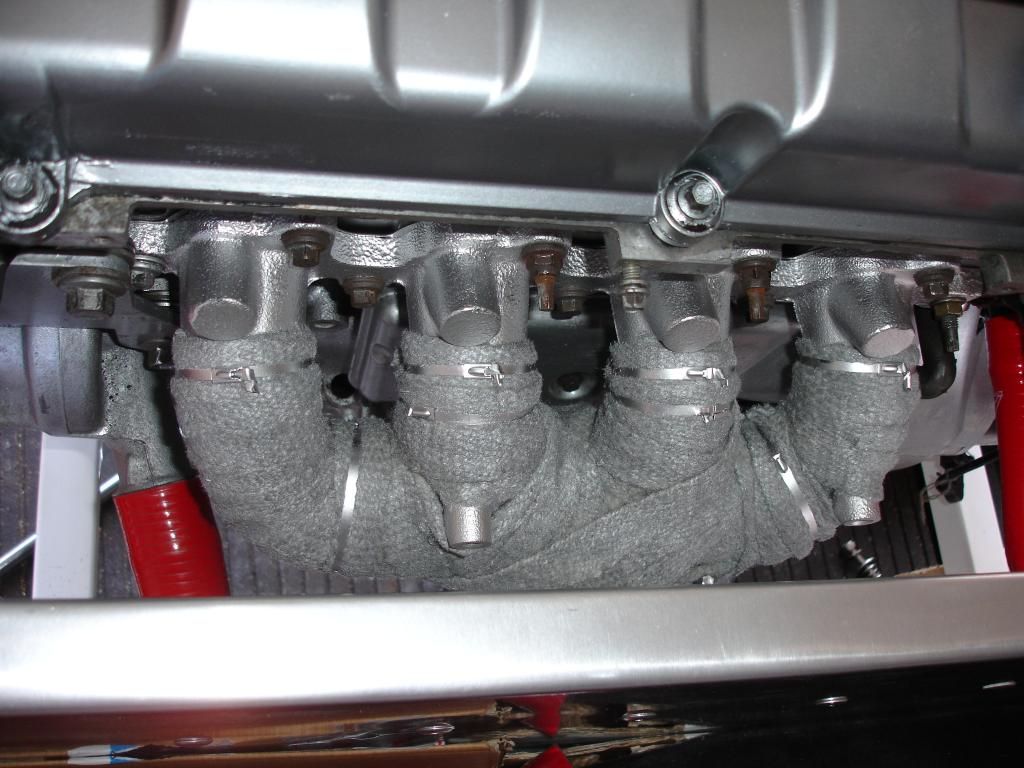
As the Manifold is close to the bulkhead, although now clearing I thought I would wrap the exhaust
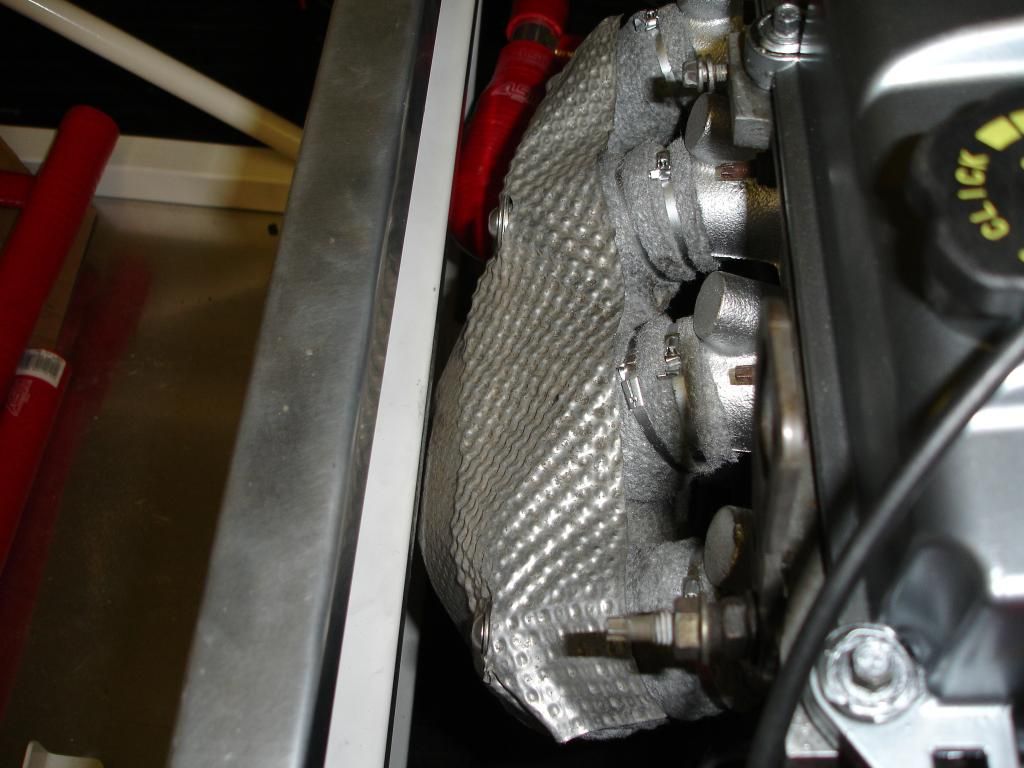
And added Heat shielding salvaged from the donor vehicle
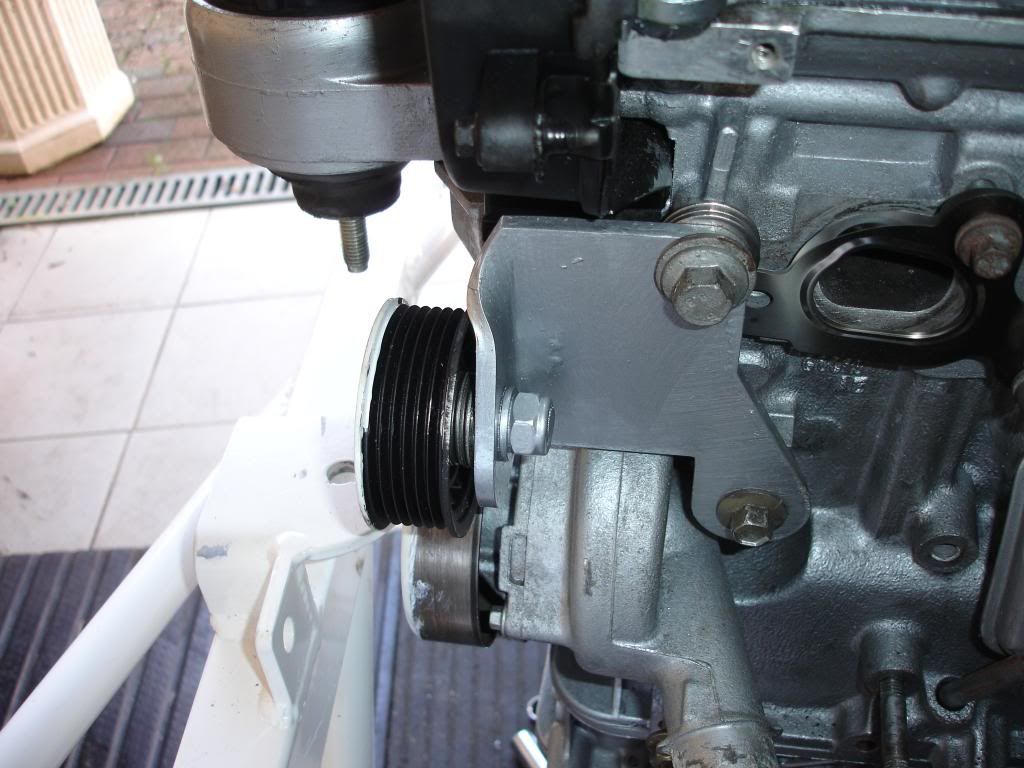
now to finish off the tensioner pulley, I was not happy with the std location as when I applied a belt the tension was not as strong as I would have liked , so decided to modified the mounting , see below
Moved the tensioner across so it was still mounted on one of the 2 original mounting points and cut a small area out of Alternator bracket base to accommodate spring housing base.
Then added new bracket from the 2nd mounting point to the alternator mounting bolt, making a good firm fitting
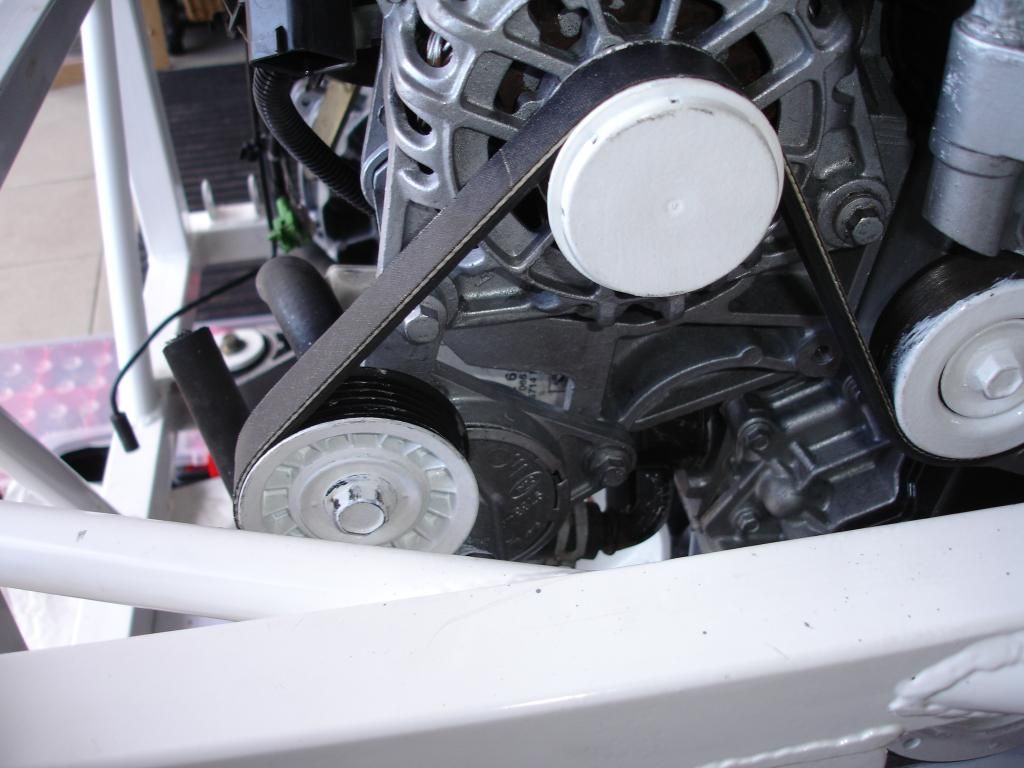
Belt all fitted with Excellent tension 
Now to fit some of the Cooling system hoses see picture below
I have now ordered the Completion kit In Signal Red & White, I now have all the suspension parts so I have decided to turn the car into a rolling Chassis and sort out the all the issues with Driveshafts, Hubs etc, etc, etc , and then do the wiring to get the engine running before fitting any body panels (yes I realise I will have to take stuff off again to fit the bodywork).
But I think having the chassis mobile and being able to get at everything will be beneficial in the end and add to a better build (I Hope)
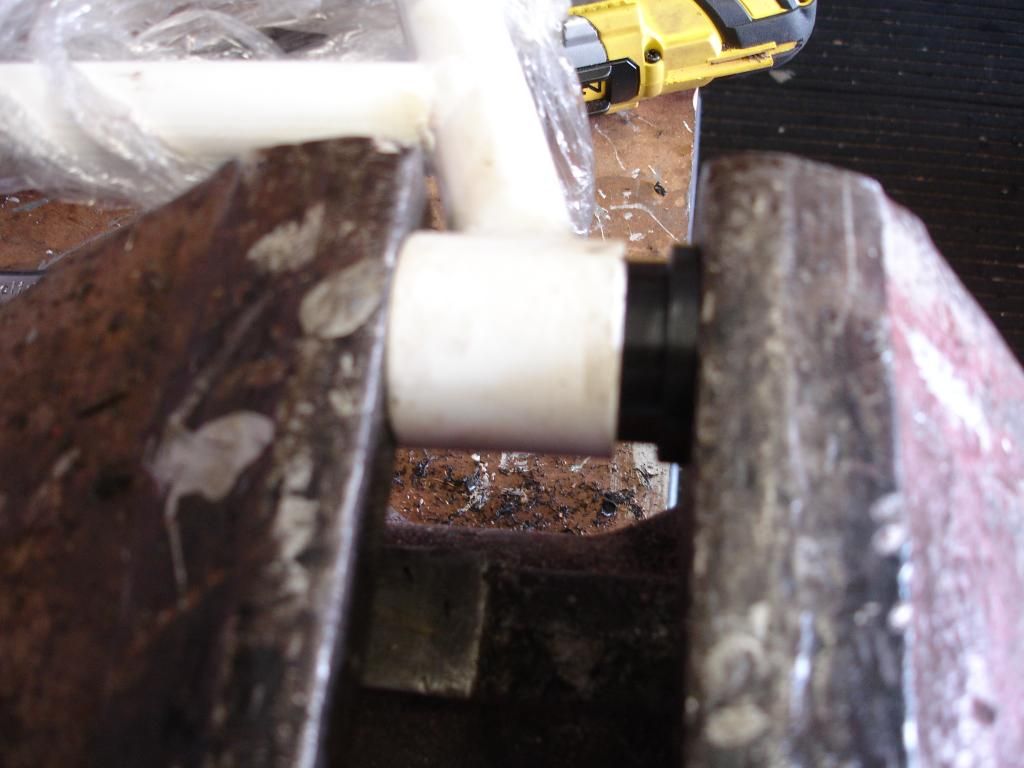
Fitted the suspension over the weekend , Filed a small Chamfer on the edge of the bush , then with care pushed the bushes into the suspension arms
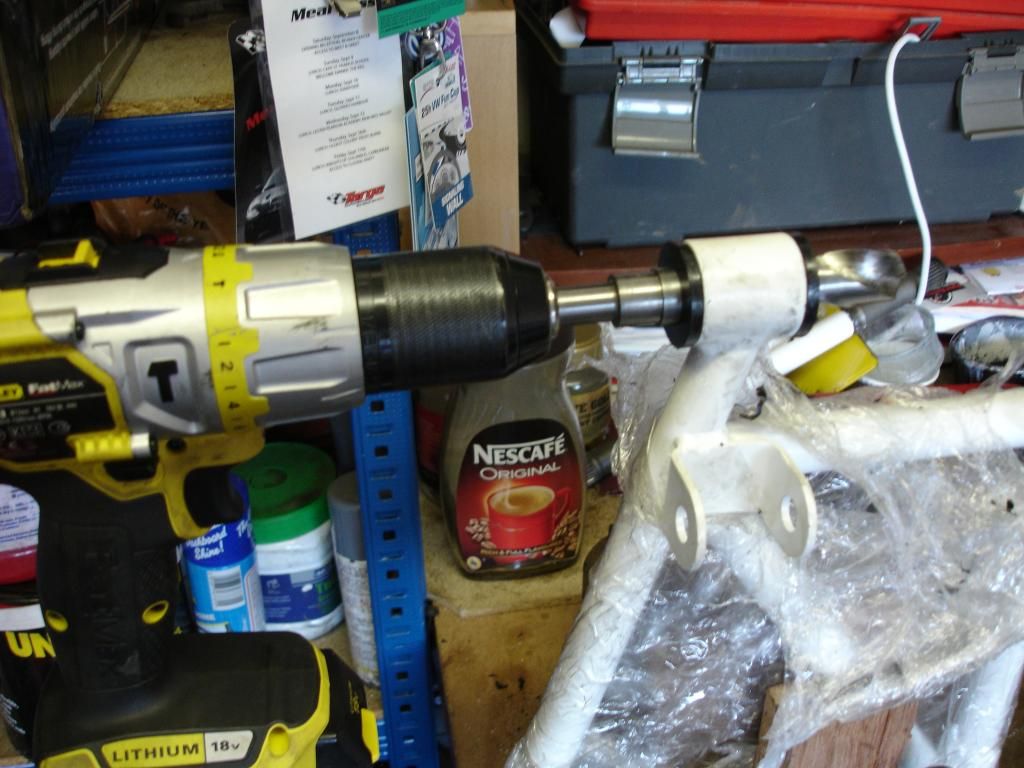
Then drilled out the centre to remove any high spots, to allow the bushes to fit snuggly without restricting suspension movement using a 19mm Drill
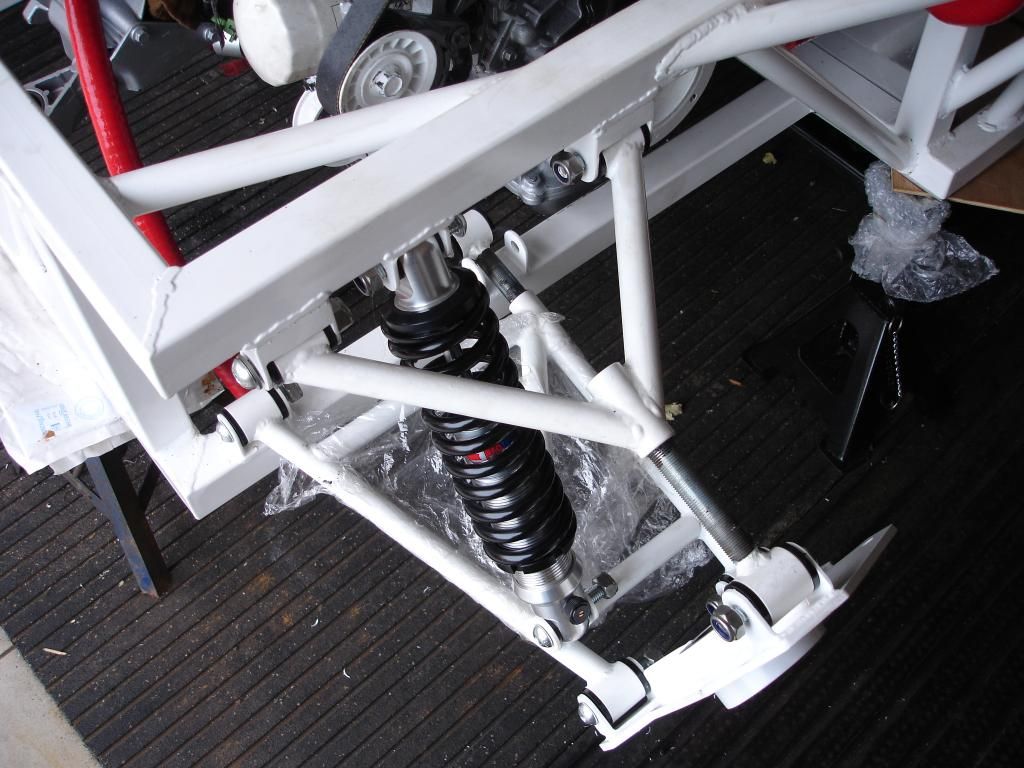
Rear suspension, I need to tap out the thread on the adjustable link as its very , very tight on all 4 corners, once I have done this I can then adjust the suspension Geometry
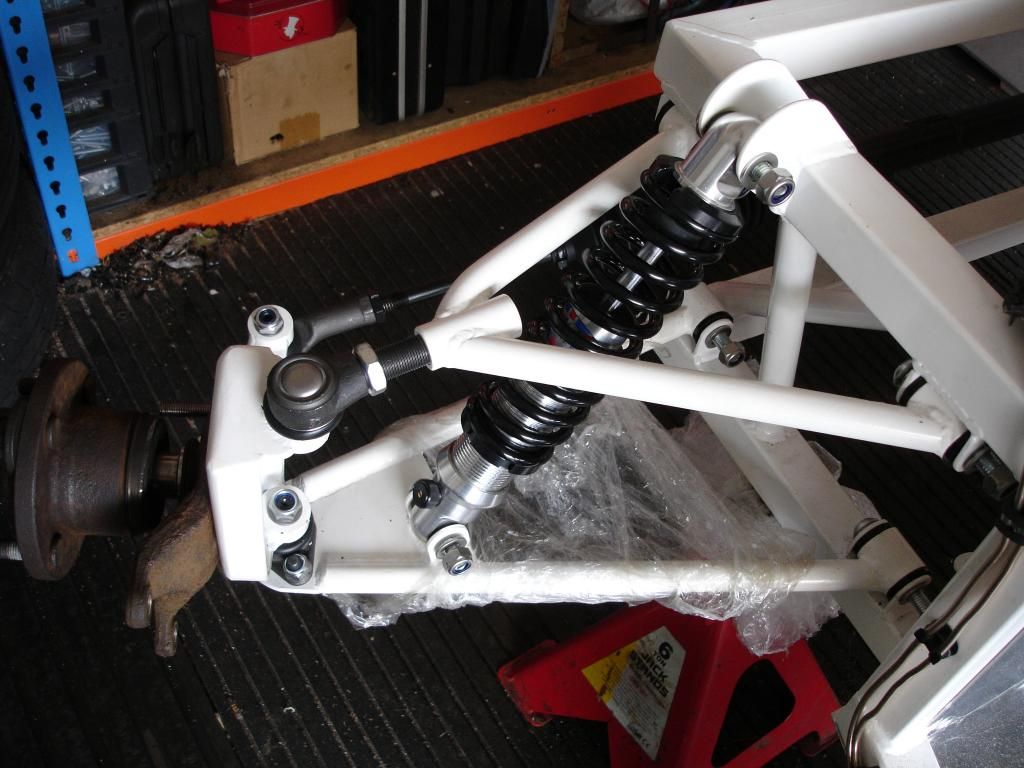
Front suspension, Hub offered up now need to replace bearings, remove rust and paint to look neater
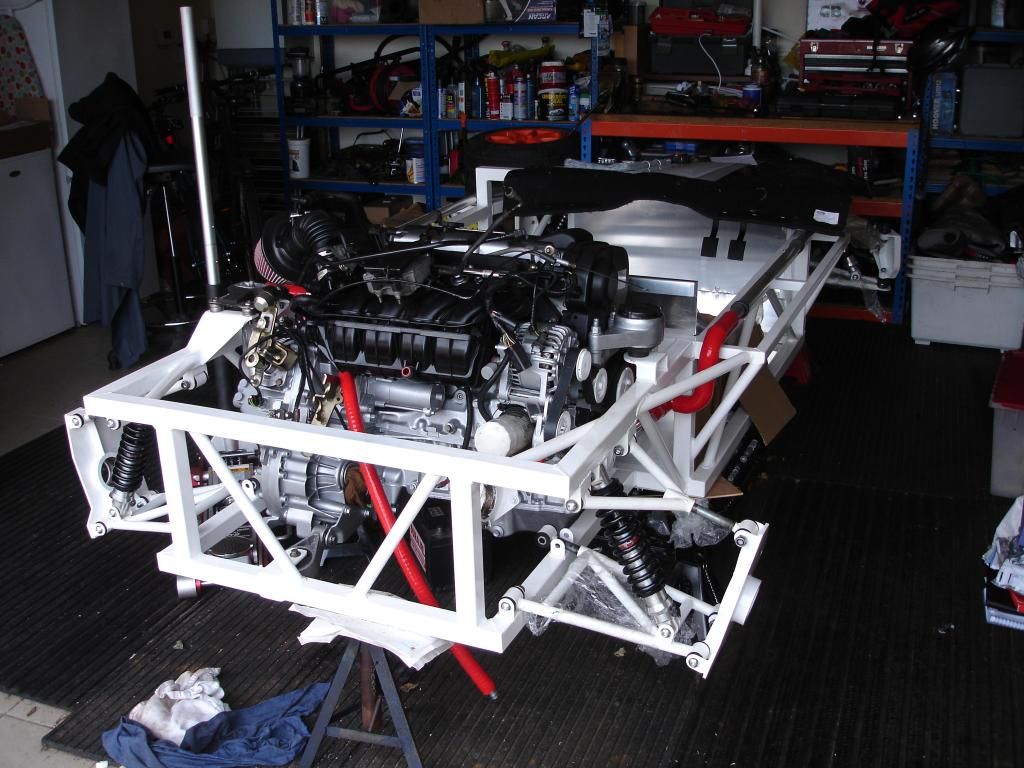
Actually starting to look like a car now


