|
|
Post by kerob1labs on Mar 13, 2015 13:13:31 GMT
I was thinking about using the front-lower exhaust pipe from Mondeo together with exhaust manifold. I found some decat pipes that could be used as the cat converter for ST170 is further away from the engine (instead of hanging on the manifold). I can't test it because I'm painfully away from home (business trip!!) and I don't know how the RTR silencer looks like.
In my case as I'm not using RTR silencer, I thought of getting the front-lower pipe, chop off the joint to make the end a bit longer and curve to the left side so cat goes to the side, then another curve to have the silencer going to the right hand side. Not sure if that makes sense, all I've got was a hand drawing in a piece of paper!!
Thanks!
|
|
|
|
Post by kerob1labs on Mar 26, 2015 22:40:16 GMT
Hi!
I finally started stripping off my donor (well part of it), I took some photos around (they are in my phone) but I haven't got time to organize things, I have short schedule and I need to get rid of my donor by easter.
One thing I kind of got stuck: you know the big connector in the left footwell (that connects the internal fuse box to the external fuse box), how did you manage to take that thing off??
Oh, another question: I was browsing your photos and I noticed you are not using the expansion tank in the cooling, is that correct?
Thanks!
|
|
|
|
Post by mawdo81 on Mar 27, 2015 9:44:41 GMT
Undo the bolts from the wheel well side (x2) they won't come out completely but it should be enough to work the 2 connectors out from that side. Then all that is left are plastic spring tabs holding it in place. prise them in with a screwdriver. It can be a bit fiddly but it doesn't take too long.
You may need to have removed the screen wash tank and/or the front wing first, I can't remember.
|
|
|
|
Post by kerob1labs on Mar 27, 2015 22:34:17 GMT
There was a damn metal plate in the wheel well, that made a bit hard to access the bolt, nothing that a hammer wouldn't help...it's done! Thanks!!
|
|
|
|
Post by mawdo81 on Mar 28, 2015 6:01:19 GMT
Oh yeah, I dremmeled the couple of rivets that hold it in place.
|
|
|
|
Post by kerob1labs on Aug 14, 2015 8:03:56 GMT
Hey Howards,
How is your build?
I finally started mine couple of months ago with a lot of work!! One good-ish thing: I managed to use the stainless exhaust manifold...but it was costed a bit: I modified the rear bulkhead.
Cheers,
Marcio.
|
|
|
|
Post by howard on Aug 14, 2015 16:23:59 GMT
Thanks for asking
Had a bit of an issue with the wiring, I tried to use the old wiring just to get the engine running, disaster
Now got the wiring loom off MEV and decided to fit the bodywork panels temp to understand where I can route it through , also cut out the suspension holes for the wishbones.
I used a small router bit in my drill which worked a treat, then used a small orbital sander to smooth
I'll post some pics soon
|
|
|
|
Post by kerob1labs on Aug 16, 2015 20:21:57 GMT
Oh no!! What do you mean with "disaster"  Today I just tried to pump oil into the engine (just running the starter until the oil pressure indicator turns off). So far everything was all right, ran a quick diagnostic, there was nothing missing. I still need to do the cooling, fuel and exhaust to be able to start the engine. Then I will do the brakes and steering. I should create a new thread with my photos. I had little time since I started! One thing I want to post at least is the modification in the rear to accommodate the exhaust manifold. |
|
|
|
Post by howard on Feb 6, 2016 11:59:04 GMT
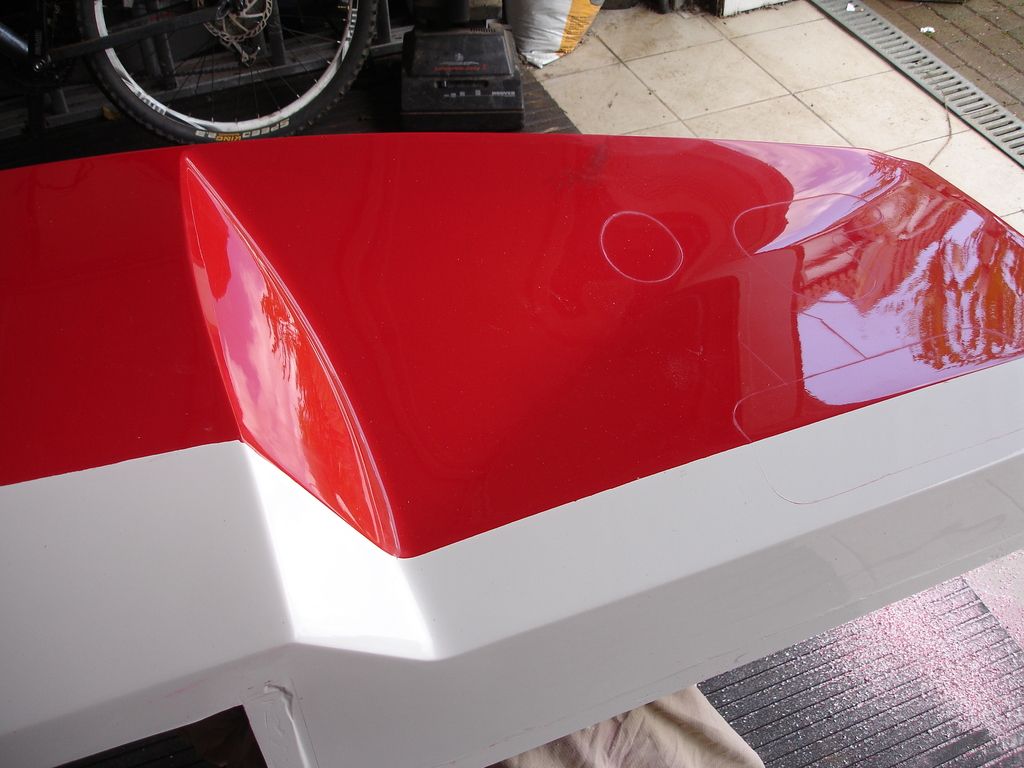
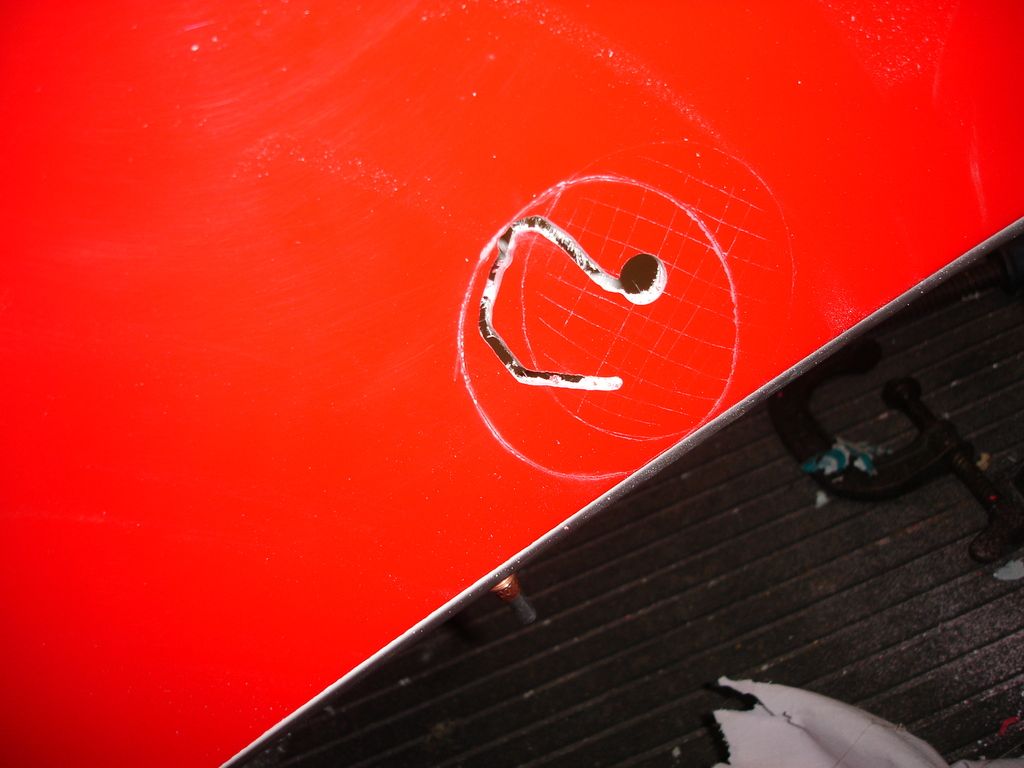
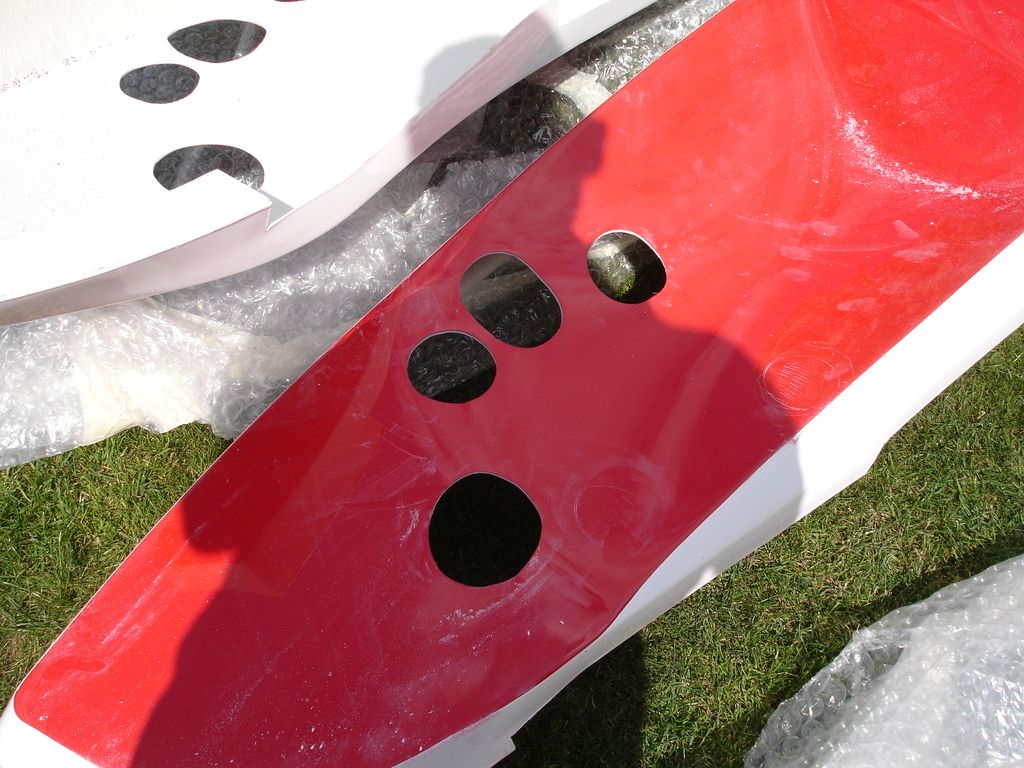
![]() Ok so now we have to cut the panels , bit Daunting so don't want to get this wrong, see scratch marks put on by RTR to follow but needs trimming after Ok so now we have to cut the panels , bit Daunting so don't want to get this wrong, see scratch marks put on by RTR to follow but needs trimming after
|
|
|
|
Post by howard on Feb 6, 2016 12:19:25 GMT
I found the best way to cut the panels was to buy the smallest router blade I could find and put it im my drill , drill a pilot hole and then and insert the router bit and follow the guide mark, his cuts slowly but accurately and does not chip then tidy up with a small sanding drum (kit sold by screwfix 19906) 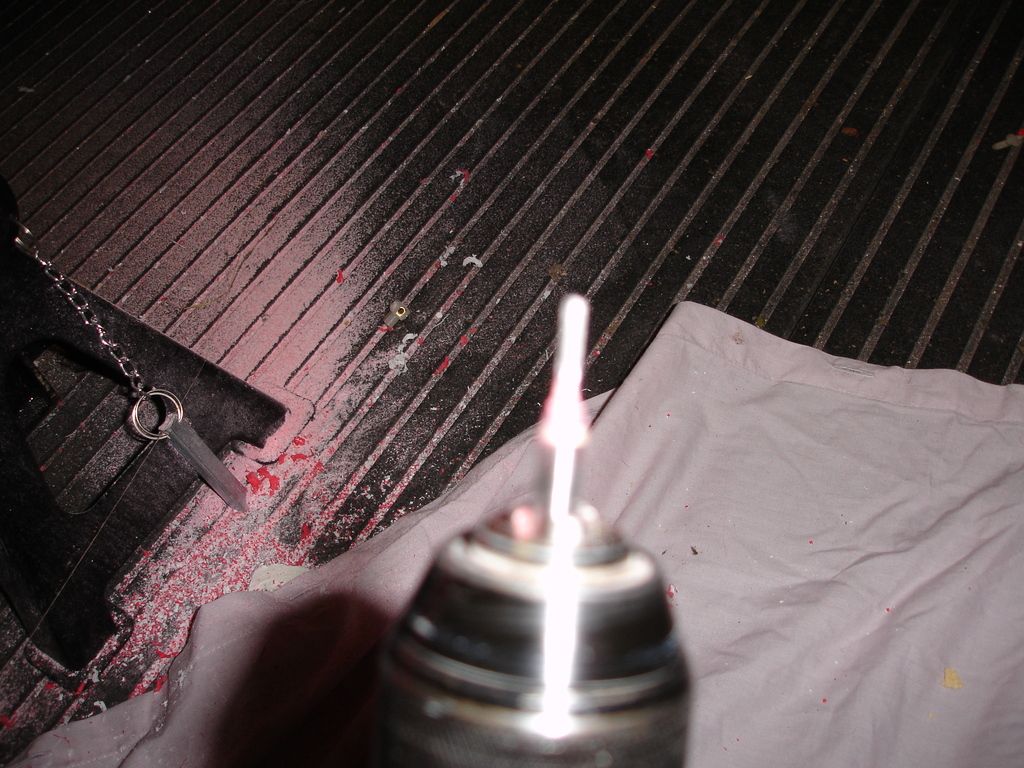
|
|
|
|
Post by howard on Feb 6, 2016 12:34:56 GMT
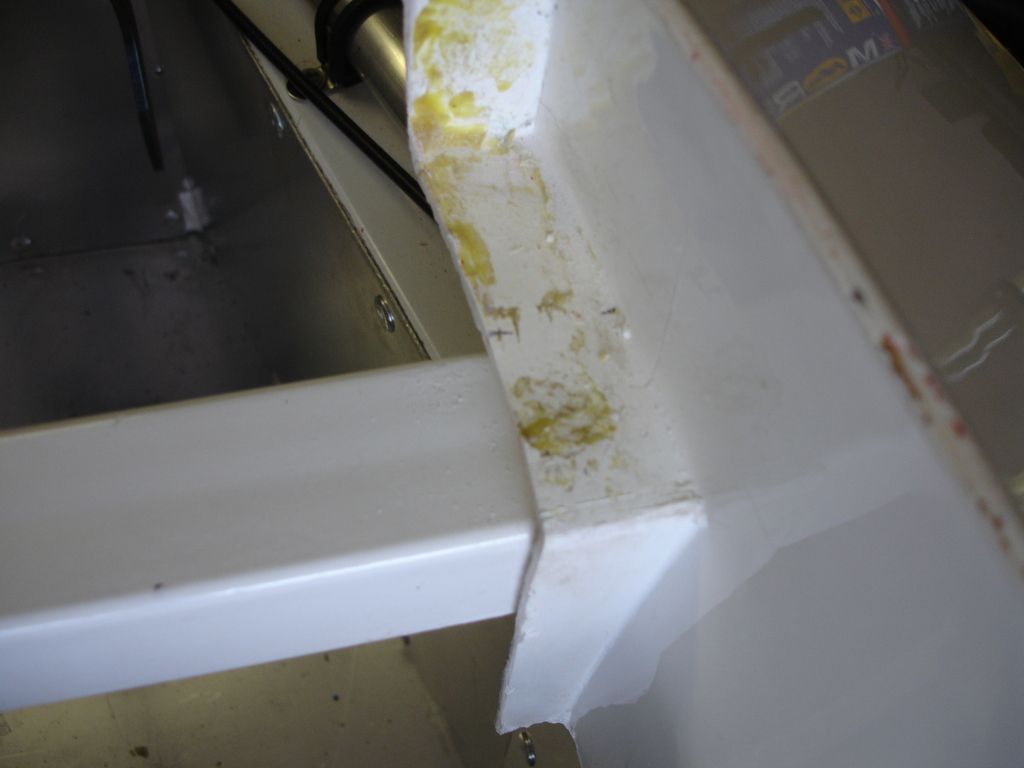
next tricky bit was trimming the side panels to fit over the cross member where the dashboard goes, you need to spend some time on this as the height of the panel effects the fit to the underside of the car where the panel overlaps the floor panel.
take some time as you cannot add it back in once you've cut it out, would have helped if RTR had marked it out where to cut and how much, anyway got there in the end

|
|
|
|
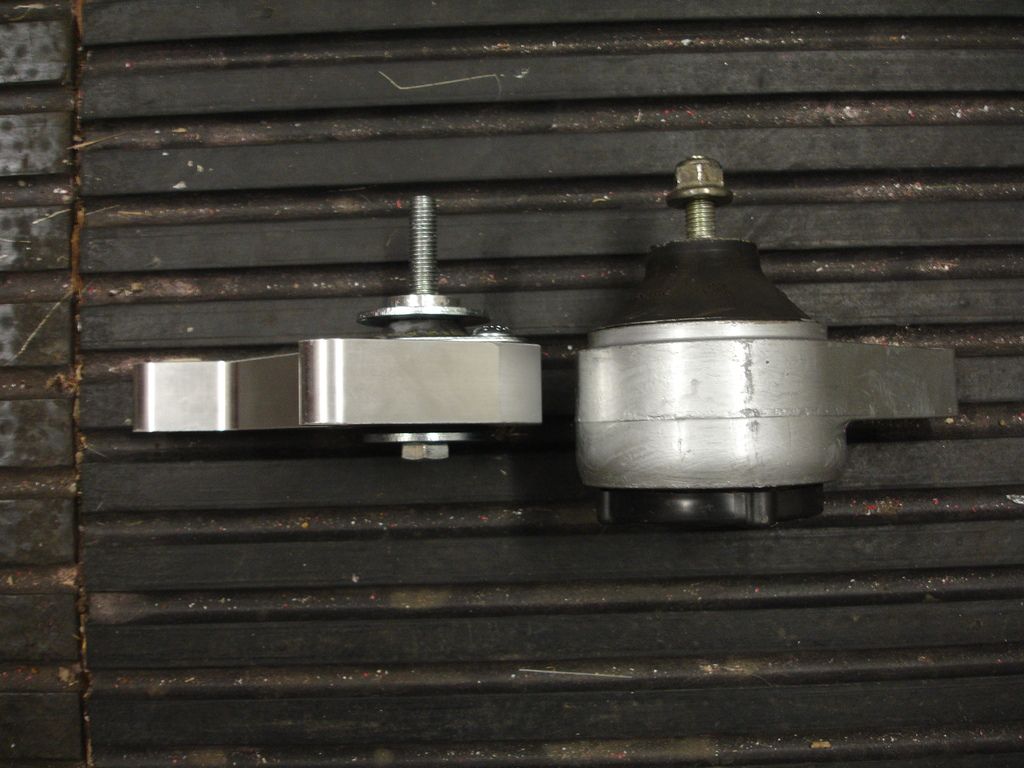
Post by howard on Feb 6, 2016 12:44:30 GMT
fitted without the suspension makes you think your building a speed boat, 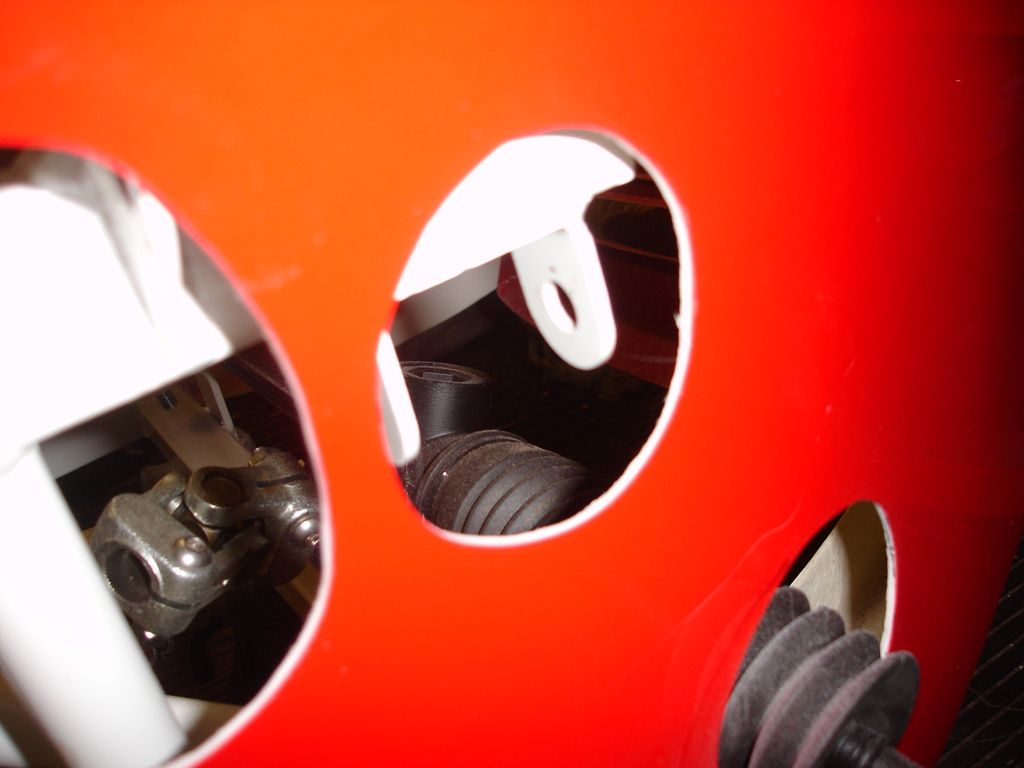
Also fitted the Vibra Technics engine mounting L/H when it was fitted on the original focus, this gave more room and aided fitting of the panels
|
|
|
|
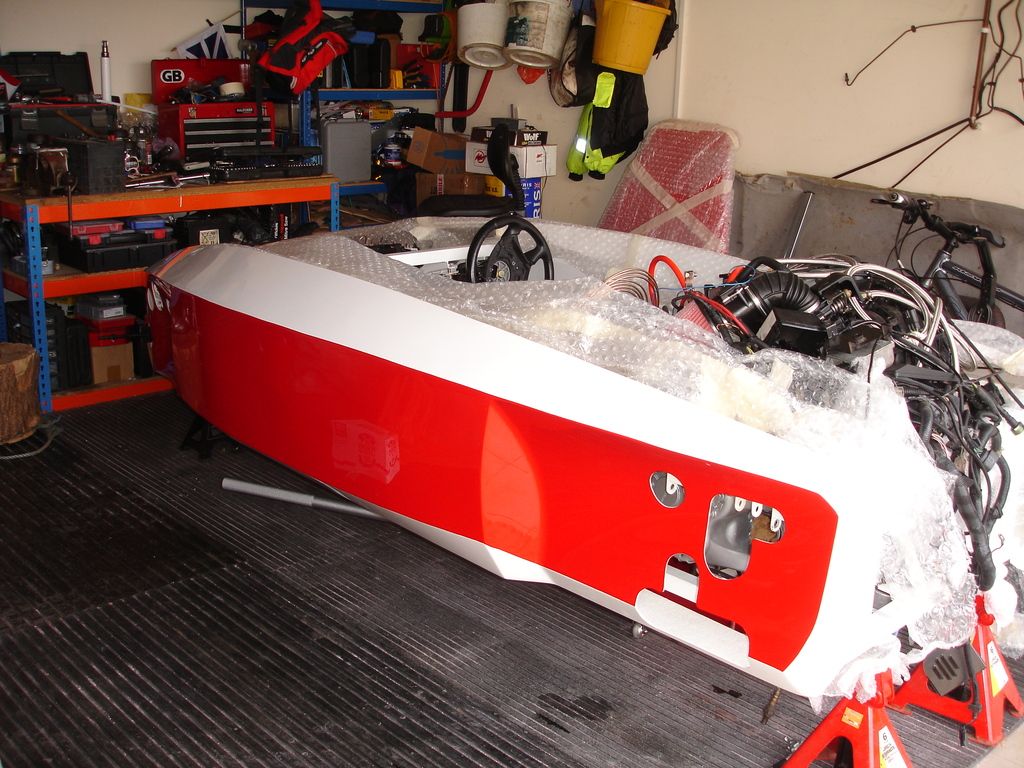
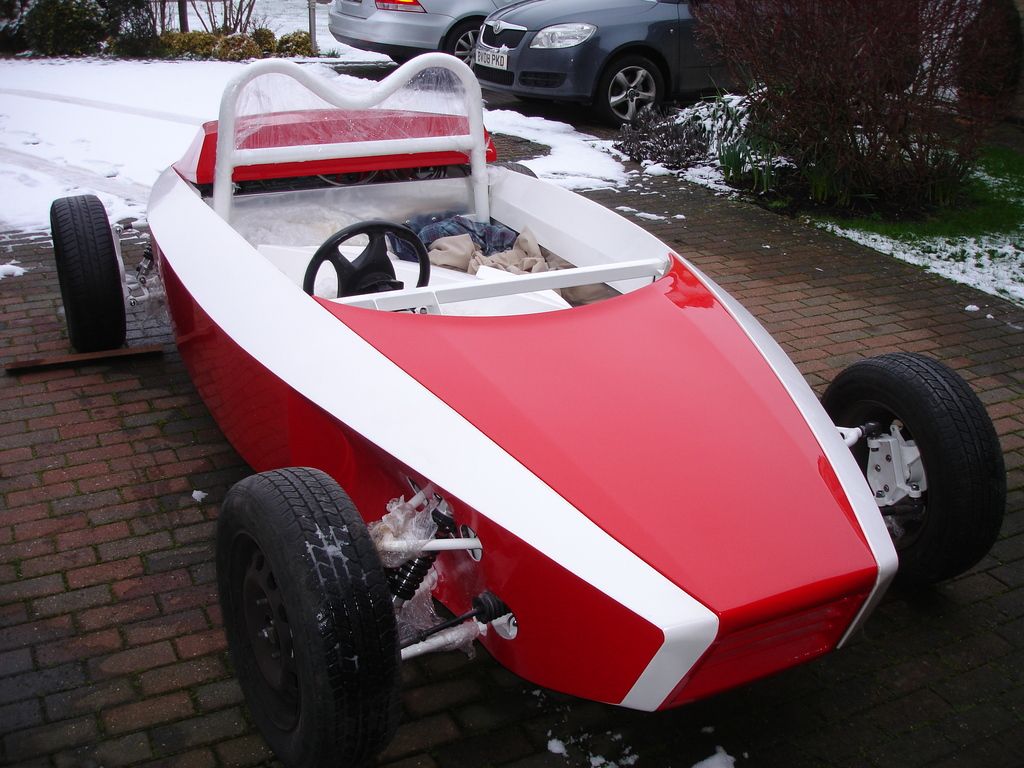
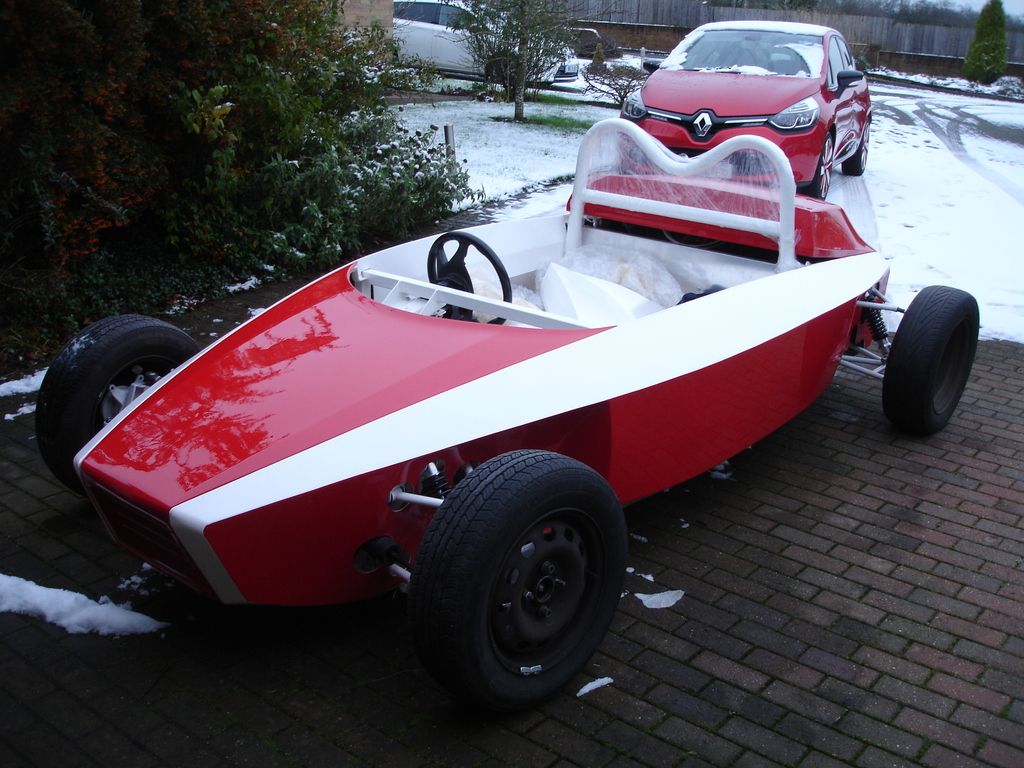
Post by howard on Feb 6, 2016 13:03:19 GMT
now with suspension, looking more like a Car Now

|
|
|
|
Post by kerob1labs on Feb 7, 2016 23:16:33 GMT
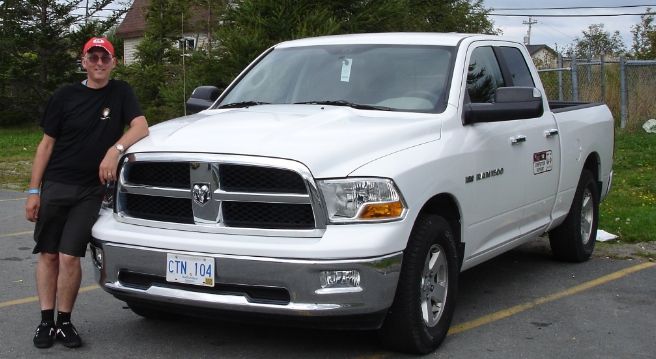
Looking good!! I'm building mine but so far no bodywork yet, I shall start soon!! I don't want to mess your photos with mine, this photo I took today: dl.dropboxusercontent.com/u/88787/12715684_10153596002928025_6710854213029170404_n.jpgSo far all electronics are good, I can drive it (of course never left the driveway), brakes, cooling, etc, all good. (after a hell of work!) I'm using front vented discs. I made a special order from High Spec brakes to fit a vented disc on the Rally Design upright (not shown in the photo). Out of curiosity, where are about in the UK? There are loads of snow around! Cheers, Marcio. |
|
|
|
Post by howard on Feb 14, 2016 13:27:35 GMT
Thanks for the comments, enjoying building it and turning an old focus into something unusual.
live near daventry
yours looks like you have had a lot chromed, nice
|
|