|
|
Post by gnc on Jul 26, 2014 21:08:05 GMT
Doing a little detailing to the engine bay, all coming together slowly. 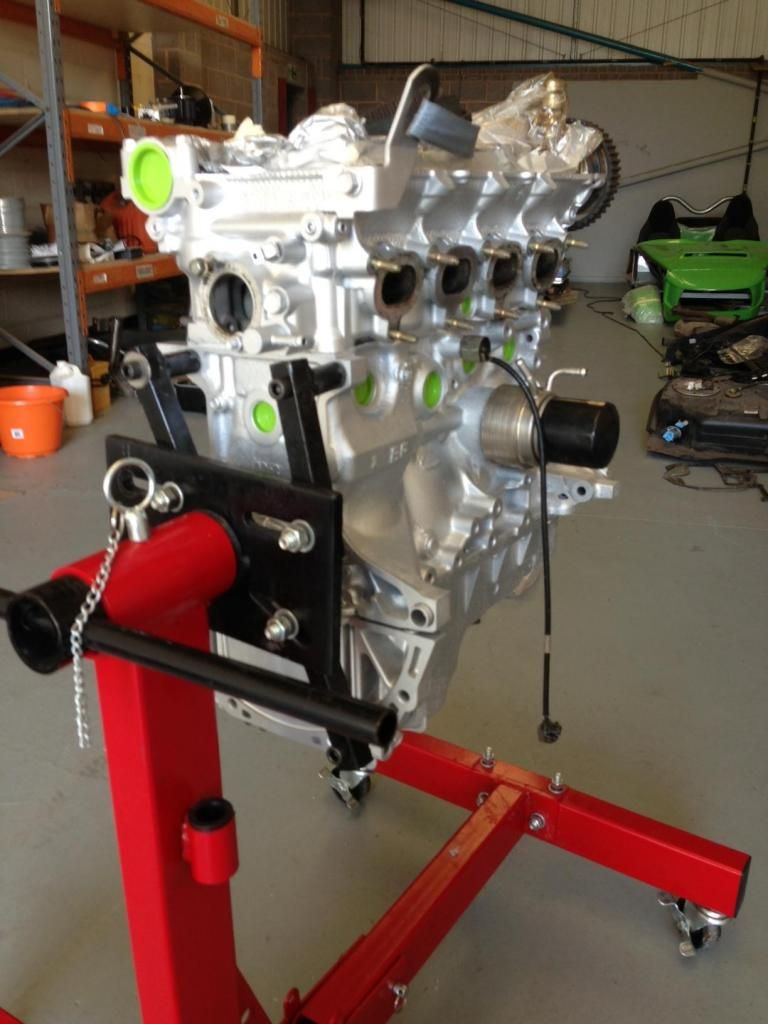 The engine mounts need spraying. A bit of overkill holding the bracket but it does a good job!!  First error with the rebuild, the thermostat housing needs to be fitted and the rear shroud BEFORE the camshaft sprockets. It did give us an idea what it will look like later on. It was also easier to fit the flywheel and clutch with the new front crankshaft bolt in place. The new water pump, timing belt, idle pulley and tensioning pulley all in place. 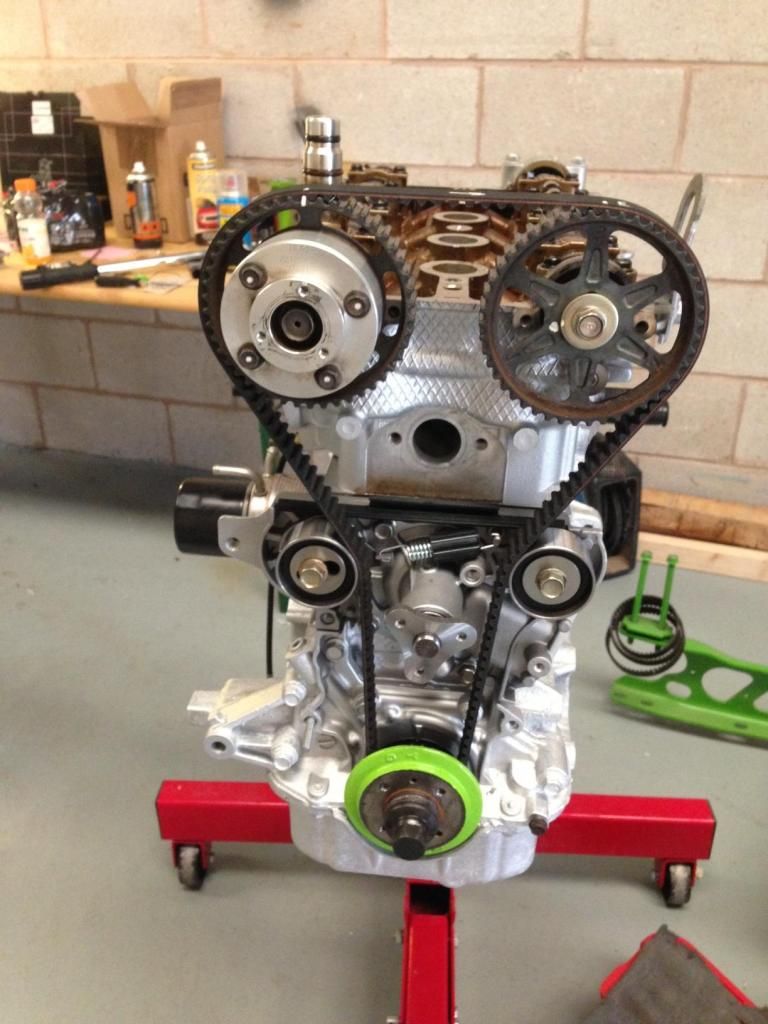 |
|
|
|
Post by gnc on Jul 26, 2014 21:17:15 GMT
The hose on the rear water outlet was beginning to split. Will have to inspect all the other hoses very carefully indeed. 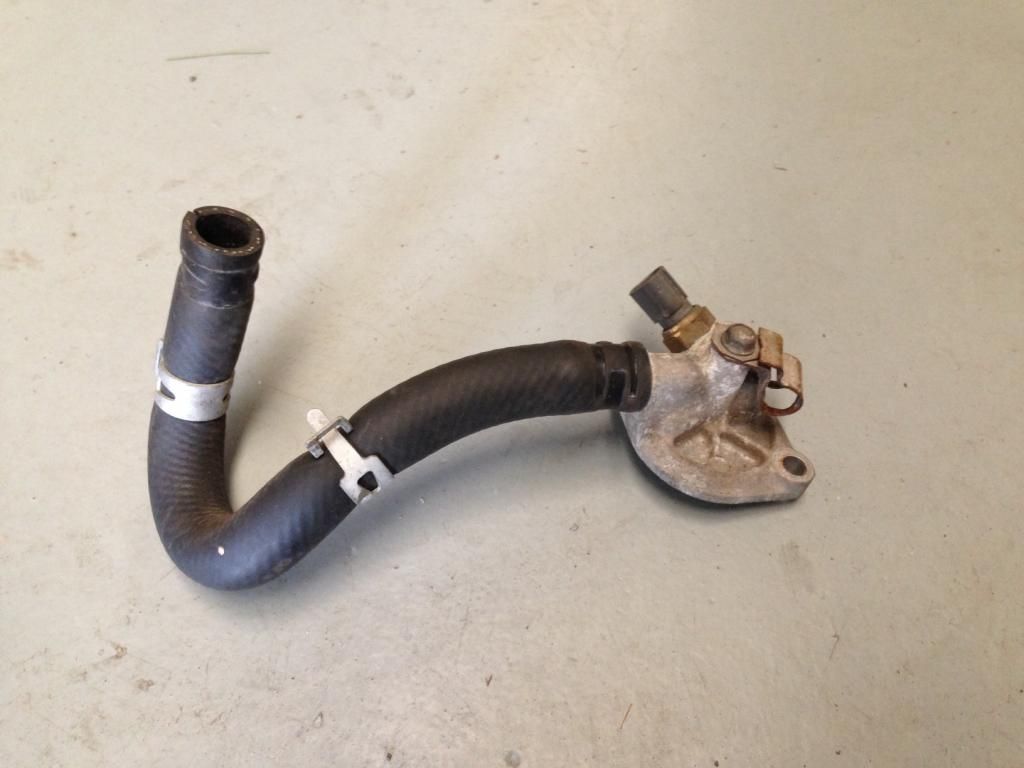 Cleaned up the manifold and also resprayed the gearbox mounting plate. This gives a great contrast to the silver block. 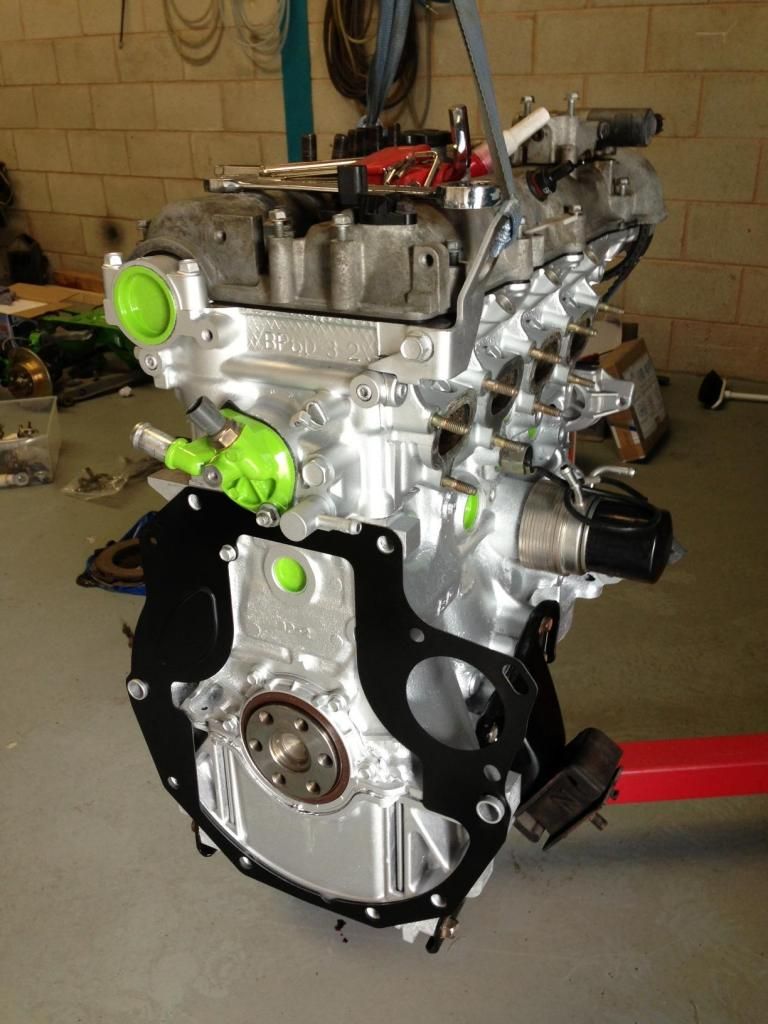 Fitted the flywheel, new spigot bearing, and clutch. Used a Draper clutch aligning tool which was supposed to be very easy. Either we were being stupid or the tool was as much use as a chocolate fireguard. Eventually got it all together ready for the gearbox to go back on. 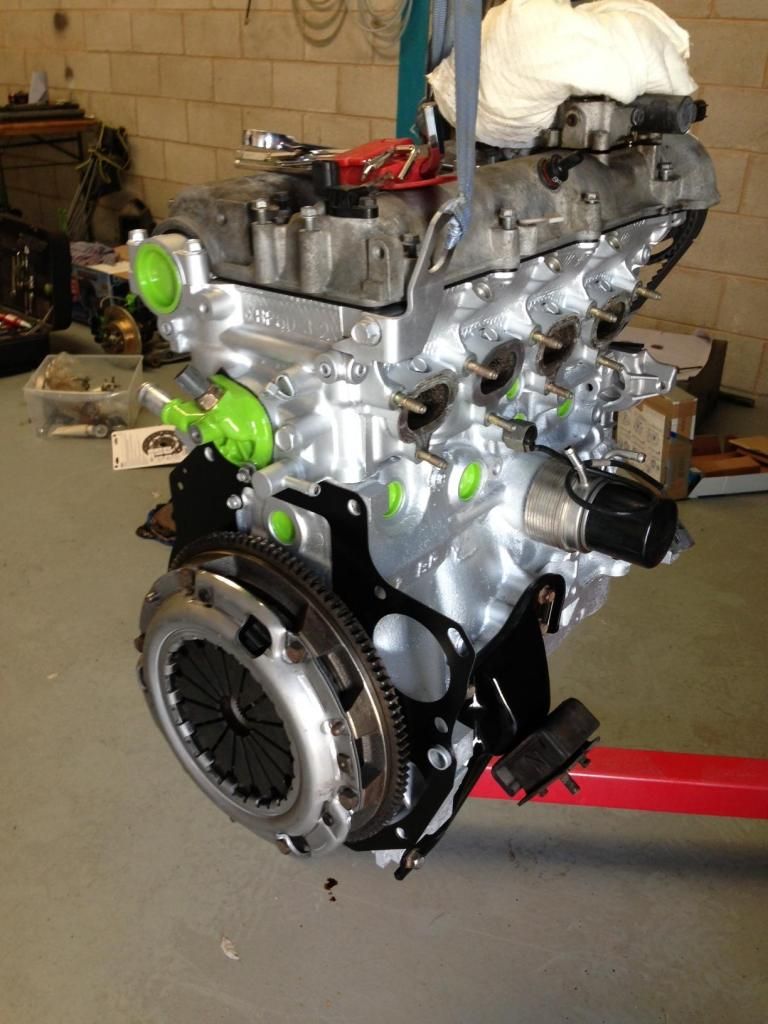 |
|
trident
Senior
 Improvise, Adapt and Overcome
Posts: 629
|
Post by trident on Jul 26, 2014 21:26:44 GMT
Now that is very nice.... This is going to be one very nice car once finished.
|
|
|
|
Post by gnc on Jul 26, 2014 21:54:52 GMT
In all the rush to get a little more completed, completely forgot to take pictures of the gearbox being reunited with the engine. Here it is with the front subframe back under the engine. 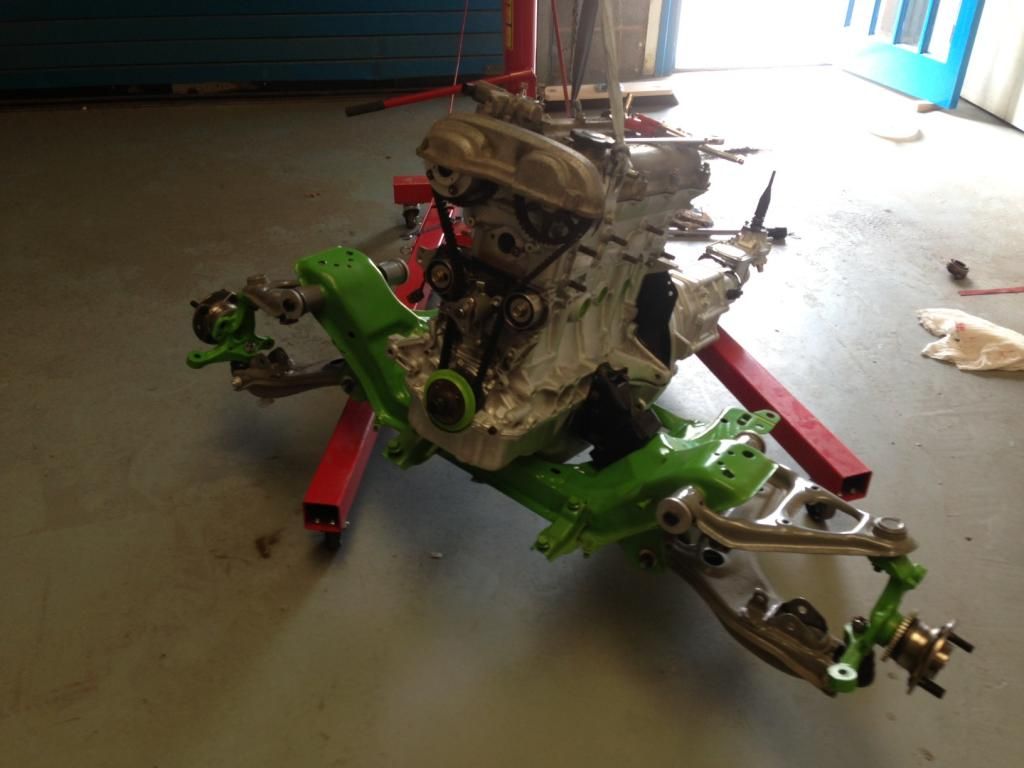 Then it was time to finally rekindle old acquaintances....... 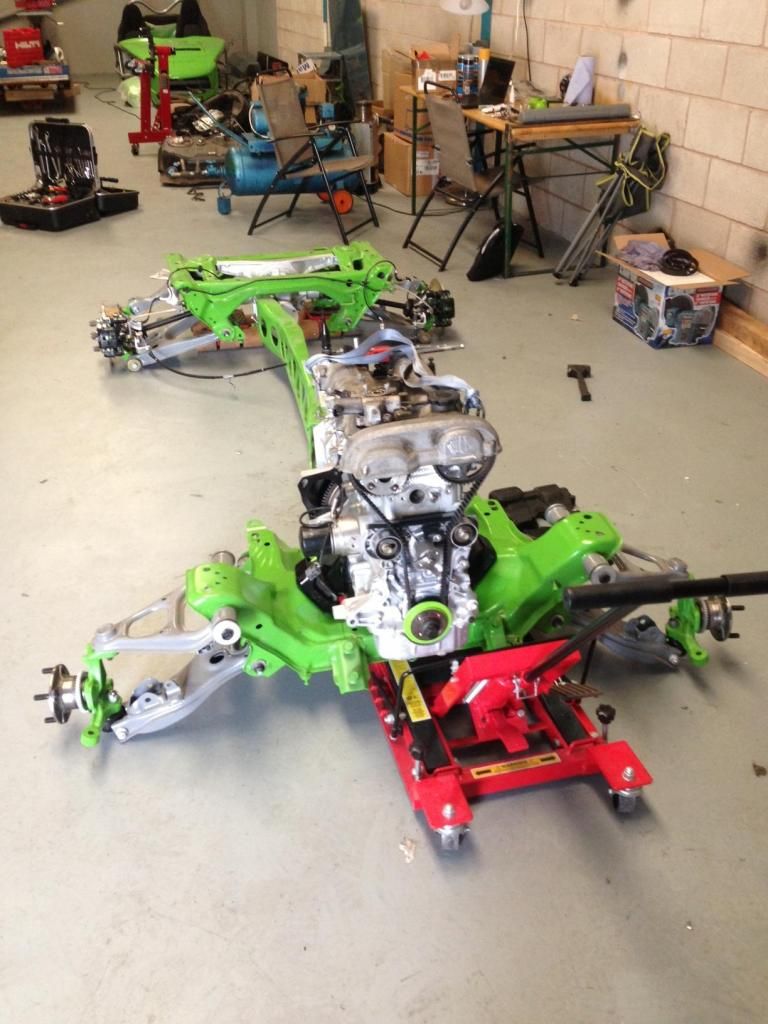 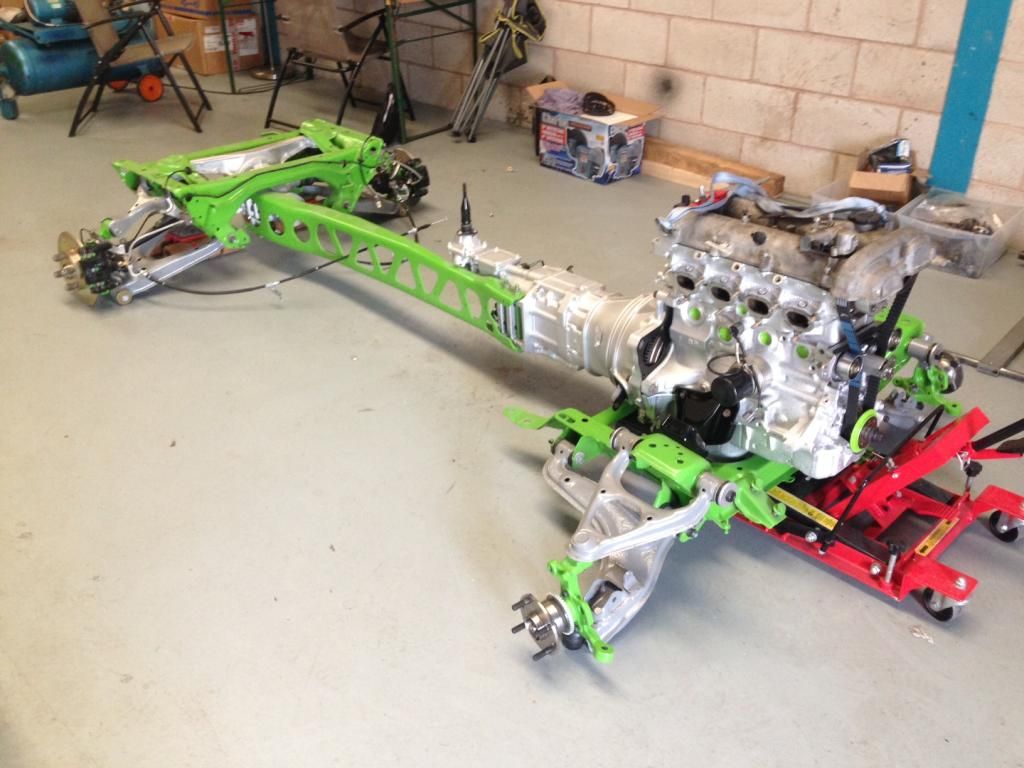 Really frustrated that we cant do much more on the engine, being held up by a single O ring for the thermostat housing body. Would look so much better with the front tidied up. Now to look at getting the rocker cover and inlet manifold painted and maybe a rather special finish applied..... |
|
|
|
Post by gwnwar on Jul 27, 2014 1:50:37 GMT
Remember before dropping on the frame to loosen the front bolts of the PPF to the trans for a little movment between the sub frames.. Tighten later after drive shaft in to get the right angle of the shaft and how high/low the shifter sits in the center console..
|
|
|
|
Post by jgilbert on Jul 27, 2014 7:24:56 GMT
Gentlemen,
Very nice build. I like the use of colour contrast. Very envious of your workshop space. Why not replace all the noses ? No point in risking a split hose once it's built.
|
|
|
|
Post by gnc on Jul 27, 2014 18:30:32 GMT
Thanks guys, Gwnwar, the ppf is slightly loose on the gearbox. We figured this may also help with some of the alignment issues relating to the chassis that we have read about as well. And jgilbert, you are right, it will be a complete hose change, really not worth taking any chances. They're next on the shopping list of plenties!!
|
|
|
|
Post by gnc on Aug 5, 2014 21:11:24 GMT
The O ring arrived so its back on with the new thermostat. 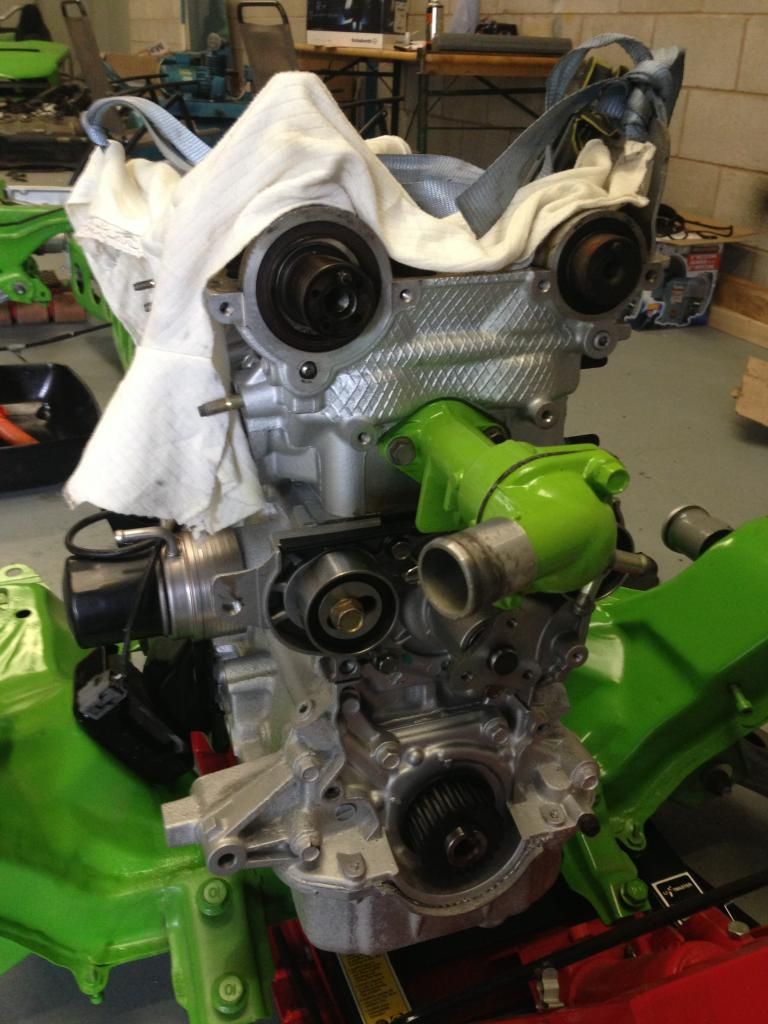 After realising that the rear cover had to go on BEFORE refitting the cam sprockets, the front end with new cam belt was all put back together. 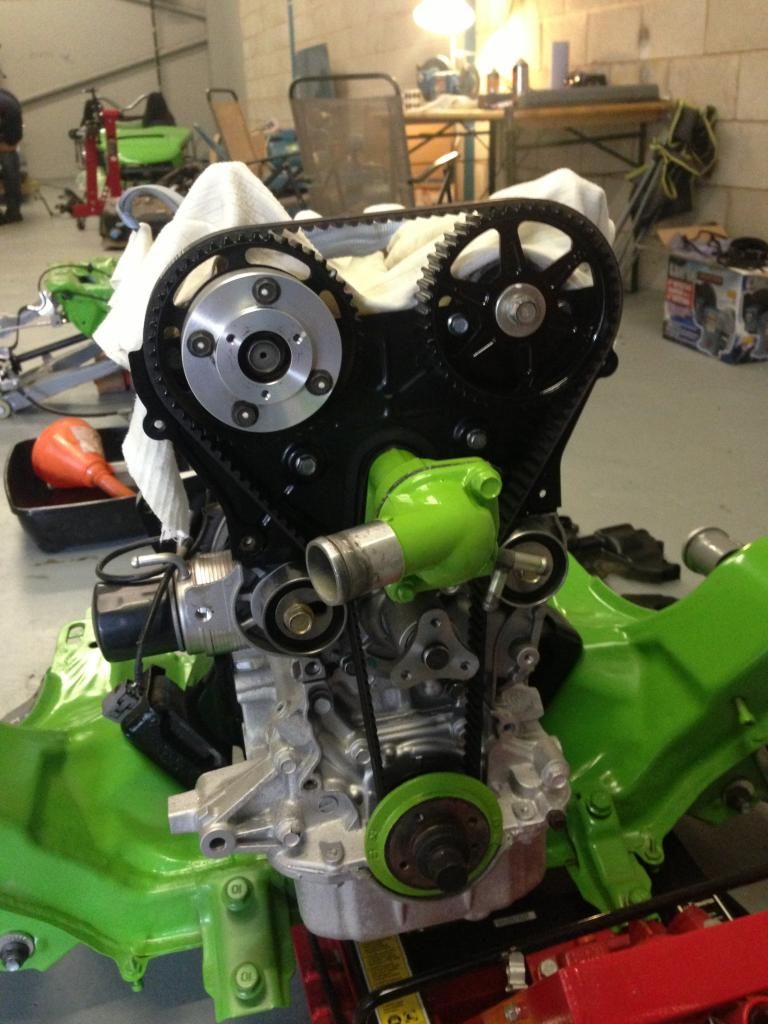 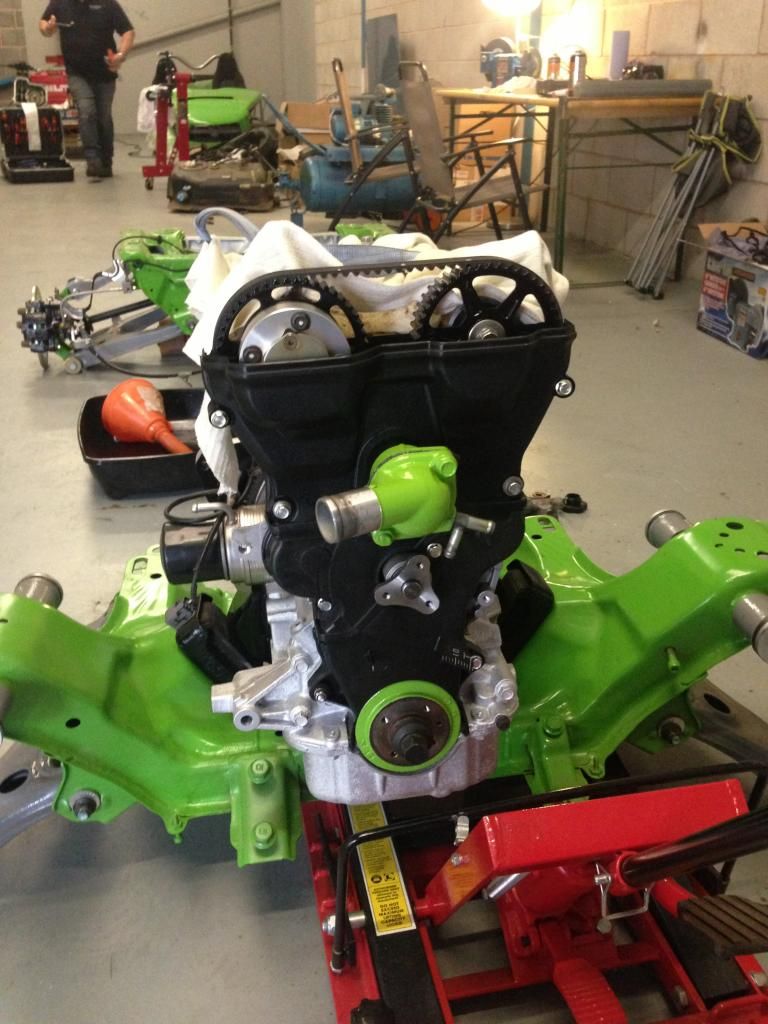 Starting to come together nicely. Would get a little more done if it wasn't for my trusty assistant (who thinks cars have far too many wheels but has 18 bikes with two wheels). Having not been on a motorcycle since being 17, he decided it would be wise for me to try this............ 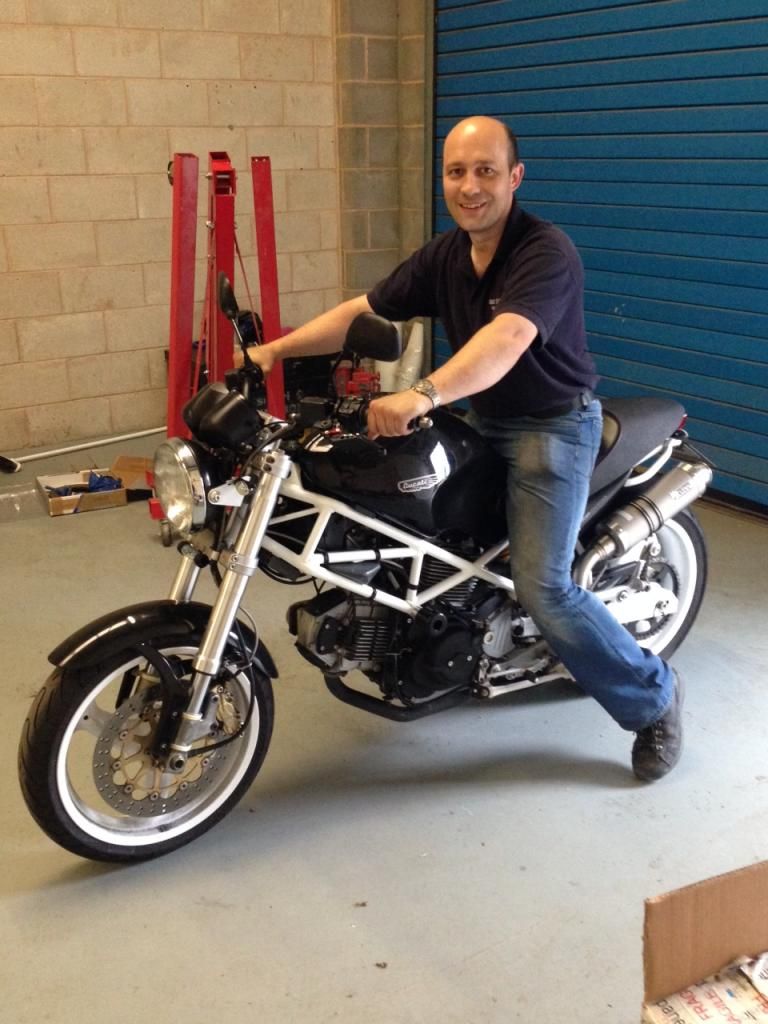 It is indeed a Monster, and really not to be recommended for the novice. Was great, even if the bike was still ticking over at 75 !! |
|
|
|
Post by gnc on Aug 9, 2014 18:36:55 GMT
The rocker cover was collected just in time for the weekend and to say we're pleased with the result is an understatement. 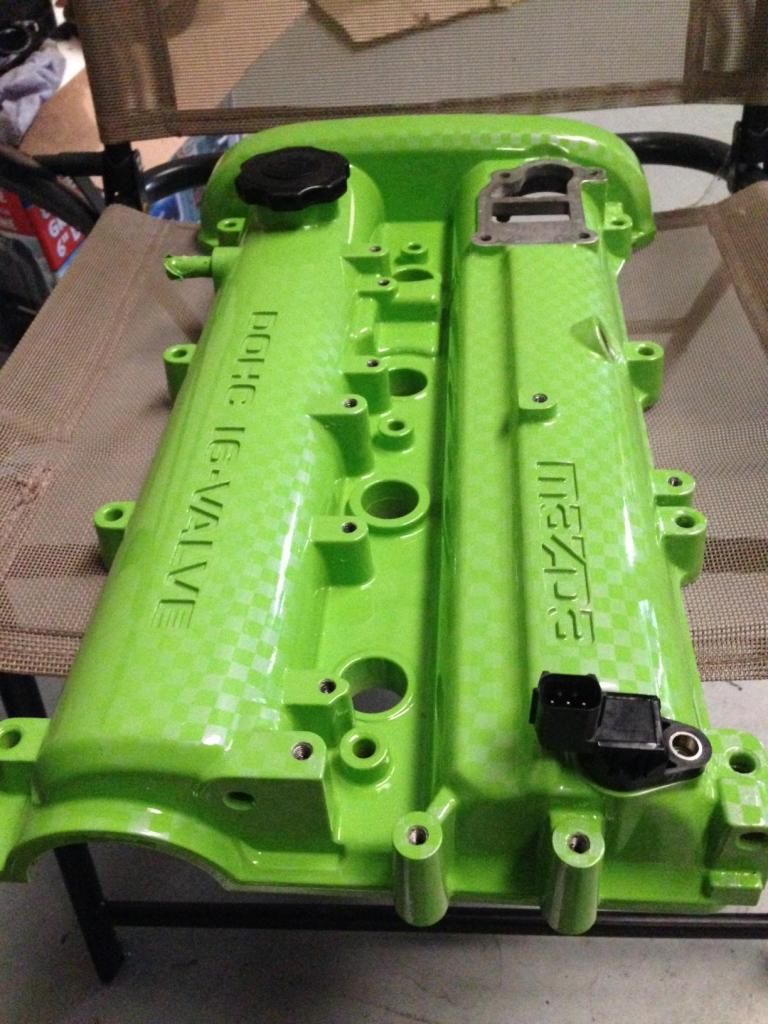 Fitted a new gasket to the VVT assembly and a new rocker cover seal before fitting to the engine. This closes the top and leaves the engine less vulnerable to foreign objects. Trickled some oil over the cam lobes before refitting the cover to keep things lubricated. 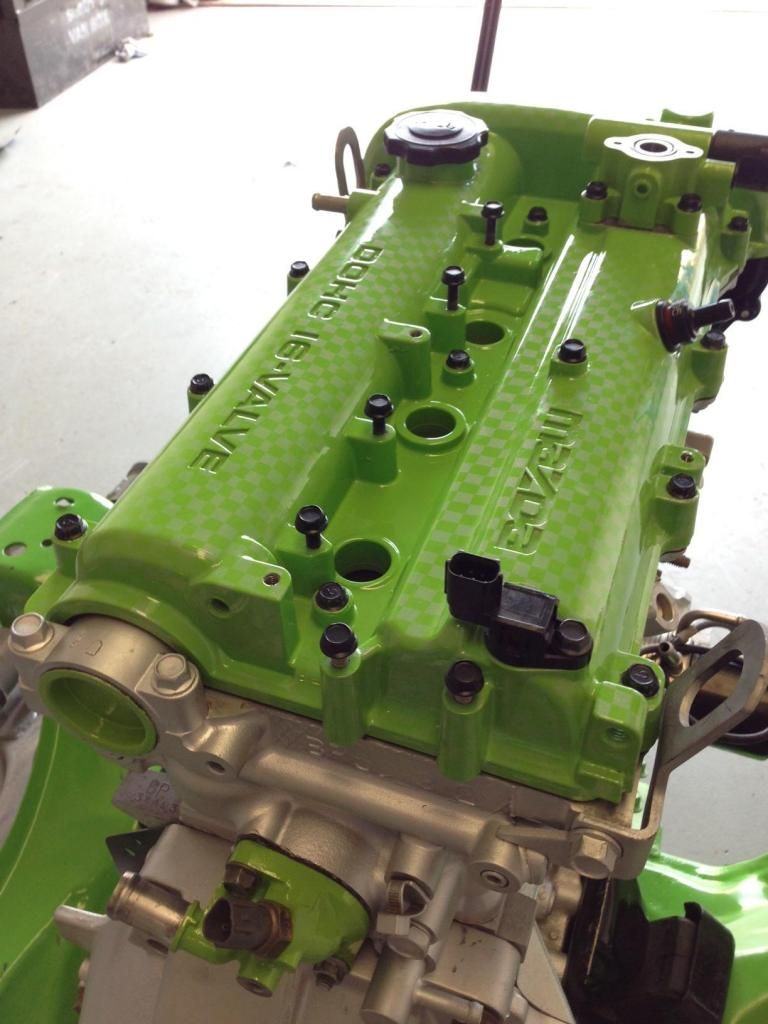 This seemed to bring things together rather nicely, Now the dilemma. After seeing the result it's left, it would be great to see the inlet manifold the same but it's a case of expense. It's getting kind of expensive having everything done above and beyond what we originally intended, even if we do love the result. 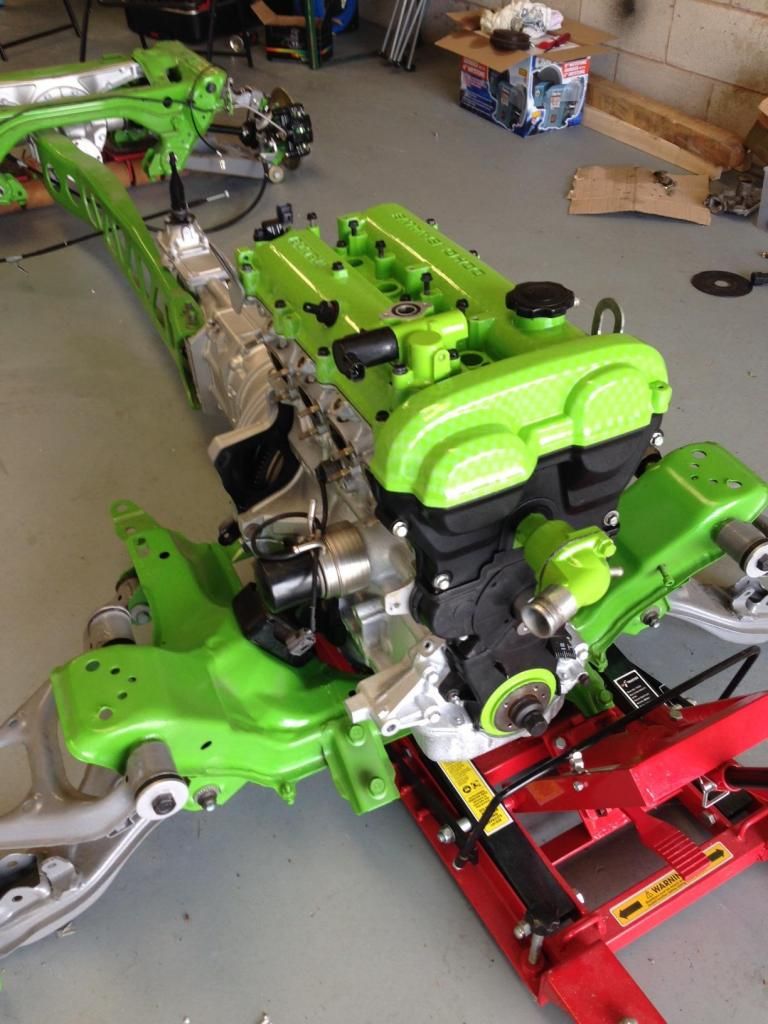 Whilst we make a few decisions it's now time to start stripping the inlet manifold assembly. |
|
|
|
Post by mrjingles705 on Aug 9, 2014 21:50:16 GMT
That cover is - awesome!
|
|
mrmontana
Newbie
 Spartan wannabee livin' on the Island of Love
Posts: 12 
|
Post by mrmontana on Aug 10, 2014 21:55:16 GMT
Simply amazing the time and effort you have put into this
|
|
|
|
Post by gnc on Sept 1, 2014 19:45:24 GMT
With the length of time since the engine was stripped from the car and the sheer number of parts needing to go back on, it really has gone to prove the point that its a good idea to photo the strip at every stage. If we didn't have all the pictures to fall back on, this rebuild although taking a long time, would be a much more difficult if not an impossible task. There are pipes going on everywhere, little and large, tubes, a million little brackets for wiring harnesses etc. Each and every little piece is being given a little piece of TLC as we go along. Next stage was to sort out the fuel rail. This was a strange almost darkened olive green colour. When offered up to the head, it looked awful against the rocker cover and manifold. A touch of black was necessary so wiring and injectors were removed, all degreased and cleaned, masked as necessary then painted in a much more appropriate shade of black. Here with the injectors cleaned and refitted. 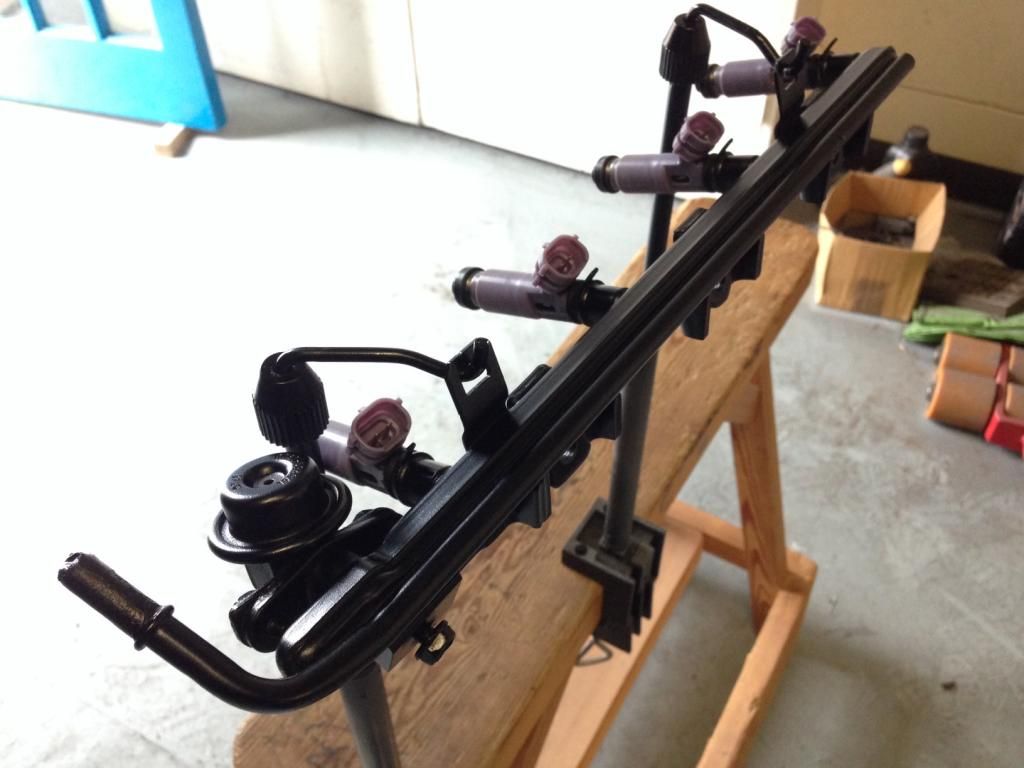 The injectors were refitted, the wiring harness reconnected and then bolted into place. The plugs on the loom were all clipped back into the correct locations. 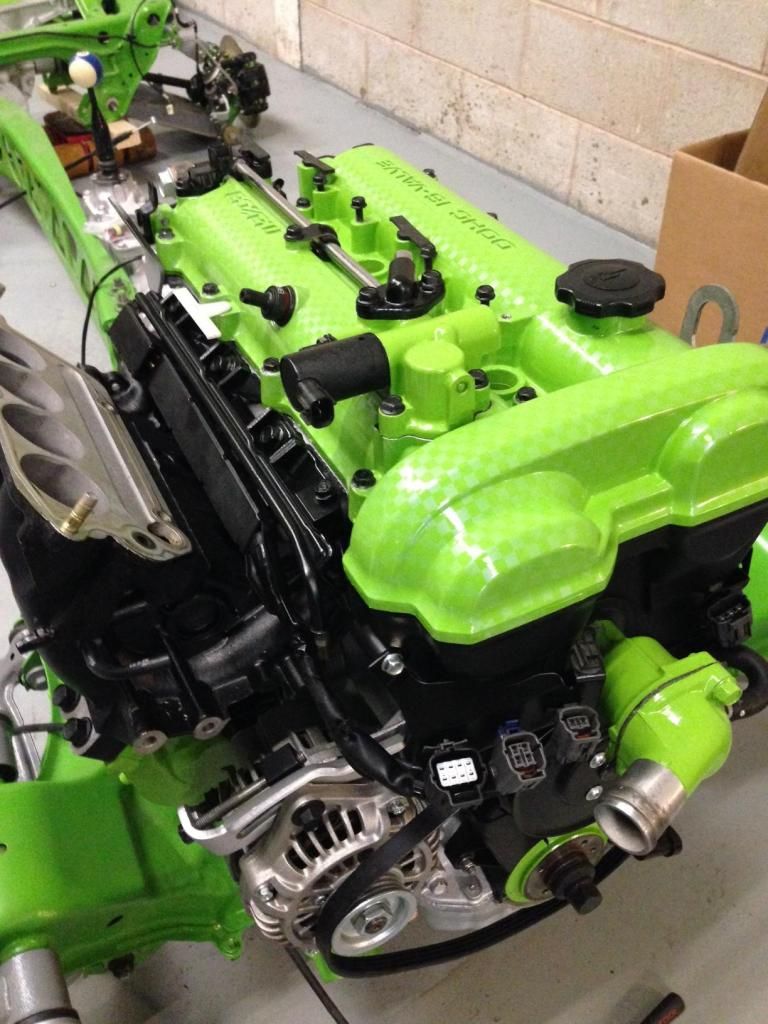 A few more parts were then fitted, pipes, brackets etc. The oil lines from the VVT turned out to be a heavily stained stainless steel. After a good clean on a wire wheel and a rub over with a gun polish, these came up incredibly shiny and new looking. Starting to come together and each piece added is a piece less to complete. Nearly there hopefully !! 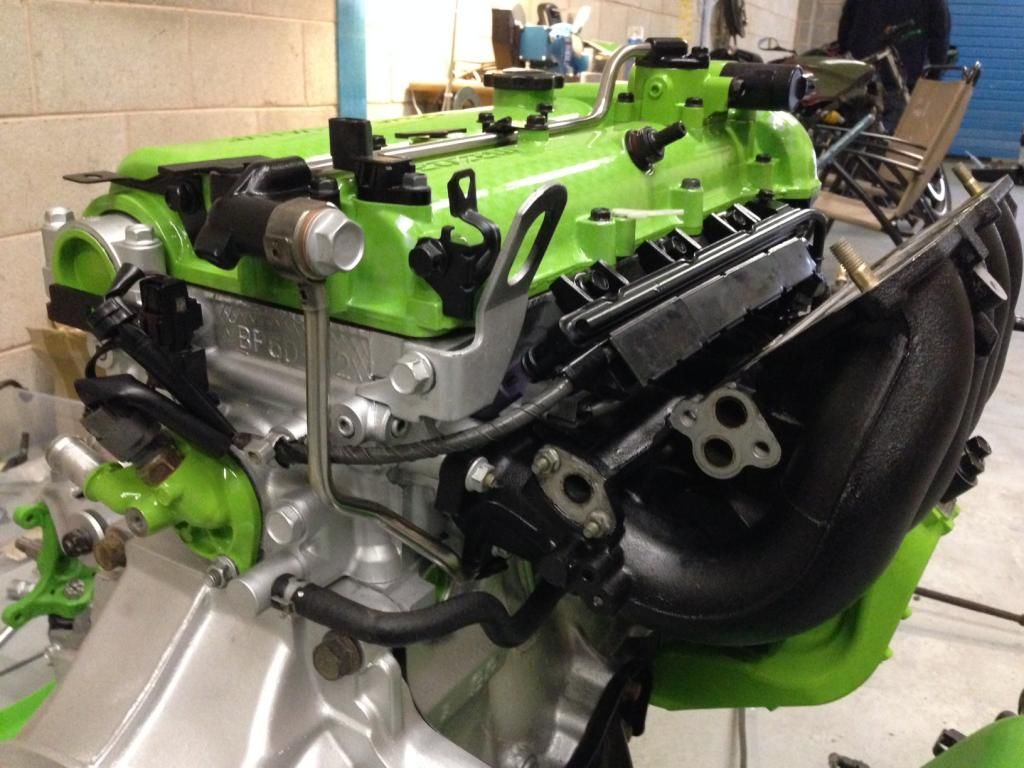 Tomorrow should see the inlet manifold body refitted. |
|
|
|
Post by gnc on Sept 2, 2014 21:40:39 GMT
Inlet manifold finished to match the rocker cover and refitted. This, rather like the rest of the engine was showing clear signs of age and mileage so needed rather a lot of chemical intervention to degrease and clean prior to detailing. The throttle housing seemed to take an age and a lot of soaking to penetrate the years of grime. 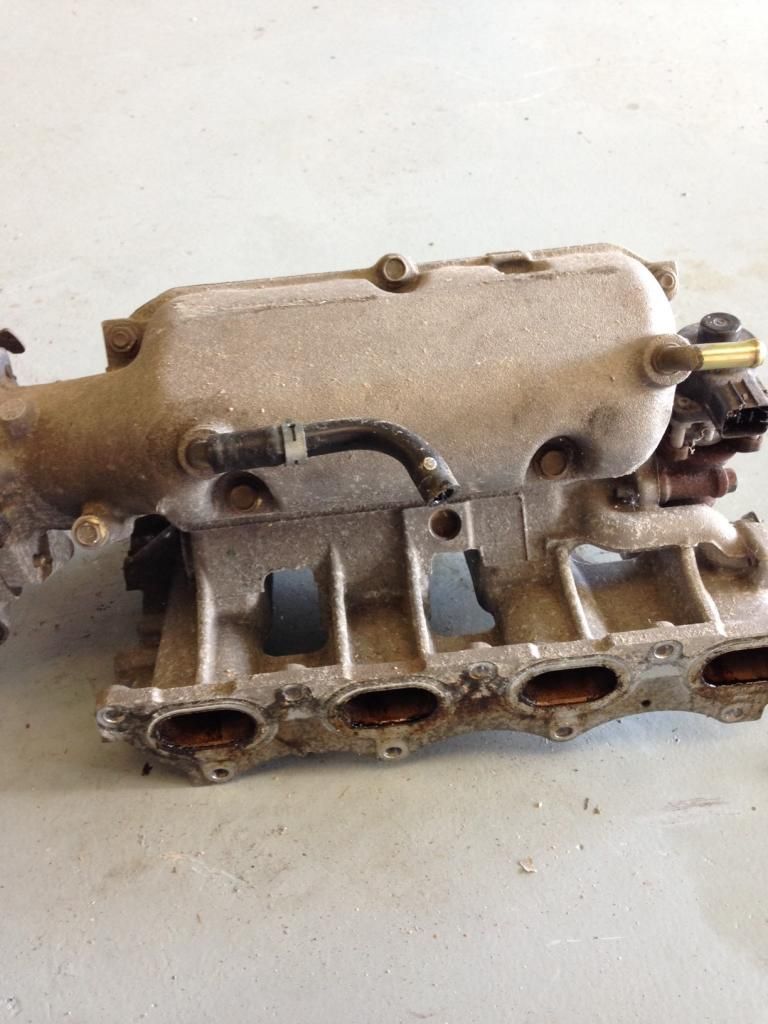 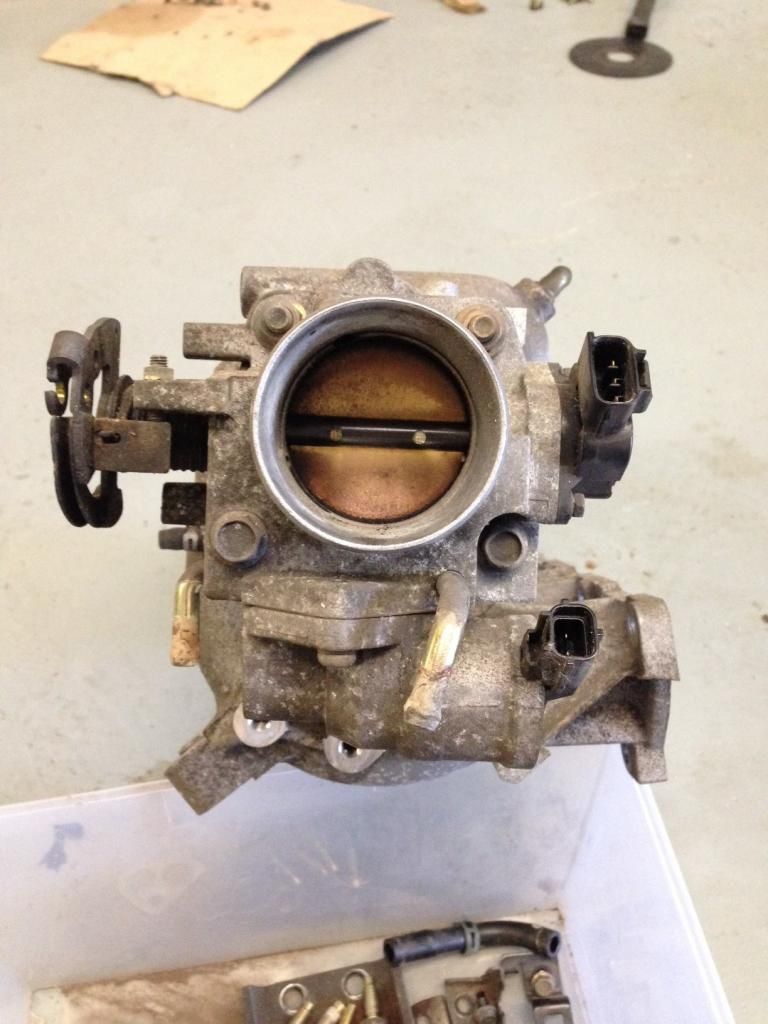 Really pleased with the main body, this was rather heavily stained and pitted before coating but has filled out well during paint. 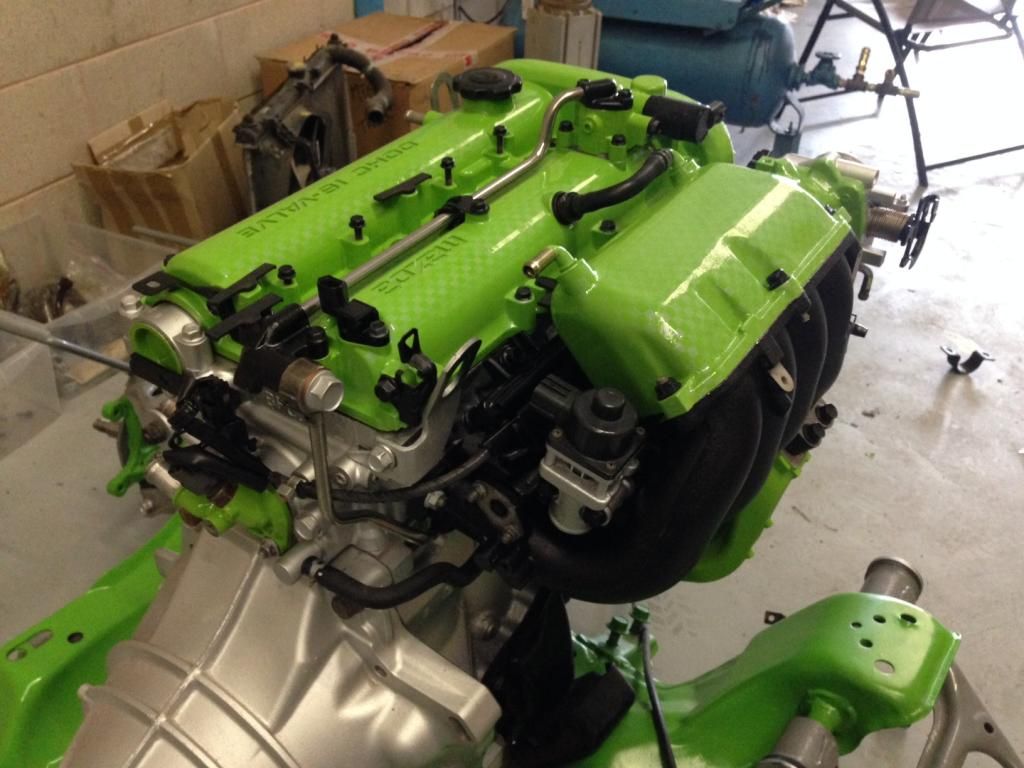 The rebuild from the front with the throttle housing in a slightly lighter shade of silver. 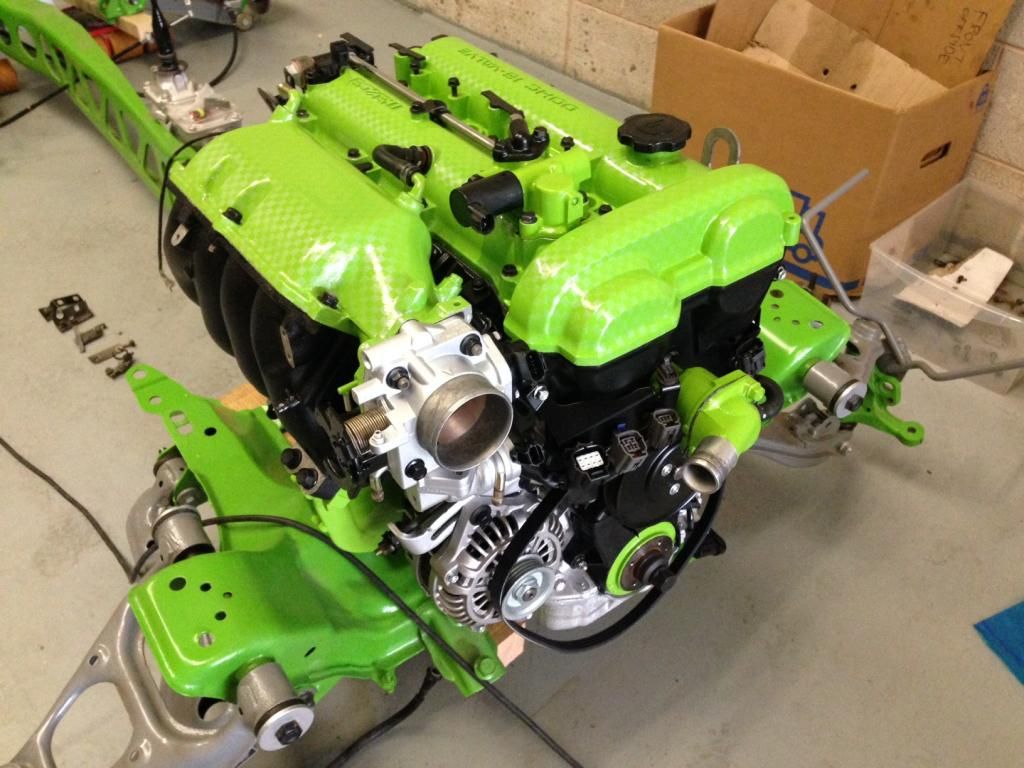 |
|
|
|
Post by snowbird1 on Sept 3, 2014 6:02:24 GMT
Really impressive! Are you going to have a Perspex engine cover?
|
|
|
|
Post by biggunz on Sept 3, 2014 15:06:24 GMT
Looking brilliant mate! Love it!
|
|


