|
|
Post by roger32849 on Jul 23, 2018 22:19:07 GMT
I received the Speedo-Healer today. I already downloaded the App and did the calculations to correct for the sprocket and tire size increase. I plugged it in and followed the instructions to program the unit. It was pretty simple. The speedometer sensor was just behind the air filter housing. On a 2005 R1, the sensor connector is a triangular shaped white 3 wire plug set. This is where the Speedo-Healer is connected. I coiled the excess cable and zip tied it to an available lug.
I was ready to go for a quick test ride, but we are having some unpredictable weather. Rain, then clearing, then rain again and the cycle repeats. So decided to wait until tomorrow to do the test ride. Maybe it will be safe to take a spin then.
I know I wrote a previous thread on this item so won't carry on about it. I am confident the newly installed speedometer correction will keep me within the speed limit. I will carry a GPS to see how close my indicated speed compares to it.
Roger
Worcester, Massachusetts
|
|
|
|
Post by roger32849 on Jul 23, 2018 22:42:57 GMT
I started on the lower side panel fabrication and fitment today. I am using 22 gauge aluminum (aluminium) for this. It might be a bit thin, but once it is installed it should be strong enough to do the job. It is only cosmetic and not structural. The panels will be installed the the lower and middle horizontal (forward and center) frame supports. Hopefully the panels will keep the debris and water from being kicked up into the seating area.
Once I drill and thread the mount points it's off to the paint shop. The painter is able to color match the Royal Navy blue color. The silver frame rails in contrast, should make the blue panels quite visable. Before I take them to the painters I will spray some heavy coats of high build sandable primer. I will be delivering them already prepped.
My wife is making some black vinyl piping for the upper panel edges to cover up the mating surface. They will be installed during the final installation. No pictures just yet, but will have some once the project is done.
Roger
Worcester, Massachusetts
|
|
|
|
Post by roger32849 on Jul 24, 2018 16:55:00 GMT
It's been a busy day. I am in the process of making the final side panel. I have three in primer and the fourth is nearly ready. I had to halt a bit on the fourth one to do a little side work. When I installed the automatic charging relay earlier this month, I failed to realize the rate the off cycle monitor discharges the battery if left switched on. In my case, I didn't install a switch at all. One is supposed to be installed on the 16 gauge ground wire. What I did was simply wired it directly to the chassis ground thinking the draw would be minimal. It was actually like leaving the interior light on in your car. After a few days, the battery goes flat. Anyway, the switch is installed. When I was in the build process I installed two extra switches on my panel just in case I needed them. Good thing....
Before I permanently install the side panels I will be lowering my seats and installing new 4 point safety harnesses. The inertia style belts cut into my neck. I've tried every which way I could to relocate the shoulder belt. It seems it's always going to in the way no matter where I reposition it. I will see what the 4 point harness does after I lower my seats.
My saddlebags will be arriving today. I will be installing those as soon as I see what sort of mount I can fab up for the installation.
That's it for now.
Roger
Worcester, Massachusetts
|
|
|
|
Post by roger32849 on Jul 24, 2018 21:25:11 GMT
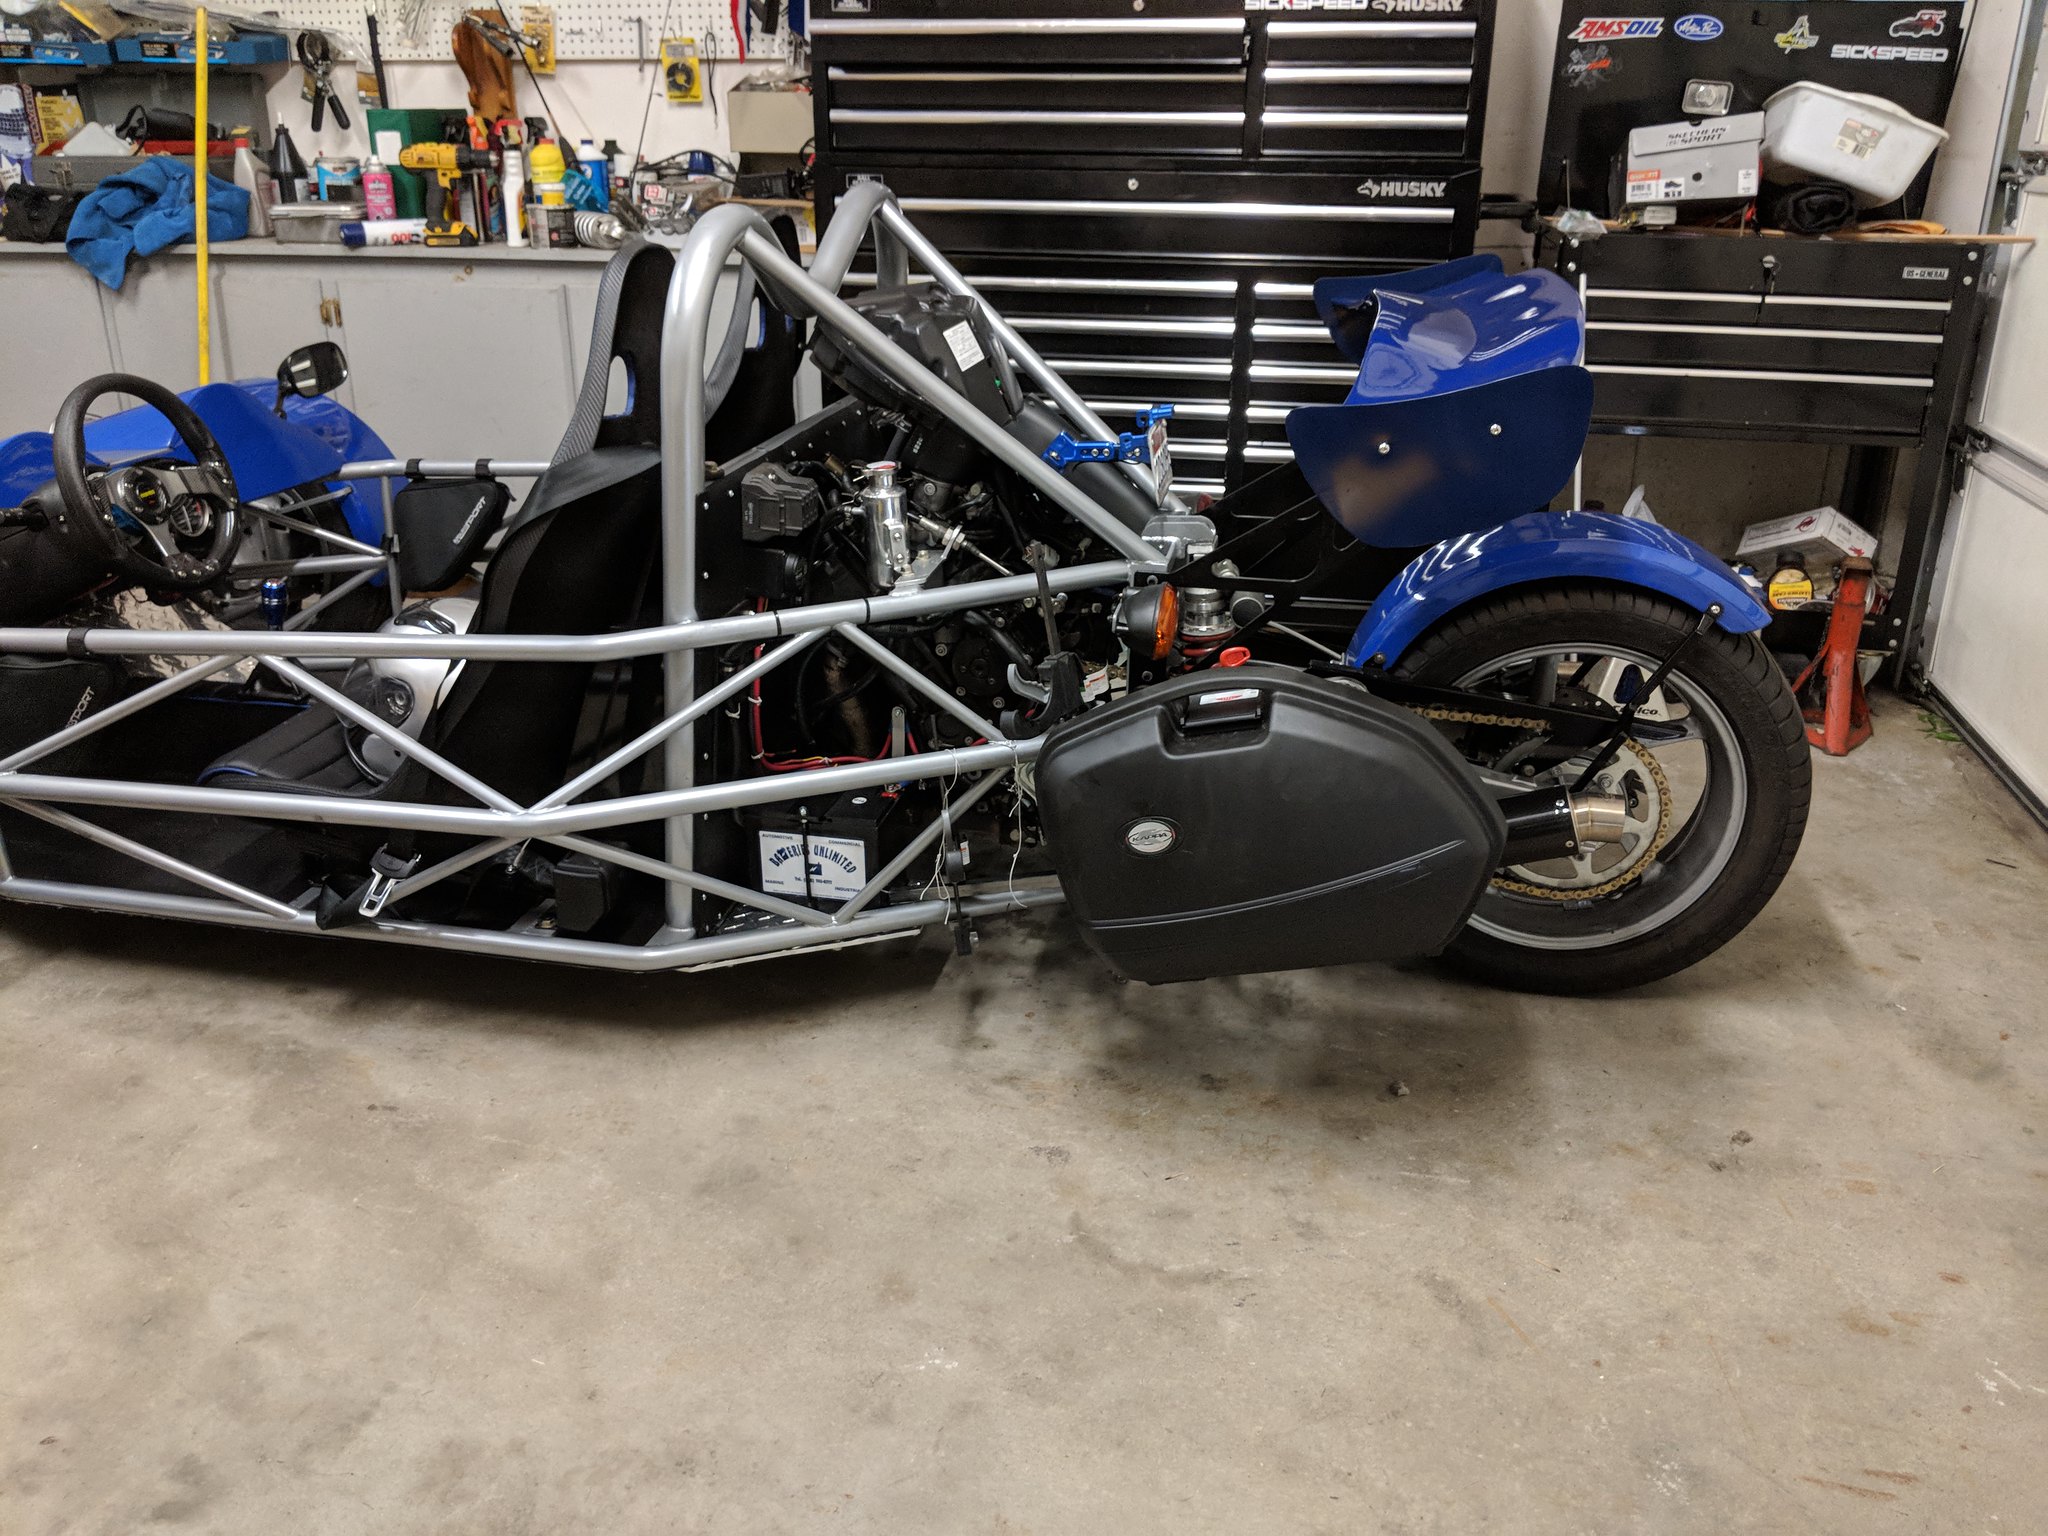
 MVIMG_20180724_142915 MVIMG_20180724_142915 by Roger Baker, on Flickr I received my Kappa K33N bags today. Here is a test fit location. I will need to remove and relocate the rear tail lights and make a minor adjustment to the small canards at the rear wing tips... making the mount will pretty straight forward. Roger Worcester, Massachusetts |
|
|
|
Post by roger32849 on Jul 27, 2018 0:12:35 GMT
I am biting off more than I can handle right now. I think I need to pace myself a little slower. I've decided to get some other areas on my TR1KE done and maybe next month start on the new saddlebags.
Today I finished fabricating the side panels. I took them in to be painted. I had to take a piece in to have it color scanned so it will match the fenders and hood. I had a small section of the rear fender in my tool box so they were able to use it for the color scan.
Before I install the side panels I will be removing and lowering the seats. As it was pointed out to me, my seat backs were about 2 inches above the roll bar. Not good, so will be doing that modification along with the lower side panel installation.
The Wednesday classic car show was washed out because of the rain. There is always next week though. I want to drive my Eco-Exo and park it in with the rest of the cars. It is every Wednesday in Athol Massachusetts during the summer. Plenty of classic cars, hotrods, and vintage rat rods. They also feed you for free. Hey, ya can't go wrong, with cars and free food. I took my TR1KE a couple of times. I find people don't know what to ask, they mostly want to know what it is and is it REALLY street legal.
Well, anyway. I will be getting my "to-do" list shortened as it pretains to the TR1ke.
Roger
Worcester, Massachusetts
|
|
|
|
Post by roger32849 on Jul 27, 2018 18:55:29 GMT
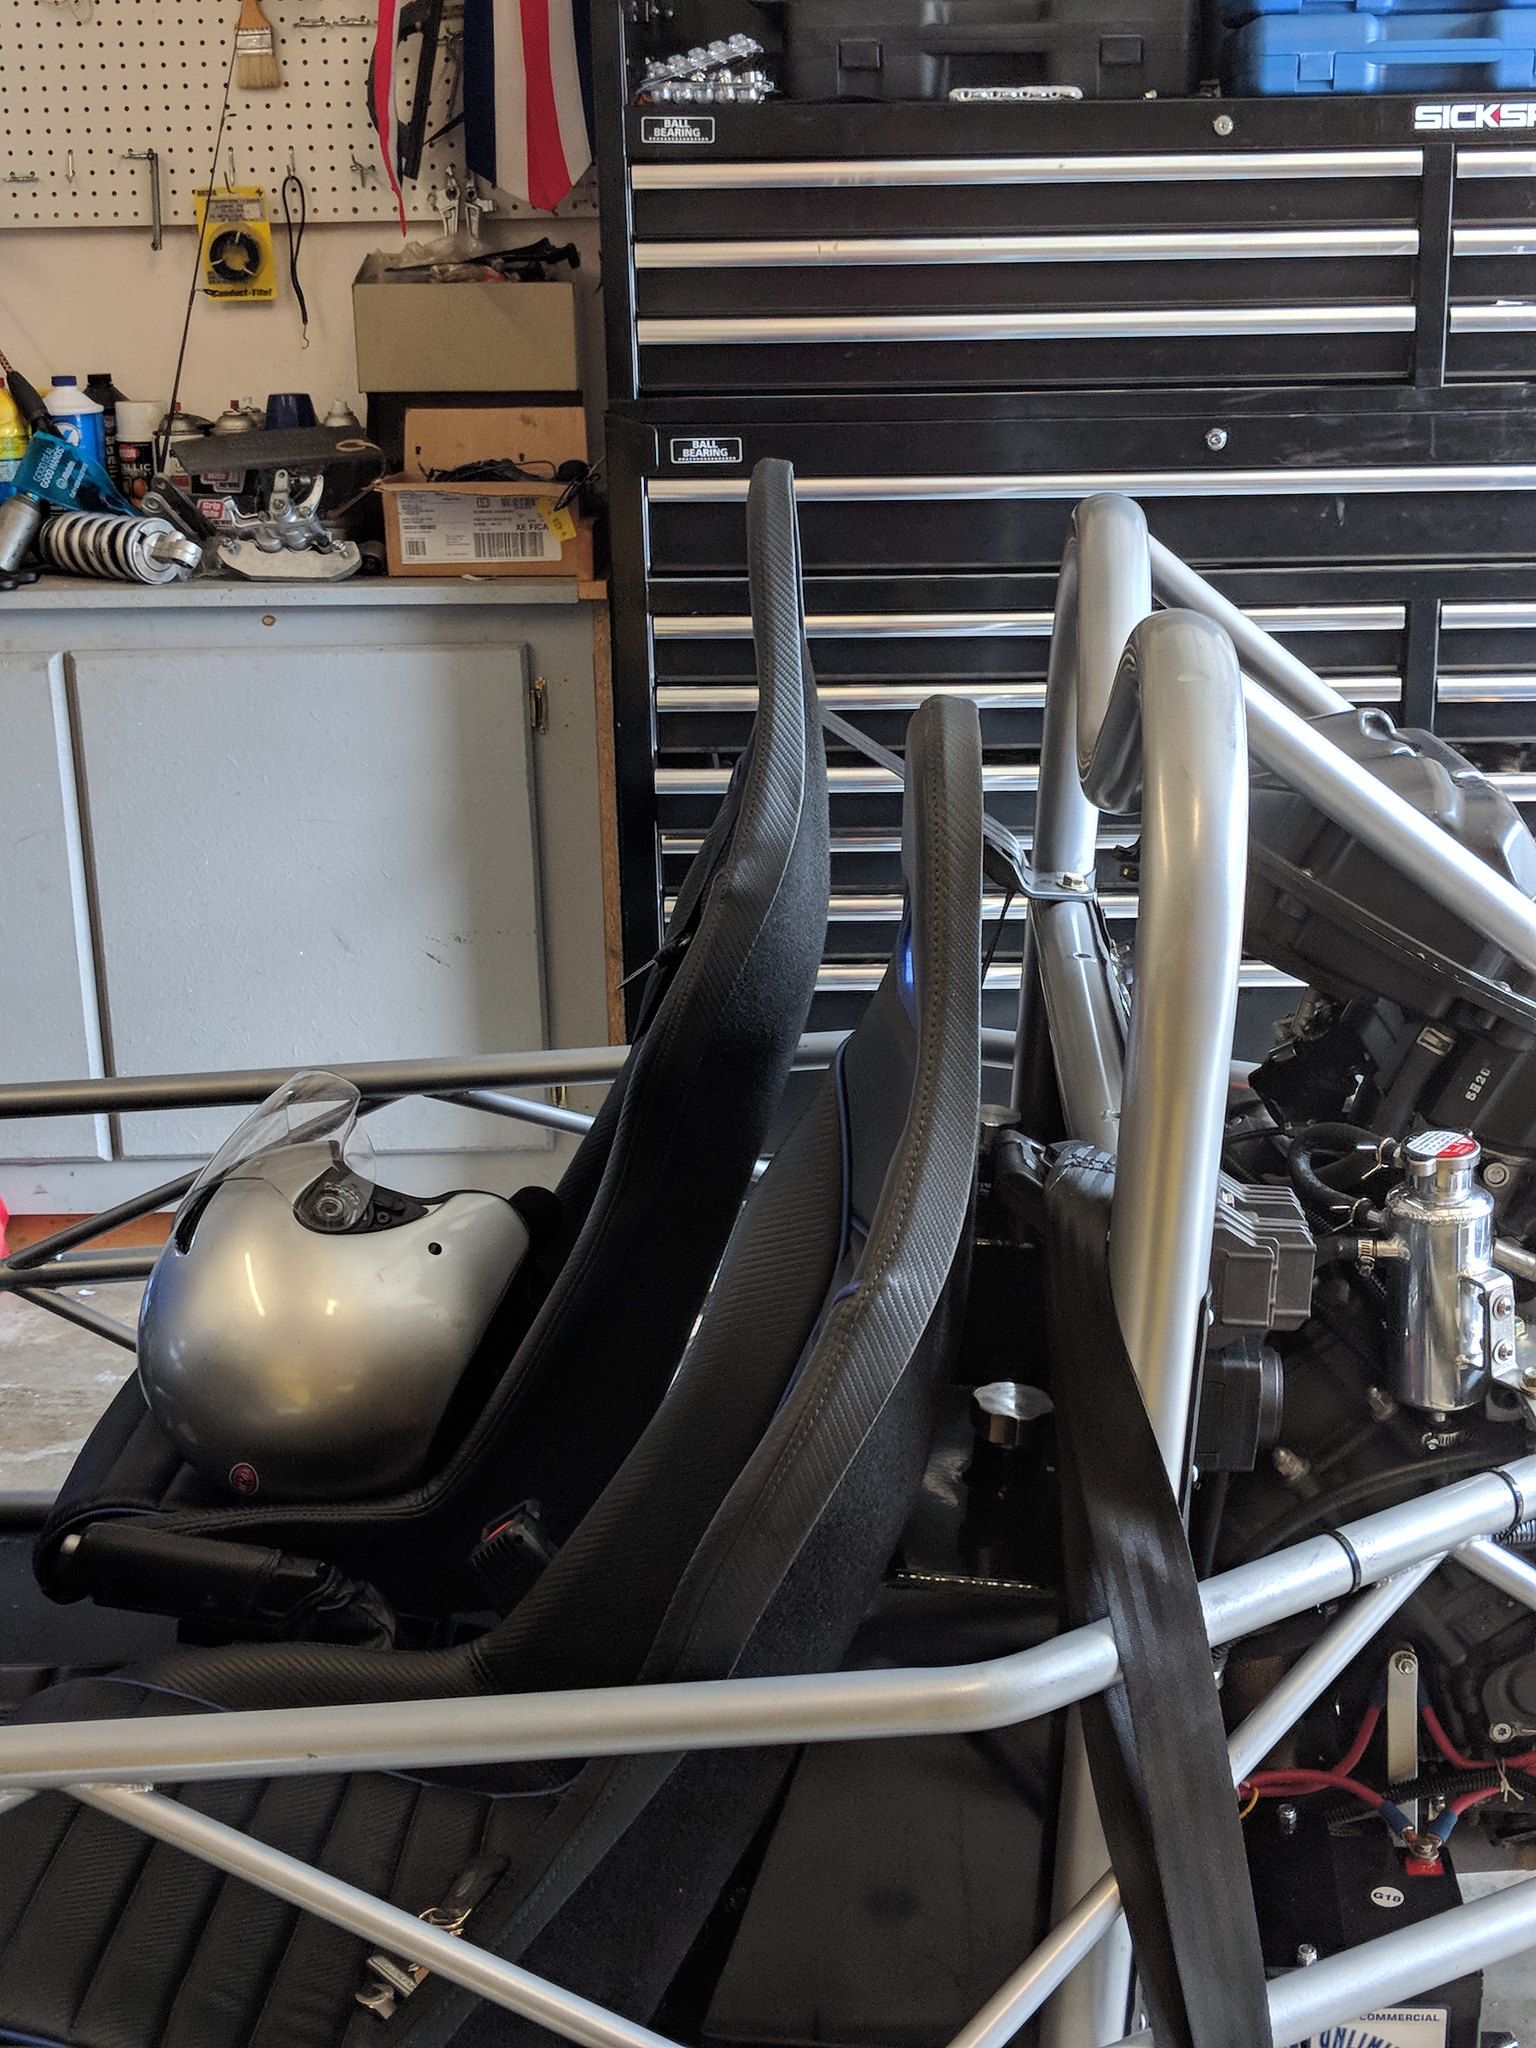 IMG_20180727_143128 IMG_20180727_143128 by Roger Baker, on Flickr Here is the difference in the seat angle and height. The modification was pretty straight forward. The left side seat is now a couple of inches lower the the right. Tomorrow I tackle the right side. Okay, I lied, I did it today, which could be tomorrow somewhere in the world... The seat angles are the same and I didn't loose any leg room in the process of tilting the seats back a bit. Anyway, it's done and I need to drive it a little tomorrow to see how I like the new seat position. 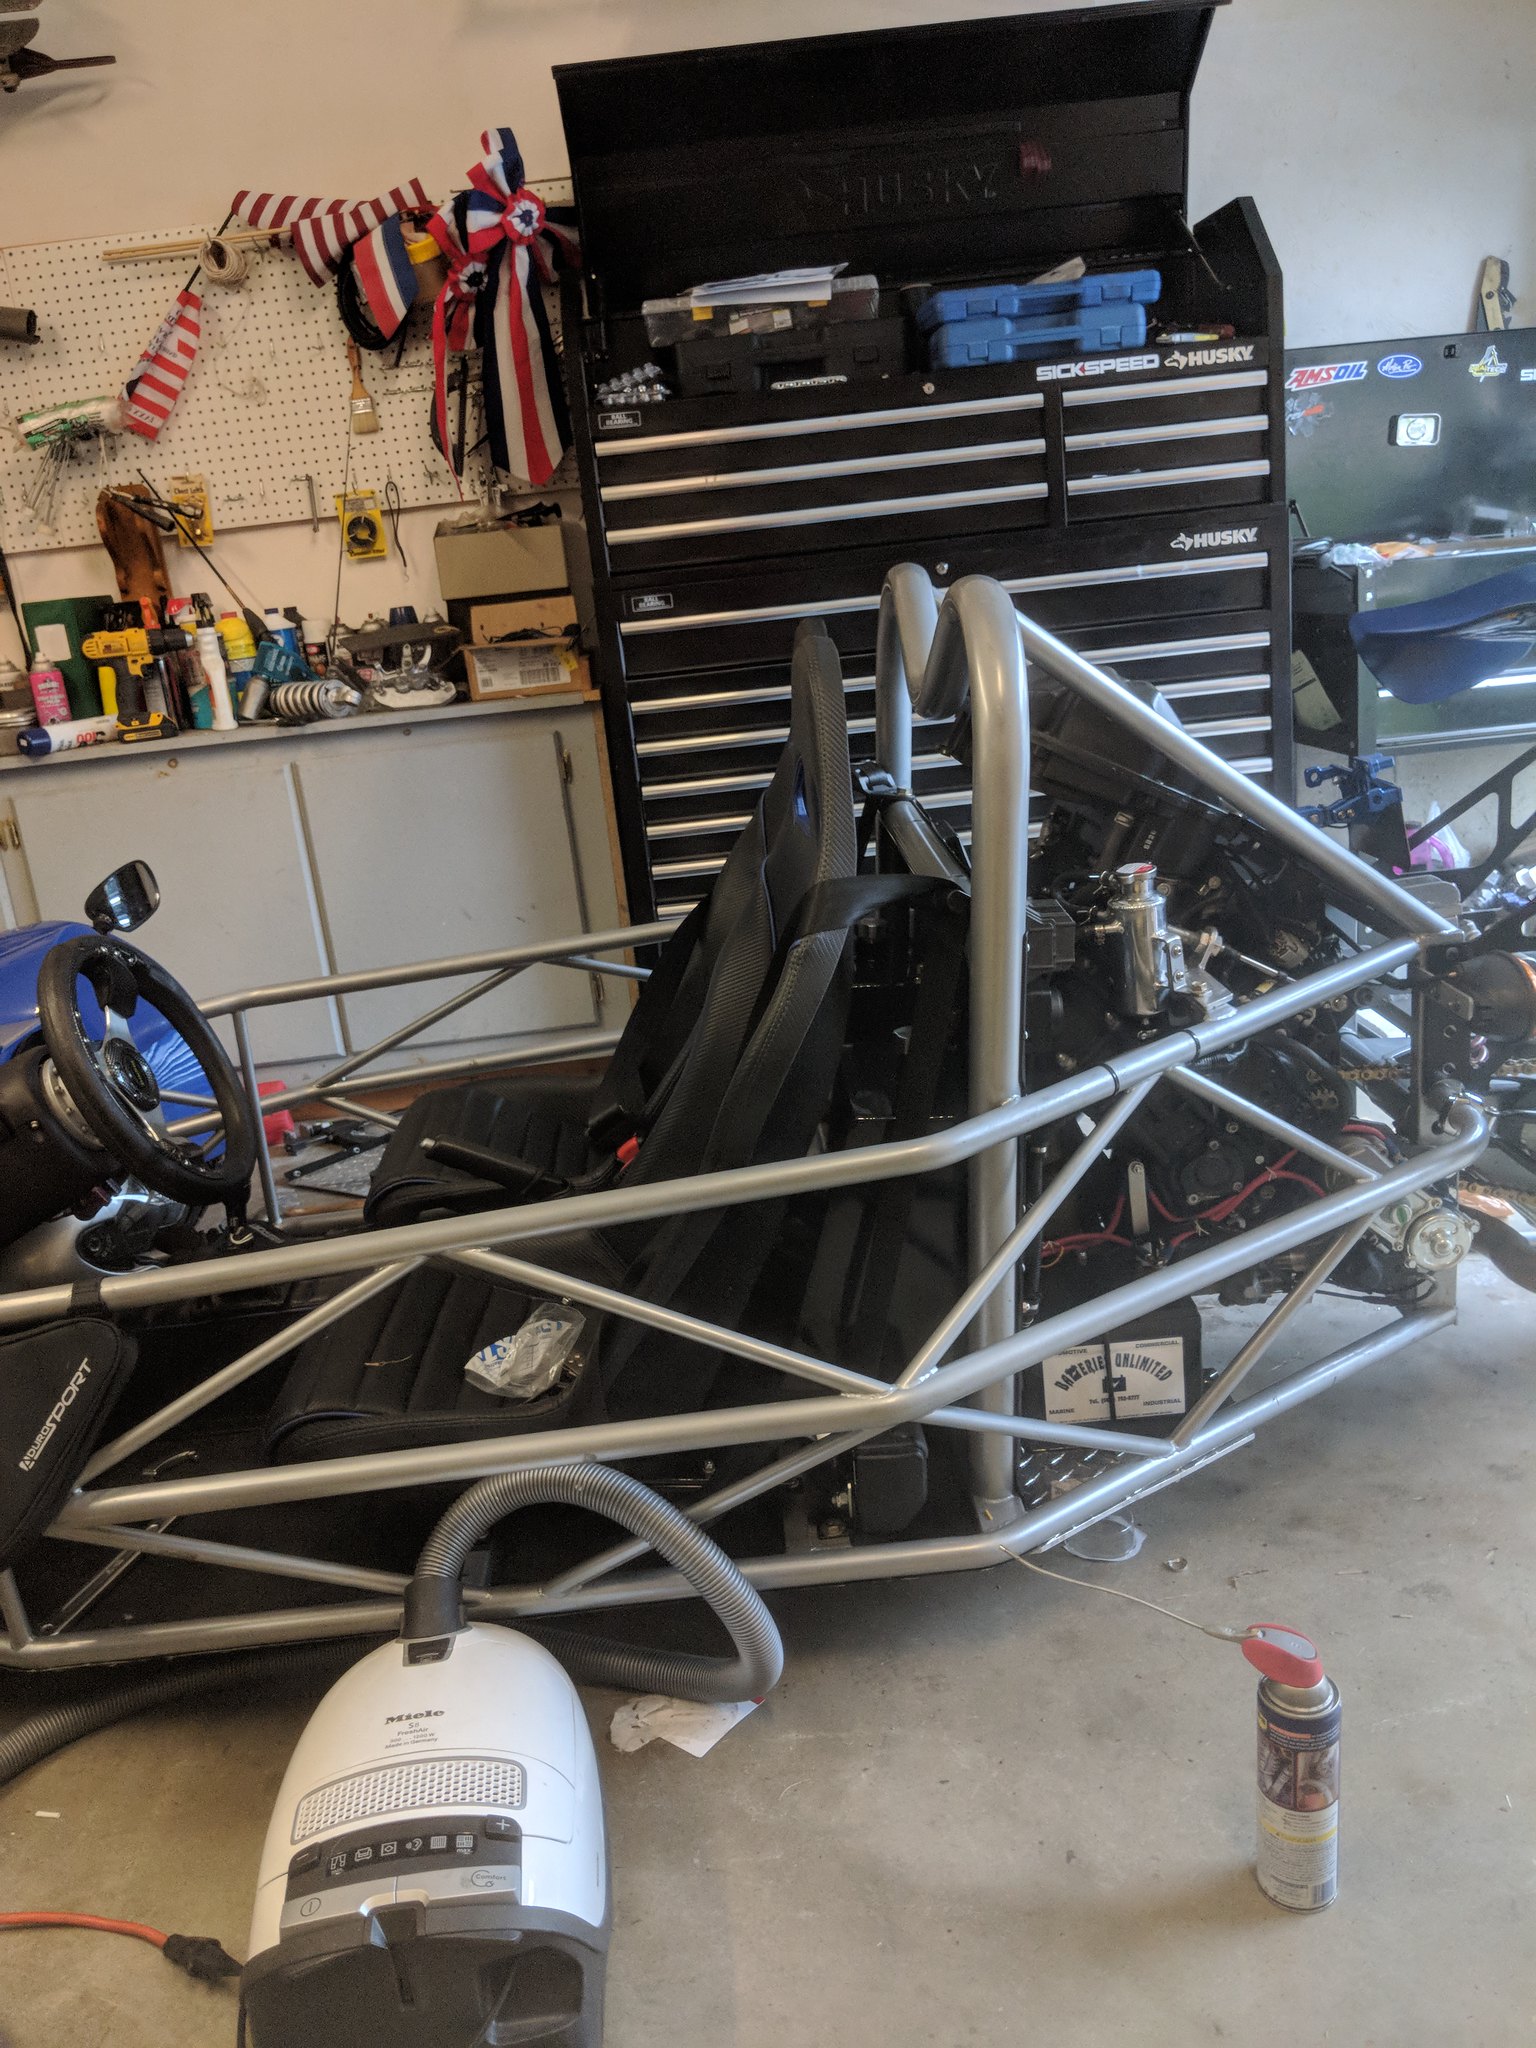 MVIMG_20180727_182347 MVIMG_20180727_182347 by Roger Baker, on Flickr Roger Worcester, Massachusetts |
|
|
|
Post by roger32849 on Jul 29, 2018 22:18:20 GMT
I took the TR1ke out for a 75 mile run. The speedometer reads right on the money after installing the SPEEDO HEALER. The seats were also much better after lowering them to increase the angle of recumbance. I don't have that feeling of sliding out of my seat any more.
I increased the preload pressure on the front coil overs a bit more. It stiffened the suspension and now I do not hit bottom any more. Don't get me wrong, the front is still low but as long as I clear the speed bumps and obstacles, I don't have to worry about dragging bottom. I also enjoy the stiffer suspension.
I should get my side panels from the painters this week. As soon as I get them I will do the install and take a few pictures.
That's all for now
Roger
Worcester, Massachusetts
|
|
|
|
Post by roger32849 on Jul 30, 2018 22:01:44 GMT
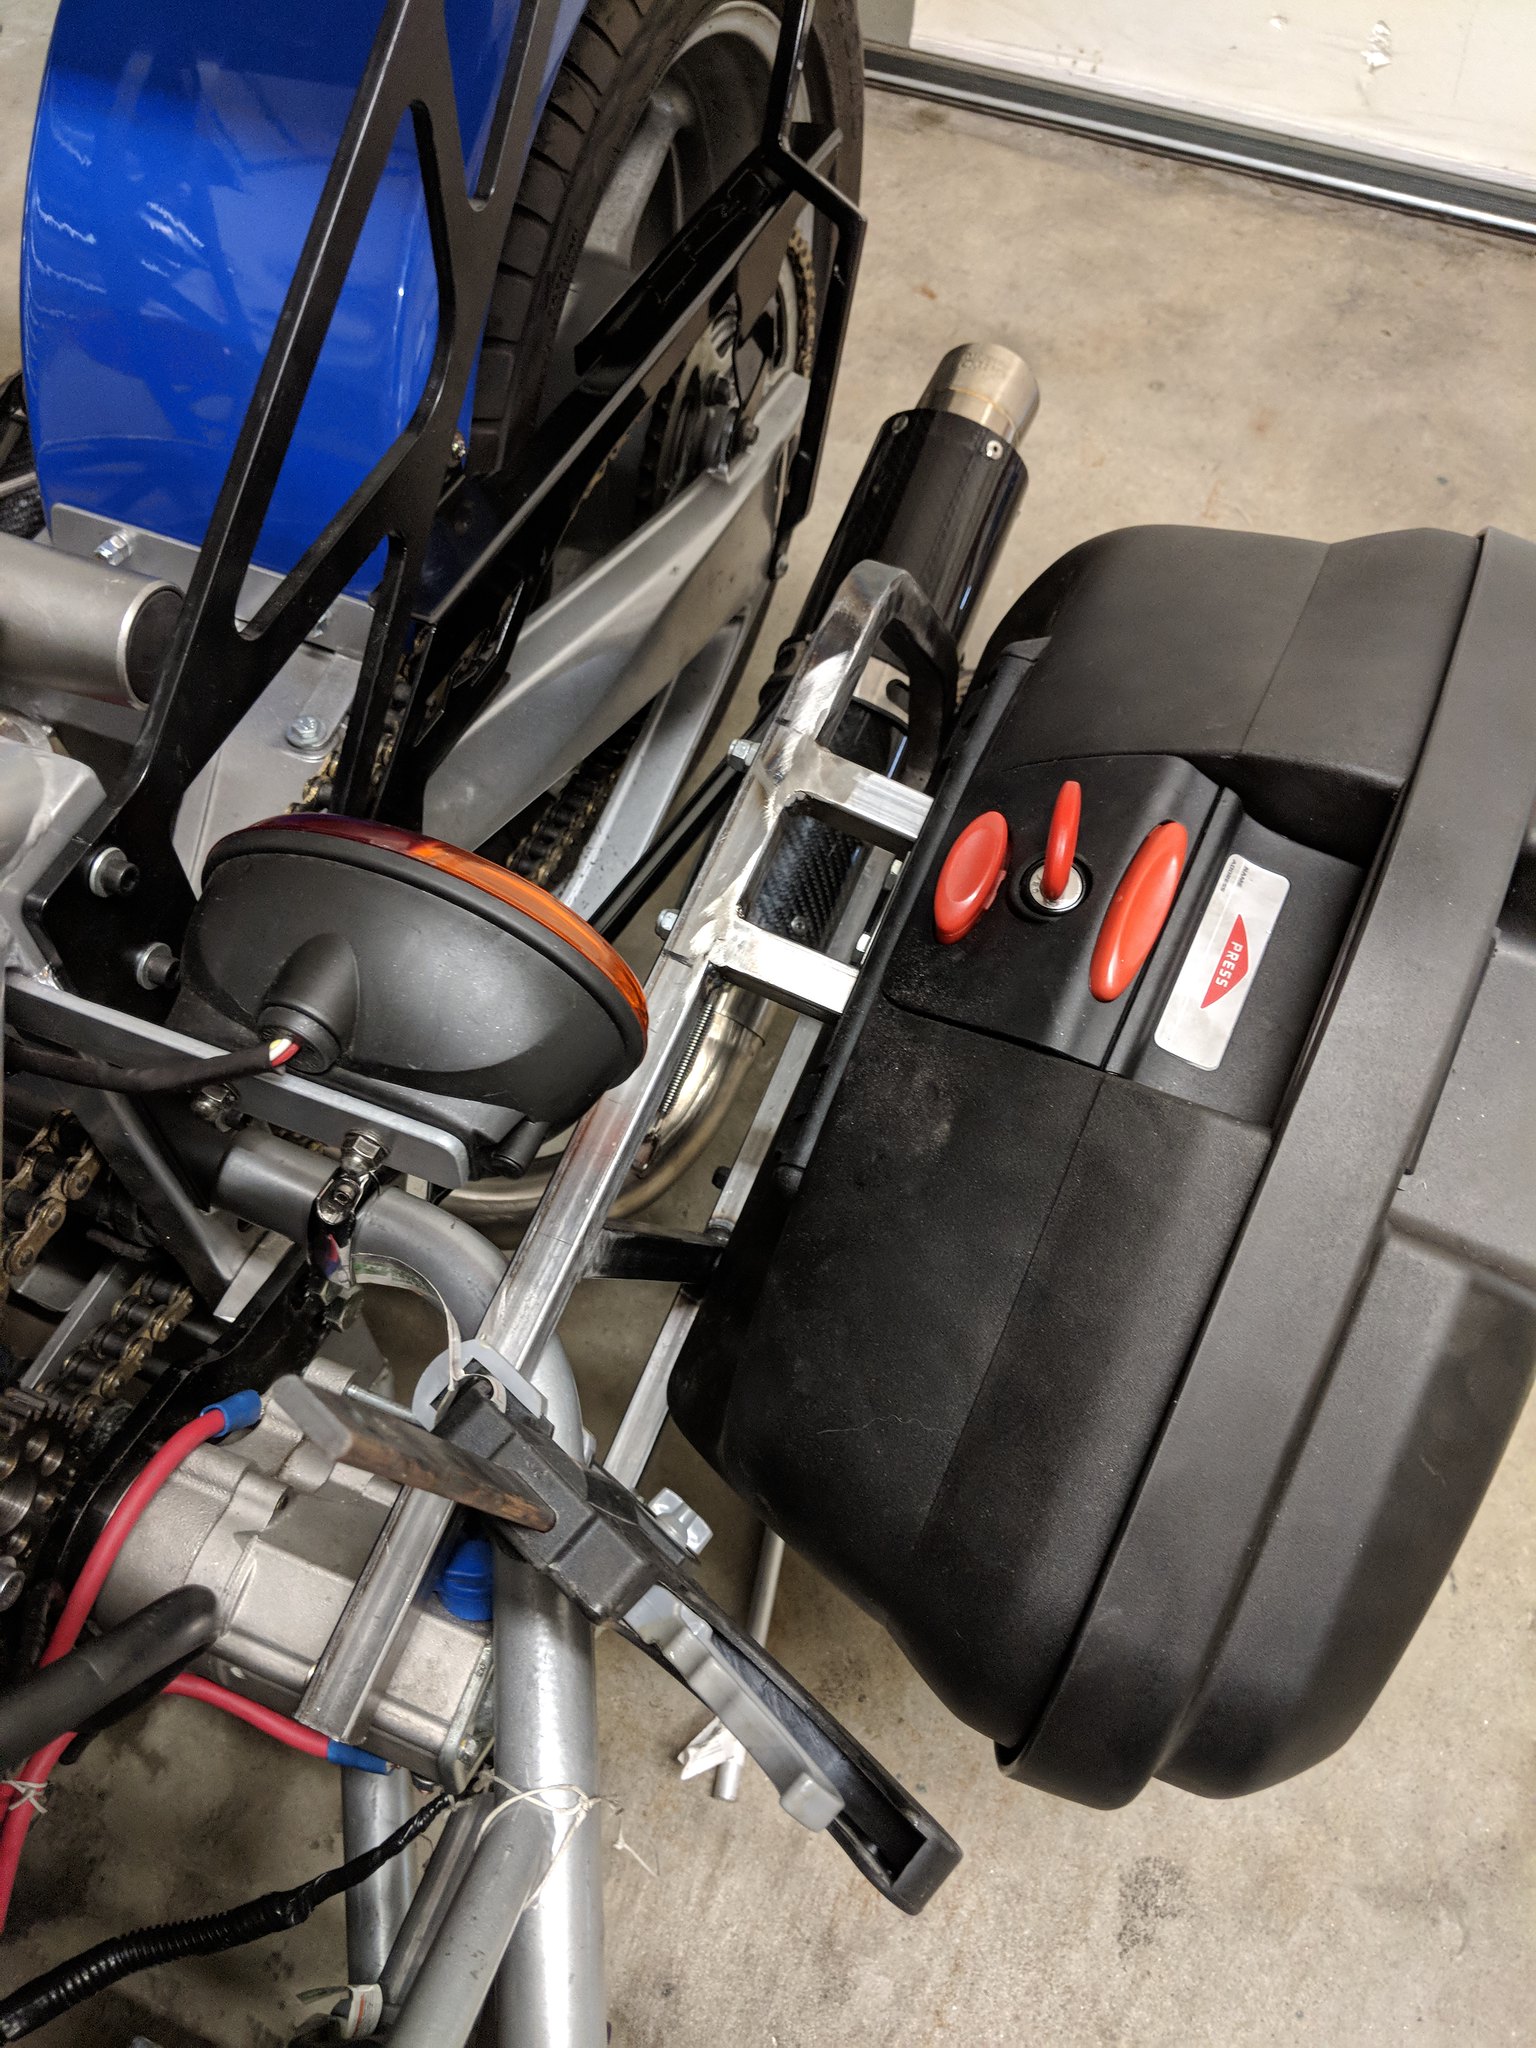
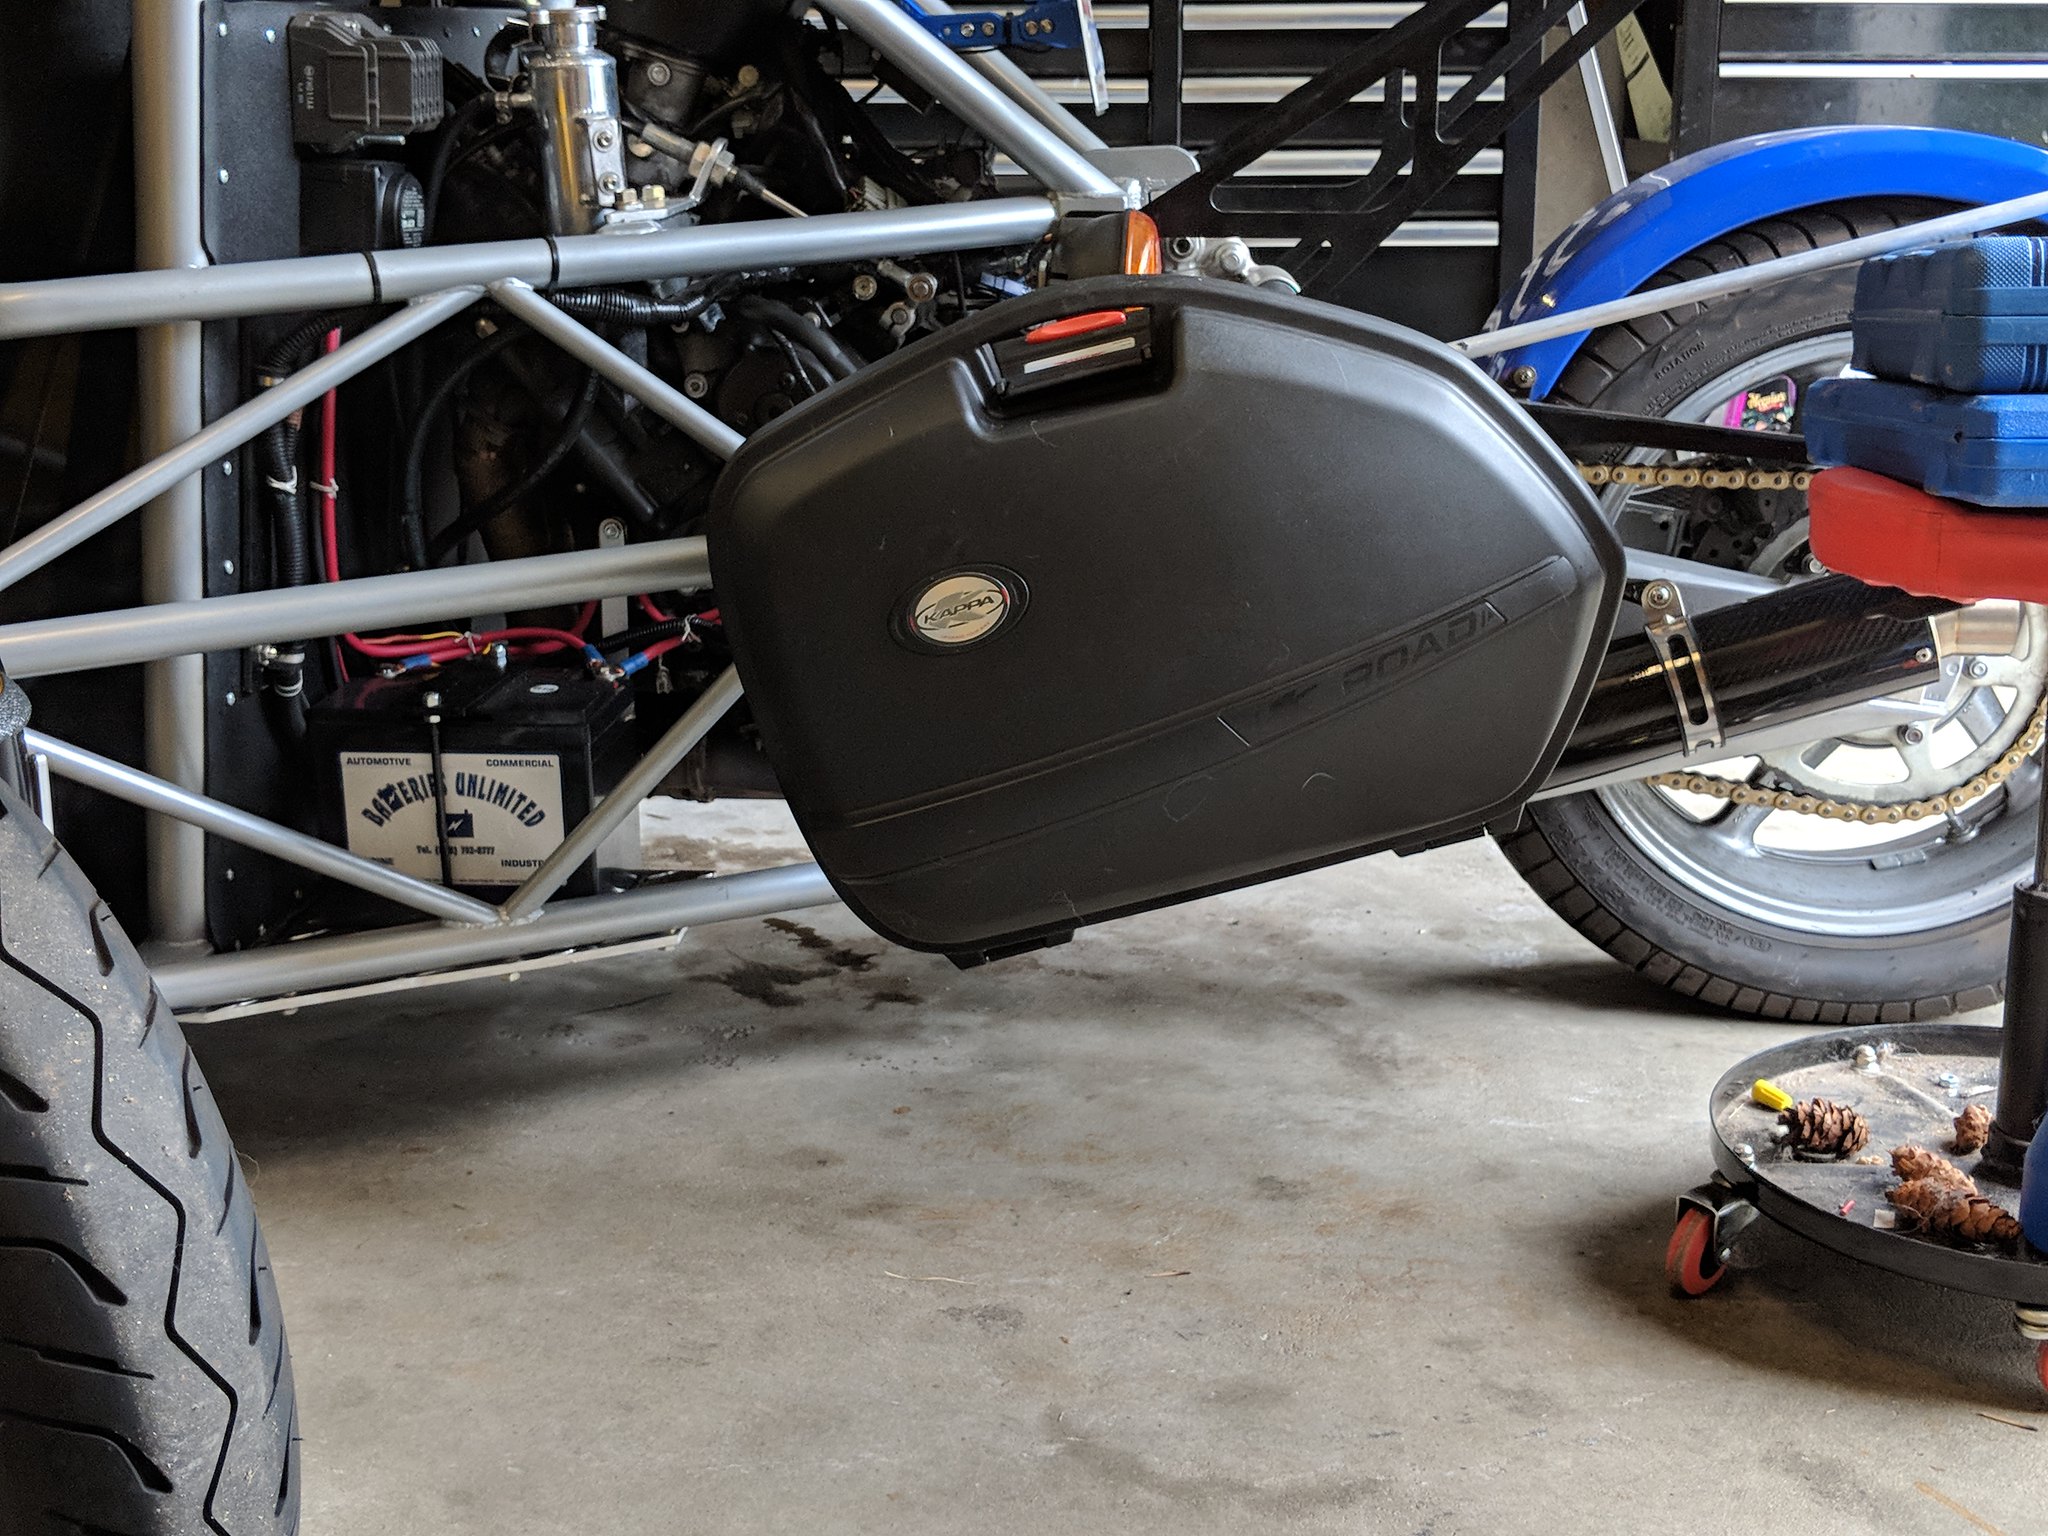 MVIMG_20180730_170713 MVIMG_20180730_170713 by Roger Baker, on Flickr 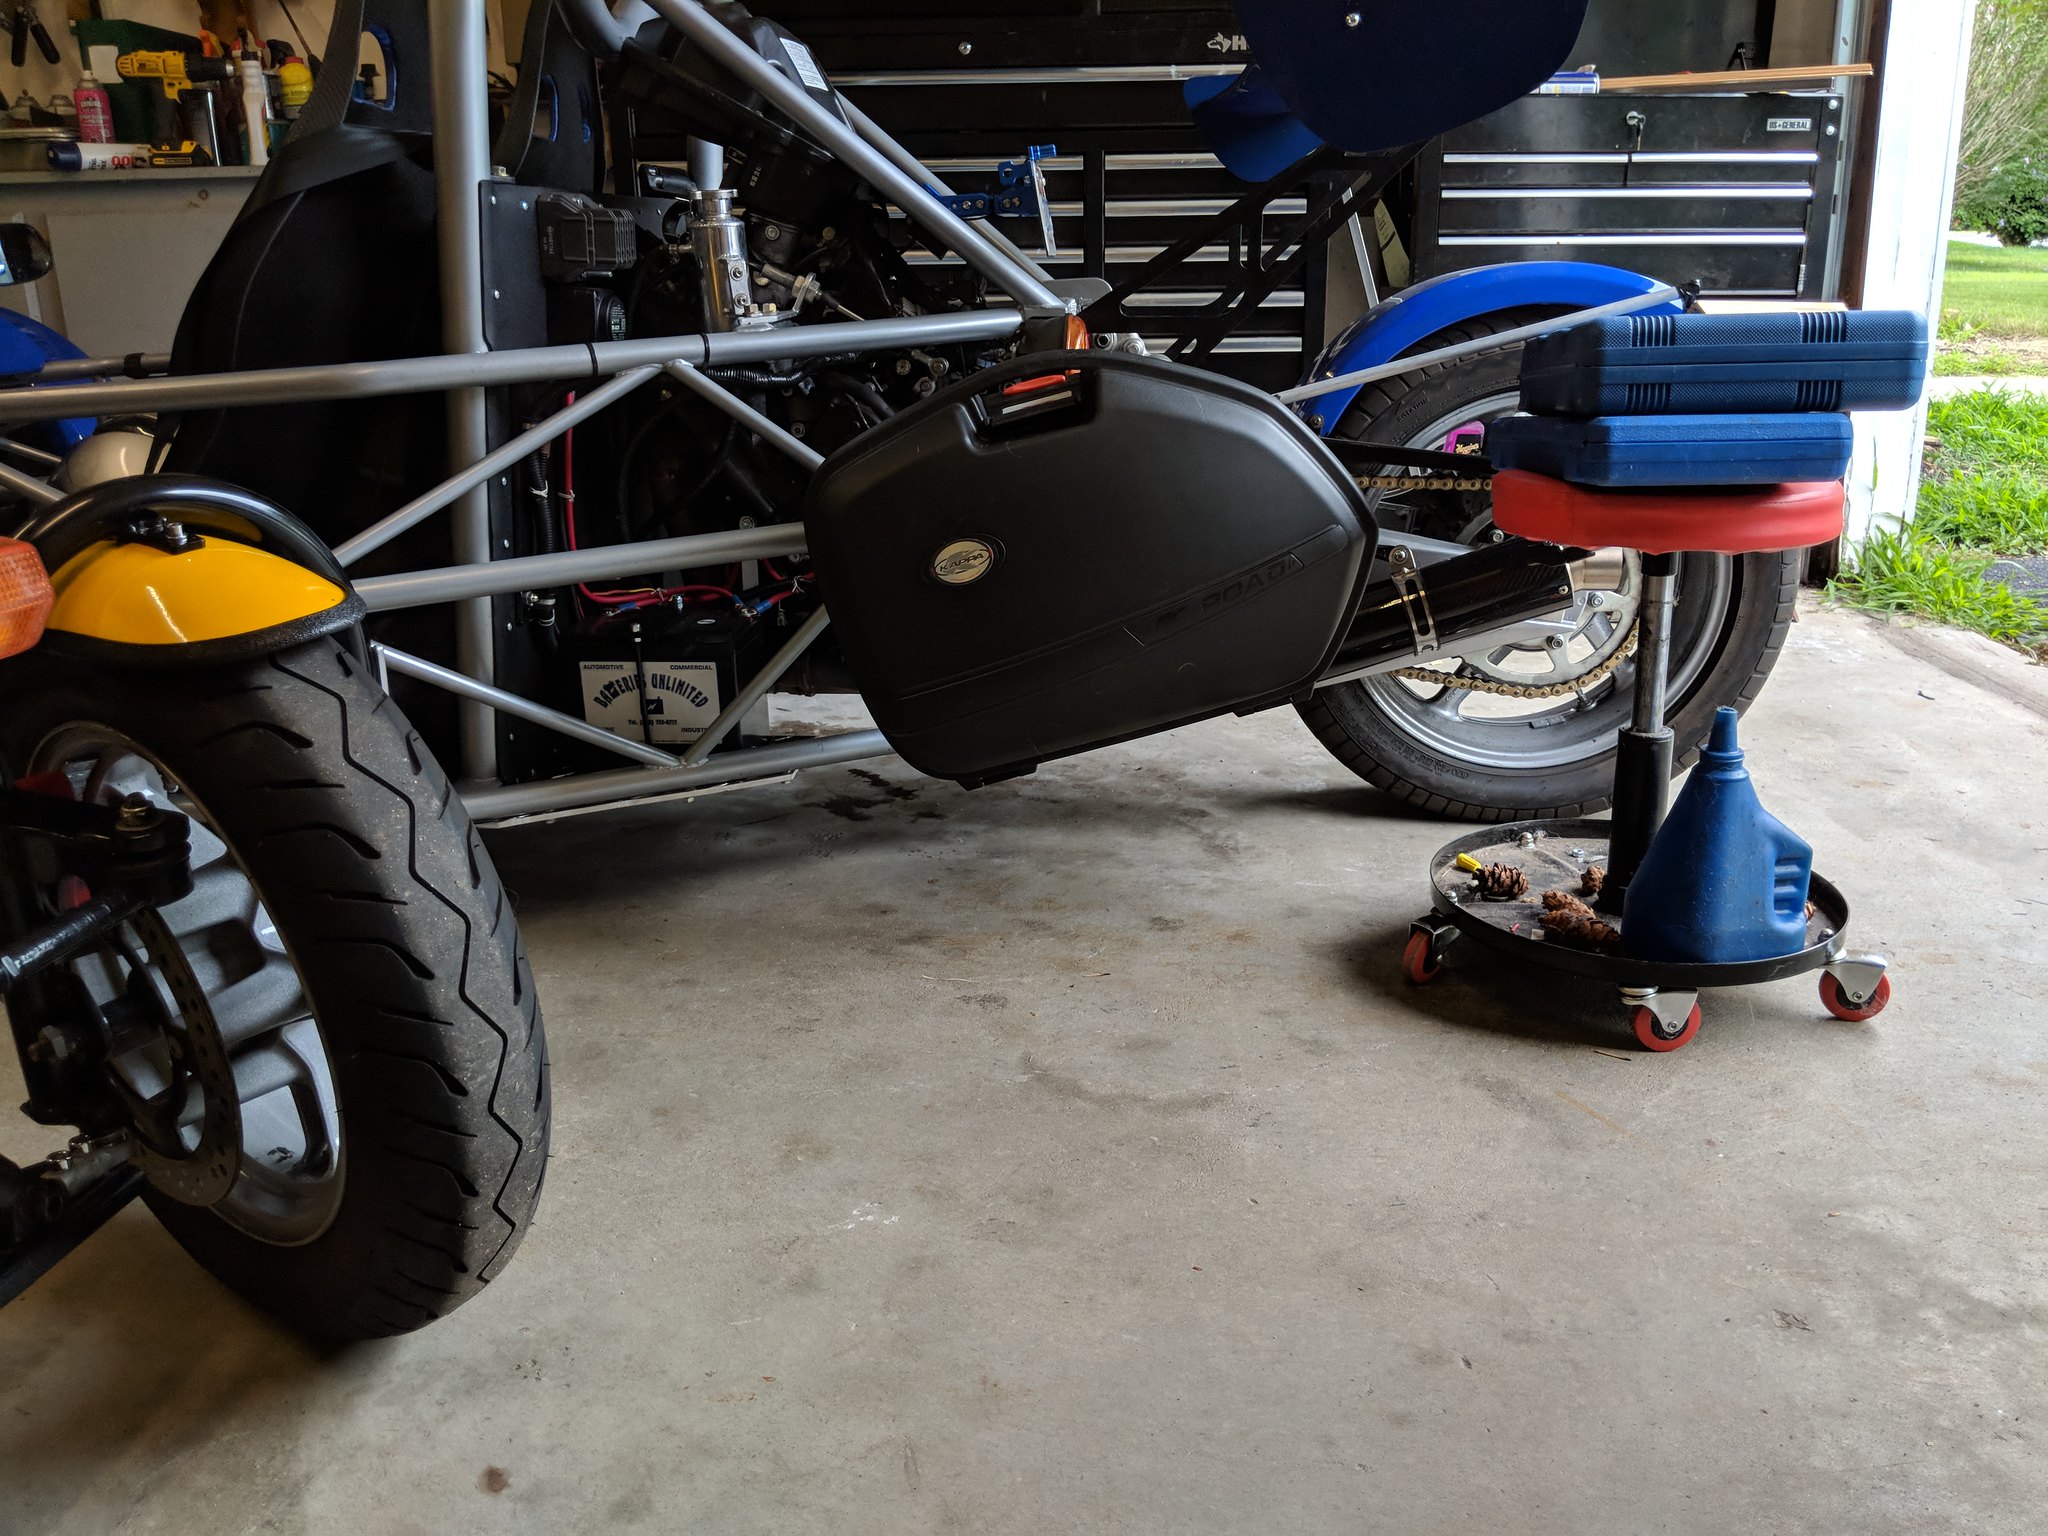 MVIMG_20180730_170707 MVIMG_20180730_170707 by Roger Baker, on Flickr I am looking at a different location for my saddle bags. I will not need to relocate the rear lights nor make modifications to the spoiler canards. Attaching them to the side rails with Kuryakyn chrome accessory clamps, or "P" clamps will make mounting them easier, but a little more expensive at $20.00 per clamp and I need 4 of them. |
|
|
|
Post by edvb on Jul 31, 2018 14:55:40 GMT
Roger
I found this video today and thought it might help a little.
|
|
|
|
Post by roger32849 on Aug 1, 2018 10:09:18 GMT
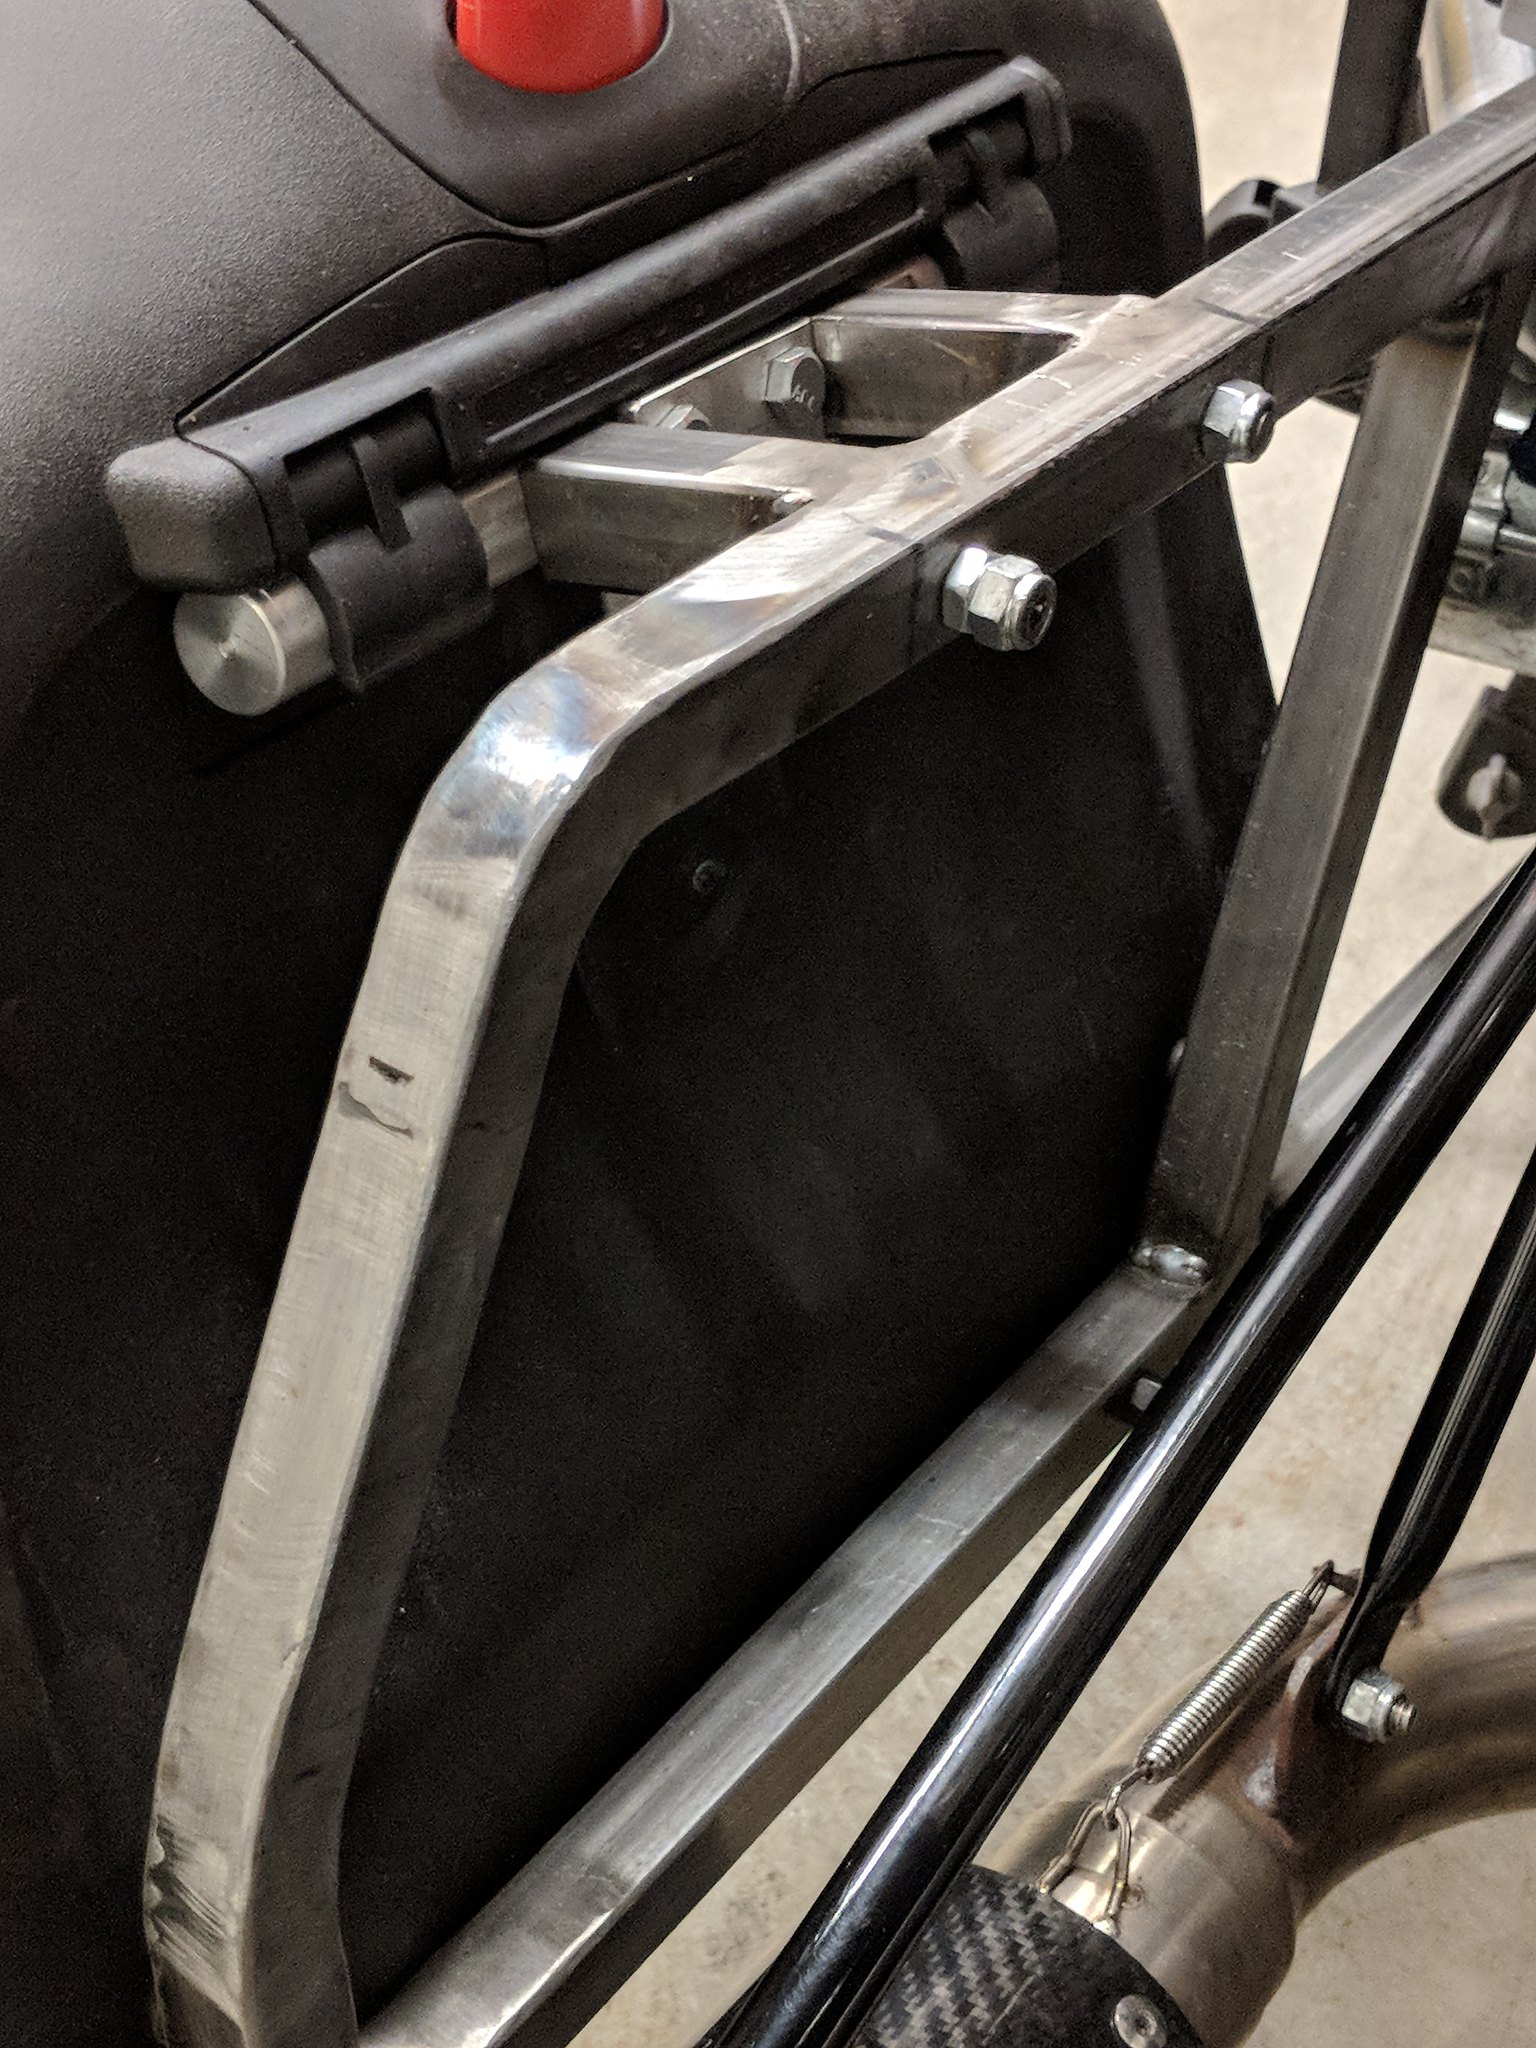
I checked out the side bags in the video. They are the soft sided ones. I am not to fond of those especially after buying the Kappa 33's. It looks as though he has them mounted to wrap around the center frame side rail. I am actually taking my design from a TR1KE with Givi E41 bag's mounted on the side like the one pictured below. 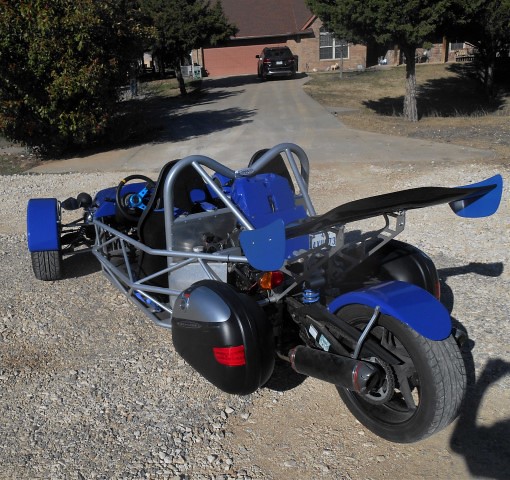 Trike rear view from left Trike rear view from left by Roger Baker, on Flickr I have the mount for the left side all mocked up and welded. I just need to decide exactly how (and where) to mount it. 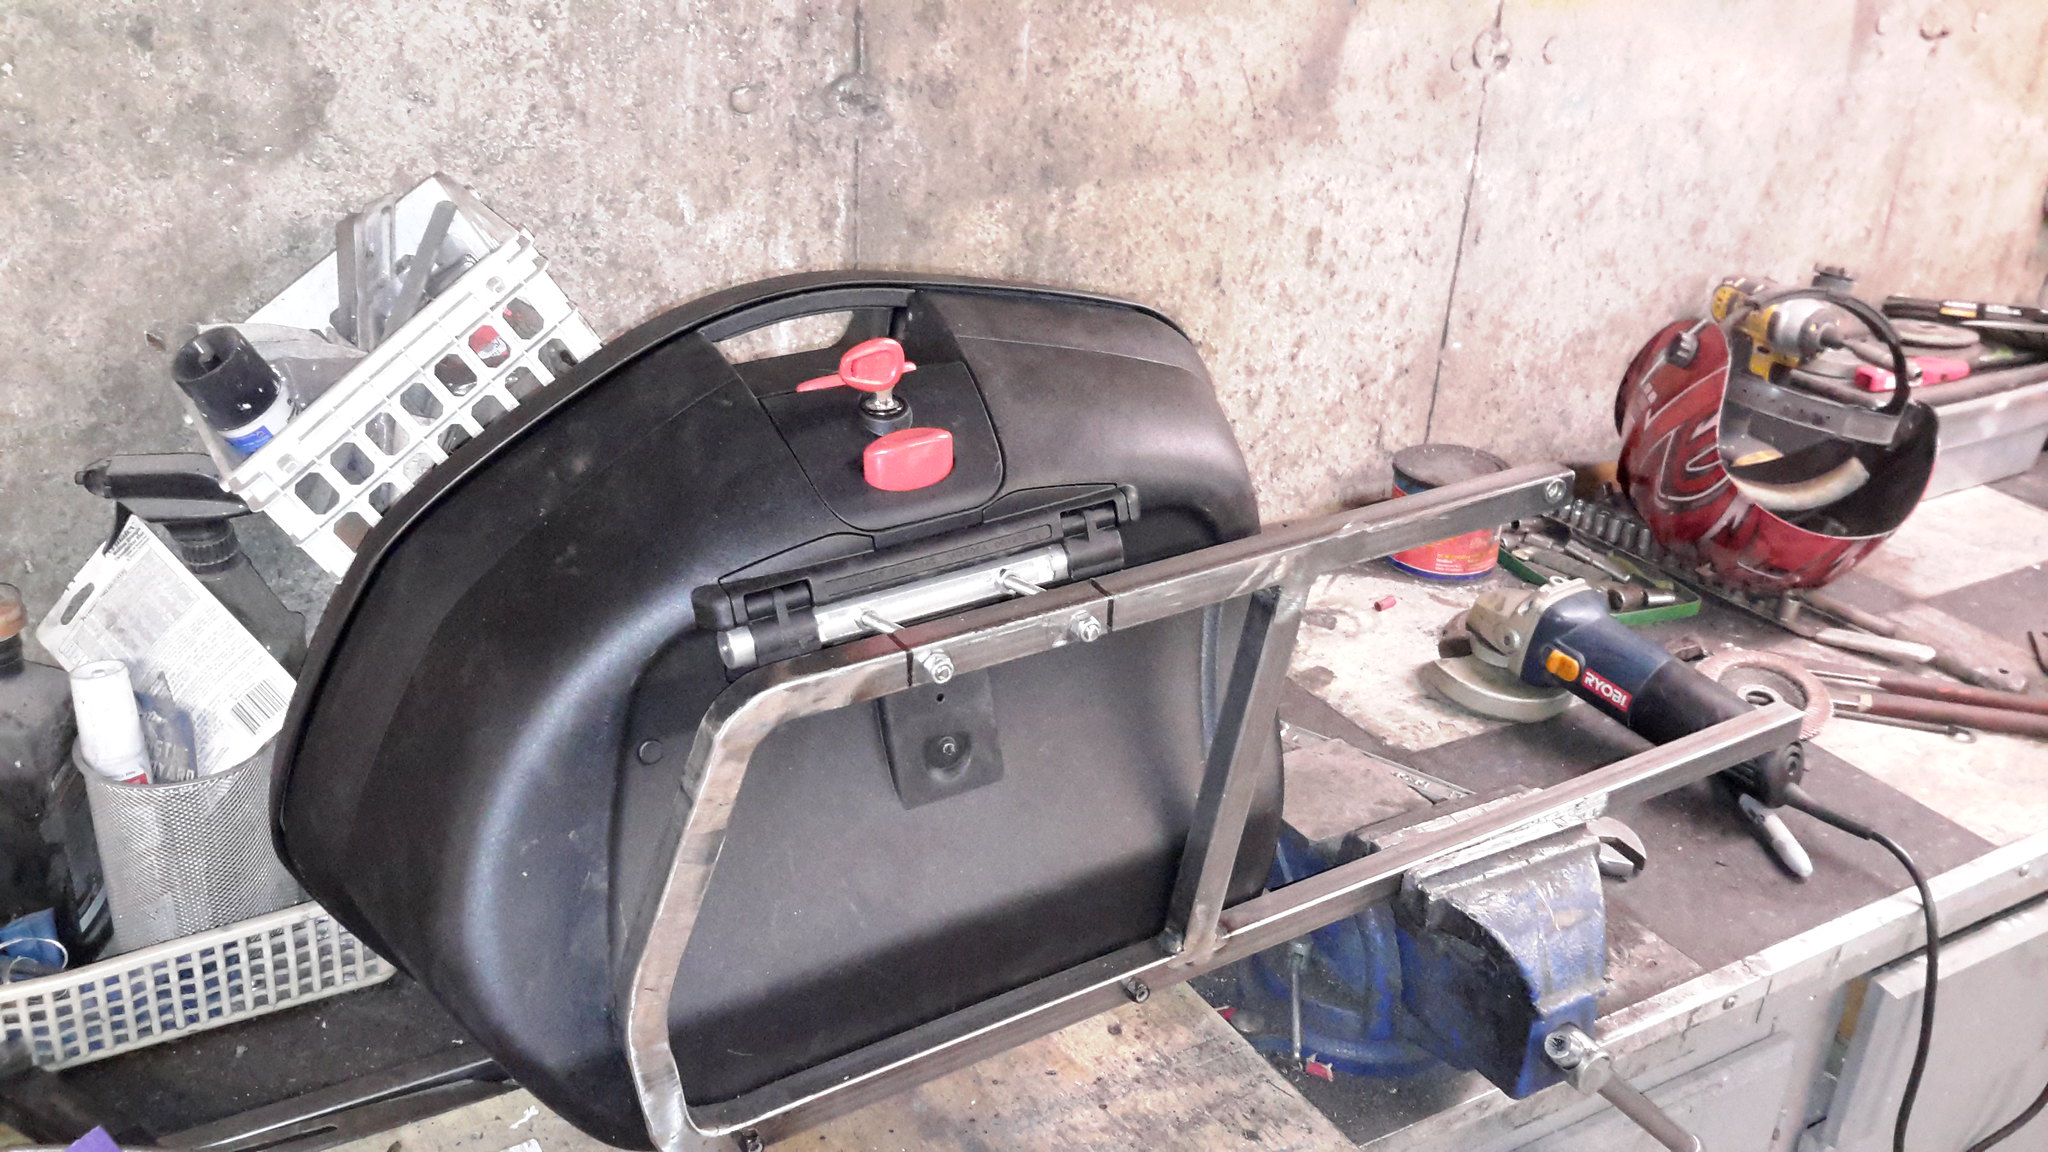 20180801_060625 20180801_060625 by Roger Baker, on Flickr |
|
|
|
Post by roger32849 on Aug 1, 2018 23:01:50 GMT
|
|
|
|
Post by roger32849 on Aug 2, 2018 20:28:29 GMT
Okay, I have the right side saddlebag mounts welded up. I need to order some "P" clamps for mounting to the 1-1/4" chassis rail. Once I get everything to fit and align with each other, then I will sand them down and send them in for powder coating.
I will post fitment photos later.
UPDATE: I ordered 4 each 1-1/4" "p" clamps for the mounts. They should be here before next week ends. Once I have the two hangers tightened then I can work on the cross braces. Thats all for now.
Roger
Worcester, Massachusetts
|
|
|
|
Post by dspecgsx on Aug 4, 2018 17:24:54 GMT
Roger - looks great so far and can't wait to see what you do next. I have my TR1ke on order now. Thanks for all the info you sent me via text and I hope to contribute to the discussion when my kit arrives.
-Dennis
|
|
|
|
Post by roger32849 on Aug 4, 2018 17:33:43 GMT
Welcome to the forum Dennis. It was a pleasure speaking to you earlier. Enjoy your build, make it yours...
Roger
|
|
|
|
Post by roger32849 on Aug 7, 2018 23:12:03 GMT
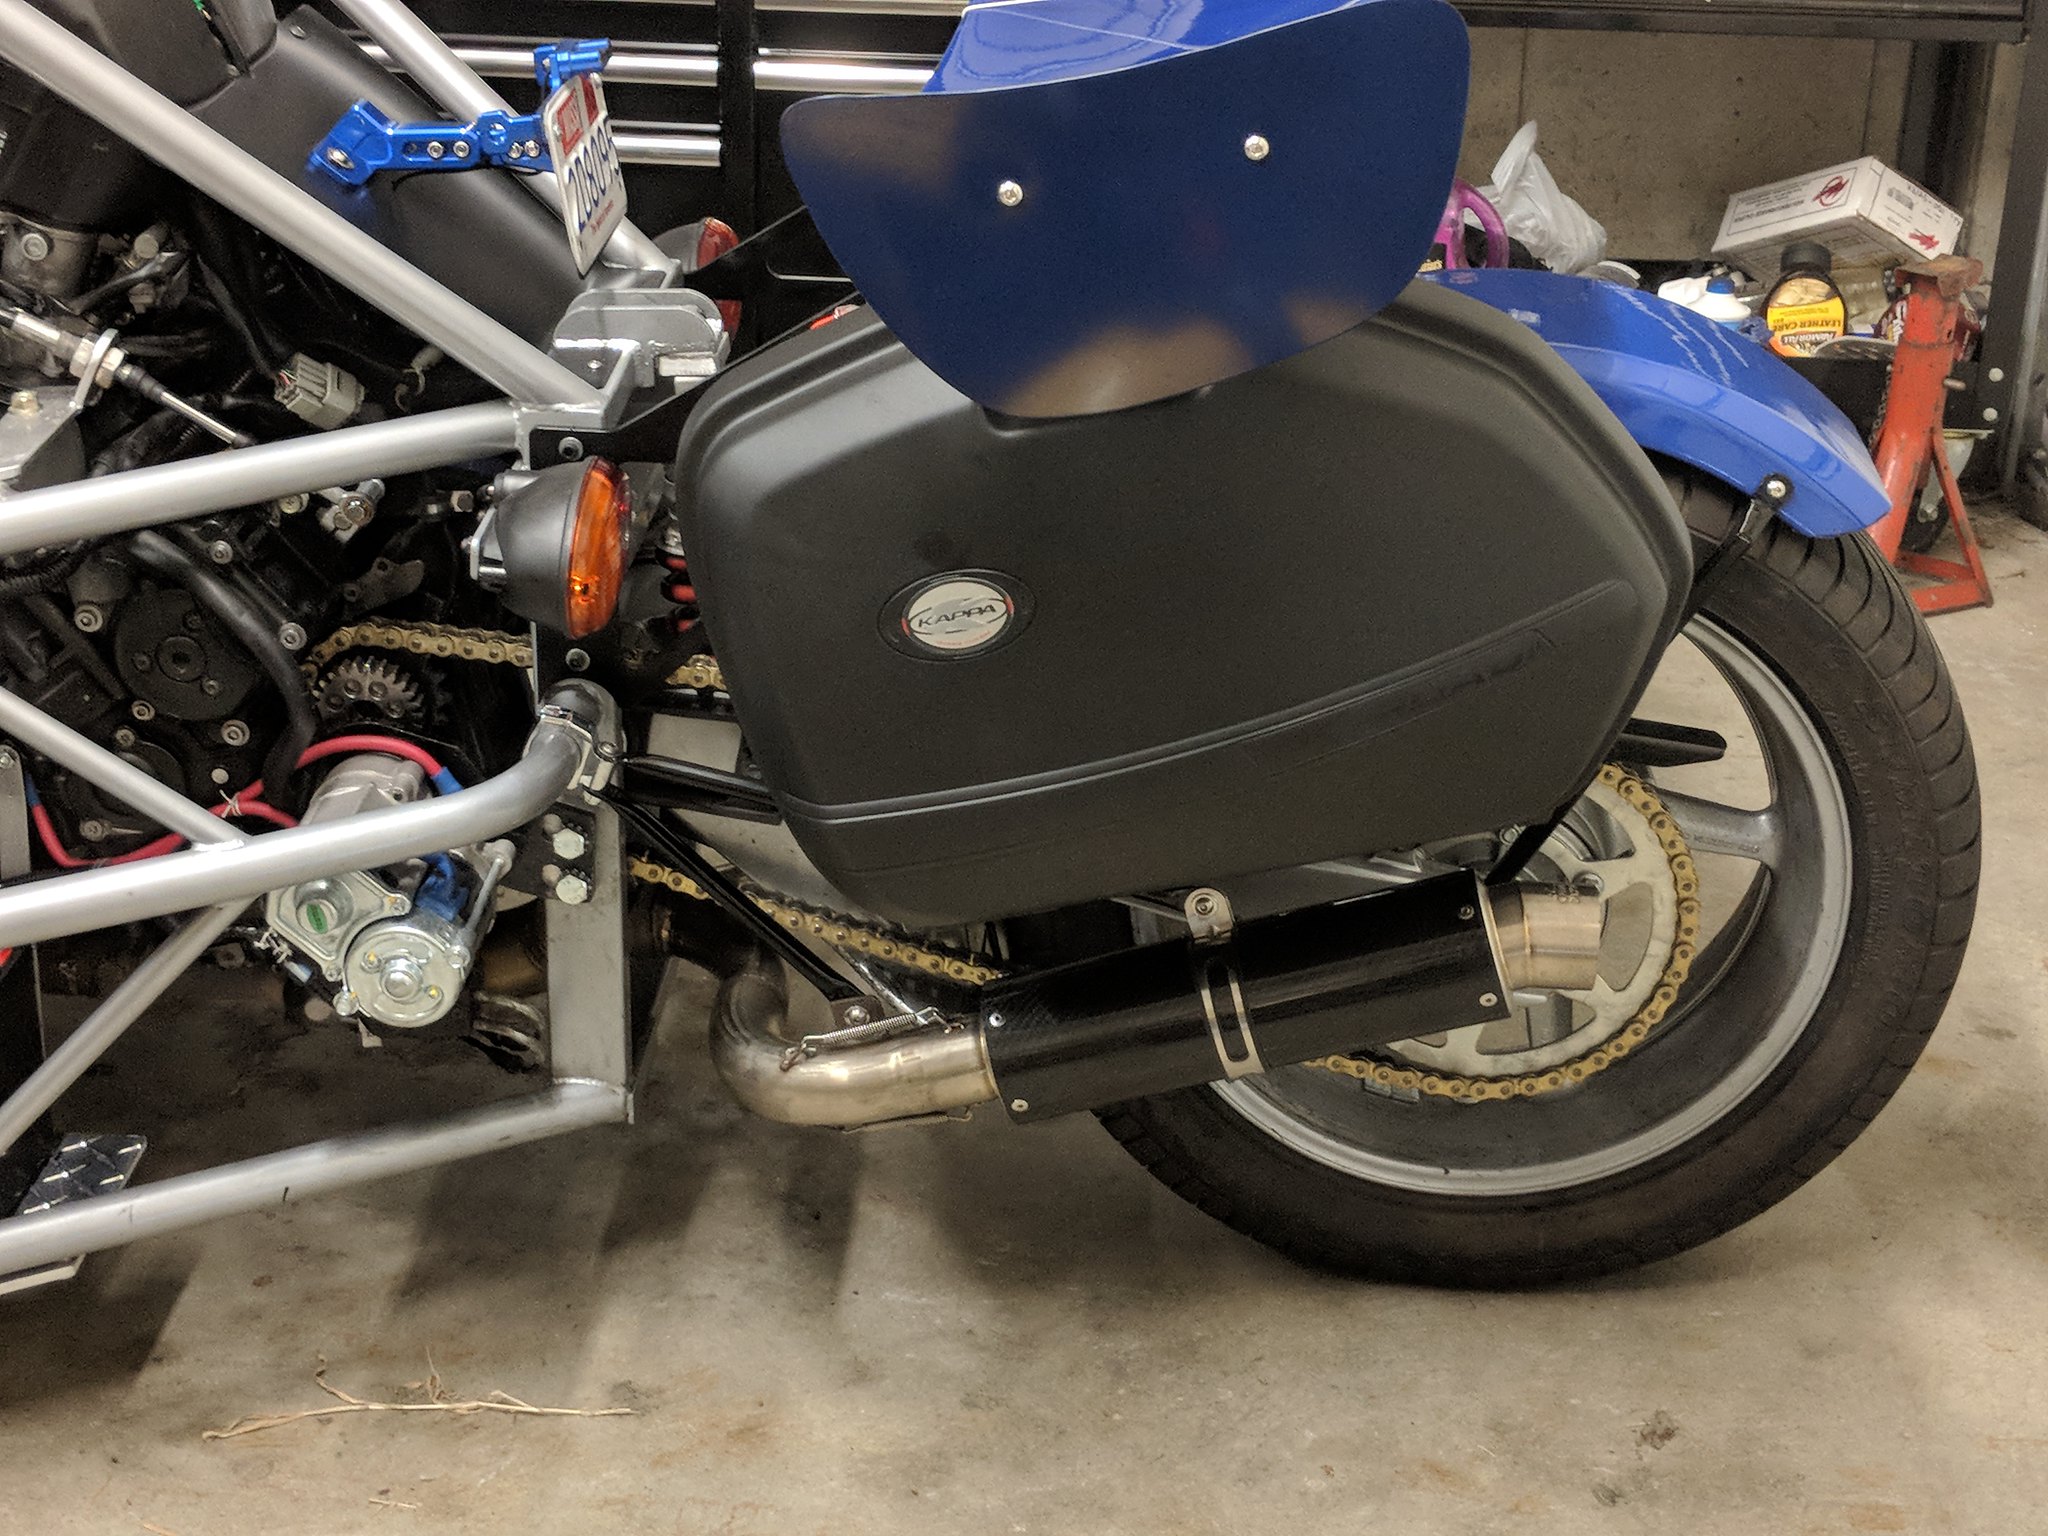
I am still waiting for my wall plaster to set up so I can paint the “LOO”. I decided to let it cure for a couple of days and will paint then. Meanwhile back at the ranch..... I have been finishing up on my saddlebag mounts for the Kappa K33N hard bags. I ordered 4 of those 1-1/4 inch 3 section clamps. They are quite robust and really hold well. When I made the framework, I used the left side mounts as a template to make the right side. The bags fit nicely I am glad to say. I did have to make some spacers and hole reducers. The clamps came with 1/2 inch mount holes, I am using 5/16 inch hardware, so the reducers were necessary. After I got both bags mounted, I made a small angle adjustment to the right side. Both bags are at the same angle and height. All that remains is to make the sway support bars to keep the bags from flapping in the wind. I will be heading out to the Sandpaper store tomorrow for some 180 and 400 grit to prep the pieces for powder coating...(gloss black)
Tomorrow is the Wednesday car show at the Market Basket super Market parking lot. Usually about 150 to 250 nicely done cars. Hopefully I will make it out weather permitting. Will take the Yellow Eco-Exo-R.
That’s it for now, I will post some pictures later.
Roger
Worcester, Massachusetts
|
|