|
|
Post by scooby1929 on Dec 30, 2016 21:51:51 GMT
Hi Welshy yes i was like a kid in the toy shop on the G19 site and bought everything including a manual boost controller. If you would have a decent pic of how this loops round would be very helpful.
I saw your new manifold on facebook ha ha. The only thing with that manifold is that the turbo sits quite high particulary the actuator on top so just hope my bonnet cover will still fit. Not checked it yet
|
|
|
|
Post by scooby1929 on Jan 1, 2017 20:12:08 GMT
So trimmed my 2 waterhose lines and tightened them on. Going to put a couple of p clips on them to secure 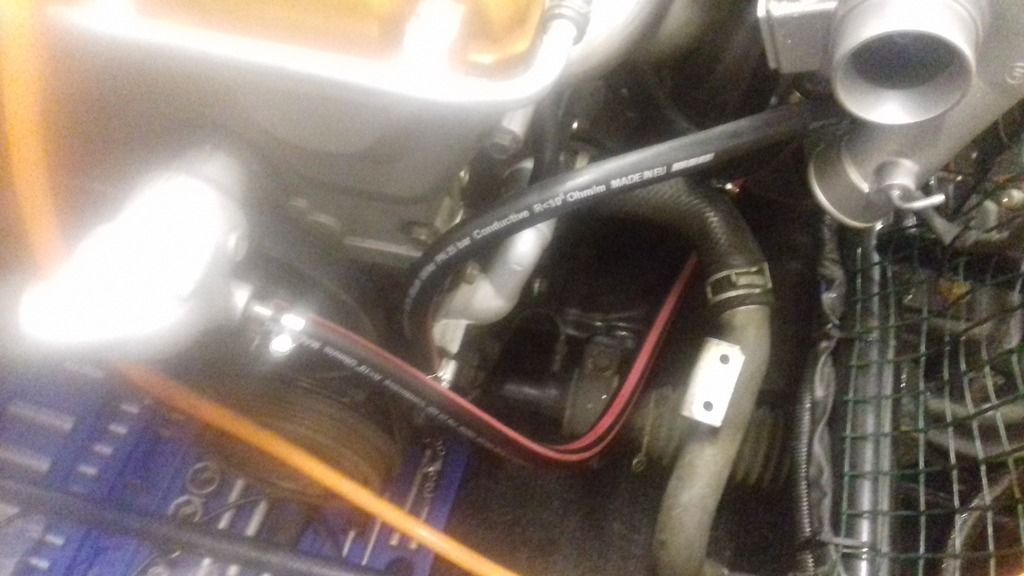 Does anybody know what to do with this silver connector just below throttle body that previously went into air box. Would you connect it into the intercooler pipework?? 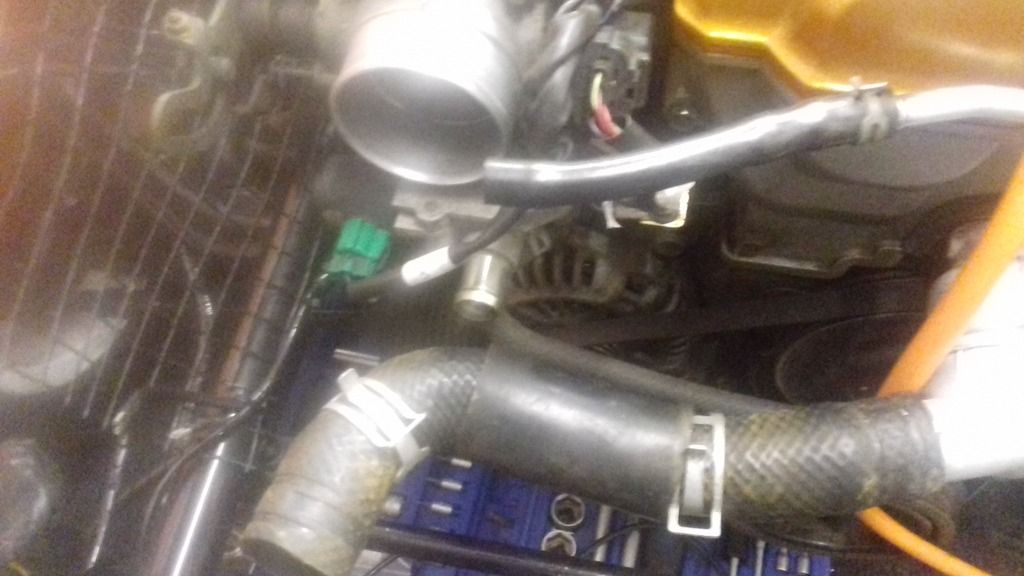 |
|
|
|
Post by mscott on Jan 1, 2017 22:10:00 GMT
Hi,
that's the Intake Port for the I.A.C.V. (Idle Air Control Valve) that the E.C.U. uses to control (as the name gives away) the engine at Idle by "Opening and Closing" the valve to allow "More or Less" Air into the Plenum as required to maintain the Idle Speed.
Some people put a small Air Filter here but as my engine tuner pointed out that when the engine is under Boost the Positive Pressure can leak past the Valve as it is originally designed to be used on an NA car which runs under Vacuum.
You need to connect it to the pipe that comes out of the Inter-Cooler that goes to the Throttle Body above.
It's tight but do-able...
Regards Micky..
|
|
|
|
Post by scooby1929 on Jan 15, 2017 21:05:05 GMT
Well having been away with work since Xmas thought i had better do a wee bit today or she will never be ready for 1st April. Piped up the left side of the intercooler or the easy side. 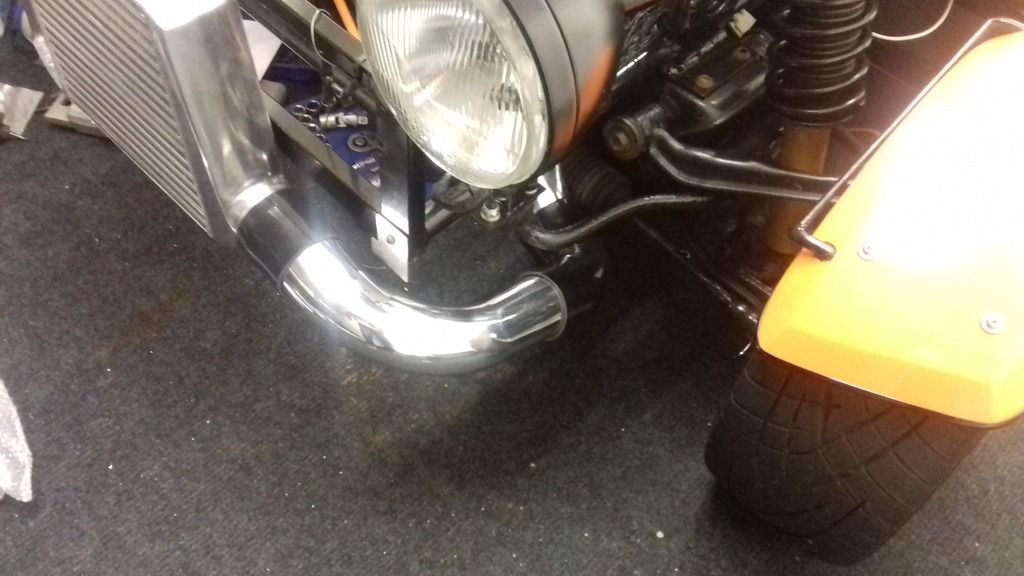 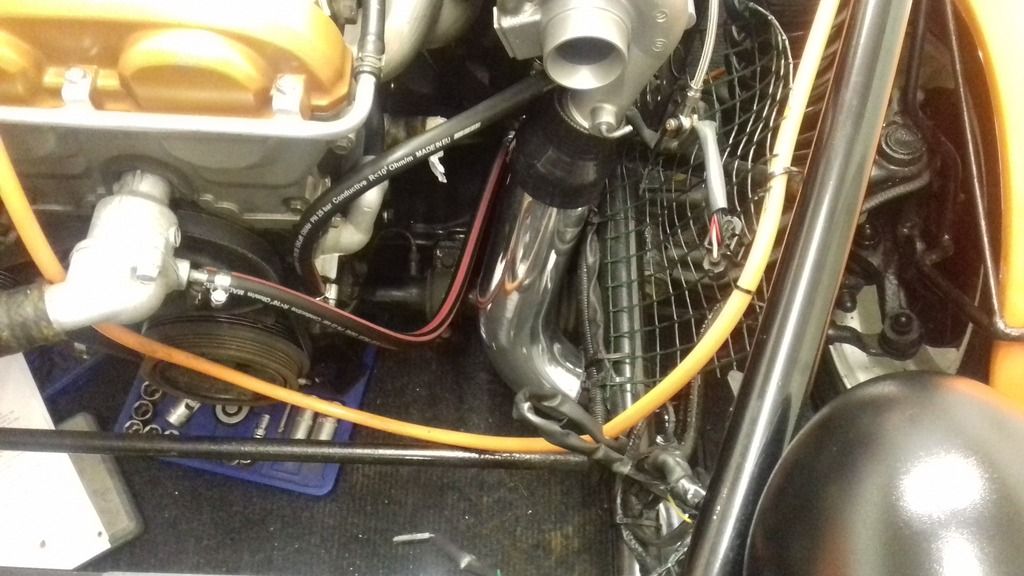 |
|
|
|
Post by scooby1929 on Jan 23, 2017 10:18:55 GMT
First small problem trying to get the final piece of intercooler piping to join to the throttle body. Is it best to use a 90 degree rubber reducing hose from throttle body or use hard piping here and weld. 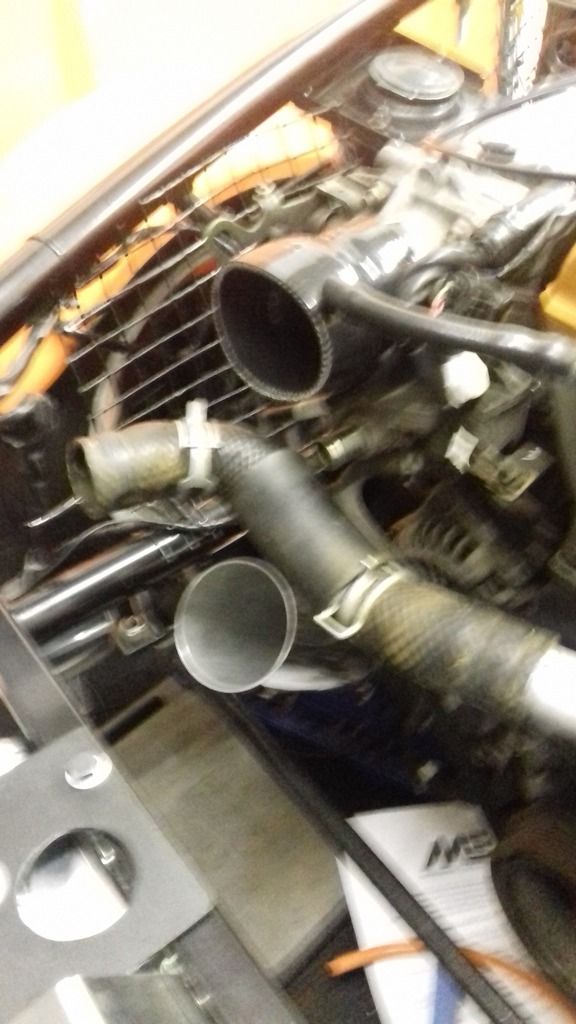 |
|
|
|
Post by mscott on Jan 23, 2017 11:54:01 GMT
|
|
|
|
Post by scooby1929 on Jan 23, 2017 13:34:52 GMT
Hi Micky Sorry that pipe from the cam cover needs to be removed and small filter will be put on. Yes i am going to be using AIT. I was going to use a 90 degree flexi like the pic below but i dont like the idea of the AIT in a flexi and the ISCV. Have you welded another fitting onto your radiator to let the hose fit better? 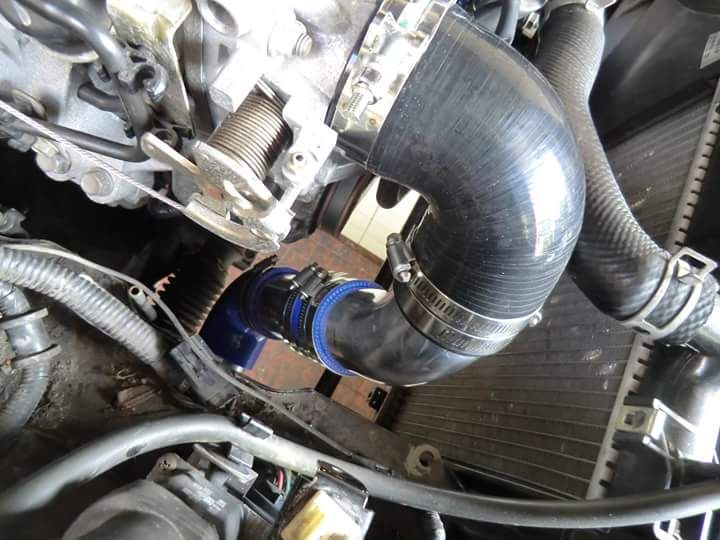 |
|
|
|
Post by mscott on Jan 23, 2017 13:56:53 GMT
Hi,
My radiator Top Hose is in the stock position, it's just that the pipe coming up on mine is at more of an angle than the picture above, and with having the ability weld bits together I was able to make a "Pie-Cut" 90 that is tighter than a Mandrel Bend..
Regards Micky ..
|
|
|
|
Post by scooby1929 on Jan 23, 2017 15:48:06 GMT
So after having about dozen goes and trying to cut some intercooler pipe to some fancy angles but thanks to Mikey i did not realise you could buy some 135 degree angles so while waiting for delivery i cut the holes for my digital AFR and digital boost gauge. 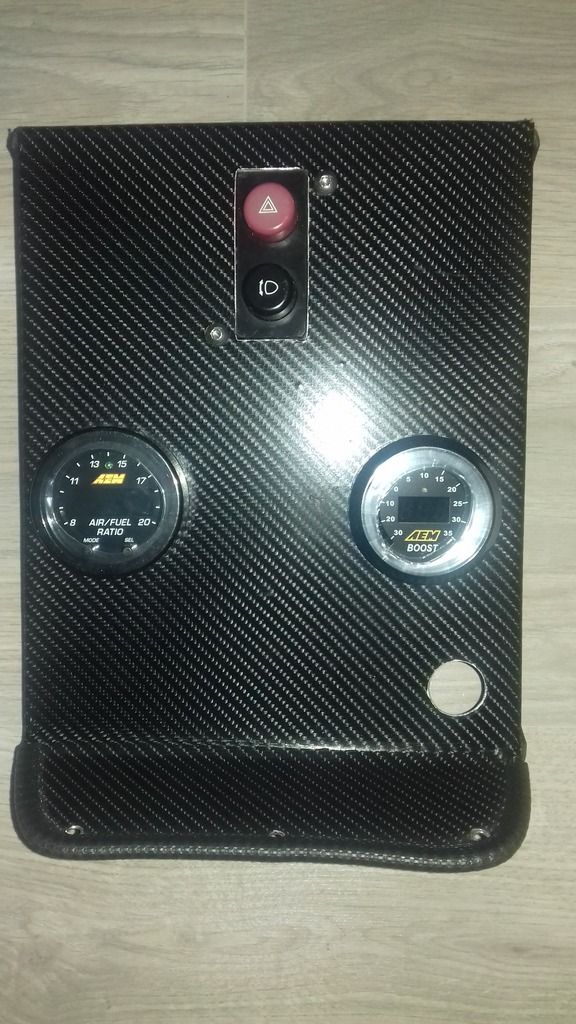 Dont sure if i should fit this start/ stop button or not. The hole at the bottom is for my rear fog 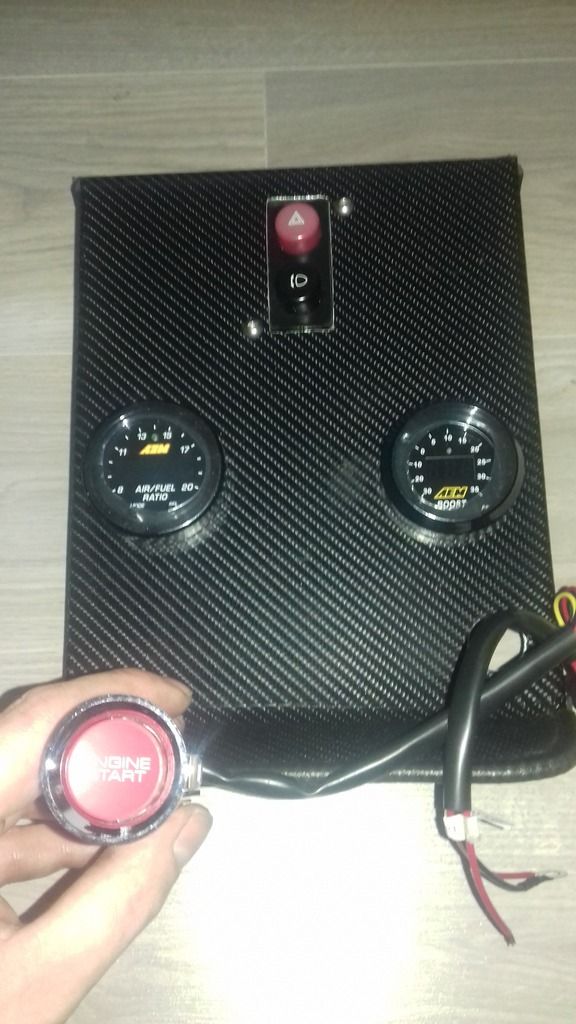 Another simple wee job was to p-clip the oil feed line to the side of the rocker cover as you deffo dont want this working its way loose. 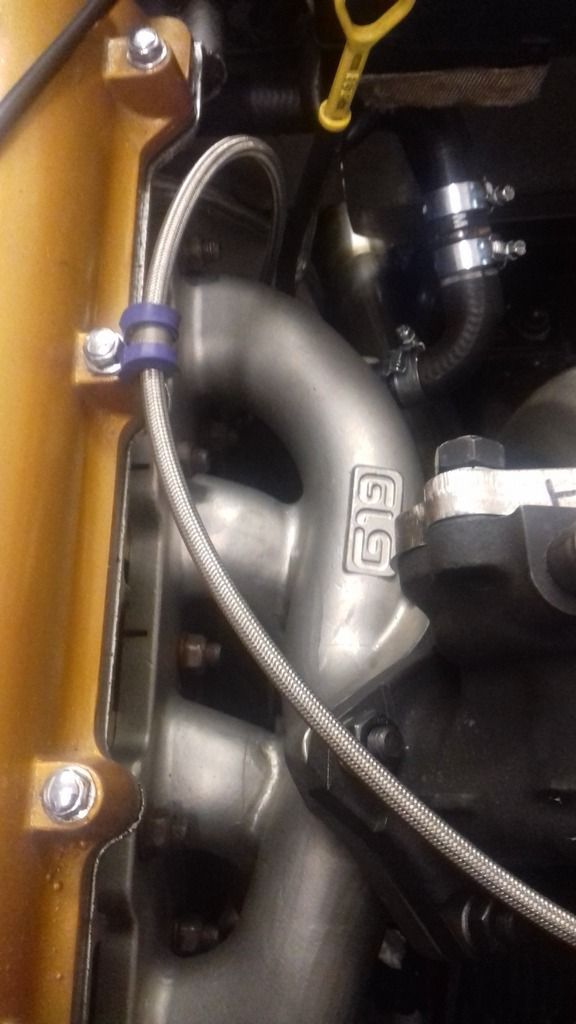 |
|
|
|
Post by welshy1 on Jan 23, 2017 20:23:59 GMT
Good progress there I'm ordered a loads of bits should be arriving mid week then can paint the frame and rebuild the spare engine hopefully get a good weekend on mine ready for the first round of the sprint series. Cant wait to try out the new manifold and 4 pot willwood calipers all round.
|
|
|
|
Post by scooby1929 on Jan 23, 2017 20:59:20 GMT
So if any kind person could run their eye over this it would be greatly appreciated I have connected up my MAP sensor (Manifold air pressure) from the back of my ME221 to the inlet manifold. Its at the very bottom of the pic with the tee piece set on it. I am then going to tee into this rubber pipe for my boost gauge. Is this okay? I am not going to connect it as shown in below pic but closer to the ECU. 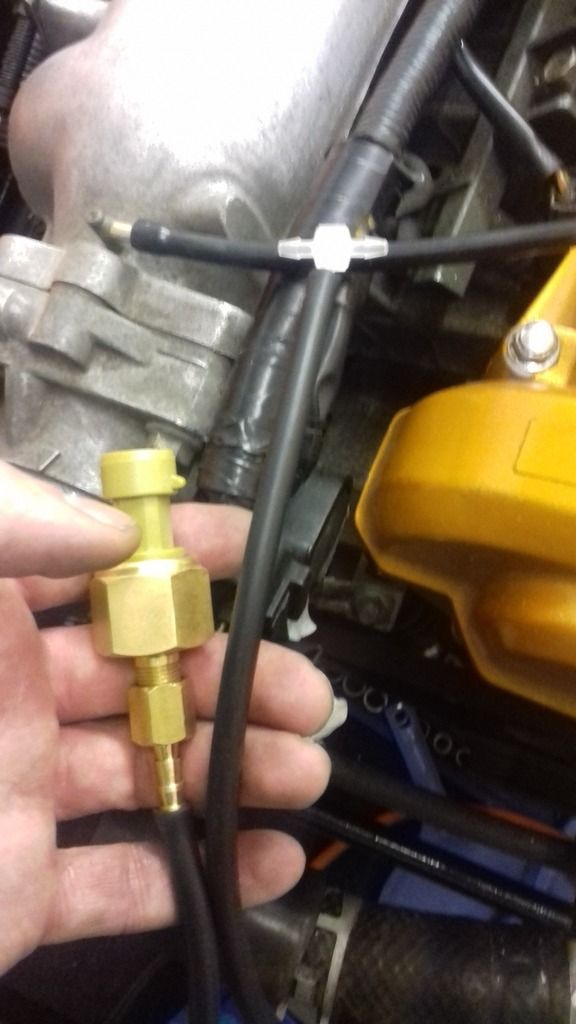 Finally boost controller i dont know an awful lot about this other than i am going to connect it between the 2 small pipes on the turbo but where does the other end at 90 degrees go? (Back into the MAP rubber hose with another Tee piece)  It also has a power supply on it. I will blame there being no instructions with it. 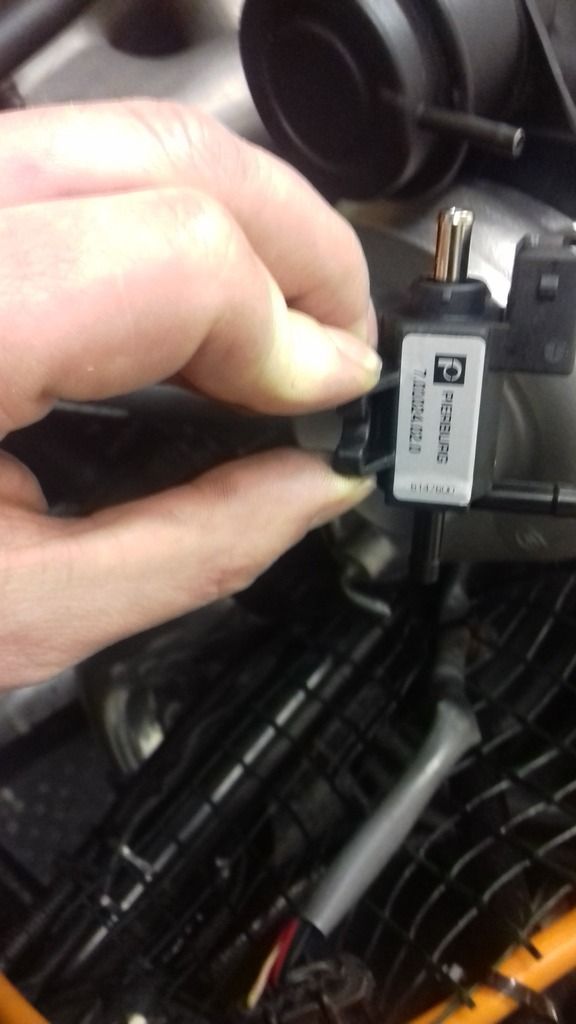 |
|
|
|
Post by iparnell on Jan 23, 2017 23:41:03 GMT
Assuming your using a single internal wastegate turbo setup then one of the port will just vent to atmosphere, not sure what one on yours, sorry. The controller will have require a 12v supply will ideally a 10amp fuse in line and the other i guess will go back to the ECU. I'm using a megasquirt and this is how mine is setup. Hope that helps a little. Good luck.
|
|
|
|
Post by iparnell on Jan 23, 2017 23:46:44 GMT
INTERNAL Wastegate setup
Metal nipple – Pressure source
Side nipple – Wastegate top can
|
|
|
|
Post by scooby1929 on Jan 28, 2017 22:12:41 GMT
So thanks to MSCOTT (Micky) for letting me know that you can get 135 degree flexible elbows so i have finally fully trial fitted my intercooler. This has been by far the most time consuming job. Really wish i had used smaller intercooler pipework would of made things alot easier. 3 inch dia is very big really wish i had used 2 inch or 2.5 inch. Anyway its just about okay i think and i have nearly a 60mm gap which i need for my new rad. 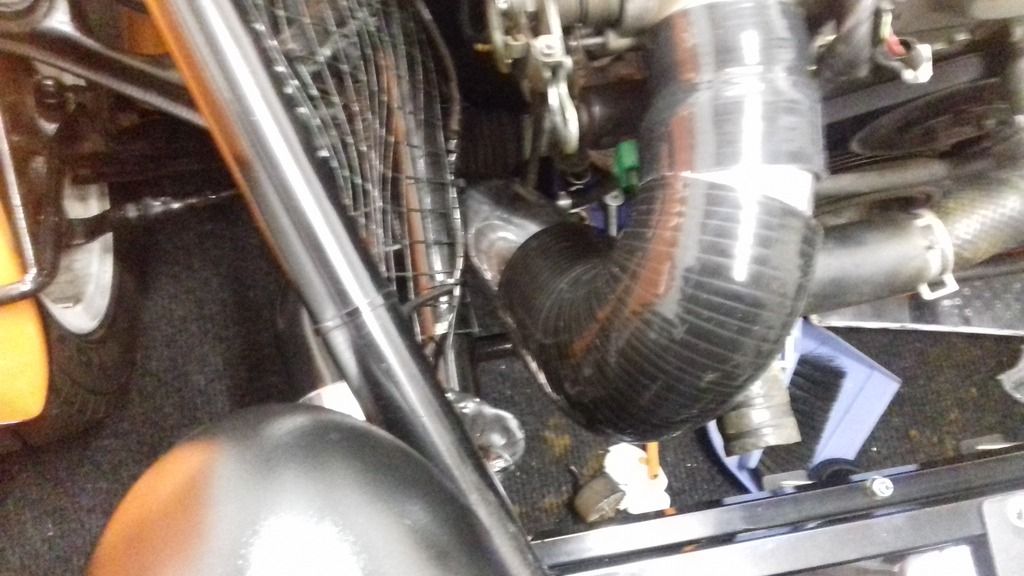 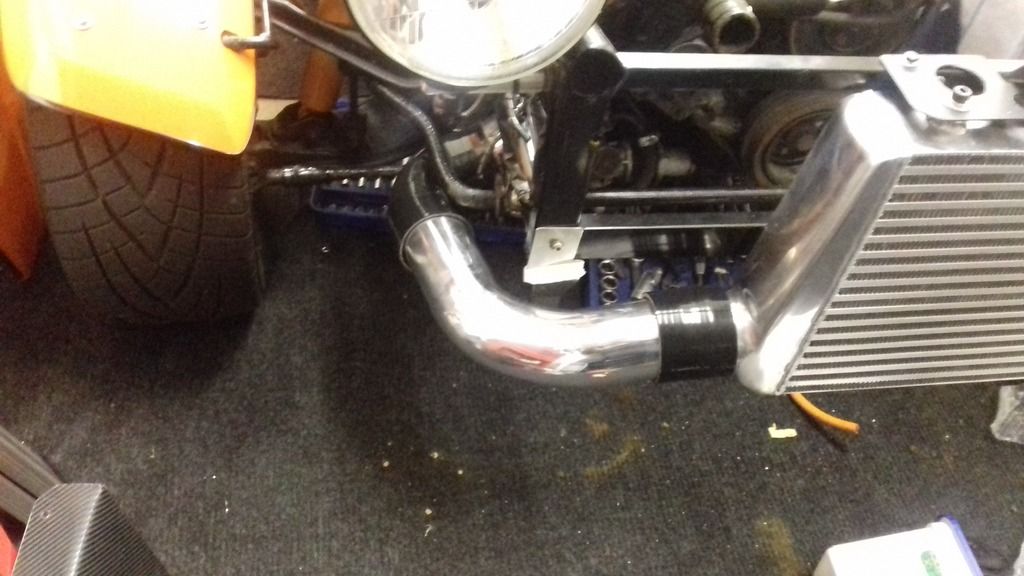 I also need to weld a boss with a M12 x 1.5 pitch thread for AIT and another boss for the IACV valve 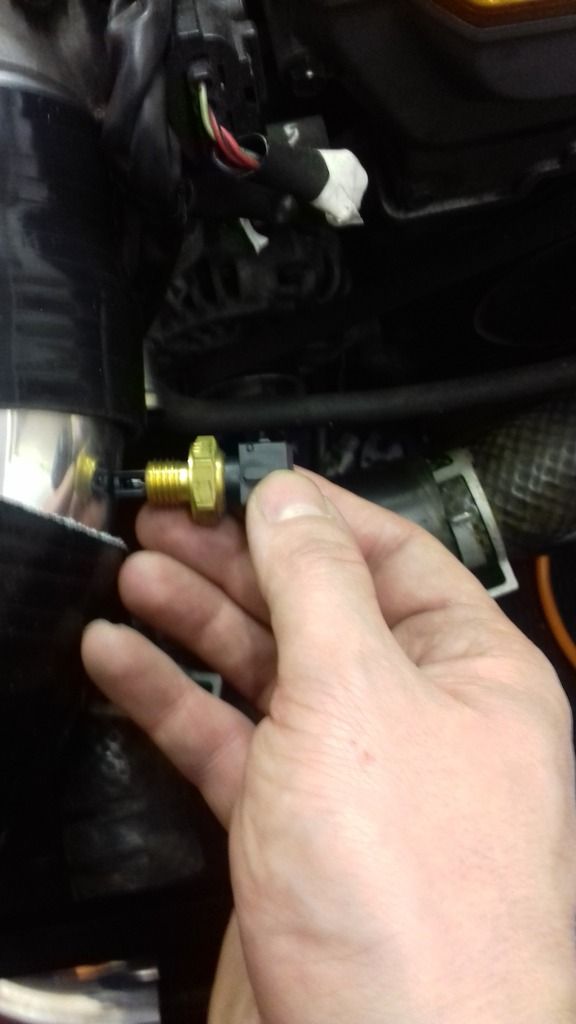 |
|
|
|
Post by scooby1929 on Jan 28, 2017 22:18:29 GMT
Assuming your using a single internal wastegate turbo setup then one of the port will just vent to atmosphere, not sure what one on yours, sorry. The controller will have require a 12v supply will ideally a 10amp fuse in line and the other i guess will go back to the ECU. I'm using a megasquirt and this is how mine is setup. Hope that helps a little. Good luck. Yes thanks thats great the boost controller needs wired into what was previously the charcoal cannister wiring but mine has long since gone so i need to find the correct pin on my ME221 |
|