|
|
Post by Ken on Sept 12, 2016 2:07:00 GMT
|
|
|
|
Post by Ken on Sept 12, 2016 3:09:46 GMT
|
|
|
|
Post by Ken on Sept 12, 2016 3:19:28 GMT
Engine teardown begins... 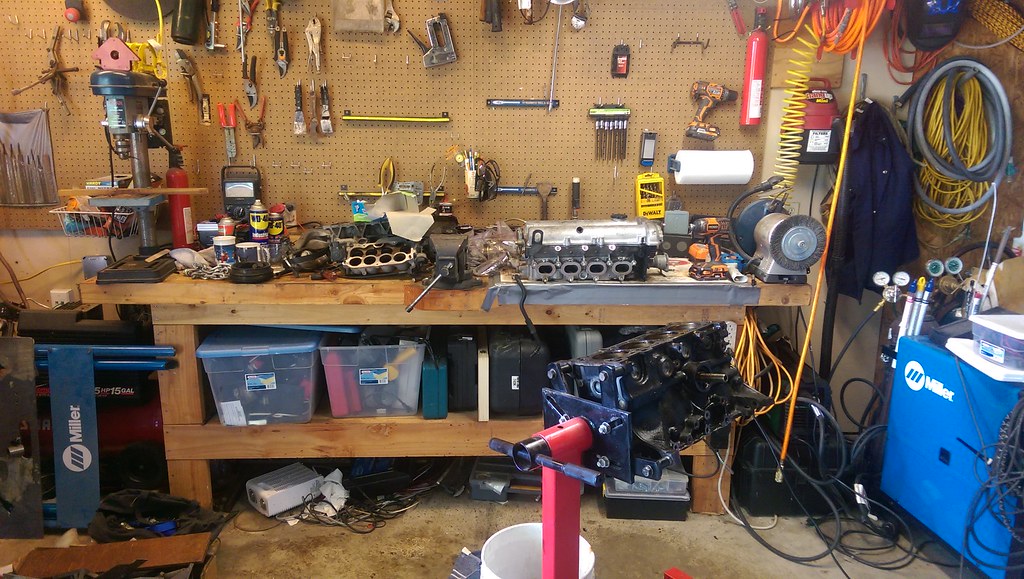 IMAG0459 IMAG0459 by kenjfox, on Flickr Engine block and internals actually looked quite good. Nonetheless decided to rebuild with forged internals, balanced crank and new valves. 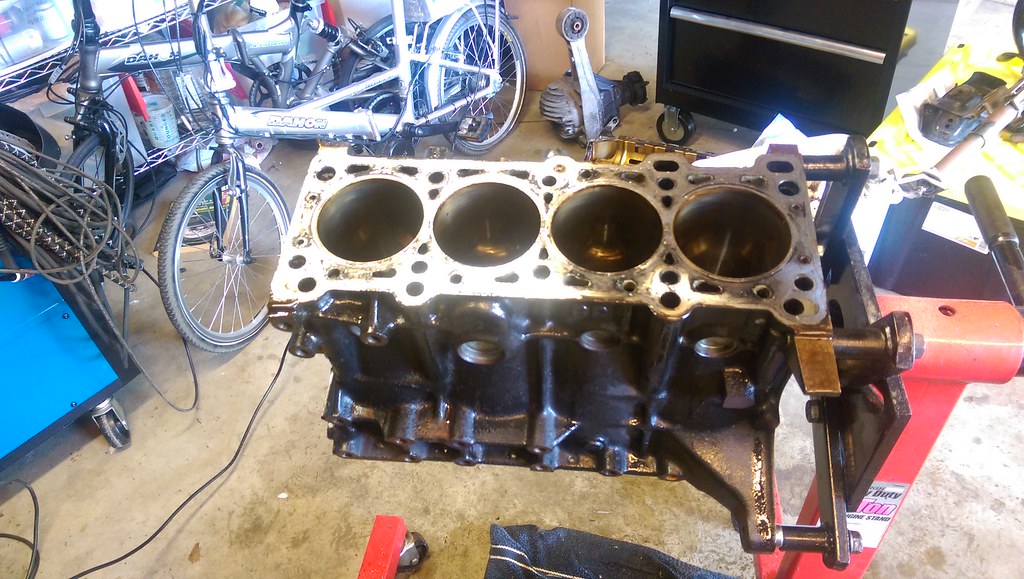 IMAG0460 IMAG0460 by kenjfox, on Flickr |
|
|
|
Post by Ken on Sept 12, 2016 3:26:22 GMT
|
|
|
|
Post by Ken on Sept 12, 2016 3:28:55 GMT
Subframes and suspension hardware back from powdercoaters. Time to assemble. Energy urethane bushings. Installed zerk fittings all around.  IMAG0480 IMAG0480 by kenjfox, on Flickr Some handy precision tools for bearing removal/installation...  IMAG0496 IMAG0496 by kenjfox, on Flickr |
|
|
|
Post by Ken on Sept 12, 2016 3:38:43 GMT
The old bearing shells were really helpful in reinstalling new without a press.  IMAG0483 IMAG0483 by kenjfox, on Flickr Whacked the 1/2" steel plate to drive the bearing in evenly. 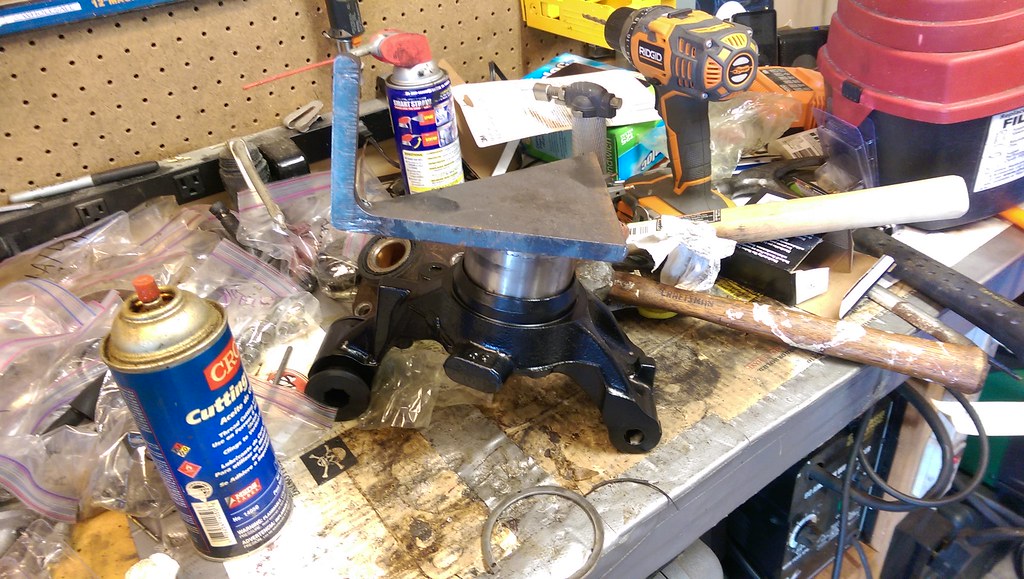 IMAG0482 IMAG0482 by kenjfox, on Flickr |
|
|
|
Post by Ken on Sept 12, 2016 3:42:50 GMT
|
|
|
|
Post by Ken on Sept 12, 2016 3:53:54 GMT
Seat mounting installation. Went with 1/4" cold rolled steel here. Maybe overkill- kind of heavy.  IMAG0508 IMAG0508 by kenjfox, on Flickr Drilled holes to drop in steel crush tubes. 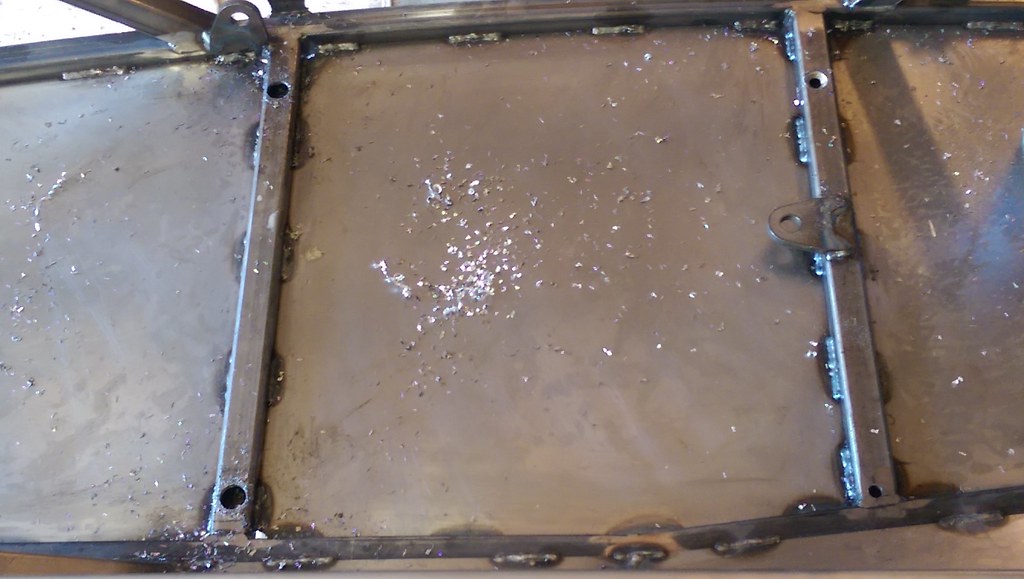 IMAG0512 IMAG0512 by kenjfox, on Flickr  IMAG0513 IMAG0513 by kenjfox, on Flickr Reinforcing collars went in from top, and were welded to top of square tube. Also welded in "better" substrap tab that proved to be not very useful on six point harnesses.  IMAG0514 IMAG0514 by kenjfox, on Flickr |
|
|
|
Post by Ken on Sept 12, 2016 3:57:48 GMT
Welded in back support tabs for the passenger seat. Driver's seat will be adjustable, so using a sliding tube on that one. Hmm, is that enough filler material? Maybe I should keep going...  IMAG0515 IMAG0515 by kenjfox, on Flickr |
|
|
|
Post by Ken on Sept 12, 2016 4:00:11 GMT
Another useful tool: Harbor fright chopsaw. Cuts great 83 degree right angles. Marginally better than a handheld recipro saw.  IMAG0518 IMAG0518 by kenjfox, on Flickr |
|
|
|
Post by Ken on Sept 12, 2016 4:04:16 GMT
Soon Honey. I'm going to fold the laundry just as soon as I'm done with this one thing over here...  IMAG0519 IMAG0519 by kenjfox, on Flickr |
|
|
|
Post by Ken on Sept 12, 2016 4:08:02 GMT
|
|
|
|
Post by Ken on Sept 12, 2016 4:13:57 GMT
Frame all primered up using rustoleum. Wow was this a mistake. I did a test with the gloss black rustoleum against the bare metal, and it came out really nice. The primer is a different story- lots of deep brush marks- it did not flow at all. In the end though, the frame came out as nice as if it were powdercoated. Because it is powercoated.  IMAG0531 IMAG0531 by kenjfox, on Flickr |
|
|
|
Post by Ken on Sept 12, 2016 4:19:00 GMT
Frame back from powdercoat. Bulkheads installed.  IMAG0565 IMAG0565 by kenjfox, on Flickr |
|
|
|
Post by Ken on Sept 12, 2016 4:26:22 GMT
OS Giken differential install. I left all of the clutch plates enabled- some like to disable a few when the car is light. I'm going to find out why some day- hopefully not the hard way. Doing this install was pretty straightforward- I was expecting it to be much harder. 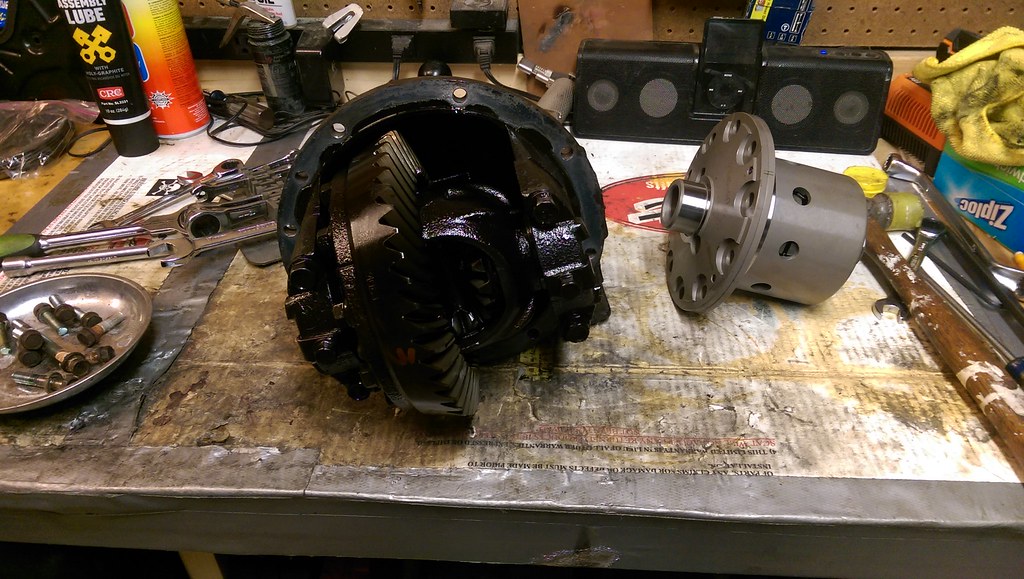 IMAG0556 IMAG0556 by kenjfox, on Flickr Setting backlash.  IMAG0556 IMAG0556 by kenjfox, on Flickr And checking for proper meshing. GM colored grease allows you to see how the gears hit. If too far one way or the other, you can adjust.  IMAG0567 IMAG0567 by kenjfox, on Flickr |
|