|
|
Post by shaun on May 1, 2015 16:26:57 GMT
Ah ok, well, this is post 20! Will delete the number now, cheers mawdo!
|
|
|
|
Post by shaun on May 4, 2015 21:12:24 GMT
Ok, well last couple of days been a bit slow due to birthdays and going out to a couple of places, so didn't et much time, but I managed to find time over the last few days to get the seats and seat belts bolted in, a trick I found, or maybe it's common knowledge?, is if you twist the belt in the 2 buckles it runs through, the one which bolts to the top, and the one that clicks into the (retainer?) bit on the seat!, was a bit tight to do it, but easy enough, then it fits with no twists or kinks, and bolts up easy with no need for extra brackets, maybe that's how you were meant to do it, but before I twisted it I could only bolt it up with a 180 degree twist in the belt going from the reel to the top guide, didn't get any pictures yet, but will try and get some in the next day or 2!
Another boring update I know! Might tackle the handbrake handle next, any tips for that? Cheers!
|
|
|
|
Post by shaun on May 5, 2015 21:02:57 GMT
Got a bit of spare time at work today, so made a few fuel tank spacers, hopefully they will do the job! Went for 60mm long(ish!) cut them out of stainless still tube 25mm diameter And welded in some cap ends and then drilled 12 mm holes, though maybe I should have just welded in some penny washers? Would have been easier!. Few pics.. 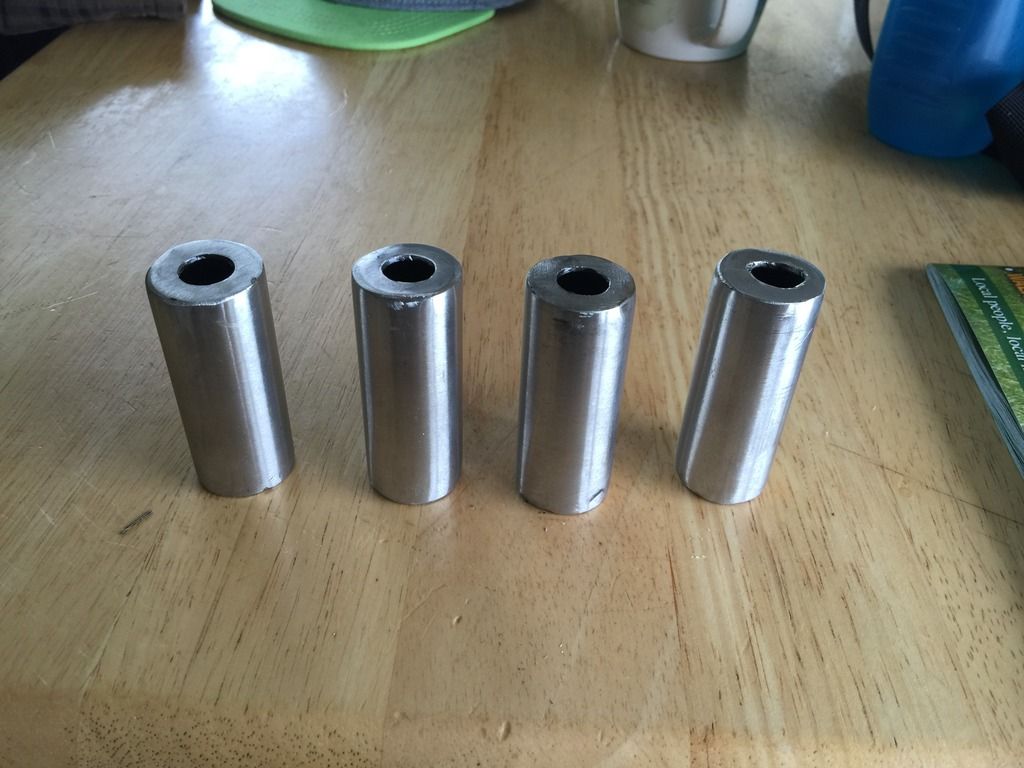 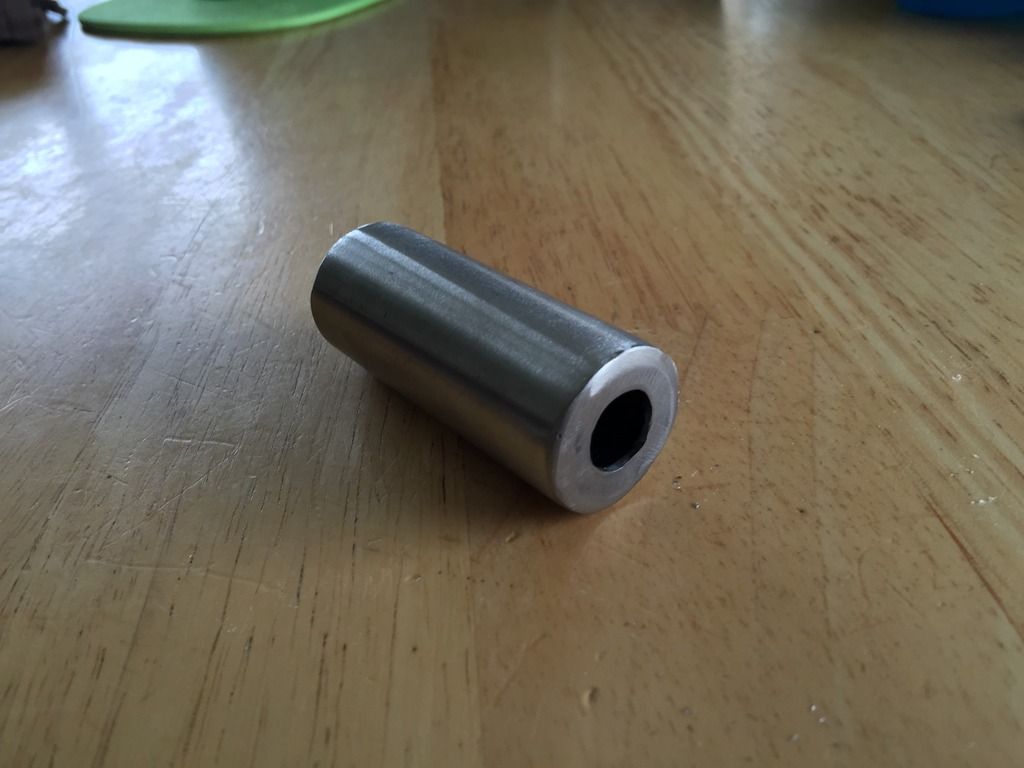 Seems very very tight on space on where to mount it, it looks like only half a hole on 2 of the mounting points, with very little movement hopefully will stretch out a bit! If not will have to rethink! Anyway, that's all for now! Sorry to keep boring you All! Trying to keep things updated, as usually I'm terrible at it! |
|
|
|
Post by miket on May 6, 2015 8:02:52 GMT
They're fine looking spacers. Watch out for space between top of tank bits and top of tank cover too - that could be marginal with 60mm spacers.
|
|
|
|
Post by shaun on May 26, 2015 21:10:21 GMT
Ok, not done to much recently, had a week away down Cornwall, but now I'm back I started looking at the bottom radiator mounts, made something looking a bit like this 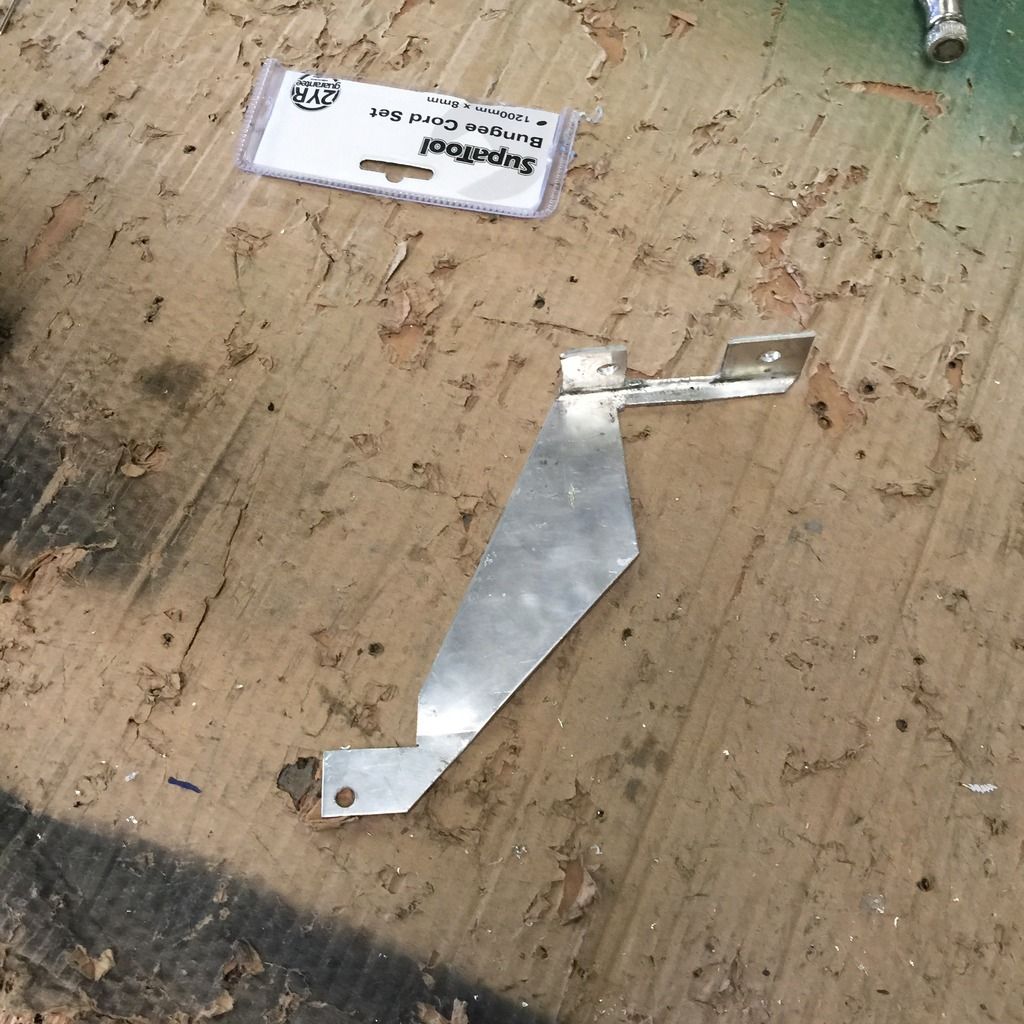 which, was fairly strong until I had to notch so much out for the anti roll bar, so redesigned it to look like this 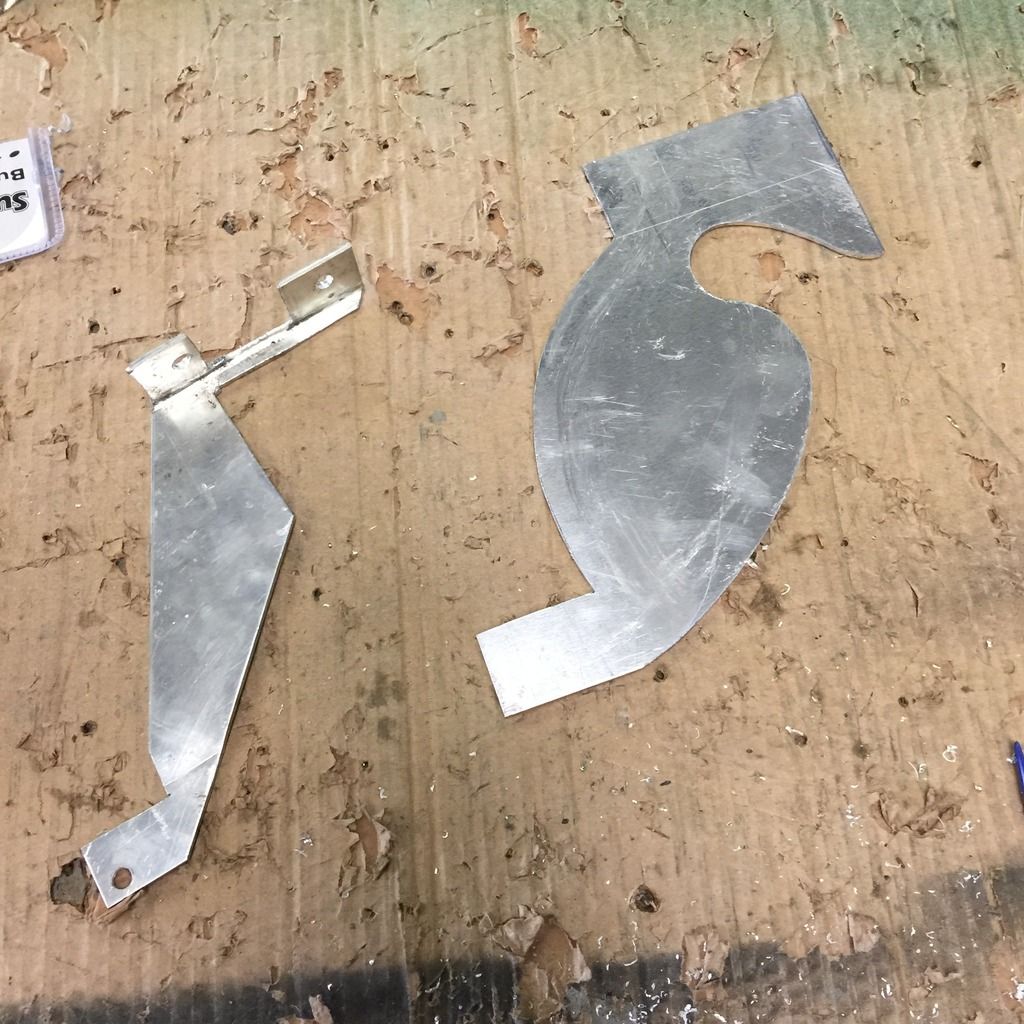 And when fitted 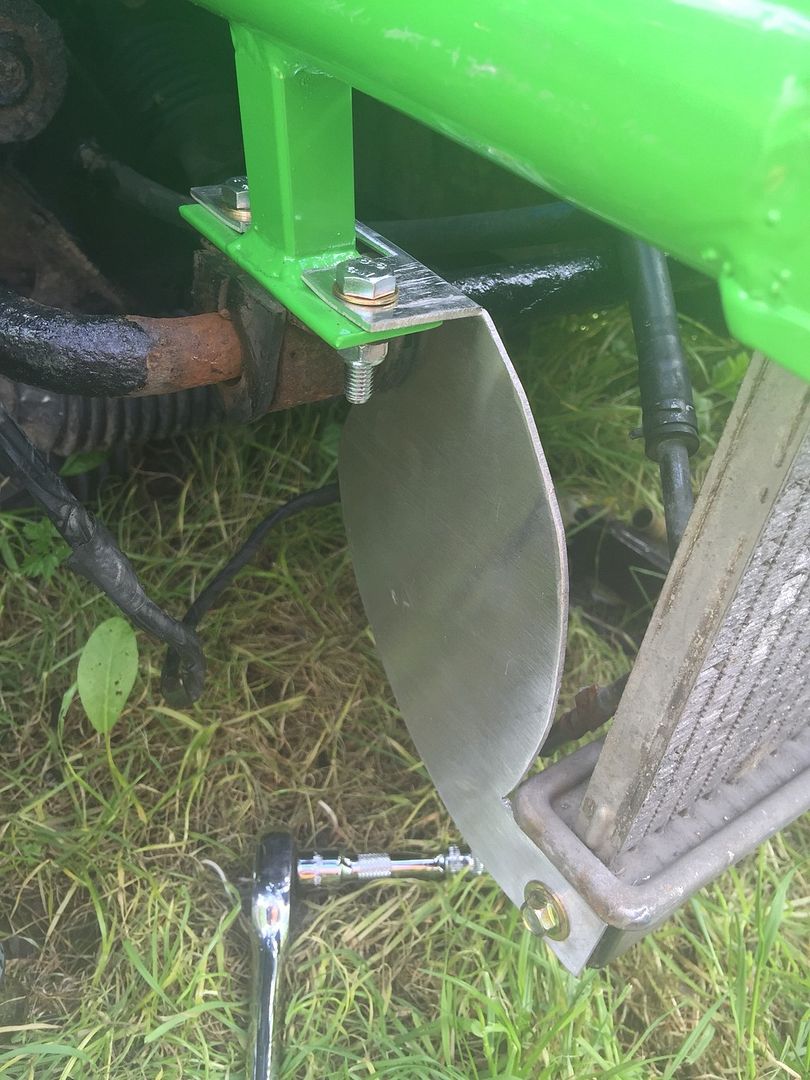 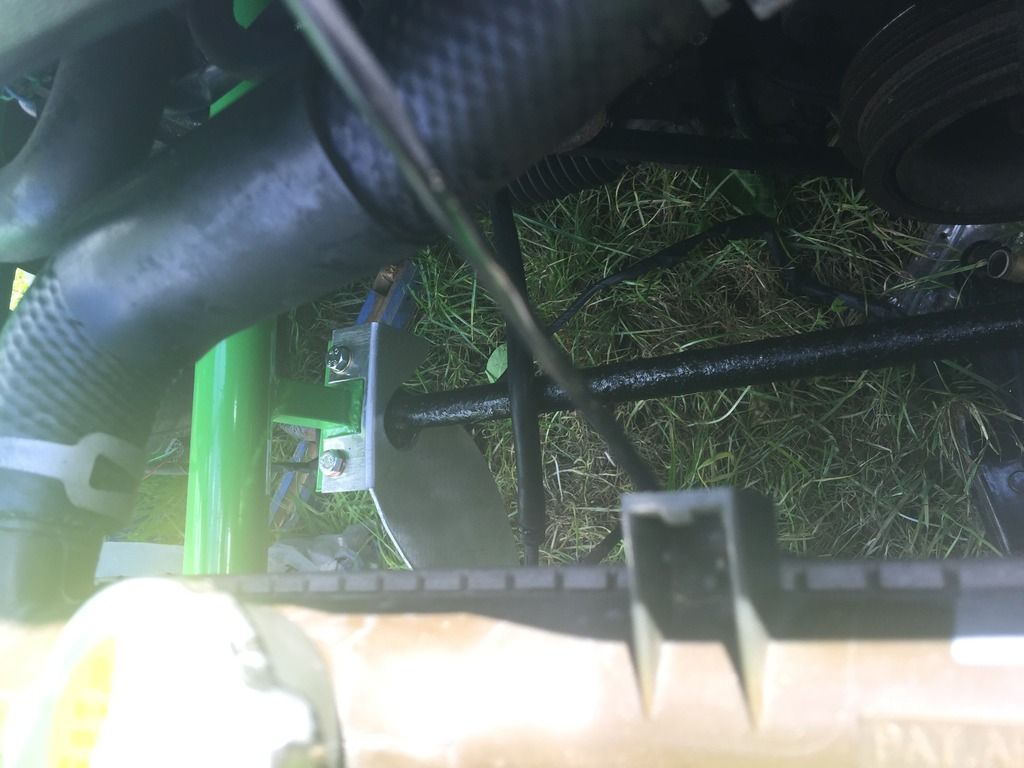 I've since hurt my knee whilst at work, climbing through a window, felt like I pulled or torn something, now it hurts if I kneel down to do anything, so haven'tbeen able to do to much, though, I had a little play on the back panel which covers the fuel tank, notched out over the suspension mounts, and the 2 little bolts, though, I did cut a bit much out! Didn't allow for the slope of the tank cover, but can't really see it to much, so should be ok, being black hides it quite well! 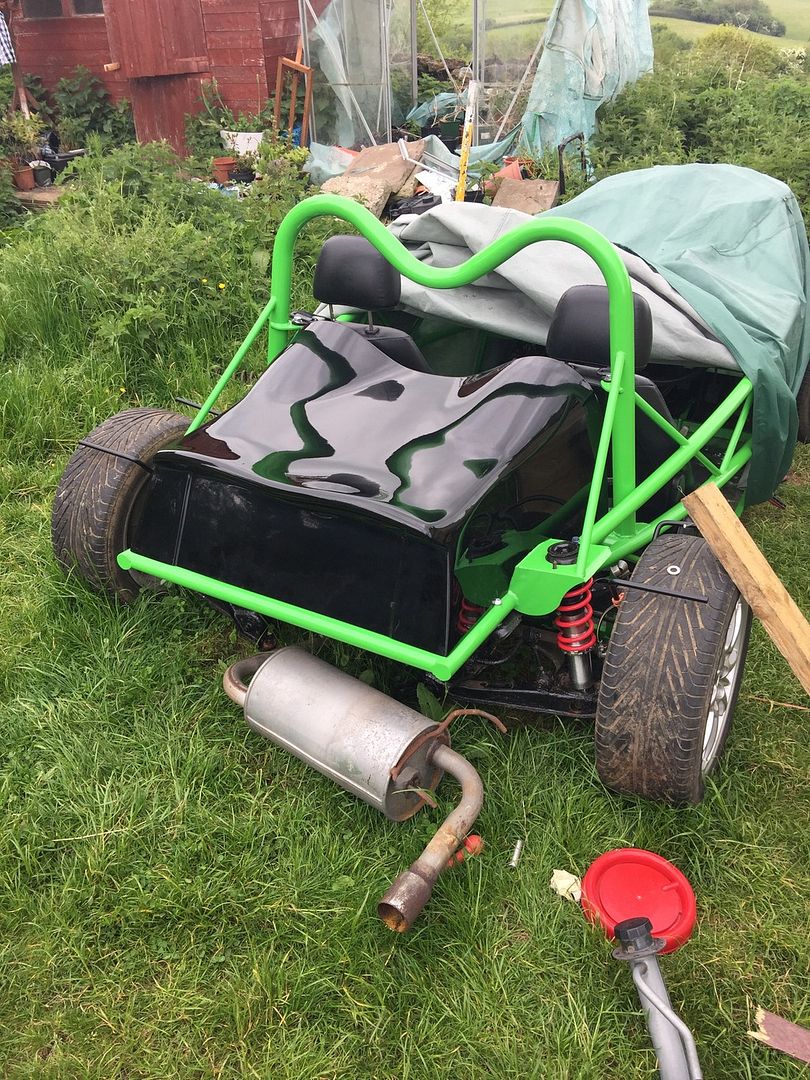 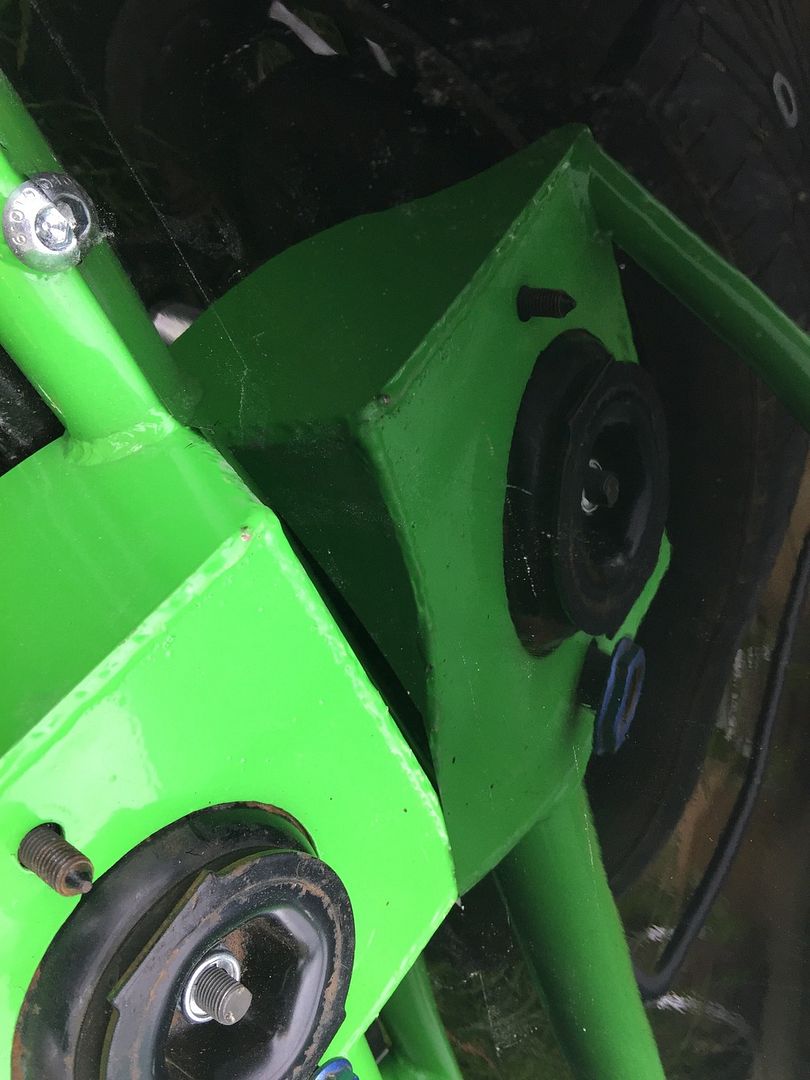 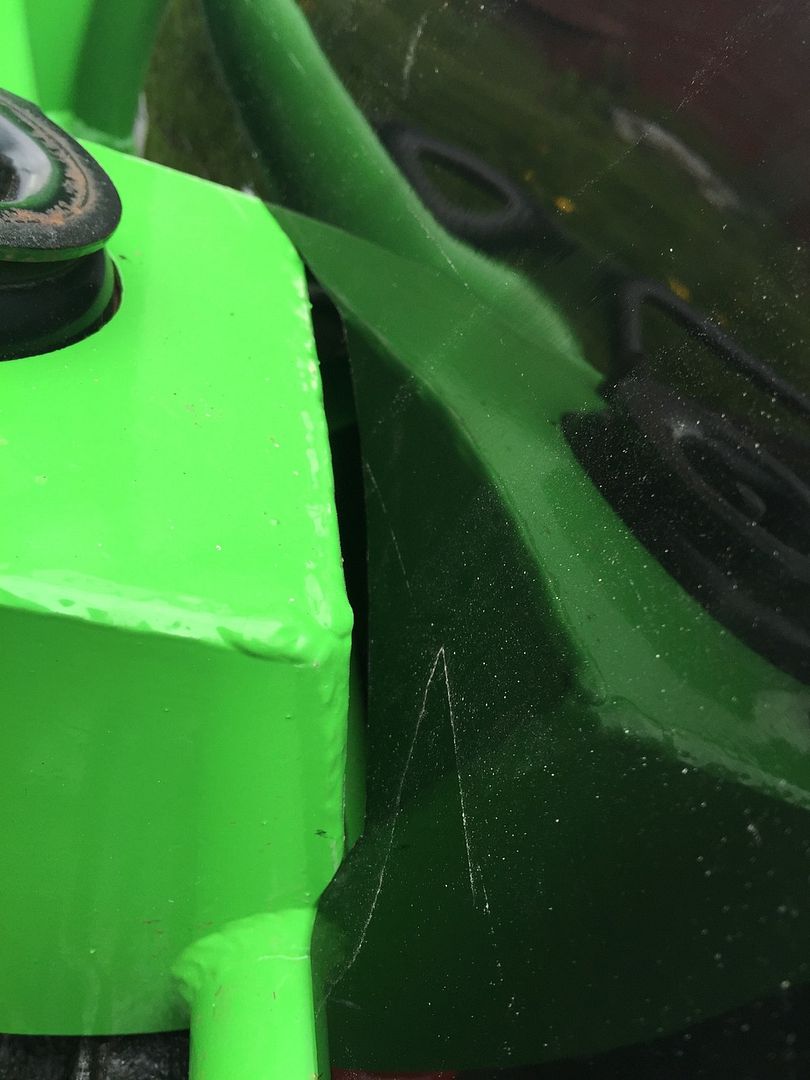 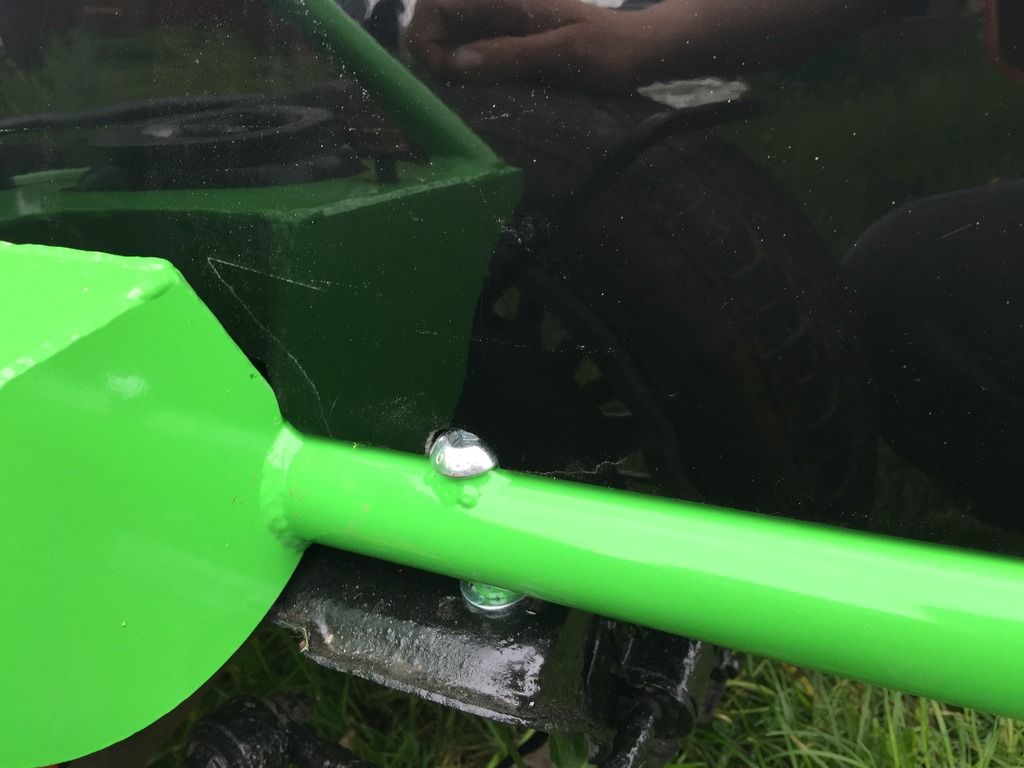 Also, I'm thinking of doing something thefreak has done on his 2 Exocets ( although his are race cars, not iva'd road cars) , and that is reweld the fuel filler onto the top of the tank, is there any reason I can't do this? Just make the hole where the charcoal canister used to go to on the top a bit bigger, and weld the old filler neck on, and plate up the other hole, or is there a big reason I shouldn't do it? It would make removing the back a whole lot easier, there would be no half tank of fuel issue, and might even look quite good to, although, I doubt the original filler could ever look good! What's the rule on tethering the cap, does it have to be tethered to the inside of the filler neck or can it just be attached to a screw on the outside like on the filler neck screws? Maybe bond a swivel thing to the top so it spins when you unscrew the cap? I don't know! Just thinking out loud, I imagine looks better with it tethered to the inside, unless anyone can point me to a nice cheap iva suitable one? Cheers in advance, will try and get more done! Wanted it done by summer, very doubtful That will happen! But who knows! Thanks for reading( if you can be bothered to read through all that drivel!) |
|
trident
Senior
   Improvise, Adapt and Overcome
Posts: 629
|
Post by trident on May 26, 2015 21:25:00 GMT
Have a look at this which I used on my build using the original filler etc. The teether can be on the outside. I just used some electrical wire and some end crimps. then just drilled a small hole in the top of the original cap and used a dome head bolt which created its own threat when I wound it in. I'm very pleased with the end result. Bottom of the page mevowners.proboards.com/thread/3878/tridents-exocet-build?page=9Finished item is on page 22 |
|
|
|
Post by shaun on May 29, 2015 16:04:04 GMT
Cheers for that trident! Yours is a cracking build! Mines not got so much attention to detail! Might give that a go, looks neat for a quick easy fix! Progress is a bit slow at the moment!
|
|
|
|
Post by Toed64 on May 30, 2015 9:03:07 GMT
I didn't want the tether flapping around outside. My early Eunos filler neck has an easy tethering point inside the neck. I used a large cable tie - it slides neatly through the slots in the steel neck and can't come free as the cable tie female end cannot pull through the tether. I then screwed the tongue to the inside of the cap with a self tapper.
I'm sorry, I know that this is not a very clear explanation, but I really can't be bothered to muck about with uploading photos to photobucket etc... Uploading photos to this site seems such a faff - surely it wouldn't be too much hassle for proboards to write some code to allow images to be pasted in?
|
|
|
|
Post by shaun on Jul 1, 2017 20:03:50 GMT
Hi everyone, I know it's been a while....2 years I think, lots of stuff has happened, just sadly not with the car! But trying to get back on it, last week or so I made the cable tray...cut the passenger footwell/bulkhead and gearbox tunnel, now looking at the wiring, and this is where it all goes a bit...well wrong, I either A. Didn't mark half of it, or B. Used a pen which just rubbed off on half of it, I suspect a more than b, but I thought I marked more than I have  I have a few plugs on the rear loom that I'm unsure of at the moment... there is this one....  Wild guess this one was speakers?(*EDIT: changed my mind, the red/blkwire come from the 2 pin connector from near the batter terminal, if that's where it plugs in anyway!, I'm so lost!) It's near the plug that plugs in by the battery terminal? Please correct me if I'm wrong, as I want to chop them out if possible colours blk/grn, blue/blk, red/blk, and grn/yel Then this...  is violet, red/white and black, got the impression this was rear window heater/defogger? Then this...  this is right next to the number plate light connector... and finally...(for now) there is this...  This is near the near side light cluster connector (antenna/Ariel?), hoping one of the last two were for the fog light? Any identification would be brill! Also, someone on here ages ago posted a link to a wiring diagram with the plug identifier on...showed you the shape of the plug and what colour wires went where? If anyone has a copy of that, then that would be great to... Anyway, hope everyone has been getting on better than I have, here's a picture of the cable tray...just for good measure,   Time is quite limited for me, but still hoping to make progress, thanks for any help in advance! |
|
|
|
Post by gwnwar on Jul 2, 2017 5:14:46 GMT
|
|
|
|
Post by shaun on Jul 2, 2017 5:47:56 GMT
Fantastic, thank you very much just what I've been searching for for the last couple of days, the last connector I do believe is fog lights according to the plug identified, and I believe the others I can rip out so that's 1 place to start! Thanks very much
|
|
|
|
Post by gwnwar on Jul 3, 2017 4:46:13 GMT
When cutting your wires out trace the wire from one end to the other.. open the harness up.. if the wire splices with another and then keeps going it may be power to something you want to keep. of if a black wire a ground wire for other things. When cutting at a connector or splice leave an inch or two. in case you have to splice it back together.. Take pics of what you are doing.. Go slow check and recheck.. An OHM meter is your friend as is a test light.. Have fun step away when you have had enough go back later..
|
|
|
|
Post by shaun on Jul 5, 2017 5:46:50 GMT
Hi everyone and thanks again to gwnwar for the link to the diagrams, cut the rear loom down to the essentials, I think anyway! Conduit was a tad on the small size...but hopefully done now, here's a quick pic  masking tape was just to hold the conduit together and to stop me pulling the wires back out Having trouble with the fuel tank at the moment, but trying to think of a way to overcome...the drain plug is touching the chassis, but then the sender/pump connector is also hitting the tank cover...so not to sure what to do at the moment! I'm convinced my tank is bigger than everyone else's! Haha worst case I suppose is have to turn the tank around and make some mounting brackets! |
|
|
|
Post by miket on Jul 5, 2017 8:19:51 GMT
As far as I know all NA fuel tanks are the same (ie 1.6 & 1.8) so odd that yours is hitting chassis. 60mm spacers sounded a bit too long (I used 52mm I think) so that's even odder. Assume the problem you're seeing is when the fuel filler is in the LH rear corner of the car?
If you haven't done it already, you could save a few mills at the top of the tank by moving the vent/valve to the underneath of its bracket?
|
|
|
|
Post by shaun on Jul 5, 2017 12:43:36 GMT
Hi miket, thanks for reply! I have 55mm spacers now, trying to cut them down to 45.... have a small gap, but was hitting the sender plug by a long way...will try to get some pictures later...I have my fuel filler welded to the top of the tank, as was trying to make it a bit easier may have to just scrap that idea and buy a new tank, or turn it around, not sure yet! Another option I have thought of is cutting a hole where it's hitting and then put an air scoop or something over it? Not sure yet
|
|