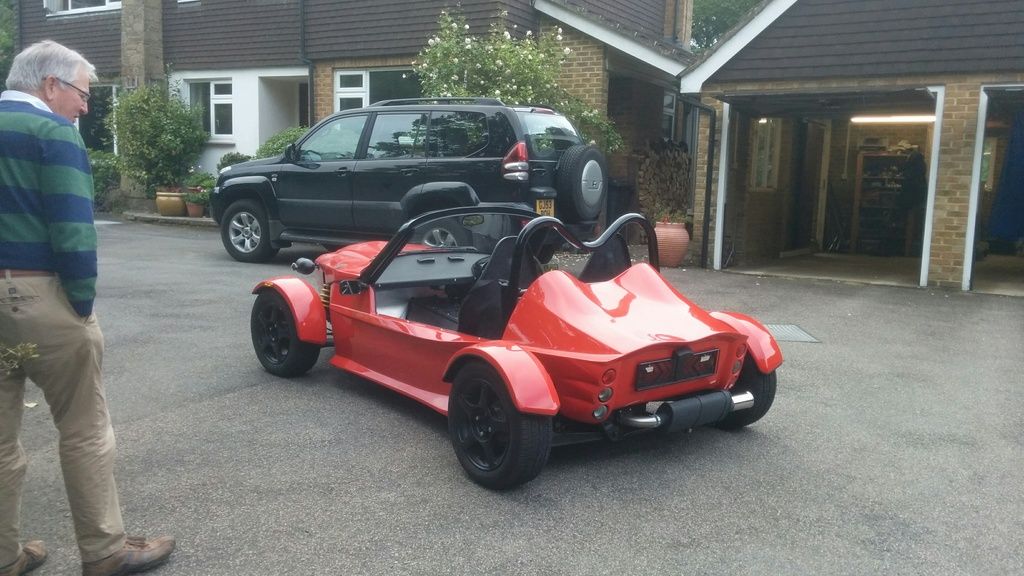
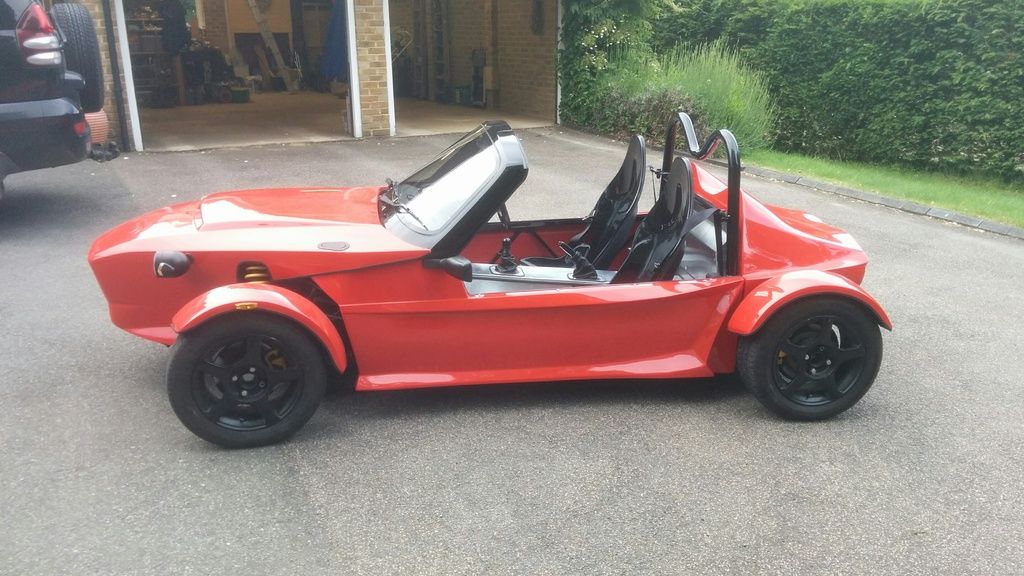
As promised, here is a bit of an update on what's happened since my last post. When I last updated, I was having electrical starting problems. In the end, after a lot of head scratching and googling, it turned out to be a faulty coil pack, and swapping it out got the engine running again.
With that bit of good news, I made a start on fitting the interior panels. None of these were easy, but the two particularly awkward ones were the panels separating the engine from the cockpit at the front..
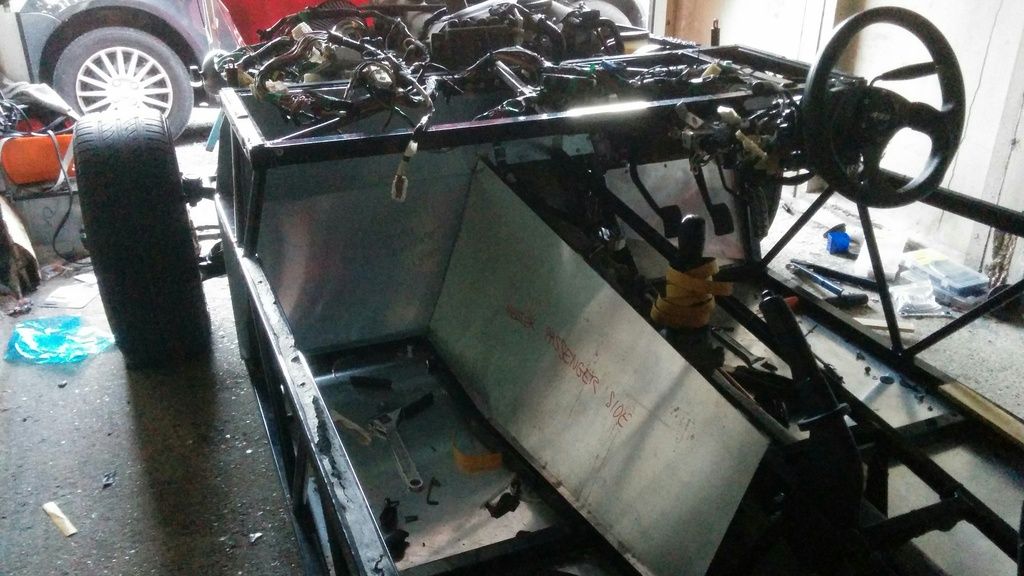
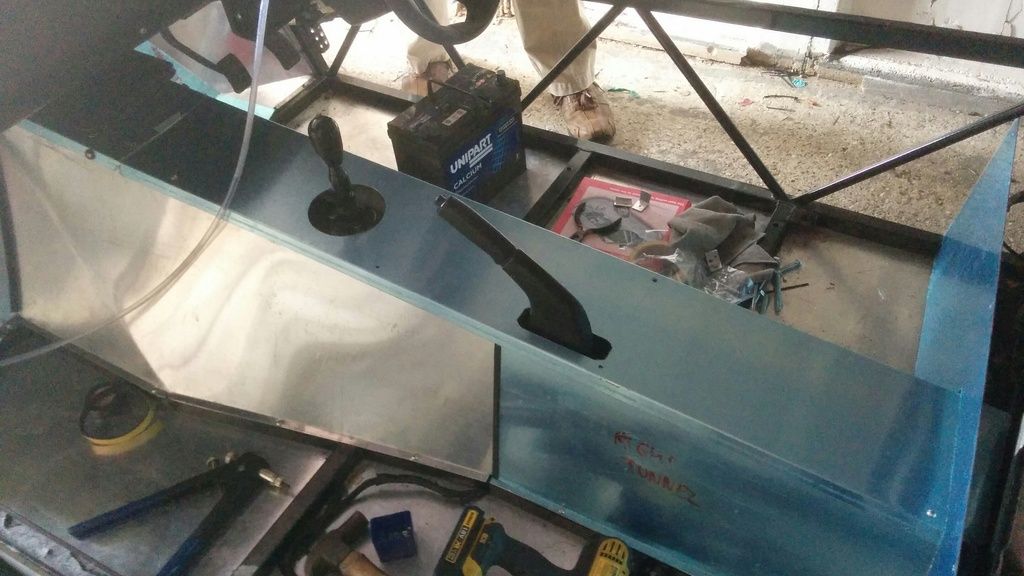
The tunnel cover which I got with the kit came in two parts, one short and one long. After much deliberation I decided to put short one at the front as it is less noticeable, especially if at a later date I decide to make a centre console to hold USB chargers etc.
Next was time to start thinking about windscreen heaters. As per the demo build, I bought two small cab heaters and mounted them to bars under the dashboard. It was only after this, and after cutting the holes in the dashboard that I started looking for a replacement windscreen to replace the one which had cracked down the middle - it turns out that you can get heated variants! I don't know how that would go down in the IVA, but it seems like a neat solution to me. For the time being though I'll stick with what I've got.
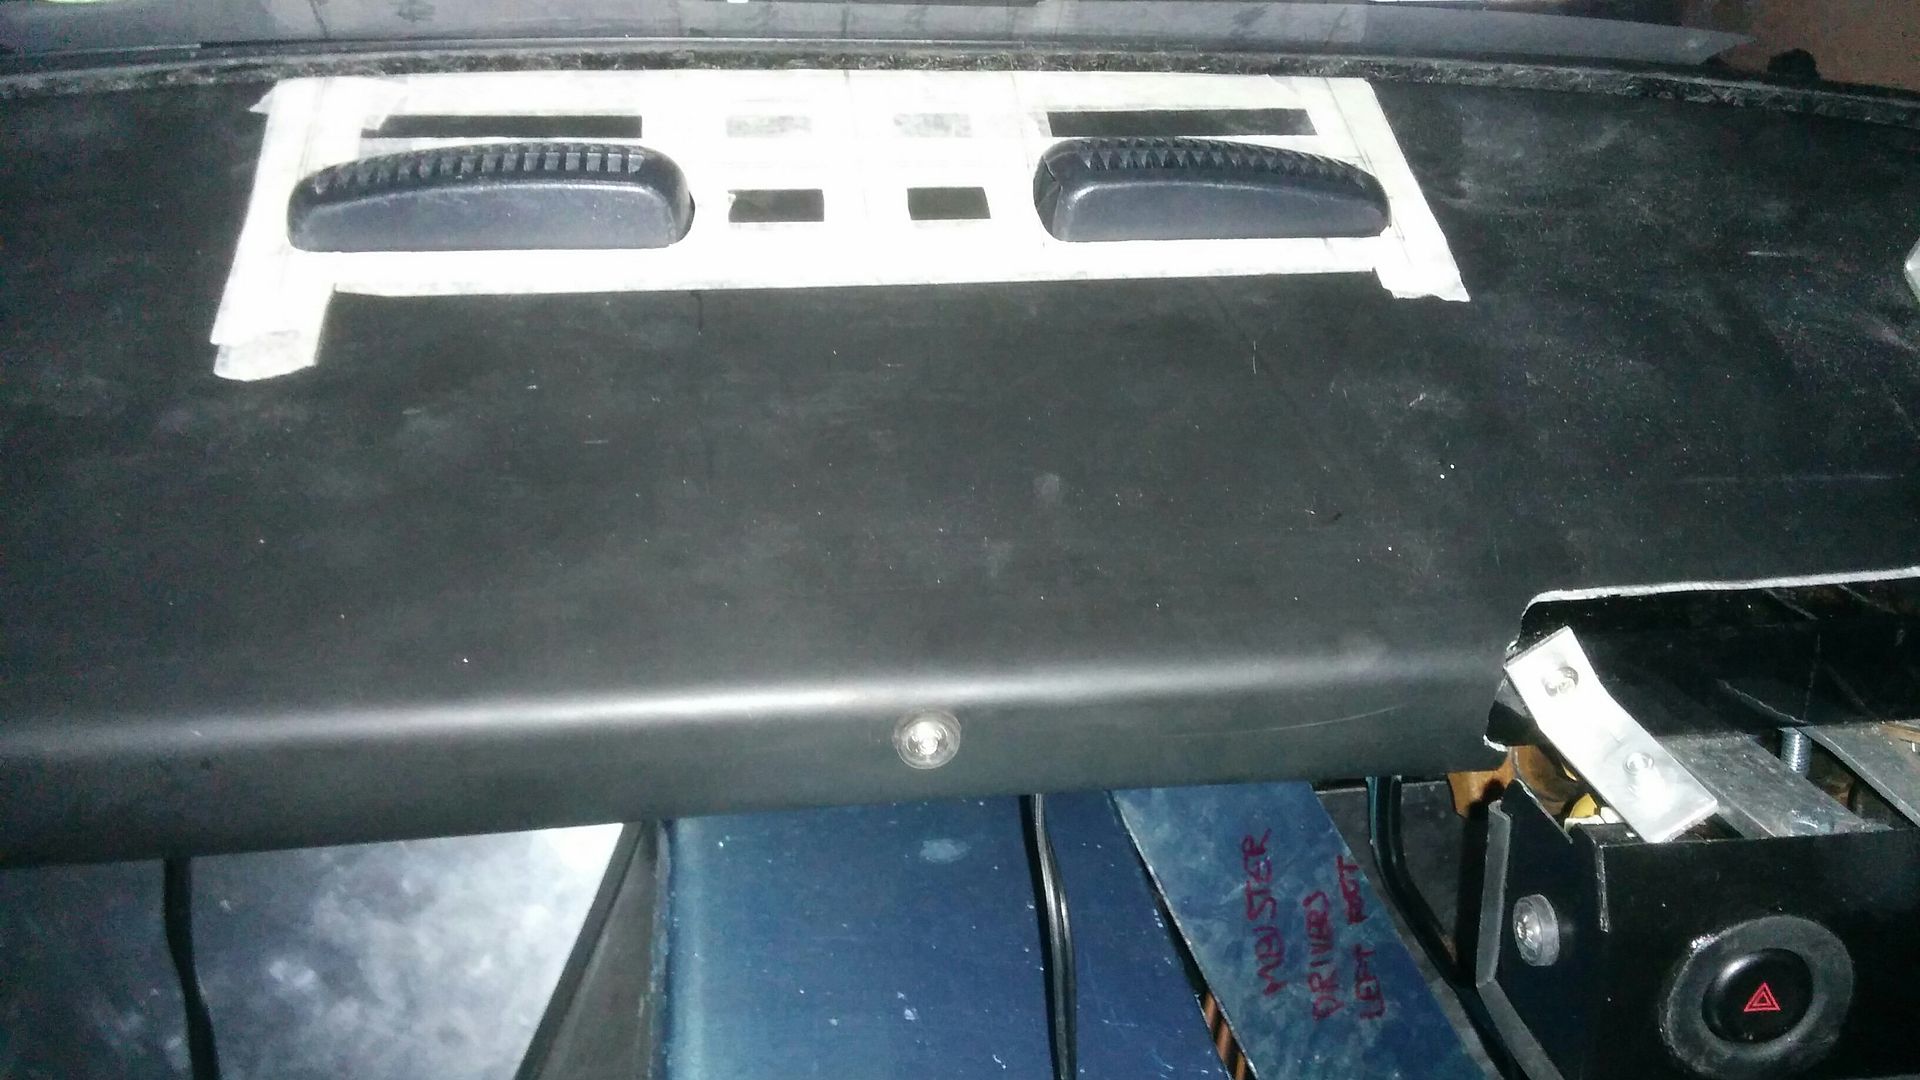
It was at this point that I changed jobs and where I was living from Newbury to Birmingham. My new job was not going to be permanent, so instead of finding more lockups in Birmingham to use once I had given notice on those in Newbury, I decided to move the car to my parent's in Kent.
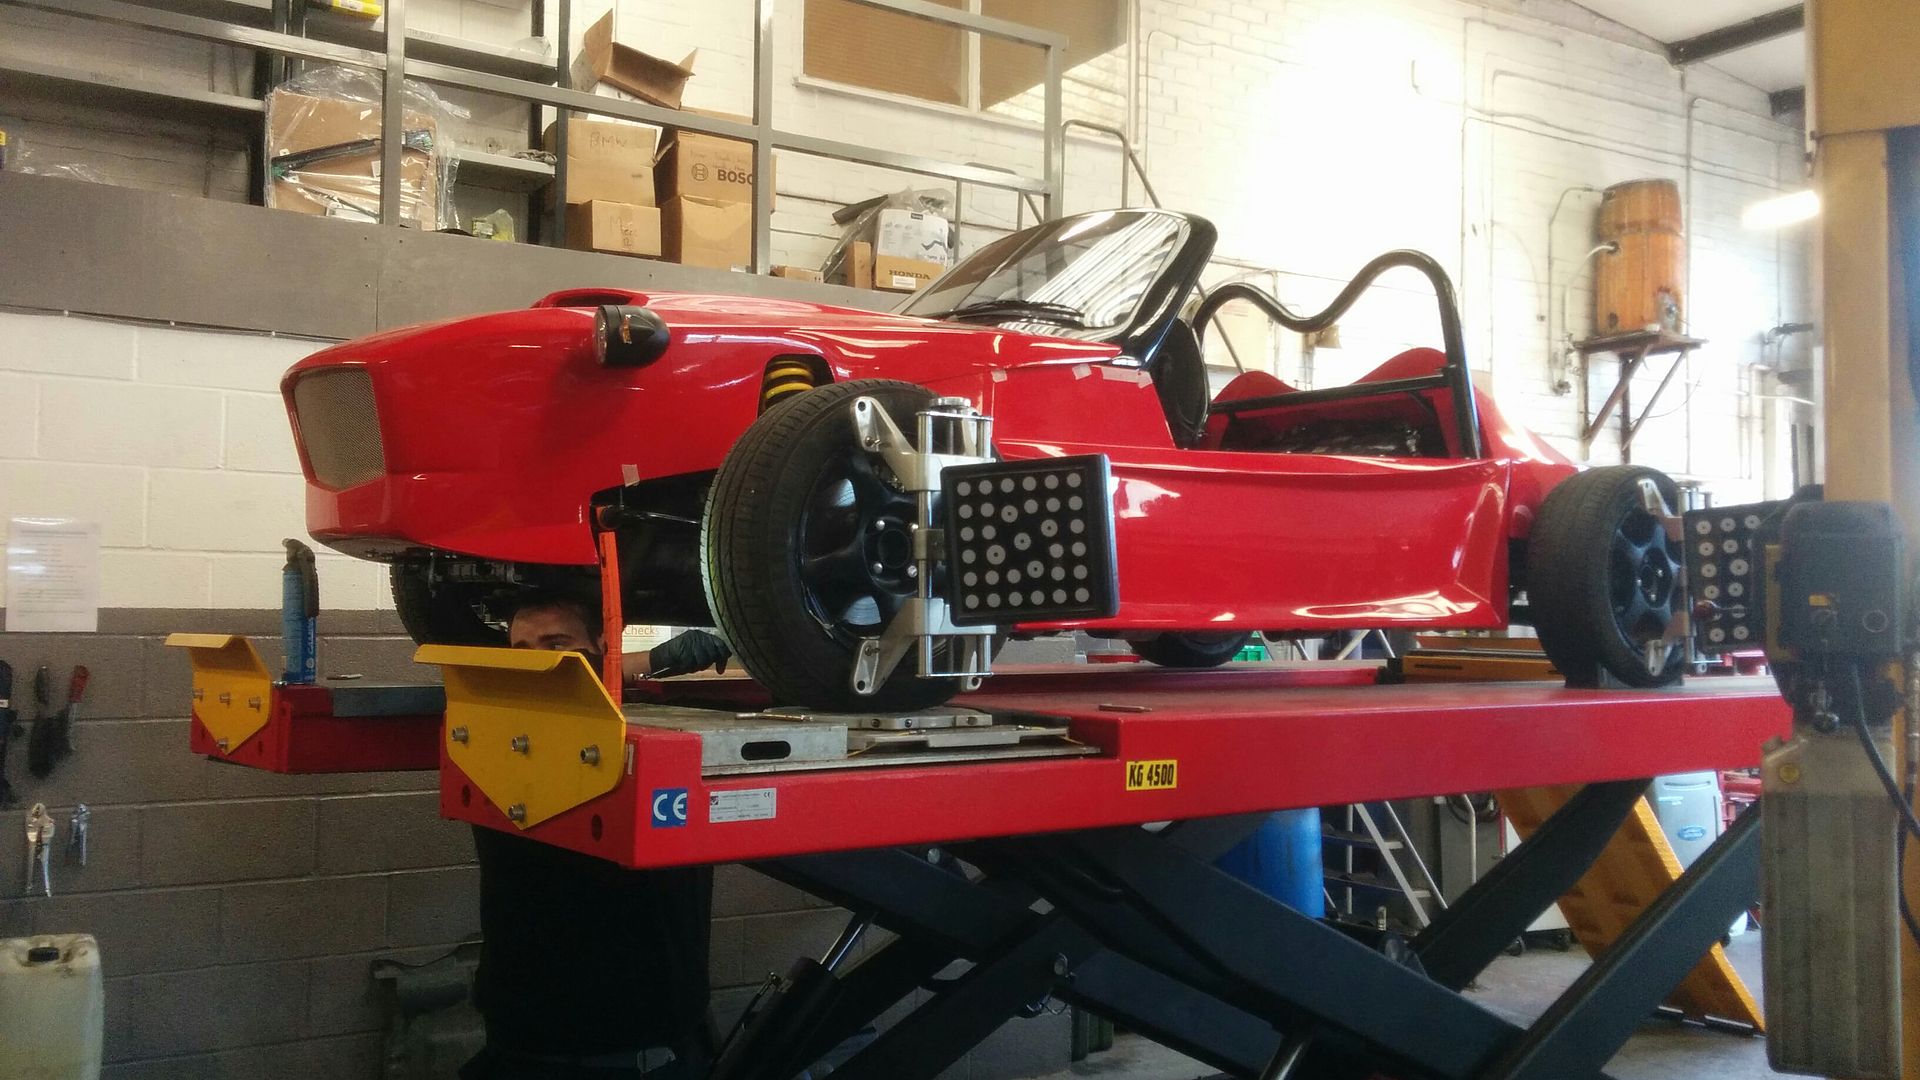
Since I hada trailer anyway, on the way to Kent I stopped had a full geometry check/set up done.
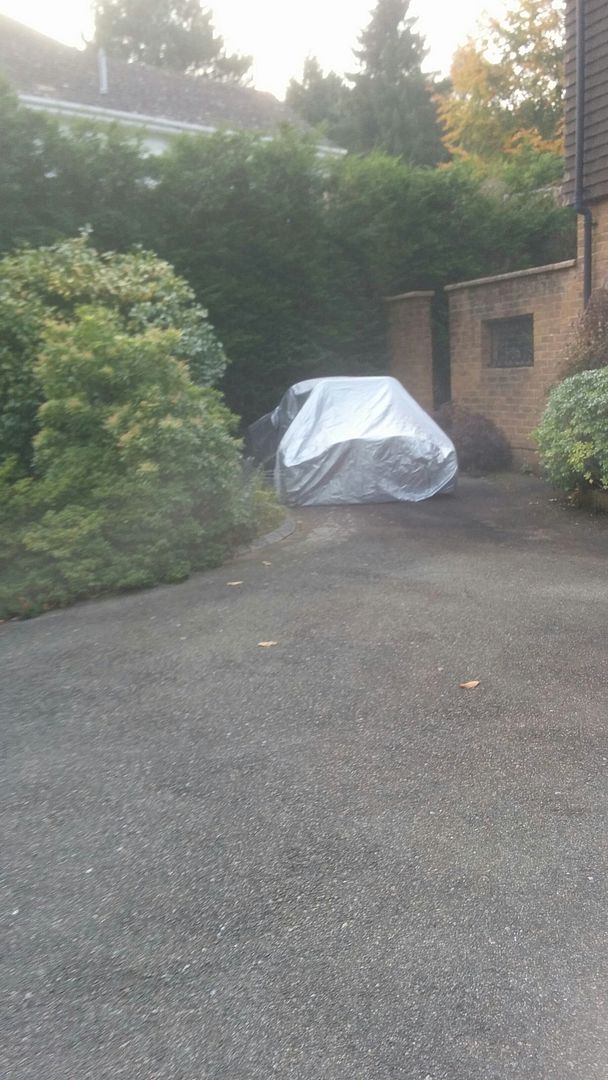
Once the Mevster arrived in Kent, unfortunately I wasn't able to blag it a spot in the garage. Instead I got it a cover made for the Lotus Elise - as the pic below shows it's slightly baggy in the rear, but otherwise it fits well.
At this point progress slowed, as I went from 2-3hrs a day during the week plus most weekends, to just weekends. On the other hand though I was now able to use power tools, which to an extent balanced things out.
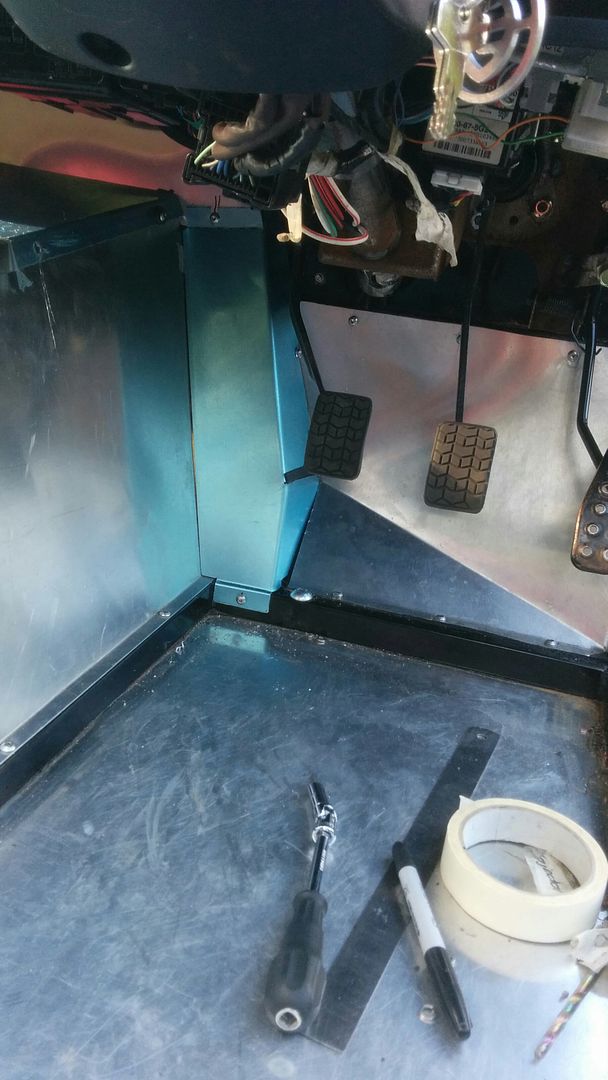
Next on the list was the driver's left foot plate. I had spent ages scratching my head over the one supplied in the kit, but I just couldn't get it to fit. Instead I created the one shown below from a cardboard template - it's the perfect size for my foot and doesn't foul at all with the fuel/break lines. (Note that the edge in contact with the tunnel was trimmed later to prevent vibration etc.
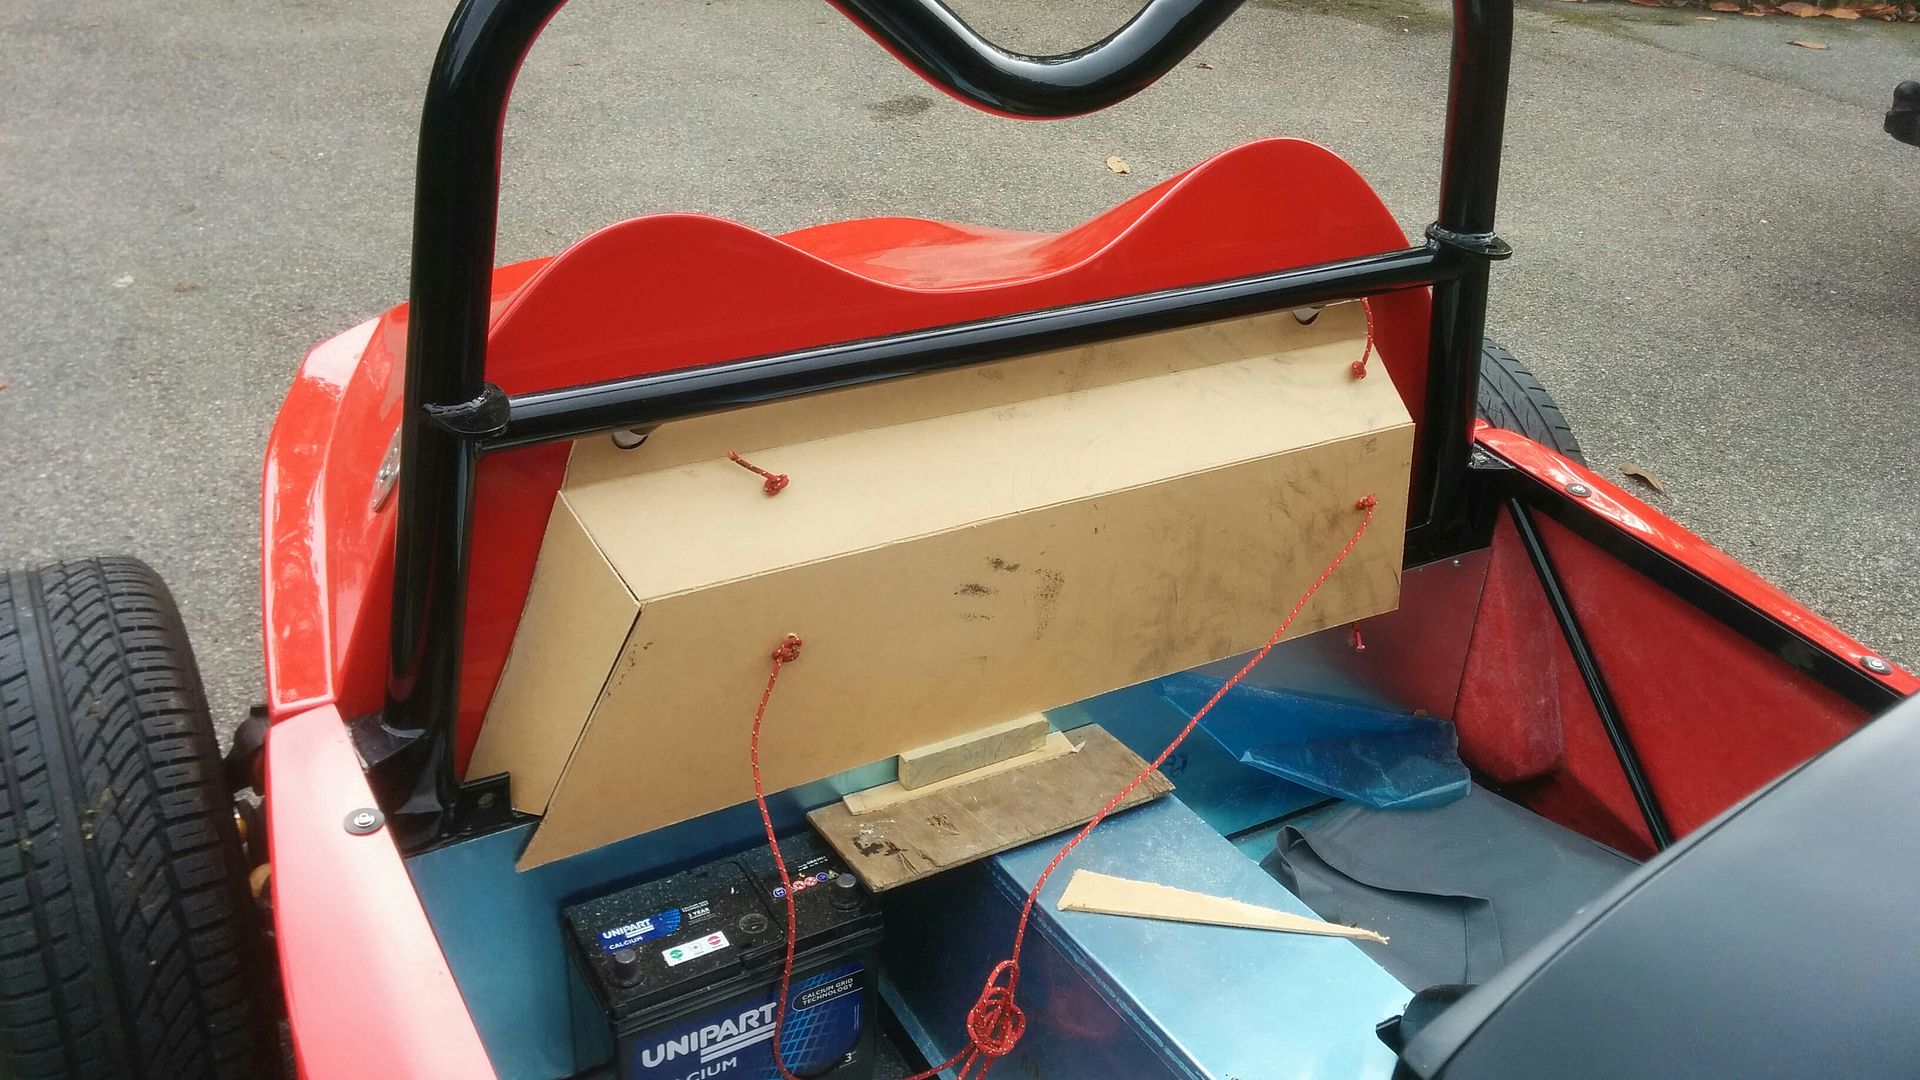
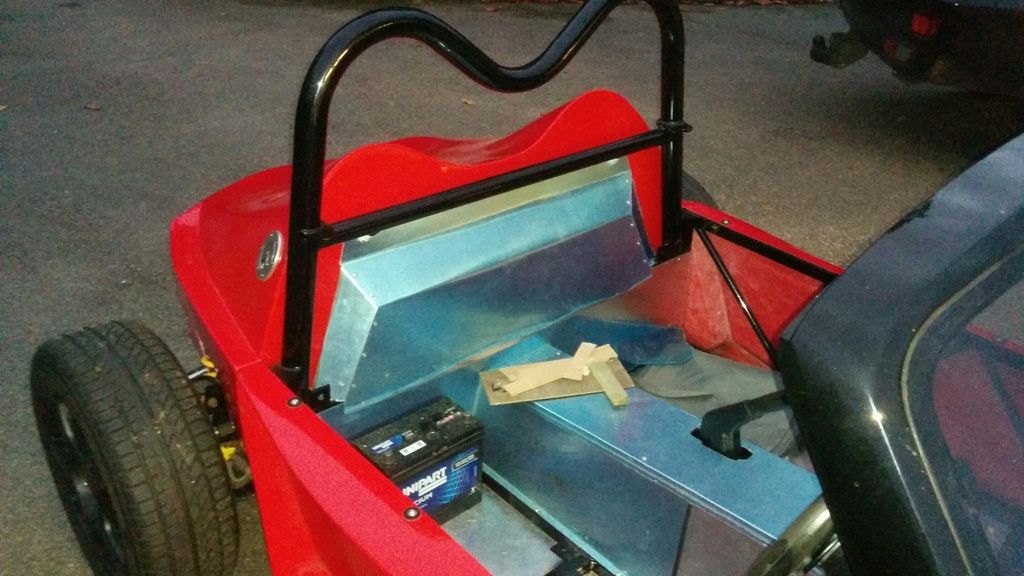
From there, carrying on with metal fabrication, it was onto the rear firewall. Because I decided to use the original tank an interesting shape was needed (as per the p5 build). We started with mdf that was lying around, then once that looked right moved onto aluminium.
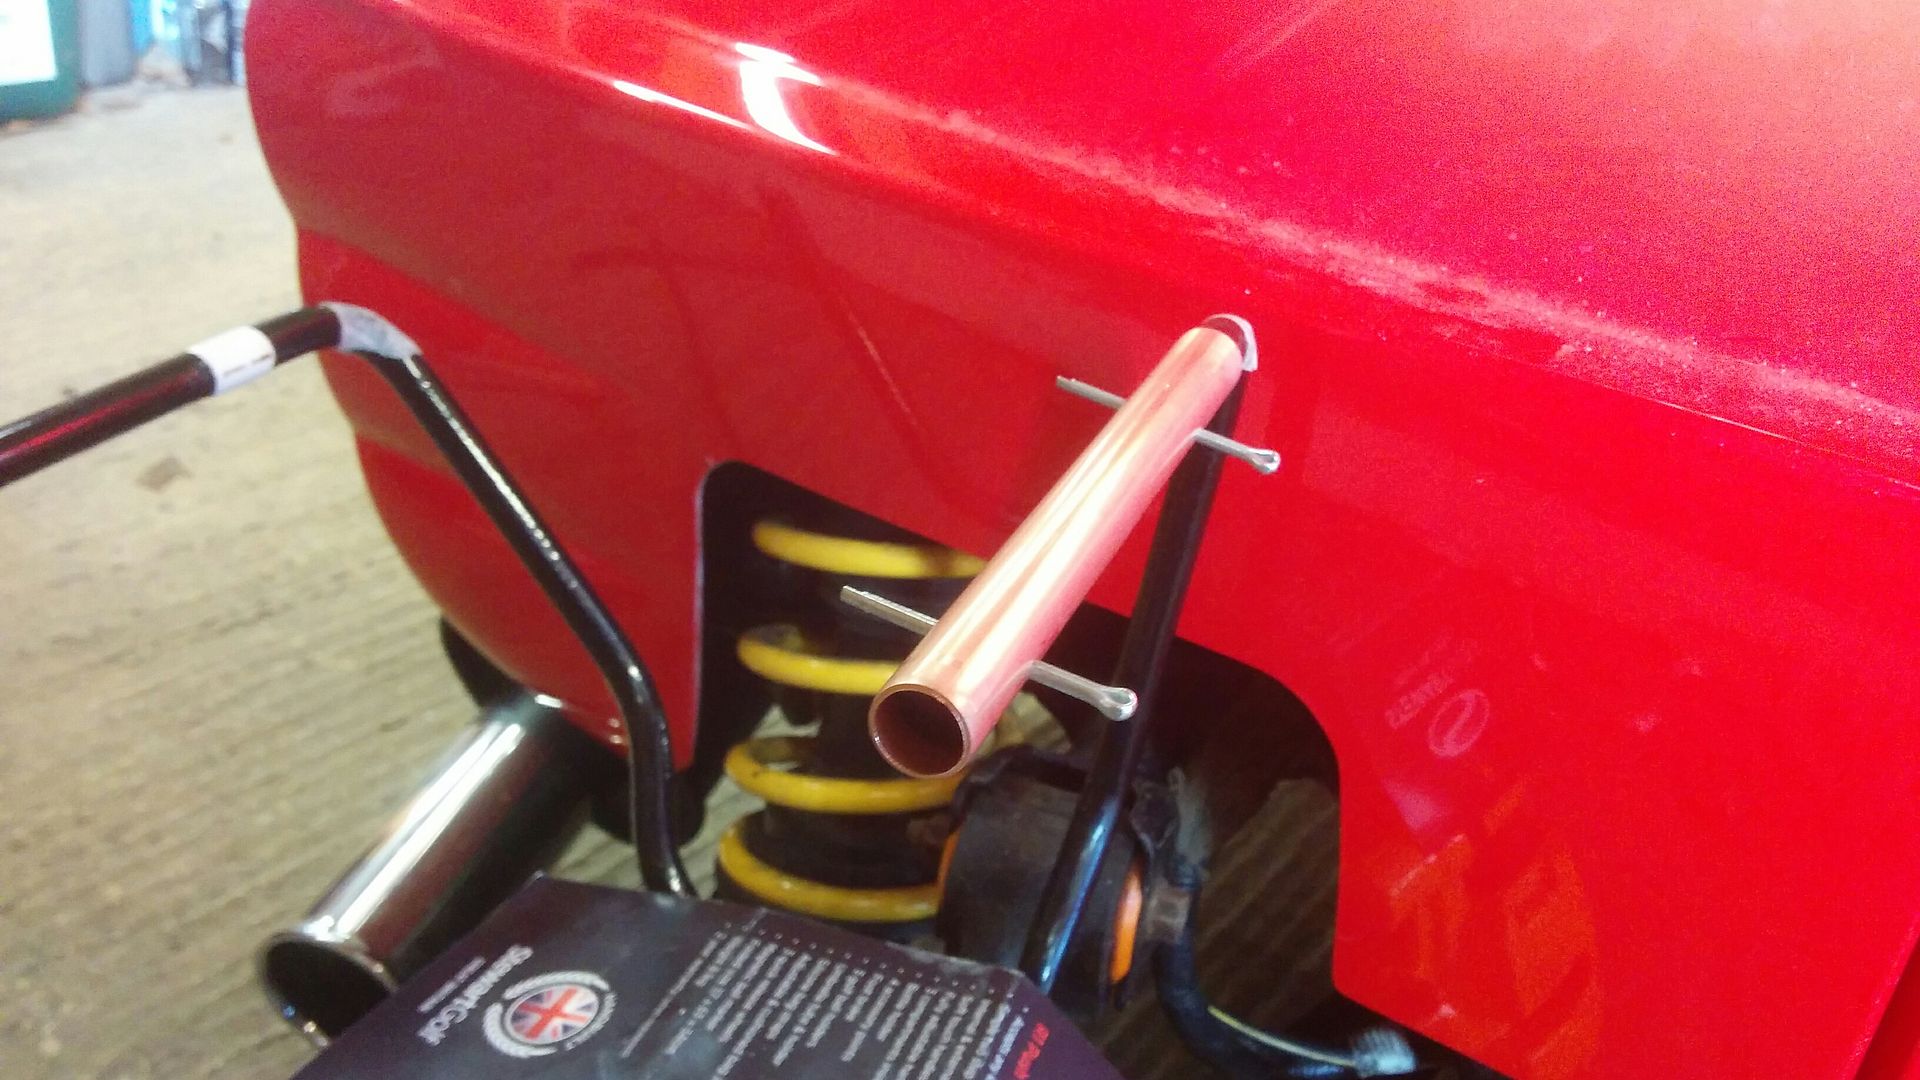
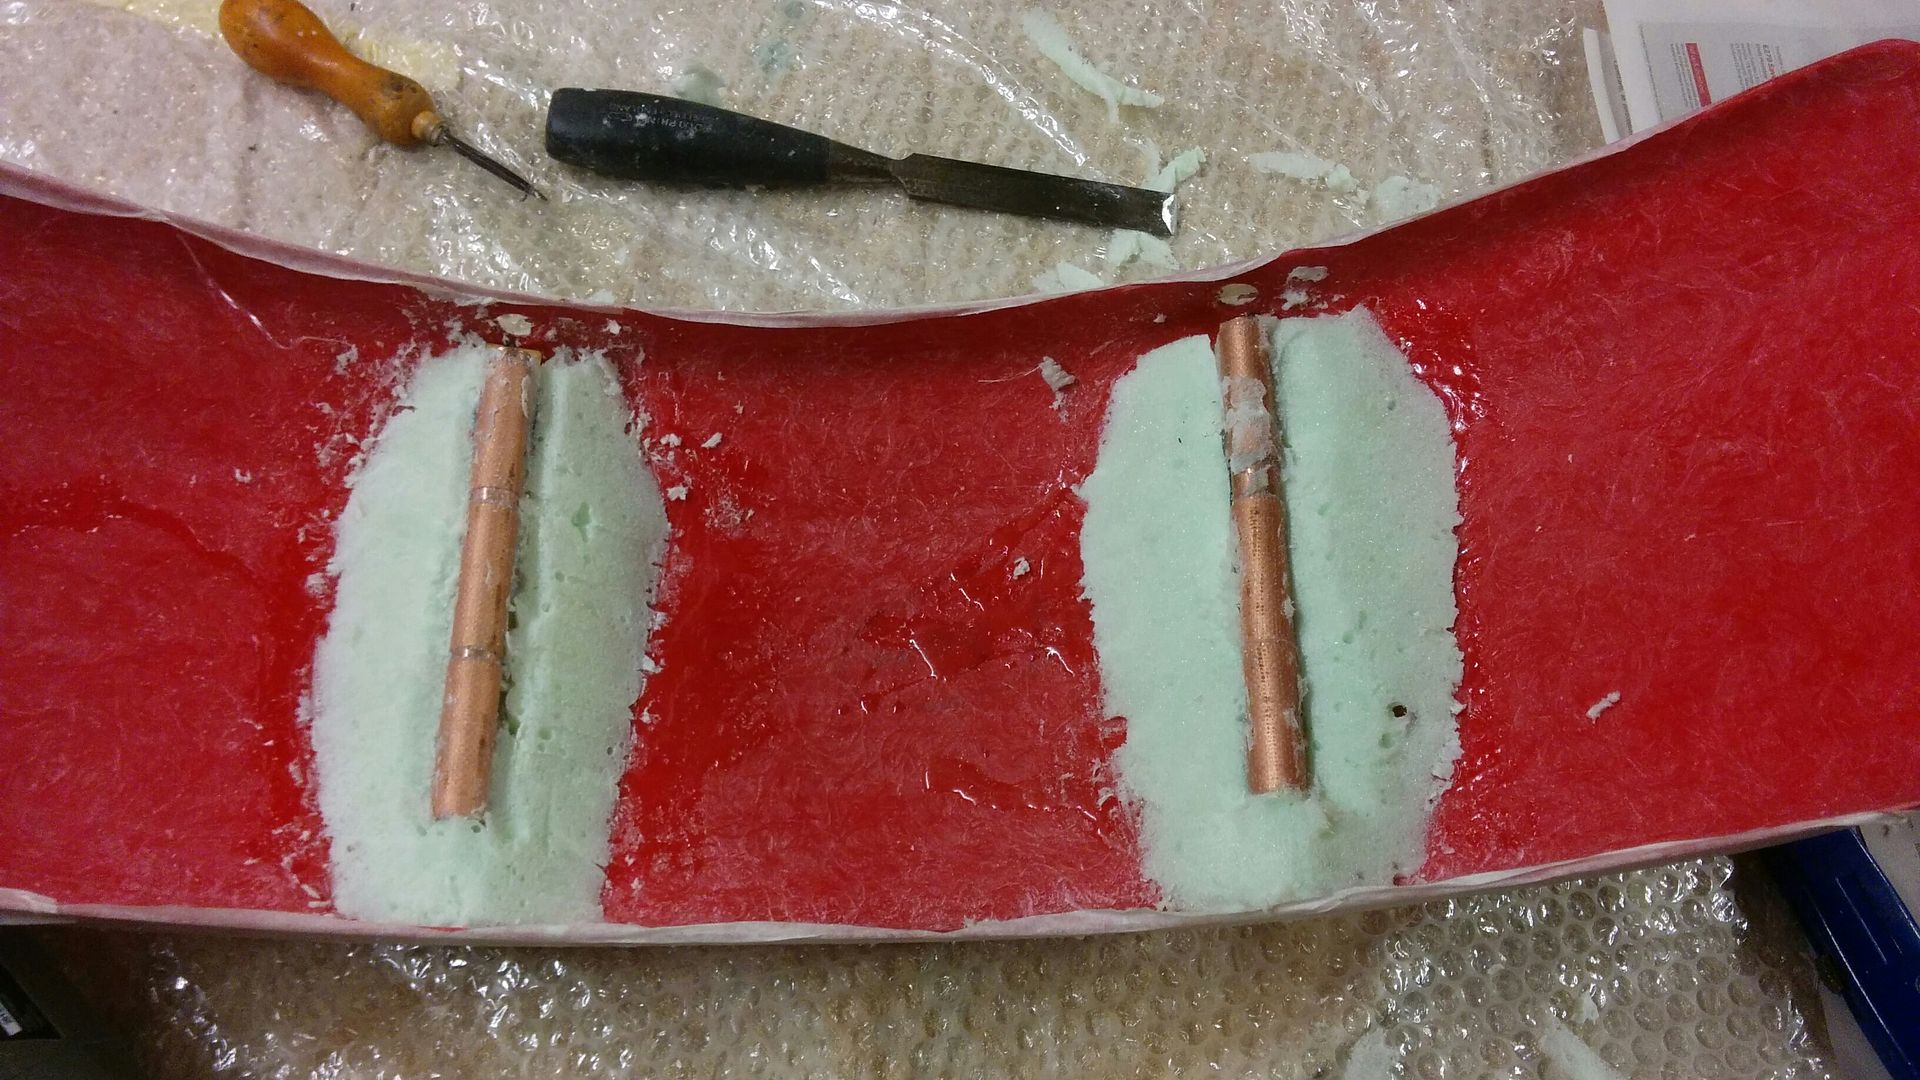
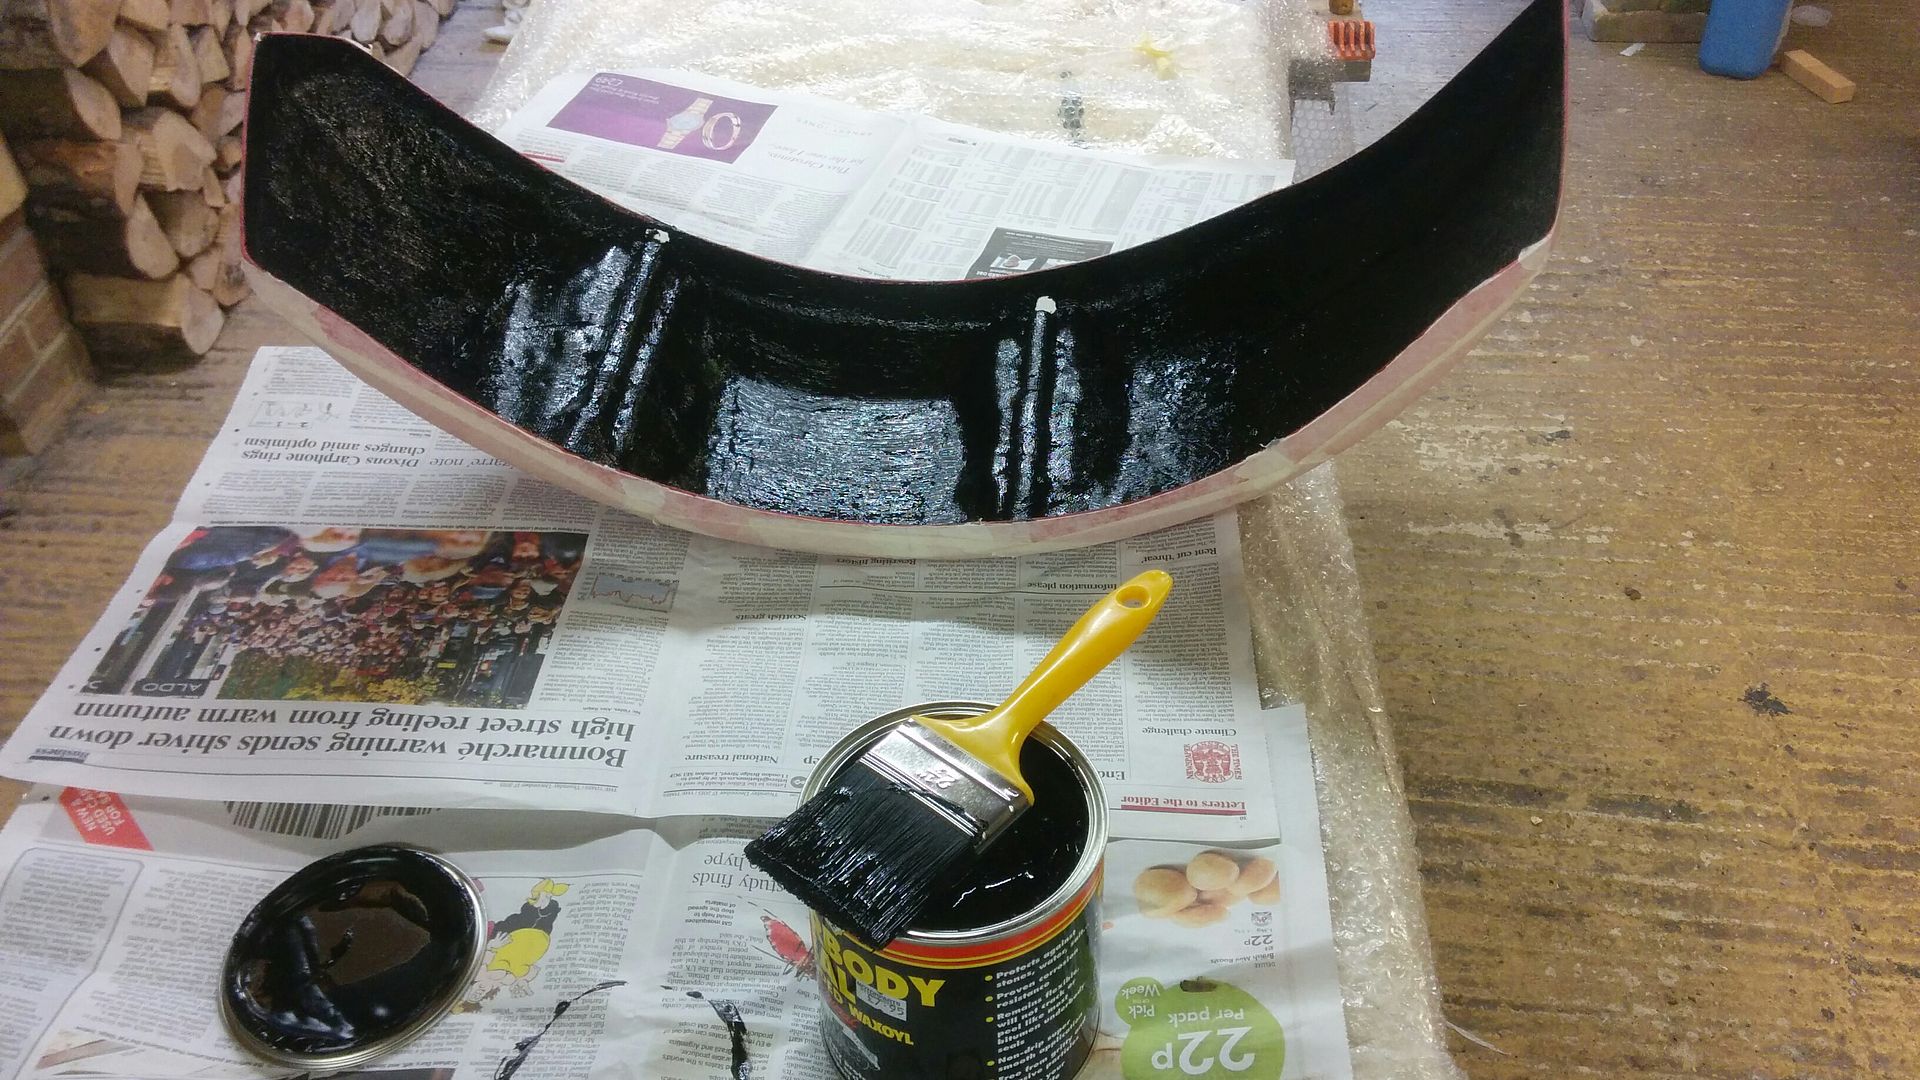
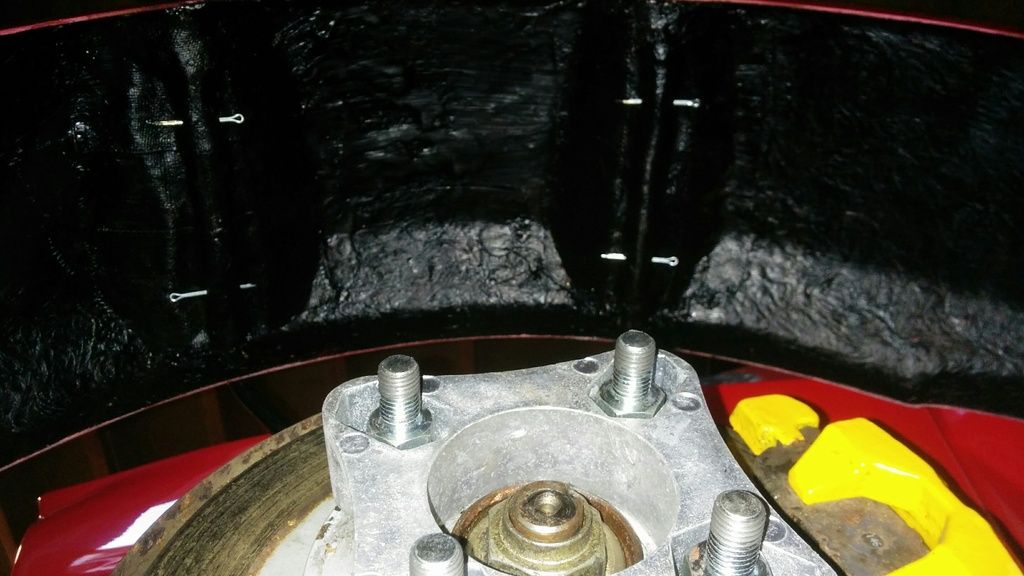
From there was onto a job that I'd been semi putting off - the wheel arches. After a lot of forum searching and pondering, we decided to mount them using a combination of wood, copper pipe, builders foam, fibre glass and split pins. Hopefully the pictures below will explain how we did it, but basically, wooden spacers were cut and glued to the inside of the arches to bring them to the correct height from the wheel. The copper pipes were then mounted to those spacers, and holes drilled through both the pipes and stays for split pins to go through (it is these split pins which hold the arches to the stays). Builders foam was used to create smooth slopes to these structures to prevent build up of dirt etc, as it is easy to shape with a knife etc. The whole lot was then covered with fibre glass to protect it. As a last touch we coated the underside of each with underseal for another lay of protection.
This method of fixing the arches is absolutely solid, and also allows for easy removal when needed - much like everything else on the car!
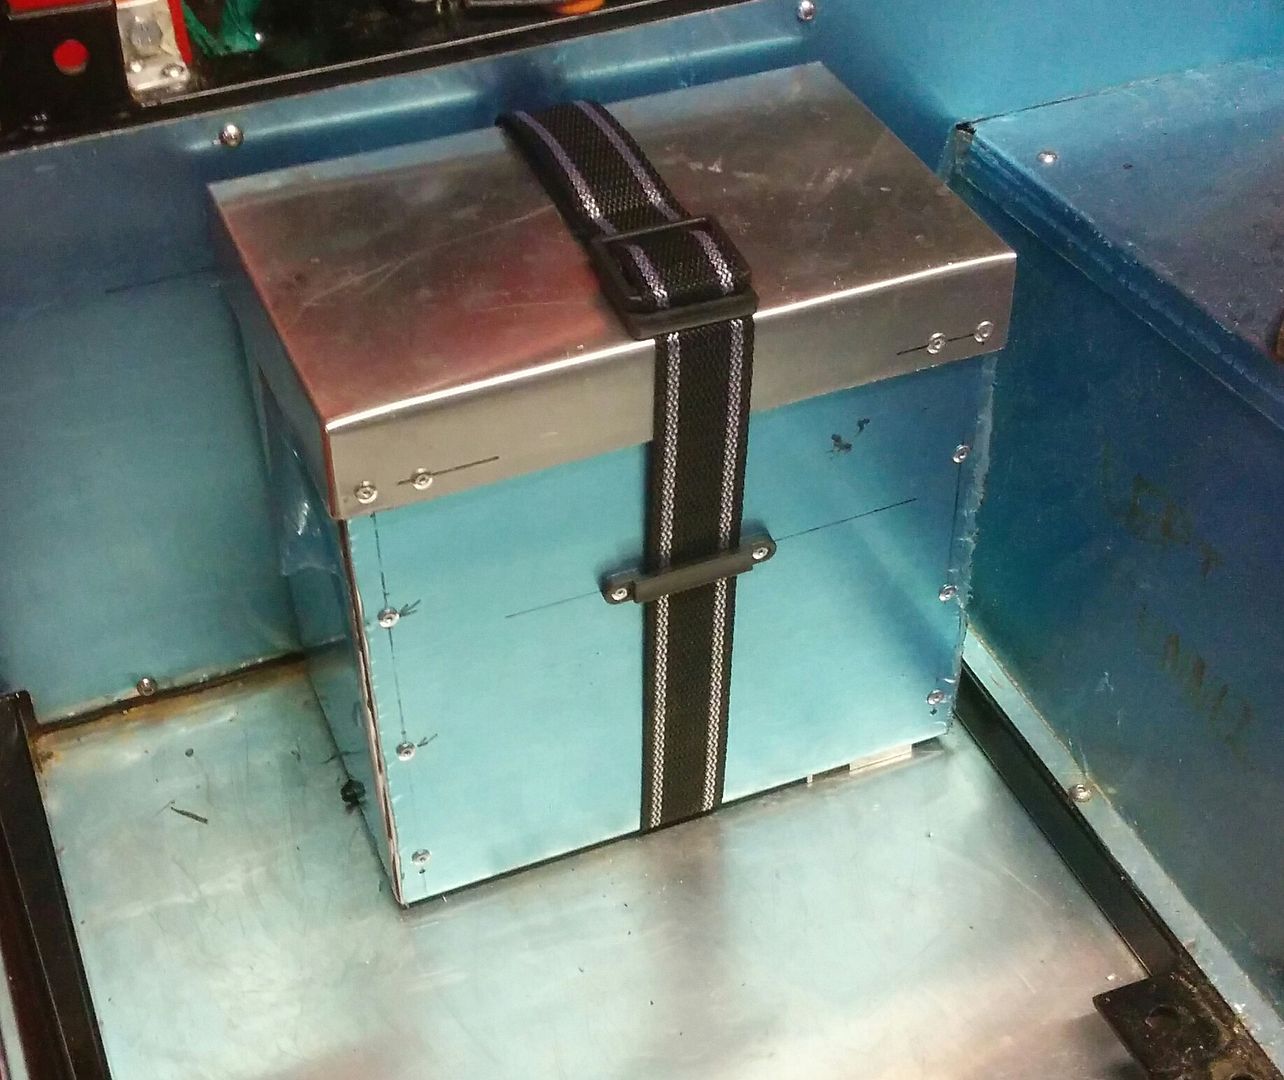
Once these were mounted (pic at the end of this post as I forgot to take any at the time), it was time to move onto the battery box. Since I've got a roof for this car and have (slowly fading) visions of using it year round, I decided that it was probably better to have one than to just bolt the battery to the car. In light of that I ended up buying two battery boxes online, one which was smaller than I expected (measurements were external rather than internal), and one which was way to big. In the end I gave up on these and decided to make one.
The box we made has drainage holes etc, and is insulated at the top to stop the battery from shorting out. Now that it's in place I actually think that it suits the car better than the plastic ones which I'd tried before.
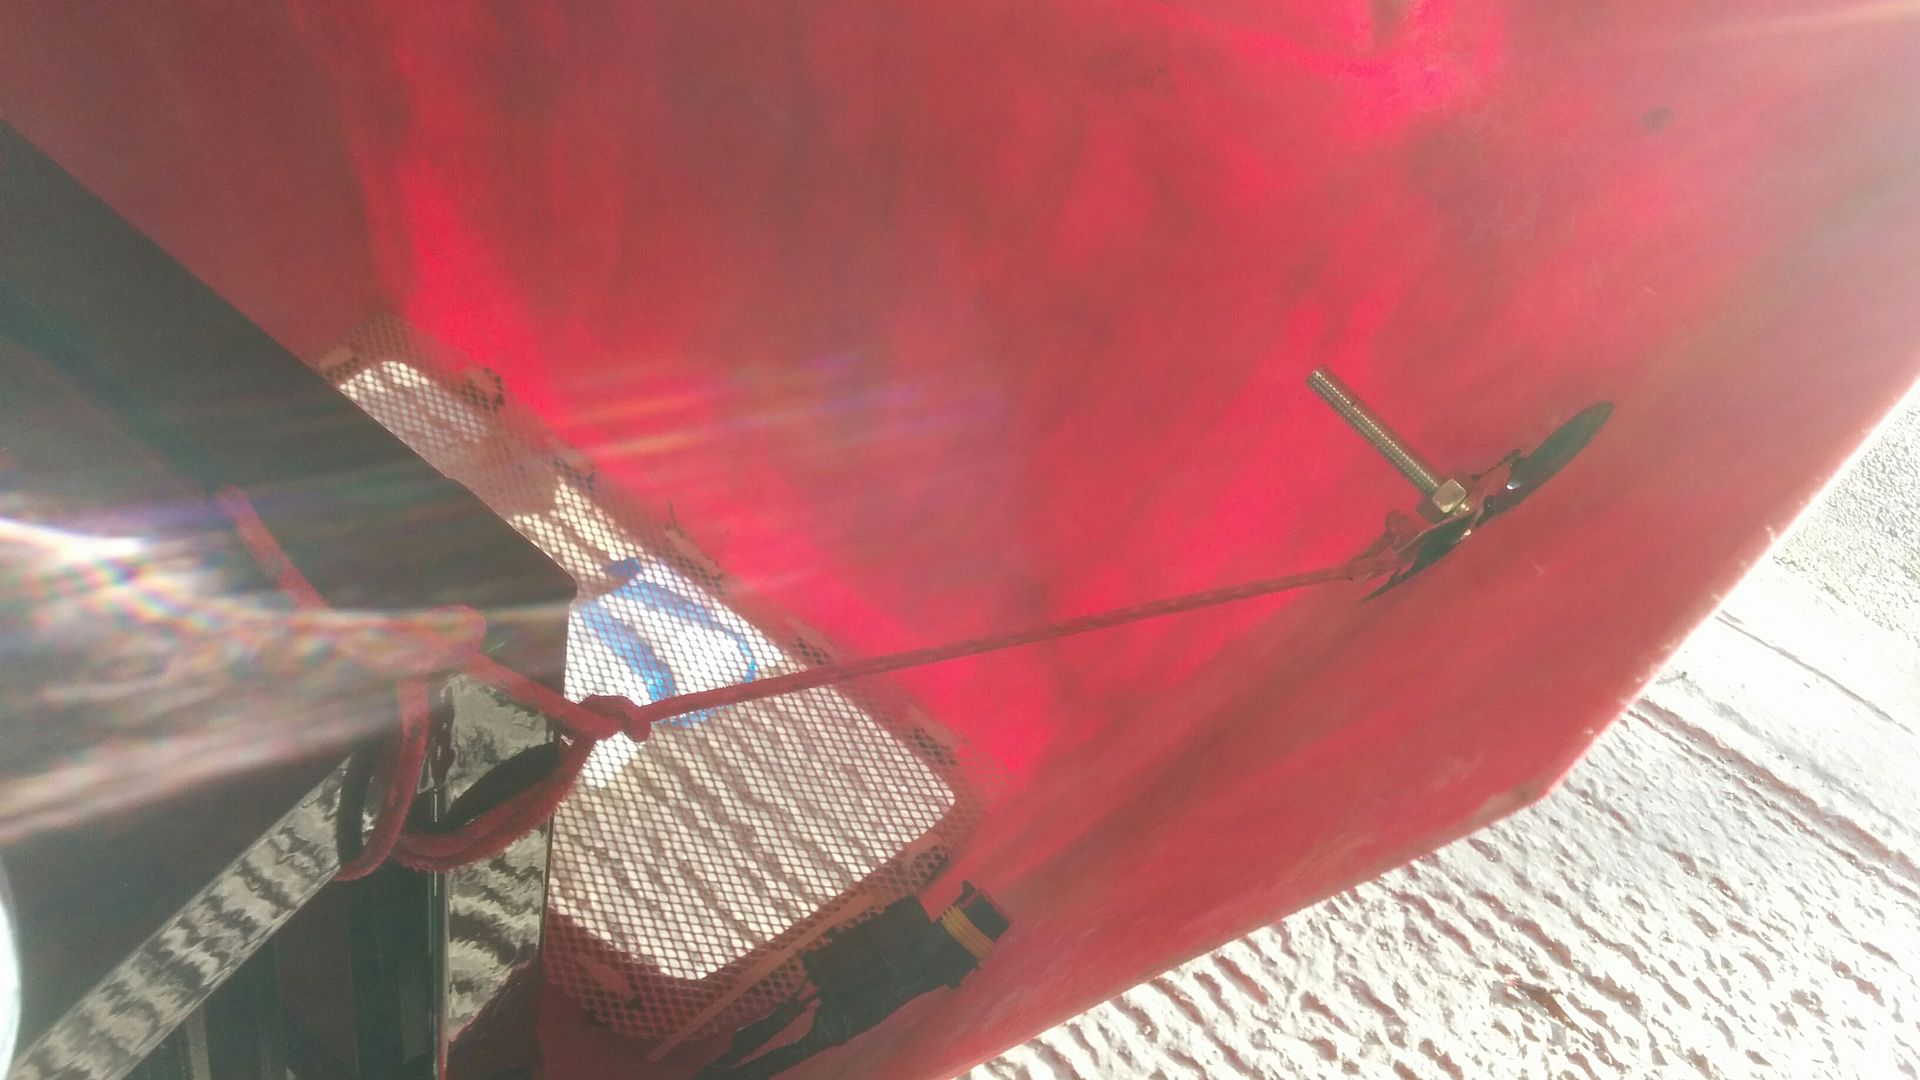
Up until now, every time that the bonnet was opened, we rested it on a brick wrapped in bubble wrap. As this didn't seem like a great long term solution we made some brackets which are held on by the light bolts, which allowed us to use colour co-ordinated rope to stop it from opening too far. The picture below isn't using the light itself, but it shows the theory, and where it attaches to the chassis.
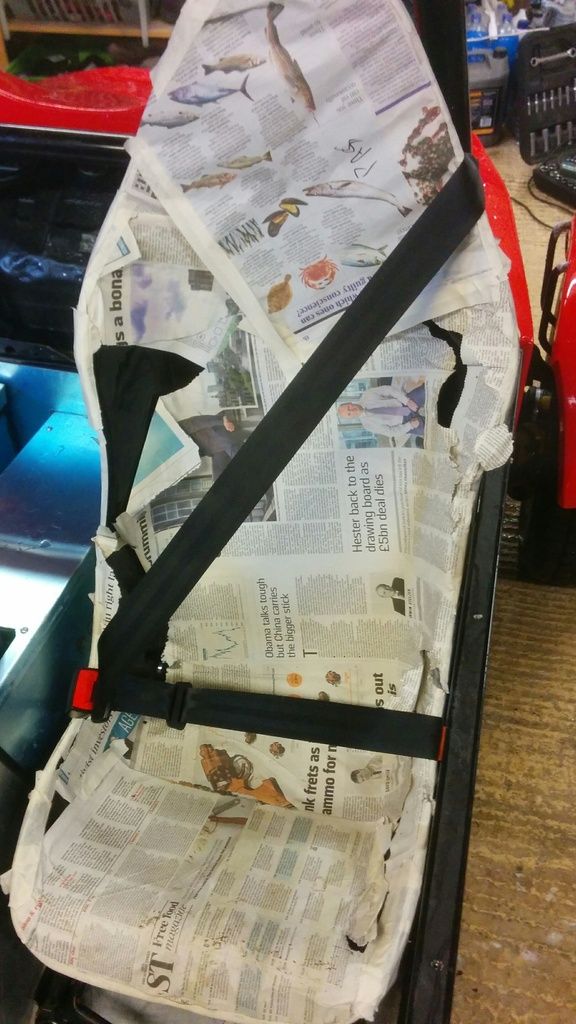
Next was seat belts and edge trim. For now I've decided to go with standard seat belts to make it easier to get into our out of the car, but this may change once it's on the road to harnesses. (The newspaper isn't permanent!)
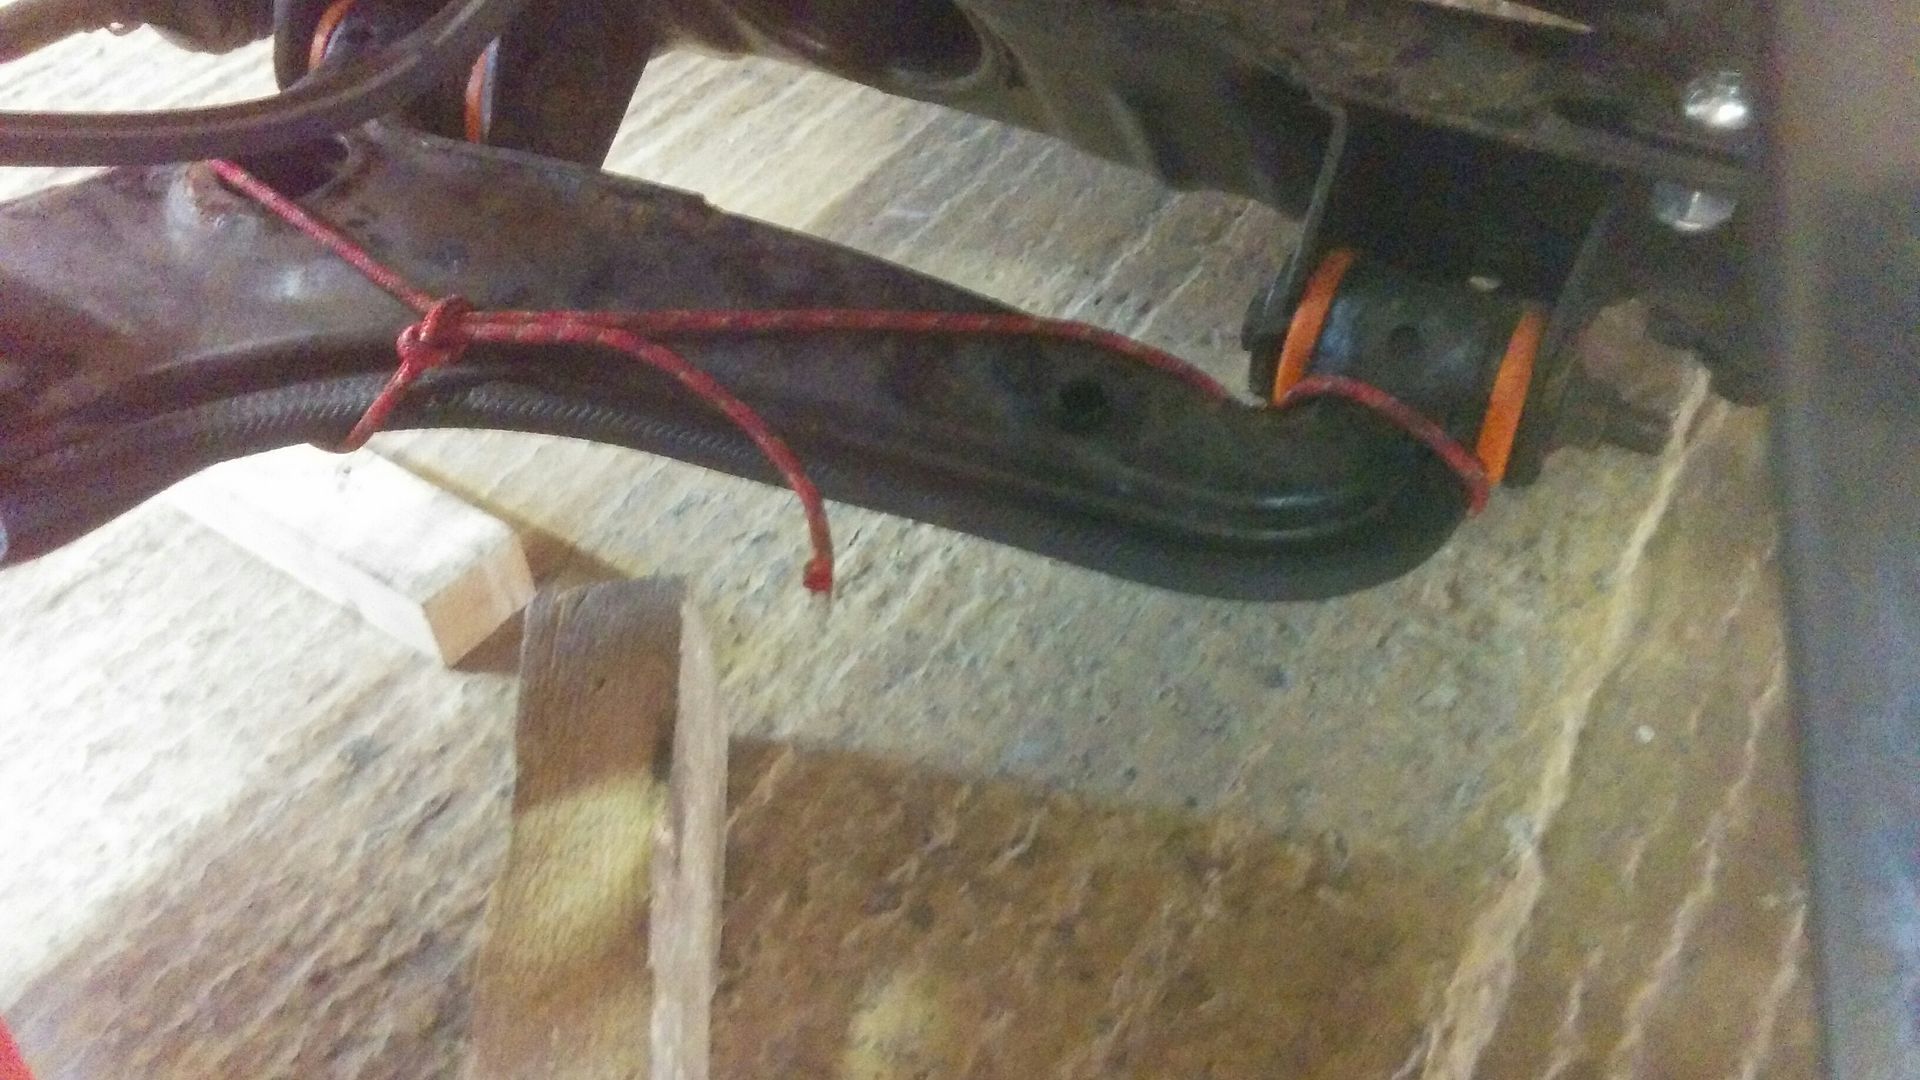
From there it was onto edge trim. Some parts, such as the wishbones, were awkward to get it to stick to, so creative knots were needed to hold it in place while it dried.
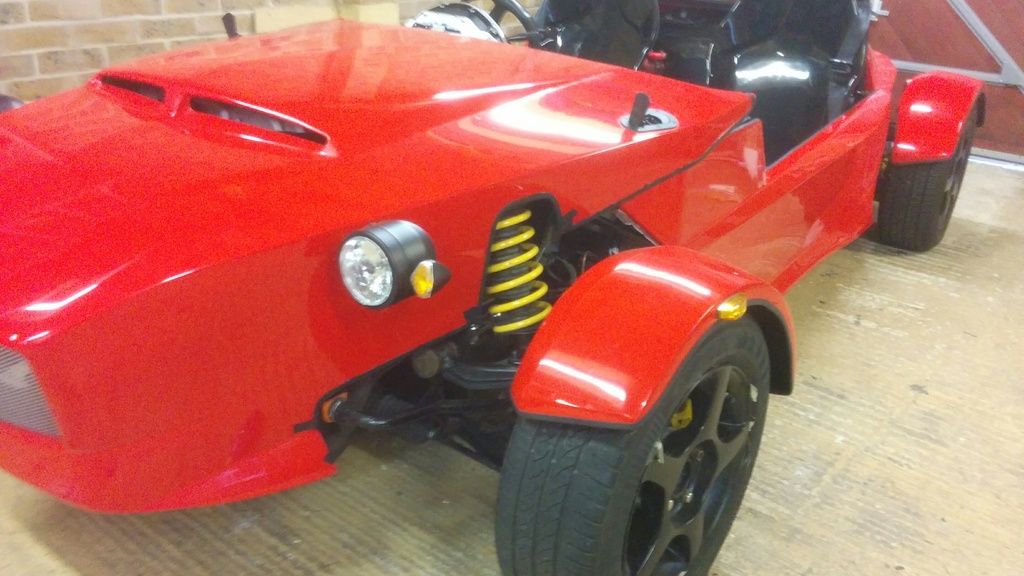
Looking at other build pics, it doesn't look like everyone trims the edge of the bonnet, but I thought that it was better to play it safe, and in the end I'm quite a fan of the black edging.
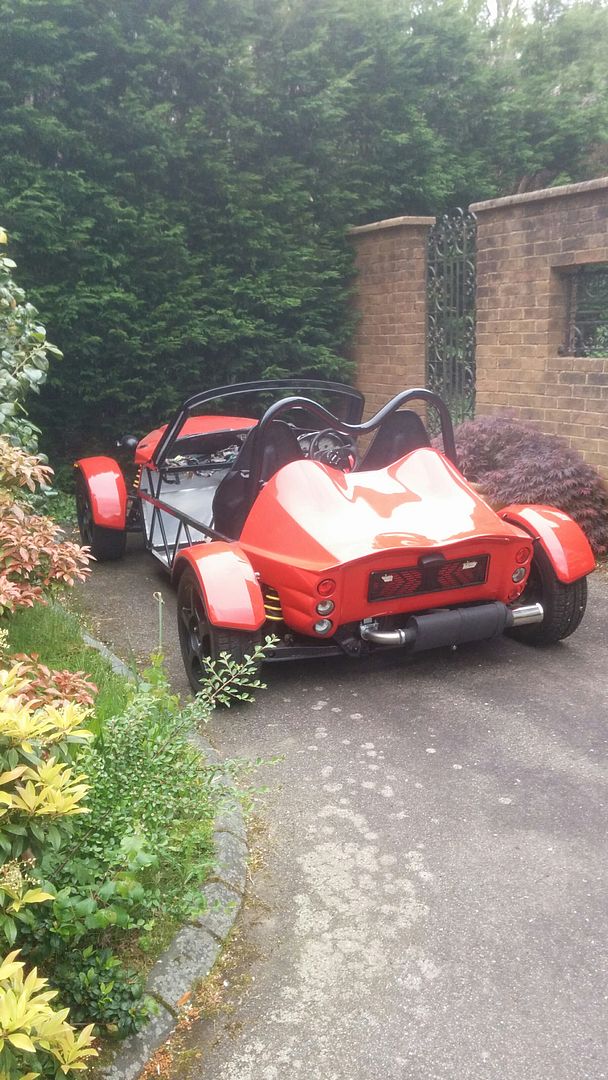
One part of the build which had always been a bit of a bodge/mess was the exhaust. I had tried to mount it just by re-using parts from the original system, and it looked rubbish and was on the piss. To rectify that we essentially re-did everything from the CAT back, and now it looks much more solid. It is a little on the loud side though, so it may be a case of suck-it-and-see for the IVA.
While the above was going on, I ended up with
another starting problem - the engine would turn, but would never catch. While it wasn't the end of the world as we could push the car into the garage to work on, it was a major barrier in terms of being ready for IVA!
This time it was much harder to troubleshoot. Running out of ideas, I asked an auto electrician to come and take a look, he suggested that the problem was either because I had an aftermarket coil pack, or if not that, a faulty ECU.
One ebay special original coil pack, and one ECU check by a repair company, and both of those theories were put to rest. For a while I thought that maybe it was some kind of Lucas immobiliser issue, but because they're linked to the ECU, I would have had to replace both at once, as well as the keys and ignition barrel.
Before going to such extreme lengths I decided to try a local mx5 specialist, who not only managed to fix the issue (faulty MAF), but also provided great service picking up and dropping off the car in their lorry.
I really can't recommend these guys enough, so if anybody in Kent needs a hand/work done, then head over to
www.kentmx5.co.uk/.
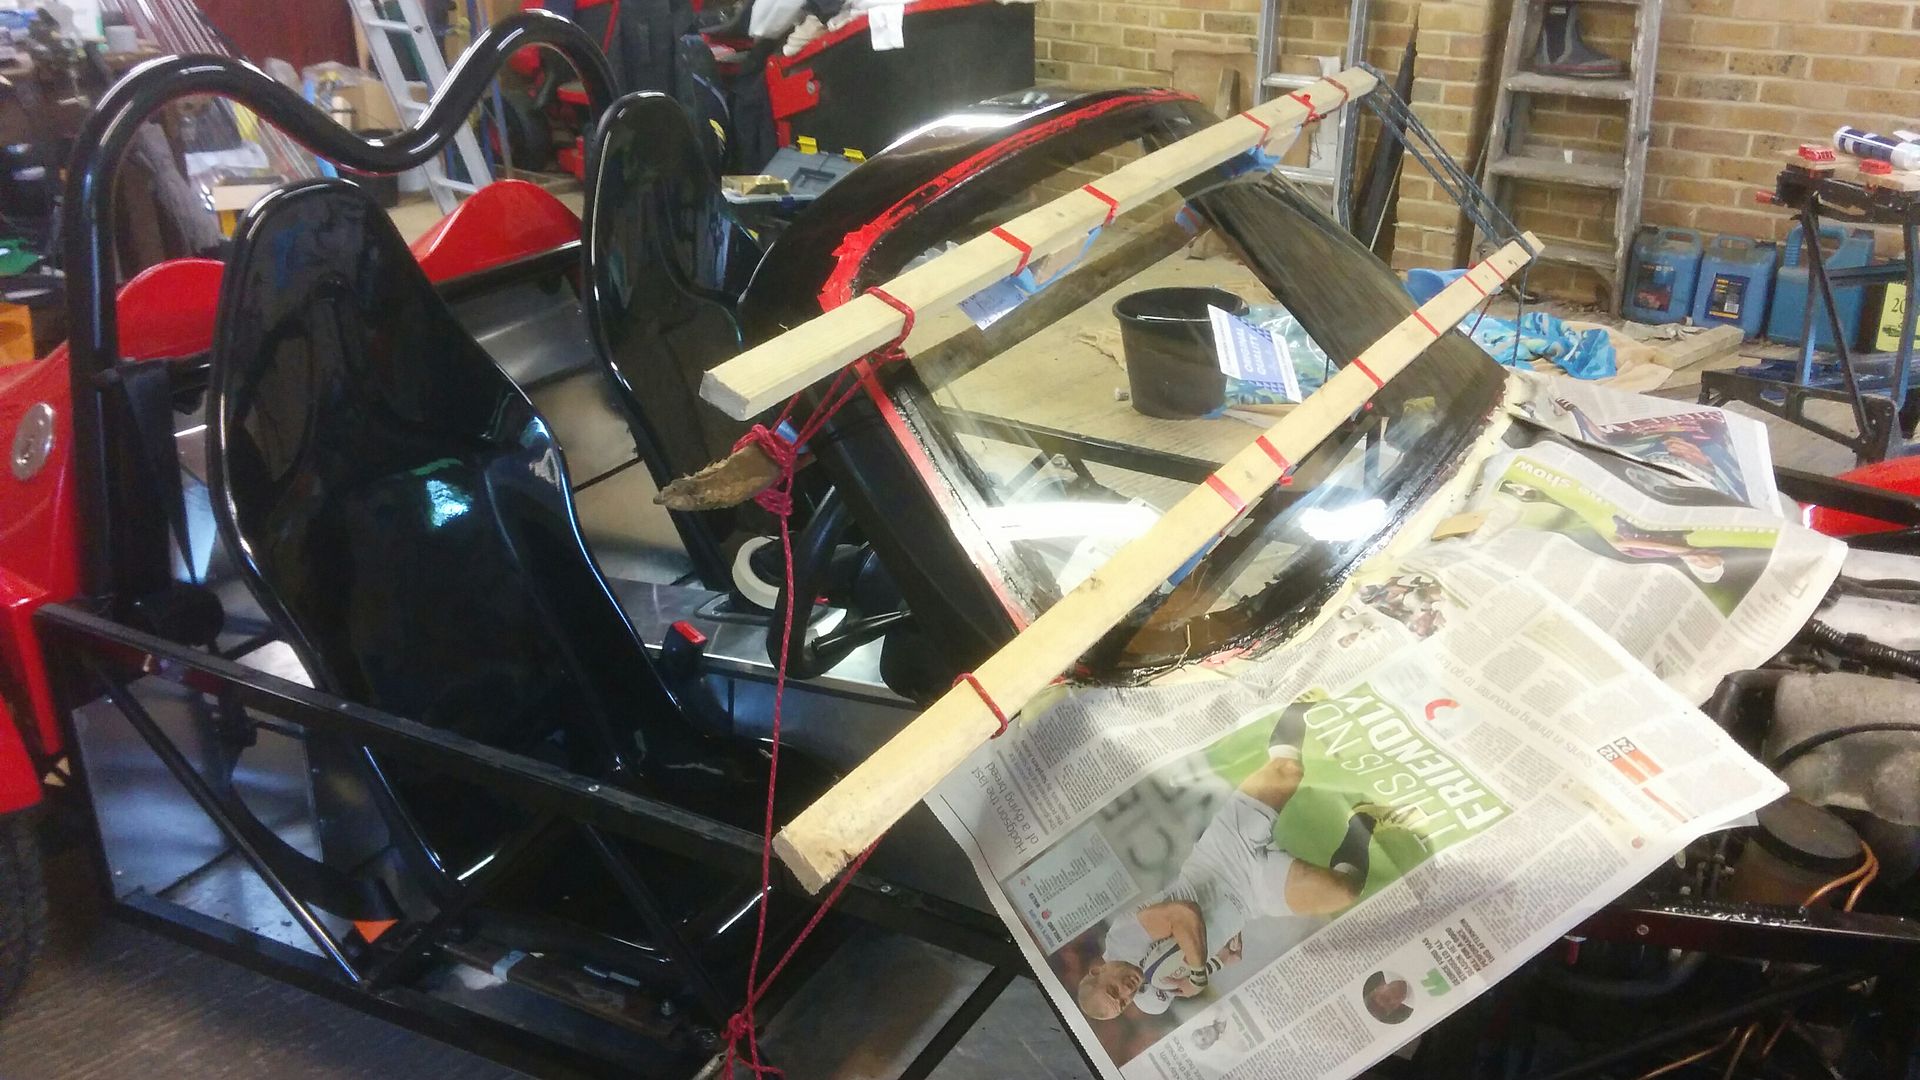
Now the car was running I felt confident to replace the windscreen. Taking note of the advice given by others on the forum, this time we did it with the frame on the car. To hold it in place we used wooden poles padded with foam to prevent scratches.
Since this was our second time round on this job it came out much better, almost making it worth breaking the original to do!
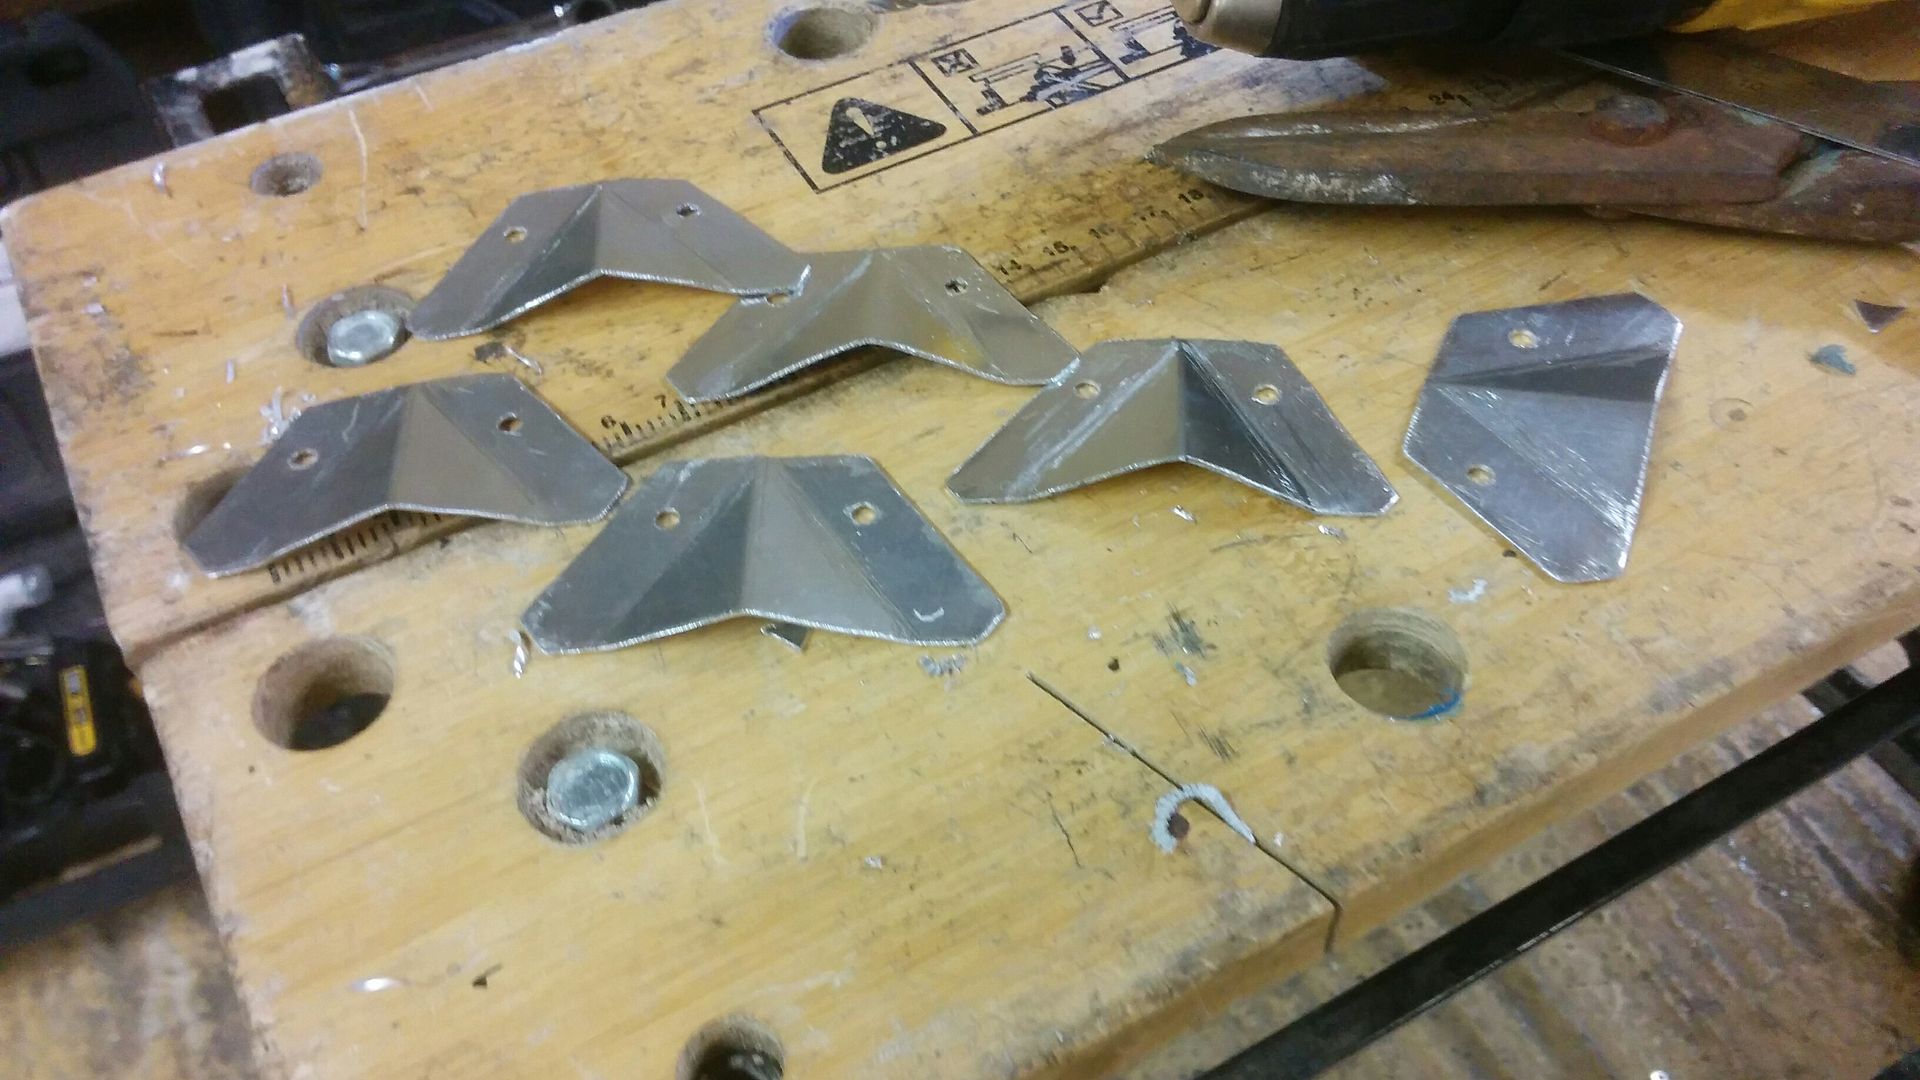
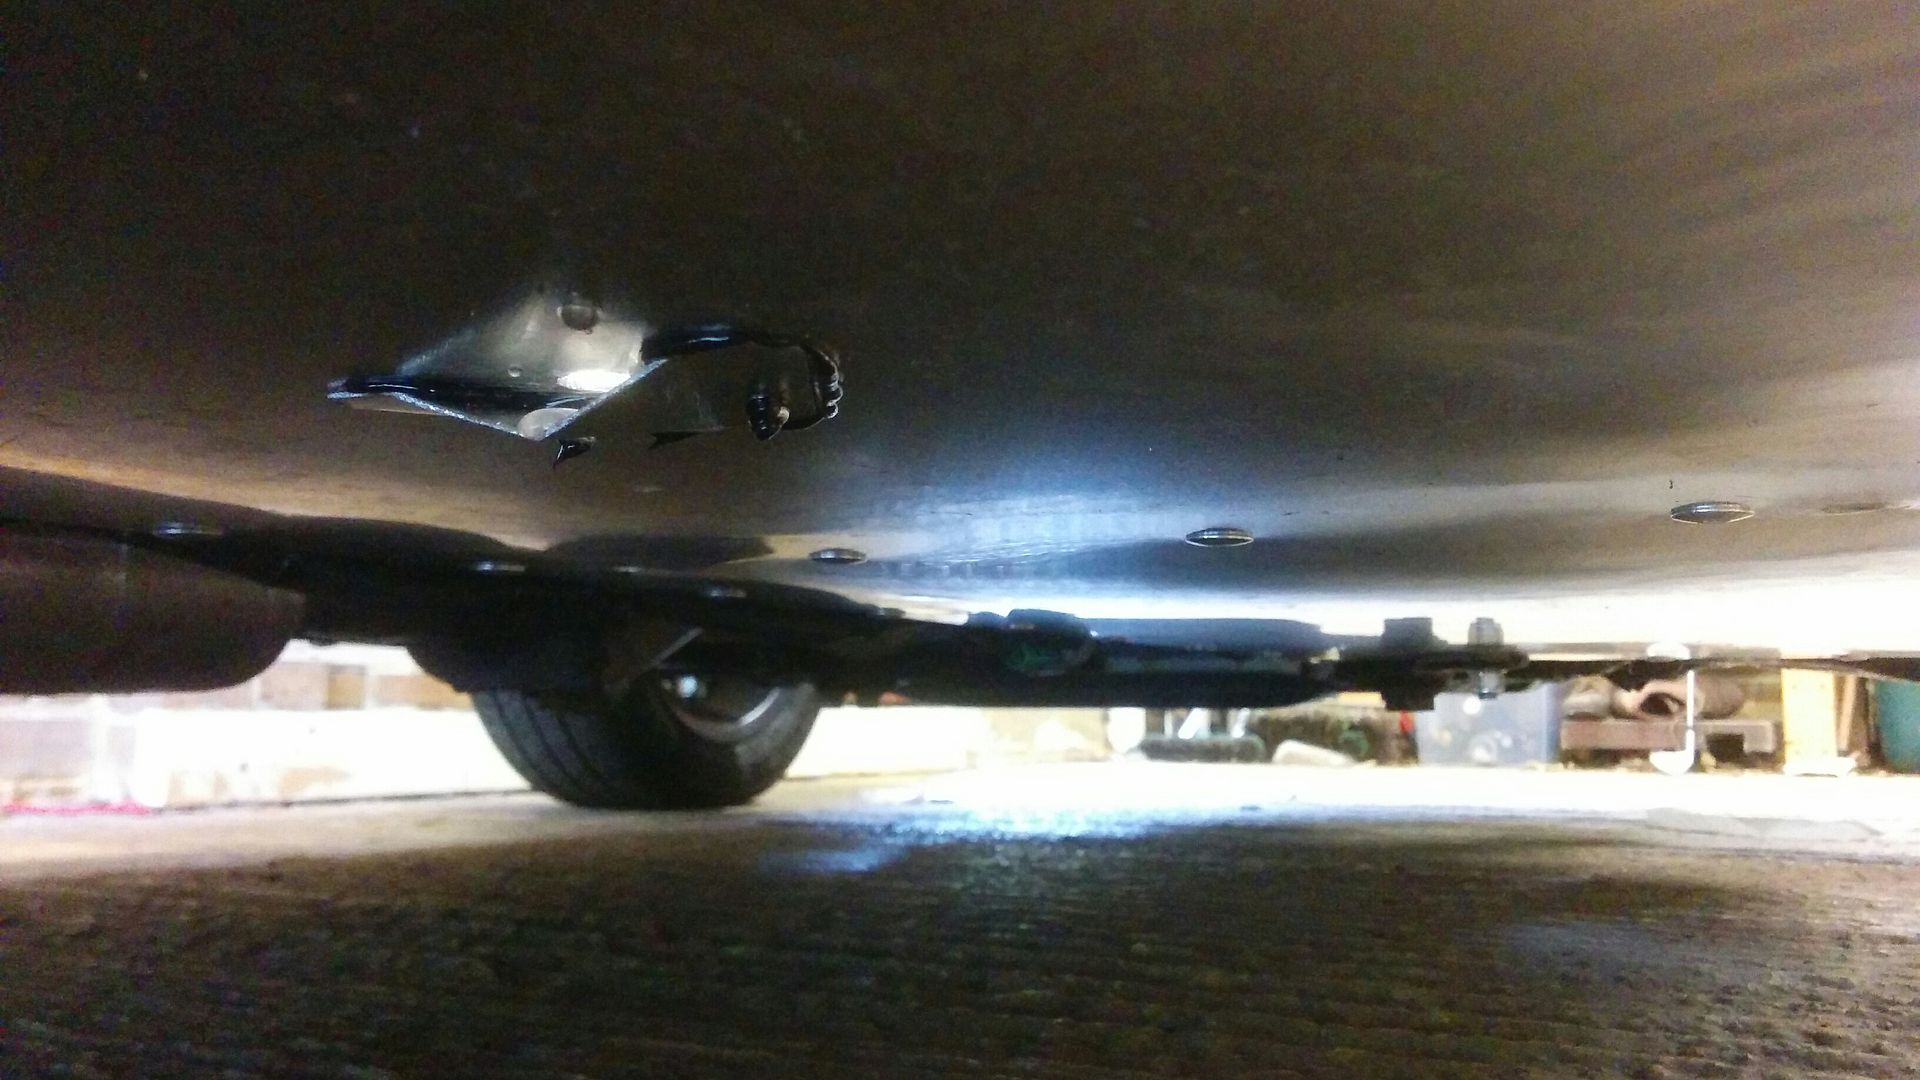
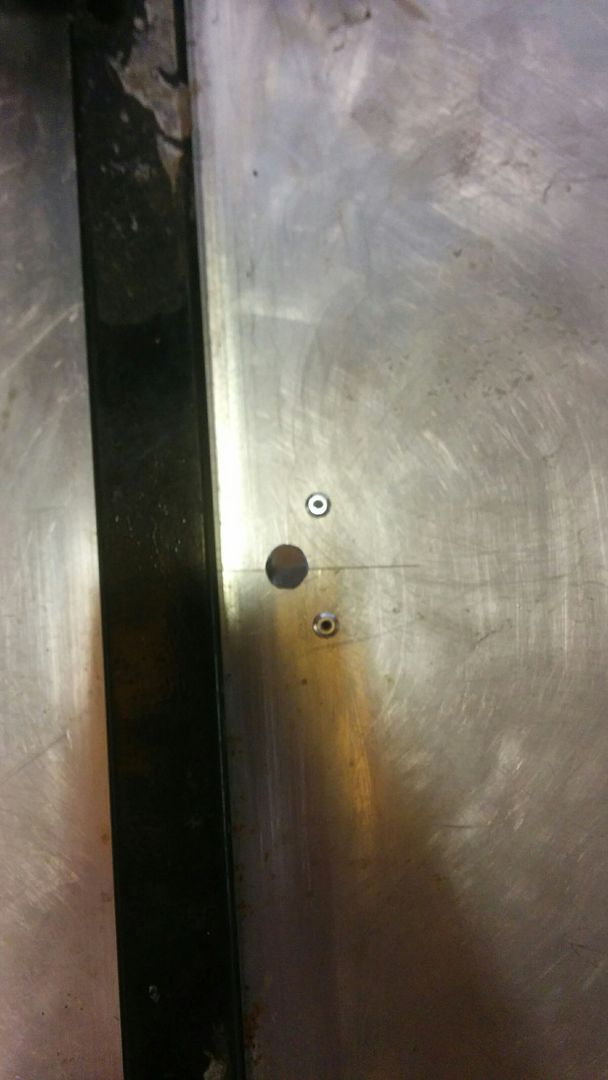
Next, before refitting the body panels, we thought that it was time to think about drainage, as much I like to hope it doesn't happen, I can guarantee getting stuck in the rain at some point! Instead of just drilling holes in the floor panels, instead we went with something similar to boat bailers, as shown below. They're not particularly visible from above or the side of the car, but should prevent any spray coming into the car by using the 'v' shaped shields.
That brings us up to where the car is now! There are still one or two jobs such as rear reflectors, VIN plate etc., but I will start looking into getting an IVA booked as I don't expect them to take long.
