|
|
Post by R2S on Jun 10, 2014 19:06:33 GMT
donboy which Gaz are you going for? I was looking at Gold Pros for £550 but the price has gone up, in the last month, to £720 putting them outside my budget.
|
|
|
|
Post by donboy1983 on Jun 10, 2014 19:46:59 GMT
I went for the Gold Pros at £649 from mx5 parts. I was looking sat the cheaper options but I'm always one to say if you buy cheap you buy twice so thought I might as well get the good ones :-) Just at the workshop now and discovered the magic of fire :-) made a little fire outside and put all the drop links on. 10 mins later the bushes just fell out. Should of gone with the BBQ option for the lot of them, Does any one know if you need to refit this part to the rear subframe? 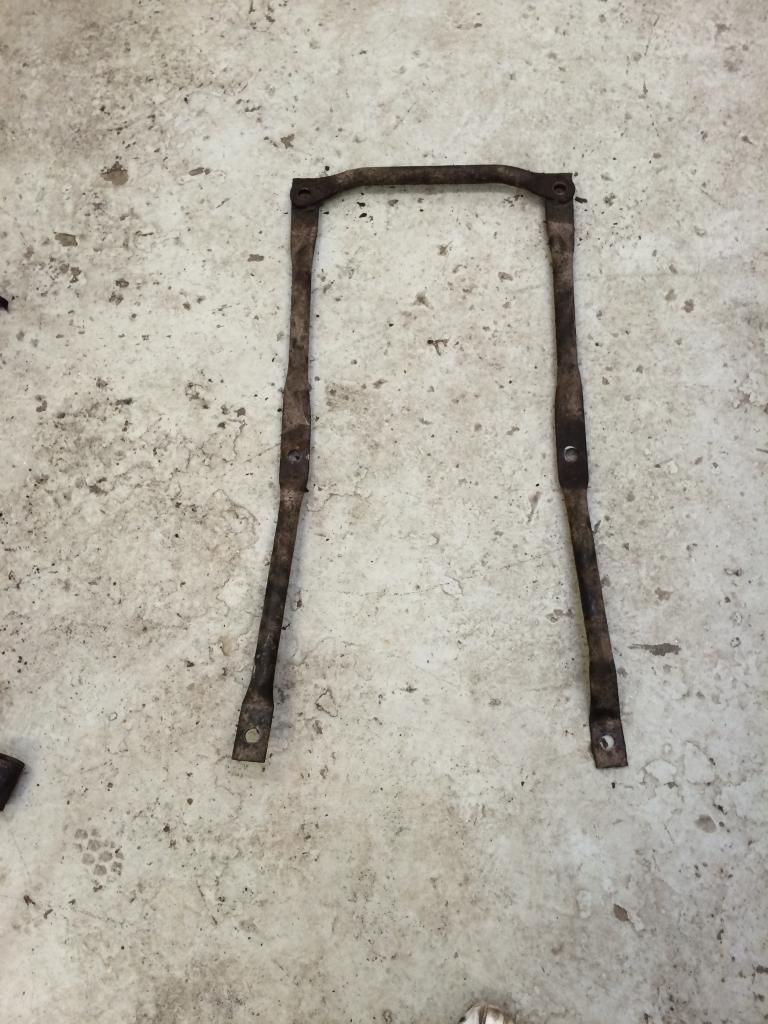 |
|
|
|
Post by donboy1983 on Jun 10, 2014 21:46:22 GMT
I also got round to removing the cast block that I managed to remove with the PPF when I pulled it off.  it was easy to remove real just took a few taps with a large hammer :-) 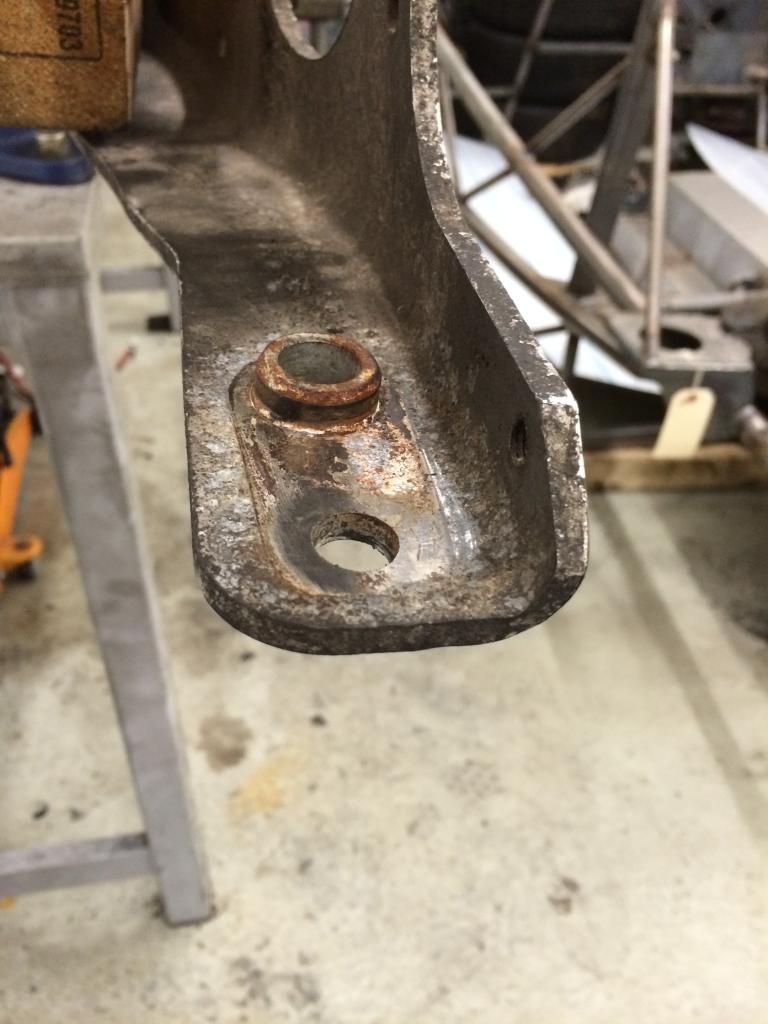 i also pressed in the 2 captive nuts that popped out when I removed the PPF, I checked the splines and they looked pretty good so I pressed them back into the PPF and the spacer that holds them in place. Once I pressed them in they seemed solid and I could not make them spin when I tightened them up to check them.  |
|
|
|
Post by jgilbert on Jun 10, 2014 21:52:59 GMT
Donboy, I have refitted mine however, you need to reduce the length of each arm just after the middle hole. This component provides some additional stiffness to the rear subframe so that is why will be fitting it to my build. The Japs don't usually include components without a good reason.
It you are using the rear MEV chassis/sub frame tabs then this will help stiffen one side of the subframe but I would still fit the longitudinal arms and the rear cross brace.
There is a cross brace on the rear of the front sub frame as well.
Half way down page 17 of my build is my post about how I modified mine. I choose to remove the MEV rear chassis to subframe tabs as I found it difficult to align the tabs and the subframe (common issue). I then mod'ed my arms so that I could secure to the Exo chassis via a new mounting position.
Hope this helps.
|
|
trident
Senior
   Improvise, Adapt and Overcome
Posts: 629
|
Post by trident on Jun 10, 2014 21:56:11 GMT
John beat me to it so I'll just add this … cut where the red lines are... 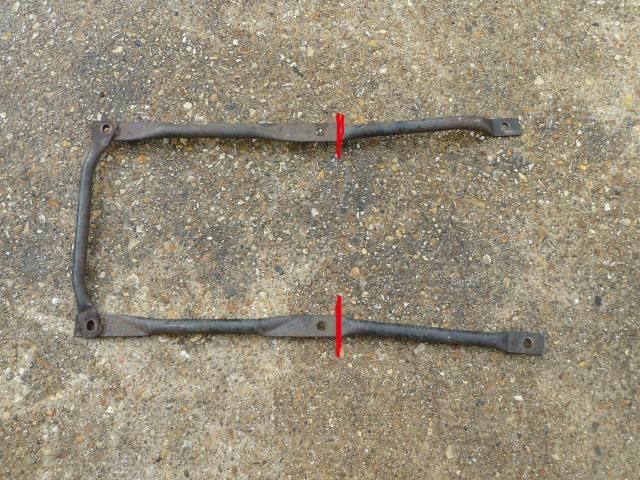 |
|
|
|
Post by donboy1983 on Jun 11, 2014 9:09:55 GMT
|
|
|
|
Post by donboy1983 on Jun 17, 2014 18:07:19 GMT
Last night I played with fire :-) it worked a treat too, 25 minutes on two disposable BBQ's (£2 each) and the remaining bushes just fell out.  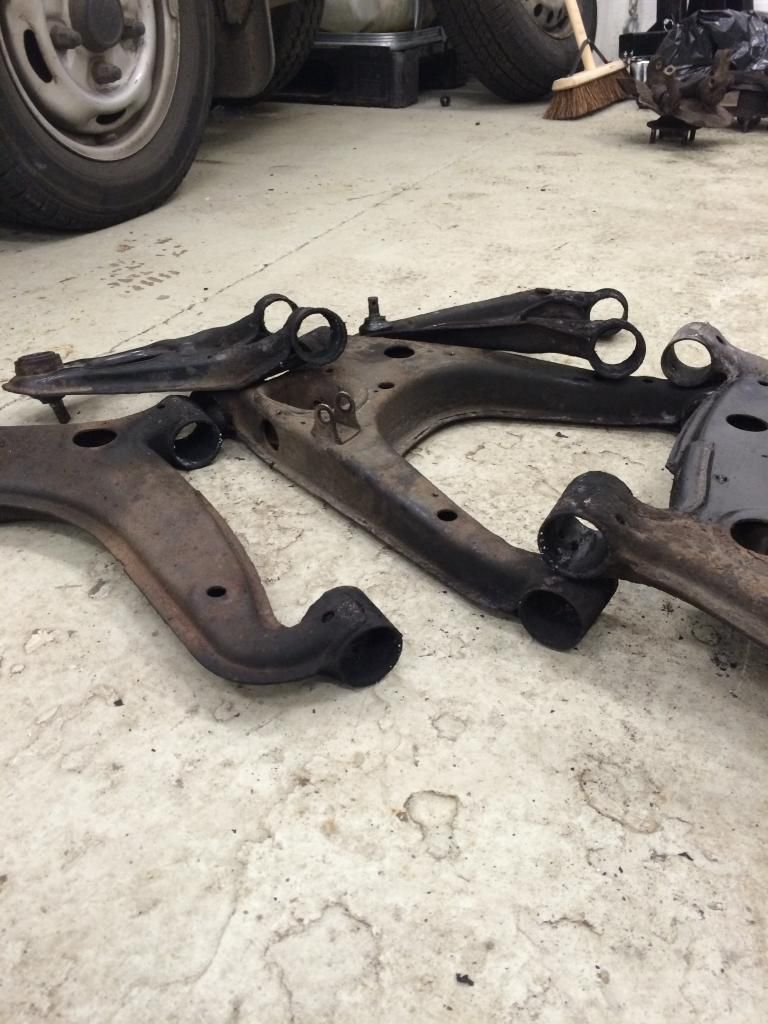 i then moved onto stripping the ball joints and track rod ends from the front hubs (those things pop out with some force) all done and just left the 3 bolts to remove the brake shield. These where tight so left overnight in some WD40. I then hit a small problem. how do I remove this silver cap? And do the hubs need to come off or can the dust guard come off around them? 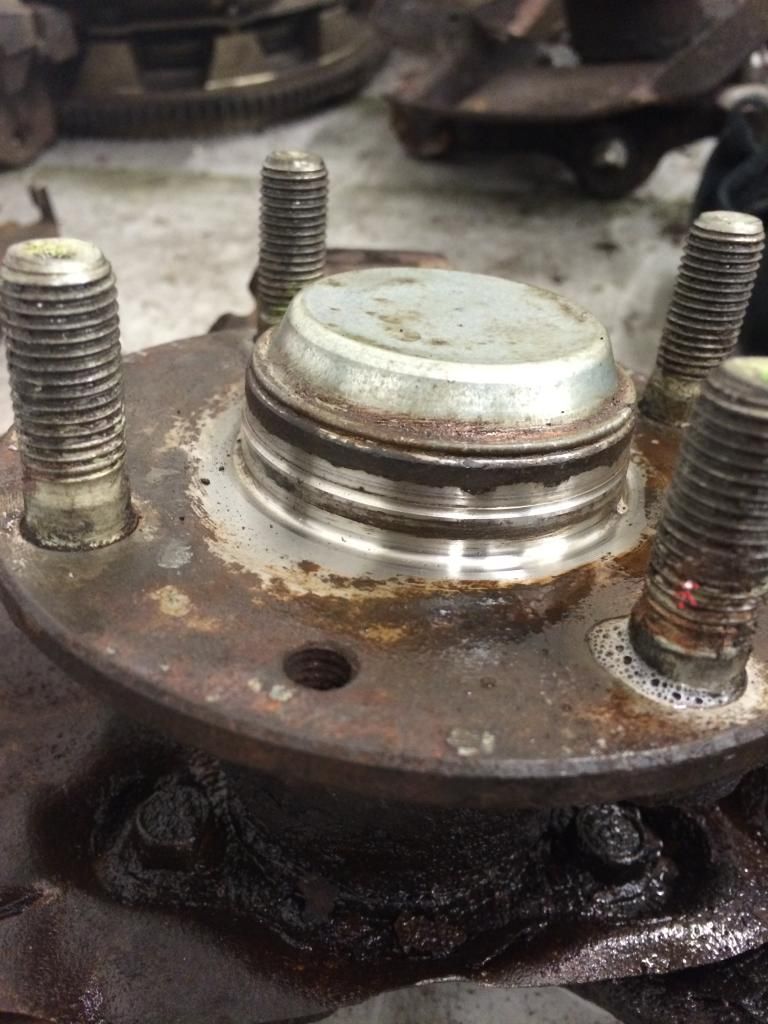 I also had a little issue with the rear dive shafts, you will see from the pictures that on one side the shaft had pulled right out of the hub and he other side it had come away behind the rear hub. Any suggestions on how to remove the bit that's still attached? 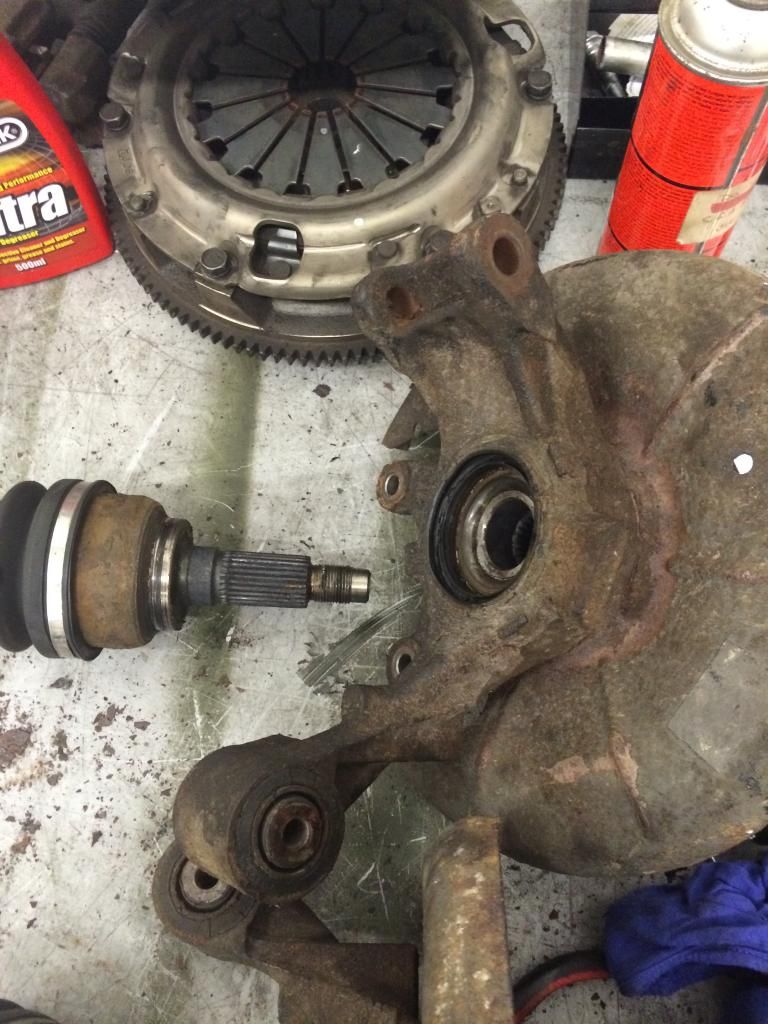   |
|
|
|
Post by danpollitt on Jun 17, 2014 18:16:52 GMT
Glad to see my BBQ idea is catching on!! I used a small screwdriver to prise the caps off the front hubs. Can only suggest a drift of some sort made of alloy or soft material so as not to damage the threads to knock driveshaft out.
|
|
|
|
Post by donboy1983 on Jun 17, 2014 18:44:39 GMT
Another question, I have the energy suspension bush kit . Does this replace the rubbers/clamp on the ARB's? I seen it had a couple in the box but could not see the small ones for the front. Also in the picture above you can see the bushes in the rear hub assembly, do people tend to replace these? Are they part of the kit?
|
|
trident
Senior
   Improvise, Adapt and Overcome
Posts: 629
|
Post by trident on Jun 17, 2014 22:07:54 GMT
If you have the full energy suspension kit you should have every bush in the kit including the Anti roll bar mounts and metal surrounds. you should also have the large diff ones. the rubber needs to come off the old diff mount brackets and from the diff it self .
|
|
trident
Senior
   Improvise, Adapt and Overcome
Posts: 629
|
Post by trident on Jun 17, 2014 22:10:07 GMT
sorry forgot to say.....,, yes you should have one for the rear hub as well.
|
|
|
|
Post by donboy1983 on Jun 30, 2014 22:00:37 GMT
So all my parts are at the powder coasters and I thought I should start cleaning up the gearbox and the PPF ready for paint, I washed them both down with a pressure washer and found that the both had a lot of surface corrosion. I set about this with my wire wheel attached to the drill and cleaned them both up. I then gave them both 2 coats of Acid Etch primer and 2/3 coats of Hammerite Silver. Pleased with the finish and how easy it was :-) It's amazing what a difference a new coat of paint makes.  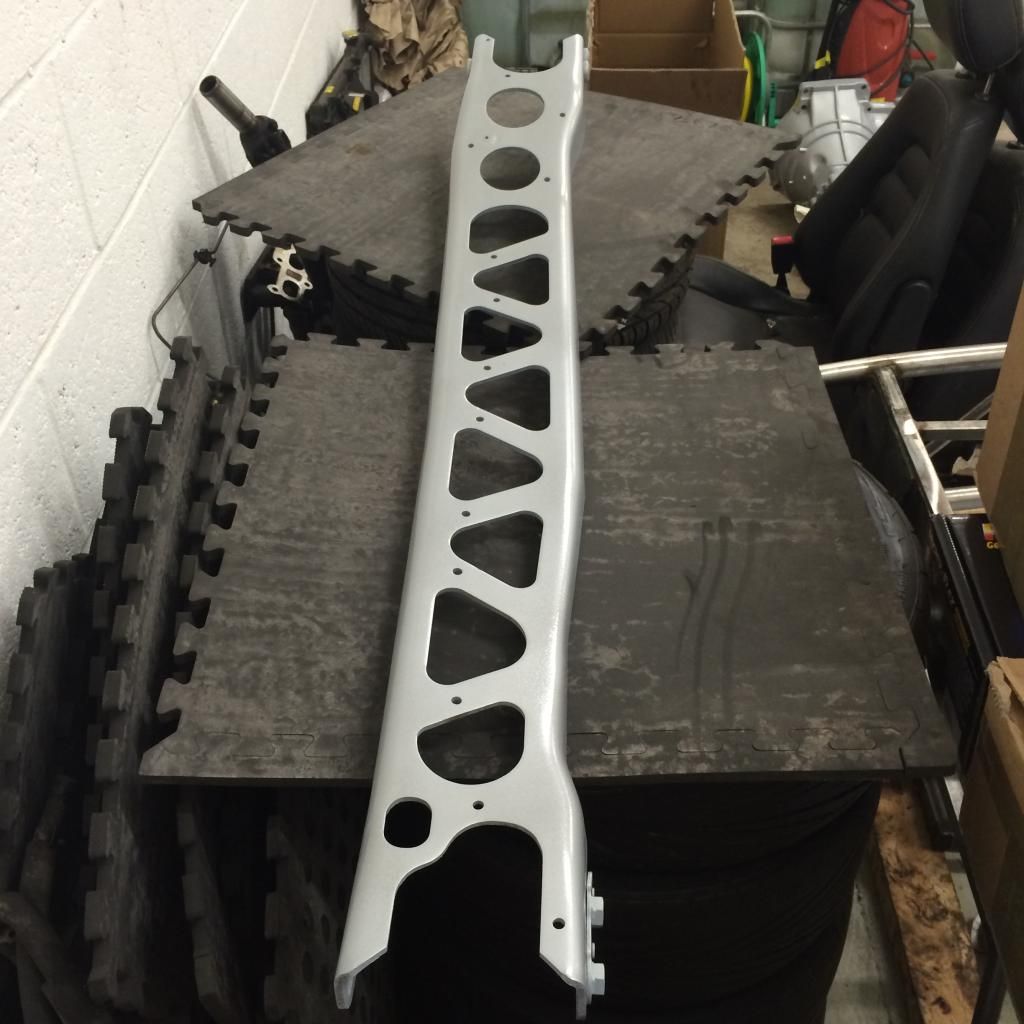 i then set about striping the engine ready for all the service items and the cambelt to be fitted. Still not sure what paint is best to use on the engine block so any advise will be helpful.  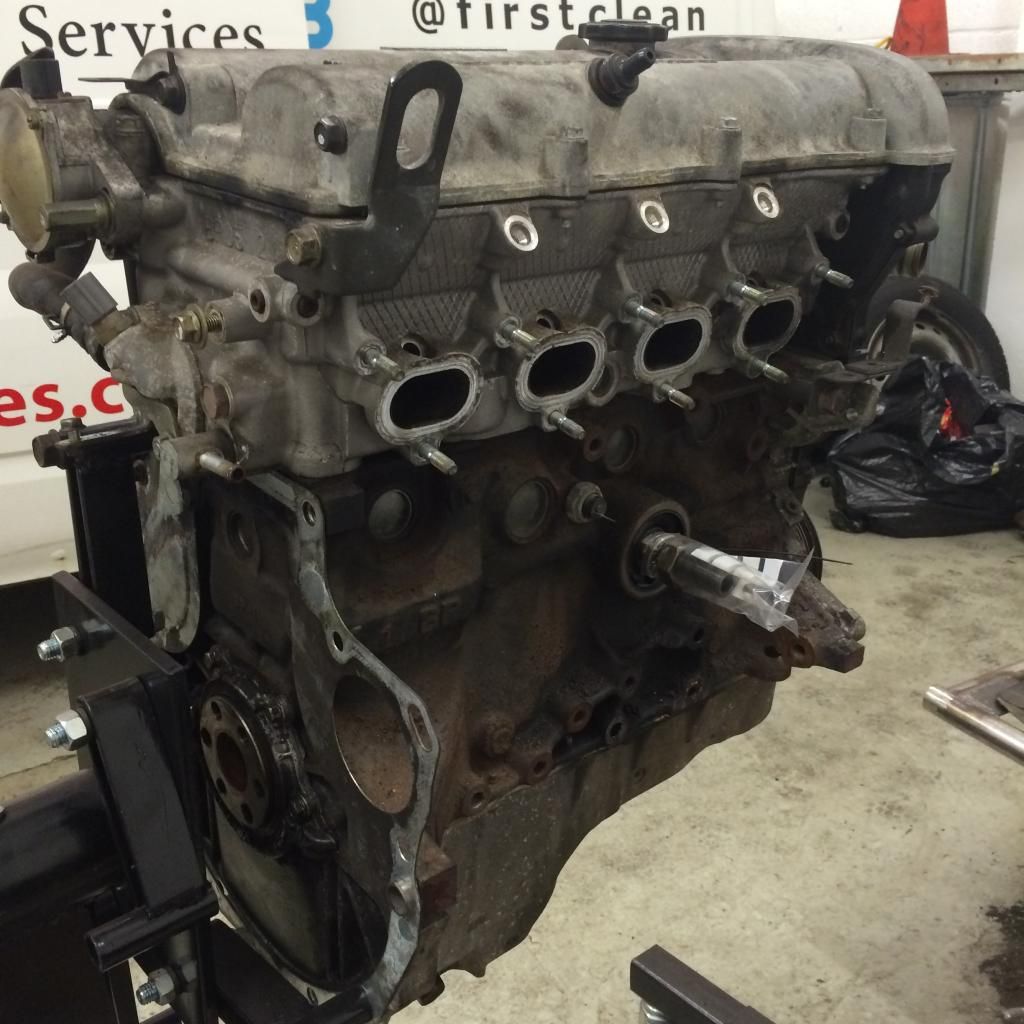 |
|
|
|
Post by jgilbert on Jun 30, 2014 22:31:12 GMT
Don't forget to mask off the inlet/exhaust port and any other opening before you start the cleaning process. Gearbox looks smart.
|
|
|
|
Post by R2S on Jul 1, 2014 9:13:35 GMT
Looking good, can you tell me which engine stand you have and where purchased from? I have just removed engine and gearbox from the front subframe and at moment its hanging from pulley in the garage!
|
|
|
|
Post by donboy1983 on Jul 1, 2014 9:31:07 GMT
|
|