|
|
Post by kiwicanfly on Apr 25, 2014 21:10:34 GMT
That's the business.
Remember though that you do not put each half of the housing either side of your bulkhead, it is tempting as the bulkhead is thin, but both halves must be on one side or the gap will allow the bearing to move too much.
As long as the steering extension rotates "true" between the two UJs there will be no axial load on the bearing.
|
|
|
|
Post by casesensitive on May 5, 2014 1:13:53 GMT
The 'Morgan' Rocket Lots and lots of removing and putting back today, must have put the bulkhead in 20 times. Bought and chopped a couple of these to about 17mm long. 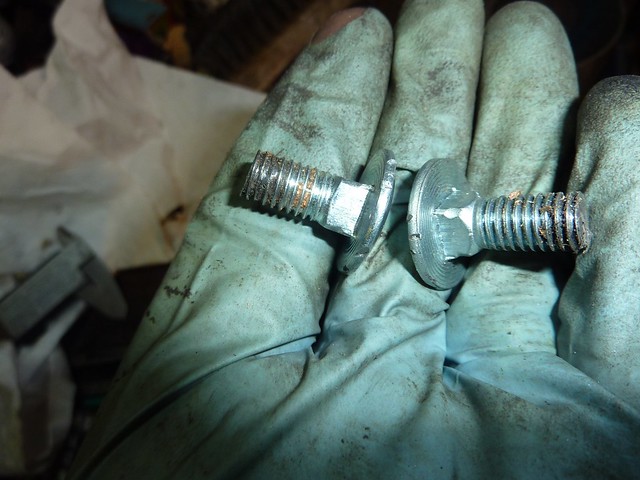 First 4mm hole done by eye, then a series of hole saw cuts until this 62mm one. First fitting was a problem with the nuts catching on the M8 at its nearest 'orbit' going through the steering column, so I had to rotate it about 40 degrees. 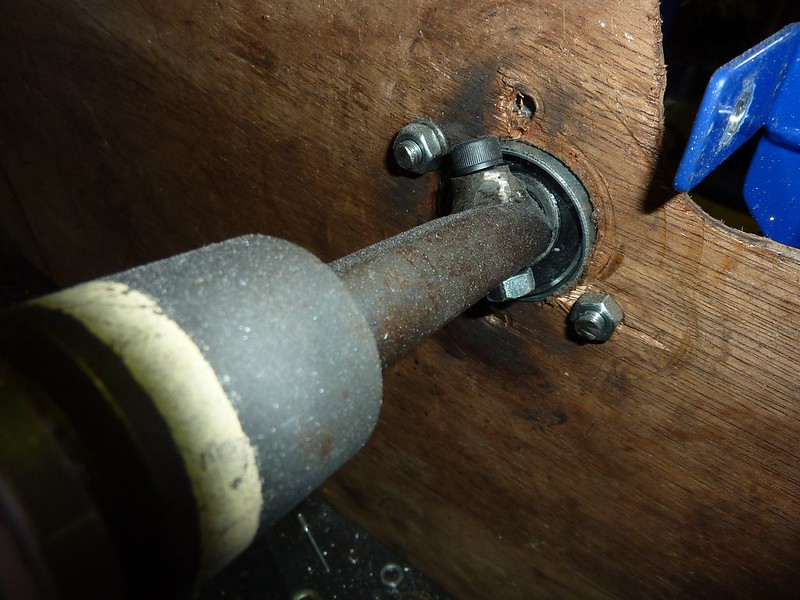 Finally! Steering wheel turns the wheels. 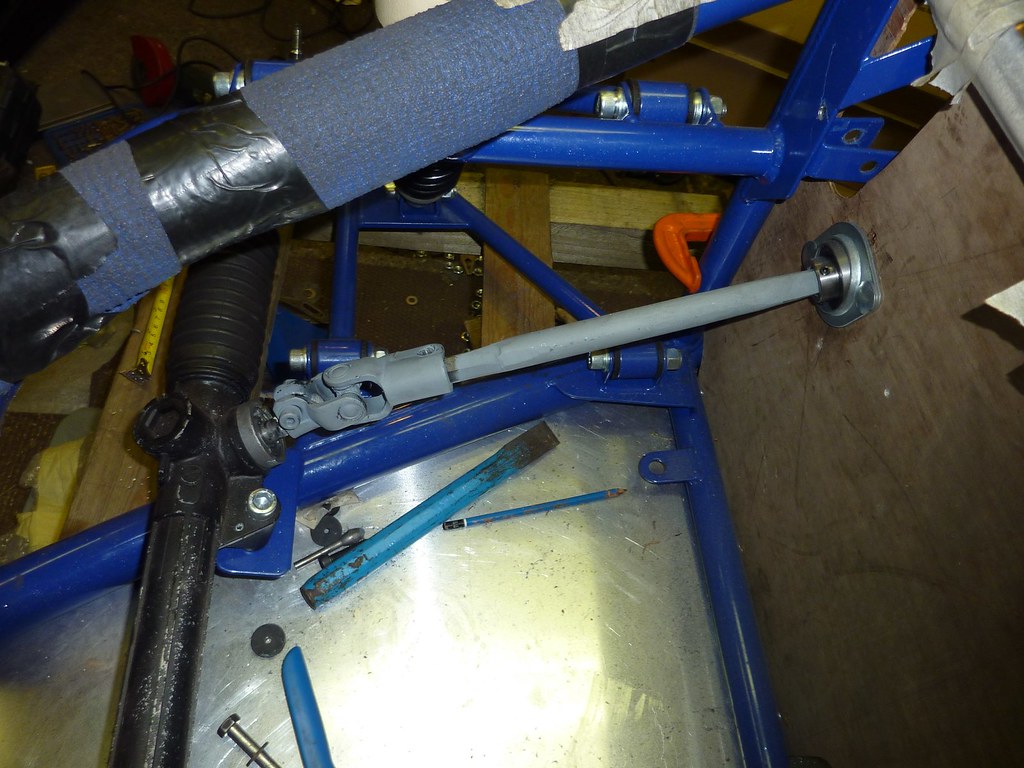 |
|
|
|
Post by casesensitive on May 5, 2014 1:25:34 GMT
Engine CoverAnother little job to do this weekend. I call this colour RAL'not what I asked for' Original plan was to cut along the line of the rear roll bar bracing, for neatness, but where the engine mount cut-outs has been made makes that a non-starter, unless I'm prepared to have a couple of little orphaned sections (bottom left in this pic).  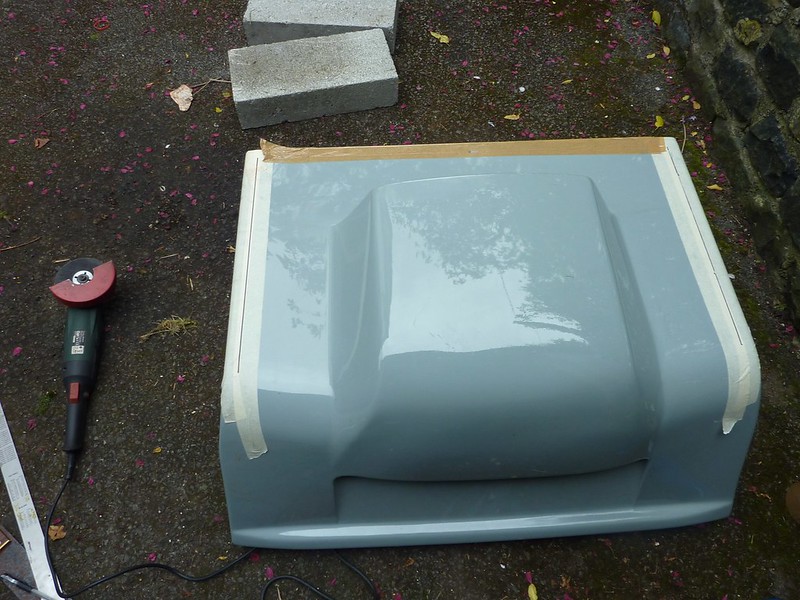 Thinnest angle grinder disc I could find, few rough edges where I had a second go at a line. All in one, even if its slightly crooked. 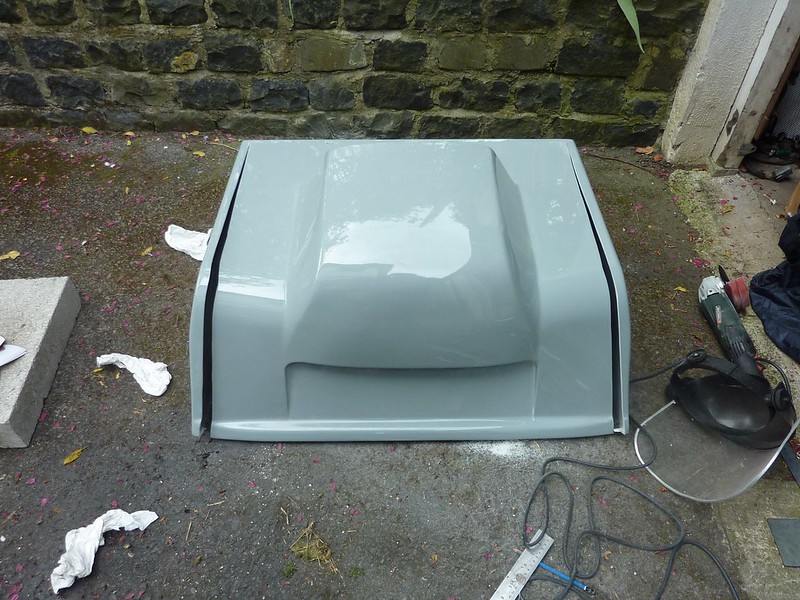 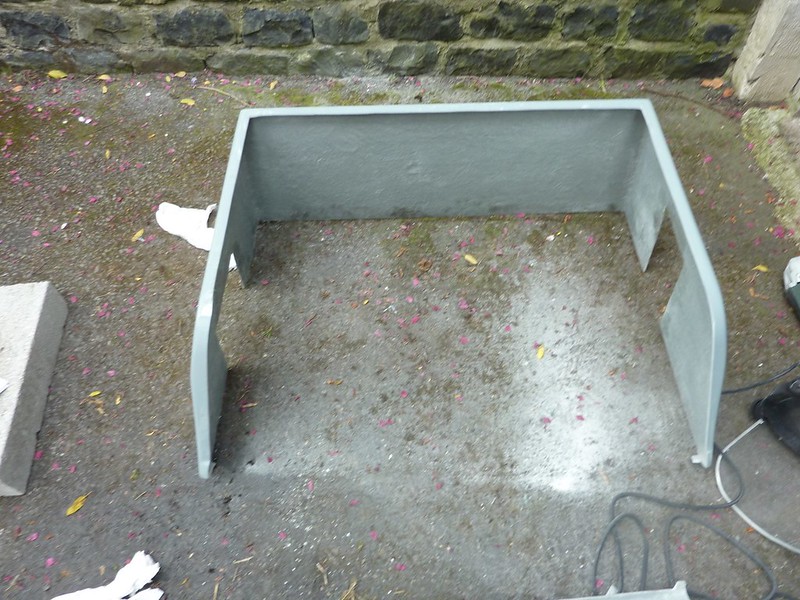 Tried a few things here, hole saw, jigsaw but the thin grinder cutting disc would be what I'd use from the beginning if doing it again. 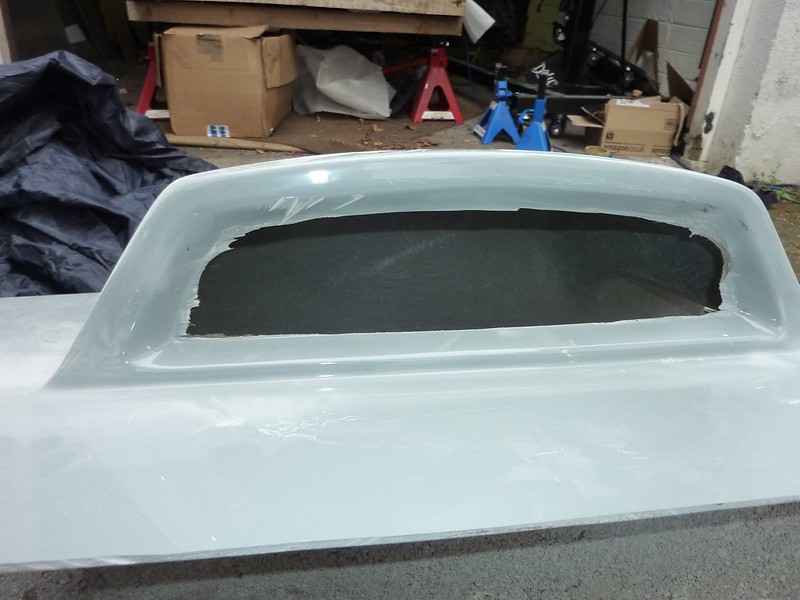 Half-round file to tidy 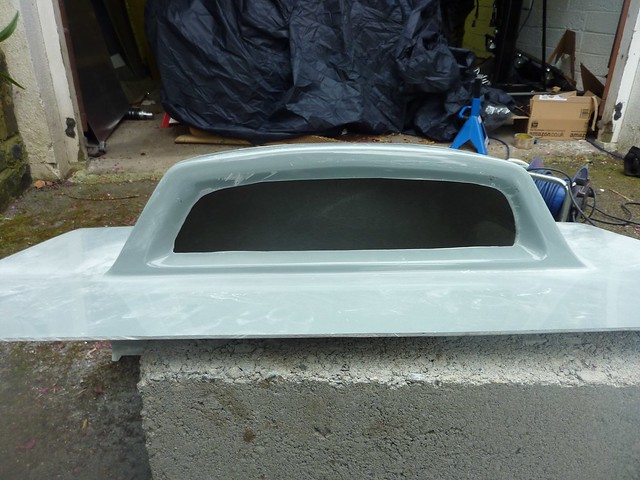 Short video of the fitting of the two-piece engine cover Short video of the fitting of the two-piece engine coverI'll have a lot of fine sanding to do before I paint the panels. It's not my best work, but the worst of my cutting is still better than this..
|
|
|
|
Post by casesensitive on May 5, 2014 1:29:42 GMT
 I'm with the few people who've brought this up already, I really wish this had been left uncut. I don't want to bag on RTR too much, the Naughty Step is already a bit crowded, but compared to the incredible quality of the chassis welding, the GRP work is .. well: 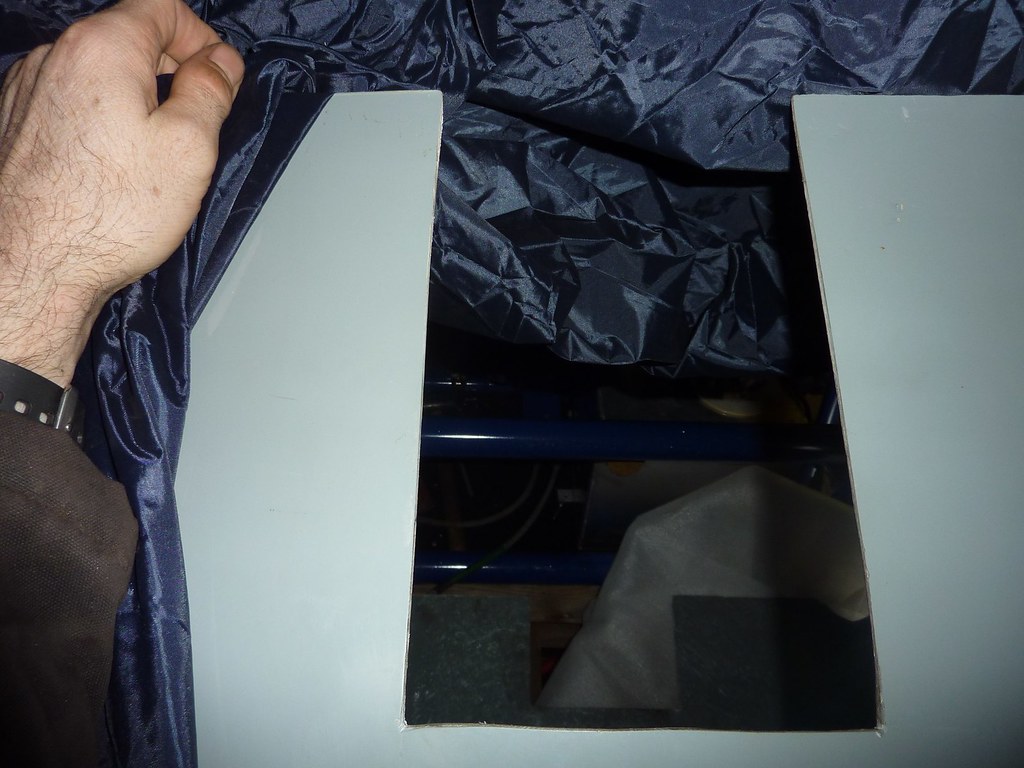
|
|
|
|
Post by casesensitive on May 6, 2014 20:30:09 GMT
RTR Accelerator pedalI think it must be a new thing, but I called up to get a few bits; brakes, pedal box etc, asked if they could include a Joker pedal (I got the impression from other builds they were reselling them), and they said I'd have to get one from him. Anyway, they offered their one instead. I figured it be basically the same tried and tested Joker solution. It's quite different; good in the sense that (I think) it has a ready-made bracket on the chassis to accept it. The side-profile isn't as good-looking, and it's generally a little boxy, but if it works. 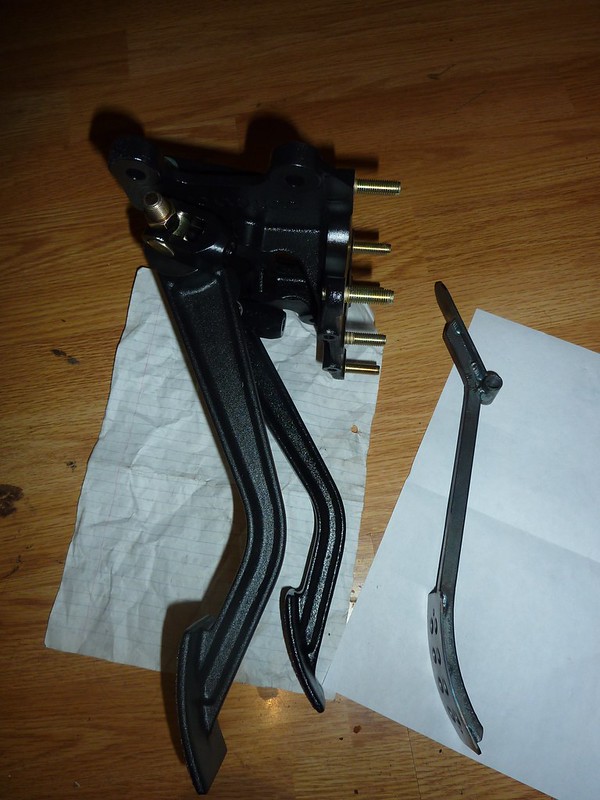 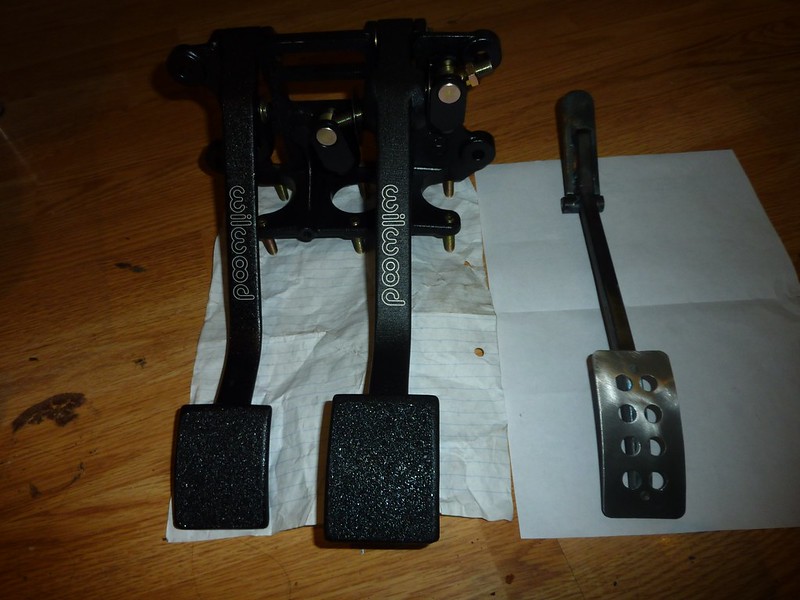 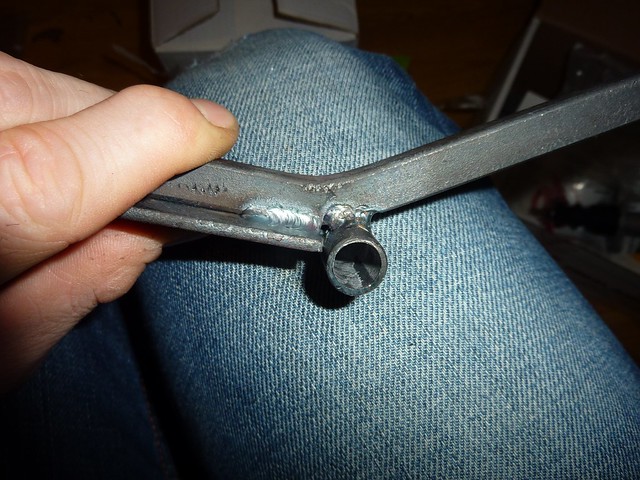 Assuming this is meant to go here, and I reckon it does, because the pedal hangs about where the brake pedal does, then this tube is too big. Knocked a bit off it with the grinder, still requires a fair bit of bending the brackets to go in. 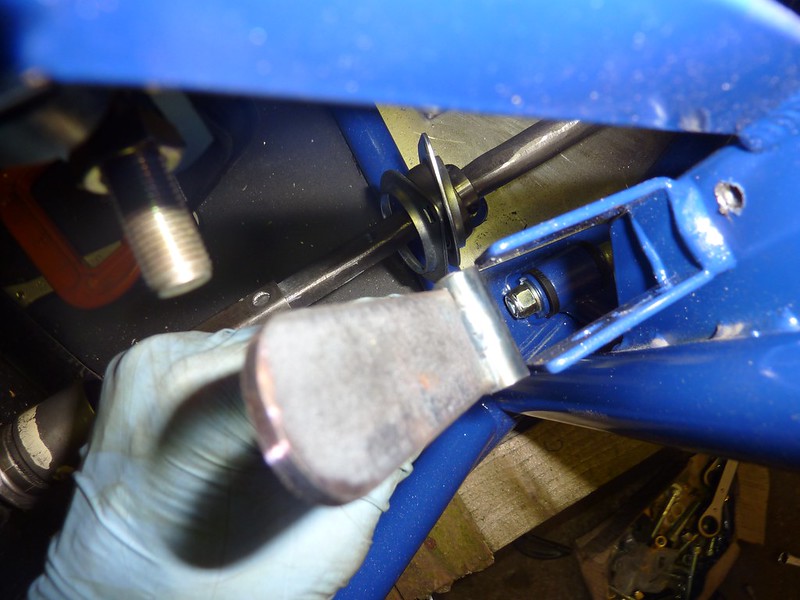 Primed (between wing stays, which I forgot to Powerdercoat) and (later) painted panther black. 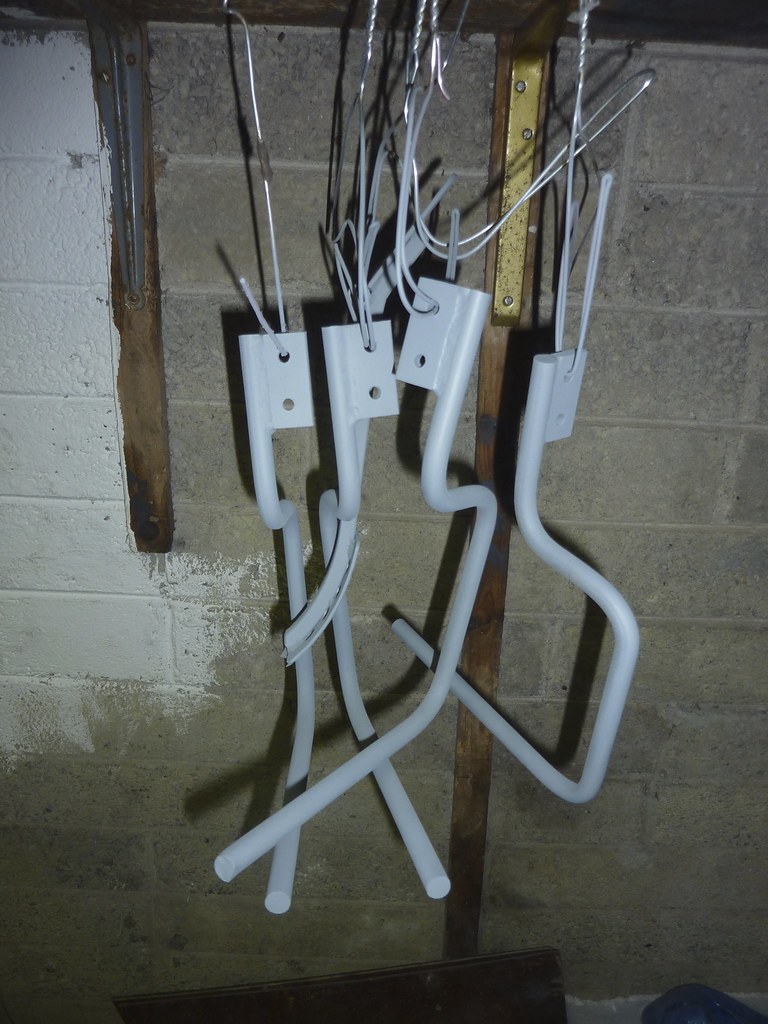
|
|
|
|
Post by kiwicanfly on May 7, 2014 5:54:11 GMT
I can see the problem with the brake pedal, quite clearly you bought the pedal and bracket from two different companies, otherwise they would fit together.
Can't think of any other explanation.
|
|
|
|
Post by airforceone on May 7, 2014 7:11:52 GMT
The bracket is part of the chassis. RTR's pedal is fine but you
Should have went with Jokers set up, bit more expensive but worth it.
|
|
|
|
Post by deanohonda on May 7, 2014 7:27:08 GMT
I also went down the line of first buying kit throttle pedal after looking at a few more builds it is now 1 of those parts on yhe shelf collecting dust got myself the joker pedal assemble much sexy and came with spacers & fittings need well reccomended ;-)
|
|
|
|
Post by casesensitive on May 8, 2014 7:49:35 GMT
I can see the problem with the brake pedal, quite clearly you bought the pedal and bracket from two different companies, otherwise they would fit together. Can't think of any other explanation. Sort of looks like it, doesn't it? The accelerator pedal from RTR looks like it should fit in the mounting point on the chassis from the same company, but it was at least 5mm off fitting on initial fit. I ground down the tube with the grinder, and I may yet take more off it, I've have to lever the mounting points on the chassis pretty far apart to slide it in. Once the pedal box is fitting, and the accelerator pedal is wedged in, the base of the pedals essentially line up. There's just no way the pedal rotates; you're meant, it seems, to push through an unthreaded length of M8 bolt and it rotates around that. And having had to 'adjust' the mountpoints, it doesn't move exactly parallel to the Wilwood pedals, but some percussive adjustment in the other direction will need to be done to sort that. I suppose you're also supposed to drill the top of the pedal and the back of the bracket to allow the cable to pass through. Might get in touch with RTR and ask how that's supposed to work, they've been decent enough about answering my questions so far. Ahem, so long as you get the right guy replying… |
|
|
|
Post by casesensitive on May 8, 2014 7:50:46 GMT
Plan is to close over the triangle of chassis tubing where the 'baby's head' could come into contact with the accelerator with some perforated mesh, so the side-on appearance isn't as problematic, but if it annoys me I may just buy Joker's pedal. I'm surprised to hear other people own the RTR pedal, I can't think of a single build that has mentioned or shown a photo of it, everyone seems to use Joker's kit. I may be discovering why  |
|
|
|
Post by casesensitive on May 13, 2014 18:08:30 GMT
Yeah, I've ordered a Joker pedal now.. Anyone care for an RTR pedal on the cheap??
|
|
|
|
Post by casesensitive on May 13, 2014 18:23:13 GMT
Fitting the pedal boxI spent a good deal of time wondering how I'd go about marking the front bulkhead for the holes through which the pedal box threaded screws would go. Particularly as most people put spacers between the mounting point on the chassis and the top of the pedal box. Rather than reinvent the wheel, I copied this idea, making 4x 13mm spacers out of some 8mm ID/12mm OD crush tube I had left over from the seat rail mounting. Ground, flapped, deburred and a slight chamfer added to the inside edge to allow the bolts through easily. 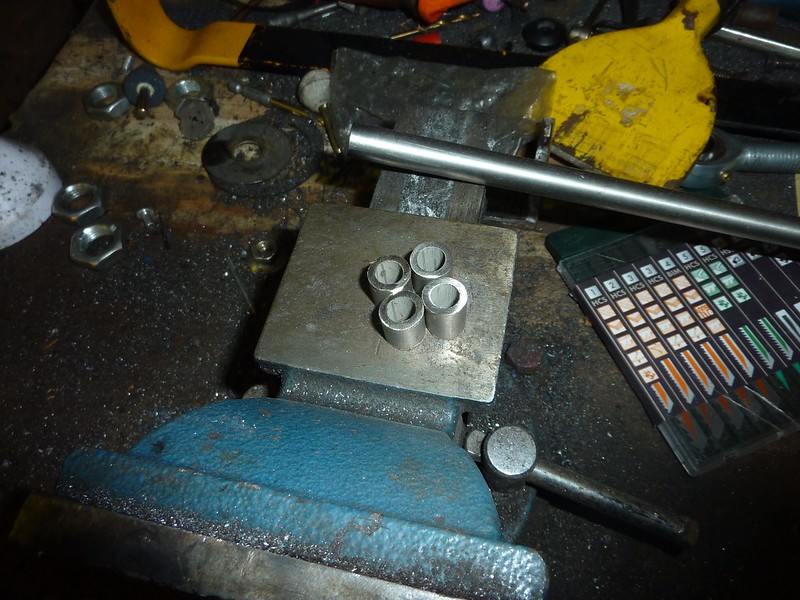 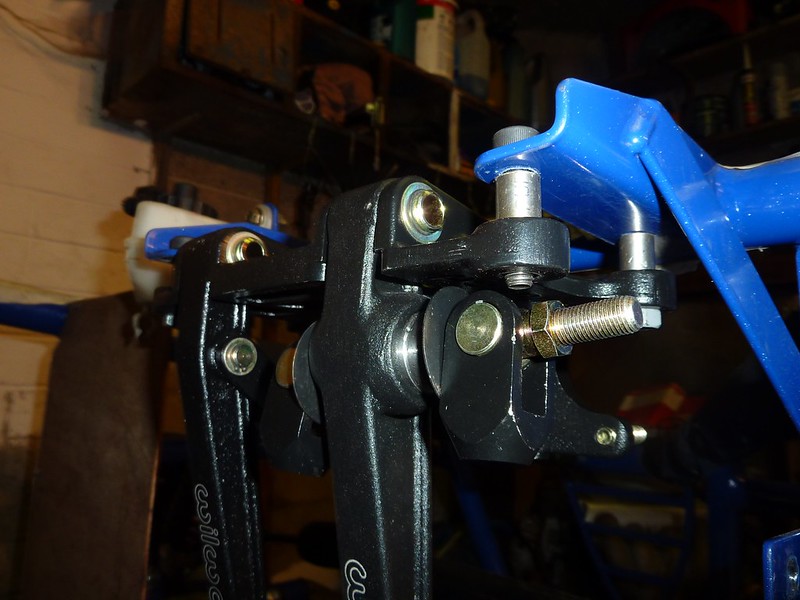 Mounted temporarily with 50mm M8s, washers and nuts will be added later. I found that the back right one will have to be about 53mm to have enough thread to clear the balance bar, but that the others could be 60mm or so without any great difficulty. That's all very well, but fitting this on with the bulkhead relies on having a bulkhead made of jelly and ideally, having 4 hands. So, after lots of consideration, I decided to guess. The top centre bolt runs ~28mm below and ~8mm to the left of a rivnut I'd put in the chassis, so I marked that on the corresponding hole on my wooden bulkhead. Not very scientific but it mostly worked. Then taking off the pedal box and drawing around all 6 bolts with a pen, I started to drill the template. 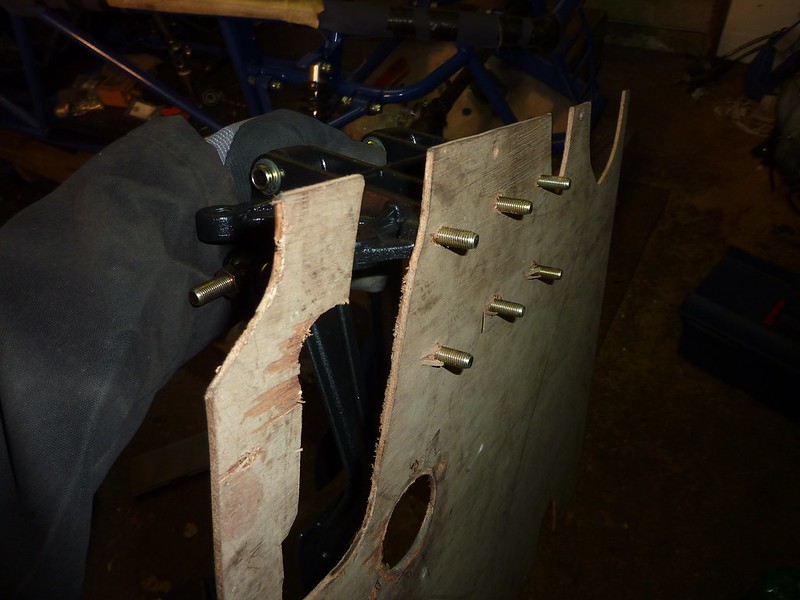 Of course it went through, but would everything line up first time? Ah, sort of! There was a bit of pushing and shoving, but it all seemed to go fine. Obviously this pushing and shoving wasn't going to fly with the metal bulkhead, wouldn't be very useful if you could. 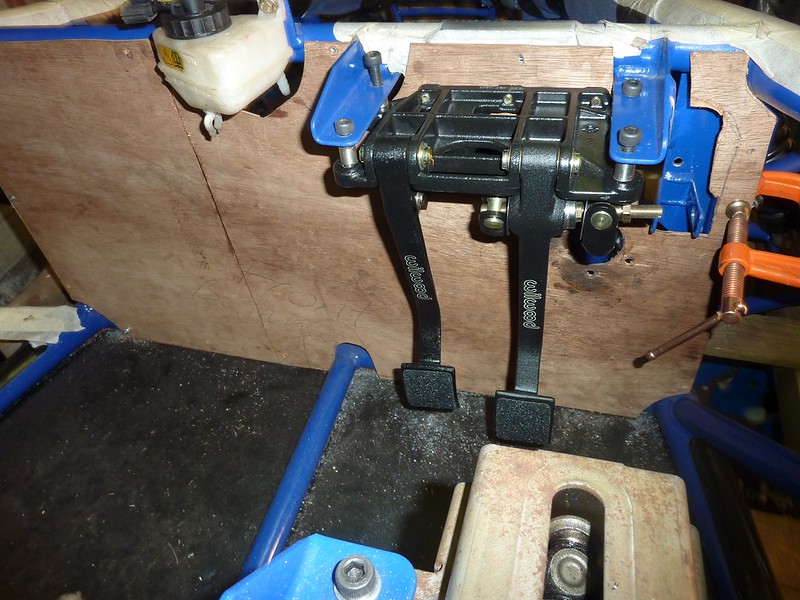
|
|
|
|
Post by casesensitive on May 13, 2014 18:38:46 GMT
Cutting the alloy bulkheadedit: it's election time around here, so there are loads of posters that get blown or pulled down knocking about. Wife was none too pleased when I picked this up off the ground at the supermarket, but her scowl was discounted, bound to find a use for it. Buoyed by my first-time lucky success, I milled straight into the permanent fitting bulkhead. I covered the areas of the panel that would need marking with masking tape, and placed my wooden template over the alloy sheet, clamping in place. I then drew in the parts that were right, and corrected bit that were a bit off; coming in 10mm on the lower left and 20mm on the lower right, and cutting a much bigger hole to go to the centre tunnel (but still not full size, I'll be making 'flaps'). 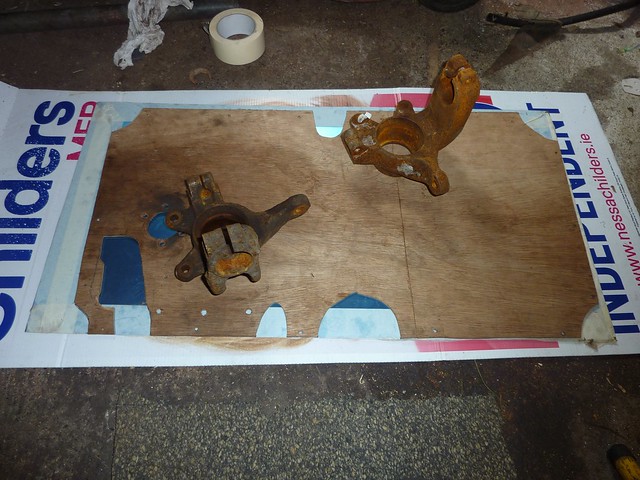 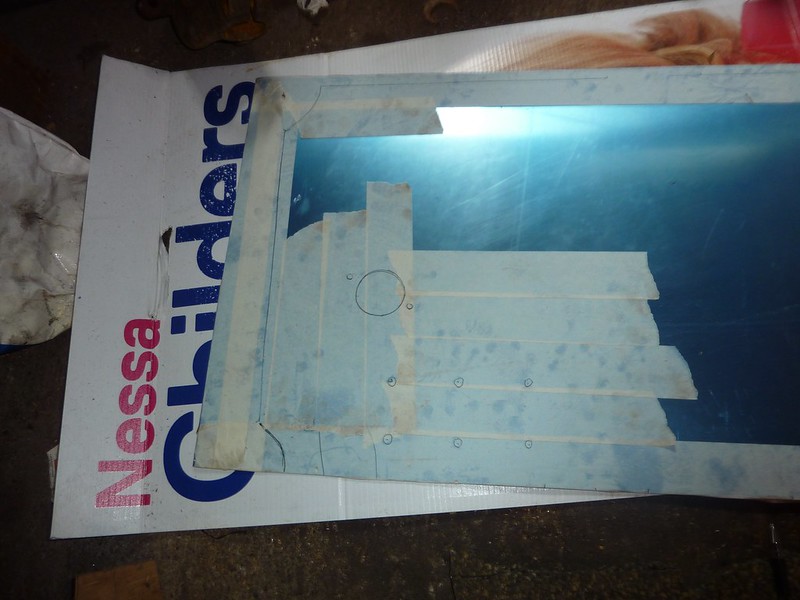 Using a combination of a rubbish hole saw set which only really works on wood it seems, a jigsaw and a drill, I cut out the required shapes. 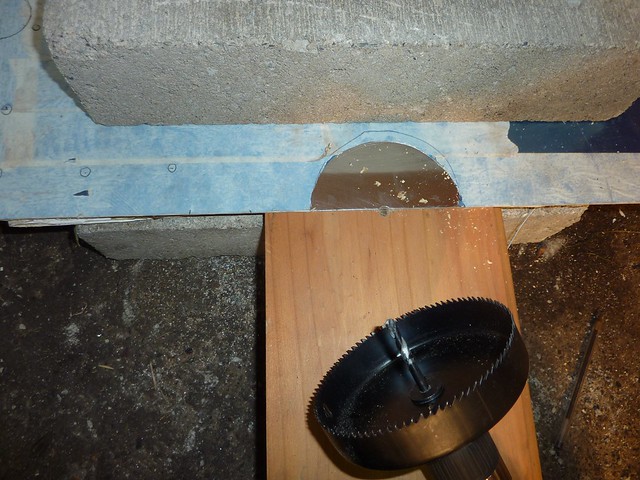 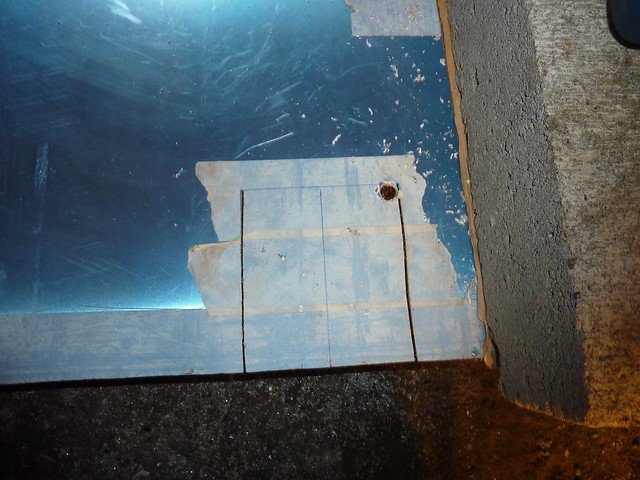 Tah dah! 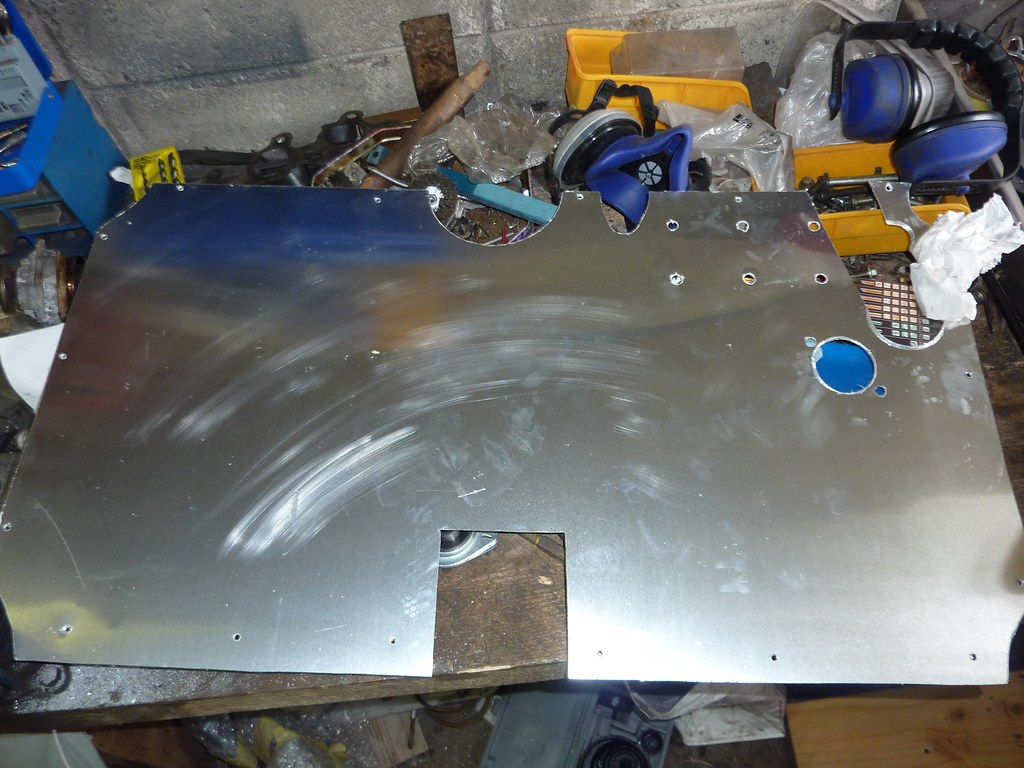 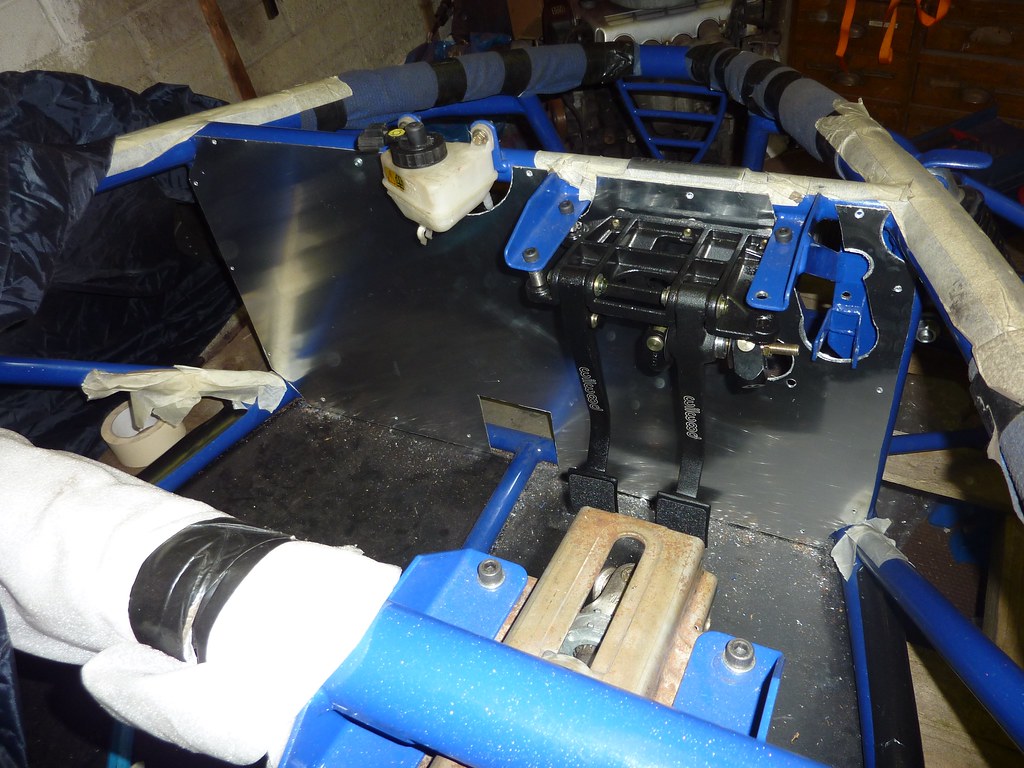 I'm pretty sure that I'm going to have to remake or adjust it, so I haven't covered it with edge trim or even screwed it in properly. The steering column is still in paint mode (3 primer coats, 3 paint and I'm on the 2nd clear coat), but should go back in handy enough. I've got a bit of an issue where it looks like the holes I drilled through the template into chassis for the rivnuts no longer match up with the holes in the bulkhead made from the template, so either I'll have to bosh or do it over. Plus I haven't allowed for the Joker pedal at all, so I don't know what's got to come off from where for that, I'll wait till it arrives. Either way, I'm not entirely convinced 1.2mm of aluminium is up to the job. I've got a 2mm mild sheet that I might make a bracing piece for my bearing. That dibond stuff looks good, two 1mm sheets of ally with poly in between. If I can make it fit, and get a sheet of it at a reasonable price, I'll do the front bulkhead again. If I can't, there's plenty left in the 3m sheet I bought for a 1.5mm bulkhead. For now, this'll do for the build.
|
|
|
|
Post by sandancer73 on May 14, 2014 11:57:35 GMT
Hi,
You'll need to cut out around where your master cylinders are fitted (currently you have 6 drilled holes) or you may struggle to get enough thread through the nuts.
Note, I have had my bulkhead in & out god knows how many times for various reasons.
Lee
|
|
|
|
Post by casesensitive on May 14, 2014 16:39:15 GMT
Hi, You'll need to cut out around where your master cylinders are fitted (currently you have 6 drilled holes) or you may struggle to get enough thread through the nuts. Note, I have had my bulkhead in & out god knows how many times for various reasons. Lee I've imagined I'll have to cut out circular holes where the MCs pass through, but that they will be inside the 6 drill holes. I'll do that when I get a better hole saw set (Silverline one is feeble). On the other hand, do you reckon I'll have to cut out the whole area between the holes? |
|