|
|
Post by Kevin Patrick on Jan 5, 2012 23:00:04 GMT
|
|
|
|
Post by fuoriserie on Jan 8, 2012 12:30:49 GMT
Looking forward to your build...  |
|
|
|
Post by Kevin Patrick on Feb 6, 2012 19:07:48 GMT
Dead man walking! I enjoyed using some of the nicer January days to burn off the remaining fuel, but the day of reckoning approaches. The Burgman made her last drive on two wheels yesterday and arrived at Exomotive. 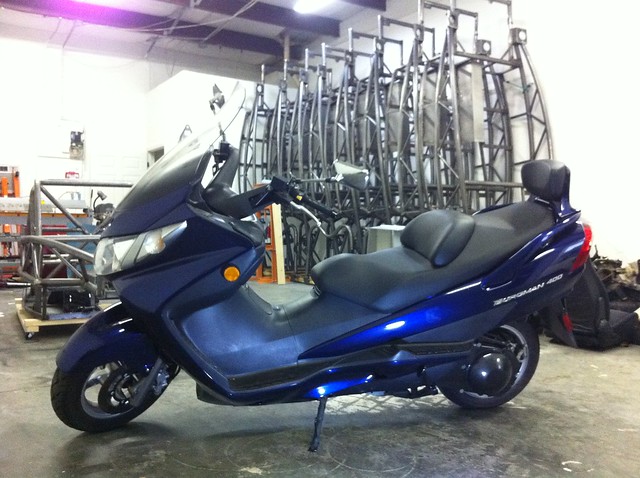 |
|
|
|
Post by Kevin Patrick on Aug 12, 2012 10:58:04 GMT
Been a while since our last post. We've had the kit in the shop since early July but have been busy marketing the MEV lineup and enhancing our fiberglass production capabilities. Finally was able to devote some time to it this week. Please see all high resolution photos from the project in the following galleries. 2005 Suzuki Burgman 400 - Donor vehicle and related parts www.flickr.com/photos/thekevinpatrick/sets/72157628736594153/Eco-Exo-R Reverse Trike Build - Donor teardown and kit build www.flickr.com/photos/thekevinpatrick/sets/72157630985512822/Donor gets a final wash before teardown: 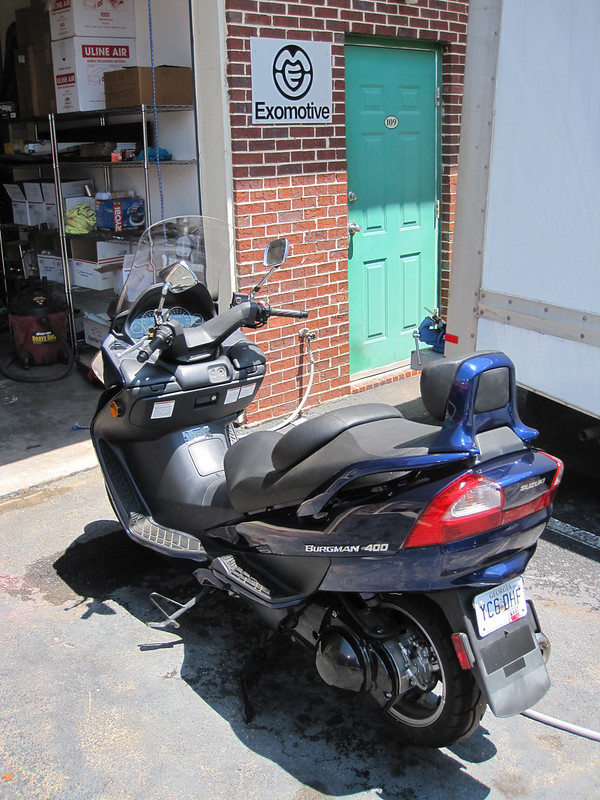 I wish I had some great insight or tricks to show you to help disassemble the Burgman, but the fact is the scooter is very simple and the entire job can be done with a few wreches, sockets and screwdrivers in an afternoon. General tool list: 8, 10, 12, 14, & 17mm wrenches 8, 10, 12, 14, & 17mm sockets w/ short and long extension Metric allen wrenches Phillips and flat head screwdrivers Small snips/cutter for removing plastic ties from wiring/frame Painters masking tape & felt tip pen/Sharpie for labeling wiring harness Containers to drain coolant and brake fluid Paper towels If you don't mind spending a little time on YouTube, a guy named Mitch Bergsma has made a very helpful series of how-to videos about the 2003-2006 Suzuki Burgman / Skywave 400. 32 videos so far and they are a great primer before starting your teardown. View them all on this YouTube playlist: www.youtube.com/playlist?list=PL652A47B178098110&feature=plcpAll the body panels are held on by a combination of screws and push-pin plastic rivets. Simply use your phillips head screw driver to pop in the top of the rivet, then remove the rivet from the body panel. Panels removed: 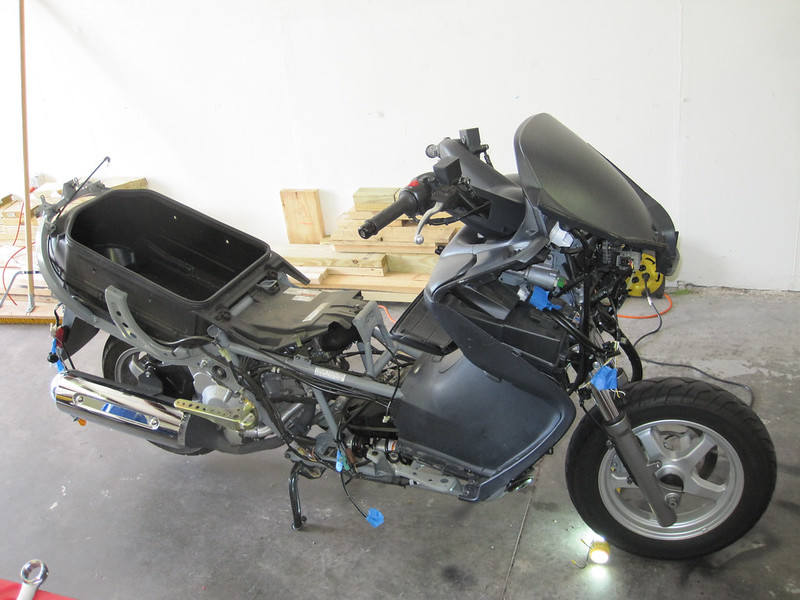 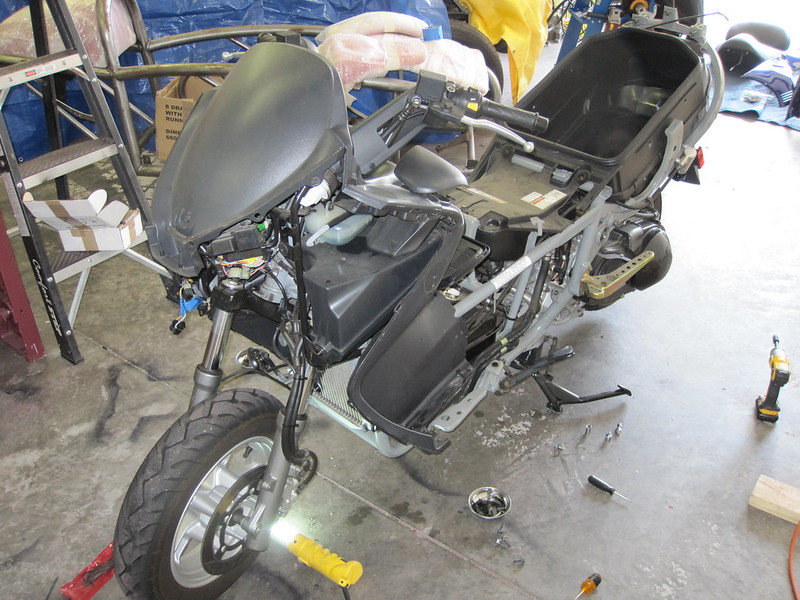 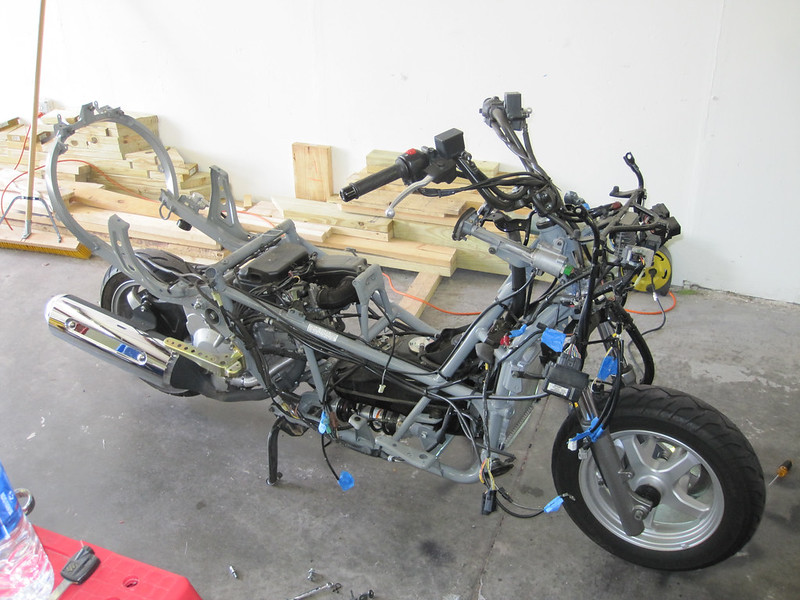 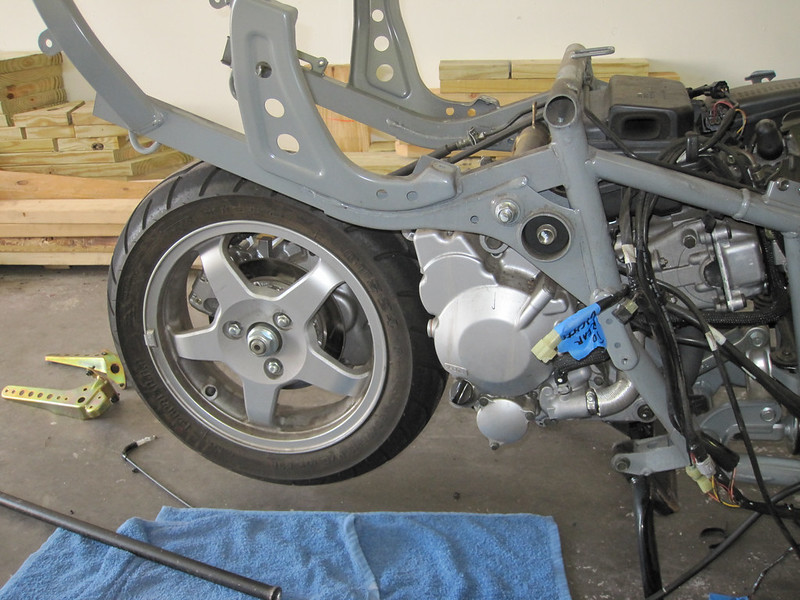 The only challenge I ran into during teardown was that Suzuki used 2 security screws on the ignition. I did not have a security bit to remove them, so just introduce the screws to your angle grinder with cutting wheel and turn them into flat head screws. 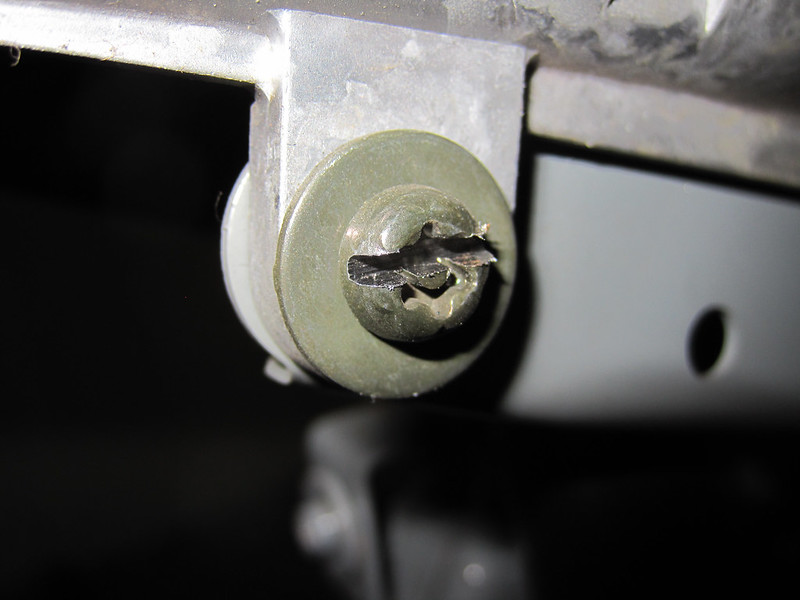 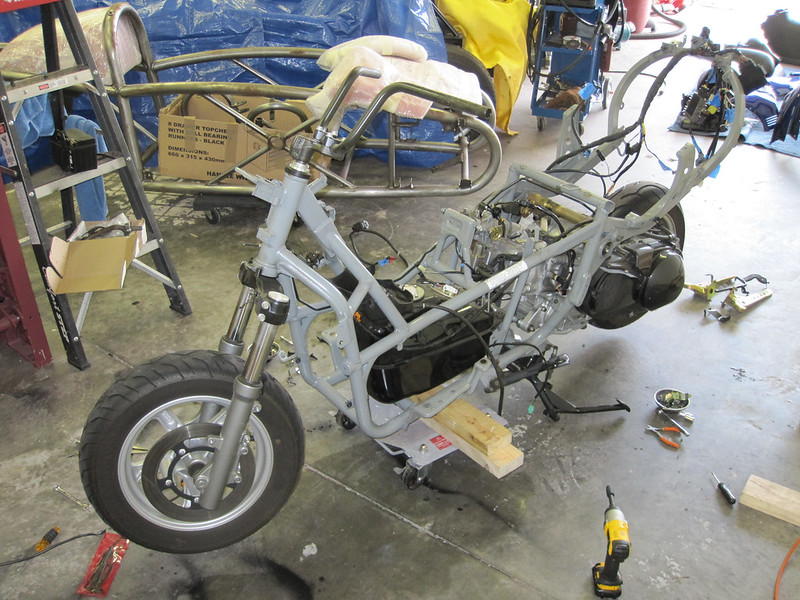 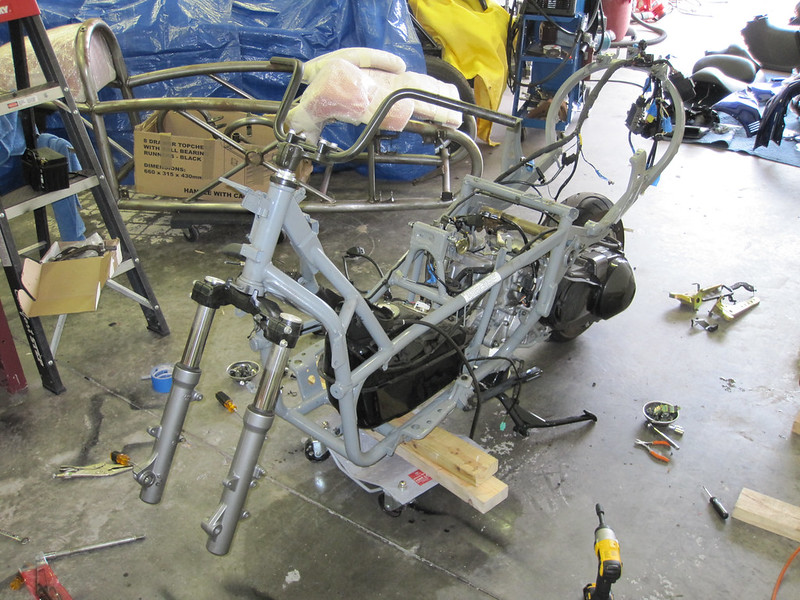 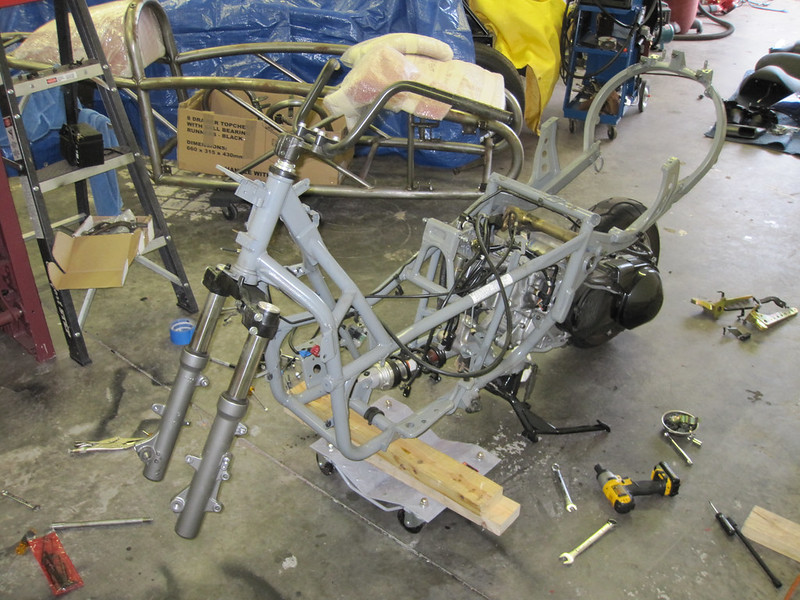 Lots of parts in great shape to be photographed, tagged and sold: 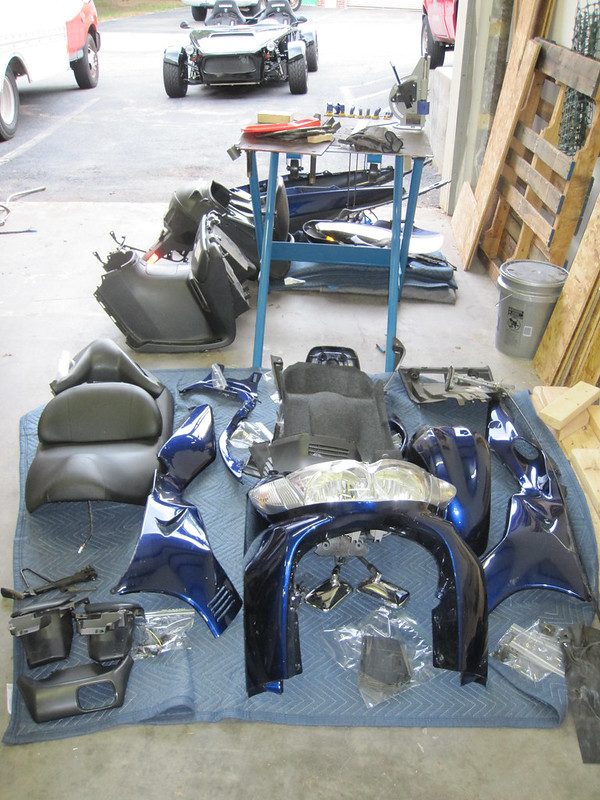 Adjustable Rear Suspension: 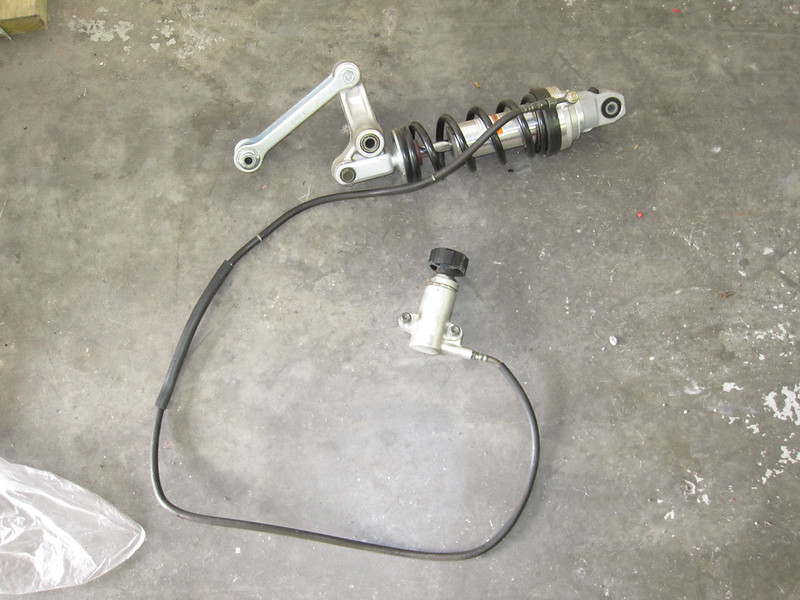 Engine/CVT/Rear Wheel: 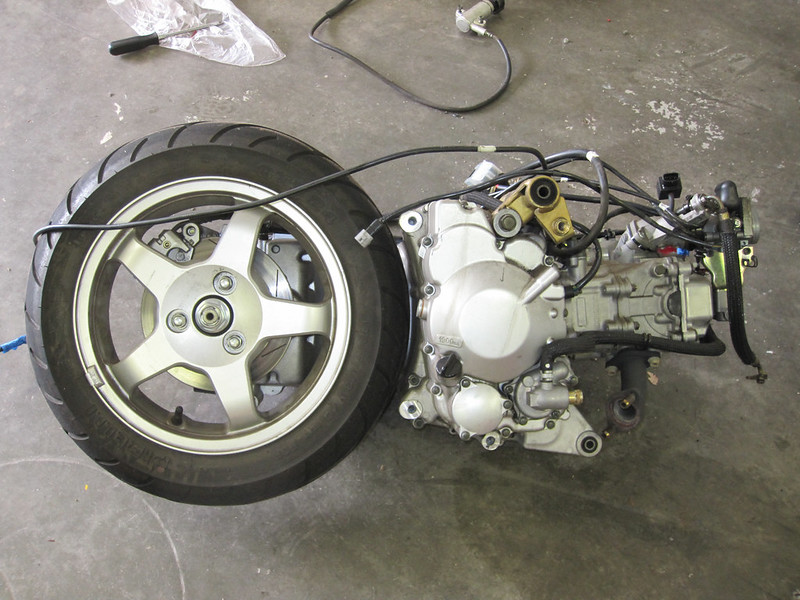 |
|
|
|
Post by Kevin Patrick on Aug 12, 2012 11:40:27 GMT
Dry build commences with rear shock install: 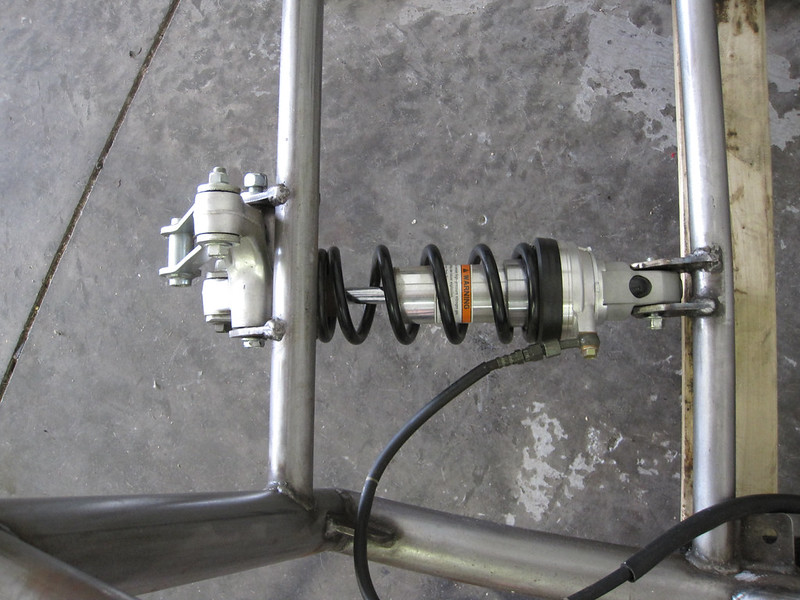 Use some scrap wood to block up the chassis so you can easily mount the rear suspension to the engine: 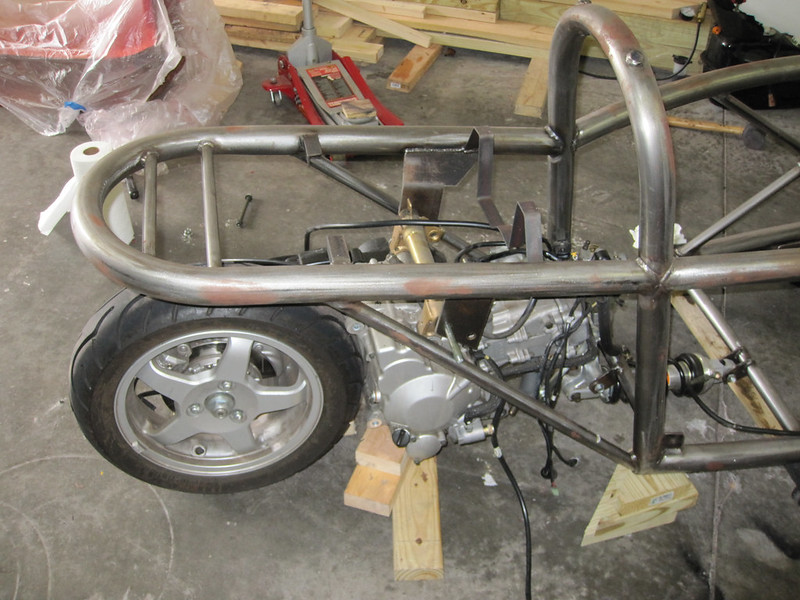 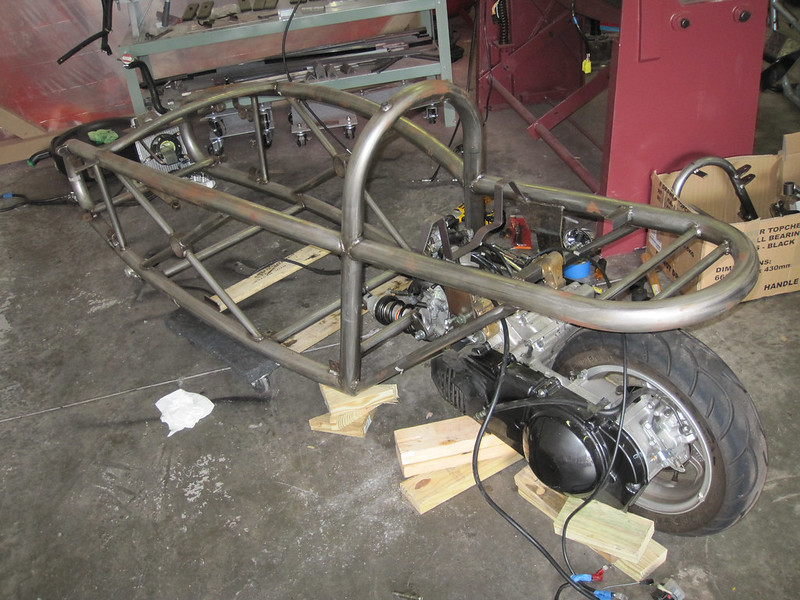 |
|
|
|
Post by erik on Aug 23, 2012 20:42:52 GMT
Great start!
br,
Erik
|
|
|
|
Post by jimmybcox on Nov 16, 2012 23:56:57 GMT
You better get moving Kevin or I'm going to beat you and have the first on US soil...
|
|
|
|
Post by erik on Nov 17, 2012 9:22:46 GMT
Dry build commences with rear shock install:  The front tube of the shock needs some aditional bracing. Looks like it has been bend already. br! Erik |
|
|
|
Post by jimmybcox on Nov 17, 2012 19:33:12 GMT
Oh yeah, can see it bending. Lets make sure some extra support is incorporated into my chassis. Jimmy
Did Scott have an issue with his R version?
|
|
|
|
Post by jimmybcox on Nov 17, 2012 19:35:50 GMT
Oh ok i see the possible issue. This chassis has no seat track support which would distribute the load applied to this structural member... Jimmy
|
|
|
|
Post by Scott on Nov 18, 2012 16:14:59 GMT
It does look a little bent, is this the picture image?? we hae not supports on the handle bar model and thats fine! but the R has the seat supports fitted between so wont be a issue,,
Cheers Scott
|
|
|
|
Post by Kevin Patrick on Nov 20, 2012 16:32:28 GMT
Wow, I saw the post as we were driving back from the F1 race in Austin and was surprised to see how bent it looked! I'm back in the office today and thankfully see now that it was just my point-and-shoot camera on the widest angle distorting the view. I'll bring a better camera to work and get a different photo.
Note that I had asked Scott not to include seat mounts on this model as we are installing a pair that will perfectly mount to our seat. The regular Eco-Exo does not need those since it uses the standard scooter seat. The Eco-Exo-R kits normally do include seat supports as standard.
Sorry for the delay on the build! The weekdays are keeping me very busy with sales/marketing and we've spent nearly every weekend at one automotive event or another marketing the MEV line.
|
|
|
|
Post by jimmybcox on Nov 21, 2012 15:19:51 GMT
Darn cameras...
|
|