|
|
Post by kevin robyn on Nov 8, 2016 17:12:21 GMT
I'm back and have some questions according the fuel lines and brake lines, For fuel lines i chose steel brake lines 8mm, as they are steel they will probaly do for iva because there is not fuel written on it? i placed them on the frame on the right side ( passenger side, belgium car) i know the fuel tank cannot be in the same compartiment but can the fuel line pass if there are no connections who can leak? 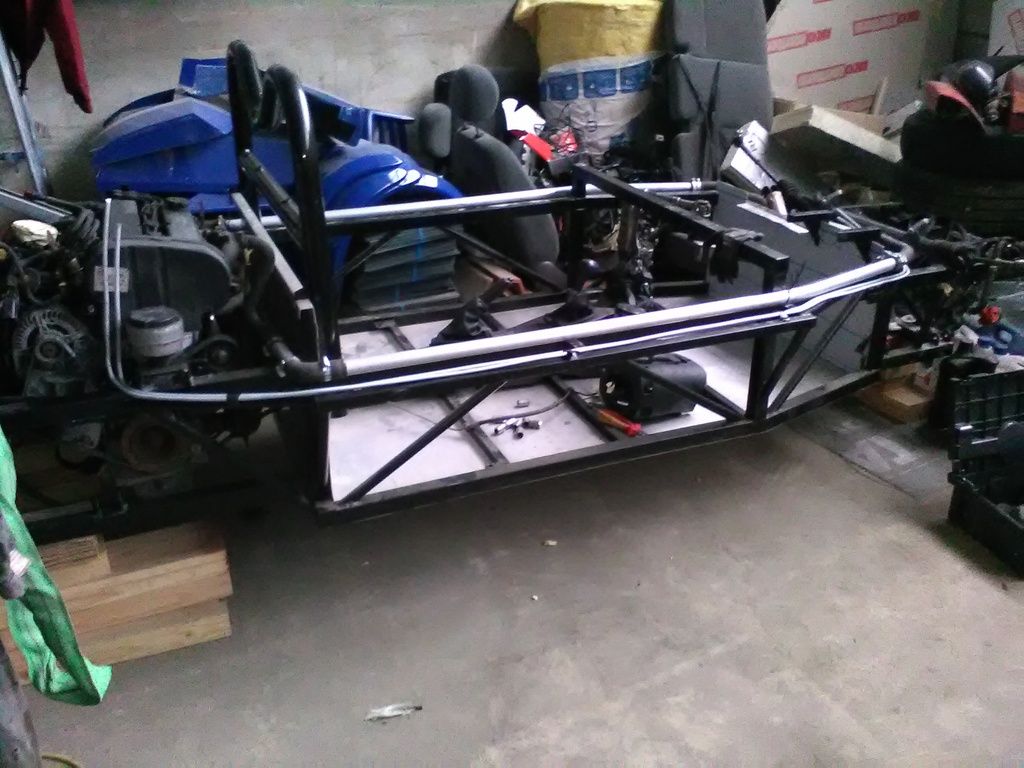 Or will i have to place aluminium on the inside to make a compartiment, i would like to leave the side open in the interior so the frame is visible, Next question can i use this to attach the waterhoses, i dont know the name in englisch but here in belgium we use it to fix electrical lines to the floor for example . If i use this the tube is fixed and can't move so for me its fine but i would like a second opinion 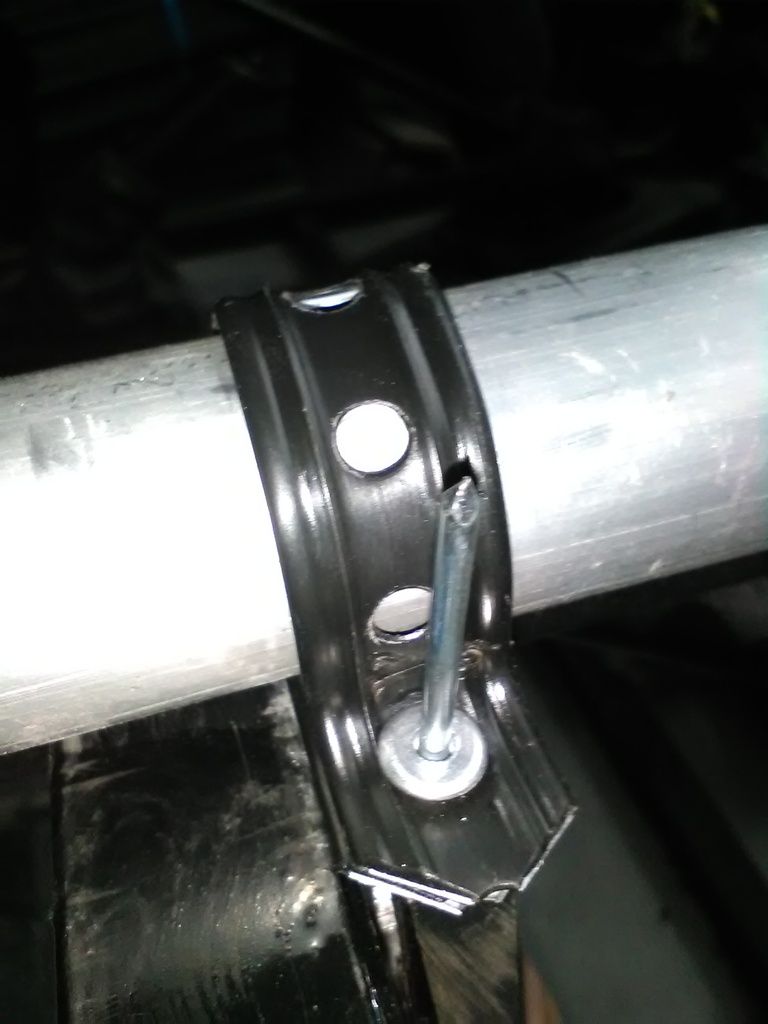 For the brakelines i would use it also. I have 3 lines that need to go to the back, left brake, right brake and glutch, with this i can fix them with one rivnet each 15cm. The main reason for this is that i don't like to drill alot of holes in the frame, as i believe this isnt good for the strenght if you consider the underside has been drilled alot for for the floor, and then drill alot of holes in the side of the same tube   Would this be good for iva or do i have tho clamp each line seperatly every 15cm with a p clip. |
|
|
|
Post by Stiggy on Nov 9, 2016 11:07:40 GMT
I would be very careful with the grp unless you plan to paint it. There seems to be a pile of it with no protection in the above picture. I have found the original invoice that you requested but you need to check the VIN as the one you gave me only had 15 digits on it.
|
|
|
|
Post by kevin robyn on Nov 9, 2016 12:53:10 GMT
Hello stuart, yes the grp in the back is on a pile, i know it is not the best way to store it, but as i bought it second hand
the grp wasnt in good conditions, it allready has cracks and scratches so painting will be necesary or wrapping . Also the person before me drilled some of the holes incorrect and need to be redone.
I'm affraid that is the only number on it that i can find, but its welded with 3 dots so i will cut it of, maybe theres another one
on under it,
anyway thanx allready for searching the invoice.
|
|
|
|
Post by kevin robyn on Nov 12, 2016 8:59:17 GMT
Hello Stuart i cut off the plate with number on but i couldnt find a number underneath, see picture. 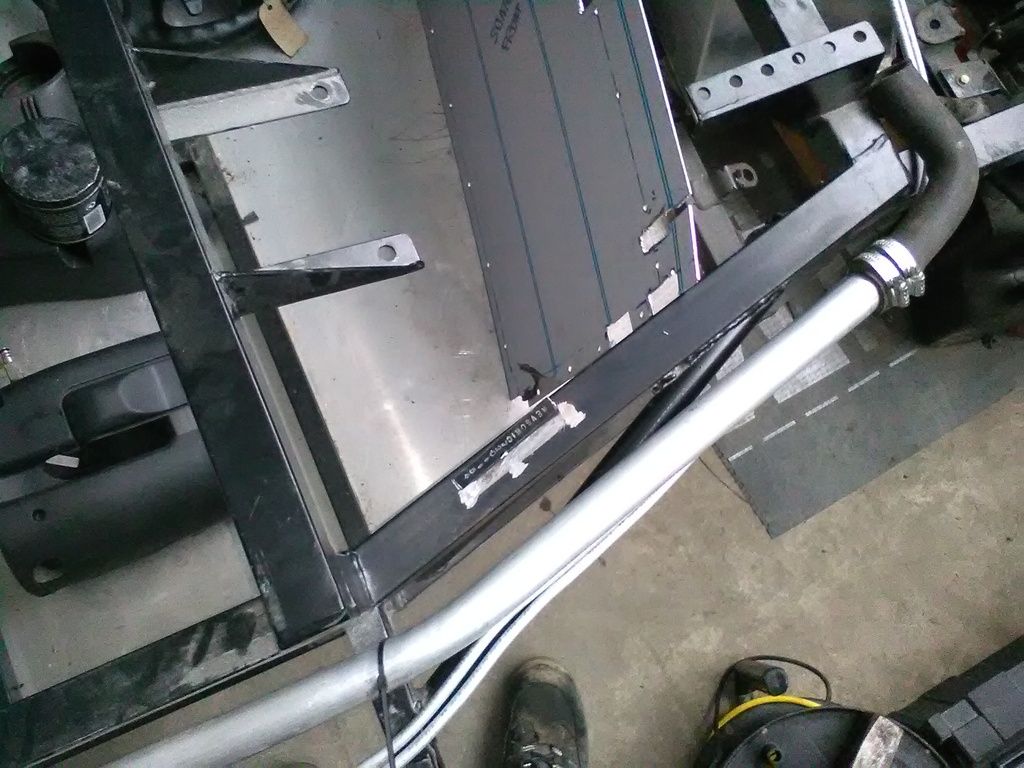 is there another place on the frame where you put numbers on back in 2012, maybe it has beel filled with filler and painted, but i don't want to remove the paint of the whole frame, so if you direct me where i can search that would help me. Best regards kevin |
|
|
|
Post by Stiggy on Nov 12, 2016 10:42:47 GMT
no idea why they put a 15 digit number on it or why they turned the numbers side ways? You just need the 17 digit number stamping on a plate and fully welding in that spot. Not sure why are are asking about a number under the plate. They are welded as you cannot stamp the tube without damage.
|
|
|
|
Post by kevin robyn on Nov 12, 2016 17:37:20 GMT
I was asking because you needed the 17 digit number to confirm if it was the right chassis that moz bought from you back in 2012 so i could get a copy of the invoice. But as there is no 17 digit number retrieveble on the frame beside that 15 digit number it is not possible to compare the invoice :s
|
|
|
|
Post by kevin robyn on Nov 14, 2016 21:01:48 GMT
I found a litlle bit time to proceed with the car. water hoses, fuel lines and brake lines are now fixed permanent. 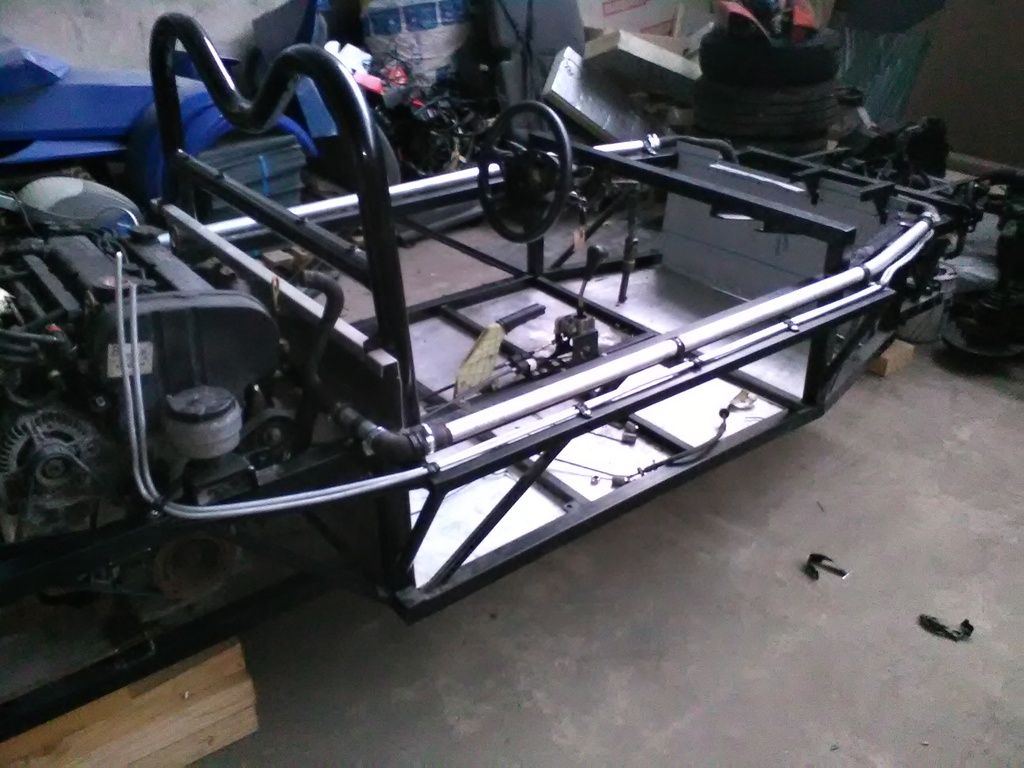 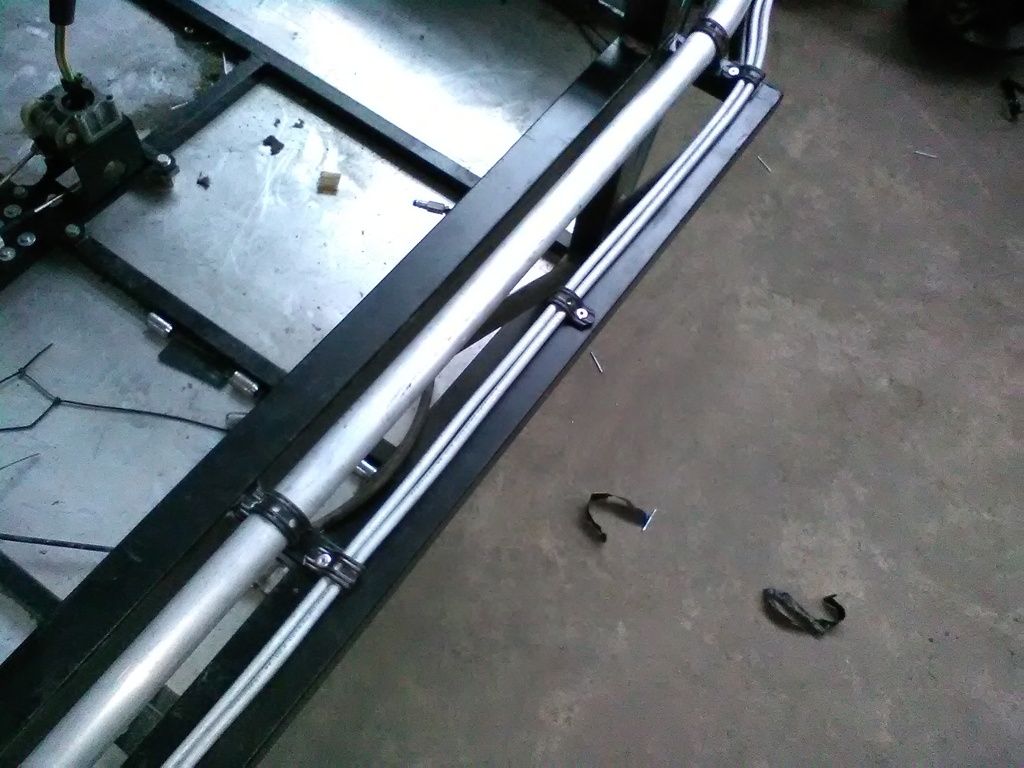 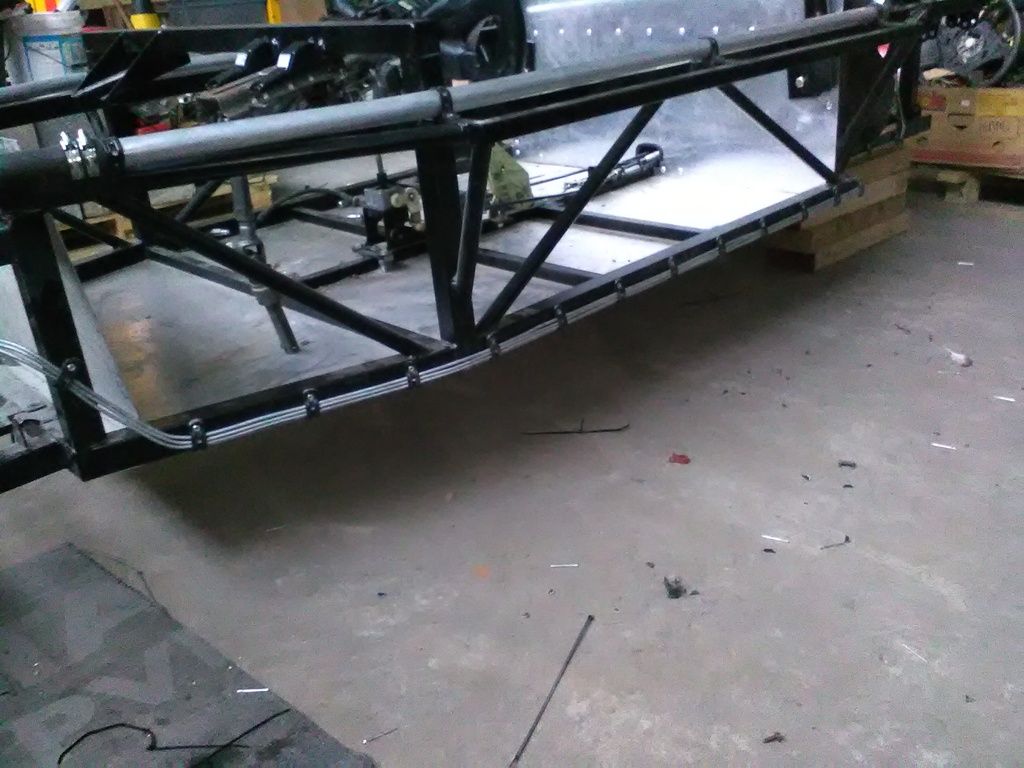 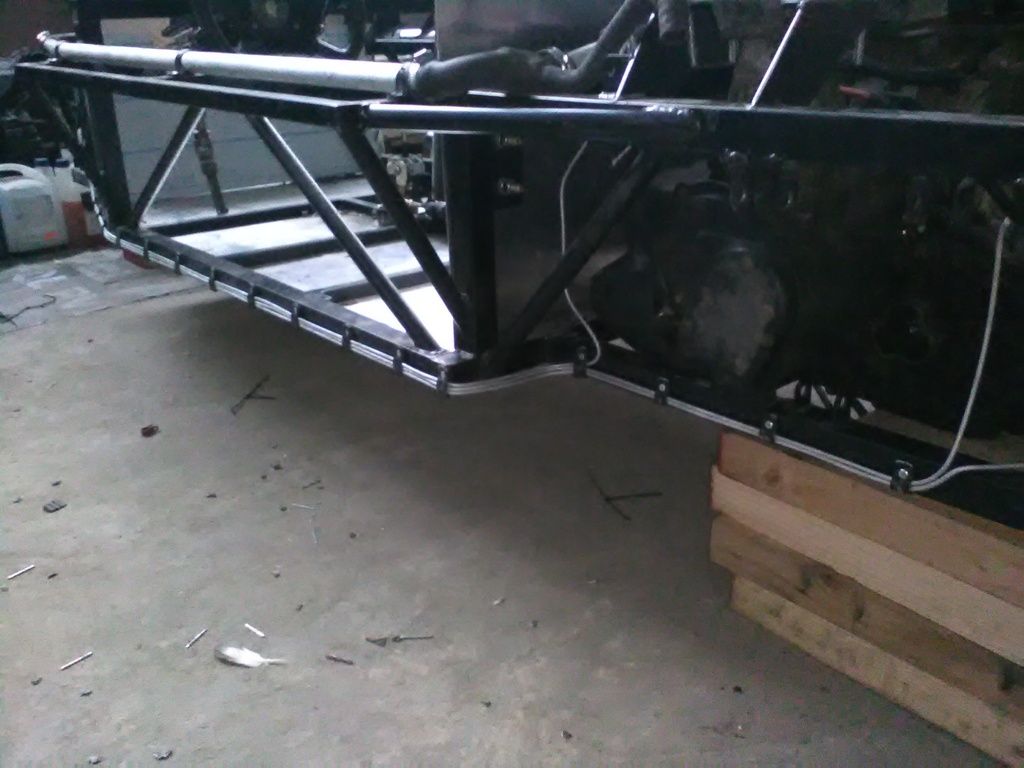 I'm pleased with the result, Next thing is starting with the electrics, and sort the joker quick shift out, its installed but if it is in neutral and i turn the axle inside the gear box it hits something every cycle So i think cable lenghts need to be adjusted, if i get lucky i may have some spare time this weekend. |
|
|
|
Post by kevin robyn on Nov 16, 2016 20:52:01 GMT
I placed the GRP sides to make a litlle bit space, im using my brothers garage for the build so the less place i use the better. i made a bracket to hold the waterreservoir so i could see how much place was left for the electricity, Started with the wiring loom, i will cut anything out that isn't used, if someone has tips or know cables that definitly shouldn't be cut, feel free to share  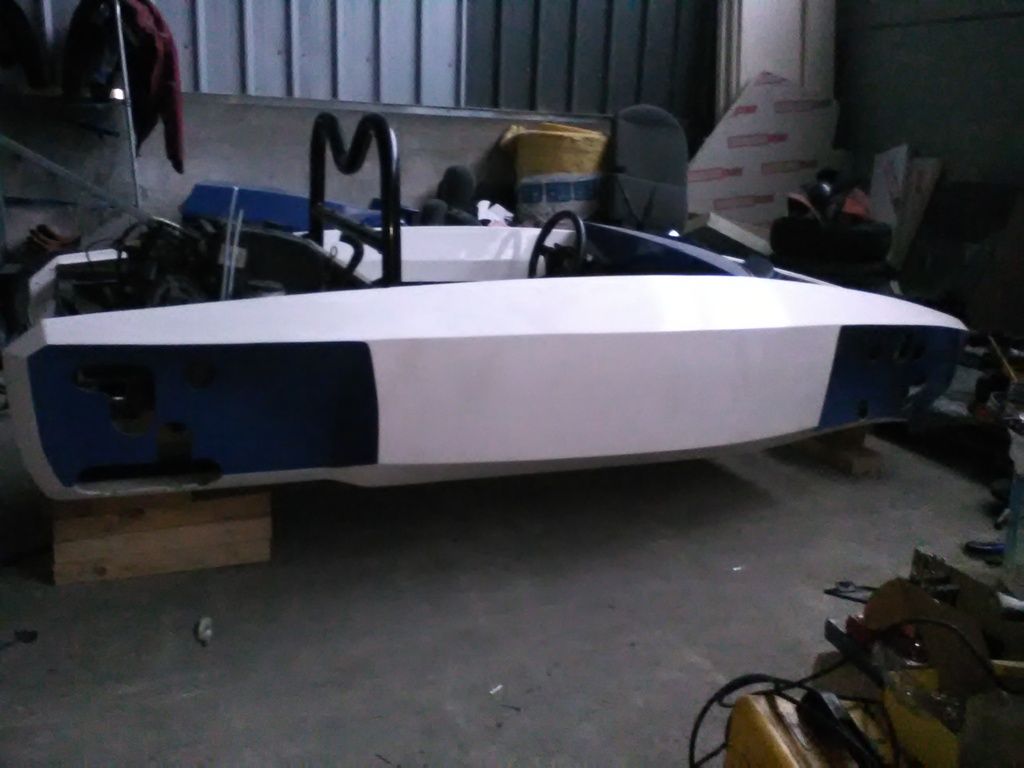 Also testfitted the wishbones and wheels 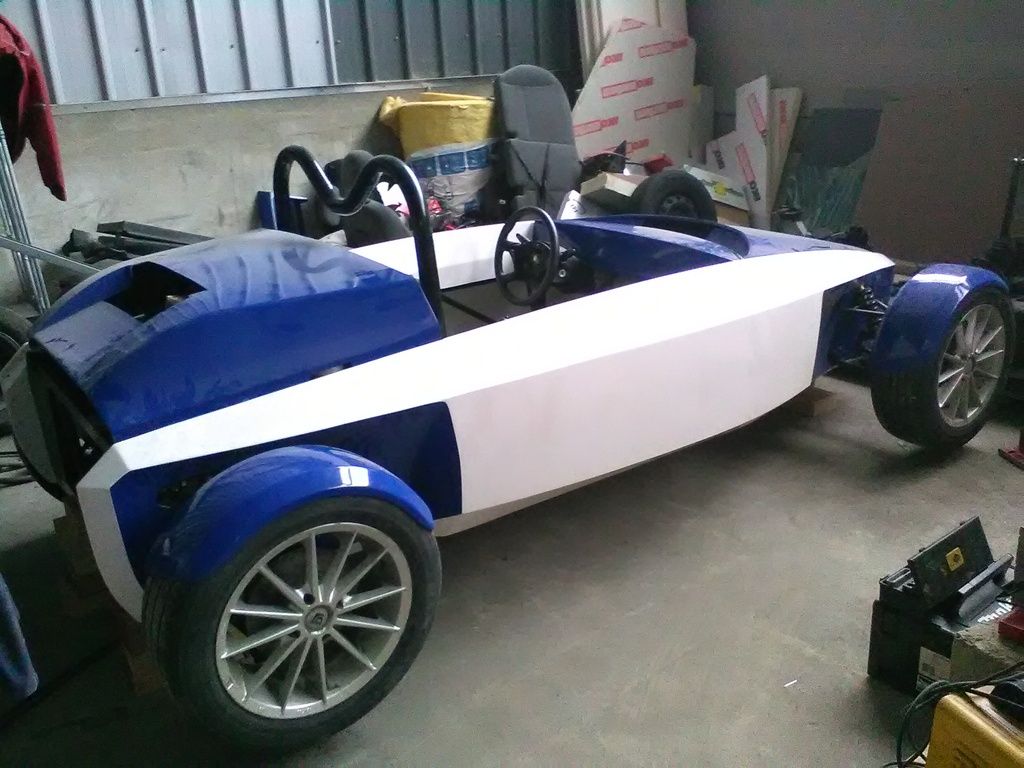 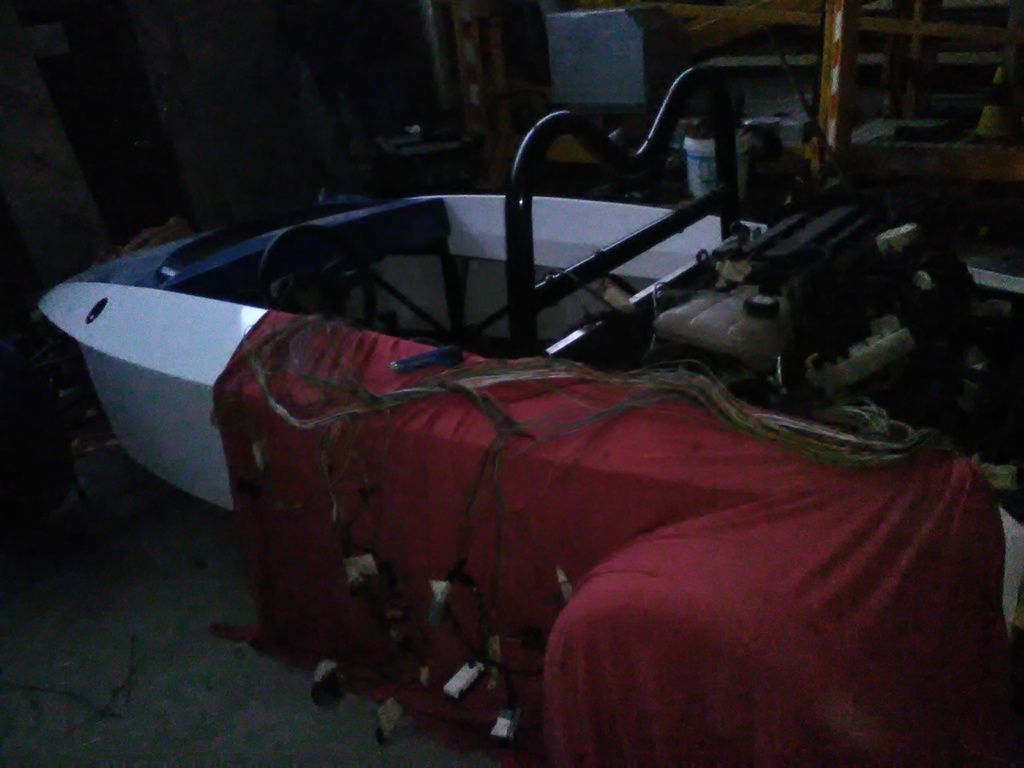 |
|
|
|
Post by kevin robyn on Nov 27, 2016 22:25:00 GMT
Made one step forward on the loom and then took 5 backwards. the loom was for 95% ready, but i wasn't pleased with the 2 original junction boxes. so deceided to cut everything out so i could make a whole new separate loom just for the engine. and will make another loom just for lights somewher in the future. then started on the fuel tank, i have read alot on the forum about how to do it, the best way is to weld a ring but as i'm not in possibility to weld aluminium i went the route to bolt it down. 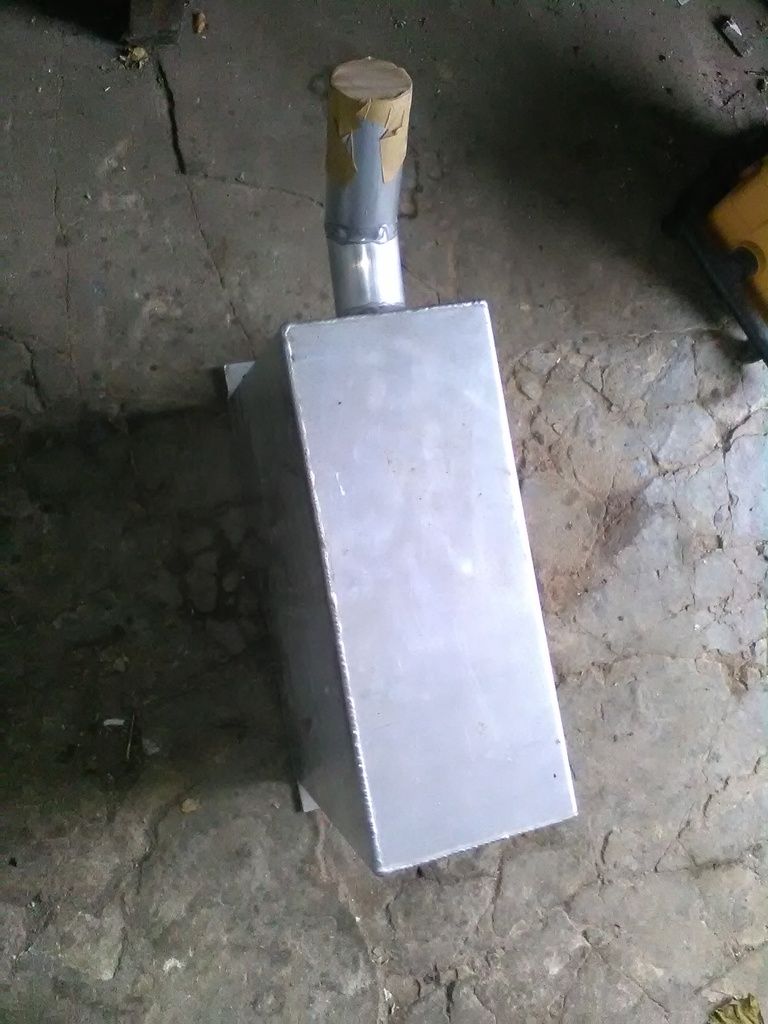 I made a 127mm hole so i could use the original seal of the pump. 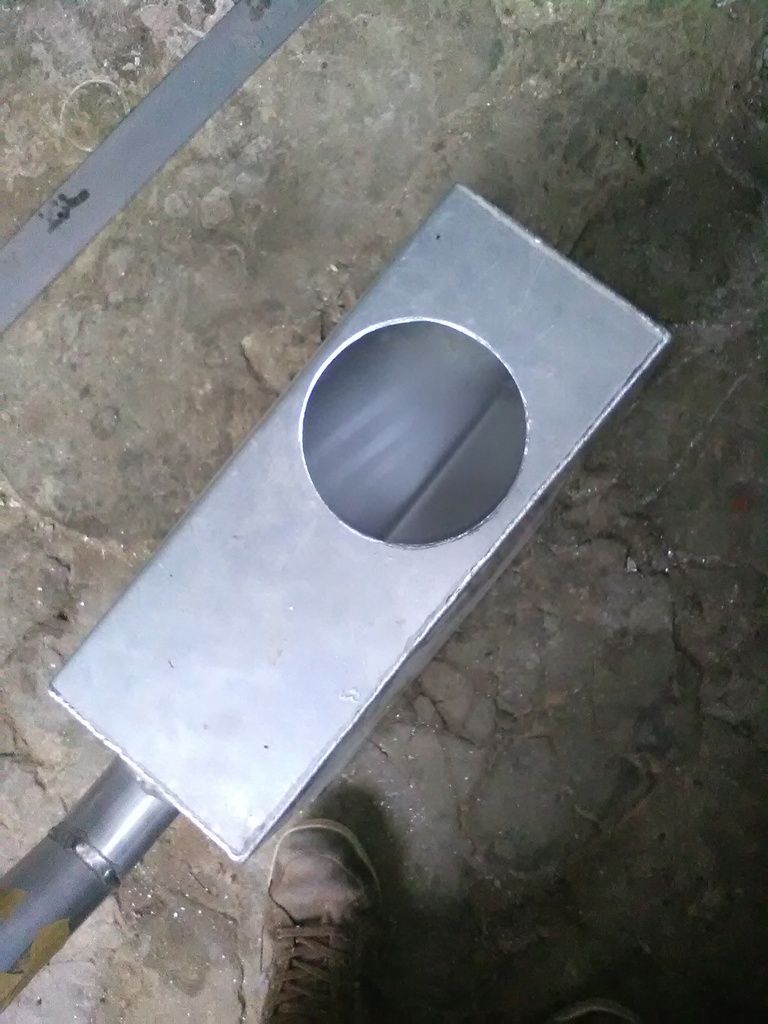 And put in some bolts, they are sealed on the inside with sealant that resist fuel (i hope, i used it already several years on motorcycles and had no problems with ) 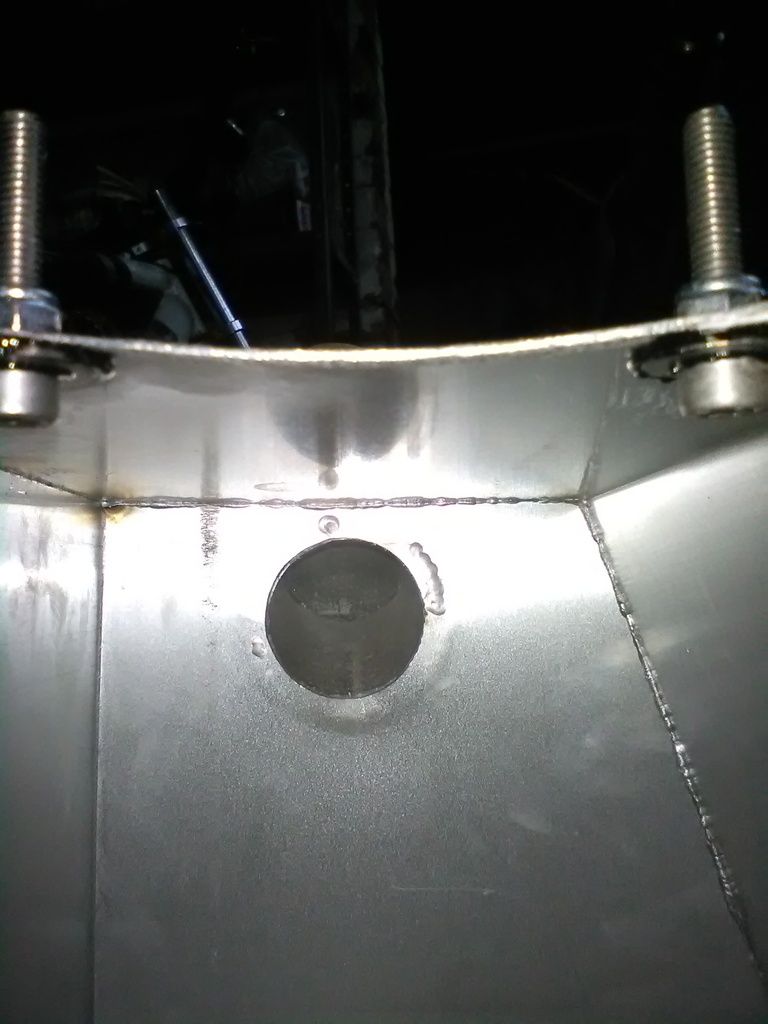 I lenghted the pump with 6mm thread, maybe made a mistake that i went through the top of the pump but i used sealant to. i did this because of the 6mm thread has more strenght bolted both sides so the pump is more solid on the bottom. I place some bolts on the underside of the pump, and made the thread perfectly so when the pump is bolted down its pressed to the floor but still has space so the fuel can pass under it 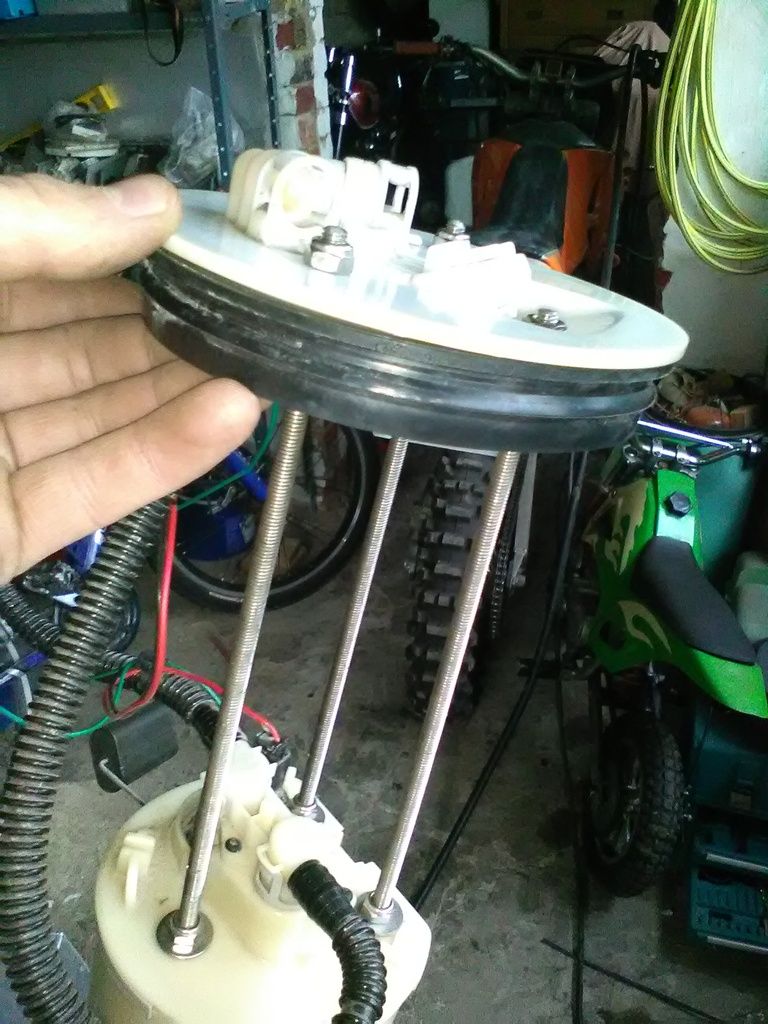 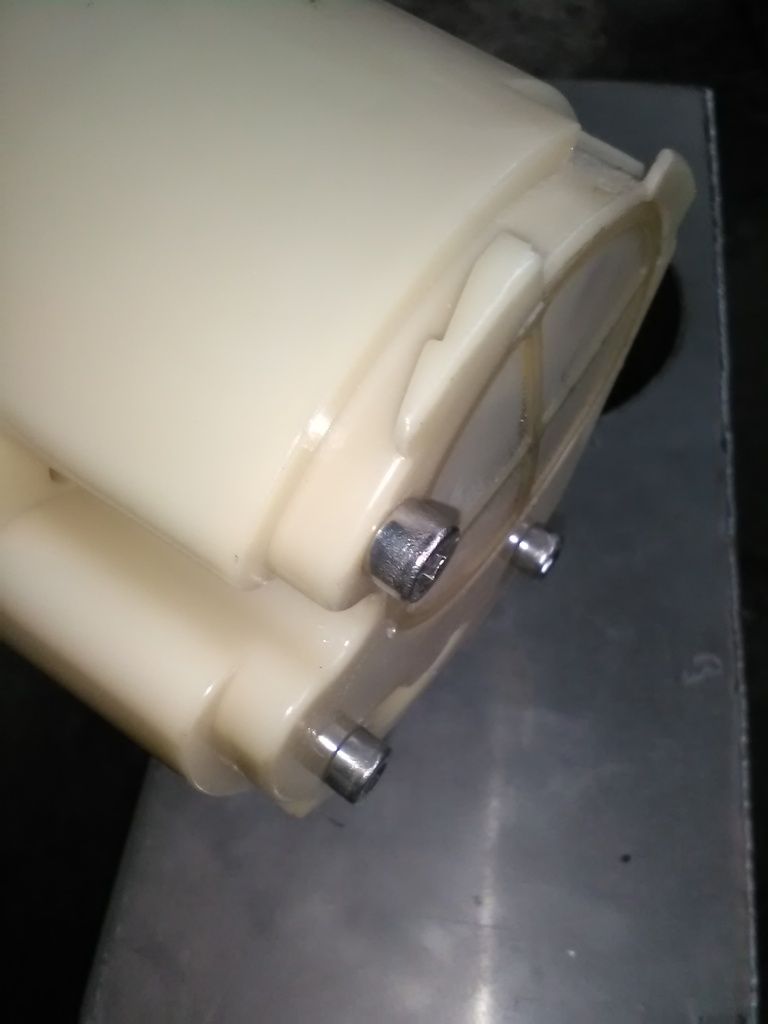 I made a new tube for the fuel level system so it can read on the whole height of the tank. 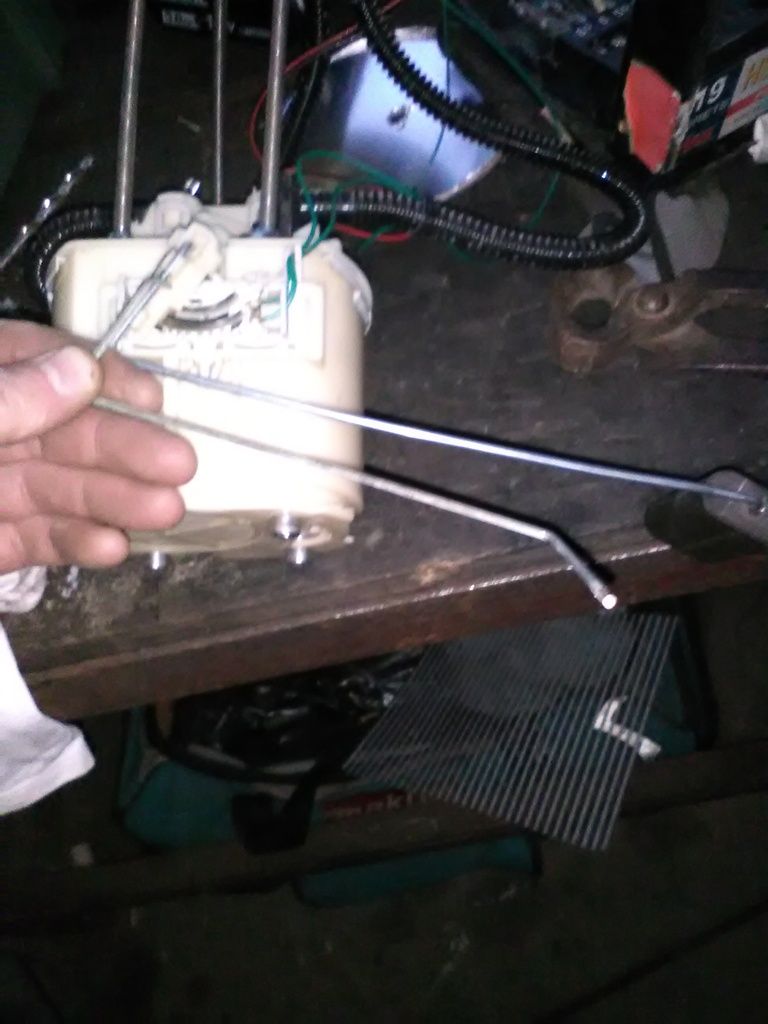 So this is what it looks for the moment, i will test it like this, if everything goes well i will make a bracket to hold the pump down instead off the washers, If i turns out to be a fail, i will search for someone who welds aluminium, i have a spare pump so i wont lose no sleep if its bad. If i can use it to test the engine and my new loom then im happy. 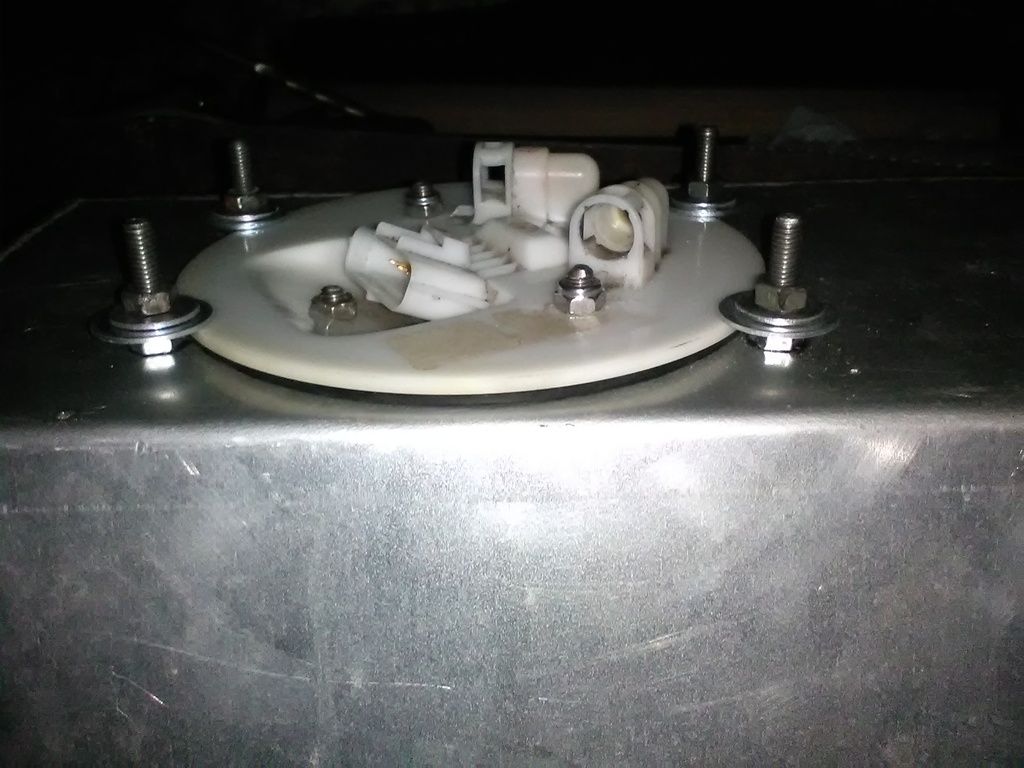  |
|
|
|
Post by kevin robyn on Nov 28, 2016 11:58:44 GMT
I did not slept well, thinking of the tank so i made some plates in stainles steel to hold the pump down. so the pressure would be more divided than just the 4 points, i filled it with fuel and put it on the side so the pump and the connection to the tank is fully in contact with fuel, first 4 hours no leak so i'm hopeful. 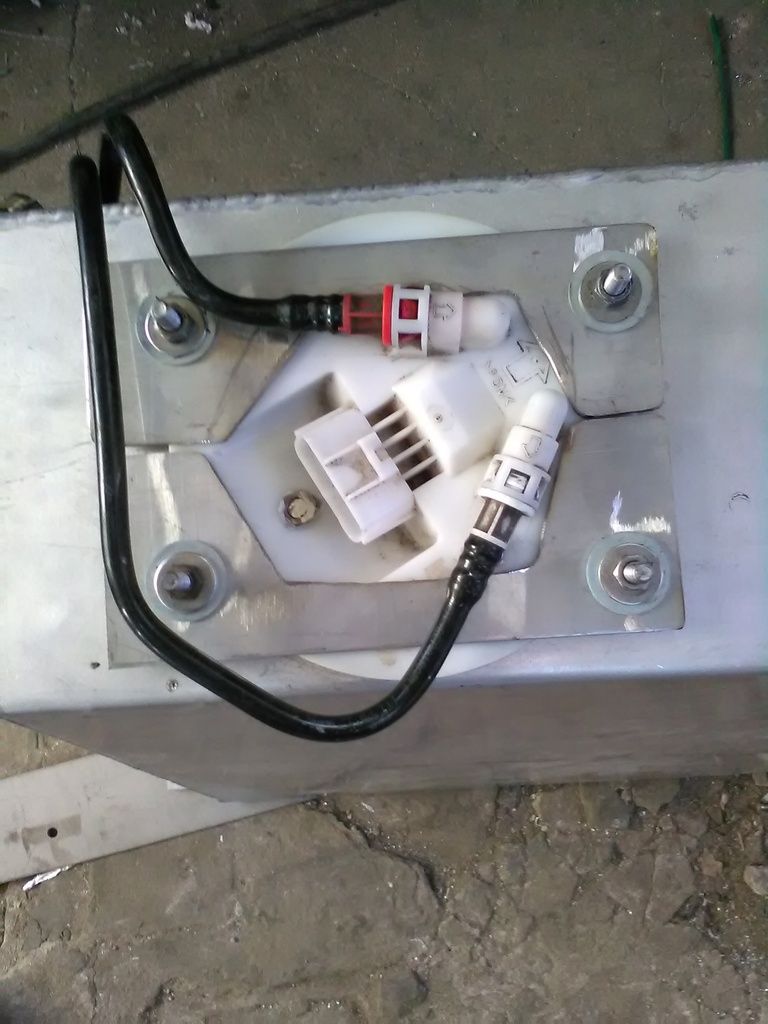 |
|
|
|
Post by kevin robyn on Dec 14, 2016 23:43:28 GMT
Little update i placed the fuel tank, still waiting for a flaring tool so i can connect the hard tube to the pump with rubber hoses. 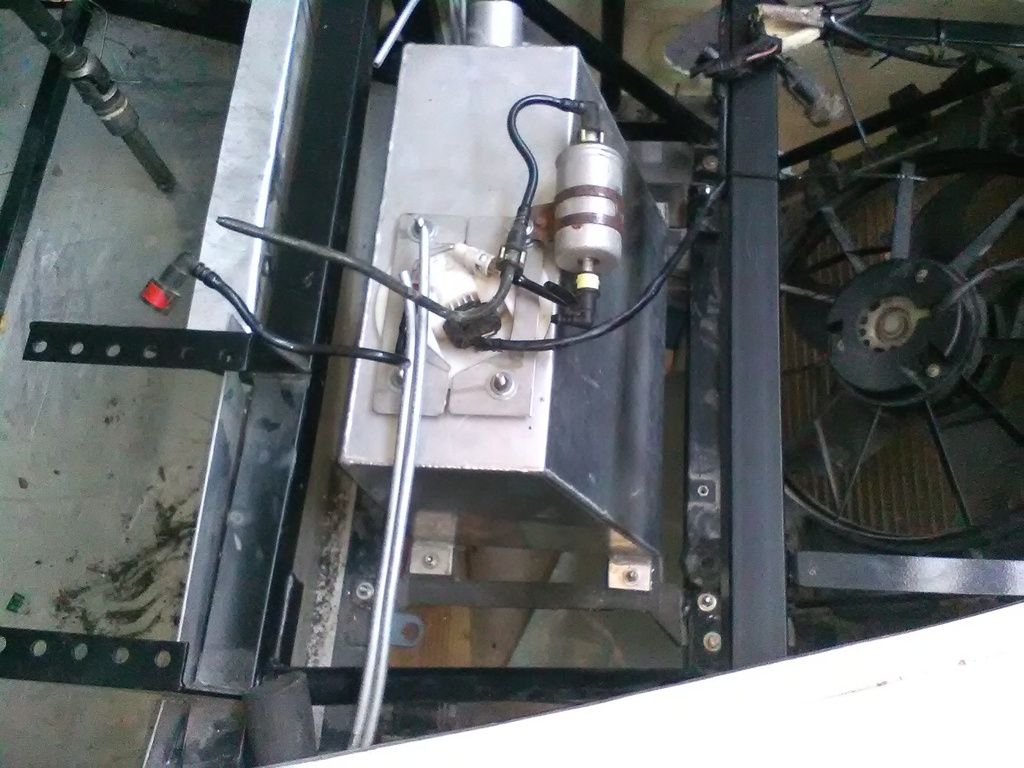 I almost finished the wiring loom for the engine, only things i kept and modified is Wiring sensors in engine Wiring fuelpump and radiator fan Wiring injection Wiring passive theft alarm (coded key) Wiring ignition switch I managed to cut out the yellow junction box and now i only have the black one that also has been stripped to the bare minimum. A lot of blank spaces are free now so in future they could be used for the lightloom allthough i prefer a new separate fusebox in front so if i change to an aftermarket cpu I can remove the engine loom easy without destroyin the light loom. The wires that are still left are unused wires for airco sensor and stuff so that i will isolate and leave them The only thing that i did not placed was the contact for the glutch pedal, does anyone knows this is required ? 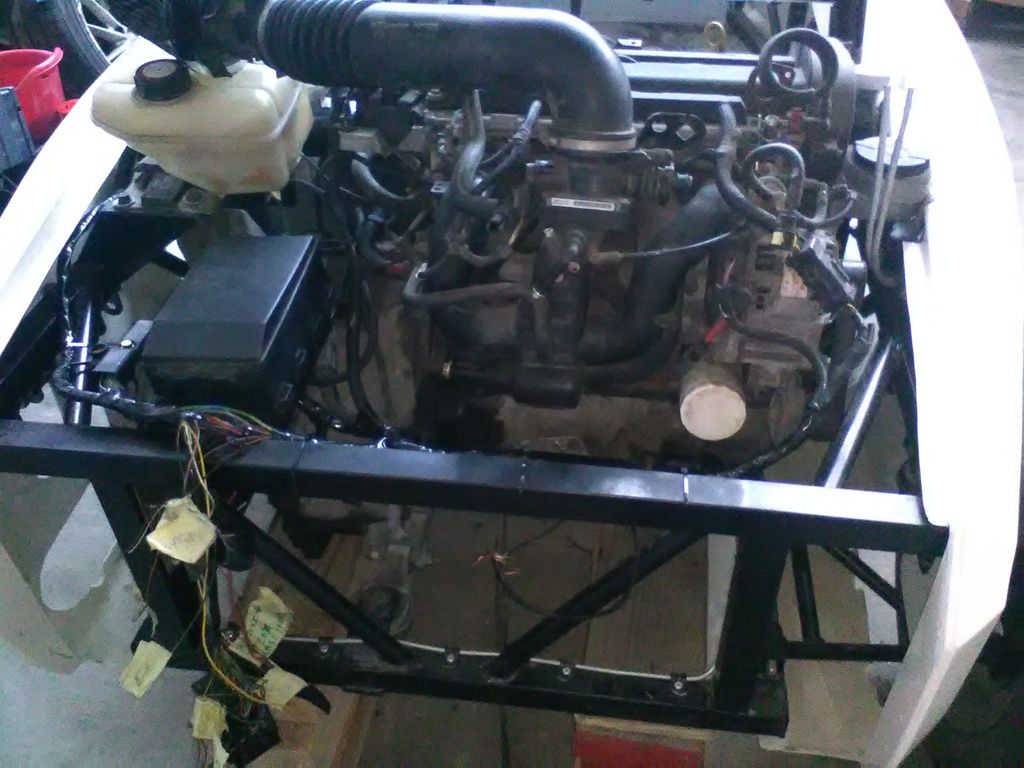 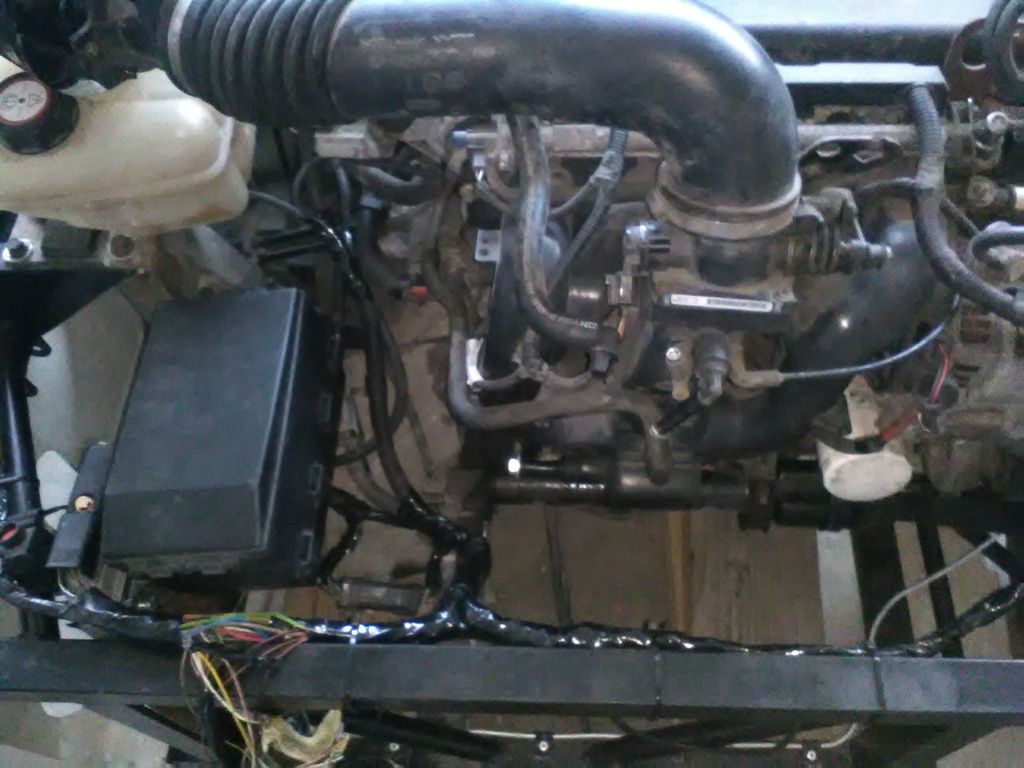 Once the flaretool has arrived i could test the engine |
|
|
|
Post by bigalf on Dec 29, 2016 0:46:12 GMT
Hi.
Your brake and fuel lines shouldn't be in contact with one another or anything they could wear against for Iva. We solved this by just using small rubber tube to separate them.
|
|
|
|
Post by kevin robyn on Dec 29, 2016 16:09:13 GMT
Hi. Your brake and fuel lines shouldn't be in contact with one another or anything they could wear against for Iva. We solved this by just using small rubber tube to separate them. I did not know that, thx, it's just a pita that the polyester is allready bolted on, so everything has to come back of to fix that, once the temperature gets a little bit higher i will look into to that. For the moment its a winterstop as the place were it stands is to big to heat |
|
|
|
Post by kevin robyn on Jan 13, 2017 19:54:36 GMT
I took the advice of bigalf and modified the fuel and brake lines, Another thank you for the advice. I'd rather been told on this forum then on the IVA day  i splitted them up and placed rubbers in evry place where they ever could touch the frame or one or another. 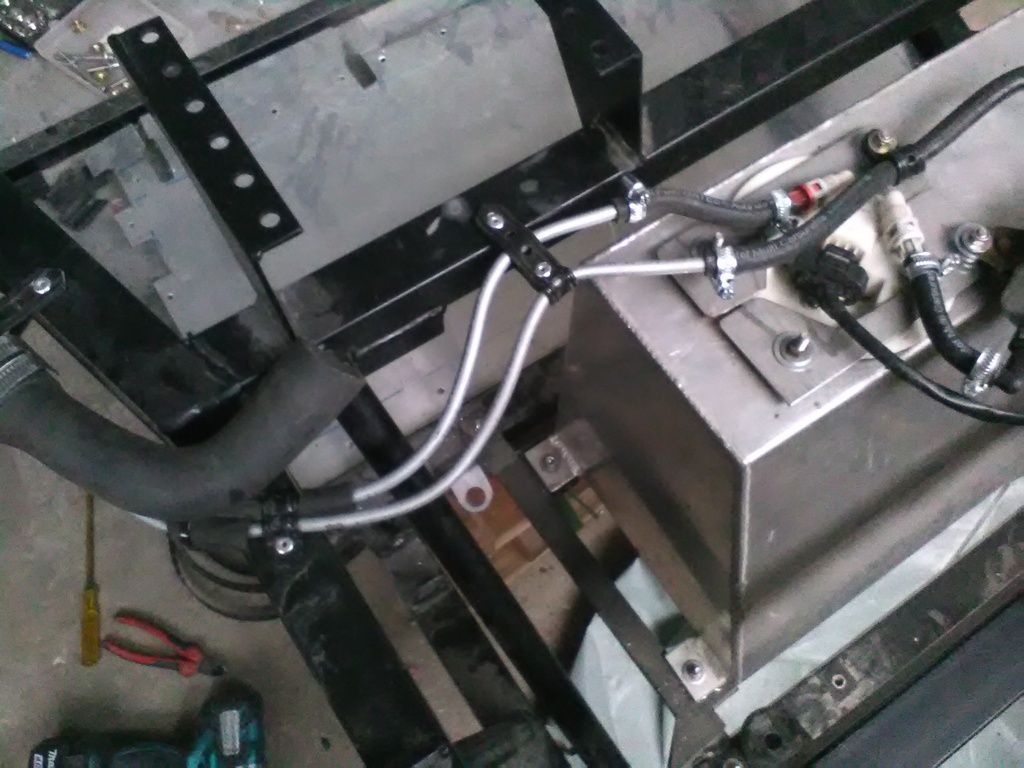 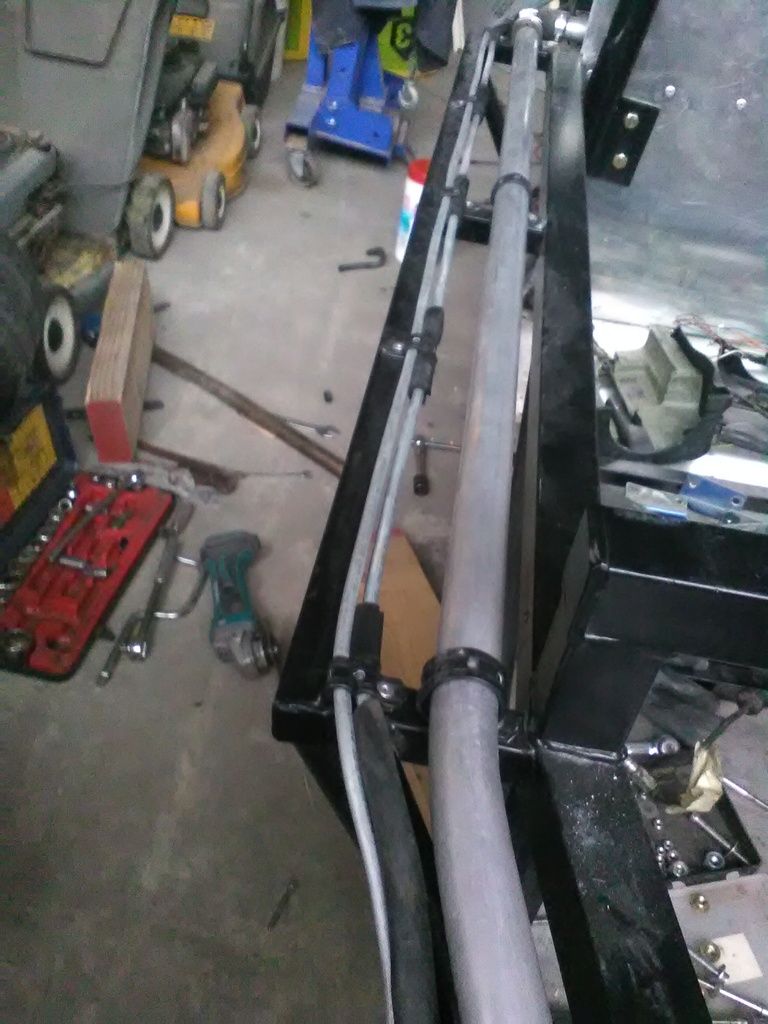 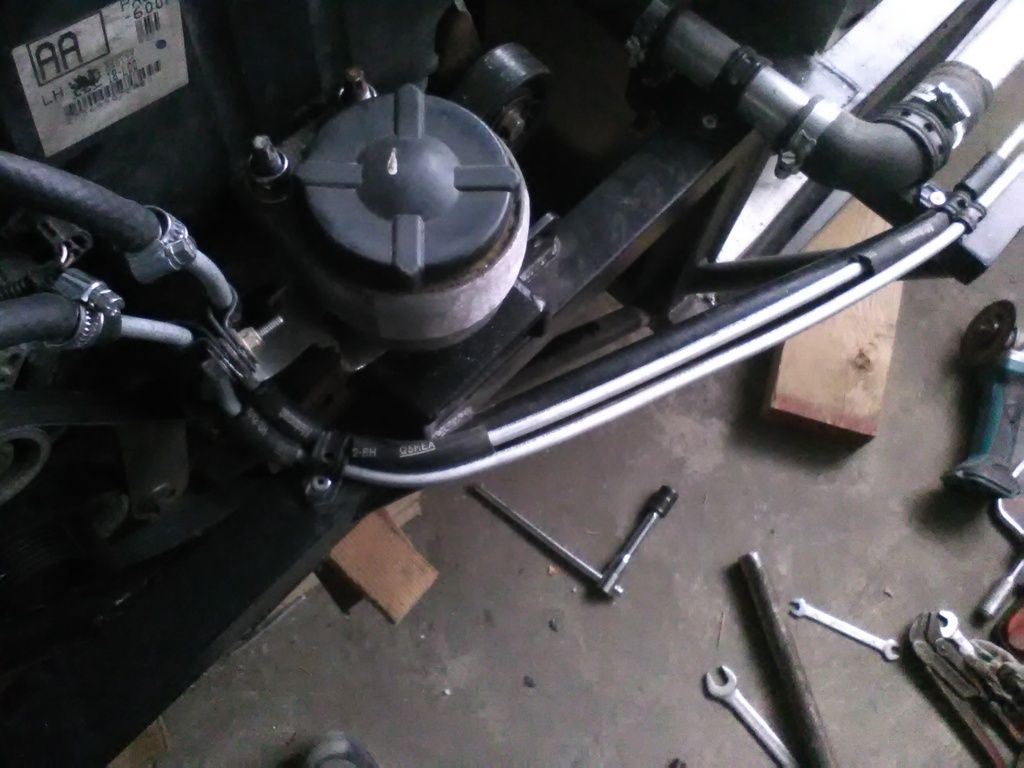 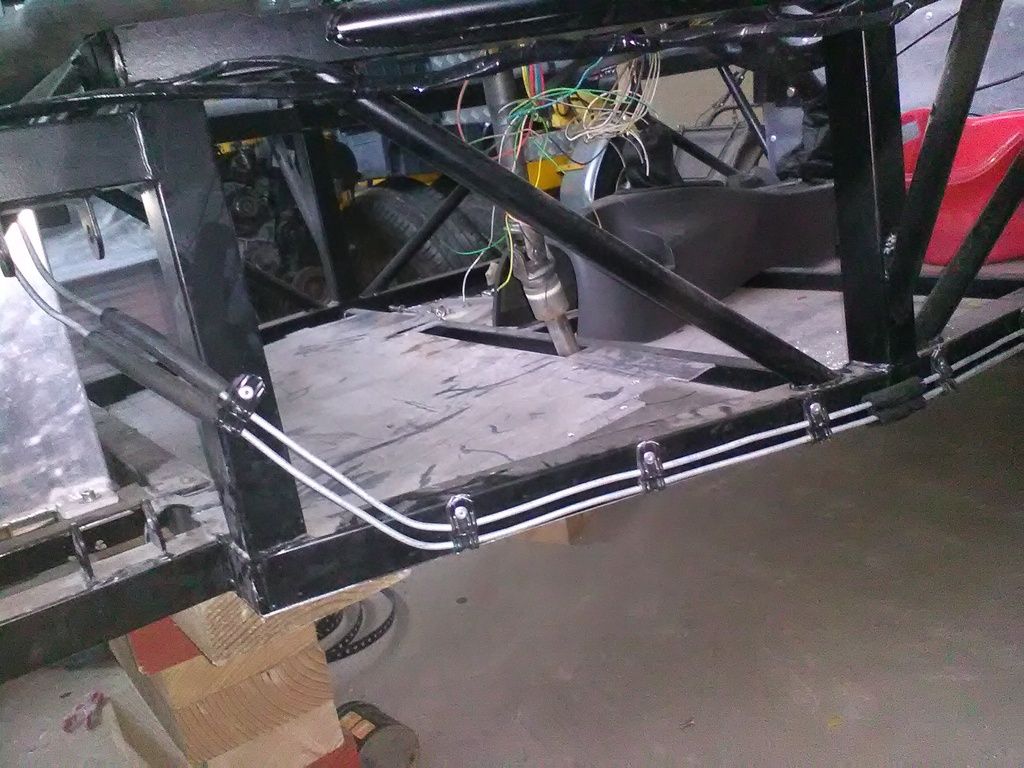 I hope this will be ok for iva. I have a question about a brake connection, i would like to use the original connector from the original rear brake lines to connect my glutch. That system works with a buble flare and a double flare. I cant find something in the iva manual. Would this be approved ? See the picture 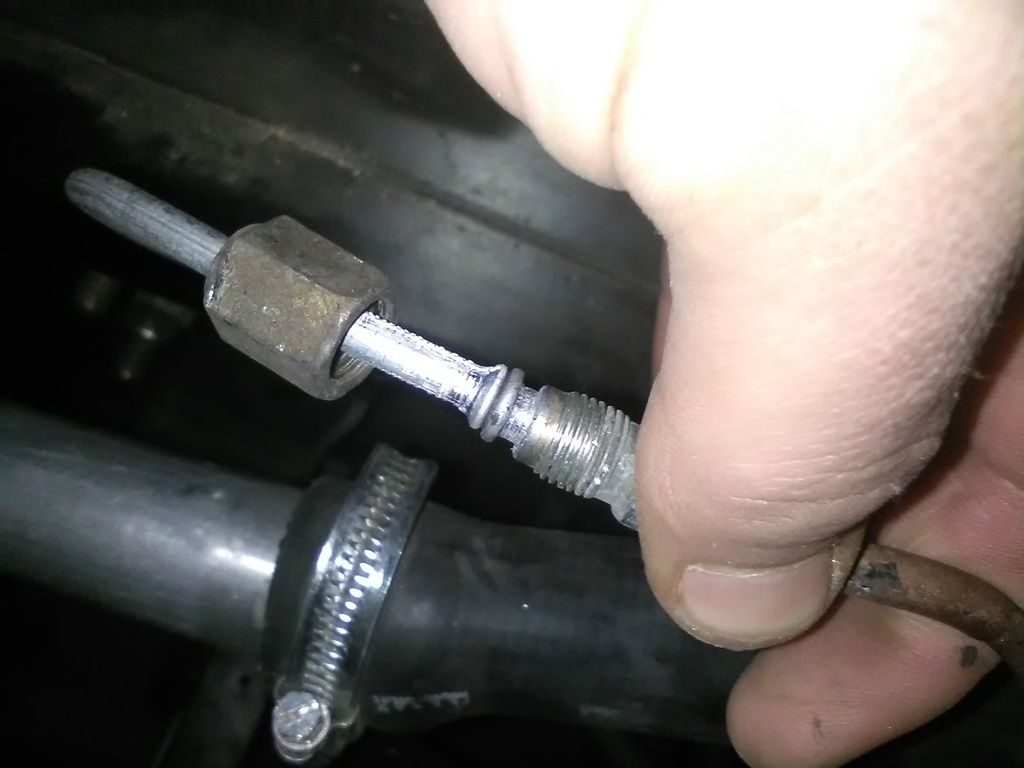 |
|
|
|
Post by mawdo81 on Jan 14, 2017 7:51:57 GMT
As long as it doesn't leak they don't mind for the clutch.
|
|