|
|
Post by Froggy on Oct 4, 2012 9:39:31 GMT
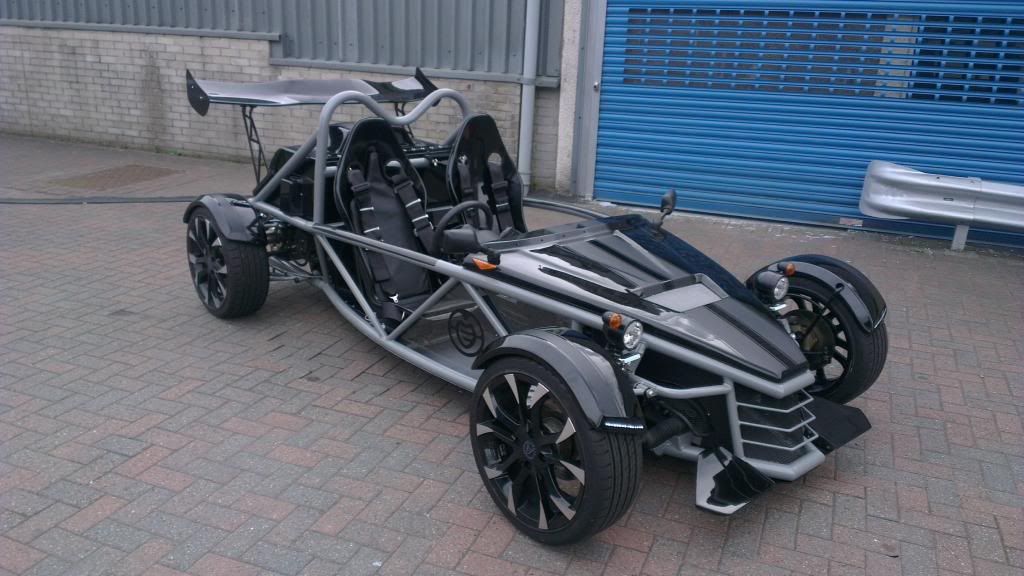
is it possible to fix the engine cover to the chassis using rivets?
and also the same with attaching the bonnet to hinges? or will it crack the panels? thanks
|
|
|
|
Post by airforceone on Oct 4, 2012 12:45:15 GMT
I have used a piano hinge for the bonnet as well. I attached it to the bonnet using
Flat head bolts ( size M4) and screwed it to the chassis using self tapper screws
This makes it easy to disassembly.
As for the engine cover you will also want to attach this with either self tapping screws
Or use rivnuts and bolts.
|
|
|
|
Post by Froggy on Oct 4, 2012 19:02:49 GMT
Thanks guys for the response. regarding the engine cover i only meant the rear of the cover which is attached to the chassis, i dont have a rivnut tool and rivnuts and getting fed up of constantly spending money on more and more stuff all the time so just wanted to get use of what ive already got to be honest. i'll try my hinges/bonnet with rivets then and then go from there. thanks again. wayne.
|
|
|
|
Post by kiwicanfly on Oct 5, 2012 0:02:43 GMT
and getting fed up of constantly spending money on more and more stuff all the time But Wayne that it the third rule of starting such a project, it is down there in the small print. The first rule is - The price advertised on the web site is only there to show the missus when getting her sign off "Look it only costs 7K to complete." The second rule is - The indicitive build time is only there to make you believe it is both manageable and can be finished in time for the summer (cold dark winter minds look for such proects). |
|
|
|
Post by BobN on Oct 5, 2012 10:00:59 GMT
He he. The small print caught me out too. More money and time then I expected and having to buy stuff every week. No regrets and have already blown my budget for the car.
Bob
|
|
|
|
Post by martinw on Oct 5, 2012 11:09:56 GMT
It is possible to set rivnuts without a proper tool - I did for the handful that I used on my Sonic, and they've been fine  www.fjr1300.info/howto/rivnut-tool.html www.fjr1300.info/howto/rivnut-tool.html is the link that I found originally that gave me the inspiration. I sacrificed a couple of rivnuts when experimenting, but it really was quite straightforward Martin |
|
|
|
Post by Froggy on Oct 5, 2012 15:11:38 GMT
Martin thanks for the link, i'll check it out over the weekend. Kiwicanfly- that is hilarious! Unfortunately i didnt get any small print with my kit?! is that an optional extra?!lol. Really funny what you put! nice one! Bob, got your PM, thanks very much, i'll see how i get on and give you a shout if needed-very kind of you. Wayne. |
|
|
|
Post by Paul (madeye) on Oct 5, 2012 20:32:15 GMT
That's a good link for a tight yorkshire got like me
|
|
|
|
Post by carbonbob on Oct 16, 2012 19:02:20 GMT
if you need to fit the panels just drill and tap directly into the tubes 2mm wall thickness will take 4mm screws all mine are fixed that way and no problems just a few 4mm screws needed and a tap and drill needed
|
|
|
|
Post by Paul (madeye) on Oct 16, 2012 19:38:31 GMT
ive done the majority of mine bob before powder, how does the powder fair with the tap cutting through??
|
|
|
|
Post by carbonbob on Nov 5, 2012 19:30:41 GMT
its only a coat of paint in theory so be carefull drilling and no problems the tap will cut through easy
|
|
|
|
Post by Paul (madeye) on Nov 5, 2012 20:51:31 GMT
i meant more for ripping, flaking delaminating etc...
|
|
|
|
Post by carbonbob on Nov 5, 2012 21:15:00 GMT
not a problem yet used a good tapping and cutting compound and put a blob of grease on the bolts to help lube and seal them no different to fitting a riv nut or pop rivet all need a hole drilling and breaking the powdercoat
|
|