|
|
Post by andybaird on Apr 1, 2011 21:42:50 GMT
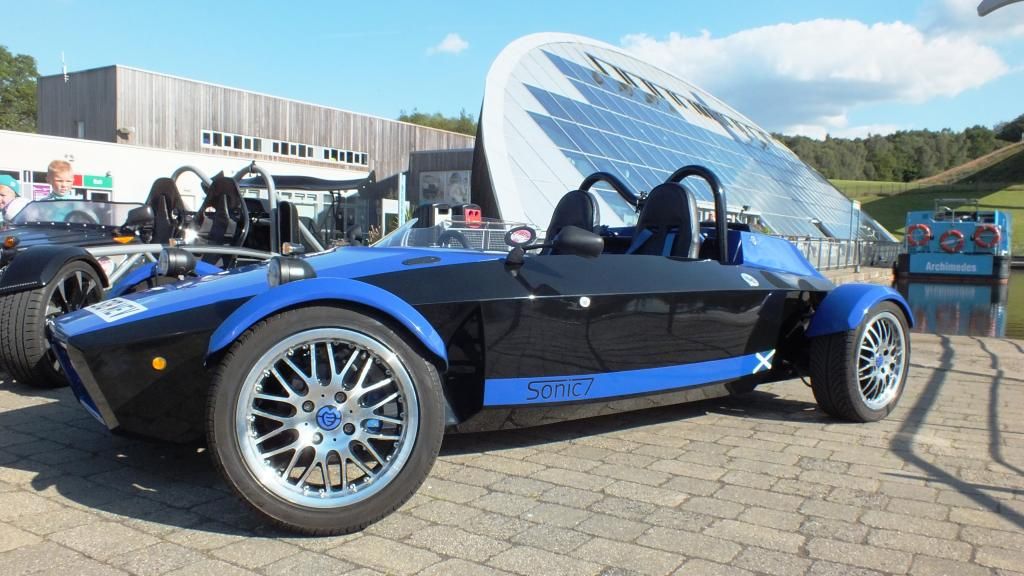
Hi all fellow Mev owners I have been on the forum a few times in the past with one or two questions and comments but now that I have been showing how to post photos from Potobucket I though it was time to start a build thread. It all started last June when me and my son went to the Newark Kit Car show in 2010 when we first seen the Sonic 7. We liked it so much that we came home and sold the Quantum 2+2 and put our order in for a starter Kit in July and collected the kit in August.  Donor Car  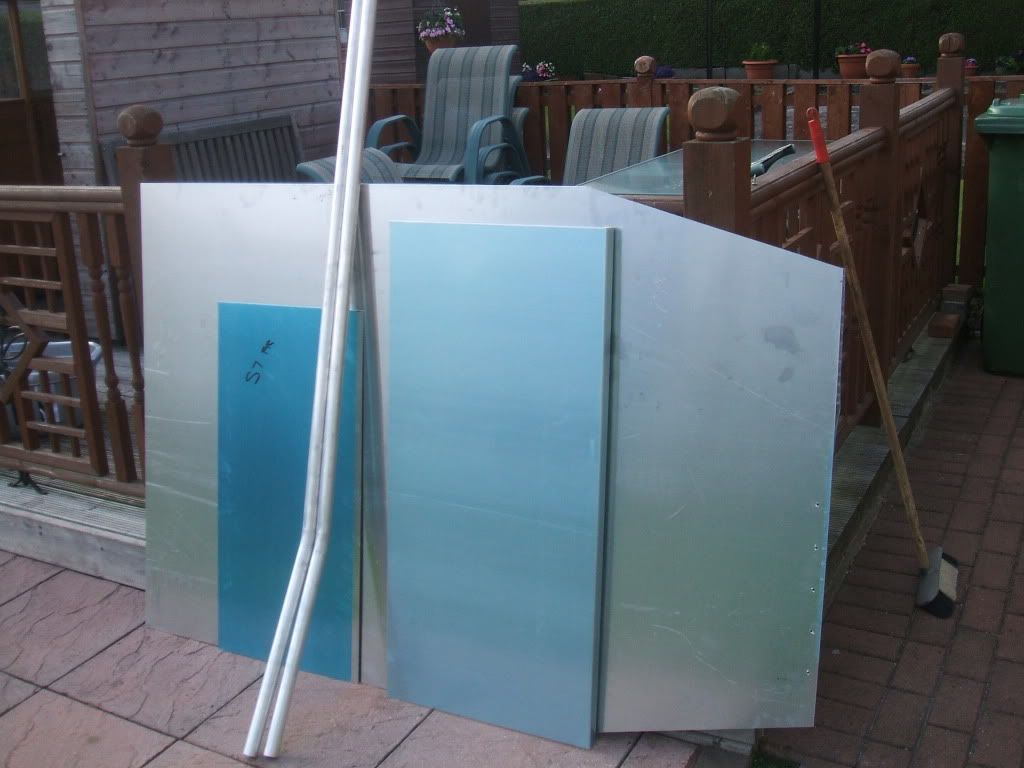 Starter Kit Collected From Mev 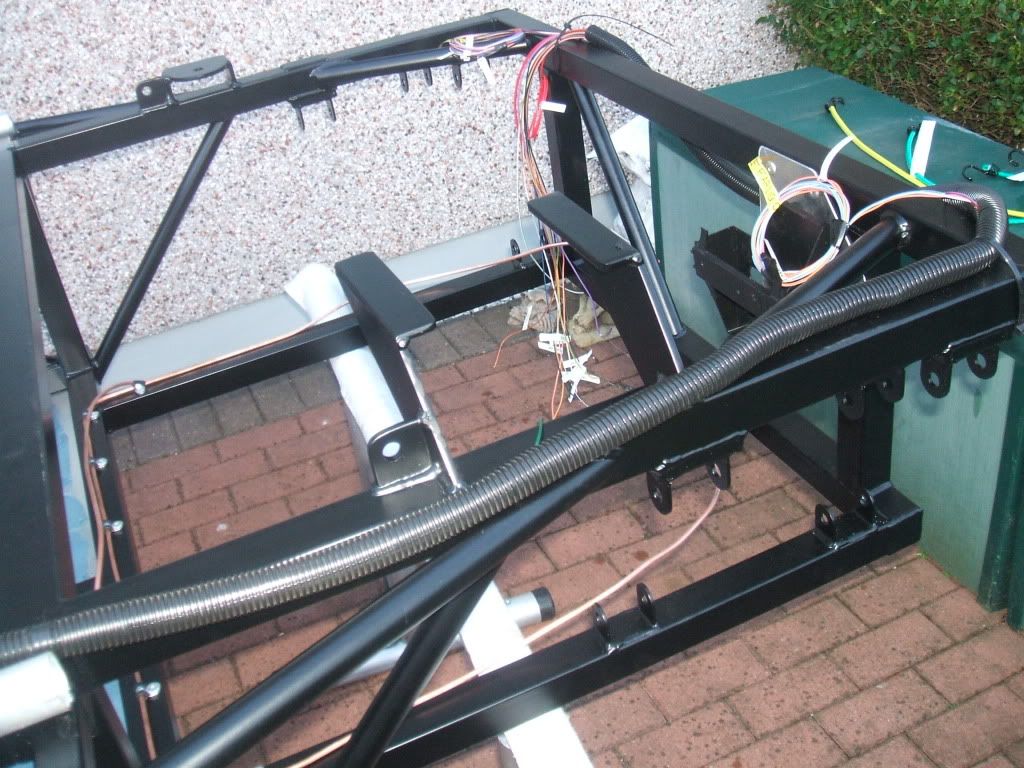 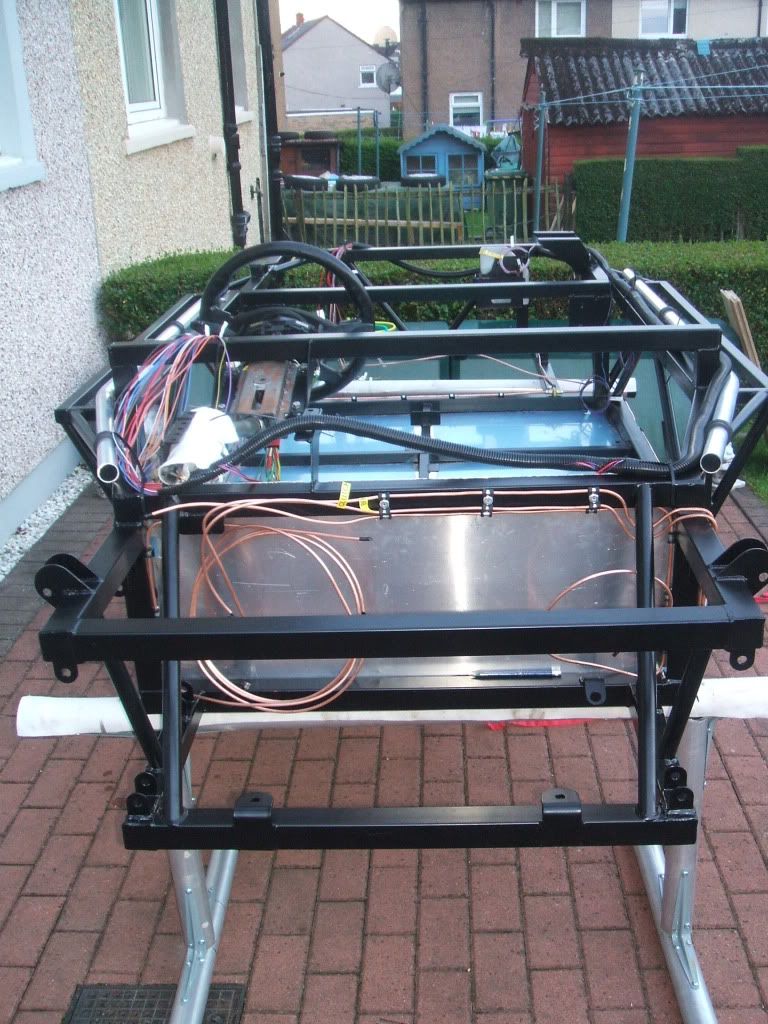  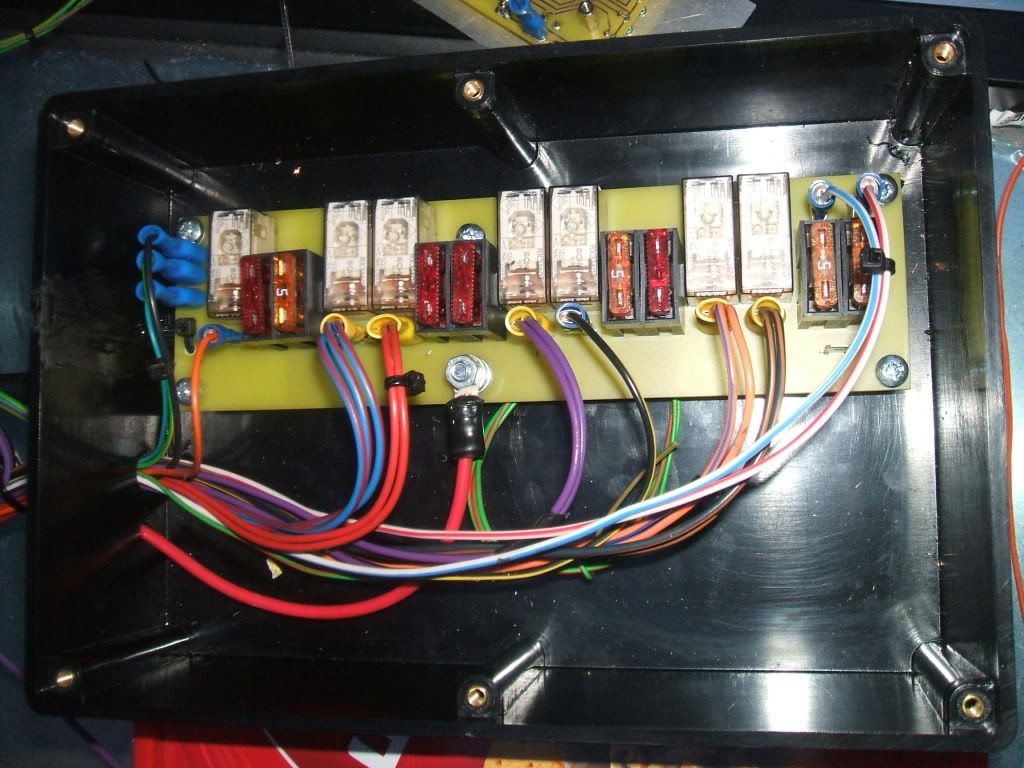 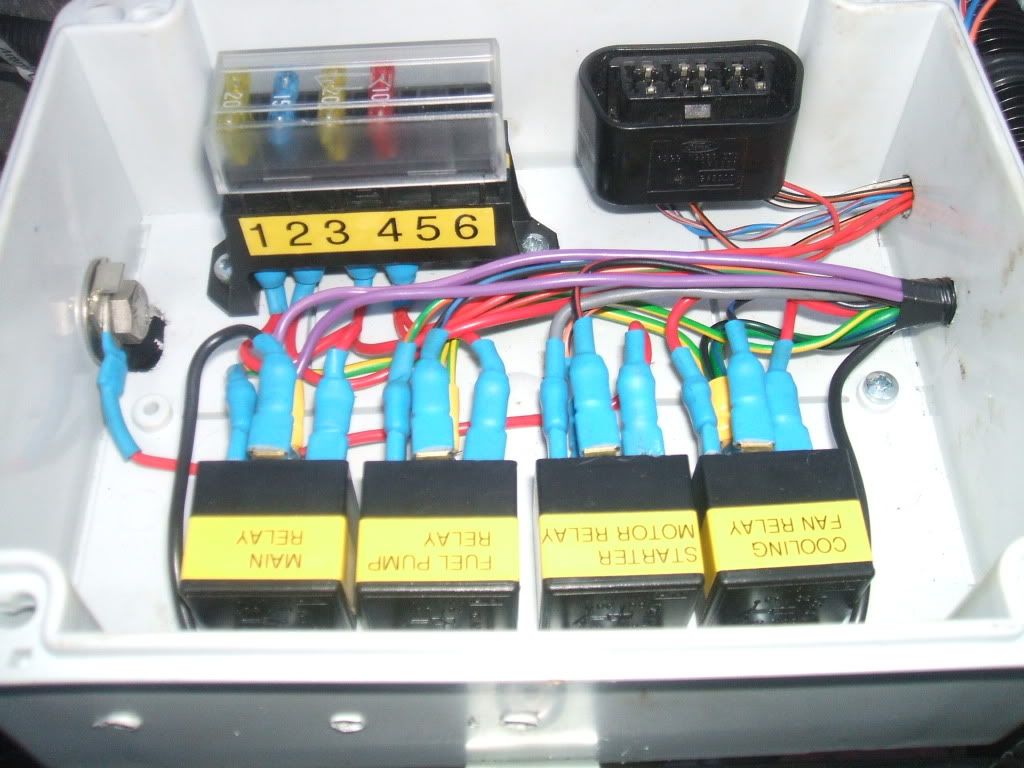 Floor & Front Panels fitted Started on the electrics brake lines. I will post more photos soon. Andy |
|
|
|
Post by nigel on Apr 2, 2011 7:05:52 GMT
Great start Andy  Brings back so many memories for me, keep posting I will be following with interest.  nigel |
|
|
|
Post by andybaird on Apr 3, 2011 19:56:51 GMT
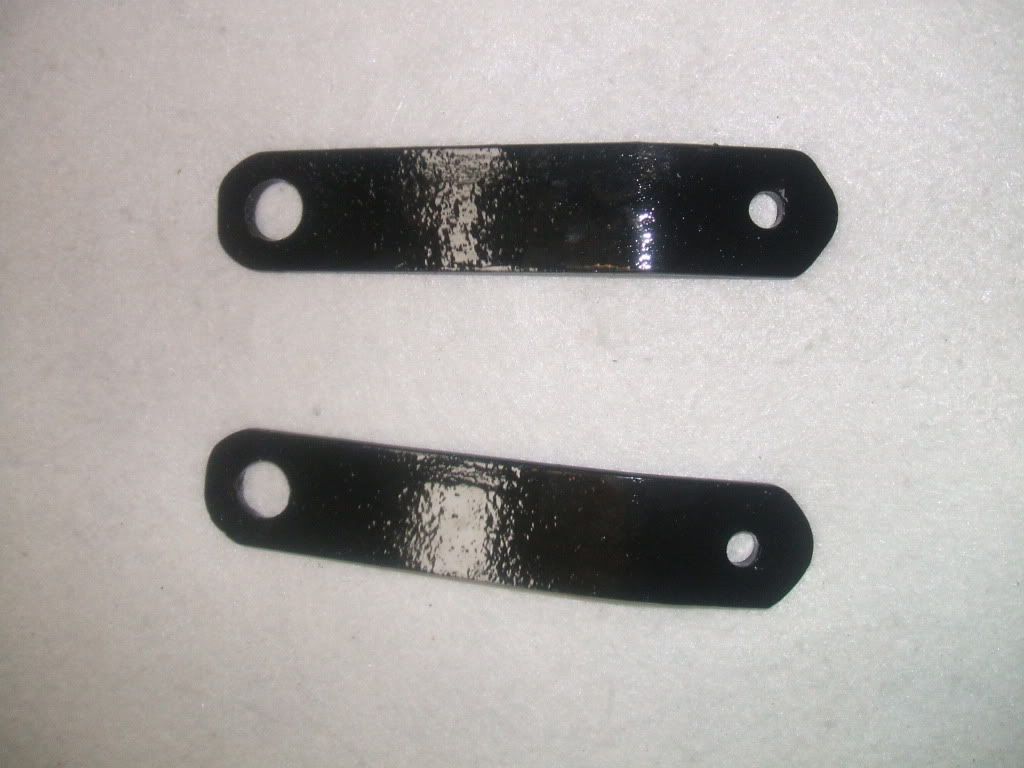
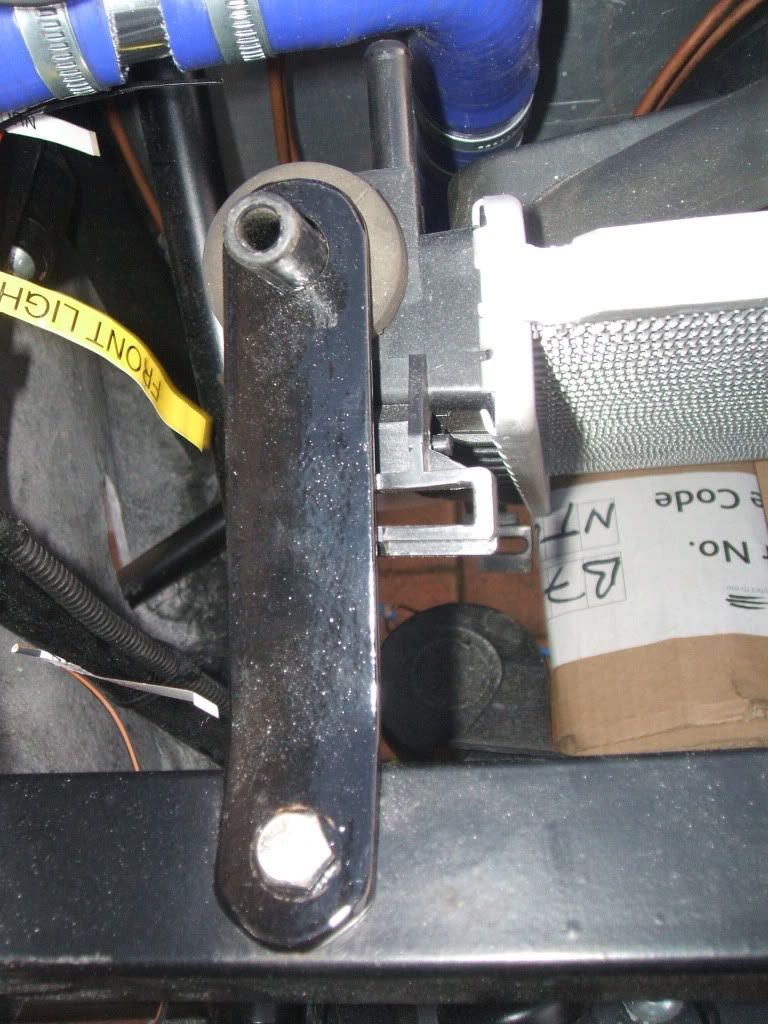
Hi Nigel Thanks for your reply. The photos so far was the progress with the starter kit. I then collected the second part of the kit on the 24th November 2010. Here are more photos of some refurbished parts & the build so far.  Drive Shafts 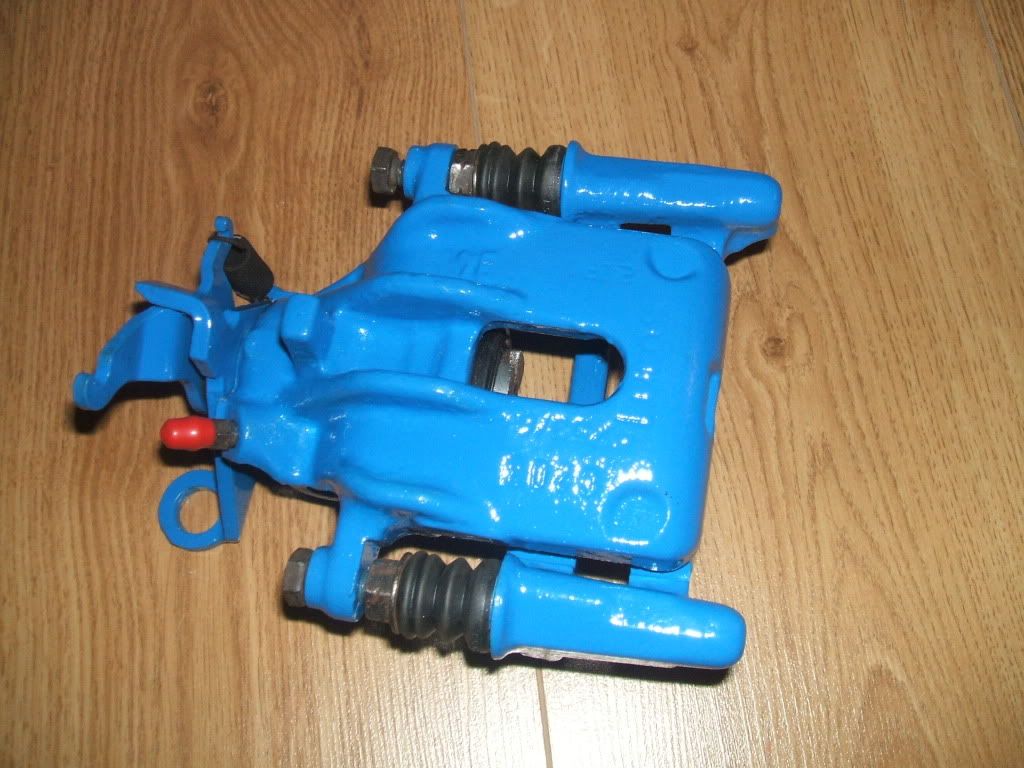 Rear Caliper 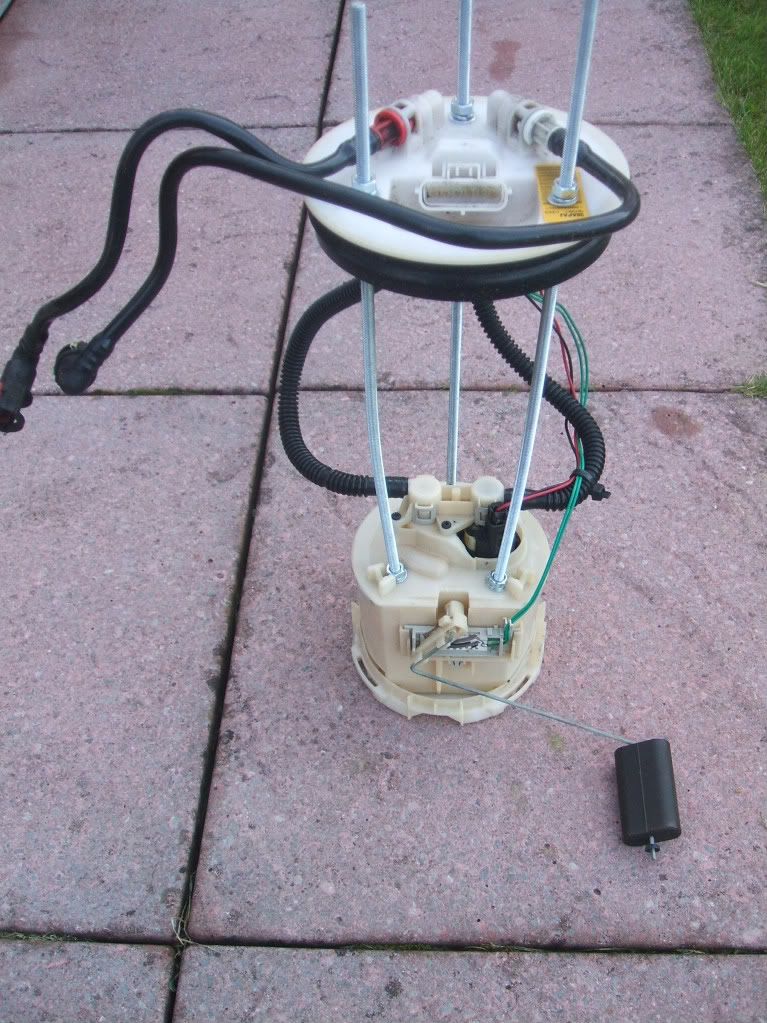 Fuel Pump 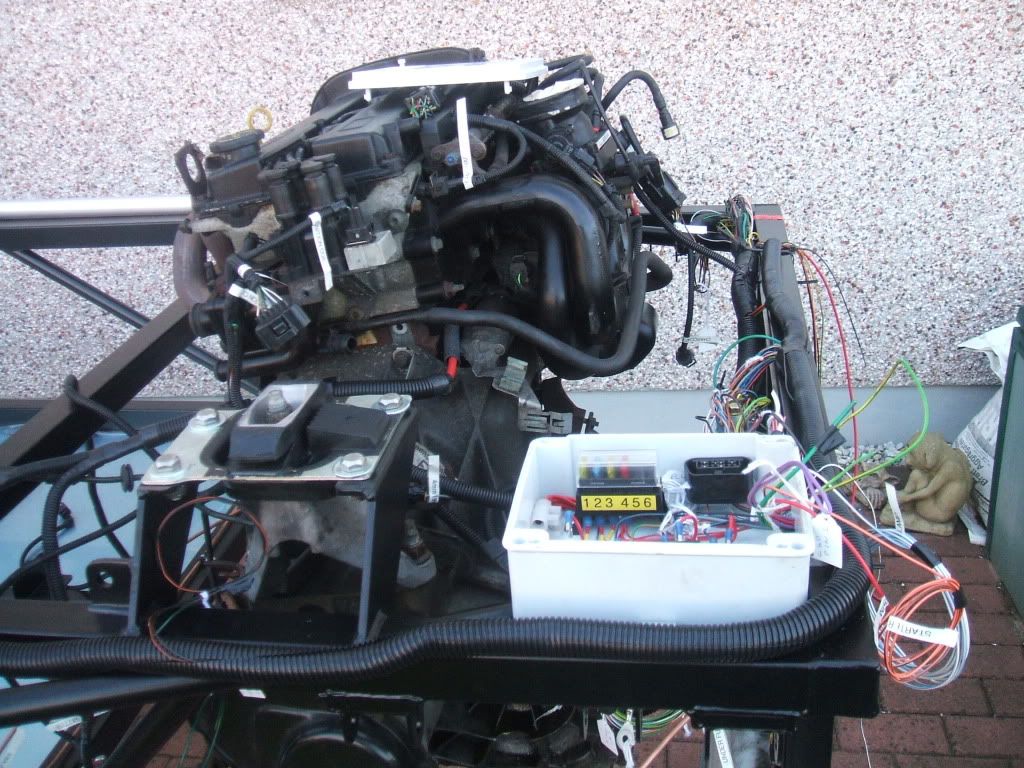 Engine Fitted 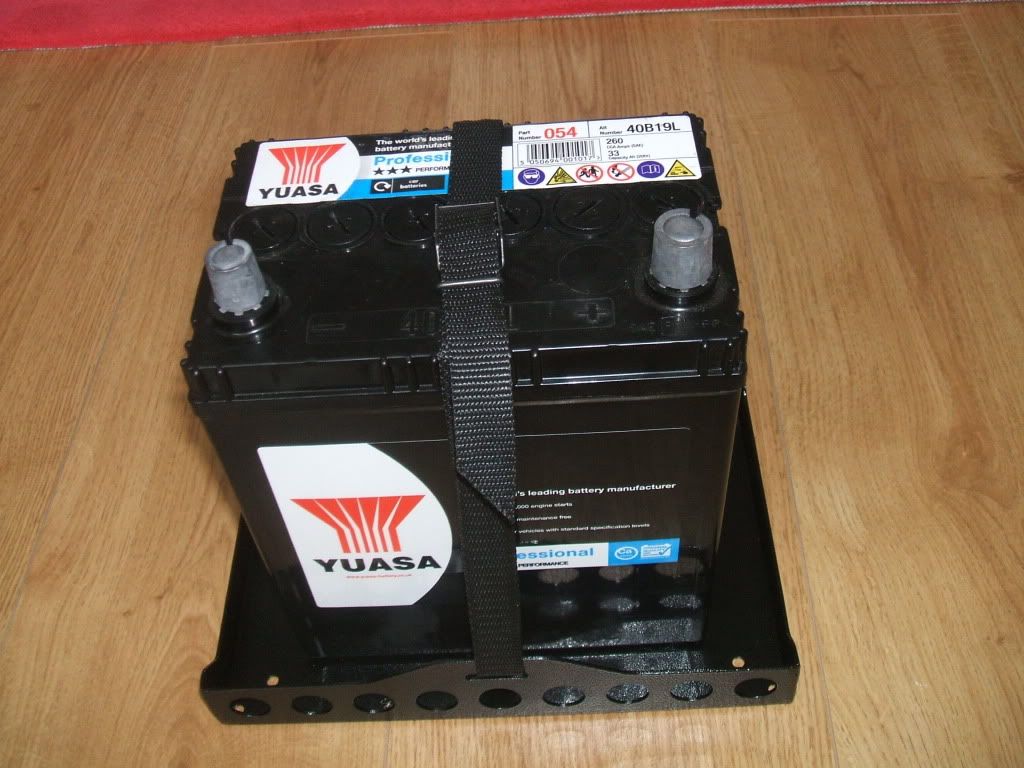 New Battery & Tray 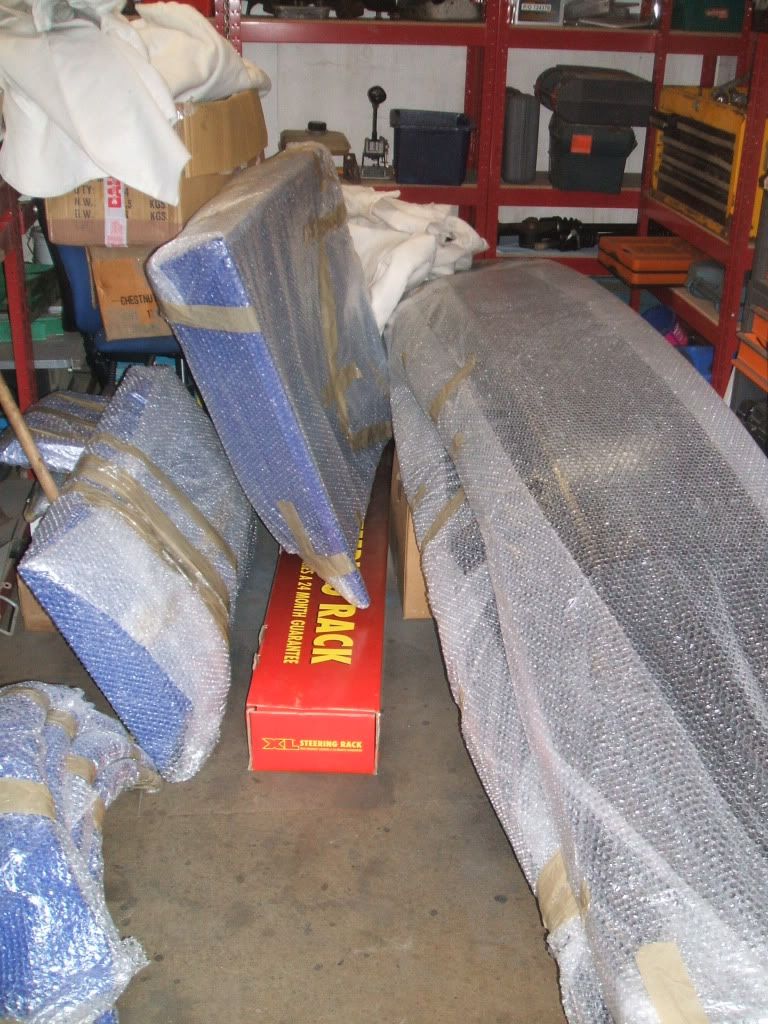 Second part of the Kit 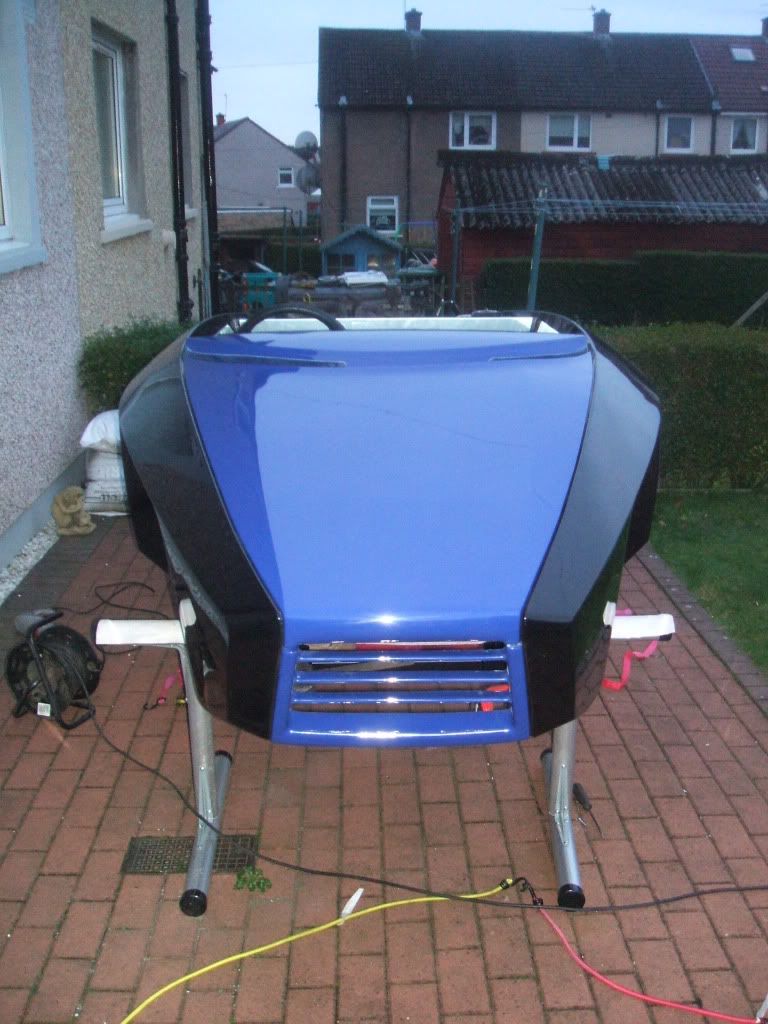 First Body Fit 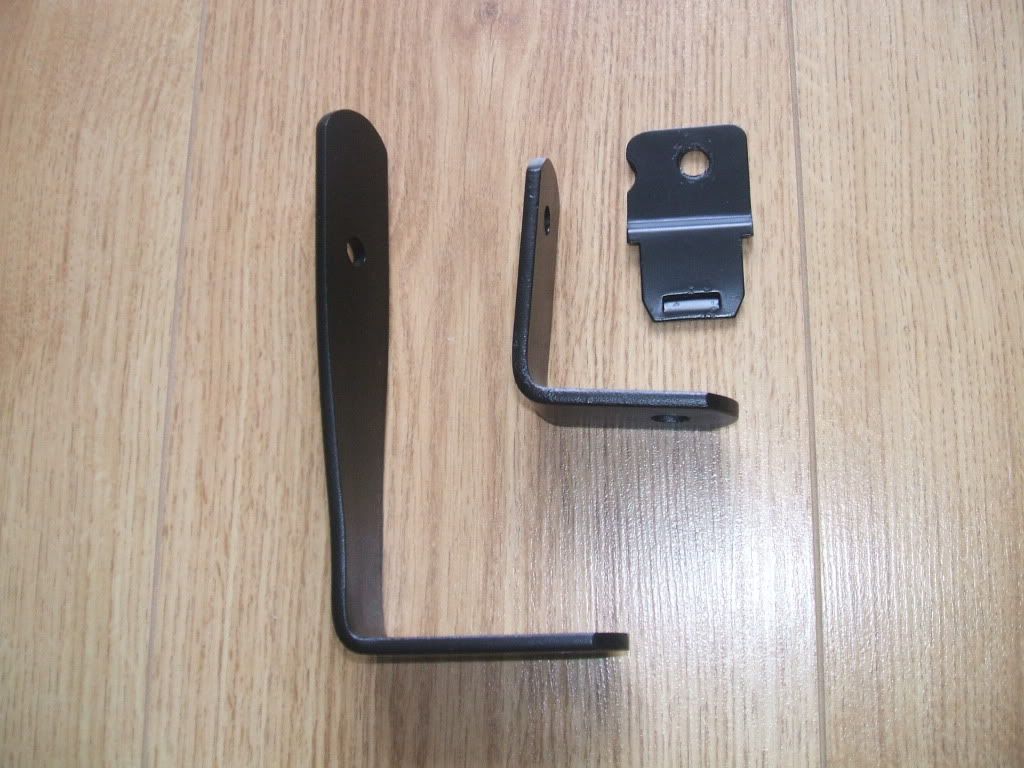 Bracket for Expansion Tank 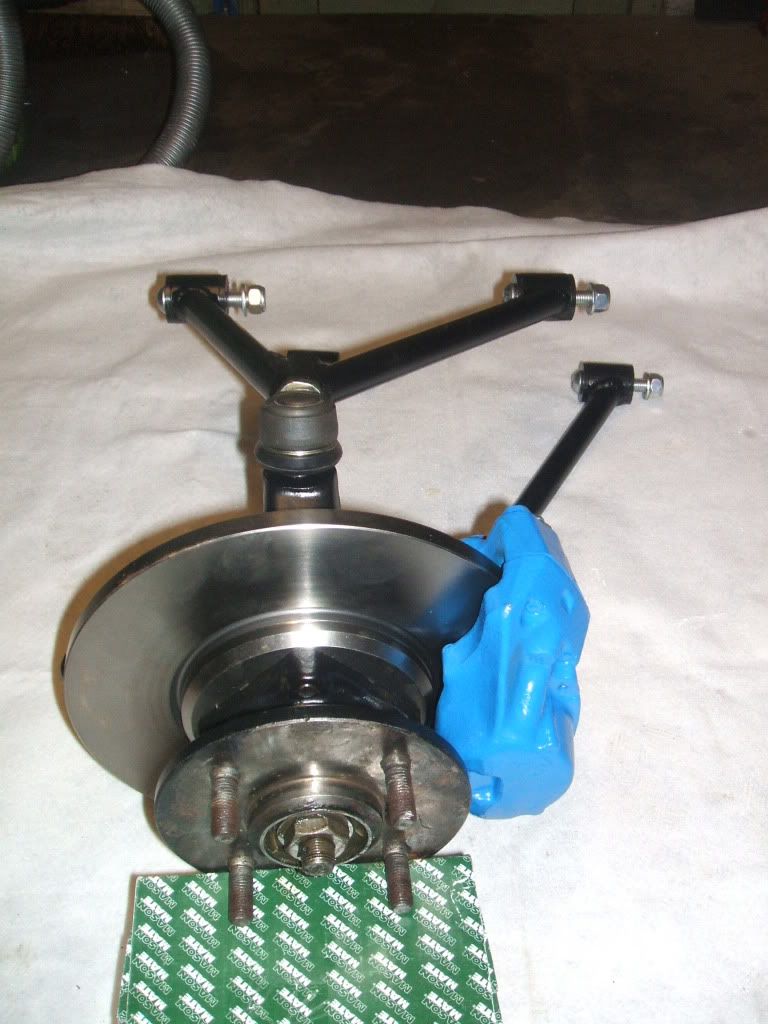 Front Hub Ass 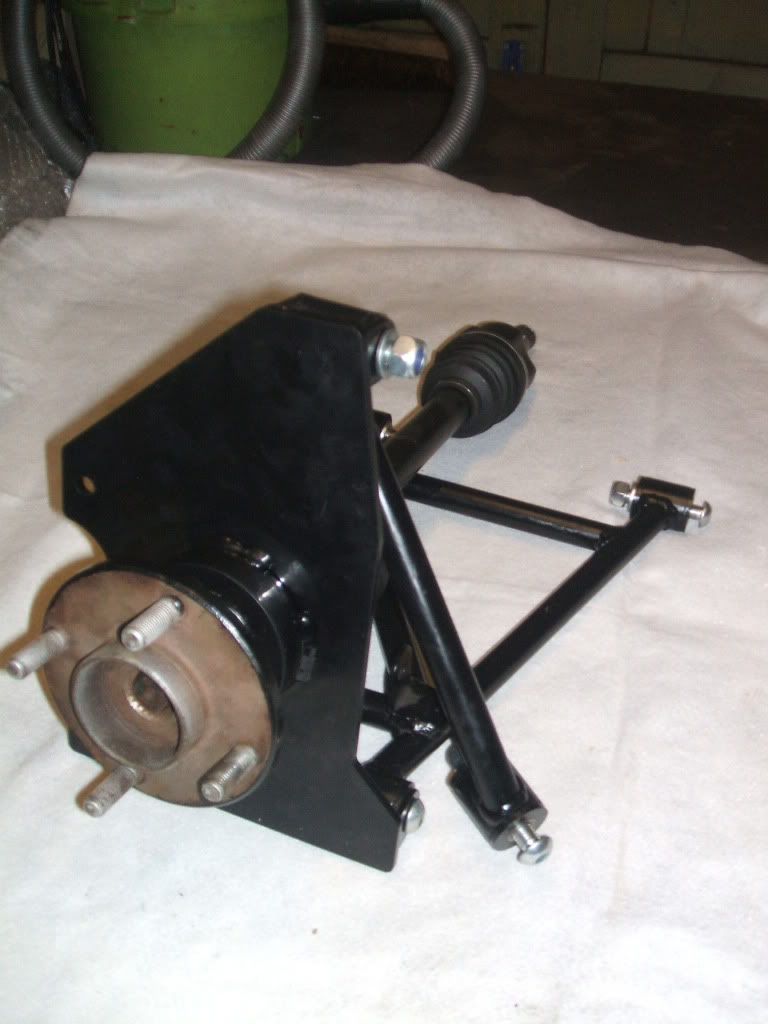 Rear Hub Ass 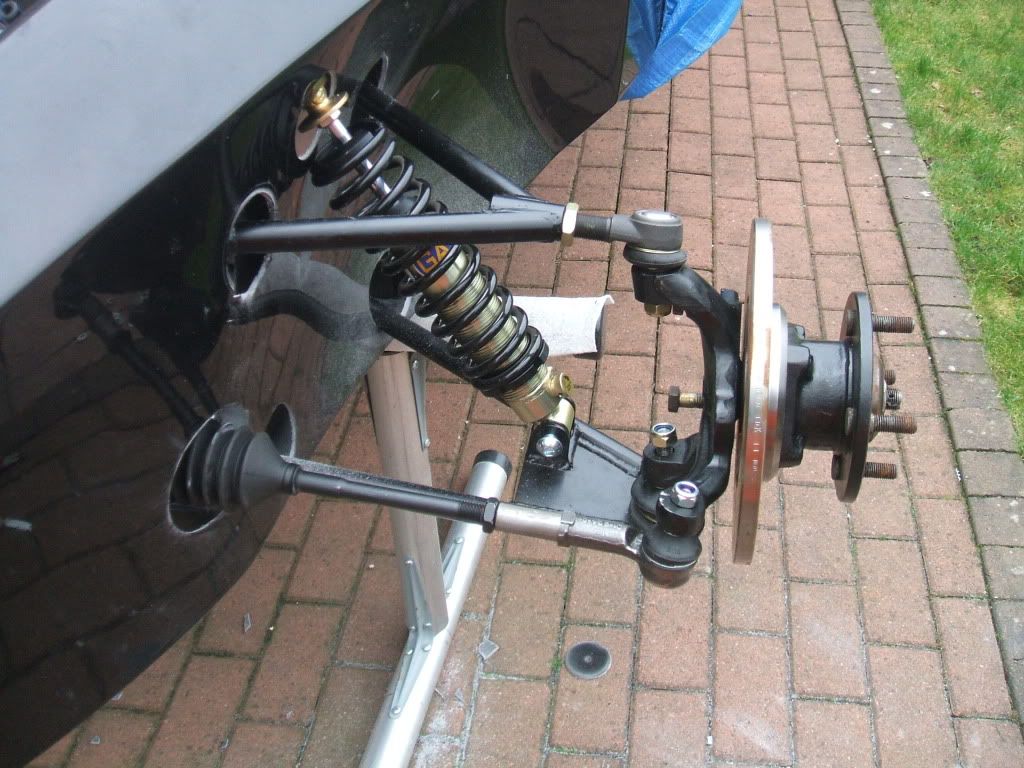 Front Suspention 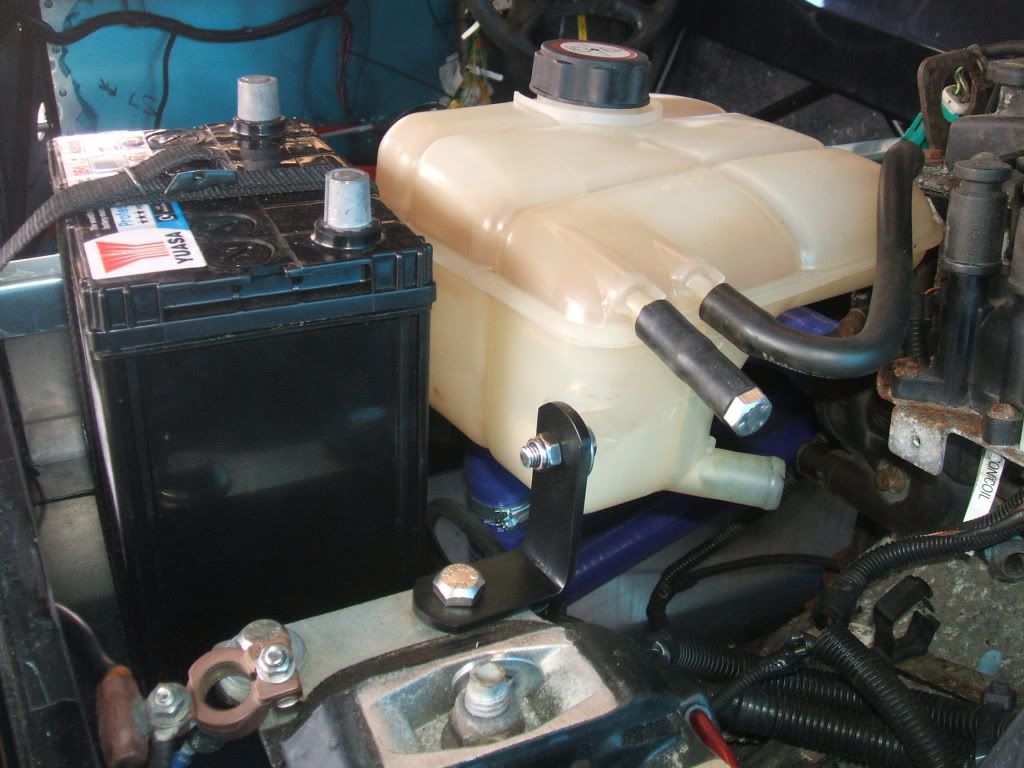 Battery & Expansion Tank fitted 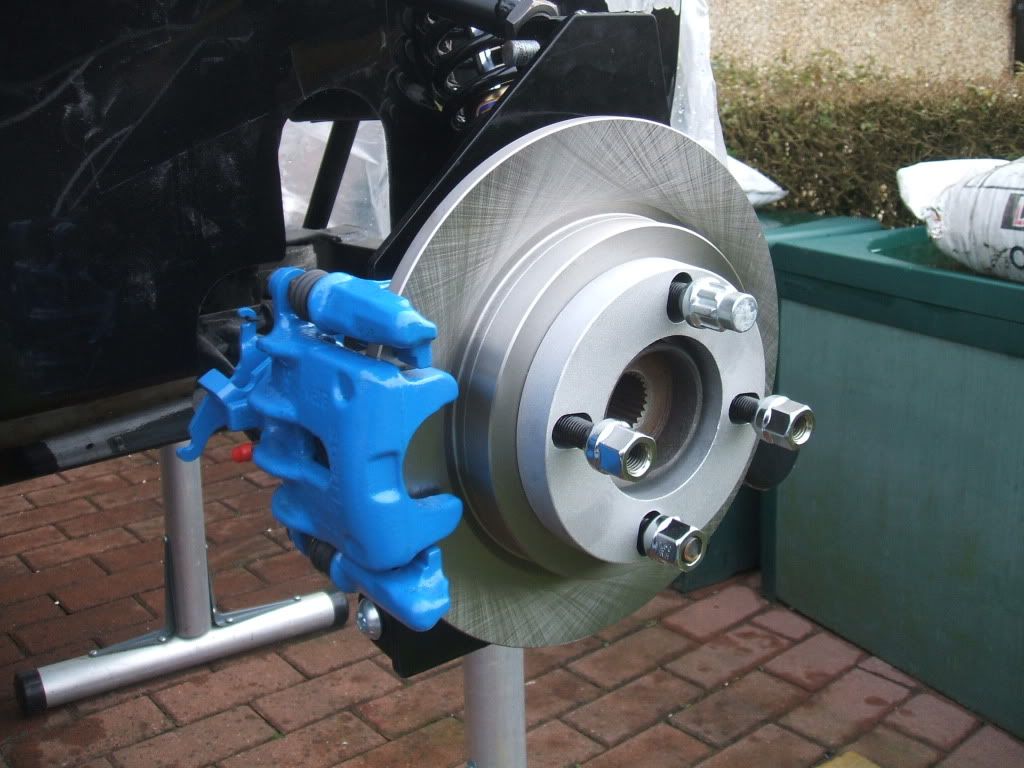 Rear Suspension 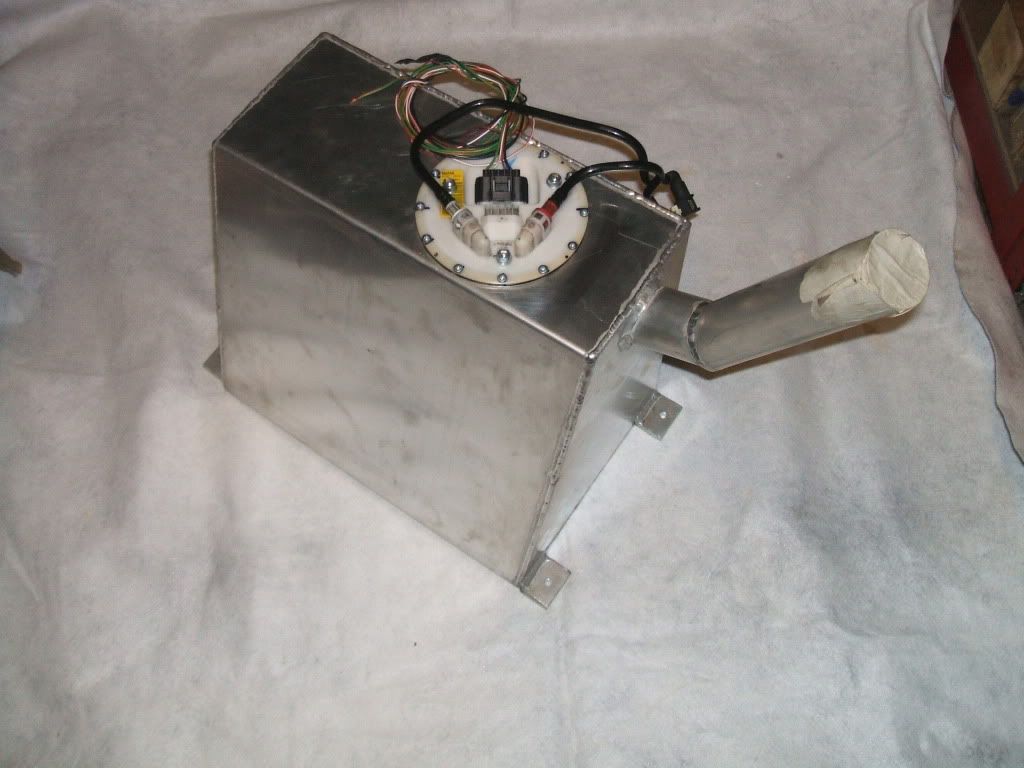 Fuel Tank 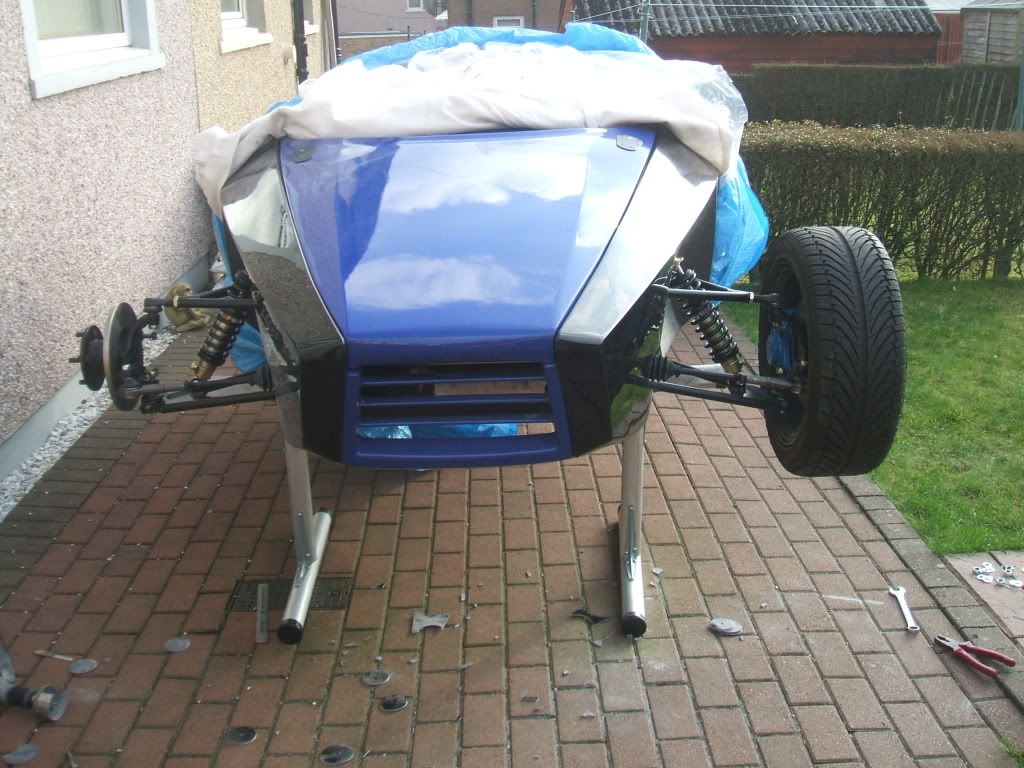 This is the state the kit is at now. Still a long way to go be four I will be taking it to it's first kit car show. Andy |
|
|
|
Post by unosteve on Apr 3, 2011 21:45:37 GMT
Hi andy looking good you cant go wrong with black and blue
|
|
|
|
Post by andybaird on Apr 7, 2011 21:19:21 GMT
|
|
|
|
Post by andybaird on Jun 9, 2011 18:06:47 GMT
Hi All Not done much due the the weather & work. Just wanted to let you see the seat that arrived today. 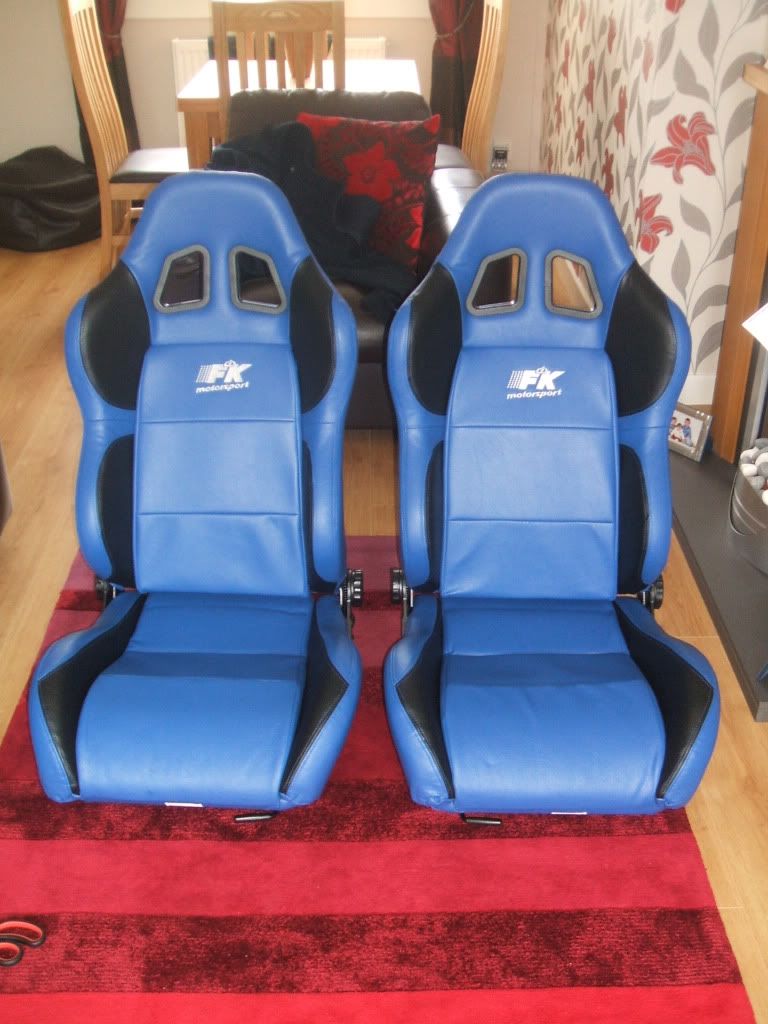 Cheers One Happy Andy |
|
|
|
Post by andybaird on Jun 10, 2011 13:22:25 GMT
Hi All
ONE UNHAPPY ANDY
The seats don't F****** Fit they are to wide for the Sonic.
If anyone want,s to buy them let me know and can pick them up at the Newark Show.
Cheers
Unhappy Andy
|
|
|
|
Post by andybaird on Jun 10, 2011 20:33:23 GMT
Hi All After the disappointment of the seats not fitting I fitted the gear lever and the bracket for the bonnet catches. Also made a start on the cables for the hand brake and gear linkage. The gear lever is the one from the Joker 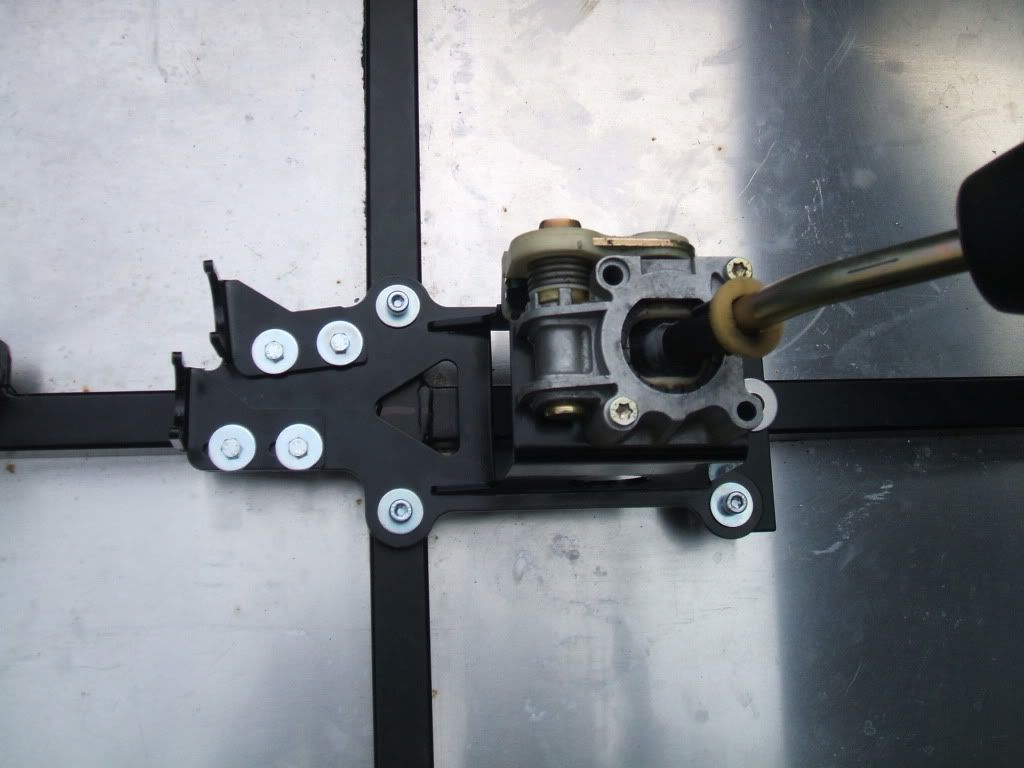 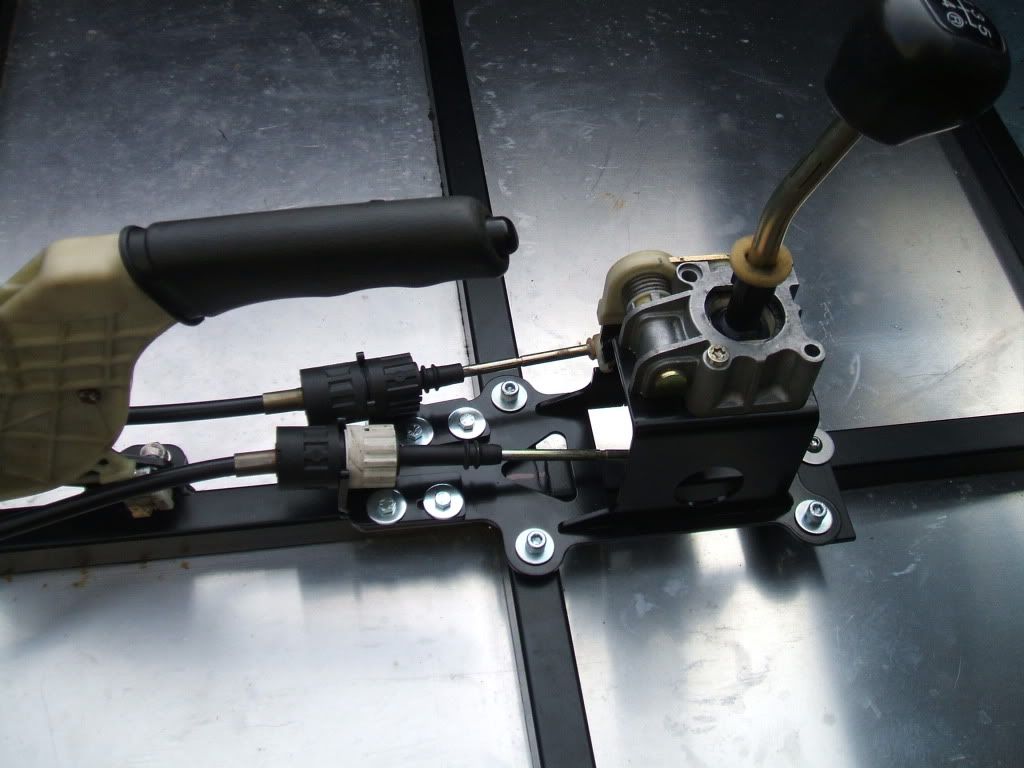  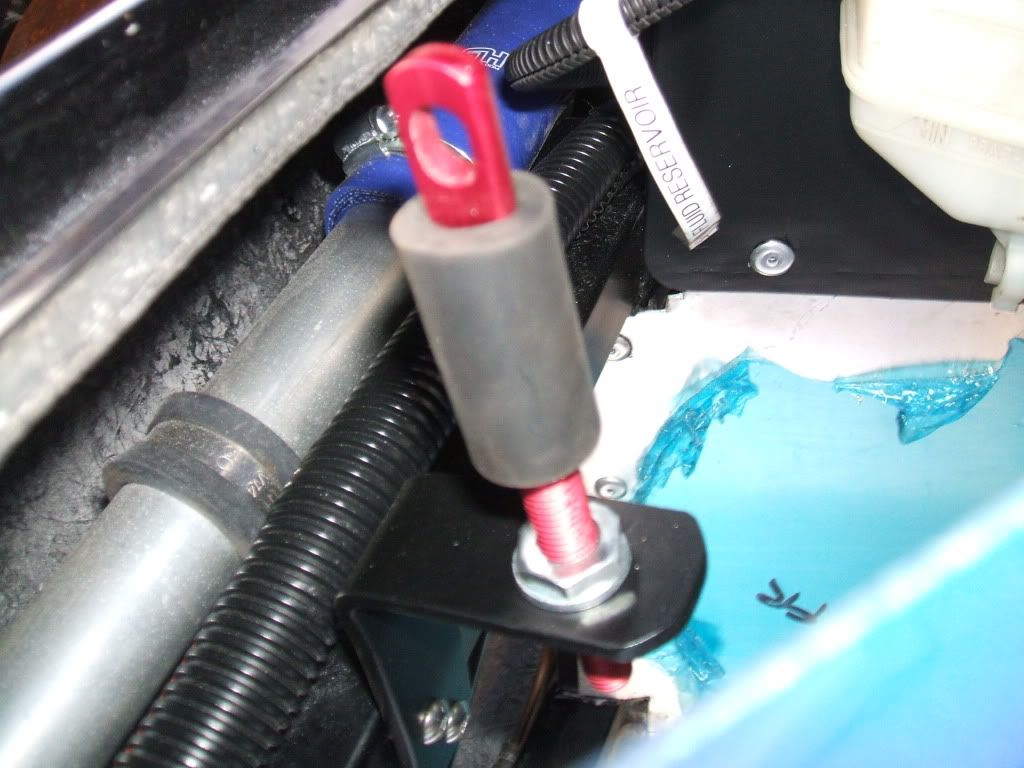 |
|
|
|
Post by andybaird on Jun 23, 2011 22:58:43 GMT
Hi All Done a wee bit more to the car with a few day of good weather. Cut the front floor matting that we got at Newark at the weekend. Modified center console from the Focus & painted it black. Fitted Rear bulkhead using rivnuts and button head screws. Bolted Fuel Tank. Some Photos to show progress. 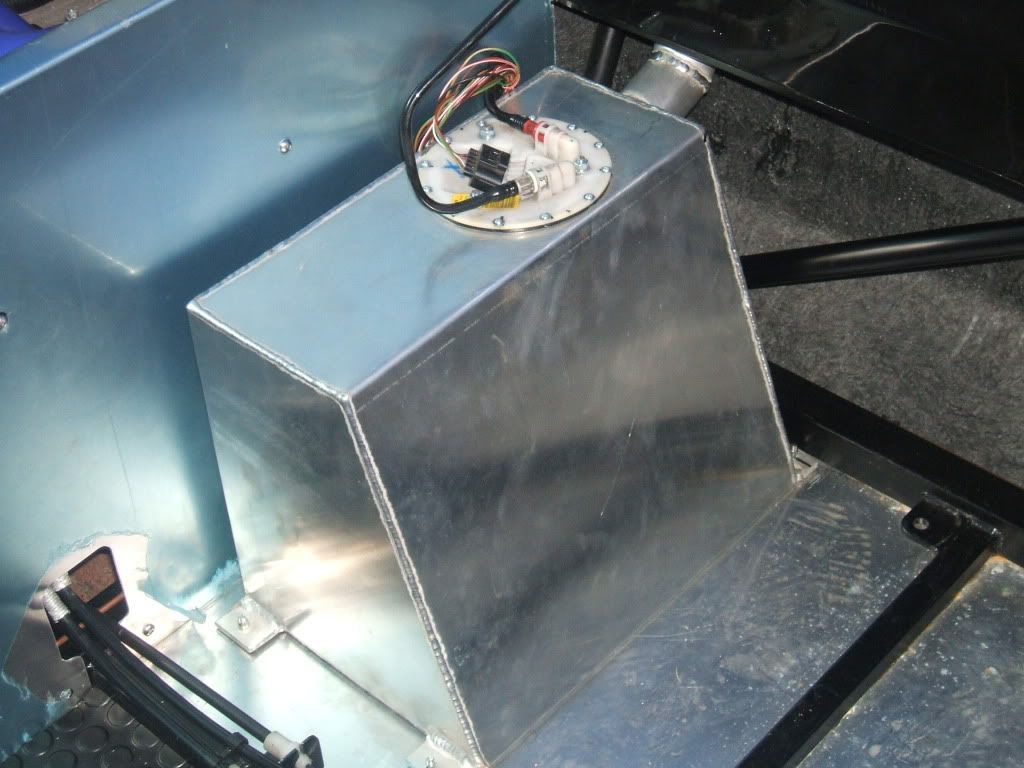 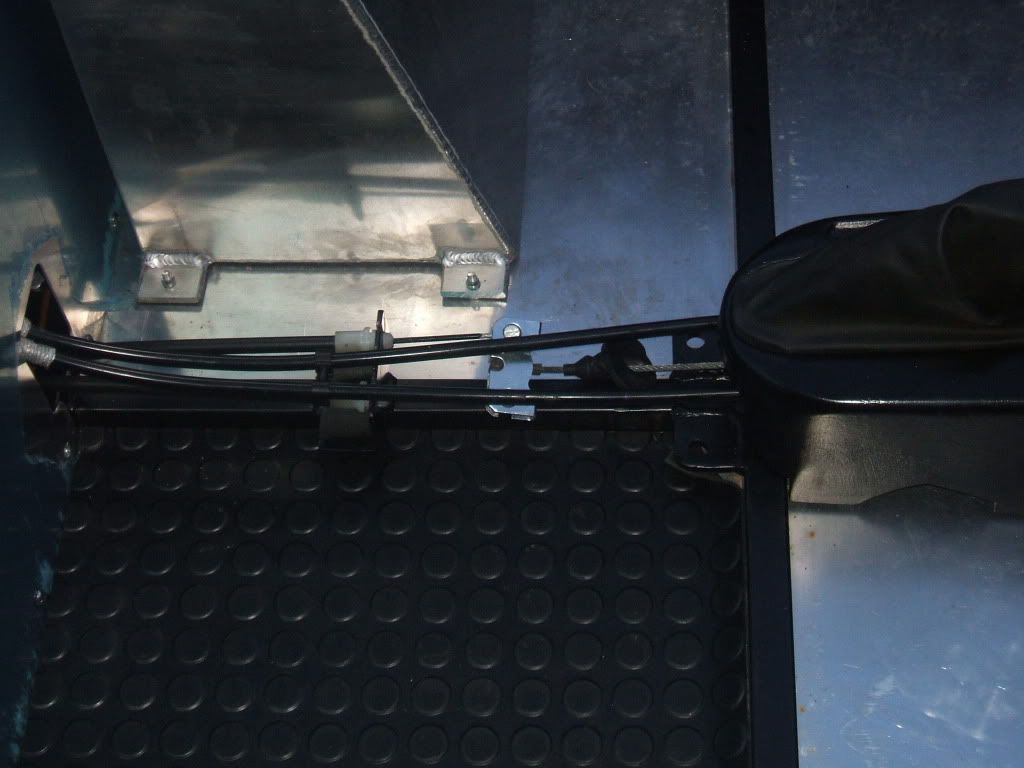 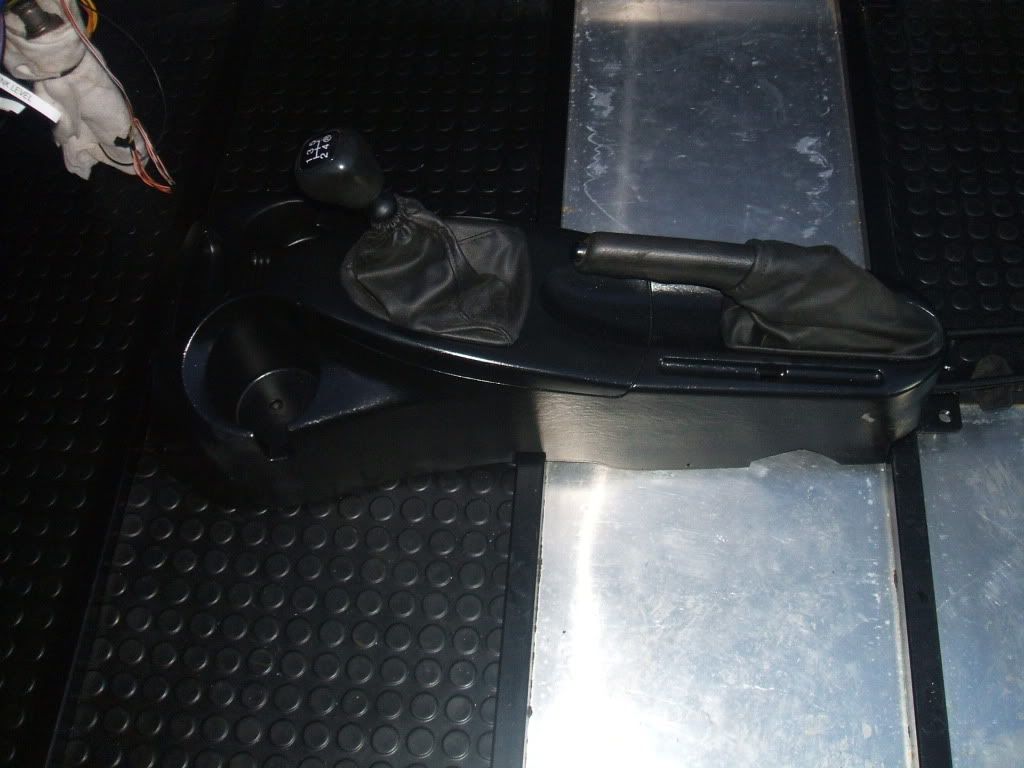 Cheers Andy |
|
|
|
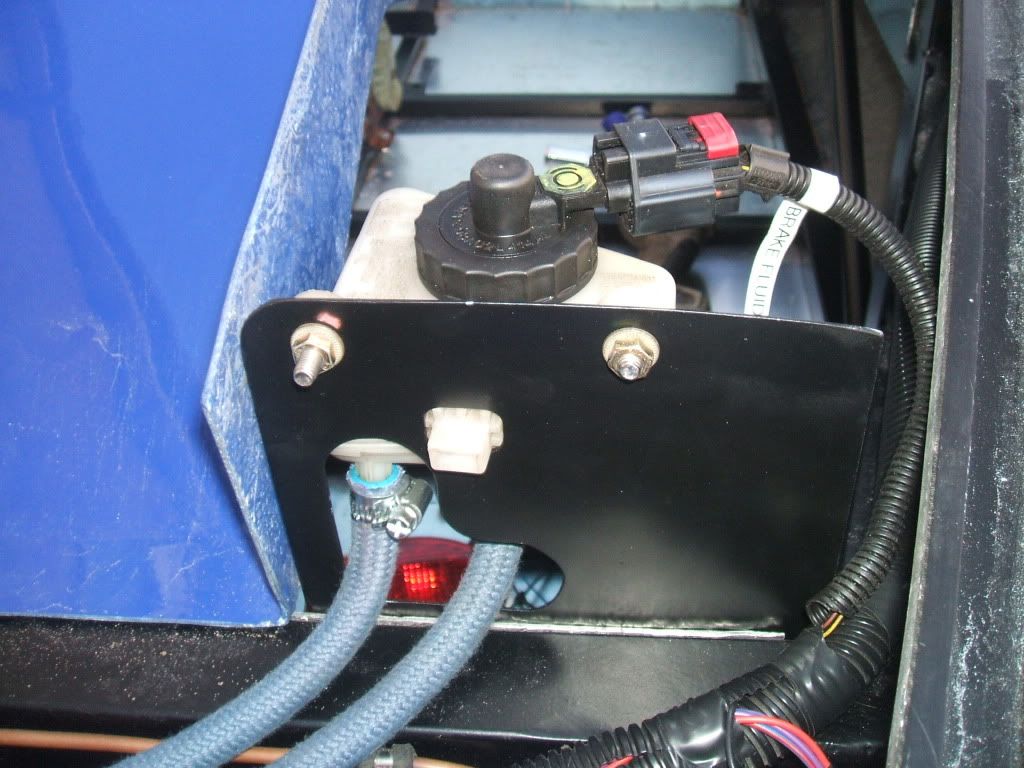
Post by andybaird on Jun 28, 2011 19:43:59 GMT
Hi All
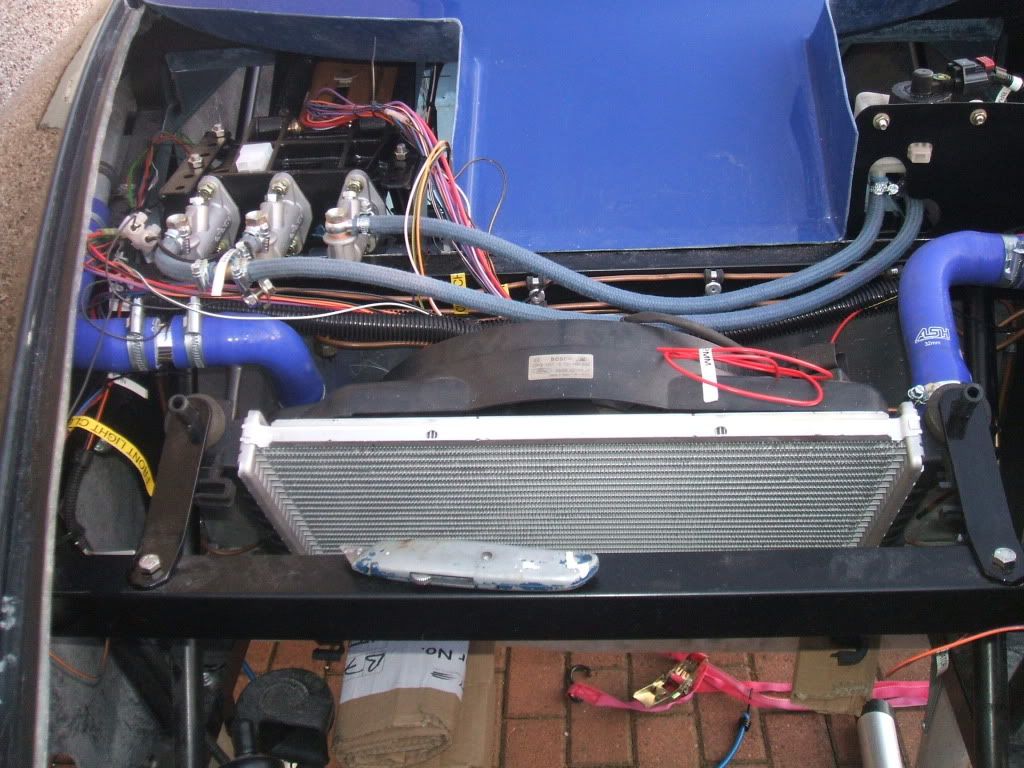
Looking for a bit of help. I'm working in the engine bay at the moment running handbrake cable cooling hoses gear cable. I'm looking to see if any Sonic builders can post some photos off the engine bay showing these parts. Also looking for photo's off the fuel filler pipe& cap.
Thanks in advance
Andy
|
|
|
|
Post by daydreamer on Jun 28, 2011 22:57:32 GMT
Hi Andy, We have just got our 1.8 running last weekend. Here are some pictures of the cooling hoses. 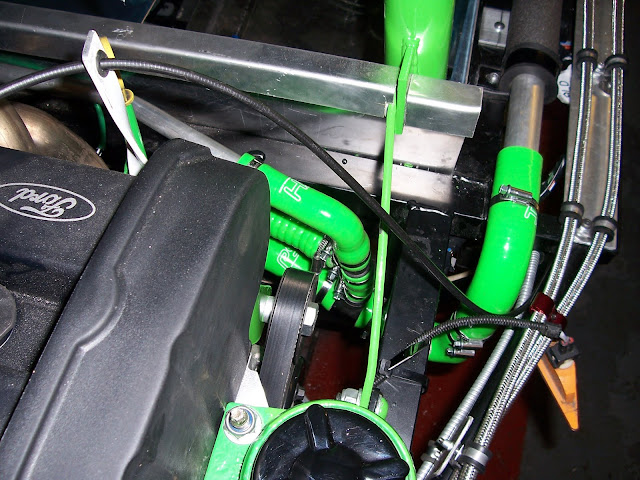  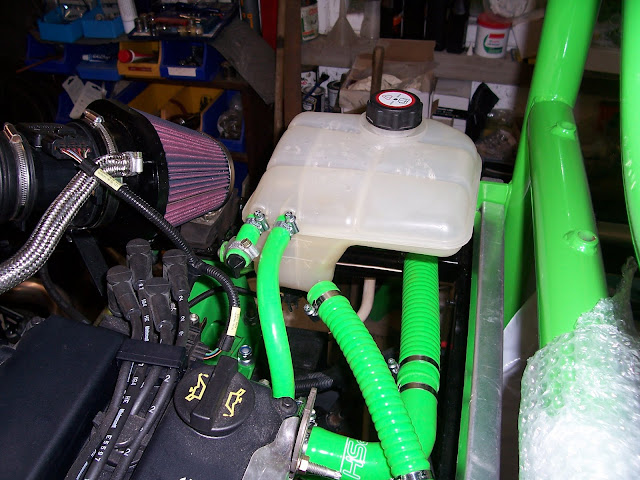 Where the cooling hoses runs past the exhaust, we have made them in Alu pipe and that is now fixed to the bulkhead. Flexible hoses each end will allow for engine movement. (we hope) From memory, in the rear we are using: 4 x 32mm 90 degree bends 1 x 32mm 135 degree bend 1M x 32mm flexible hose 1 x T piece (2 x 32mm + 1 x 19mm ) 1 x T piece (3 x 19mm ) 1 x 1M 19mm flexible hose 2 x 1M 19mm Alu pipe 1 x 0.5M 9mm flexible hose When it came to getting air out of the system, it helped a lot when we lifted the back up. Our fuel tank is in the front so can't suggest on that one and we are still undecided on the handbrake cable routing as we have not yet made the final fit of the bodywork, we are still unsure of the best routing. For the gear change cables we went through the rear bulk head, 10cm or so up from floor level and dead center. That was a mistake as it is a bit close to the exhaust. A second attempt put the gear-change cables a bit to the passenger side and that gives better clearance of the exhaust and an easier bend radius for the cables. Looking at the cable routing in the cabin we may end up putting one cable through each hole and passing the gear cable either side of the handbrake. That said, this is just how we have done it and I'm sure there are others with more mileage under their belts who can offer more informed suggestions. We're based in Arbroath, so if your up that way just give us a shout. Hope that helps in some way. Guy |
|
|
|
Post by andybaird on Jun 29, 2011 16:50:45 GMT
Thanks Guy
It gives me a few ideas.
Andy
|
|
|
|
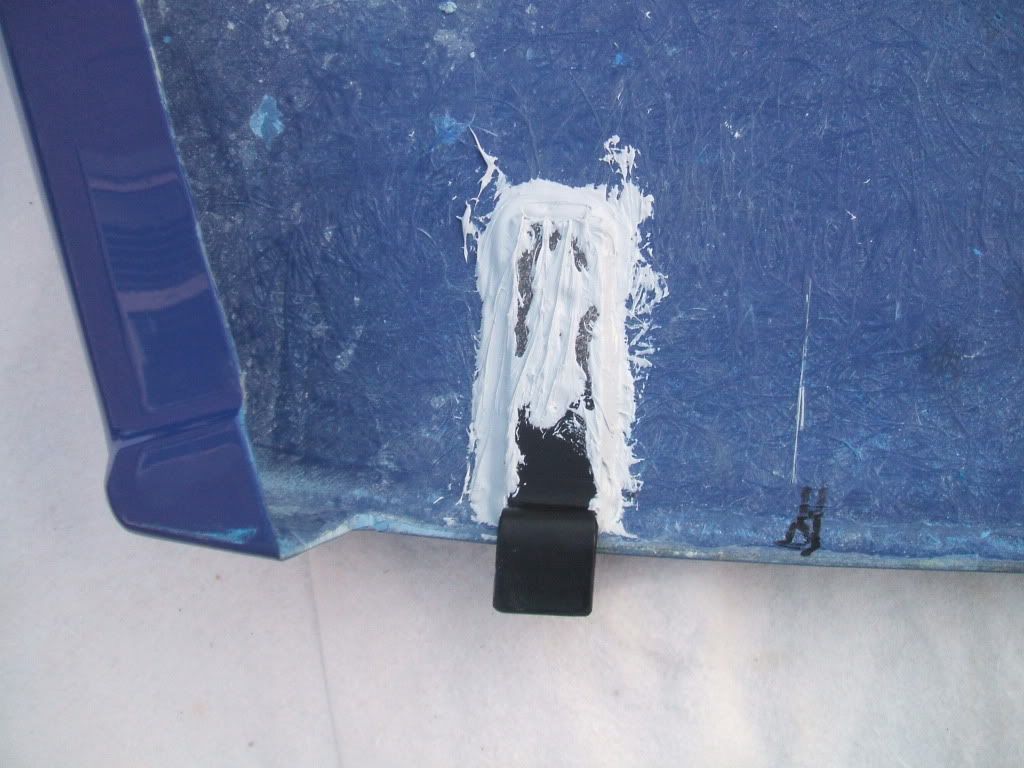
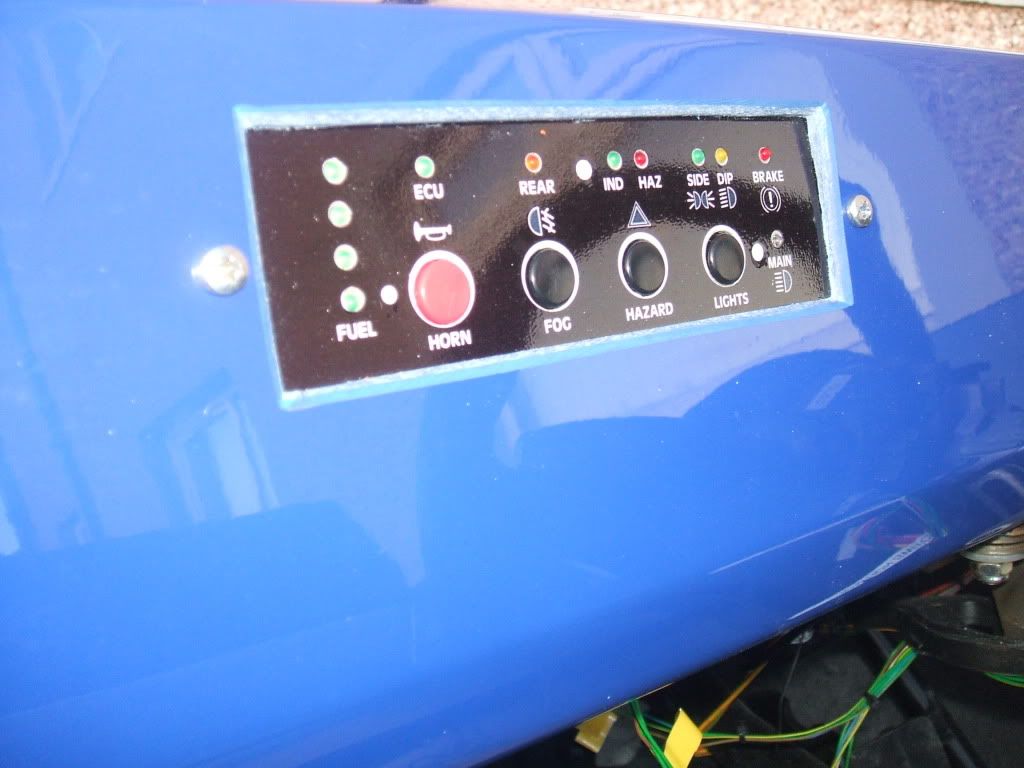
Post by andybaird on Jul 18, 2011 22:26:28 GMT
Hi All
Big step today with the build.
Connected the battery up to day to check out the wiring.
So far so good. Engine turns over but will not start yet as no fuel in it yet, Power to all the connectors that the lights will plug into, Lights
on MEV Dash all work and even the horn works. Happy with the results so far.
I have posted a problem with the sender unit wiring last night if anyone can help with I would be grateful.
Also when I connect the battery the ECU light on the MEV dash flashes is this normal.
I will post some photos soon.
Cheers
Andy
|
|
|
|
Post by andybaird on Jul 25, 2011 21:05:50 GMT
Hi All
It is alive ;D ;D ;D ;D ;D ;D ;D ;D ;D
Got it started to day for the first time.
Best feeling ever.
Very happy
Andy
|
|
cml
Newbie

Posts: 19
|
Post by cml on Jul 26, 2011 13:01:17 GMT
Congratulations!
|
|