|
|
Post by zeitgeist on Oct 26, 2015 4:14:12 GMT
Looks good Jon. Not much more to do before your ready for title/registration inspection. Those lights are bright
|
|
|
|
Post by jon on Oct 26, 2015 11:04:23 GMT
Looks good Jon. Not much more to do before your ready for title/registration inspection. Those lights are bright Yep! Maybe another week or so. I'll be in touch  |
|
|
|
Post by steadfast on Oct 26, 2015 16:12:31 GMT
I wish I knew how to 3D print things. You have put a lot of thought into this. Congrats on a great build.
|
|
|
|
Post by jon on Oct 26, 2015 19:43:59 GMT
I wish I knew how to 3D print things. You have put a lot of thought into this. Congrats on a great build. My printer has really proved its worth lately. I print almost everyday between my car and other hobbies (drones and RC helicopters). I have a RepRap open source printer. Mine is a 'Prusa i3' design. I paid $500 for it, but now you can find other Prusa i3's for around $300. Just like building a car from nothing, the open source printer requires a lot of tinkering to get right, but now mine is making excellent prints. I built a fume cabinet because the ABS can be stinky. It has a fan that draws air outside the dryer vent in my basement. I have not made a lot of effort into making the parts look pretty that I printed, but the designs are functional. Maybe this winter I'll spend some more time on it and make parts that might interest the Exocet community, if there is interest. You know any CAD? I use PTC Creo (an academic version I got for free) for my designs, but some folks just use google sketchup (it is limited, but works for simple things). There is a lot of cool stuff on thingiverse.com to download too. 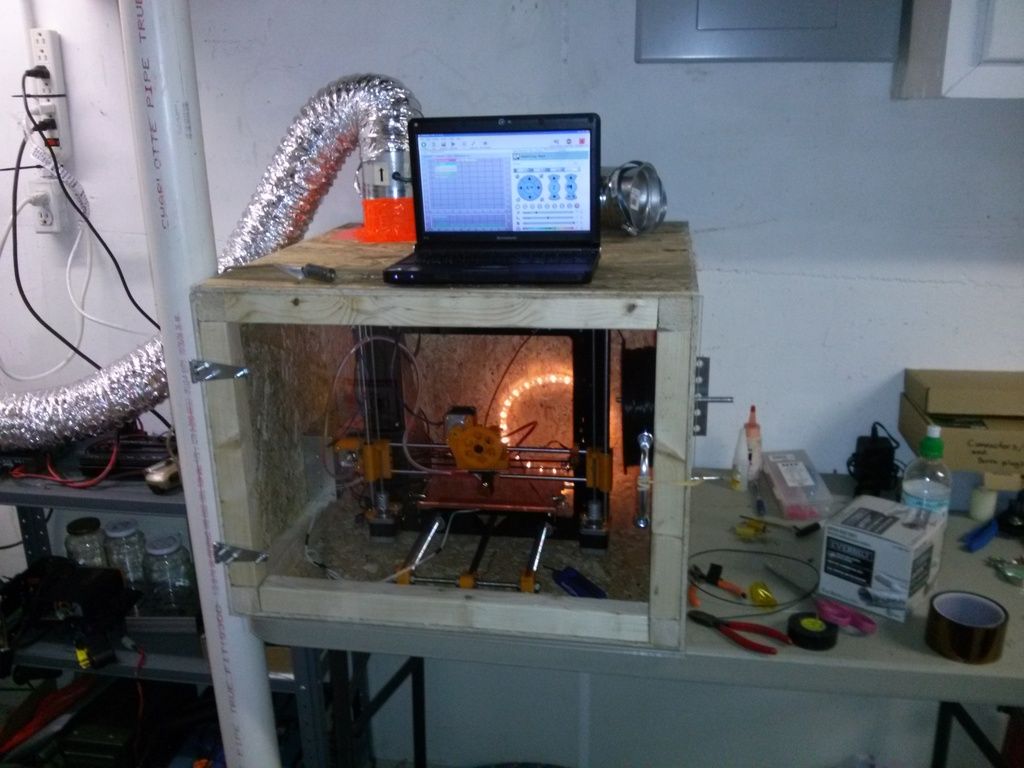 I printed tapered channels for the windshield. They press fit into the side of the channel and the polycarb seems well fixed in place now. |
|
|
|
Post by abc123 on Oct 26, 2015 22:57:05 GMT
Been printing for a few months now with abs on a makerfarm 12". I have some cad background as well, currently using Autodesk Fusion 360 and Slic3r . Much better than sketch up, free for hobbyists.
|
|
|
|
Post by jon on Oct 27, 2015 1:10:46 GMT
For those of you getting LED turn signals (everyone). It is easy to mod the flasher relay to not blink rapidly. Just replace R1 with a 1 mega ohm resistor. Costs $1.50 at radioshack. Works great. 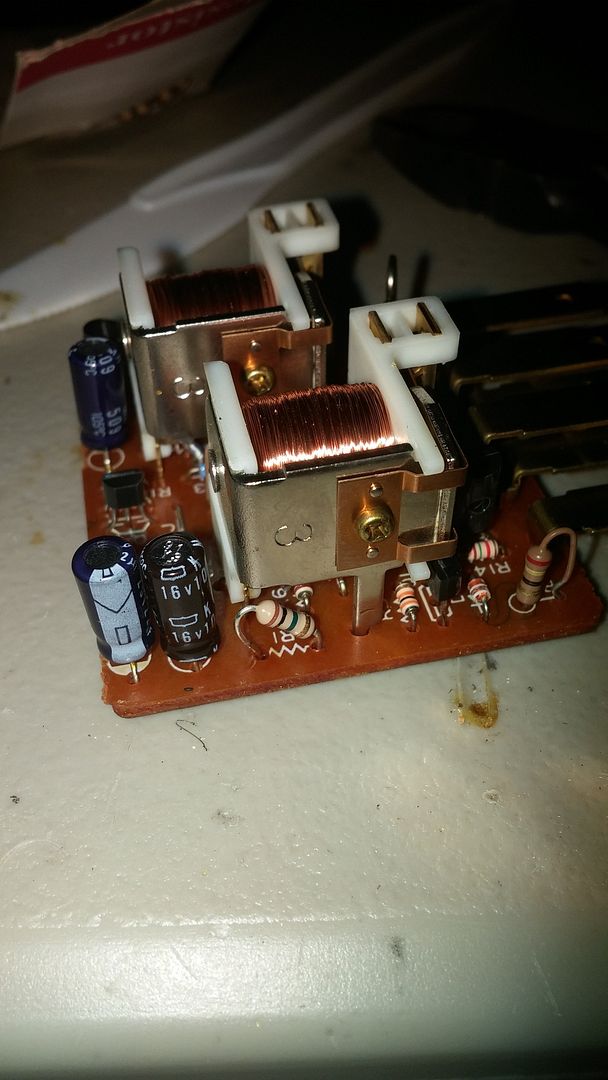 |
|
|
|
Post by einy on Oct 27, 2015 11:56:42 GMT
Where is there a RadioShack anymore ?!?! All of them in Cincinnati area seem to have closed .... !!
One other piece of info on flashers for anyone else interested - if you run incandescent side markers off of the wire run that goes to the tail lights, you don't need to make any flasher mods. Good / bad, that's what I chose to do - mostly due to availability of the side markers in a size I wanted to run. These are run in conjunction with LED tail lights. I think the flasher - with the setup I have - "sees" a combined resistance level consistent with the OEM setup, and behaves normally with no mods. |
|
|
|
Post by jmills on Oct 28, 2015 3:05:47 GMT
I just ordered 50 from eBay. I can mail them to folks in the U.S. If anyone needs a few. It will probably be a while for them to arrive from half way around the globe, but happy to share the 49 spares.
|
|
|
|
Post by jon on Oct 29, 2015 14:44:17 GMT
I posted this on the FB group, but wanted to share here too. I am trying to design a means to fix the stock fuel filler and cap to the body work in the rear in a clean way. I got this Jeep fuel cover. I like it, despite saying "Jeep" 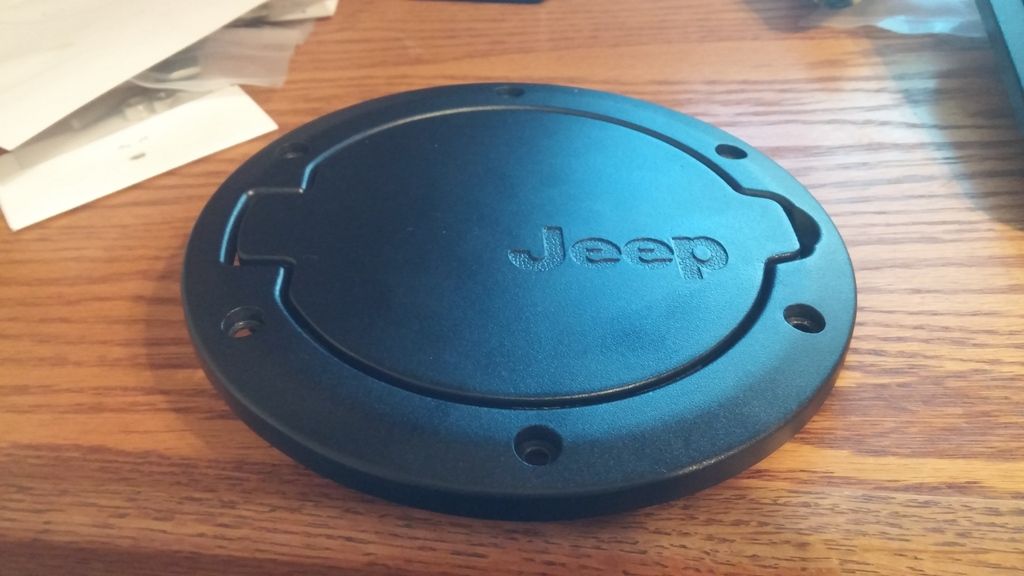 I am designing these two half cups that will retain the fuel filler neck under the bodywork. The cup will bolt up to the jeep cover. 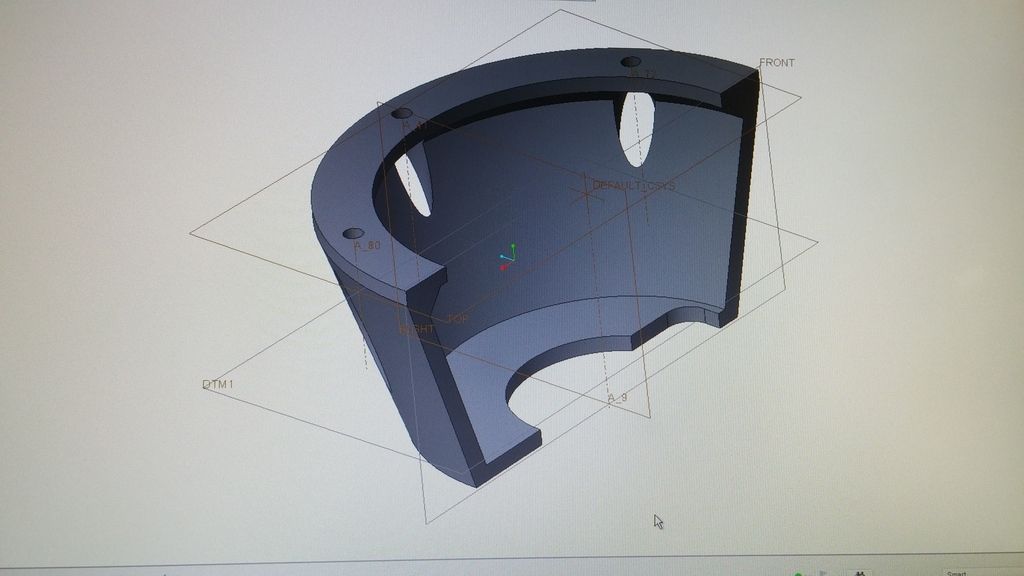 Here is the first trial fit. I need to make some tweaks. 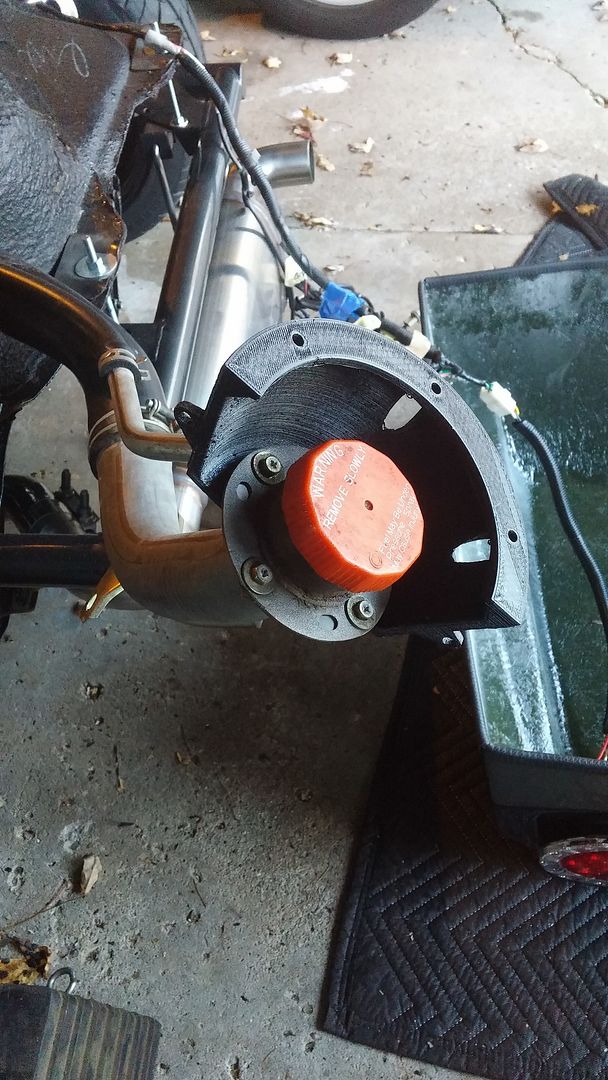 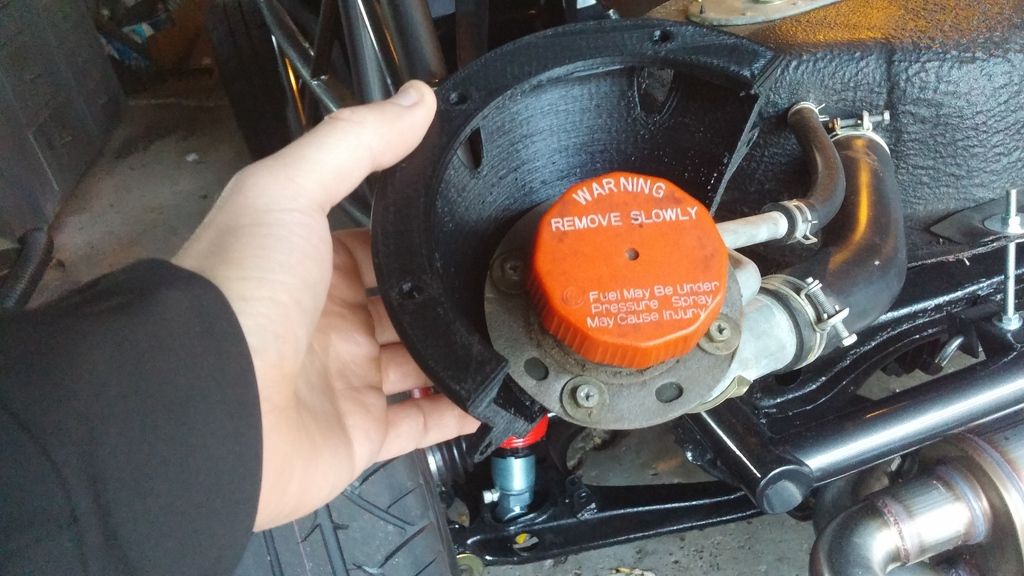 There are some concerns about getting gas on the ABS, so I may have to coat it in something for long term durability. If it works out well, I may consider selling it to other exo builders. Not trying to make money, but more as a project for the group. |
|
|
|
Post by einy on Oct 29, 2015 16:55:12 GMT
One thing to look at ... space and clearance with the rear cover on. There is precious little distance between the back face of the cover, and the back of the fuel tank (if that makes any sense). My first plan was to use the stock filler neck but just couldn't figure out how to fit it in, and still be able to make a down sloped run from it to the filler on the tank, since I don't want fuel sitting in the filler hose if possible. Best compromise I could come up with was a near duplicate of what steadfast did on his filler setup, but with the addition of a 1.5" to 1.75" adapter for my 1991 tank source from fillernecksupply.com
|
|
|
|
Post by jon on Oct 29, 2015 17:39:25 GMT
Yes, this is a good point. I need to test fit it in there to make sure it fits. I plan on cutting the fuel filler very short and using flexible rubber fuel hose to connect it.
I will try to make the design as compact as possible.
|
|
|
|
Post by jon on Oct 29, 2015 18:31:04 GMT
It would seem that the shape of the tank allows a lot more room on the passenger side. As such, maybe I will mount the fuel filler there and run the tubes to the left.
|
|
|
|
Post by einy on Oct 30, 2015 11:43:25 GMT
Exactly the path I went down. But .... when you shorten the stock filler, you end up with a piece that points mostly straight down. You don't have much vertical drop to play with to get the filler hose to make a 90 degree turn out of the shortened stock filler, a downward sloping run toward the tank, and then a ~ 135 degree turn to the side to meet the tank's filler stub. Using the "pretty flexible" Parker EZ Form 7219 hose helps, but I couldn't get it to make all those turns in the vertical space we have to work with.
The marine filler that steadfast used has a 45 degree turn to it, only downsides were that it has a 1.5" outlet spud vs. my tank's 1.75" inlet spud, and that it mounts to the outside of the fiberglass cover. You have to mount that filler to the cover first, then the hose to the filler after. A PITA to get assembled, vs. having all of the fuel related items mounted up, the dropping the cover over the filler (i.e. - the filler mounts to the inside of the cover, like our stock unit would).
All in all, what I have works, although to remove the rear cover, I'll have to reach up and remove the filler and vent hose both from the filler first. A tough reach !!
One caveat - I have not yet tried to put fuel in from a gas pump. I have only - so far - put fuel in using a gas can at home. I say this because I'm not sure how an auto shutoff fuel filler nozzle would work. Would it shut off before spilling fuel all over? No idea .... yet.
|
|
|
|
Post by jon on Oct 30, 2015 13:21:52 GMT
Good to know. I will experiment a bit and find out.
|
|
|
|
Post by einy on Oct 30, 2015 23:19:36 GMT
Jon - if you find a better way, I will probably adopt it!! I am not crazy about my current setup, but it is serviceable. I think ... !
|
|