|
|
Post by R2S on Oct 15, 2013 23:14:59 GMT
Its time to break out the tools, just need to buy myself a compressor and its all systems go. 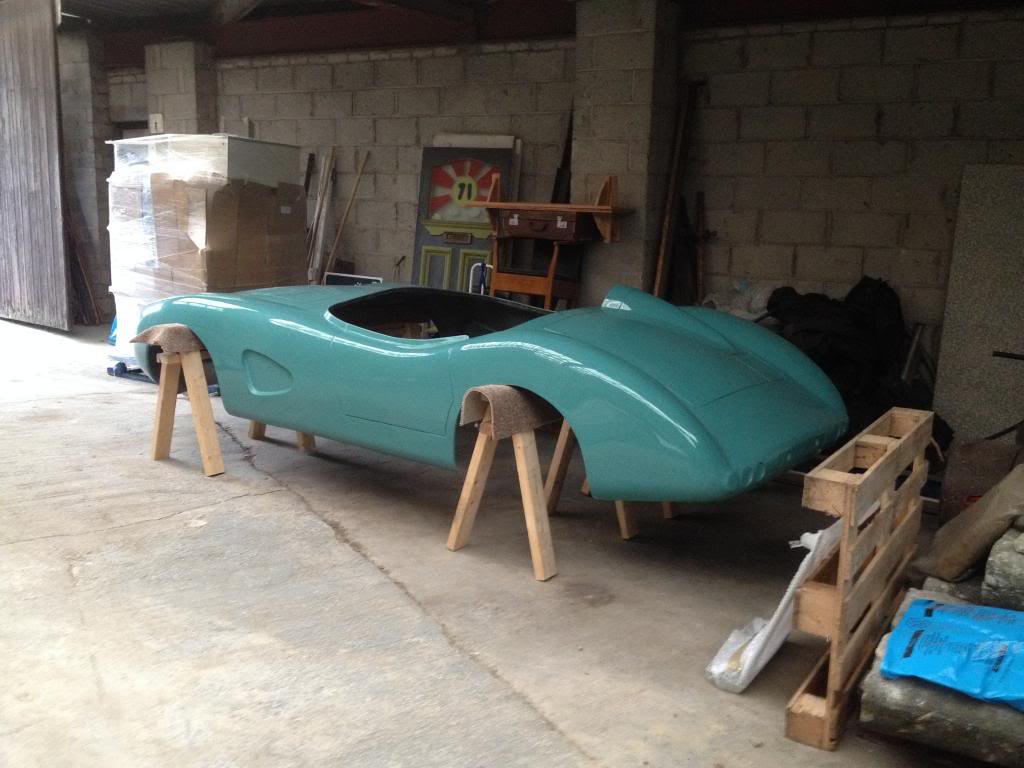 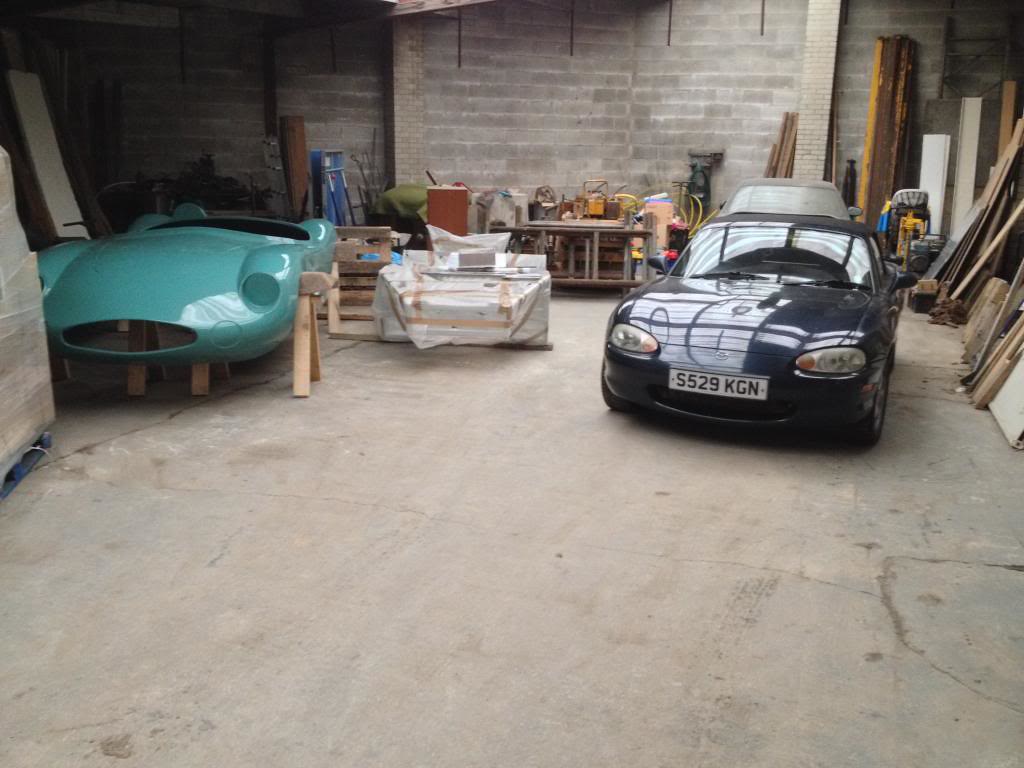 |
|
|
|
Post by James on Oct 16, 2013 7:40:25 GMT
I recognise that colour! Nice big space R2S. Good luck. I wish we had a compressor  |
|
|
|
Post by R2S on Oct 16, 2013 7:54:16 GMT
Thanks James, all my tools are air tools, compressor broke about six months ago and can't be repaired so it's hand in pocket time again.
Yep My paint man said to start with a colour as close as I could get to final and Stuart sent me a picture of your car to see if that was better than those available. I've tracked down the colour code for the AMR green just need the code for the yellow round the grill.
|
|
|
|
Post by James on Oct 17, 2013 7:28:55 GMT
We're getting there with our paint colour too. It will be interesting to meet up in our finished cars and contrast and compare at some point.
|
|
|
|
Post by R2S on Oct 21, 2013 16:53:15 GMT
James sent you a message re calling in to view your build have you seen it?
|
|
|
|
Post by R2S on Oct 21, 2013 18:42:36 GMT
Ok i've made a start got the compressor, everything set up in the workshop.
Before stripping down the Mazda did a quick dry compression test and all four cylinders 155 (as near as makes no difference) tried to do wet test and values went through roof literally nearly blew my hand off so too much oil dropped in bores!!
only had an hour free this afternoon so started at back and stripped out boot, removed all rear lights and removed bumper (time to start selling on ebay me thinks).
I can see wiring is going to be interesting loom at rear has been cut into for electric aerial and immobiliser!
Leaving soft top in place for time being in order to keep its shape, its mohair with glass screen so should provide a bit of payback.
|
|
|
|
Post by R2S on Oct 29, 2013 18:05:17 GMT
Typical work is on hold as i popped my back last week whilst erecting scaffolding, in the absence of any physical work i've been busy scouring ebay and the like for various bits (see also other thread re karting suits).
Have located, and bought, for next to nothing, a pair or period fog lamps (these will be fitted post IVA to ensure no slip ups).
Nearly bought a period rev counter but realise that this may have to be a new item as i will need detail on how to set up.
Looking at fairly high profile tyres (reversing a trend) and would welcome any thoughts on how wide to go. The wires from MEV are 7j x15 and i'm thinking 205 80 15, i would go skinnier but i don't think this is good practise. I've got a set of 205 16 wheels and tyres from an old discovery in the garage and will offer these up just to get a feel for the look and clearances.
Wrinkle finish paint, red, for cam cover and inlet ordered and hammered finish paint, light green, ordered for subframes.
Also looking at some fabricated wishbones but things are very quiet on this front.
Thats all for the moment folks will post when something more substantial when i get back to stripping the mazda.
GT
|
|
|
|
Post by R2S on Nov 18, 2013 19:04:42 GMT
Ok first tentative steps taking it easy with the back and made a proper start on stripping the MX5.
Stripped the bumpers, all lights, front wings, seats, centre console and some of dash. took longer than expected due to seized screws and bolts (a reflection on the donor i am afraid).
I note the inner rear bumper is ali and it struck me that the curvature might be ideal as a start for my grill, looking to slice the box and the ribs to see if they are going to be of any use.
As i said didn't get as much done as i'd like as it started to turn dark and whilst i have loads of room in the workshop i have yet to install lighting, clearly a must for the winter months.
Next job is dash removal and doors before i start to build scaffold tower over car prior to body removal, dependant on weather i might put a bit of time in on Thursday.
|
|
|
|
Post by gwnwar on Nov 18, 2013 20:51:31 GMT
Label all your wire connectors both sides.. red flag all grounds to find later around 9/10 of them..
Spray every nut bolt you can see under car now and again later.. wire brush threads if you can see them.
It will help later to remove.. Use 6 point sockets only if you have them.. Break loose after soaking and brushing the threads of your center rear axle nuts before removing body and brake system. Also the front bearing nuts..
|
|
|
|
Post by snowbird1 on Nov 18, 2013 23:53:10 GMT
Good advice from 'gwnwar', one addition trick I found - there are 2 long studs on the front and rear sub frame mounts if the exposed thread is rusty, as they were on my UK donor, it makes thing a lot easier if you can clean the threads, I didn't have a 12mm fine thread cleaner so when I got one nut off a short stud I cut 4 groves in it and ran it up the exposed threads. Made things a little easier  . |
|
|
|
Post by R2S on Nov 19, 2013 15:43:29 GMT
Thanks for the advice, have the wd40 ready for next trip, might spend Thursday soaking and cleaning visible threads etc and leave over weak end for some real work one day next week.
On the subject of wiring two queries:-
1. There are a substantial number of unused connector blocks already, and whilst i probably won't need most of then i will be looking to use fog lights, any idea which is the connector i need to mark up?
2. The donor is fitted with an immobiliser with wires to door locks etc, originally i thought this would be a good addition for use in the kit but bearing in mind i won't have doors, boot etc i am thinking this might not be such a good idea. In the past my security has simply been a couple of cut off (kill) switches. Thoughts? clearly if i bin the system i will need to sort out the wiring (scary thought).
|
|
|
|
Post by gwnwar on Nov 19, 2013 16:47:27 GMT
What year is your doner?? This might help if it doesn't have your year check around your date.. www.mellens.net/mazda/ This one goes to 2000 take a look also www.madracki.com/miata/wiring.html When you start working on the wiring remember don't just cut wires as some wires also power and ground other systems. Don't let this turn you off.. You can remove things like AC, PW, PM, Alarm,Seat belt warning, Radio,ABS. With the fog lamps there is a connector on the dash behind a blind cover.. You might want to start laying the harness out(all sections together) on a couple of sheets of plywood on some saw horses to save your back.. Open up the harness keeping them together with some nails in the wood..0r some loose fitting tie wraps.. Get an OHM Meter with small clips on the leads. Or make up a small 9v battery and a buzzer with long leads to check wires. leave some wire (couple of inches)at the connectors were cut just in case you have to wire back in.. Shrink tubing works good on cut ends. You can go back later to tidy up the harness before wrapping it up.. Just go slow.. On spraying rusty bolts WD40 is OK but it is more of a lube. I use PB Blaster there are other thing on the market also ask around.. |
|
|
|
Post by R2S on Nov 20, 2013 11:57:57 GMT
Car is a 98, 1.8.
Must confess, and this may seem like the wrong way to do things, i was going to build using complete loom; just to be sure i don't cut out anything i need.
I think i've used Rust Eze (or something like that in the past) i'll have a look at the motor factors in the morning.
|
|
|
|
Post by R2S on Jan 8, 2014 13:46:44 GMT
Spent a good day stripping yesterday but wasted a good hour, and damaged dash, trying to find the screws behind the vents referred to in the strip down guide. They don't exist on the MK2 and assume the notes are for the MK 1 (Shame this wasn't made clear in the notes, can someone up date them to save anyone else making the same mistake?).
Work completed yesterday:-
Roof removed (thanks to Piston Heads post re removal of back edge from gutter) and set aside for resale, pretty sure its a recent replacement as it is, with the exception of a small patch of surface rust on the frame, in perfect condition (Mohair with heated glass) so should sell.
Seats out
Bonnet off
Wings off
Steering removed
Dash, all but removed (main frame still in place whilst i complete labelling electrics, but main element, speedo etc, and central elements removed).
Axle nuts loosened. - Great shout from 'gwnwar' re the axle nuts would never have got them undone if i'd tried after removing body weight - used my standard socket set and bar with 6' scaffold and bent my bar - found the 1" drive set that my father in law has and used with the 6' scaffold tube, 'success'.
Small lengths of timber (2" dia round section) placed in all four corners (wishbones) in advance of body removal to prevent collapse.
Lots of electrical cable/connection labelling).
Ran out of light!
|
|
|
|
Post by R2S on Jan 8, 2014 16:41:14 GMT
Seats and part dash removed - loving my air wrench ![]() Roof and shelf removed
front end stripped
Breaking rear axle nuts
|
|


 .
.