|
|
Post by casesensitive on Nov 23, 2018 17:37:06 GMT
Do you mean engine mounts? No, I literally mean seat belt / harness mounts. Some people had to put some sort of a 'box' on or around the pre-drilled, crush-tubed hole in the middle chassis bar to get around IVA. My Willans harnesses came with really short 7/16ths UNF thick eye bolts, so I'll either have to wrap around the chassis, build a box and tap it 7/16ths or buy longer ones. The sticky part is that the harness clips only open 9mm or so. 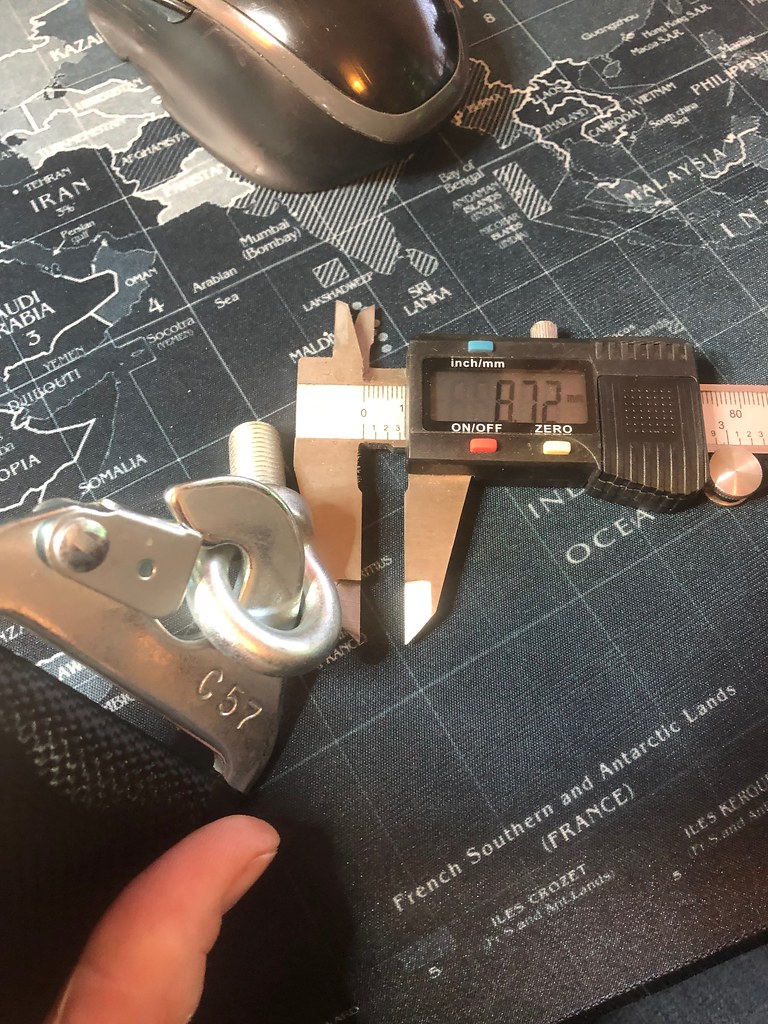 |
|
|
|
Post by familyguy on Nov 24, 2018 12:26:18 GMT
Longest eye bolts I've found have been 50mm long which are no good (assuming the chassis tube is 50mm dia)
Can the clips on your harness be removed allowing the harnesses to be wrapped around the chassis rail so no fasteners are required?
|
|
|
|
Post by casesensitive on Nov 26, 2018 11:30:45 GMT
Longest eye bolts I've found have been 50mm long which are no good (assuming the chassis tube is 50mm dia) Can the clips on your harness be removed allowing the harnesses to be wrapped around the chassis rail so no fasteners are required? Yep, I discovered this weekend they can be, my only concern now is length, I didn't go for the short ones, and there may not be enough distance between the lower chassis bar (under the roll-hoop) and the seats. Also, the eye bolts give that critical extra 30mm of height to clear the holes in the seat so that the back of the seat isn't low-bearing, which it otherwise might be. |
|
|
|
Post by casesensitive on Nov 26, 2018 11:36:02 GMT
Torque mount
Stephen came over this weekend and was a huge help. I had to put the torque mount in, as I'd basically fogrotten about it. I had a mad plot to put the wheels back on, assemble the engine crane, slacken the driveshaft nuts (tough without my handbrake connected), lift the engine out, drop the mount in, lower etc.
He pointed out that it' be much easier to take the side of the bracket off, and lift it 50-60mm with the jack. 2 hour job, with some clear thinking became a 3-minute job.
Geometry
We then used the 3m 30mm box section to set the suspension up at the back. Within 0.5* on toe and camber. Straightened out my front end too with a few turns of a 13mm spanner on the rack. Will need some locknuts I don't seem to have been supplied with to keep it straight. Steering wheel will have to come off to set the centring (I had it relative to the very crooked wheels).
|
|
|
|
Post by casesensitive on Nov 26, 2018 11:43:57 GMT
CoolingMade some pretty decent progress on the stainless cooling system too, the 'H' is now welded, I just need to make it pretty and maybe see about reaming it out a bit. I didn't backpurge the inside of the tubes (I don't have a second reg.) so I have the black sugar lumps a bit. I'll run something through them, it's pretty stuck on, but might not stay as such. If I could get a tap down into it, that'd do the job more than likely. Stripped an Aldi jump lead, surprisingly little thickness of copper in it, so I cut the length in 3, braided it, and used it as an earth on odd-shaped things. Obviously, the earth clamp on the vice would have done the done here, I just wanted to test it. 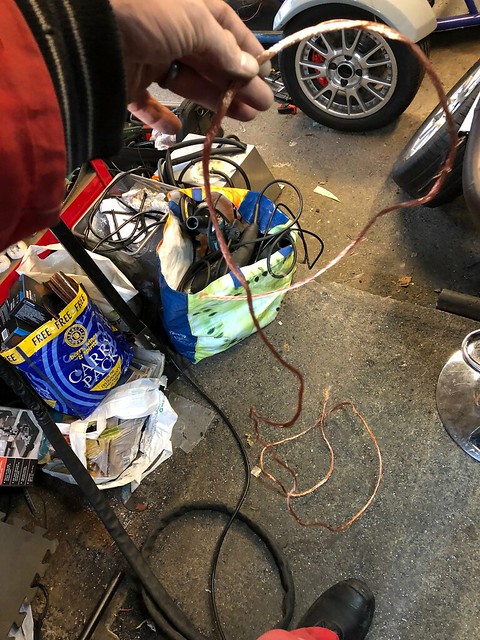 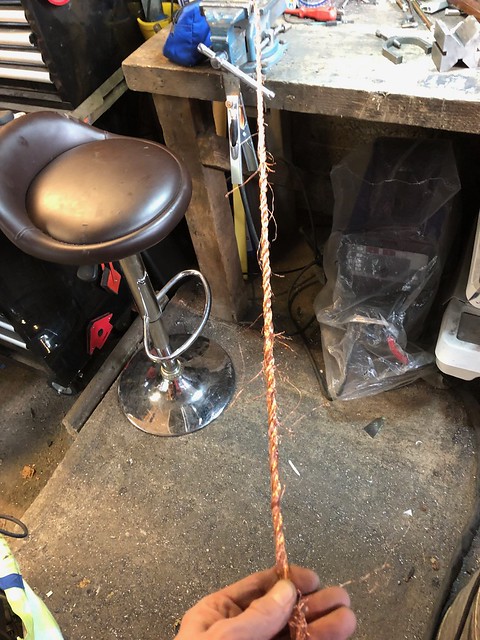 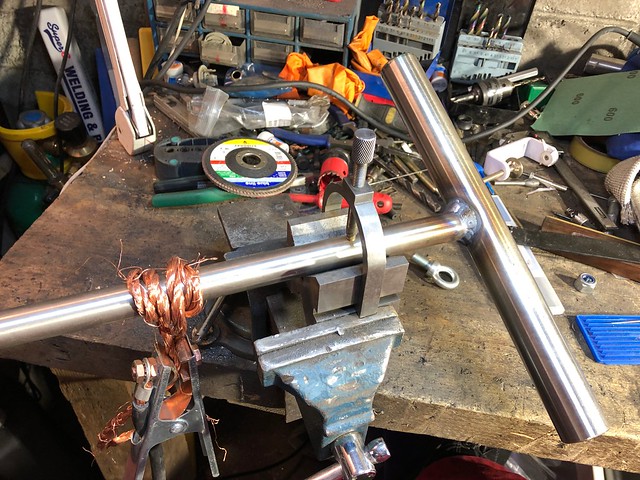 WIP on the cooling pipes 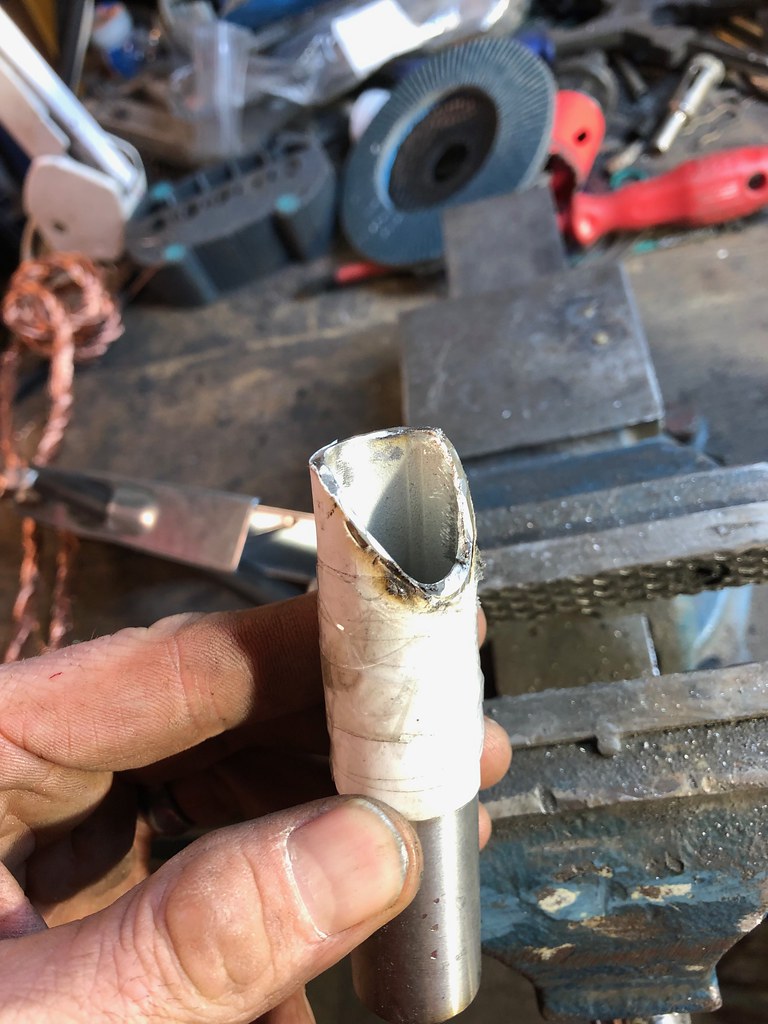 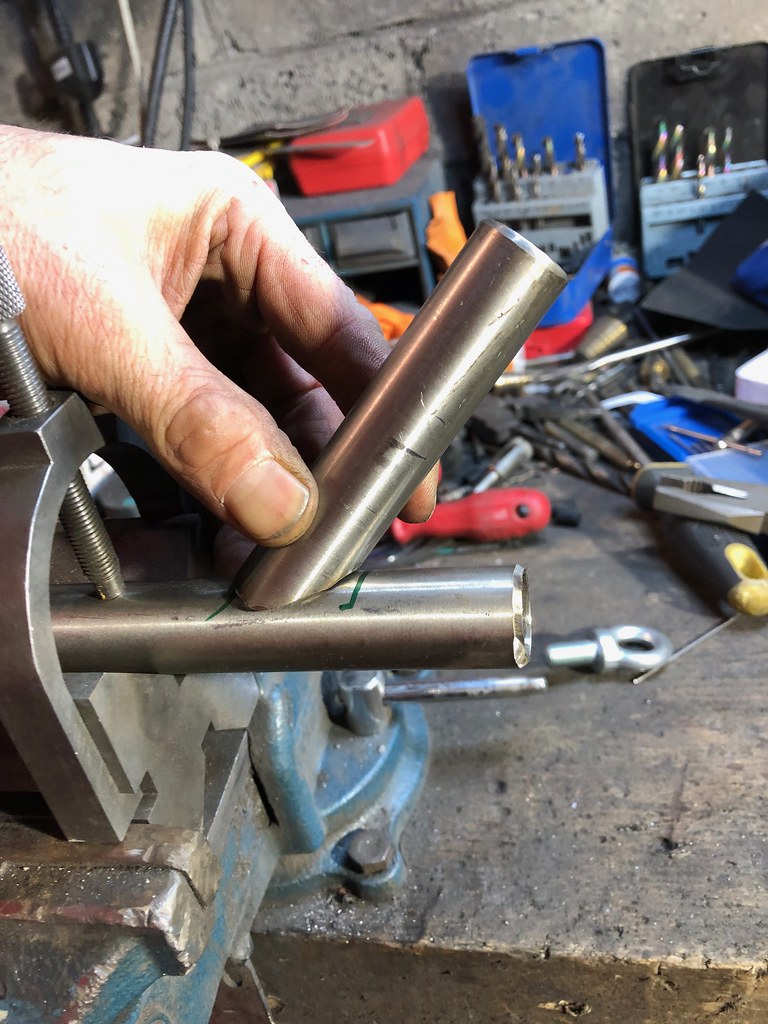 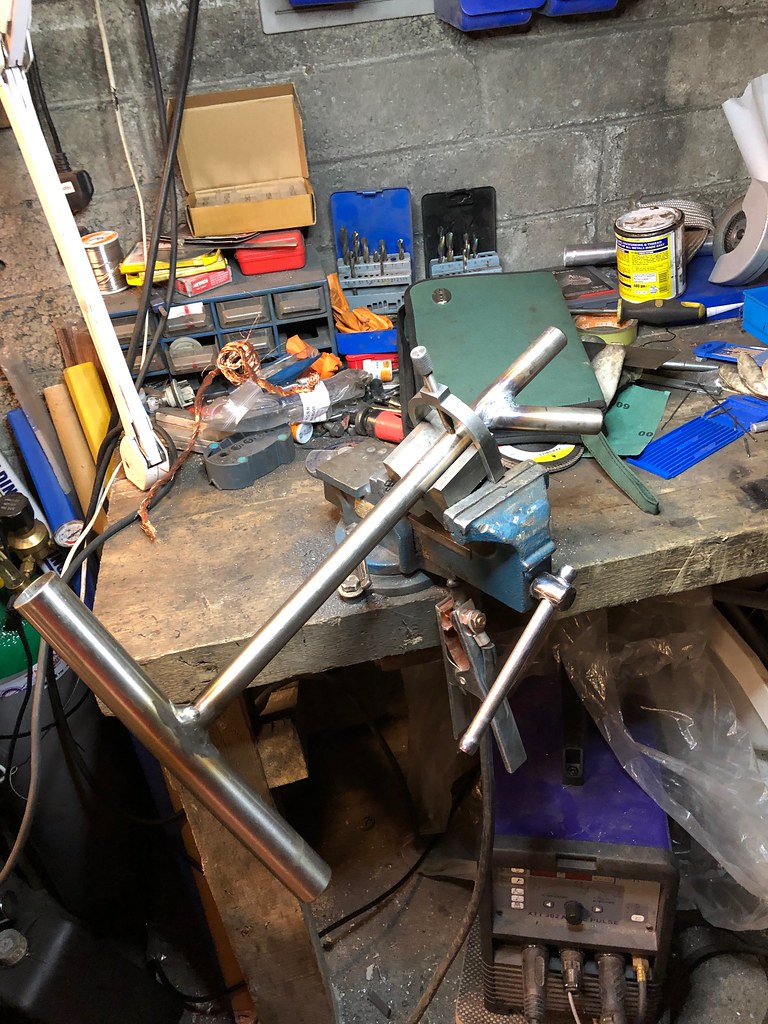
|
|
|
|
Post by casesensitive on Nov 28, 2018 17:03:42 GMT
Gave the joints a second pass, then a tarted it up with a 120 grit flap wheel. 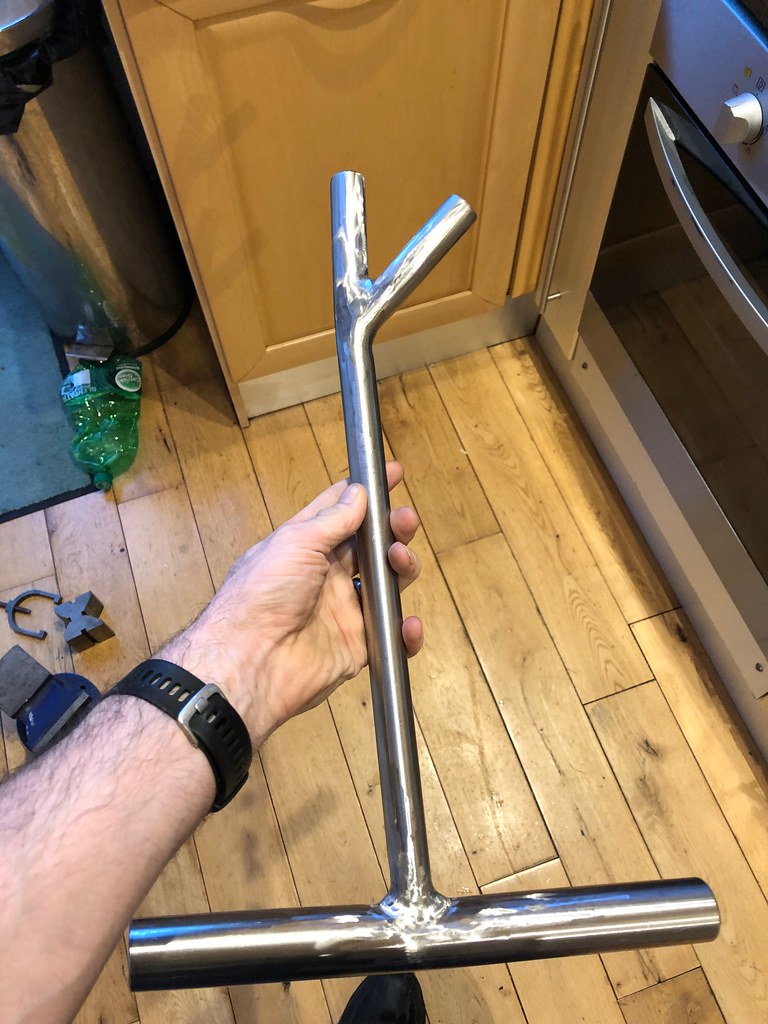 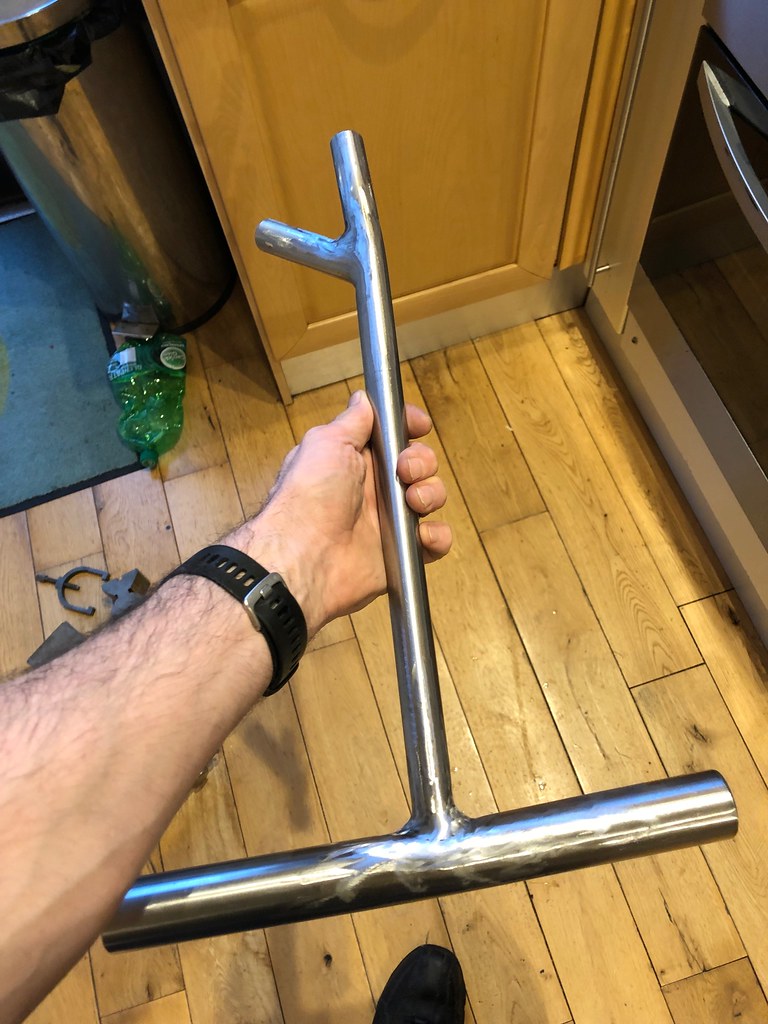 Now, I didn't back purge, so there's some slag build up on the inside of the pipes, which on the 22mm OD/17mm ID pipe could mess with the flow a bit, so I set out trying to clear out the crud. Drill bits didn't want to know really, filing did shag all, and I couldn't get any of taps down far enough so I combined a 16mm carbide holesaw, with a 7.4mm shank, wedged into an 8mm deep socket with a bit of zip tie to make up the gap, hammered with a mallet onto a wooden surface. Then a 1/4" to 3/8th adapter, 3/8ths extension, with a hand-ratchet on the end. Will swap for my 1/2" impact wrench when I locate the 1/2" to 3/8th adapter. There's a fair bit of play between all the connections, but amazingly, it does work and seems to be removing the slag, albeit not quickly. I could try and find a machine shop that'll ream it for me I guess. 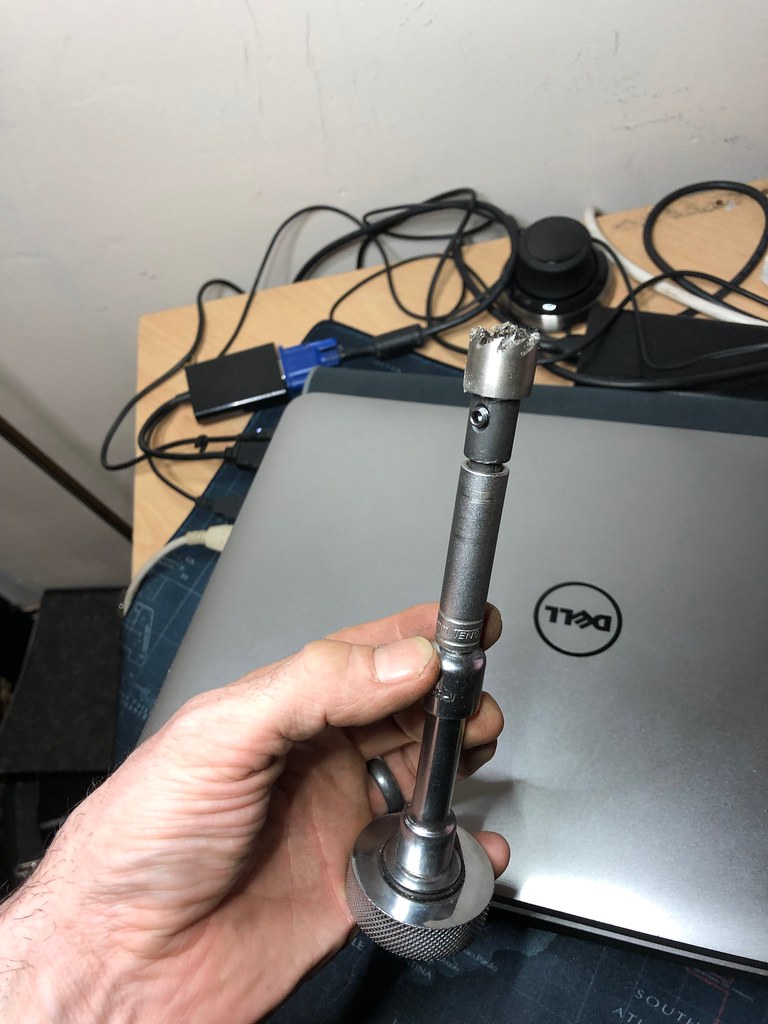 |
|
|
|
Post by casesensitive on Dec 2, 2018 11:39:15 GMT
A couple of coats of clearcoat 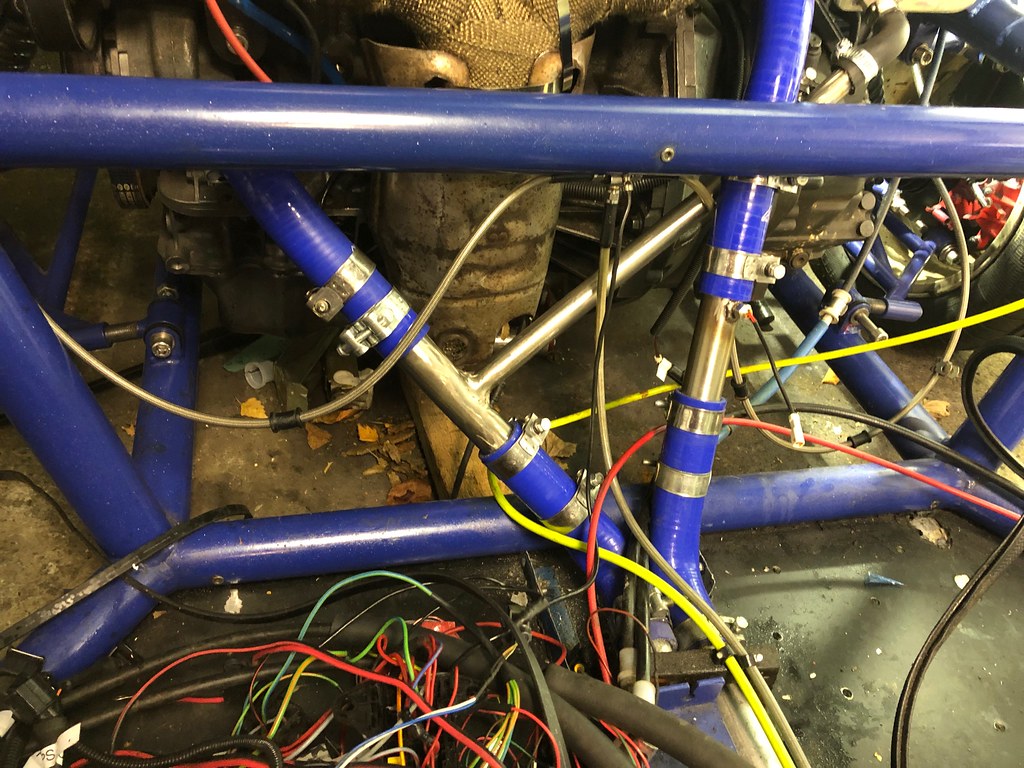 Eliminated all of this lot from the rear cooling system, and doubled up on clamps on the new smooth pieces 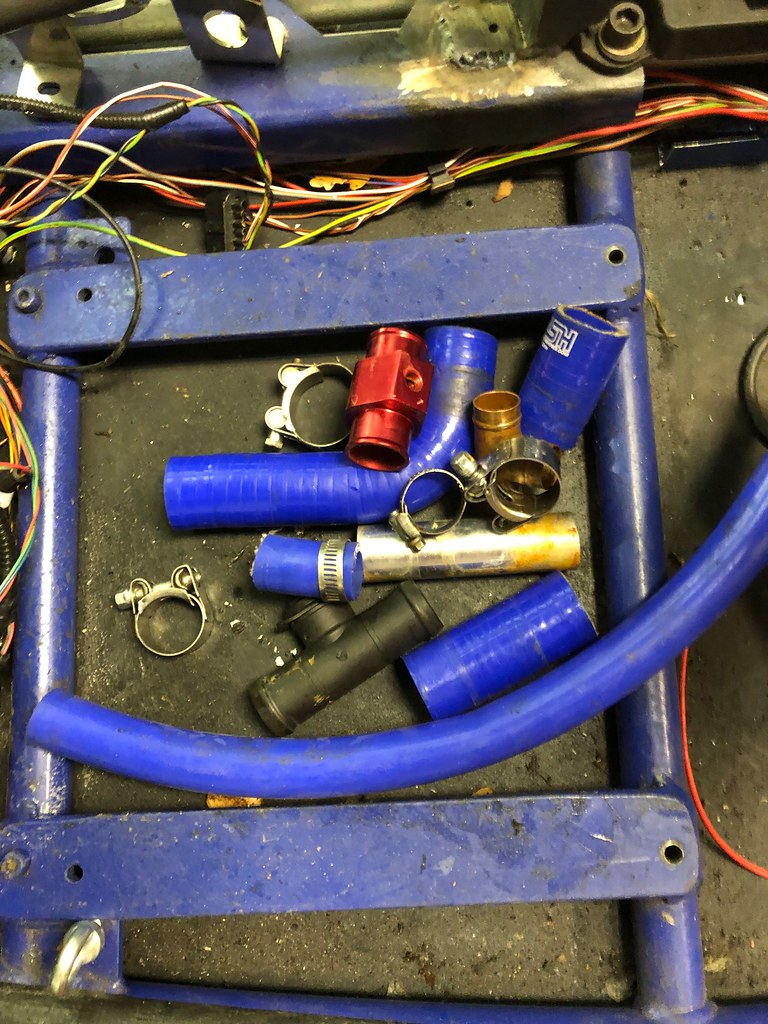 |
|
|
|
Post by casesensitive on Dec 2, 2018 11:49:10 GMT
Exhaust tipsMy expensively-procured custom exhaust wouldn't have passed an IVA with the sharp radii it had 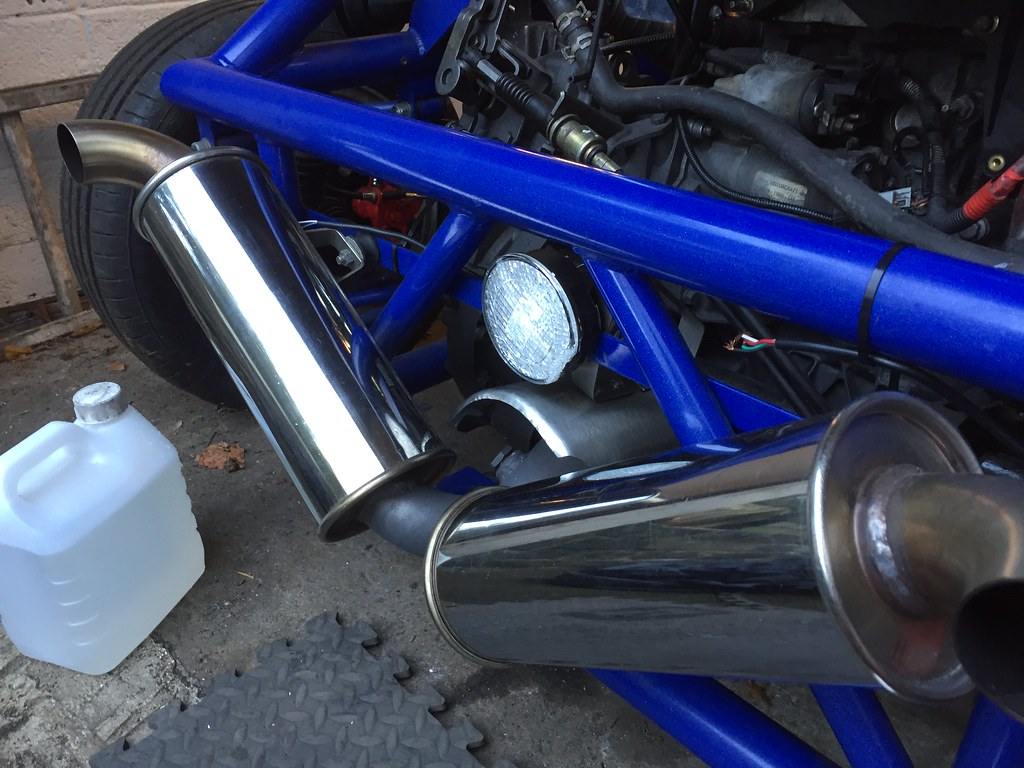 Cut them to size on the table saw 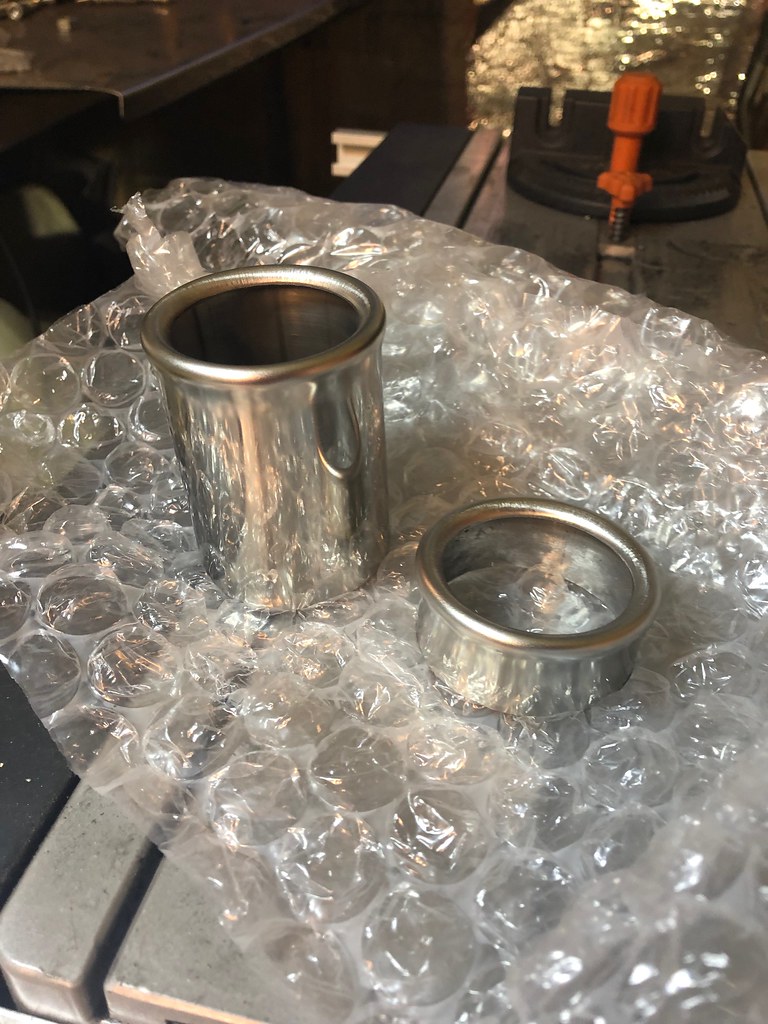 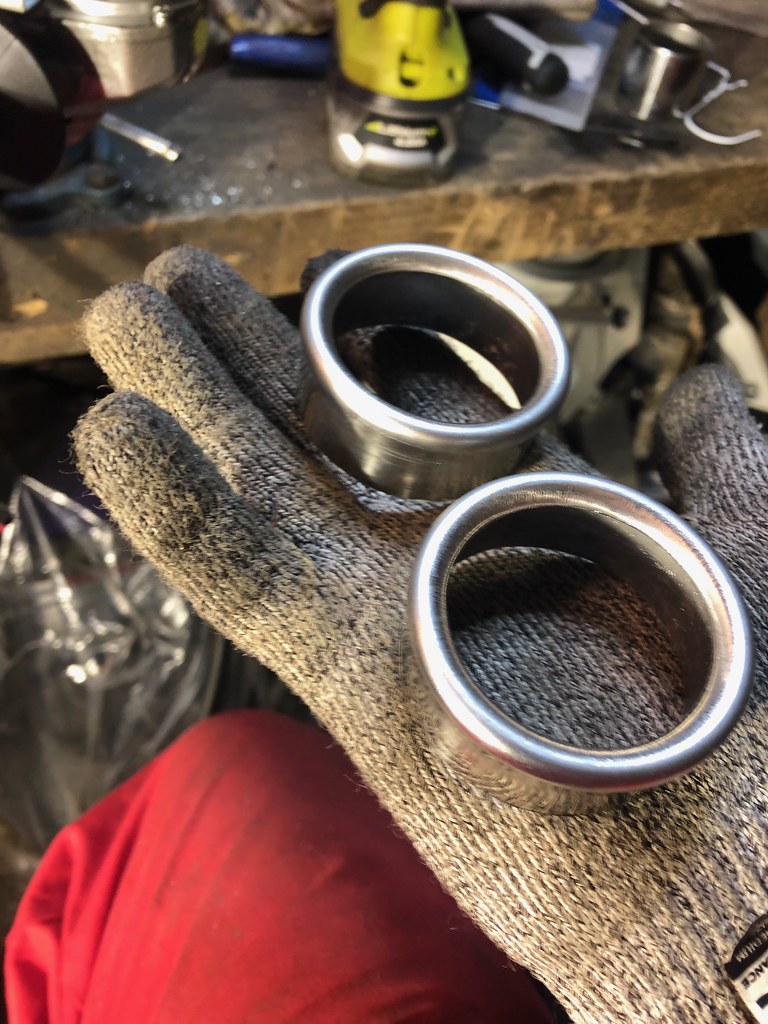 deburred and chamfered 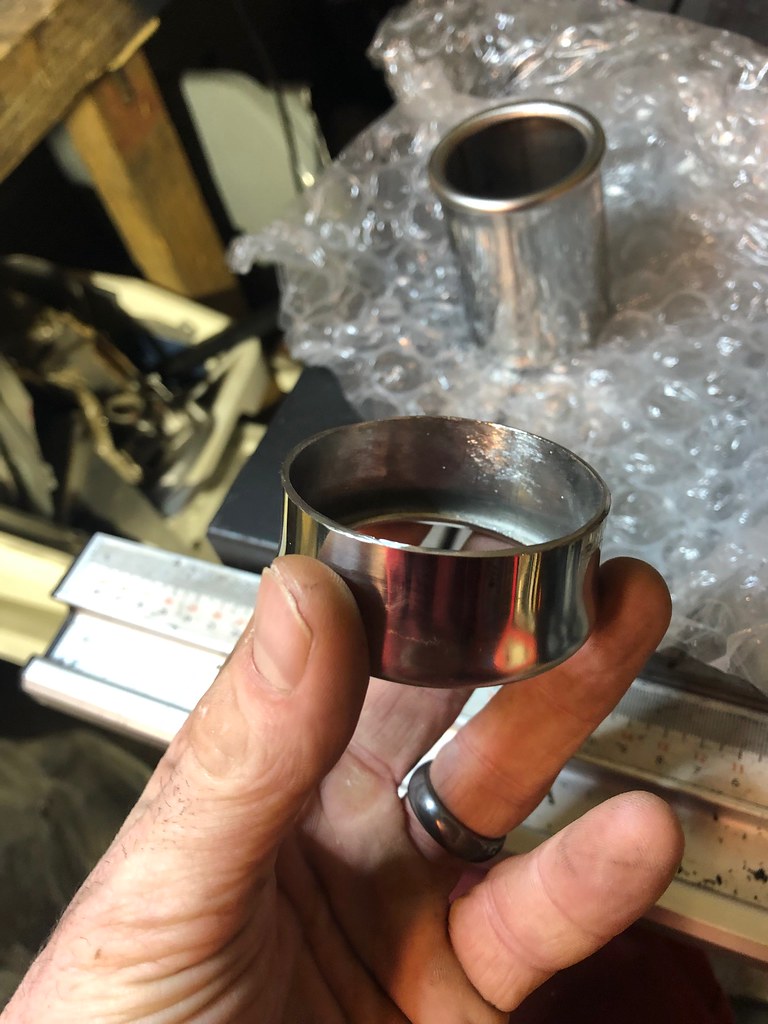 They had a nice interference fit, thanks to the lads at Custom Chrome, so I seam-welded it all the way around, which tested my limited TIG skills. The autogenous (no filler) welds underneath were quite a bit better than the ones up top, but like most of my welds, they were followed by a fair bit of grinding :/ Turned out alright, and I did a little bit of heating to give it a nice heat-affected-zone look to blend it in. 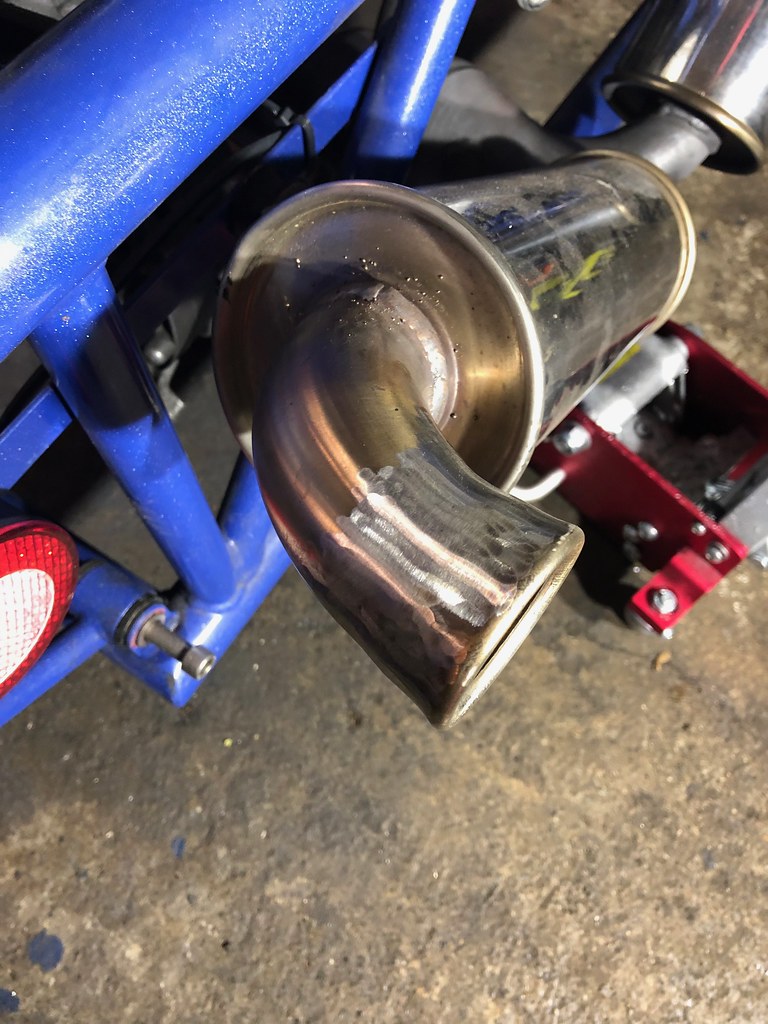 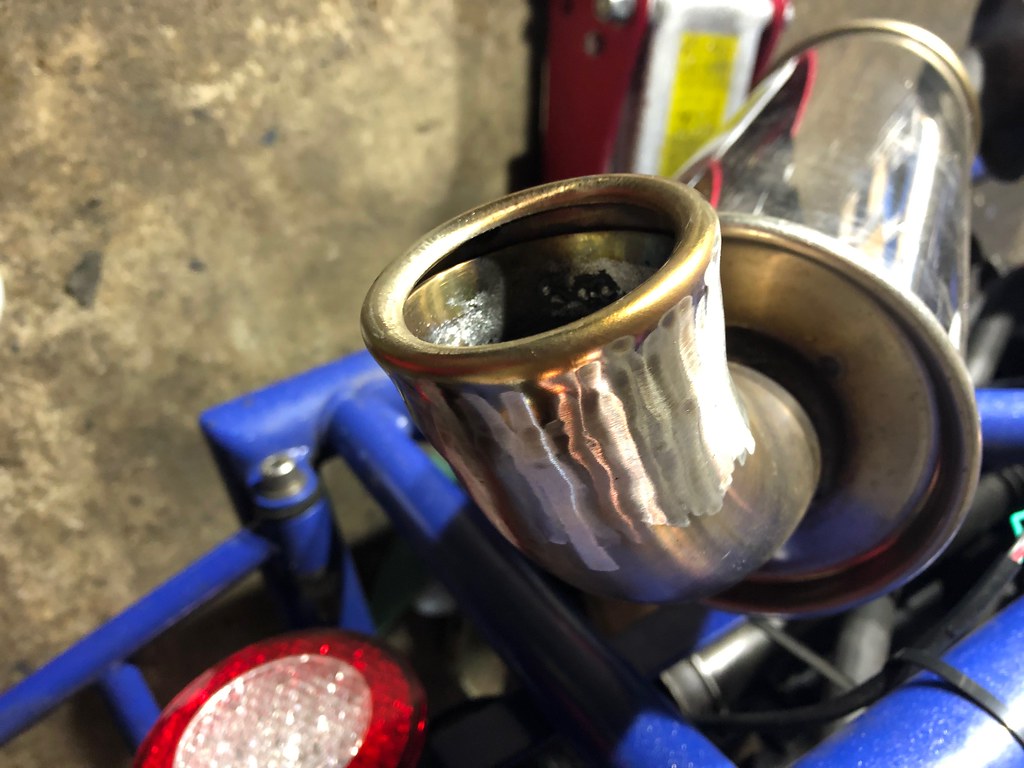 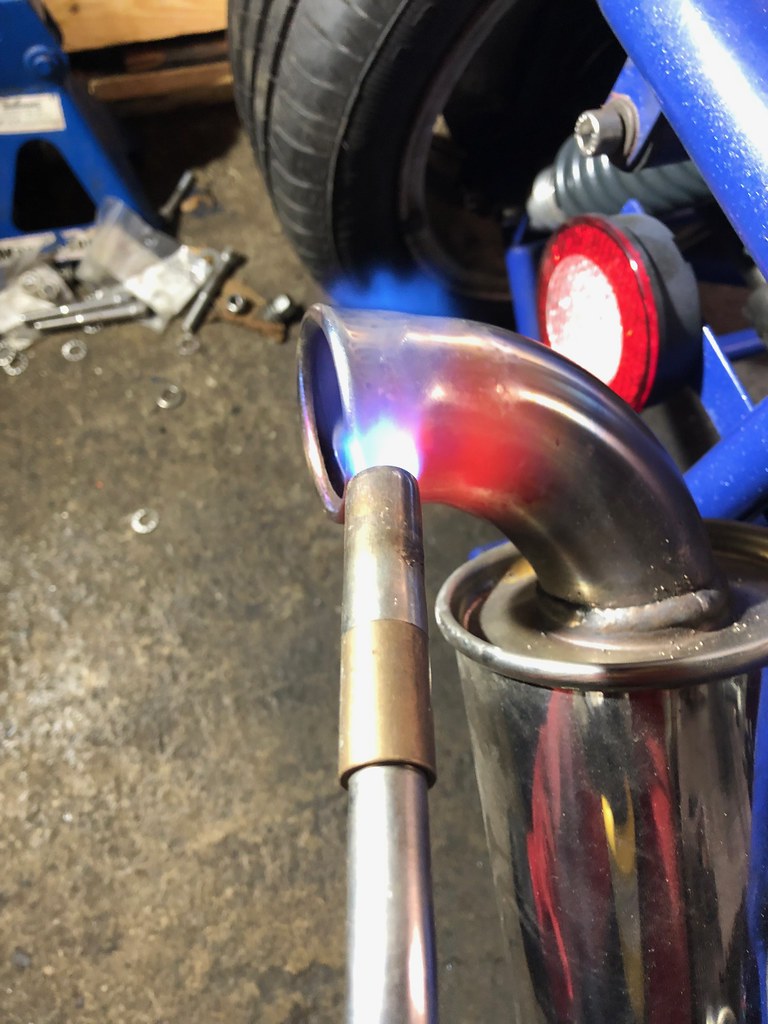
|
|
|
|
Post by kiwicanfly on Dec 2, 2018 21:05:06 GMT
Now that pipe makes sense, I had been trying to figure out how it would fit and failed. I had a lot more room for my pipework so never hit the issue of melting. Did, however, manage to melt the accelerator cable once, my very expensive teflon line accelerator cable  Cut the melted bit out and made a joiner. |
|
|
|
Post by casesensitive on Dec 30, 2018 21:30:21 GMT
A few little jobs today. Sprayed the powdercaoted but tired springs in anthracite, same as the rears. 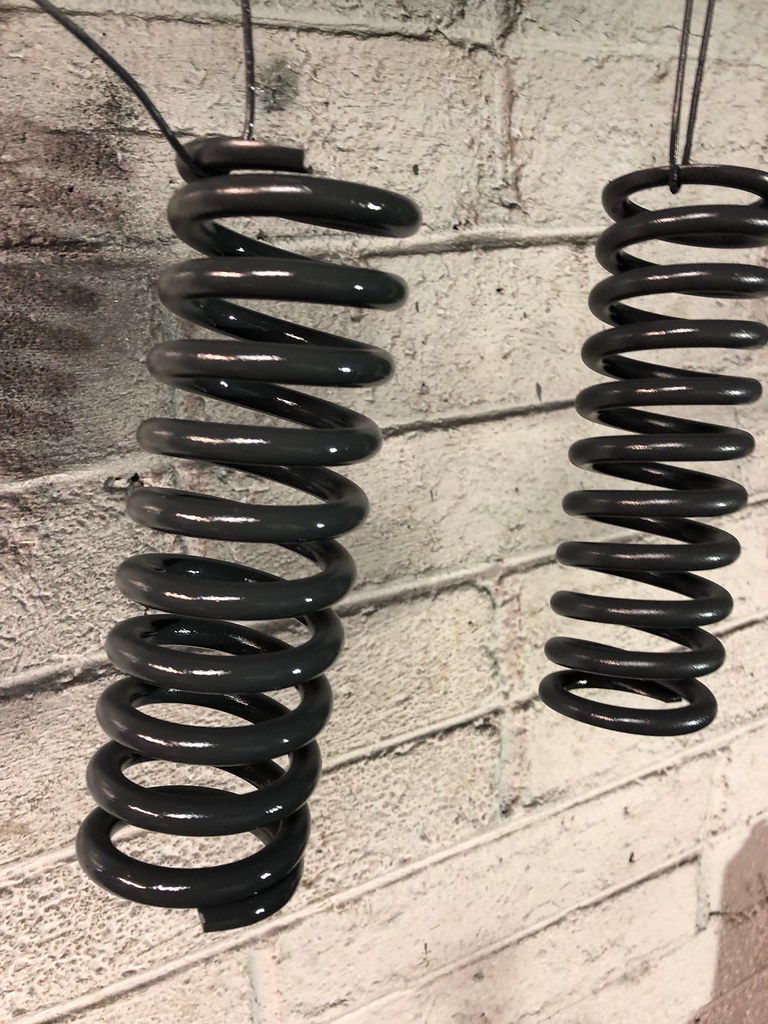 Mounted the replacement harness brackets. 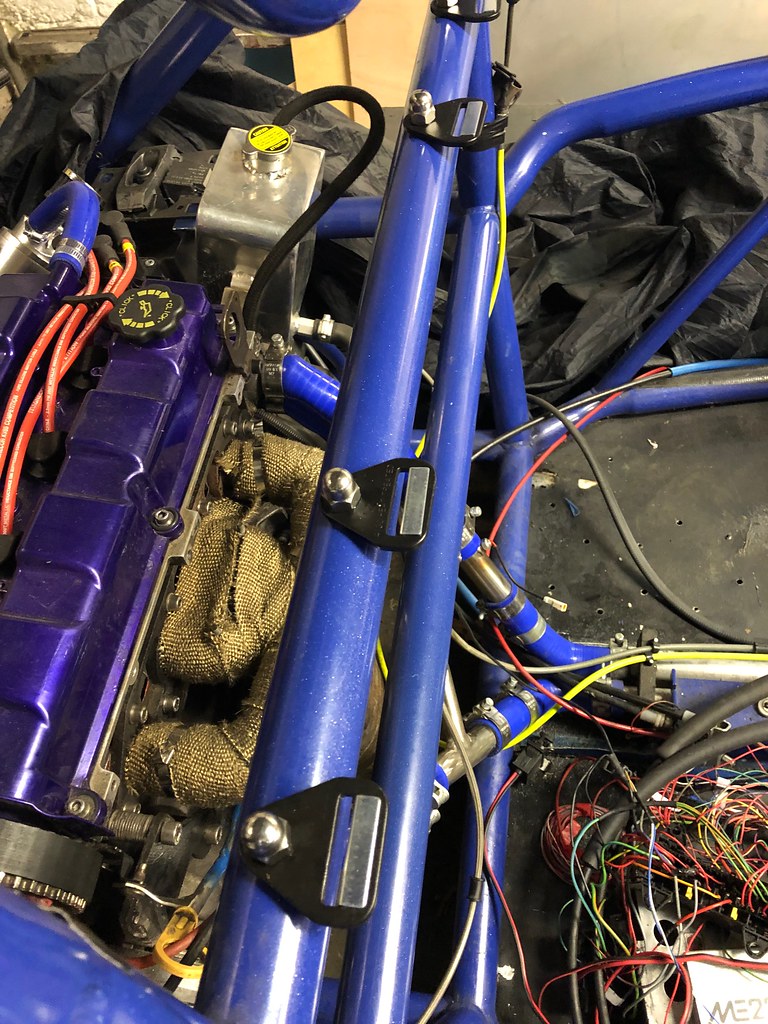 Drilled out the IVA-failing rivnuts from the wishbones, welded and smoothed them back for new paint. 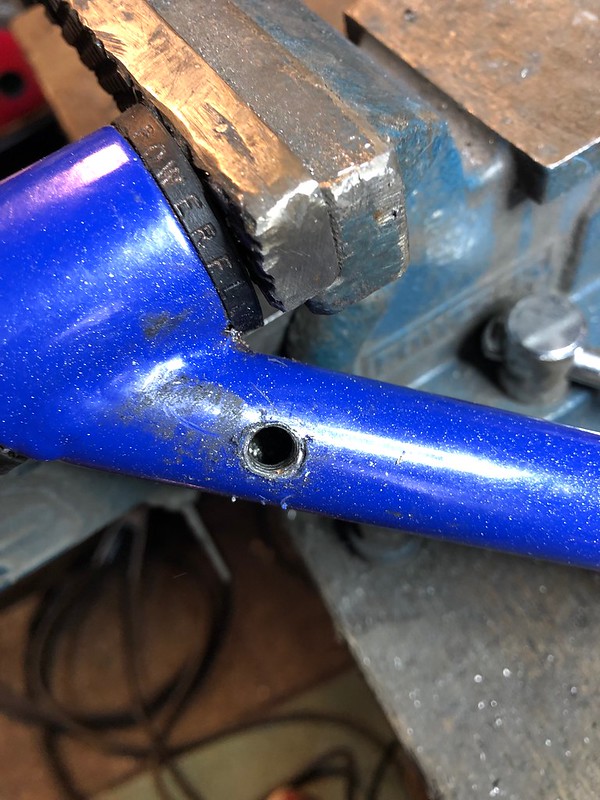 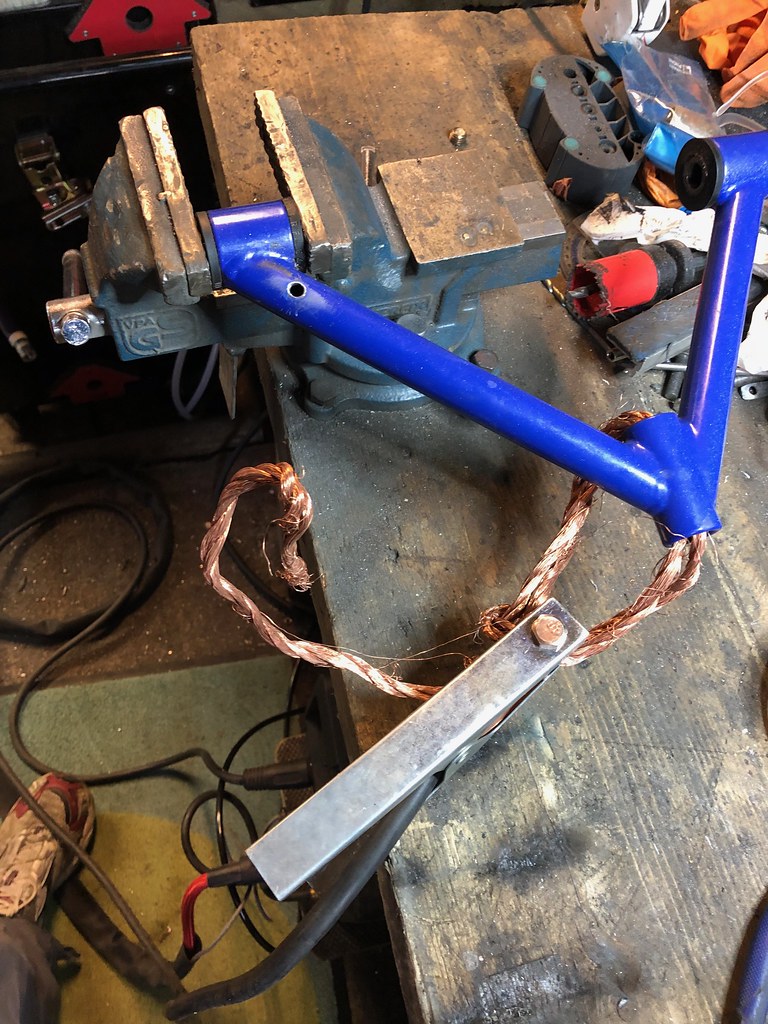 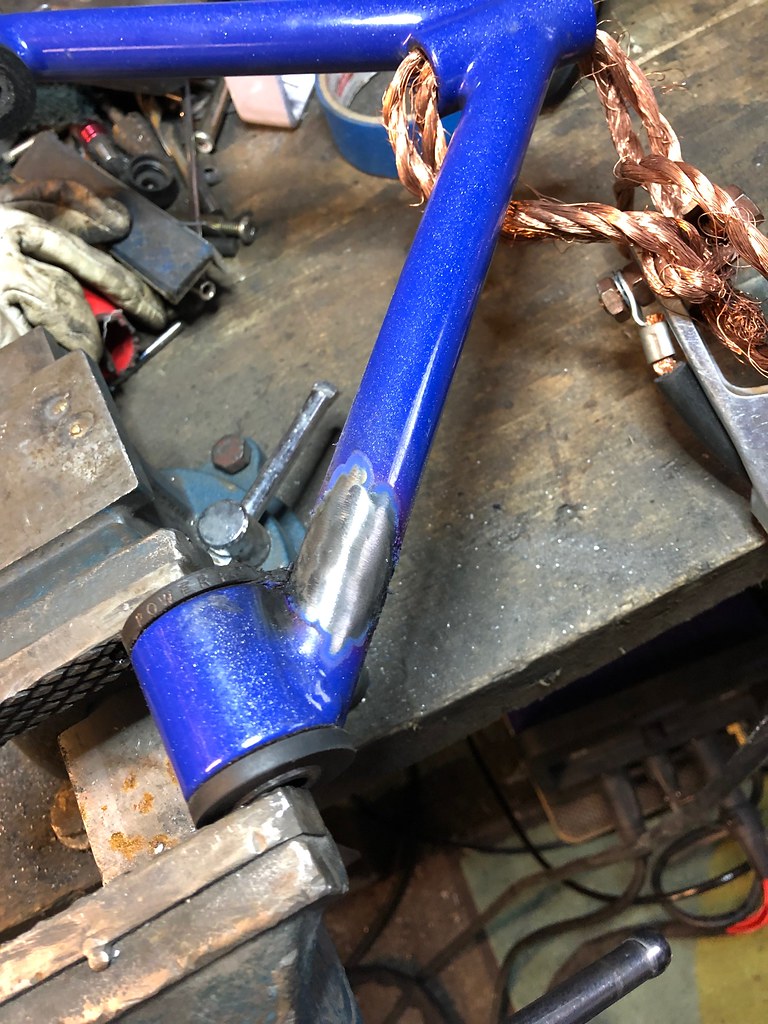 Replacement upper wishbones while I sort out a few bits at the front. 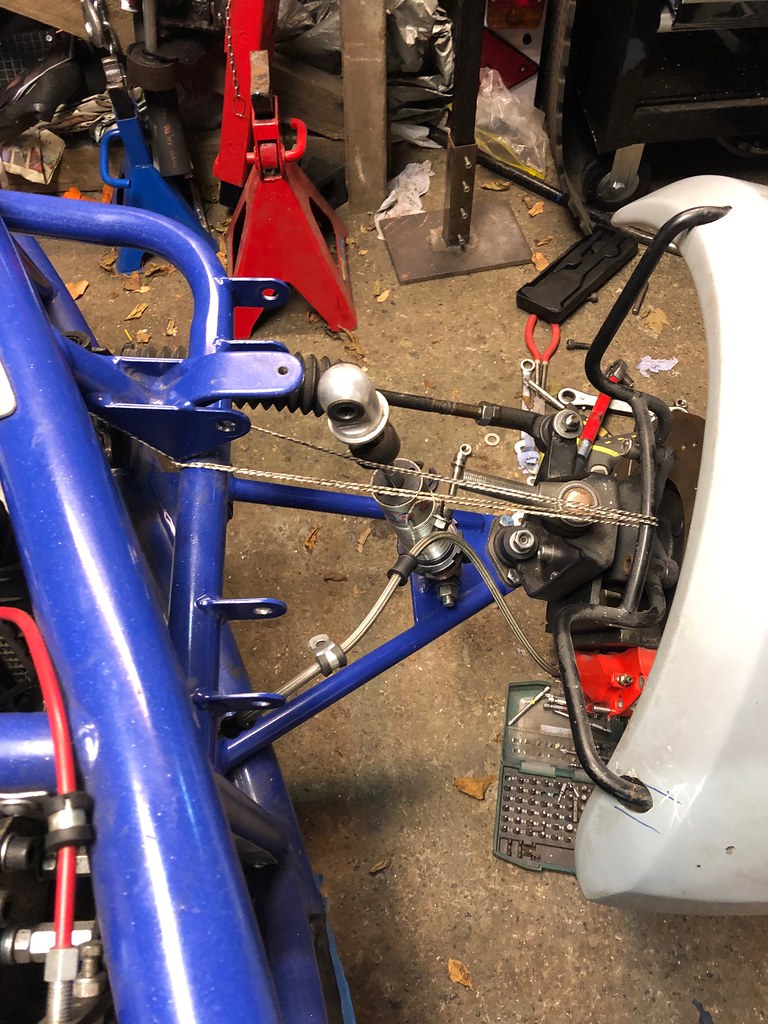 |
|
|
|
Post by kiwicanfly on Dec 31, 2018 9:51:57 GMT
Why did you drill the wishbones?
Do your seat belt mounts swivel? I believe it's a requirement for them to do so. They usually come with a "top hat bush" that allows this.......which may be in place of course.
|
|
|
|
Post by carlyd on Dec 31, 2018 12:16:47 GMT
Why did you drill the wishbones? Do your seat belt mounts swivel? I believe it's a requirement for them to do so. They usually come with a "top hat bush" that allows this.......which may be in place of course. My belt mounts didn't swivel and passed IVA at Nottingham. I'm not saying it's not a requirement, but mine passed without the swivel. |
|
|
|
Post by kiwicanfly on Dec 31, 2018 19:05:47 GMT
After writing that I tried to find out where I got the info from but couldnt find it  Also if a belt is wrapped it can't swivel either so I may have "inventend" that requirement  |
|
|
|
Post by casesensitive on Jan 3, 2019 13:17:52 GMT
Why did you drill the wishbones? To insert a rivnut, to attach a p-clip to hold the brake lines in place. I had assumed IVA would allow for rivnut+bolt to act as structural substitute for sidewall, but apparently this isn't the case, so at the suggestion SKCC I welded them up. Do your seat belt mounts swivel? I believe it's a requirement for them to do so. They usually come with a "top hat bush" that allows this.......which may be in place of course. Hmmm, I can't find any requirement in the IVA manual sept 2018 edition that specifies this, got anything concrete. They allow looped mounting on roll cage, which can't rotate once tightened, but it's one to look out for, given how much I've bloody spent on them. The crush tubes aren't internally-threaded, and the hole in the anchor is larger than the bolt, so the bolt is free to rotate about the Z axis, but once it's tightened, it's pretty much fixed in place. With threadlock  |
|
|
|
Post by casesensitive on Jan 3, 2019 13:18:55 GMT
After writing that I tried to find out where I got the info from but couldnt find it  Also if a belt is wrapped it can't swivel either so I may have "inventend" that requirement  and a new word too  ! Pioneering start to the year :-p Of course, I replied before I read any of that. |
|