|
|
Post by casesensitive on Jun 11, 2018 15:26:27 GMT
So I got the feeler gauges out and had a look at the gap between the butterflies and the throttle body sides and I'm quite surprised at the result. The thinnest gauge I have is 0.1mm and it was still getting gripped a bit by the butterflies, so the gap must be around or just less than 0.1mm. I set them to 0.25mm when I started the set up process and I thought that would need increasing if anything. Hmm, that's much smaller than mine, thanks Carlos, good place to start looking, and mine are 0.65mm atm. Fitted Wideband now, so at least I'll be able to guess which direction to move my fuelling and idle settings! |
|
|
|
Post by casesensitive on Jun 11, 2018 15:29:42 GMT
The raw values for my TPS are 14700 = 0% and 55200 = 100%. But if the actual sensors are different then this might not mean much. What map file are you using? is it on the ME forum download section? Let me know and I'll have a look through it. Agreed, the TPS raw values are entirely to do with the sensor itself, so unless we have the same one it's not going to be relevant, your throttle opening will be much more so. I have a few maps, but the main one is Steve Edward's ST170, tuned at ME, for about 181bhp with 42mm GSXR bodies on a DanST manifold. He also has exhaust cam retarded 8*, but I don't have adjustable verniers so mine is stock right now. I also have a map tuned by Dale Bladen from Bailey Performance, again, an ST170, but with Jenveys. Somewhere in between should be just right for my setup! |
|
|
|
Post by casesensitive on Jul 5, 2018 11:10:56 GMT
1 step backwards, 3 more steps backwards :-) To correct the sloppy engine mount positioning I implored RTR to get right because I couldn't fix it afterwards, I've had to cut off the gearbox mount and take out the engine.  There are one or two dependencies on this job.. Taking the car out of the garage with no gearbox mount is going to be fun, may need to make up some sort of steel brace to go from the front of the engine bay to the rear cross member under the gear box.  Car has to come out of the garage to get the engine out because the roof is too low to accommodate the crane, load leveler and engine to the height needed to clear the rear cross member. Big fun. |
|
|
|
Post by casesensitive on Jul 5, 2018 11:19:34 GMT
Always one for the bright side, I get the chance to do a better job of a few things, including rear firewall, engine cover and cover mounting rivnuts. Even with the engine horizontal and 20-40mm of additional clearance, the exhaust and manifold will almost certainly melt my engine cover. It (exhaust) was €1,200, so I'm not replacing it. Passenger cell has to be physically separated from hot stuff, so I'm doing a full-height rear bulkhead. This will allow me to have a mostly-backless GRP engine cover, mount the exhaust shielding Stephen dropped over to the aluminium and hopefully contain the heat a little. Post IVA I'll add some vents and duct cold air rushing between driver and passenger down there to keep it cool on the move. Dab of red rubber grease on the existing rivnuts to help position the holes  transfer to new panel  Slightly better fit than before, fuel line and filler holes to cut, leccy bits to mount, but I'll do all that at the very end, access to the engine from inside is much easier without firewall.  Now the main thing that gives me pause for thought is that I haven't seen anyone else do this, which usually means there's a good reason why I shouldn't have.. What have I done wrong? |
|
|
|
Post by carlyd on Jul 5, 2018 12:29:47 GMT
I did that, and had no problems at all.
|
|
|
|
Post by casesensitive on Jul 5, 2018 17:18:23 GMT
I did that, and had no problems at all. That's all the endorsement I need! |
|
|
|
Post by kiwicanfly on Jul 8, 2018 9:06:08 GMT
Even with the engine horizontal and 20-40mm of additional clearance, the exhaust and manifold will almost certainly melt my engine cover. It was €1,200, so I'm not replacing it. What exactly cost you 1,200 Euros? |
|
|
|
Post by casesensitive on Jul 8, 2018 21:28:28 GMT
Even with the engine horizontal and 20-40mm of additional clearance, the exhaust and manifold will almost certainly melt my engine cover. It was €1,200, so I'm not replacing it. What exactly cost you 1,200 Euros? Custom exhaust manifold, and various boxes. Not the stainless stew it’s meant to be made of. All one piece too! Pics shortly |
|
|
|
Post by kiwicanfly on Jul 8, 2018 22:16:32 GMT
Ah I see, I was reading that you had spent the 1200 on the COVER alone  That would be a bit steep even for RTR  |
|
|
|
Post by casesensitive on Jul 8, 2018 22:23:51 GMT
Went backwards at a speedy rate today, lots of jobs done. Disconnect wiring
make temp gearbox mount, suspend engine
remove driveshafts
disconnect clutch line
disconnect accelerator cable
disconnect torque mountRemove exhaust eh... temporary engine mount, old timing belt as a damper either side to protect the powder coat. 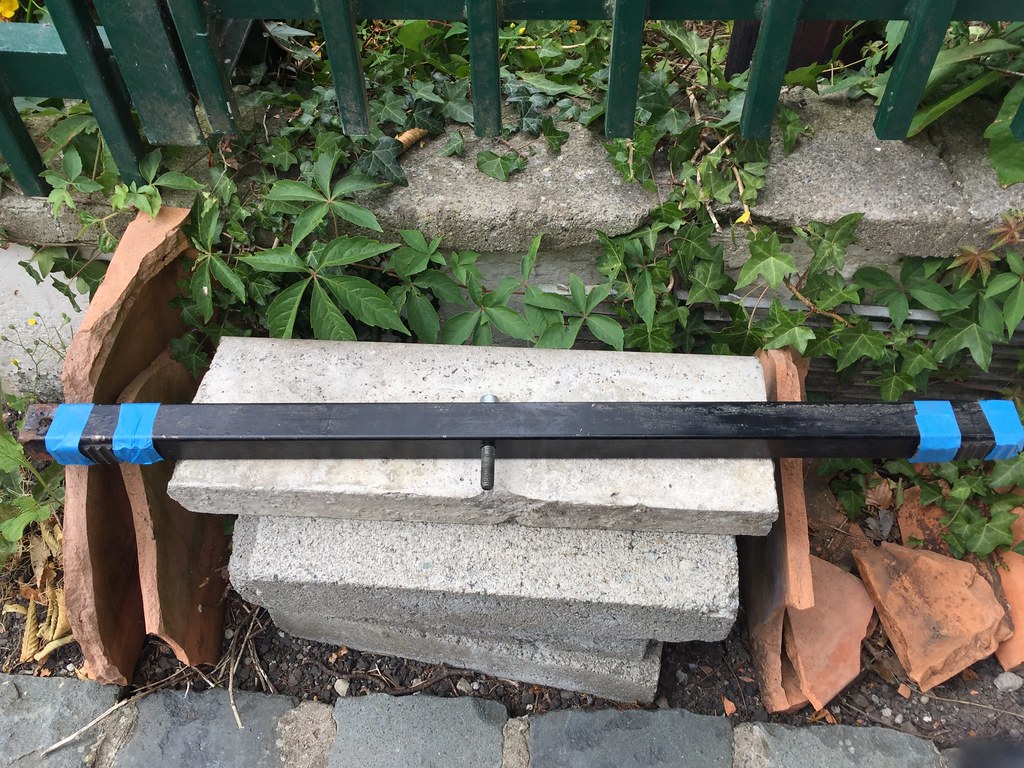 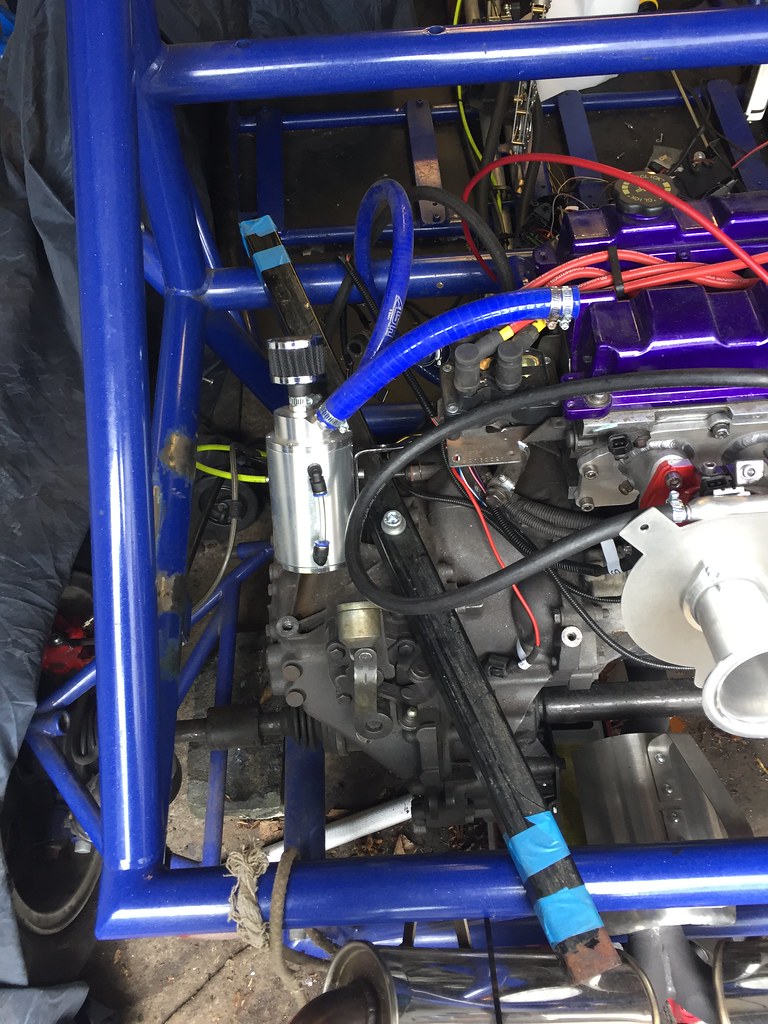 Eejits made my exhaust system in a single piece, making it impossible to take out. Plus the fancy branded backboxes face towards the car. Great. 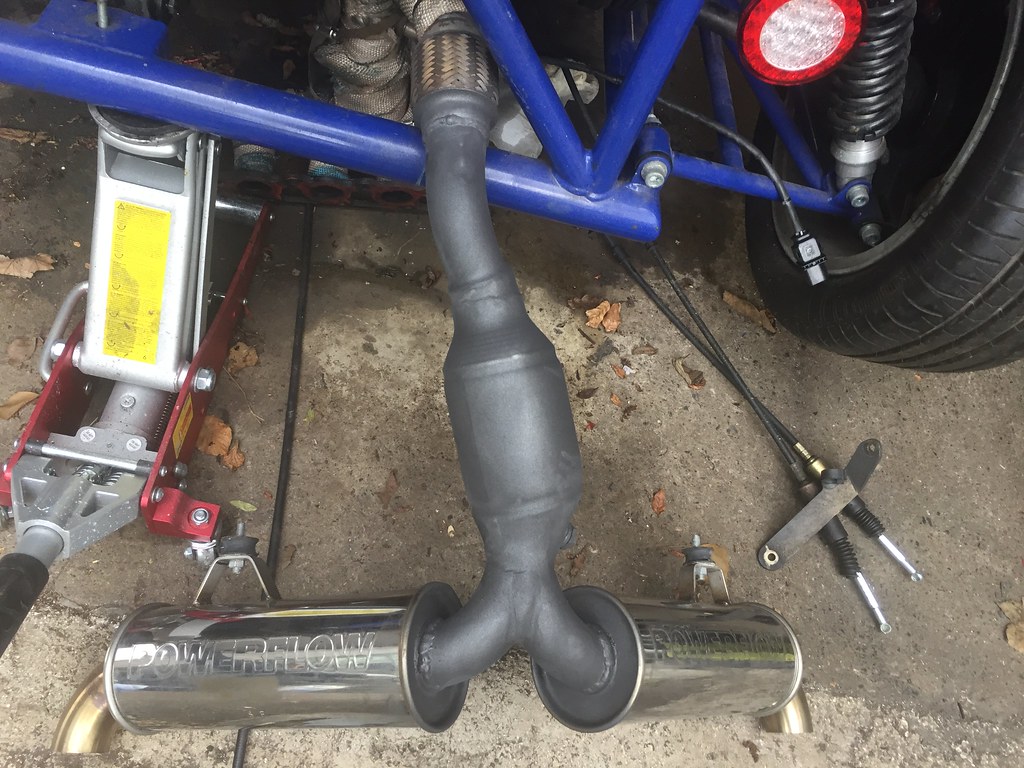 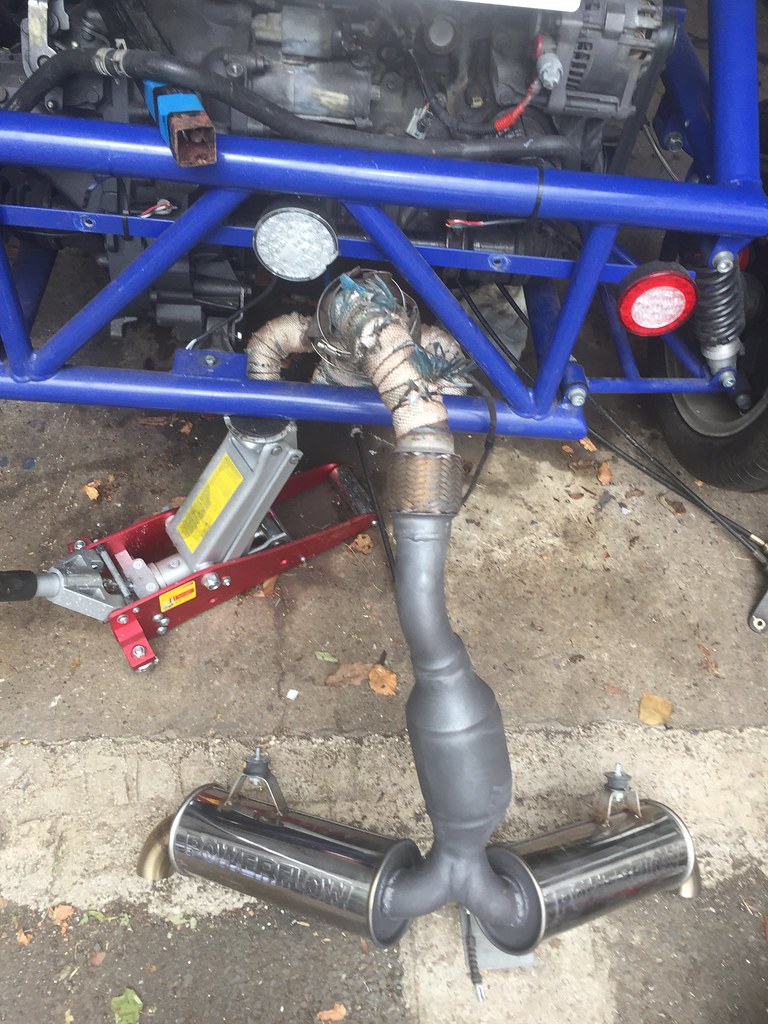 Wiring completely disconnected 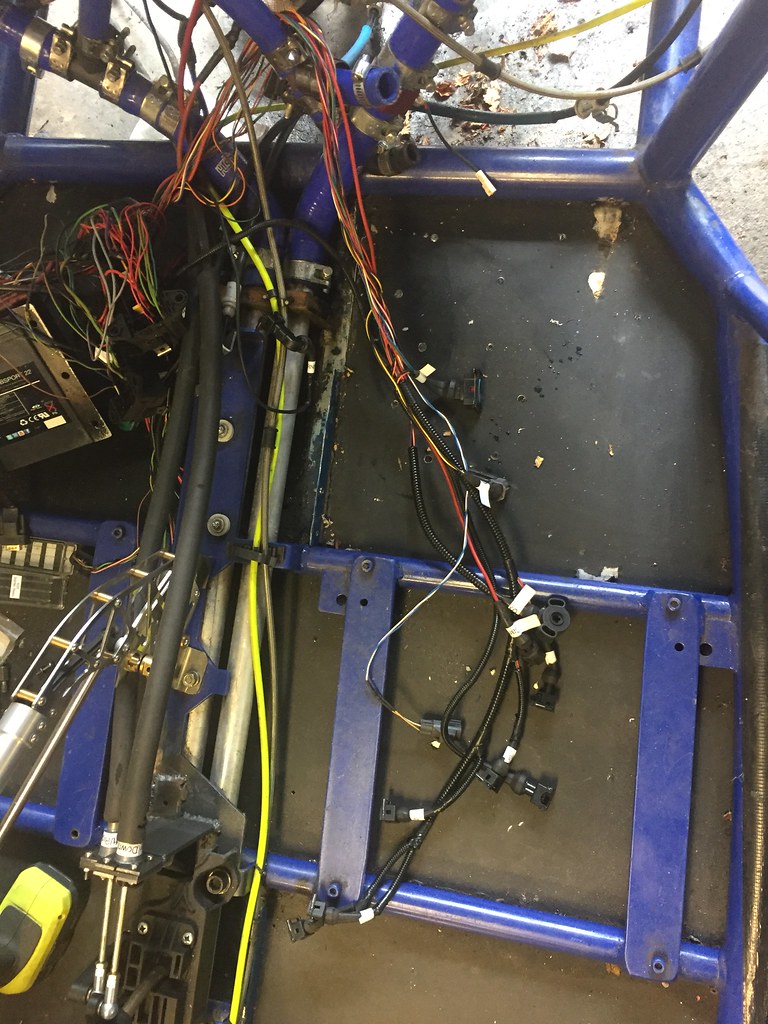 All dependencies in the car sorted, now to learn CAD. 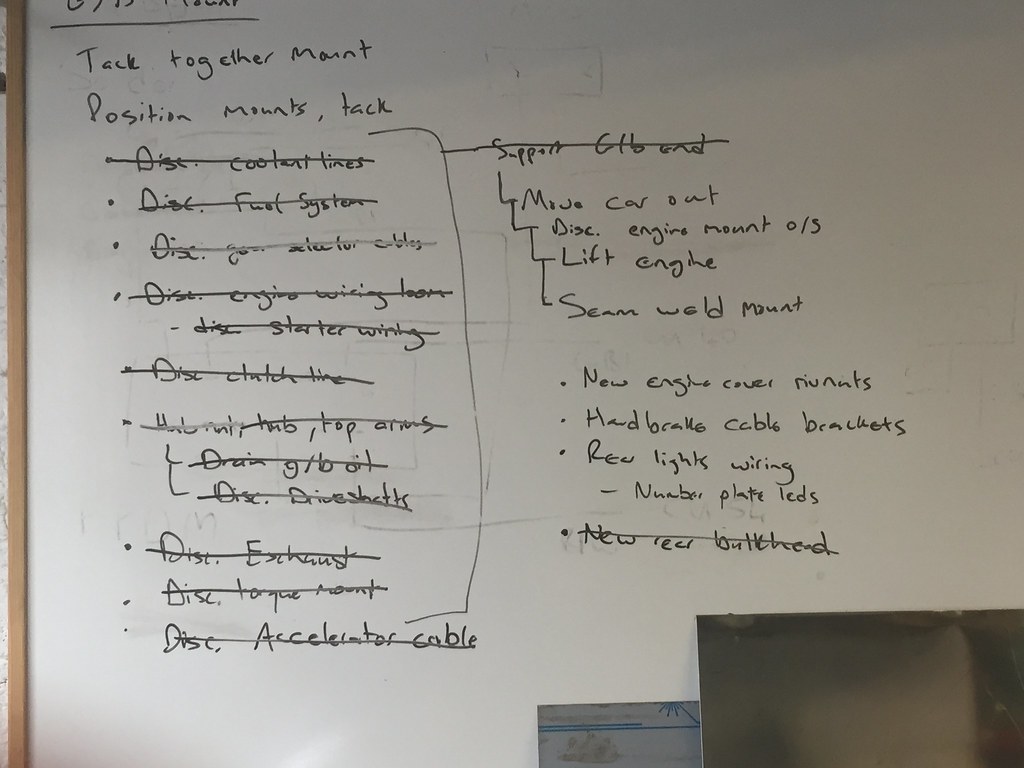 |
|
|
|
Post by casesensitive on Aug 26, 2018 12:19:12 GMT
After a protracted effort to design and have laser-cut some new engine mounts, I decided to have a 3rd go at fabricating and welding them.  Rather than pay £240+vat for the parts, the local-ish Fab shop folded me a new piece of 6mm steel for €20, and let me raid the entire contents of their scrap bin for nothing. I cut out the two pieces with the table saw and edges with a grinder, again. Changes this time included letting the welds cool fully (15 mins) before going again and switching filler rod to 316lsi, which has stopped the awful bubbling I suffered from last time. Same piece of 3mm pipe formed tightly around the chassis, making it in two sections this time, because that's what I had left as much as any more compelling reason.   Wore out my grinder a few weeks ago, 5 years, it's done serious work. The crown wheel was worn down completely. So how'd the new cheapo Rok grinder do? Well, this pair of round cut-outs cost €40, because it was stone dead just as I got to the line, finished it very slowly with files. FML.  Clamped everything tightly in place so it doesn't budge while welding. First piece to go in was the brace between the two pieces, got 4 tacks on, but the lack of grinder prevented any more progress.  Next, push car out, assemble engine crane, engine out, push car back in for inside welding, tack mounts to transition plate, test fit engine, engine back out, seam weld mounts and transition plates. Chances of all that happening in a day are low, but we can but try! |
|
|
|
Post by casesensitive on Sept 3, 2018 17:28:38 GMT
Engine mount pains. Left a long day to crack at this, ran out of time way behind, ended up frustrated and at home with a godawful mess in the garage, one wheel attached, engine hanging from the crane, which was wedged in the door so it'd close, won't get down again till October with stuff on this month  Things that went alright; The mount itself went ok, welding not too manky, and no distortion, just the additional bit of 'wings' to grind away yet.  Got my Dad to help my measure the new engine position while I held it in place with some old rope (replaced with zip-ties later, no sophistication spared)   Marked the position with some blue tape, so long as some of it survives the grinding and welding, we're good.  Then I assembled my engine crane, no picnic, hooked it up, hauled it out  Finally had lunch, and my sandwich was dry and rank, a harbinger of things to come, because little I did after that worked out at all This was hard to swallow, all that lovely powdercoat.  Clamped it all down, ready to tack  Tacks went alright, but already I could sense there was something up with the welding, positioning was tough even with the engine out. Took the wheel off, which improved things a bit.  The next photo on my phone is from 5 hours later. Things that went wrong; my tungsten-grinding grinder was dead as a doornail, so so when I fouled up all the tungstens I had ground, it was game over. Tried to use my old stone grinder, but it wasn't up to the job and any welds done with those are garbage. an angle grinder overheated and melted its motor (it was the spare thankfully) while flapping powder. My floodlight broke. Then my backup torch (lithium) ran out of battery. Made a few terrible welds in amongst a few decent cms of them. Heat seemed to be the biggest factor, if the metal was over 50* when I started, it bubbled horribly into Aero. As it stands, the transition plates are now seam-welded to the chassis, but some of it is pretty bad, I might call that the root pass and go over it with another nice weave when I work out how to get the filler in more consistently. And the final indignity, which I saw coming, the argon ran out. Broken and not 40% through my tasklist for the day, I skulked off home in A Mood.  Looking back on it today it's not a total write off, but I really really want to be done with this poxy mount and finish this car before Brexit kicks in and makes the IVA potenitally useless to me. |
|
|
|
Post by casesensitive on Sept 13, 2018 19:17:55 GMT
|
|
|
|
Post by casesensitive on Sept 17, 2018 20:06:35 GMT
|
|
|
|
Post by casesensitive on Oct 23, 2018 14:59:08 GMT
Got a few hours in over the weekend, mostly putting away the mess from the engine drop-in, dismantling the engine crane, hopefully never to be needed again (??). The plan was to put in the driveshafts, but they'll need to come out to sort the wayward rear setup anyway, so I opted to set about pointing the rear wheels vaguely straight ahead first. First thing, as many have noticed, the front track is almost exactly 10cm wider than the rear, which seems a bit backwards. So I set about pointing the middle thread of my tyres at the 4th tread at the front. I don't think a straight line drawn between the treads would have landed on the front wheel at all, it might just have hit the rack, it was so off. I don't really have fancy tools for this, so I clamped a bit of straight box to the brake discs either side, and set about twisting out the front mount point of the lower wishbone until it was less awful. Oh yeah, I don't have adjustable wishbones, so that involves dismantling both front and rear lower mounts each adjustment, and I made a LOT of them.   By the time the offside was close, the M18 bolt was wound out almost all the way, there's no nut going on there, and it's still toeing in. Plus, it has to now be under more stress.   So, I left it loosely attached, as I'm replacing all the RTR-supplied zinc bolts with SS ones next week. |
|