Service the donorHaving read the performance mods section, I thought a nice place to start would be with
some iridium plugs, might help performance a little and they’re low cost.
When I went to clean the cheapo K&N ‘style’ filter I discovered it was beyond saving, so I bought a genuine K&N filter from fleabay.
Also from Ebay, a timing belt kit and water pump, Contiech and Bosch, not taking any chances with cheapos.
Picked up 4l of Ford fully-syth 5w30 and a new oil filter (apparently ST170 filters aren’t the same as the regular 2.0L? I was dubious, but paid the premium anyway) and we’re off.
Service costs: (costs include ParcelMotel charge of €3.50 per delivery where applicable)
4L of oil €25
Oil filter €11.50
New sump plug €9 (read on...)
4 x Iridium plugs €50.70
replacement K&N cone filter €48.70
rocker cover gasket €40
Timing belt kit & Water pump €111
Pay A Man to fit the timing belt €later
Changing oil sump plugThe service started out very badly. The oil level was pretty low, and grubby, so I jacked it up, removed the oil cap, and tried to take off the sump drain plug. It was so rusted and jammed that it rapidly went from a 13mm hex to a 12.5mm circle..
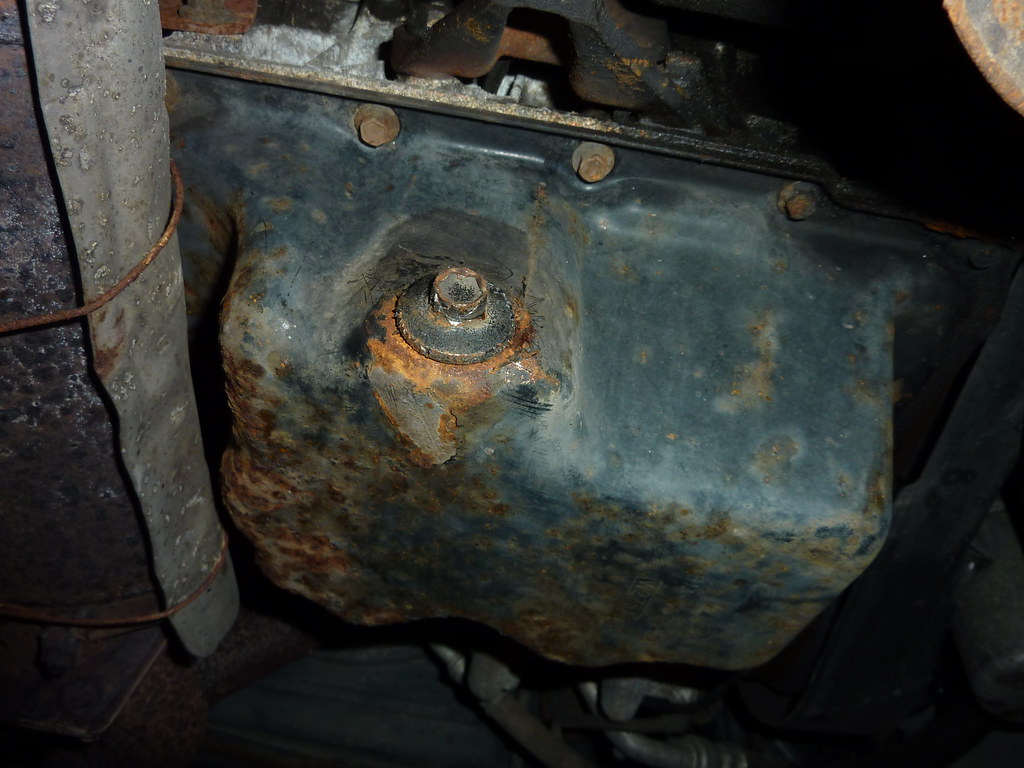
After a few panicked moments where I considered drilling it out (and then what??), I calmed down and went to the Ford parts place, which is conveniently 2 km from my garage, to find a new plug. This would give me time to figure out how to get the old one out. Guy at Ford parts counter showed me an interesting tool that you bang on to shredded nuts and pull them off, looked very expensive. I went with a low-tech joint pliers and lots of brute force, and thank fook, it budged.
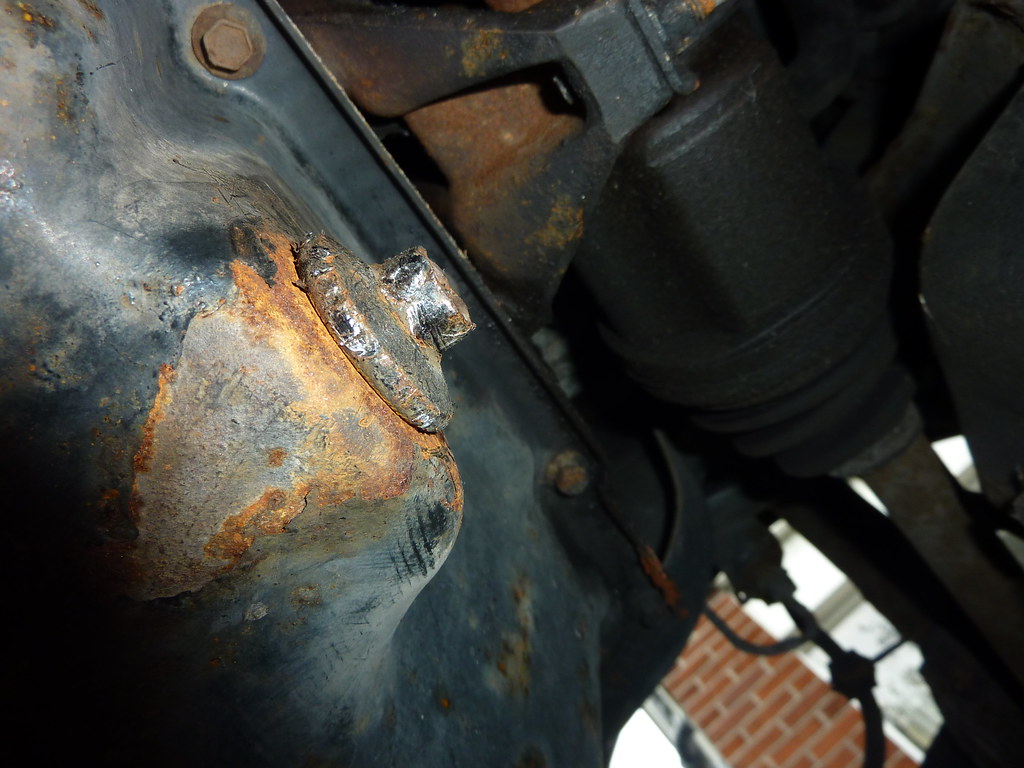
Lots of swearing later and it came off.
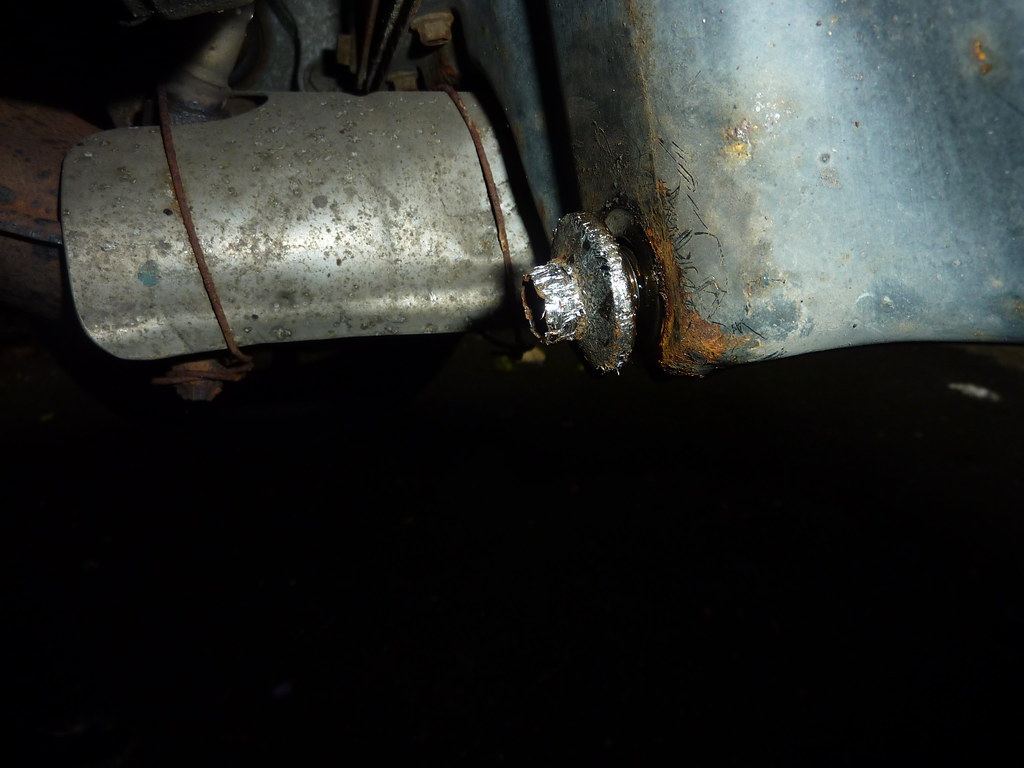
Old and new
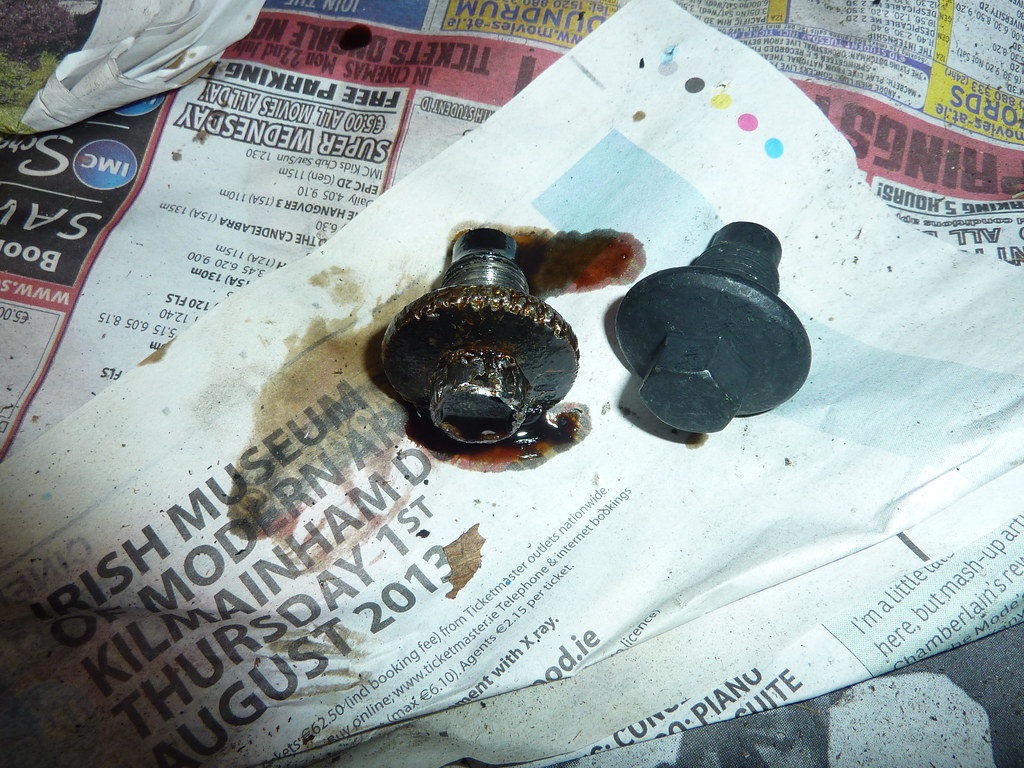
I have now hung this up at eyeline where I keep my tools as a warning sign against going Gorilla on things too early.
Oil filter was a bit of a pain to get at (above driveshaft), and despite the newspaper and drain pan, I still managed to get oil on the deck.
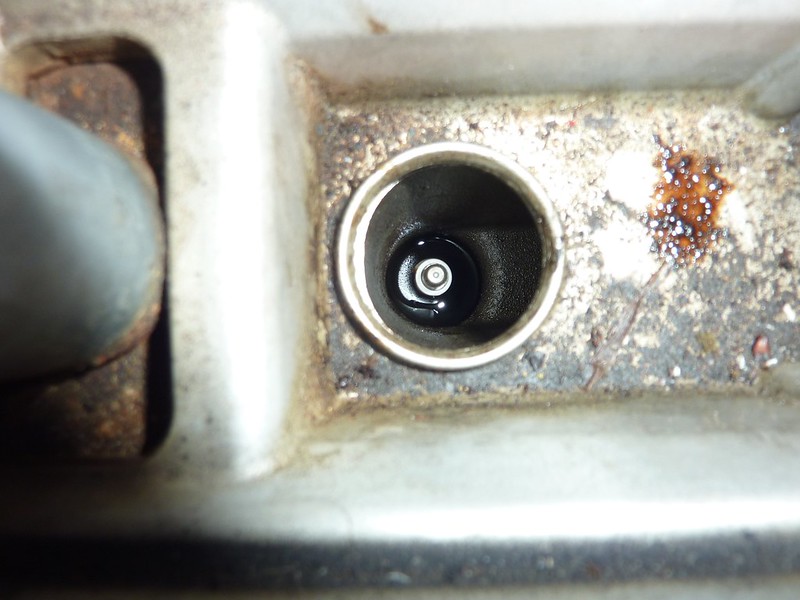
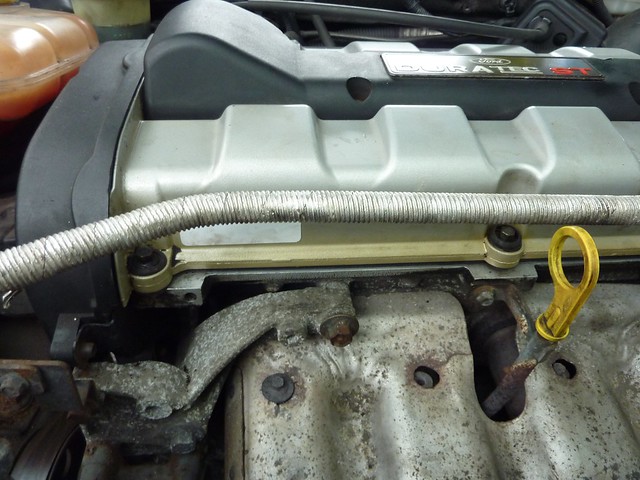
Changing Rocker Cover GasketThe plug change was also not straightforward, the engine cover was pretty grubby, with oil and dirt everywhere, but much more worryingly, two of the 4 spark plug leads had a significant amount of oil in the sockets, which is a pretty big uh oh.


I made a few videos which I’ve stitched together and sped up to make them more watchable, essentially I needed a new rocker cover gasket. I'll post this when it's ready/
In order to get the engine cover off properly there’s a bit of a chain of things that need to be moved or removed:
Detach electrical connector
Pull off the breather tube
Engine coolant expansion bottle (1x 10mm, one awkward spade connector)
Free the coolant expansion tank to get at the screws holding the timing belt cover on, loosening this and we can remove the engine cover.
Timing belt cover (4x 8mm)
Screws were pretty manky, so I chucked them a makeshift tuperware tumbler with some WD40 and gave them a rattle
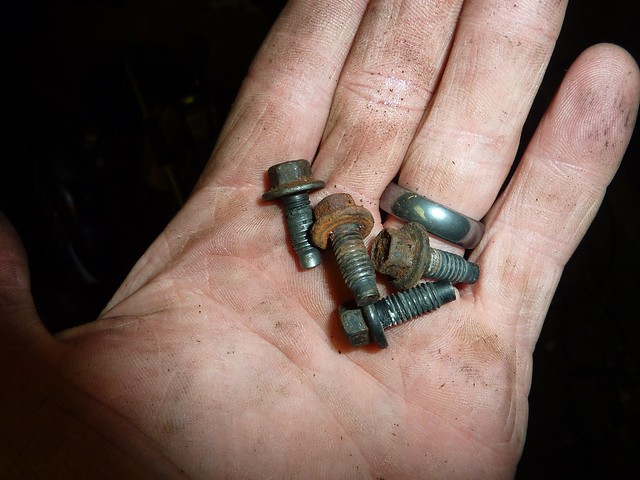
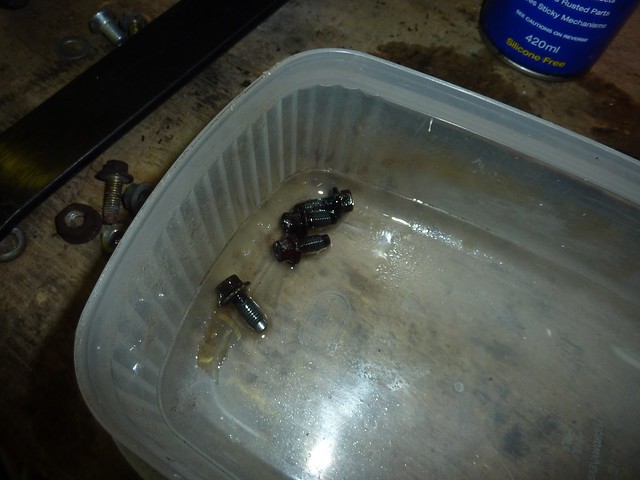
Spark plug cover (4x 8mm - yellow)
Engine cover (10x 8mm -teal colour)
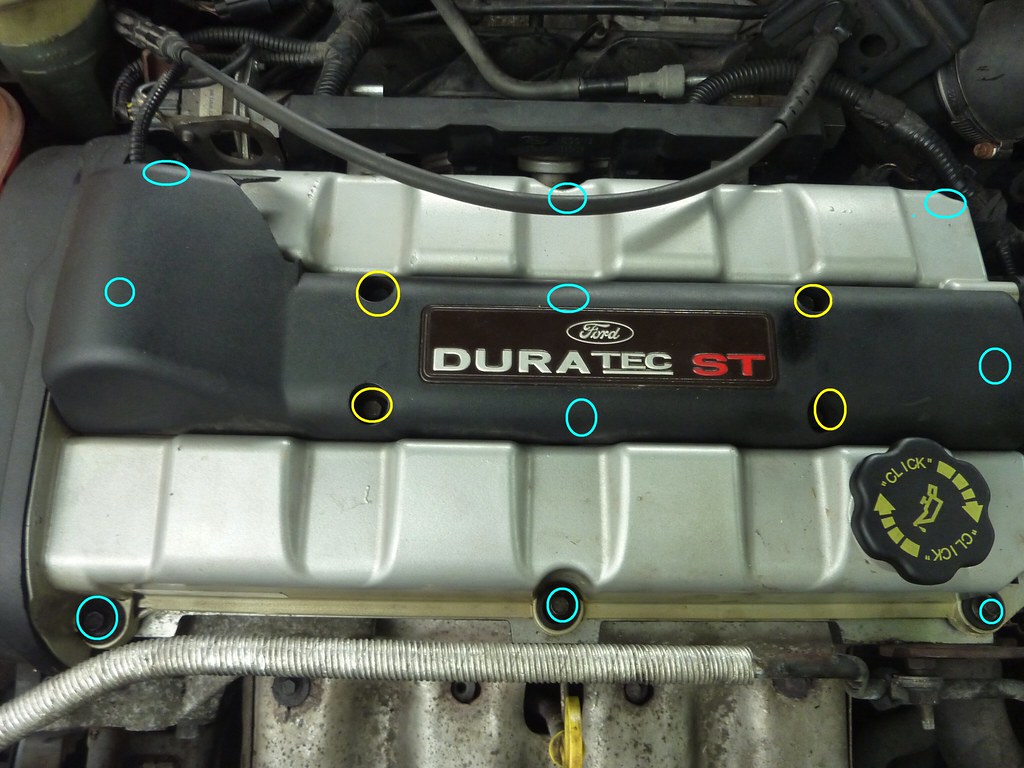
The screws have little rubber rings that keeps them bound to the cover gasket, so they stay attached to it.
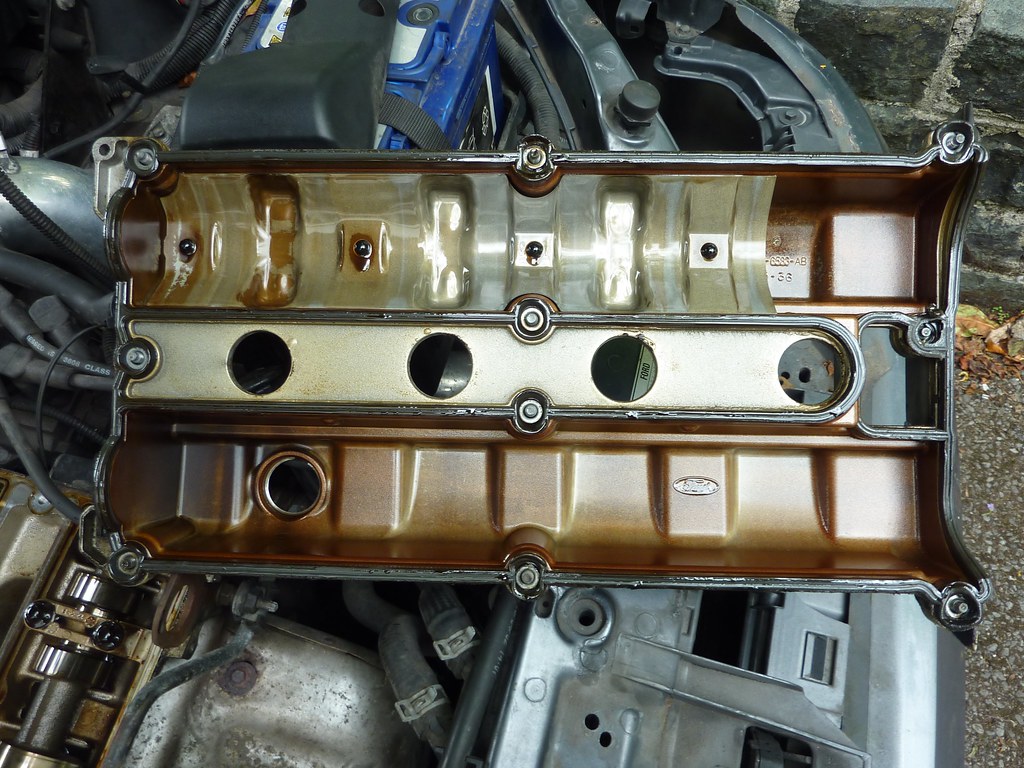
I cleaned the head side too, but with a microfibre cloth lightly coated in the degreaser, and then wiped down afterwards with a clean microfibre cloth.
I pulled off the old gasket, noting which way was up (took a few photos to be sure), and inspected it. It looked grand, but who am I to know, so I threw it out. When the cover came off I took the opportunity to clean it with lots of degreaser, particularly around where the gasket is supposed to make a seal. It took me about an hour, as it was really grimy and I didn’t want to use so much degreaser I could perish my new gasket. For the cover:
High pressure blast with water
Scoosh with degreaser and water
Light scrub with a soft brush
hard rup with microfibre cloth
another blast of water, close up
Dry off with air gun
After
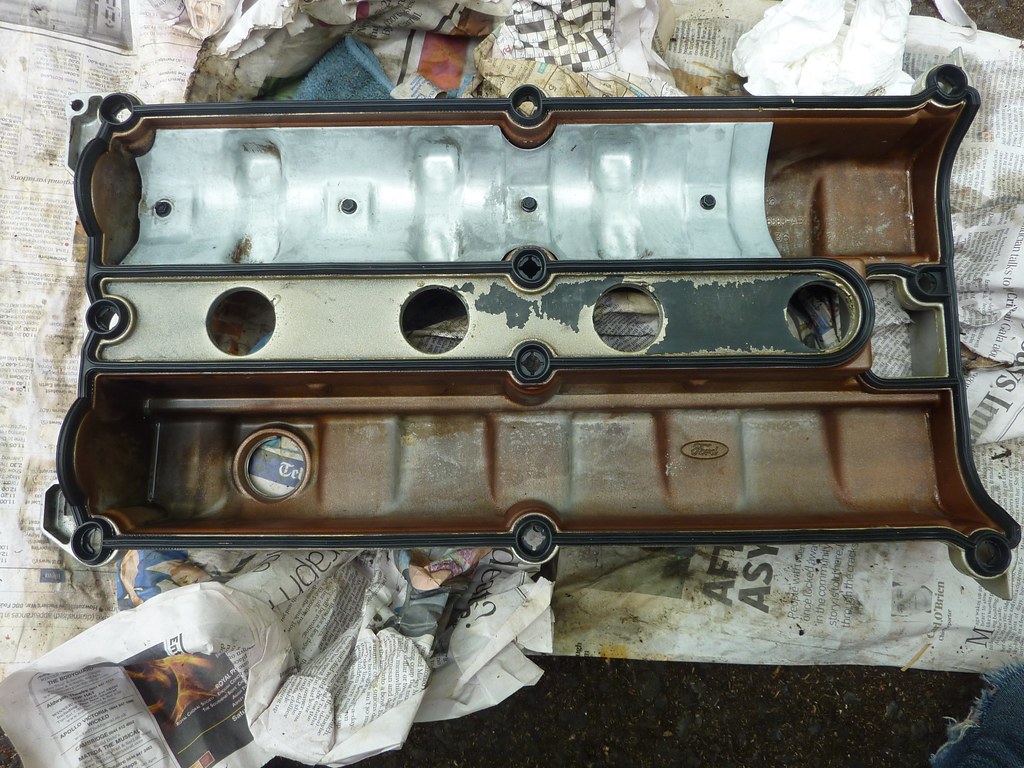
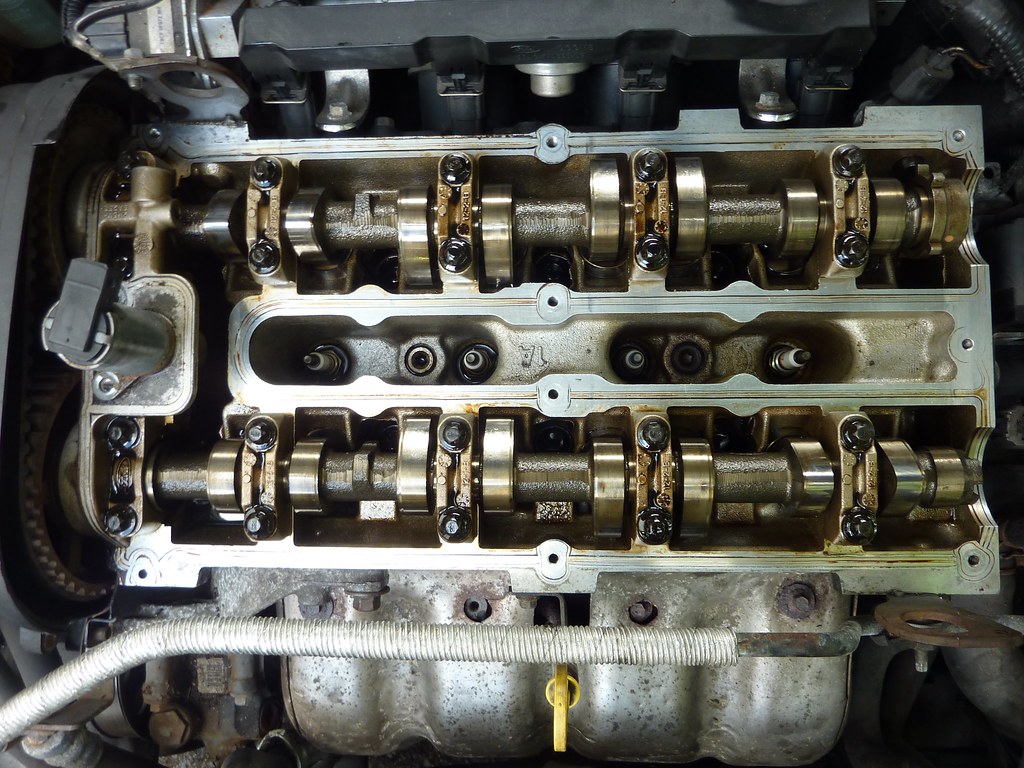
Inserting the new one was pretty simple, I just had to make sure everything was nice and tight, starting from the screw gaskets.

Compressor undoubtedly over-used here, but I needed it for the paintgun and impact wrench, so any excuse to get my money’s worth!
Taking the plugs out required a deep 16mm socket, which I had to run down to Macquillans (€4) to buy, extension bar and a quite a bit of welly. The Haynes manual says to torque them in to 15nm, which I did with the replacements, but the old ones required a lot more, I’d say 50 or 60, to extract them.
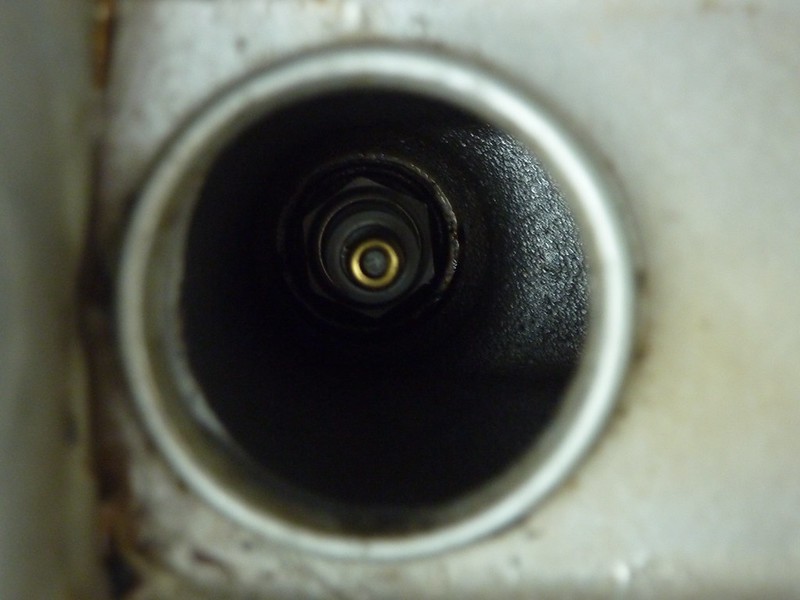
Cleaning the spilled oil out of the plug sockets (after removing the oil-soaked plugs) was challenging enough, and my first few forays, with kitchen roll and a long screwdriver are not something I’d recommend, very hard to get out again if it broke off! So I used the now-not-so-clean microfibre cloth on the end of a 3/8th extension bar, which fit really nicely into the spark gap too. Lots of dips, into all 4, until cloth came back clean.
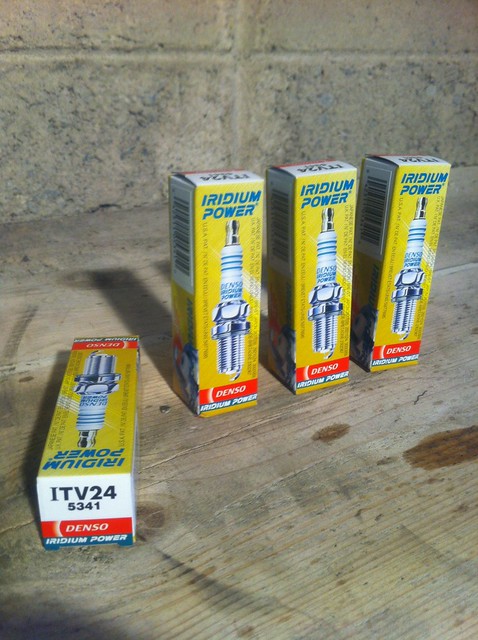
Dropped the new plugs in with a magnetic pick up tool, gently turned them the first few turns with the 16mm deep socket and extension bar, then torqued them to a puny-feeling 15nm with the wrench.
Reassembed, put all the screws and HT leads back on, and said a little prayer before turning it over. No misfires or grumbly noises, so everything seems to be working. Let her run for 30 minutes, then took the plug covers off and inspected the formerly-soaked plug sockets and we’re still gleaming for now.
I realise I have no ‘before’ for this one, but it was covered in oil overspill and the dirt that collects in it.
When the engine comes out I’ll replace the air con and power steering pumps with idler pulleys and fit a new aux belt, as well as change the water pump and timing belt. Or get someone who knows what they’re doing to do it more likely.