|
|
Post by huggy on Dec 5, 2012 20:50:58 GMT
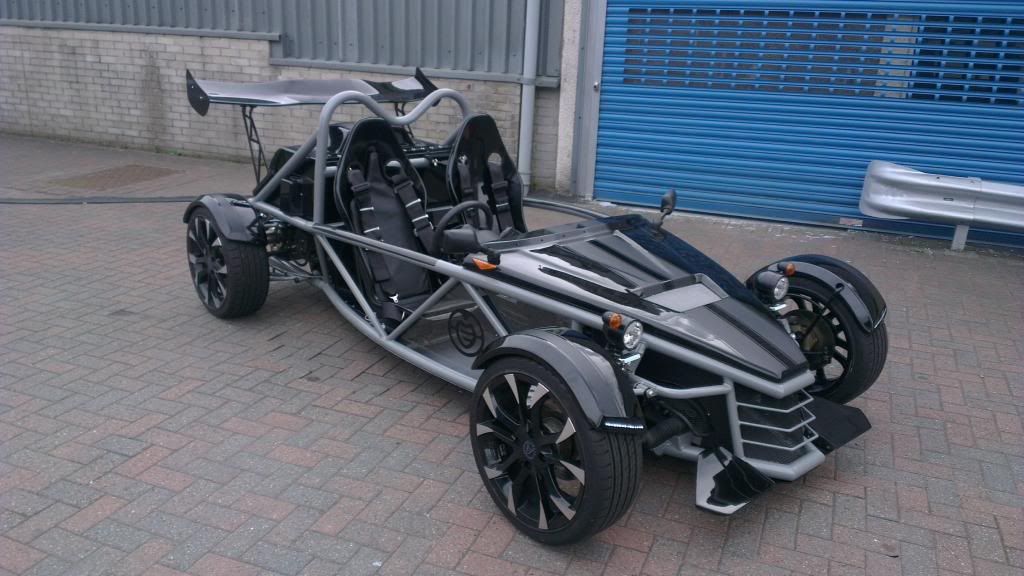
Well, today was all about the floor. It's not the most exciting part, however hitting the middle of the tubes is the part of the build I've not been looking forward to.  For the straight pipes, I judged the opposite ends by eye (...checked, checked, checked again!), drilled, checked and then drew a line between the two points to mark the other drill points. This worked well, with all subsequent holes central. The centre pipe along the length of the car required careful measurement.  To find and mark the middle of the side tubes, I crafted the highly technical tool pictured above!  All holes drilled so could do the final trim of floor.  The end result ready for riveting. |
|
|
|
Post by BobN on Dec 6, 2012 8:03:25 GMT
Looking good dude, I see you cracking on regardless of the cold.
|
|
|
|
Post by airforceone on Dec 6, 2012 8:13:03 GMT
Good to see the traditional riveting facial's going on.
I remember them well along with the throbbing
Hands.
Once the floors on and the car is the right way up that's when
You get the extra buzz.
I feel your pain with the cold I was in the garage last night and it was -3
And dropping.
|
|
|
|
Post by kiwicanfly on Dec 6, 2012 8:38:35 GMT
I feel your pain with the cold I was in the garage last night and it was -3 And dropping. Hopefully I too wont be too far behind as my kit is almost here, not looking forward to riveting the floor as it most likely result in me breaking out into a sweat as it is likely to be around mid summer and 25 deg C when I do it. Do I miss the British winter? Oh no ;D |
|
|
|
Post by ncohen on Dec 6, 2012 17:42:46 GMT
Looking good! Whilst you have it upside down consider if you want to have a floor for the front of the rocket (which has been shown to help cooling) as its much easier to do now then when its back the right way up and you suddenly remember!
|
|
|
|
Post by Paul (madeye) on Dec 6, 2012 18:20:27 GMT
i did it huggy while i had the chance, i put a complete floor in to the engine, then a seperate engine piece, look on the build if for pics buddy
|
|
|
|
Post by huggy on Dec 6, 2012 21:12:49 GMT
Thanks guys. I was trying to decide whether of not to fully do the front section. Decision made, I will order a small sheet and add.
|
|
|
|
Post by Paul (madeye) on Dec 6, 2012 22:38:44 GMT
|
|
Deleted
Deleted Member
Posts: 0
|
Post by Deleted on Dec 6, 2012 22:53:19 GMT
Good work Huggy!
I ended up putting a floor in the fron, and then cutting a small section out behind the rad. The hot air really flows out of it and should help a lot with cooling.
Just a thought........
|
|
|
|
Post by huggy on Dec 7, 2012 21:15:35 GMT
Thanks Mark. Your detailed build was very instrumental in helping me decide to take the plunge (as well as seeing leicesterkev's build at RTR). I hope I come close to what you guys and others have achieved.
|
|
|
|
Post by huggy on Dec 7, 2012 23:43:46 GMT
 Wishbones drilled, tapped and grease nipples fitted. Lesson learnt : Get a tap with a bigger handle next time. The one I used worked but was somewhat hard work. |
|
|
|
Post by huggy on Dec 15, 2012 20:46:30 GMT
Just a couple of small updates:  The rust dip (and elbow grease!) worked well. Just a few bits of flash rust needed cleaning before going to work with the hammerite.  So far so good. Will do one more top coat for good measure. The additional piece of aluminium has arrived, so I can now do the floor at the front. Also received a boat load of nuts, bolts, washers etc... so hope to make a fair bit of progress in the coming days. |
|
|
|
Post by huggy on Dec 16, 2012 20:16:45 GMT
Spent an hour or two pressing the bushes and crush tubes today.  The vice made light work of pressing the bushes  Put a small chamfer on the crush tube to ease fitting. Kept very small to prevent degrading the operation/purpose of the crush tube.  Vice and teflon grease made pressing the tubes pretty straight forward  All done. As you can see in the picture, some need to be pressed another one or two millimetres. No problem, will finish tomorrow. |
|
|
|
Post by huggy on Dec 17, 2012 18:30:38 GMT
More floor progress.  Finally riveted floor. Dipped each rivet in waxoyl before popping, to hopefully help prevent any chassis corrosion.  Chassis drilled for front floor. Going to use self tappers for this part for now.  Front floor ready to be screwed on. I'll finally be able flip car over and get on with the rest of the build. |
|
|
|
Post by BobN on Dec 18, 2012 8:17:30 GMT
Looking good Huggy. Good idea to fit front floor now, I did not do this so will have to figure out a way to do it after IVA maybe.
|
|