|
|
Post by Stiggy on Nov 19, 2012 22:24:15 GMT
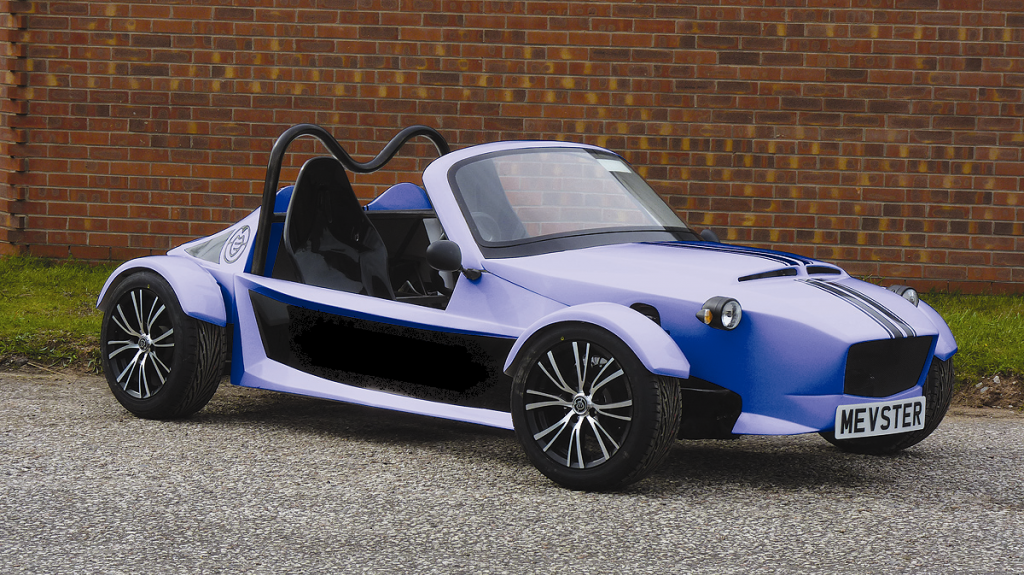
Now there is a shock, I was just about to turn off and an email arrived from my mate Steve Petch. What an absolute star, he has just sent a few images of MEVSTER in different colours. Here is my favorite.  I will load some more in the morning. One of them has been done without the massive logo on the side. Got to say it looks better. |
|
|
|
Post by Stiggy on Nov 20, 2012 9:38:19 GMT
|
|
|
|
Post by Stiggy on Nov 21, 2012 14:28:59 GMT
I had a couple of hours spare this morning so I started fitting the alloy to the transmission tunnel and front bulkhead. I have now made patterns so if you have ordered a MEVSTER do not worry. The alloy supplied in the kit will be will cut and fold where needed so it should be fairly easy to fit them. I did a short video too, the first take was better but the phone rang, second attempt had me struggling to get the front one in. damn I was trying to make it look easy! 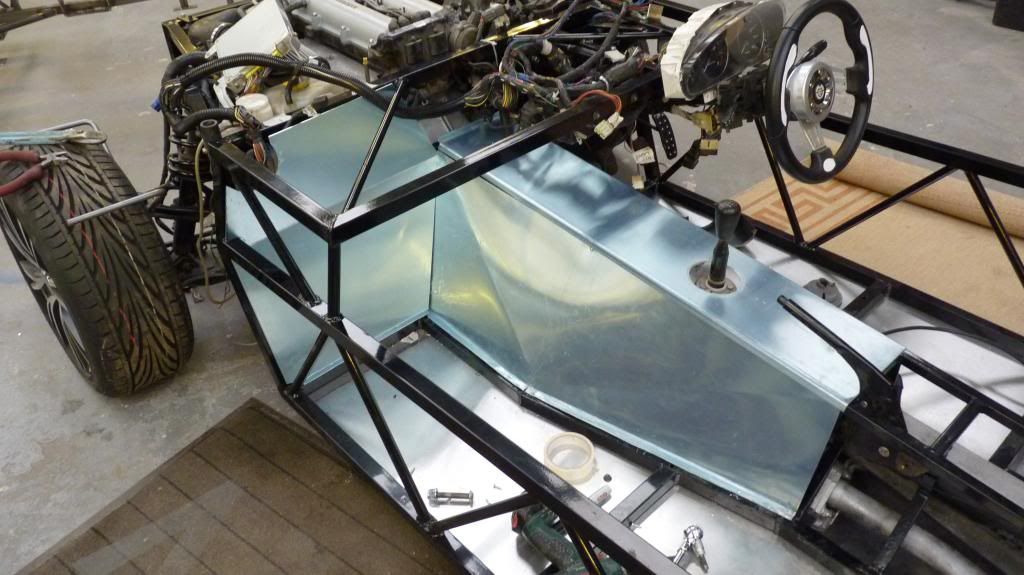 |
|
|
|
Post by Stiggy on Nov 23, 2012 18:58:39 GMT
panels have not been painted yet so I still have a window in which I could change my mind, considering this green but it looks different on different PC's, maybe a little bright, they will see me coming if I go this route.  I need a revised logo for the sides now, something slightly more discrete then the massive one. |
|
|
|
Post by Stiggy on Nov 29, 2012 13:48:55 GMT
Sorry about the delay in progress, the g.r.p comes back from paint on Friday I hope. In the meantime I had an hour on it this morning and made a couple of brackets for the front flex brake hoses.  I also bolted the exhaust centre mount rubber to the alloy PPF. 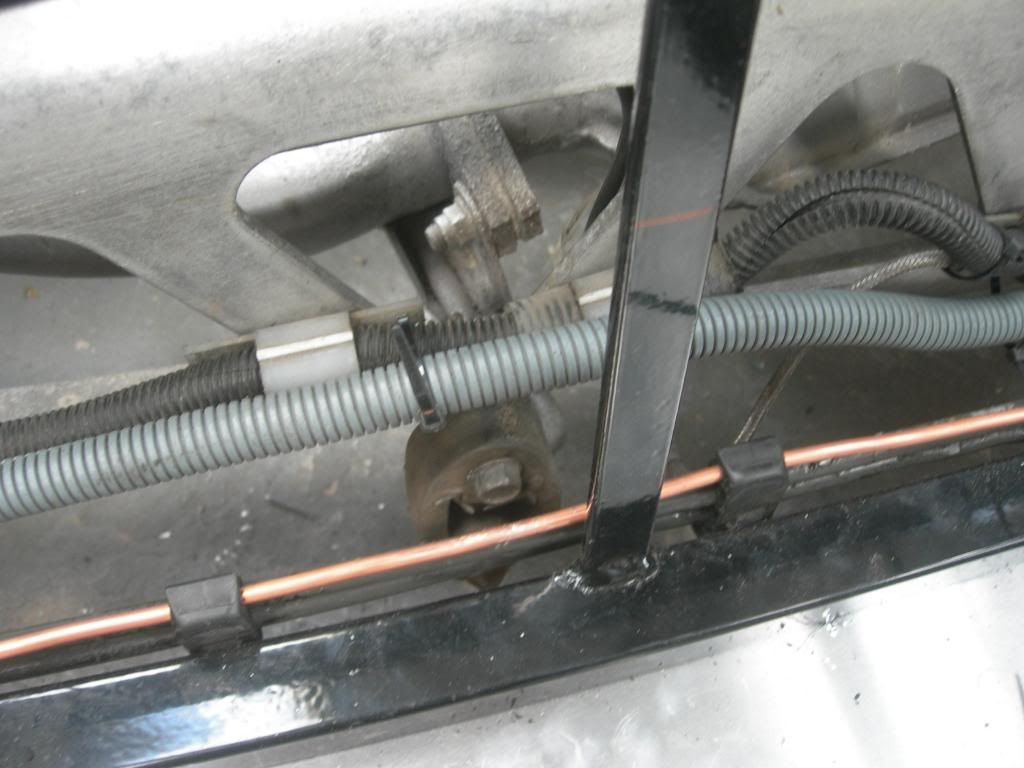 I am going to bleed the brakes and clutch this afternoon, but first I must look at my old Merc 500SL, the speedo and central locking went bonkers this morning! |
|
|
|
Post by Stiggy on Nov 30, 2012 18:42:20 GMT
Sorry no panels to show yet, he has not even started them!
I did manage to find time to bleed the brakes and clutch. A WORD OF WARNING. I was screwing in the rear pipe to the brake bias valve (next to the servo) and I could not see too well so I "felt" it was all good. Then I tightened it, then I bled the brakes, then it leaked. I got it cross threaded!
So I tried to clean the threads and refitted it, as soon as it got tight it went crossed threaded again. Can't say d**n on here can you.. I had a spare and stuck that on, very easy to bleed the brakes but not if you do what I did.
More fun and games on Monday
|
|
|
|
Post by Stiggy on Dec 4, 2012 14:20:40 GMT
Cut a piece of off cut alloy for the two part drivers die bulkhead this morning; 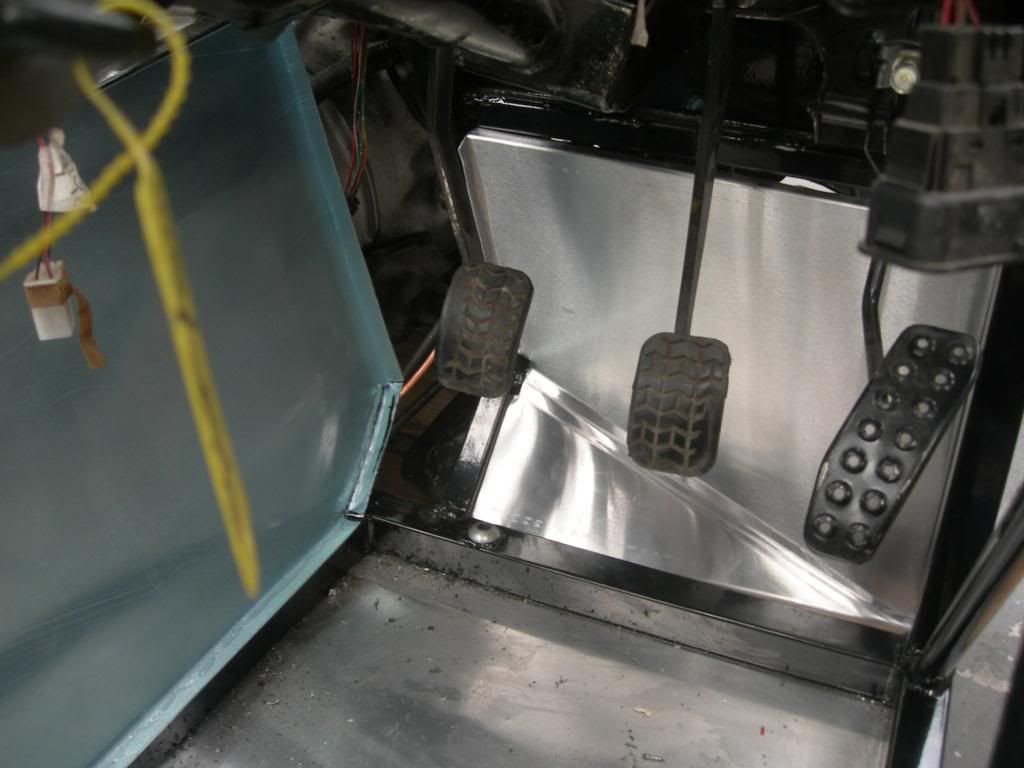 I will use PU and self tap screw to secure it. Next I connected the speedo cable back up; 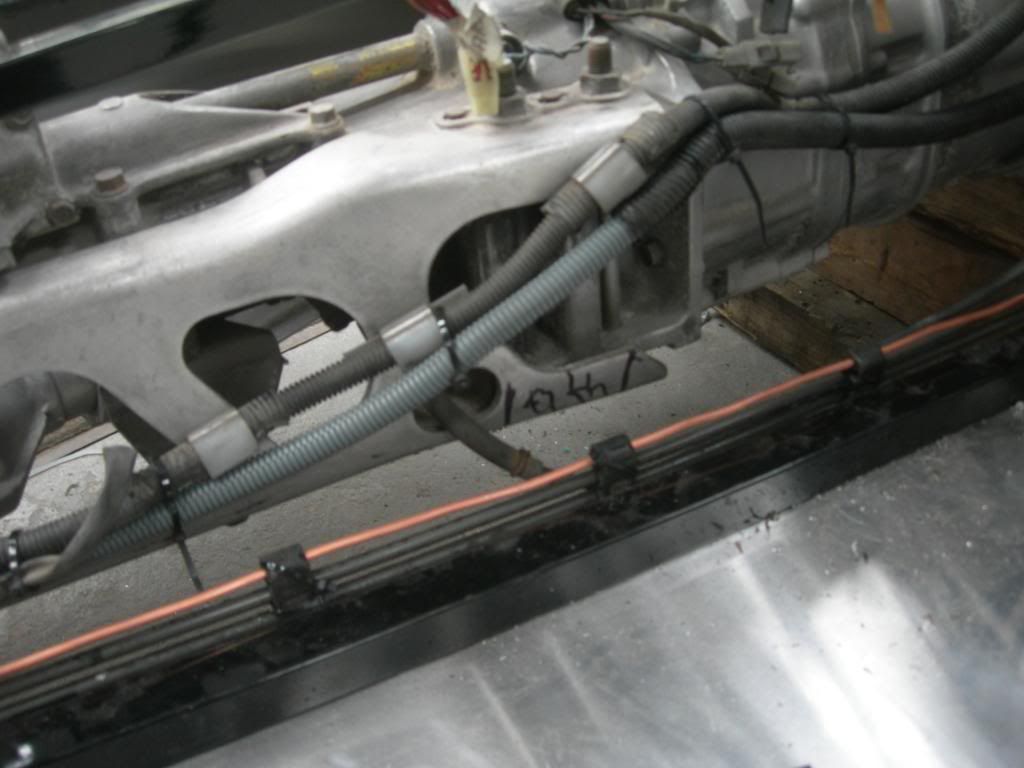 Then I routed the cable through to the instrument cluster; 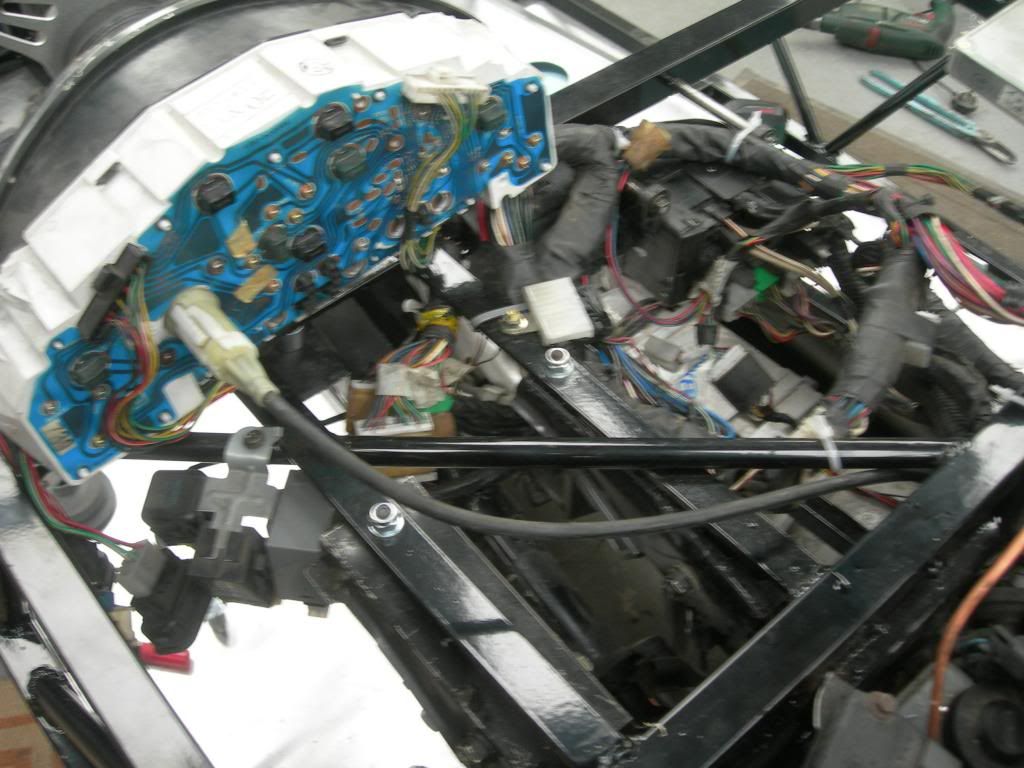 I may be back on in a minute as I am off over the road to see the paint shop guys.  |
|
|
|
Post by Stiggy on Dec 5, 2012 10:28:17 GMT
I fitted the wheel spacers today, these are not the best as they are not indexed to the hub or wheel but I have not had any trouble with them and they are only £12 a pair. I got the longer stud extenders though for the alloy wheels. These are £1 each extra but add a comforting 6mm to the thread in your nuts! 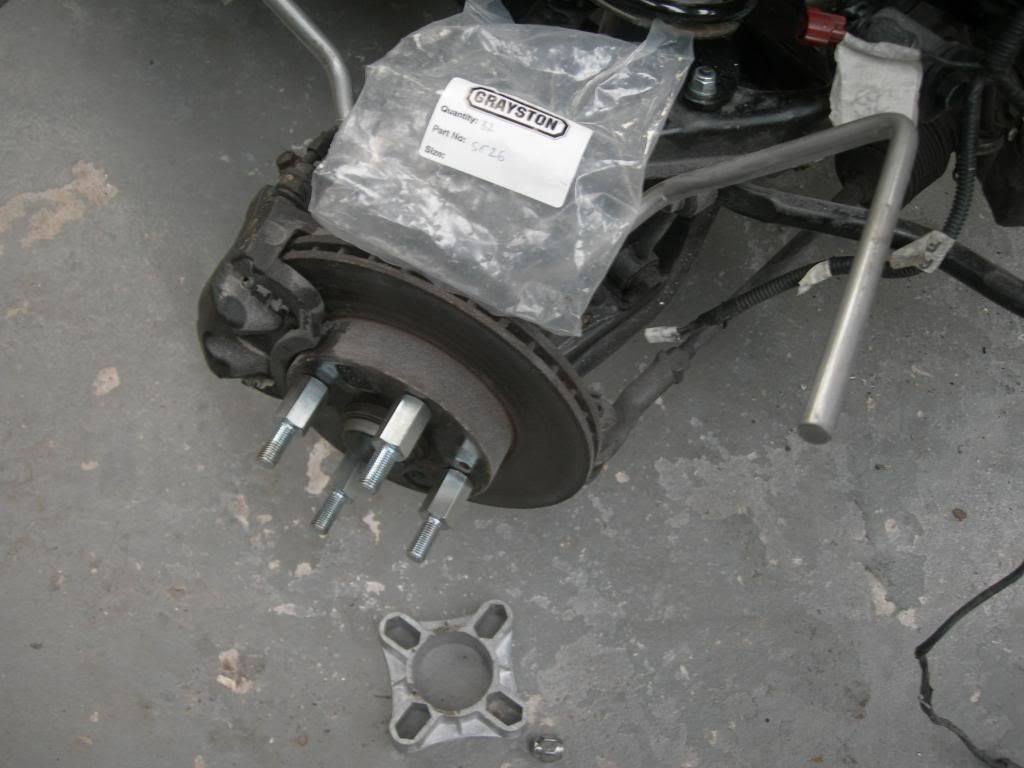 |
|
|
|
Post by Stiggy on Dec 5, 2012 16:39:26 GMT
The spacers are from Rally Design. They are the 32mm universal ones with 12mm x1.5 pitch threaded studs. Increasing the track width pays great dividends on these cars as the MX5 has what is known as zero scrub radius and therefore very little steering feedback. The extra width also improves the cars stance, makes it look lower and adds to cornering stability.
|
|
|
|
Post by Stiggy on Dec 5, 2012 16:40:37 GMT
I took a quick picture today whilst the panels were in the spray booth. 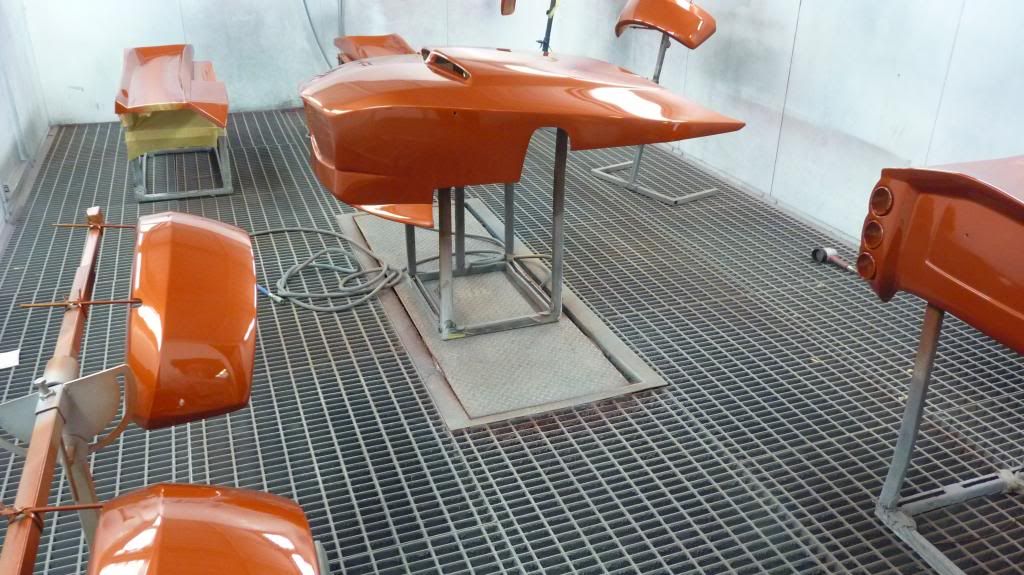 |
|
|
|
Post by Stiggy on Dec 7, 2012 13:49:22 GMT
So moving on to mount those pretty dark orange wings, we first need to apply a generous bead of PU; 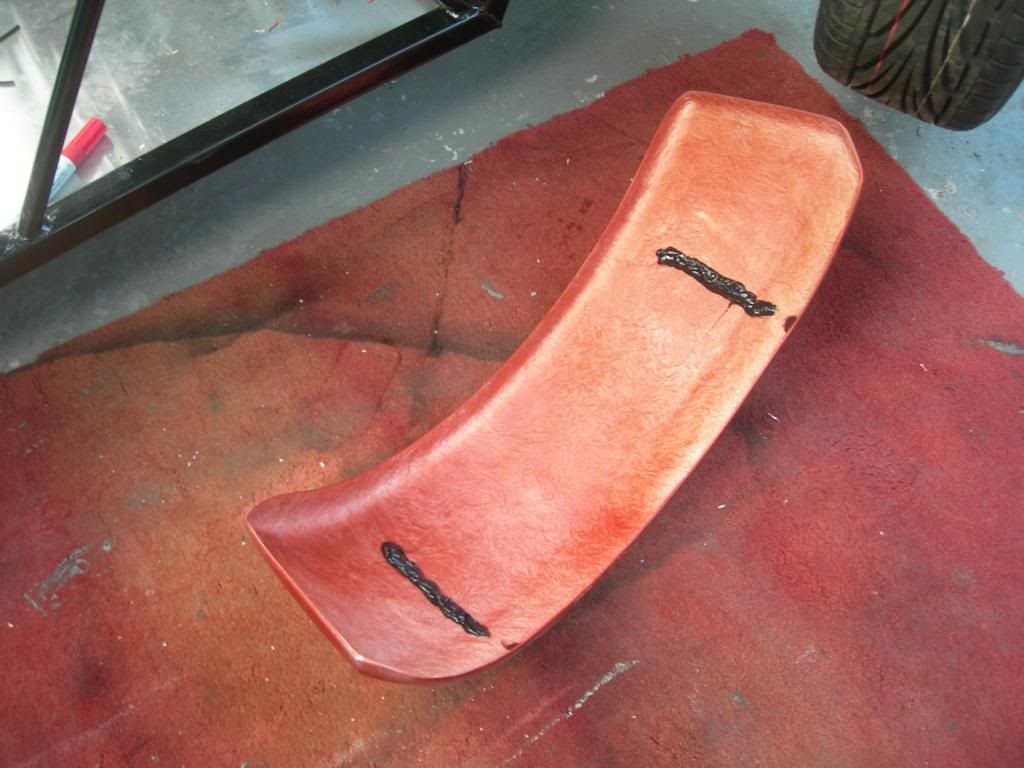 We then slide then on and secure them temporarily with masking tape with the wheel in position. 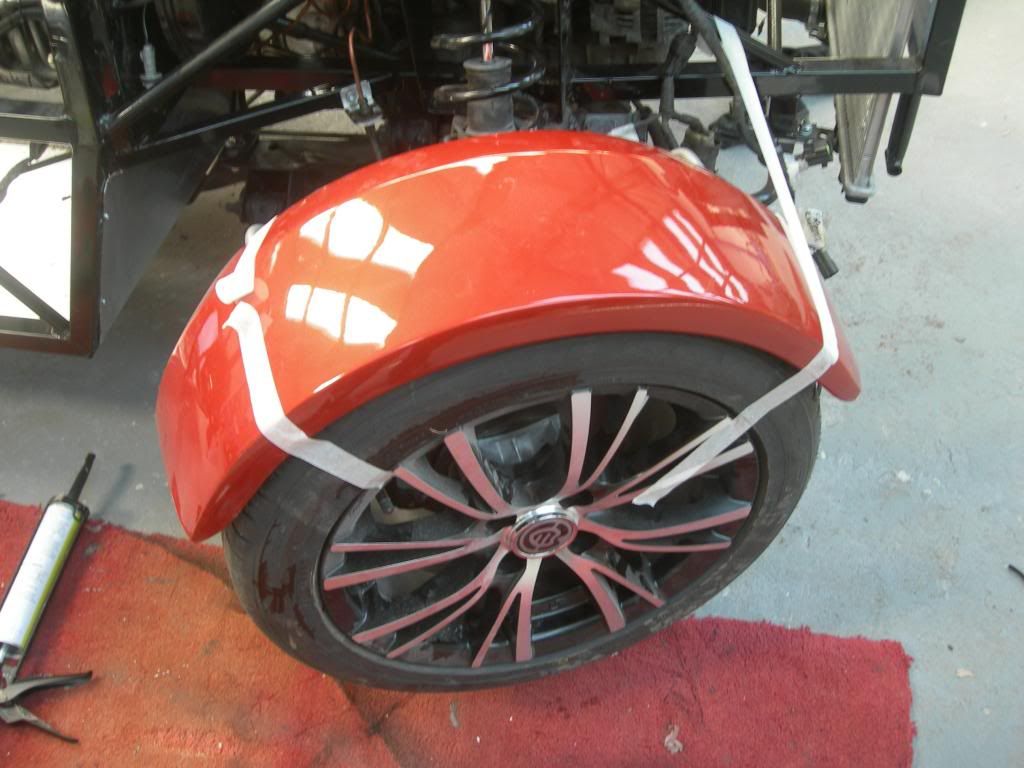 I fitted the screen next, plenty of PU applied, pushed in to position and then back filled with PU to make sure it is all in contact.  It is secured with self tap screws around the perimeter.  |
|
|
|
Post by Stiggy on Dec 12, 2012 12:44:34 GMT
I started to fit the rear boot panels today, very pleased to see the generous proportions.  I also fitted the hinges to the front clam. 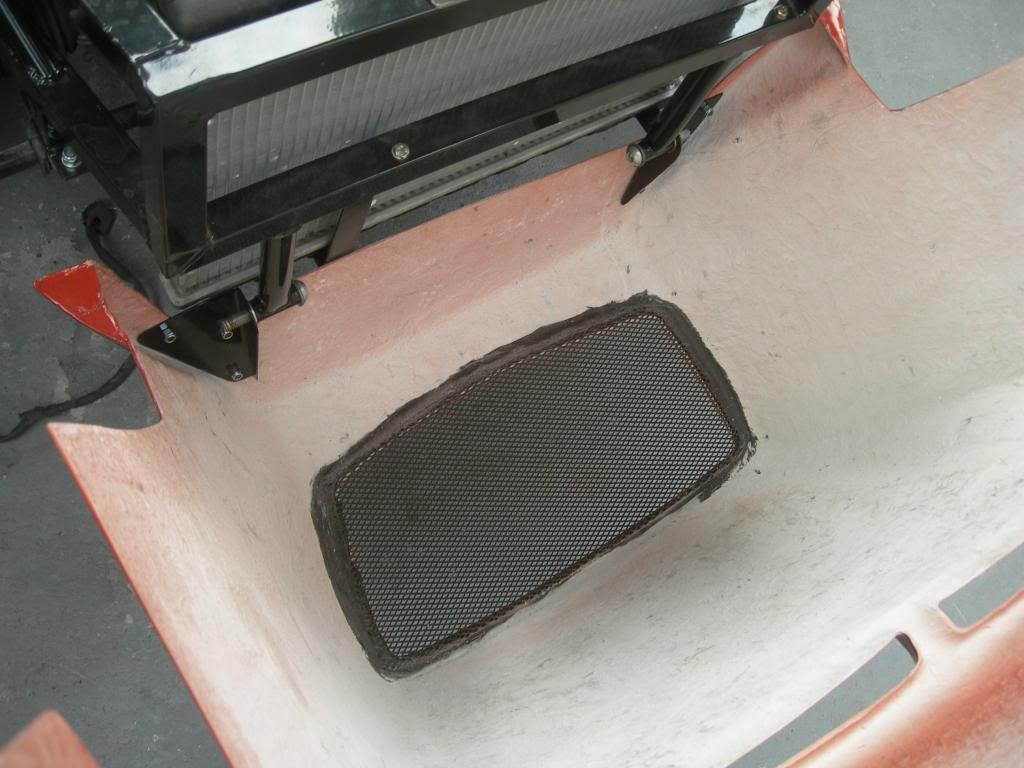 Funny how changing the colour makes such a huge difference. 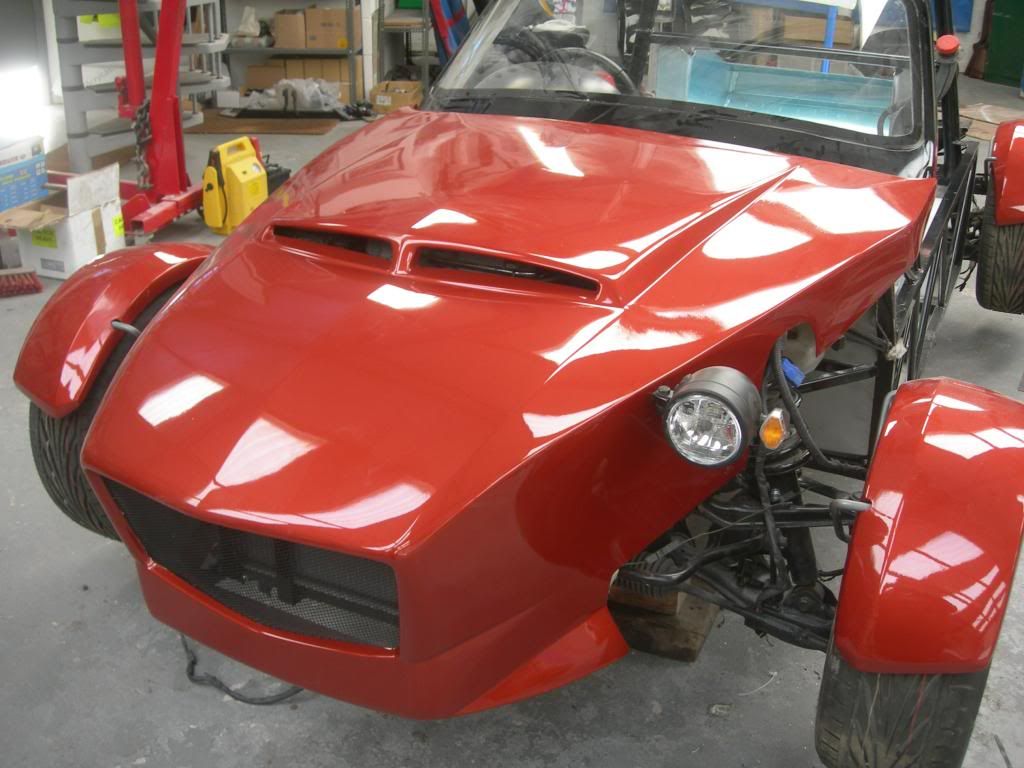 |
|
|
|
Post by Stiggy on Dec 13, 2012 15:36:52 GMT
A more subtle logo for the sides. 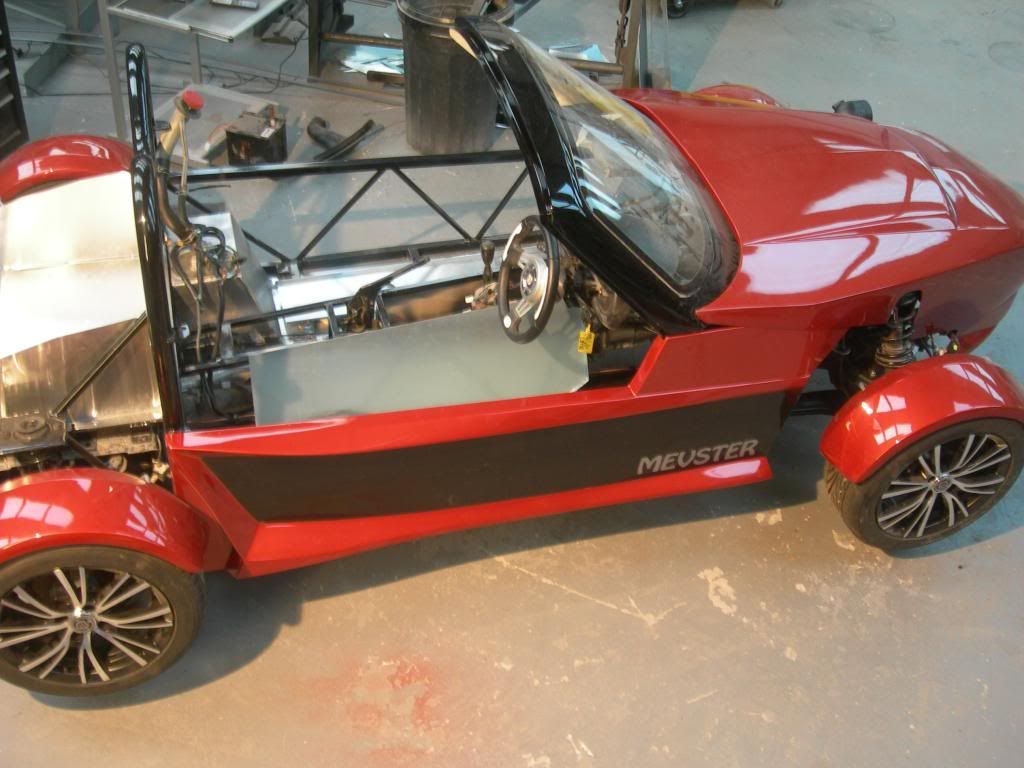 |
|
|
|
Post by Stiggy on Dec 17, 2012 15:23:37 GMT
I bonded the rear lights in to place with PU adhesive. 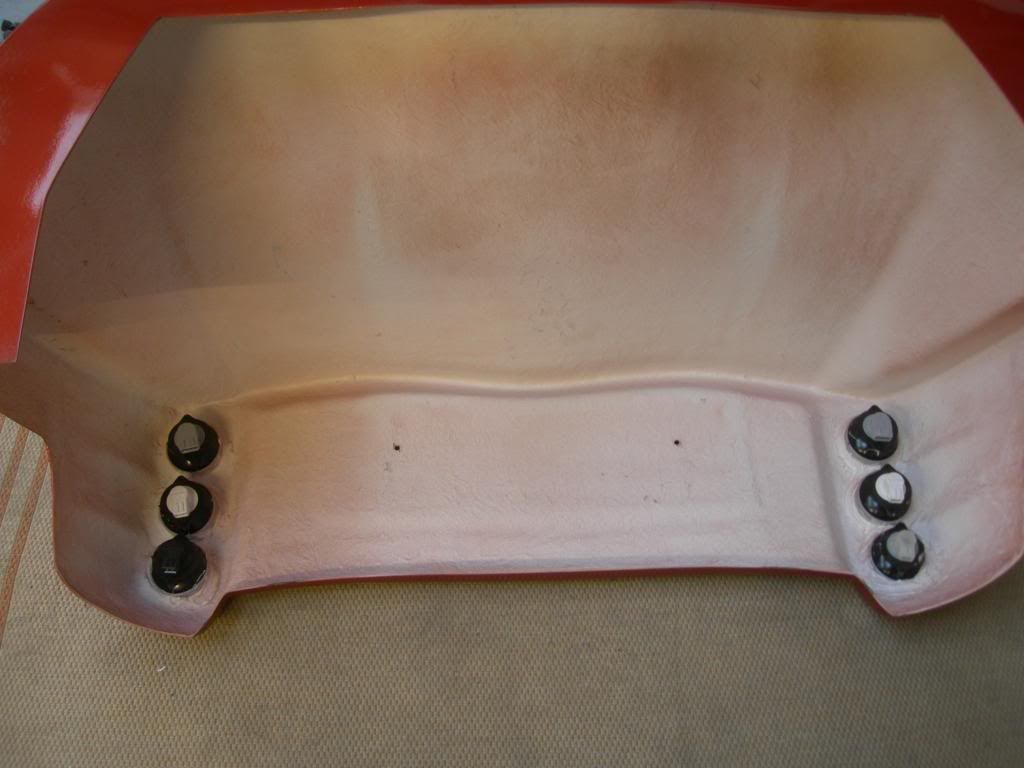 Then I made sure they were the correct way around for the IVA test. This means putting the indicators in the middle position to make sure there is a 100mm gap between the fog and stop/tail units. The fog must be on the off side. 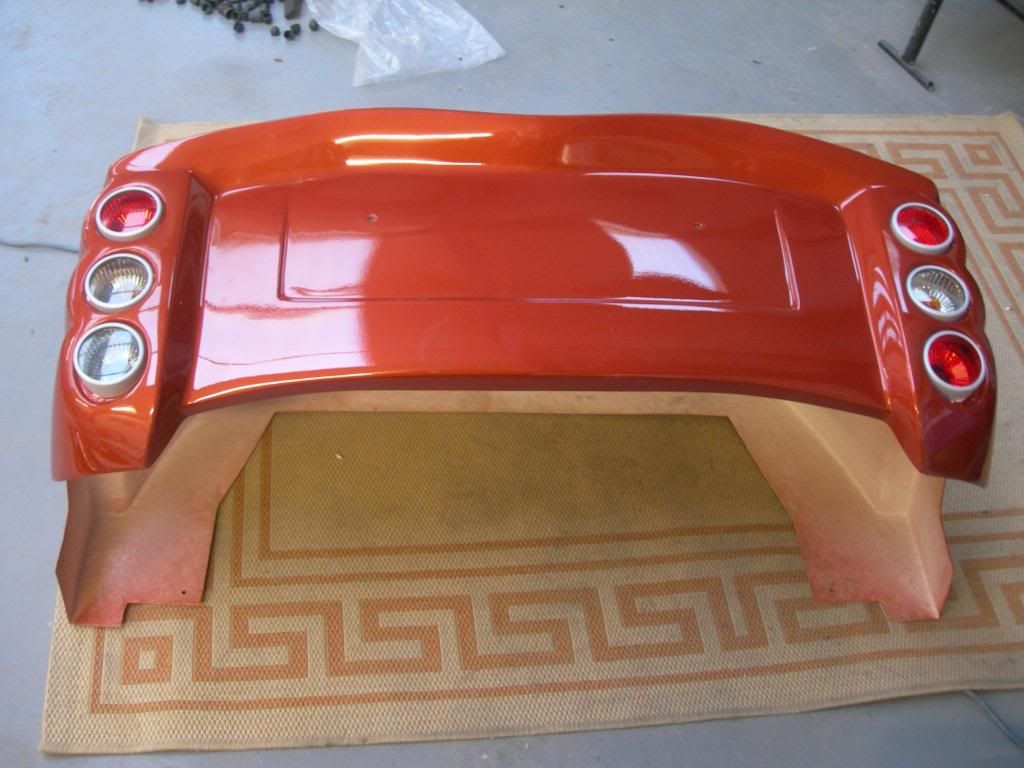 |
|
|
|
Post by Stiggy on Dec 18, 2012 12:22:02 GMT
Drilled a hole in the side of the rear cover this morning, I could use the MX5 filler cap but these plastic locking ones are not expensive and look rather nice. I did use the MX5 pipe though to connect it to the tank.  |
|