|
|
Post by mabbs on Oct 3, 2012 17:28:40 GMT
Hi Jacksdad,
I put the bolt all the way through as a fail safe as you have suggested. My car spent a good deal of time on the floor and then with the engine in and no drive shafts assembled so nothing was keeing the bearing square and more to the point, nothing was stopping the stub flange sliding out of the bearing.
Could have been quite embarising and damaging if I had not noticed that rolling backwards and forwards after a period of time the wheel connected to the shaft had worked their way out of the bearing and the chassis crashing to the floor !!
|
|
|
|
Post by jacksdad on Oct 3, 2012 18:26:47 GMT
Thanks guys i think while its on the stand i'll leave it but if i take it off and roll it around a bit i'll put some in.
|
|
|
|
Post by jacksdad on Oct 7, 2012 19:36:46 GMT
Could someone give me some advice and reasurance re the rally design alloy uprights. My query is with the 12mm bolt that holds the stub axle onto the upright. This bolt is also extended with some kind crush tube arrangement to also hold the wing stay my questions are:
This bolt appears to be the only thing holding the stub axle on, there must be quite alot of torque on the stub axle during rolling and braking through the bearings encouraging the stub axle to rotate off this bolt and the wheel to come off, i know thread loc is used but is this enough, am i missing something ??
secondly how have people set up the crush tube/wing stay arrangement have you put a nut behind the large washer on the back of the upright or just pushed the crush tube strait against the washer.
thanks
jon
|
|
|
|
Post by jacksdad on Oct 10, 2012 13:30:38 GMT
Hi all
does anyone have any links to where i can get some suitable hollow metal tube that i can then cut off in appropriate lengths for the various spacers we seem to need eg between the wing stay and the upright in the post above or between the upright and the brake calipers etc i have a metal cutoff saw so i was hoping i could buy some lengths of hollow tube id 10 and 12 mm with a fairly thick wall and cut them to length i have tried metals4u and trawled though google listing but have not come across anything suitable
i could buy some solid bar and drill it out but i'm not sure my drill is up to it and would be a bit of a drag
cheers
|
|
Deleted
Deleted Member
Posts: 0
|
Post by Deleted on Oct 10, 2012 13:34:33 GMT
HI Jon,
I got mine from eBay....you will find various suppliers that do mild steel tube in various diameters and wall thicknesses.
Cheers
Mark
|
|
|
|
Post by BobN on Oct 10, 2012 13:41:41 GMT
Don't know if you are doing a quick rack conversion but if you are then the internal rod that you are replacing, can be cut to size and drilled out the the appropriate bolt size. I did this with the left over rod I had from the steering column extension. (the rod I had was 20mm dia).
|
|
Deleted
Deleted Member
Posts: 0
|
Post by Deleted on Oct 10, 2012 14:41:09 GMT
Don't know if you are doing a quick rack conversion but if you are then the internal rod that you are replacing, can be cut to size and drilled out the the appropriate bolt size. I did this with the left over rod I had from the steering column extension. (the rod I had was 20mm dia). Id call that re-cycling... ;D |
|
|
|
Post by jacksdad on Oct 11, 2012 13:41:08 GMT
Ok this is my plan for the stub axle retaining arrangement for the alloy front upright any comments ?? overkill, not enough etc 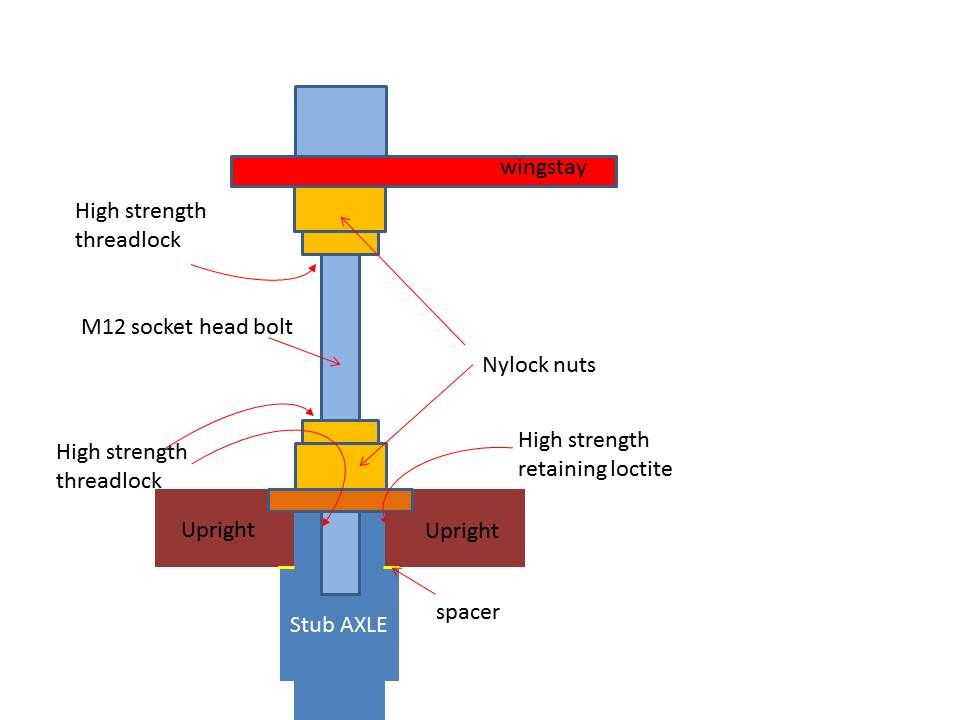 |
|
|
|
Post by jacksdad on Oct 13, 2012 15:55:21 GMT
Just fitting the front hub onto the RD upright i used the thin spacer that came with the brake discs and that i thought I was supposed to use but have found that the disc does not lie central in the hispec calipers and is off by about 1.3mm which would imply that the thicker shim spacer should be used ?? can anyone who has used the RD alloy setup tell me which spacer they used
|
|
|
|
Post by jacksdad on Oct 14, 2012 9:03:52 GMT
We have been working on the spacer/caliper problem and it looks like i need a different spacer for the stub axle with the smaller spacer it looks like this :  with these dimensions:  so with no spacer the dimensions are : 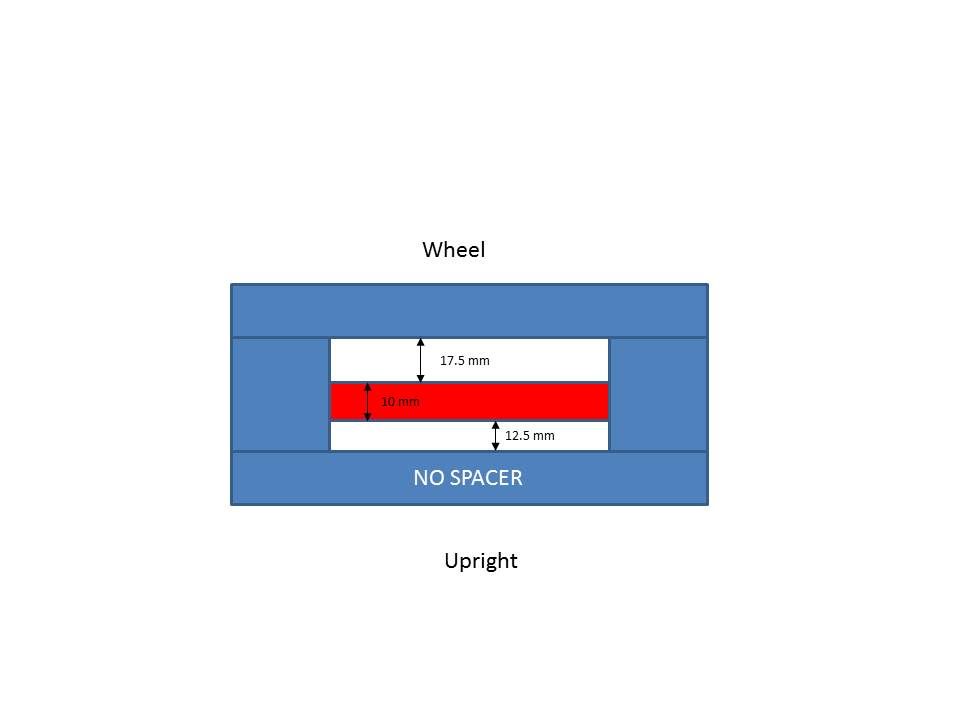 which seems to me to mean i need a 2.5 mm spacer? the larger spacer that i have is 3 mm. I will speak to RTR next week but did anyone else have this problem and does anyone know what size their spacer was that they used?? |
|
|
|
Post by Paul (madeye) on Oct 14, 2012 11:05:11 GMT
The pistons will cover that mate easily once the pads are bedded in. I wouldn't worry too much about 2mm if its a lot of trouble. Or just a washer in the right place.
|
|
|
|
Post by jacksdad on Oct 14, 2012 15:13:41 GMT
Thanks Paul just ordered some form b stainless m24 washers thickness 2.7 mm so should be just right, I'm not at all used to disc brakes, all the cars I work on in my youth had drums  . Are you saying that a few millimetres of discrepancy in the space either side of the disc is taken up by the pistons and some pad bedding in ? My learning curve is steeper than I thought it was gonna be ! |
|
|
|
Post by Paul (madeye) on Oct 14, 2012 17:01:57 GMT
Yes mate, the fluid will push the pistons out to touch the brake disk, as long as its not a million miles till the piston pops out of the seal. A couple of mil is no problems.
|
|
jack
Junior

Posts: 76
|
Post by jack on Oct 21, 2012 18:05:47 GMT
..dary! so anyway, we've got all the suspension done now, and three wheels on! To do the Front suspension we first...  Emery clothed the stub axles were the bearing outer races fit. The parts for the front upright are in the following (many pics) 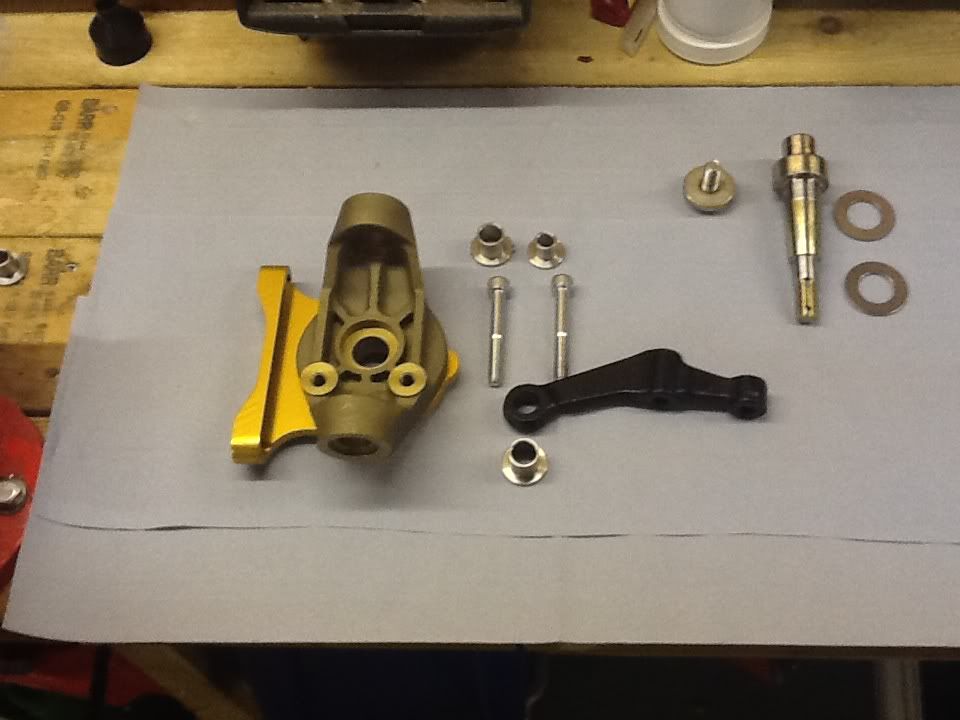 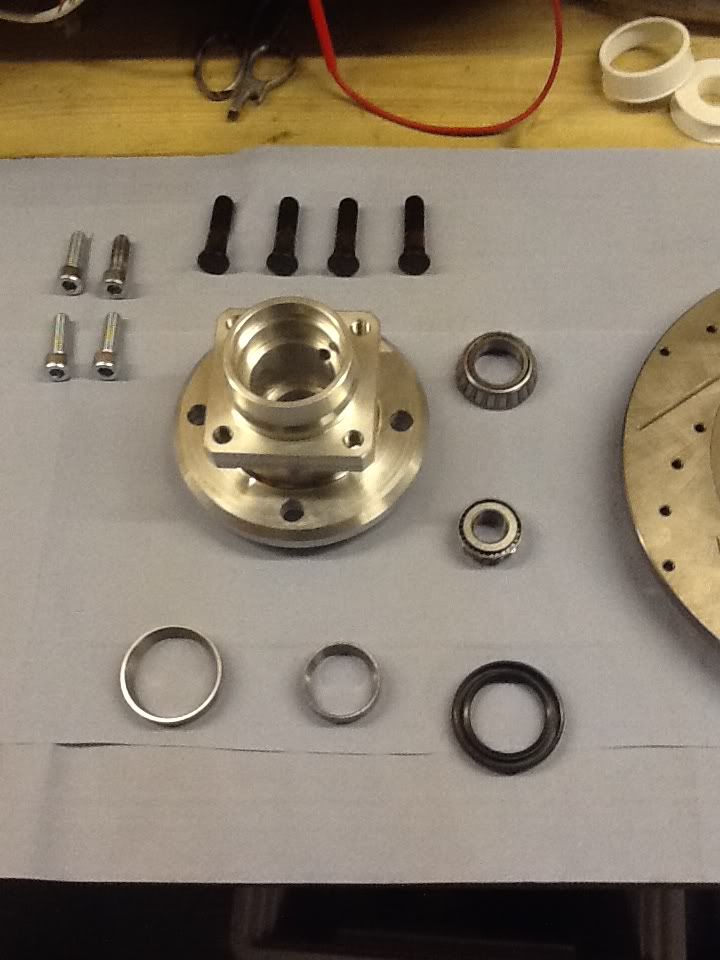 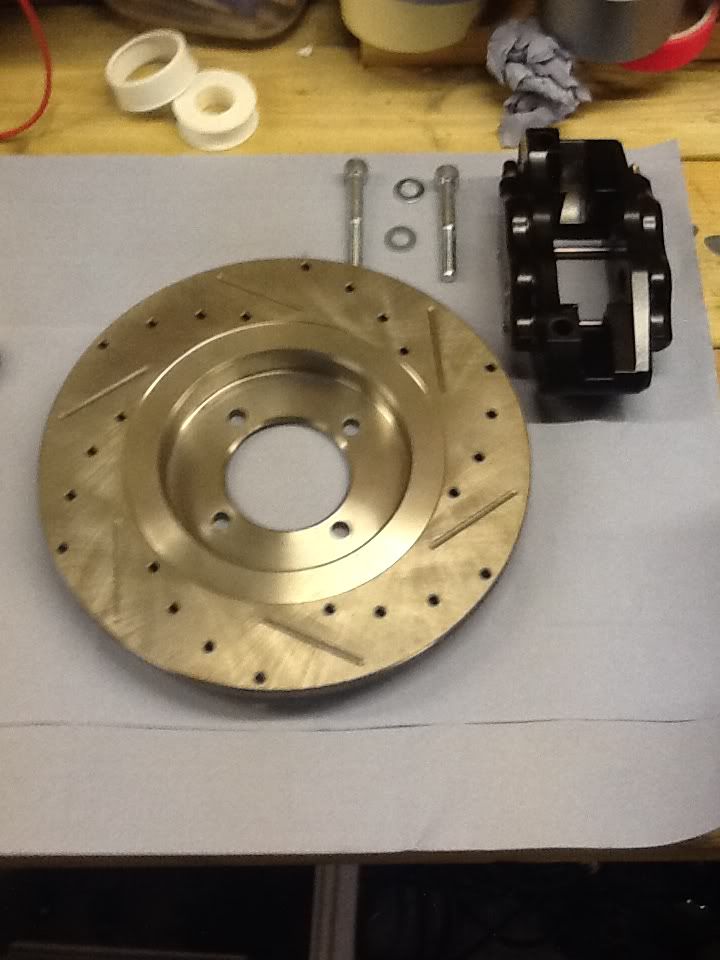 and a lot of washers, bolts and nuts etc.!  Checking the Bearing fits... 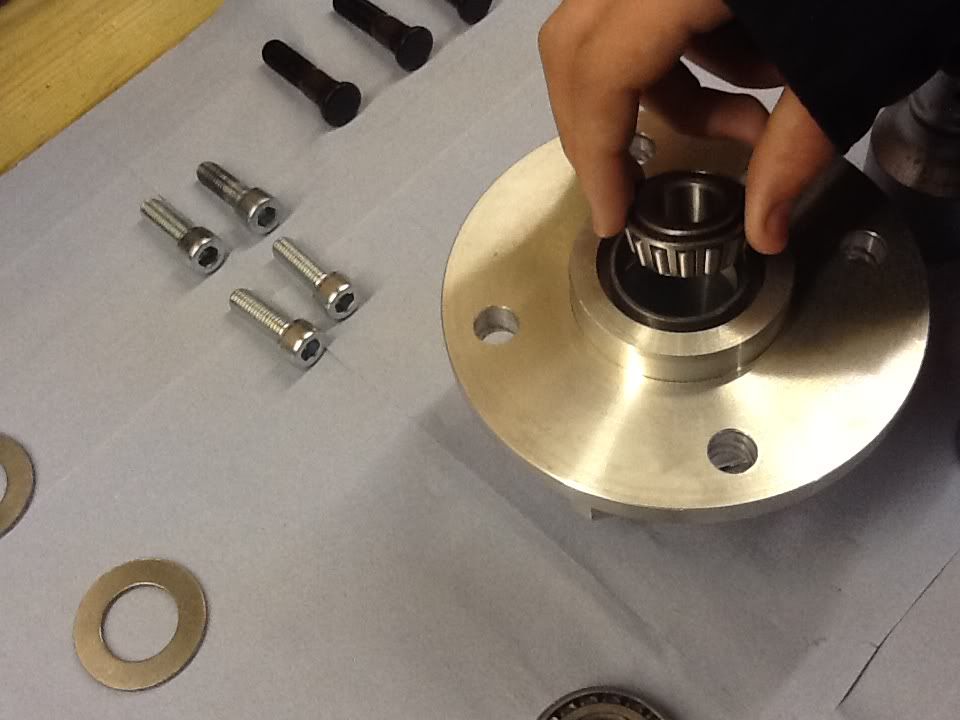 And the other one because dad just has to include both  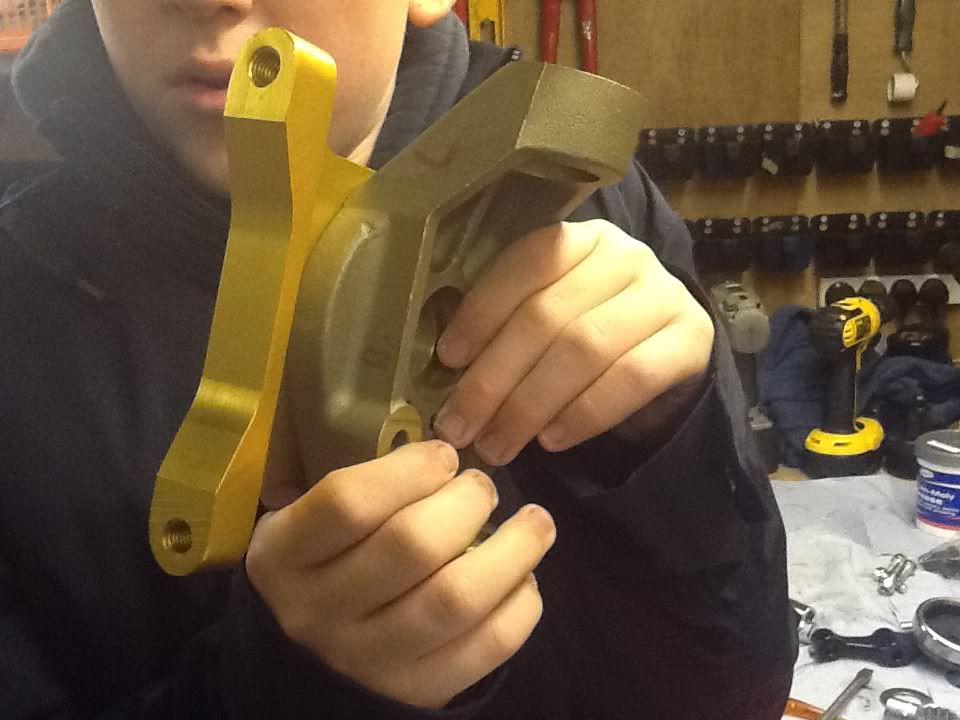 Me demonstrating how the two pieces of upright fit together Right and Left caliper to the back . In my defense it was 6 am... 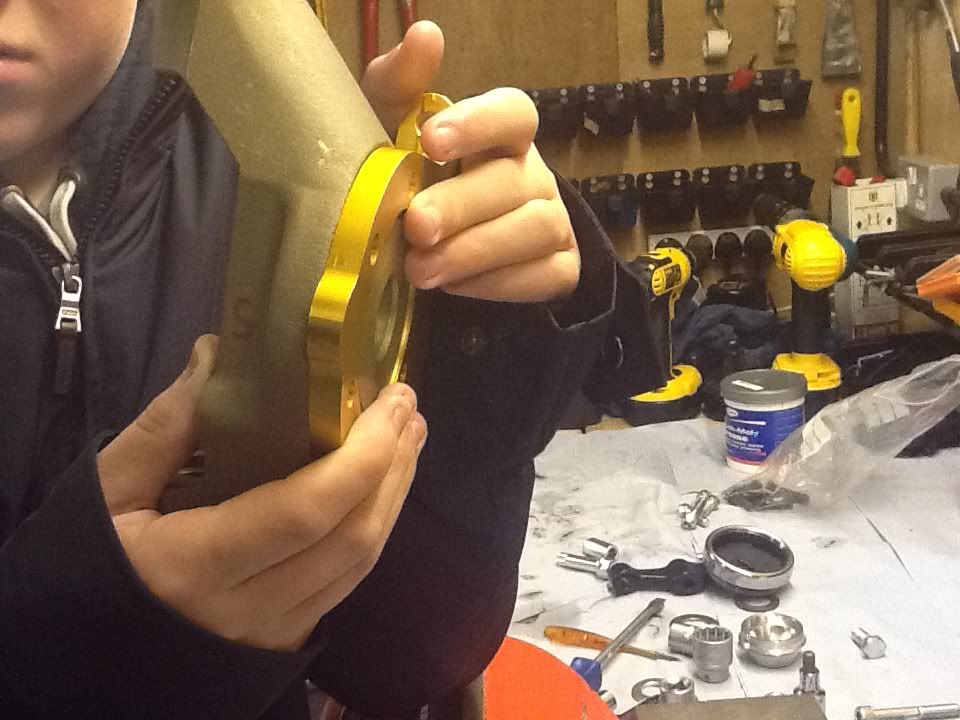 No Comment... 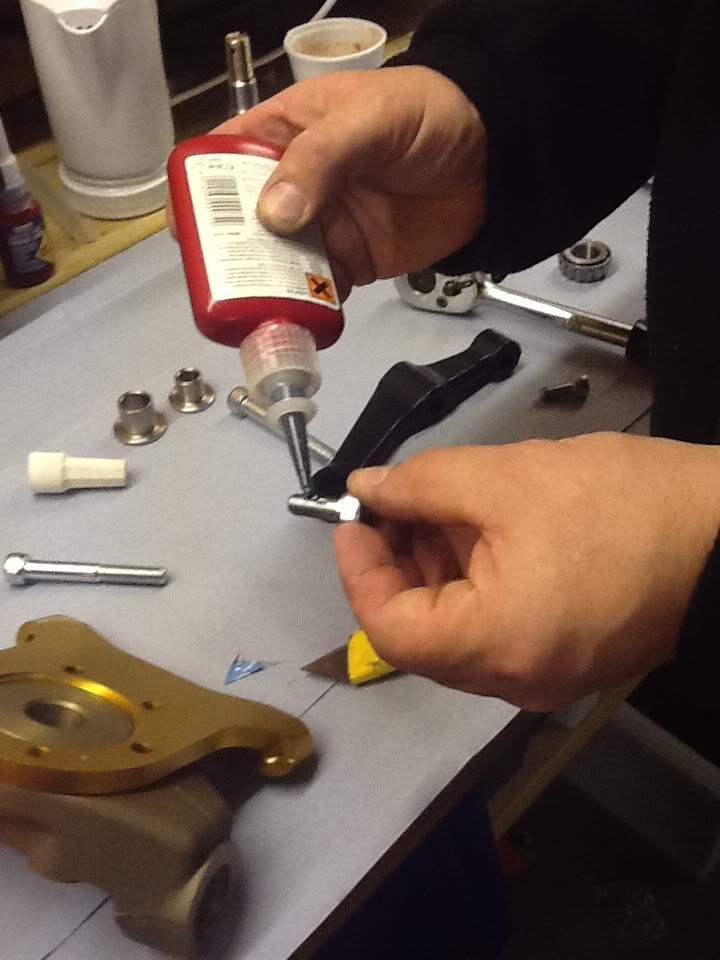 Dad locktighting a bolt... 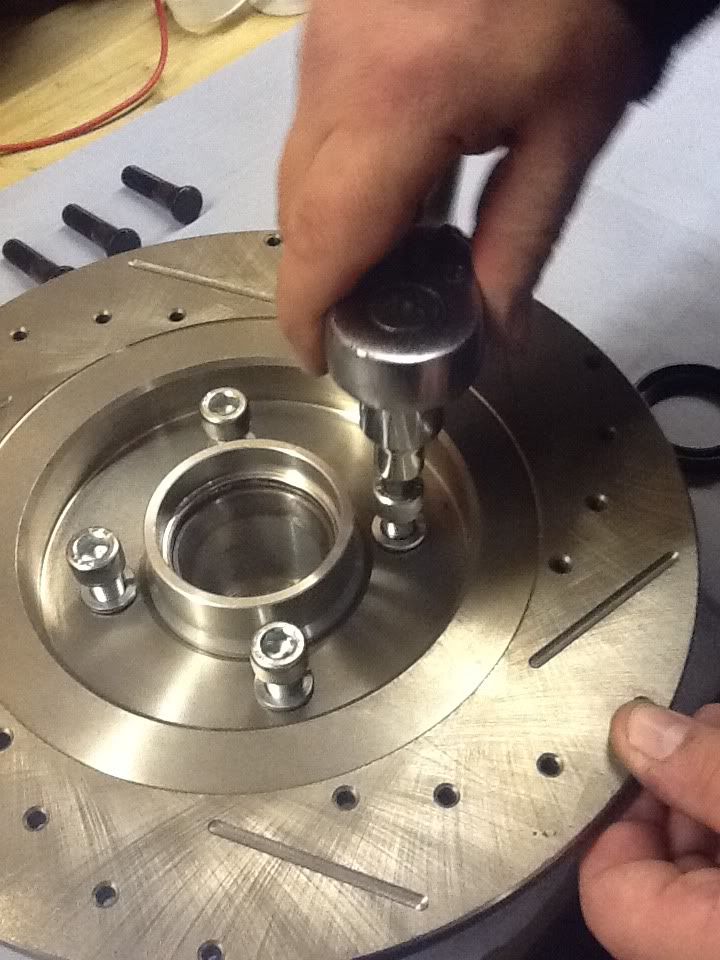 "] Bolting the disk onto the hub... 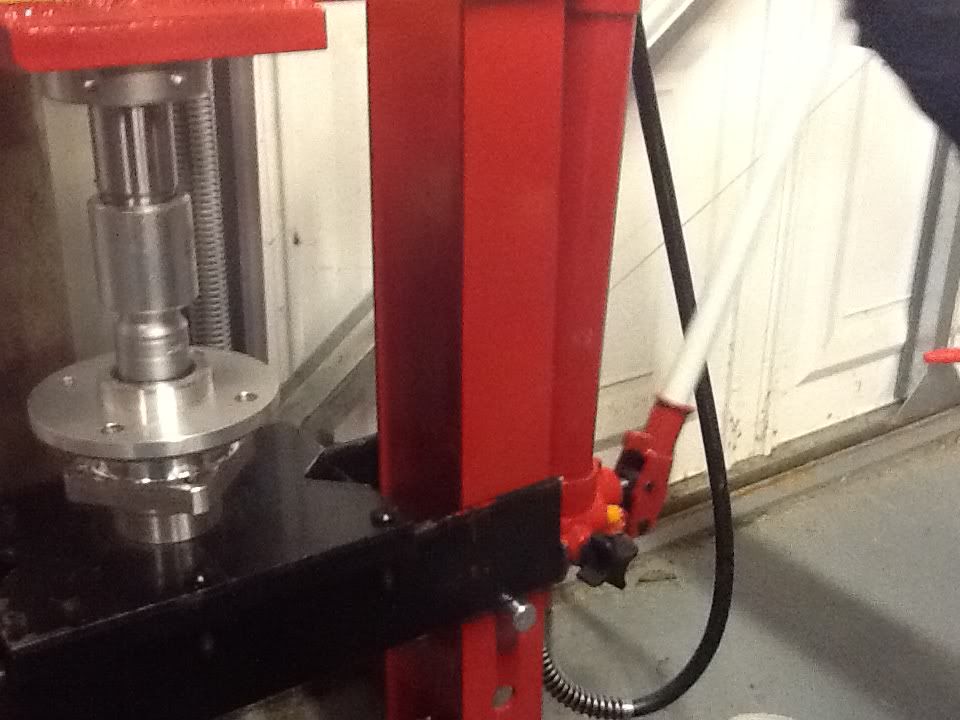 Me pressing a bearing into the hub.. 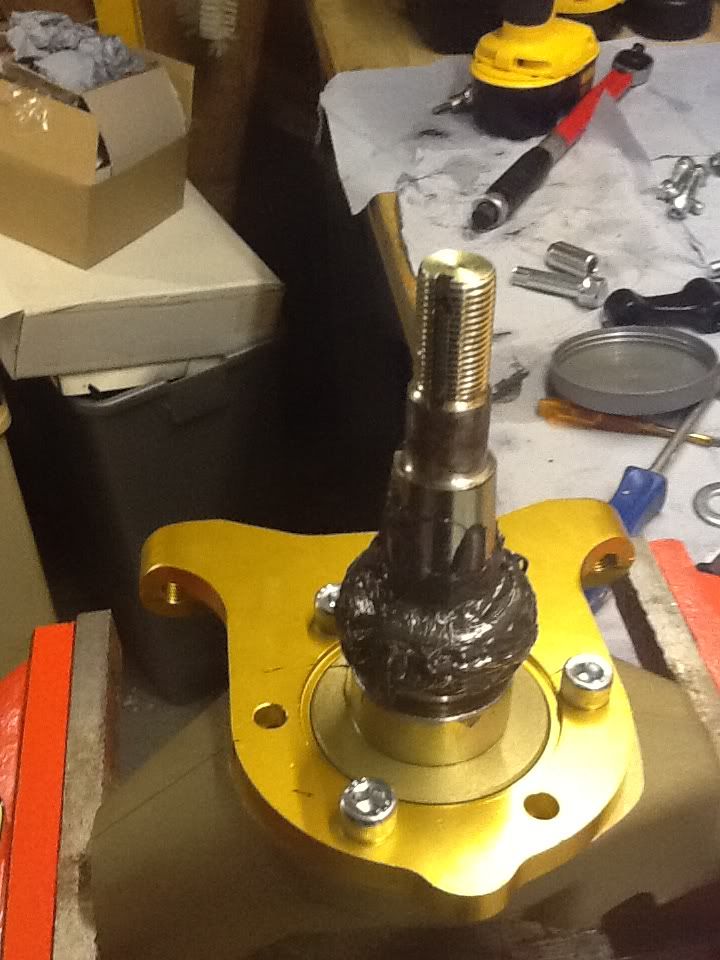 Some over enthusiastic lithium greasing methinks ... 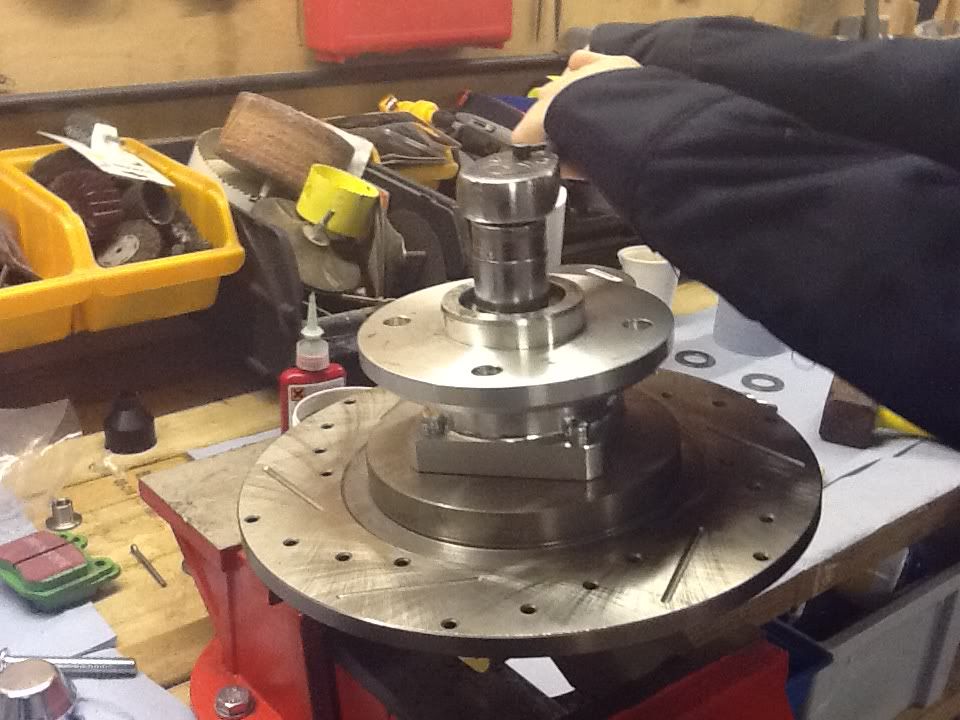 Tightening the hub onto the stub axle... 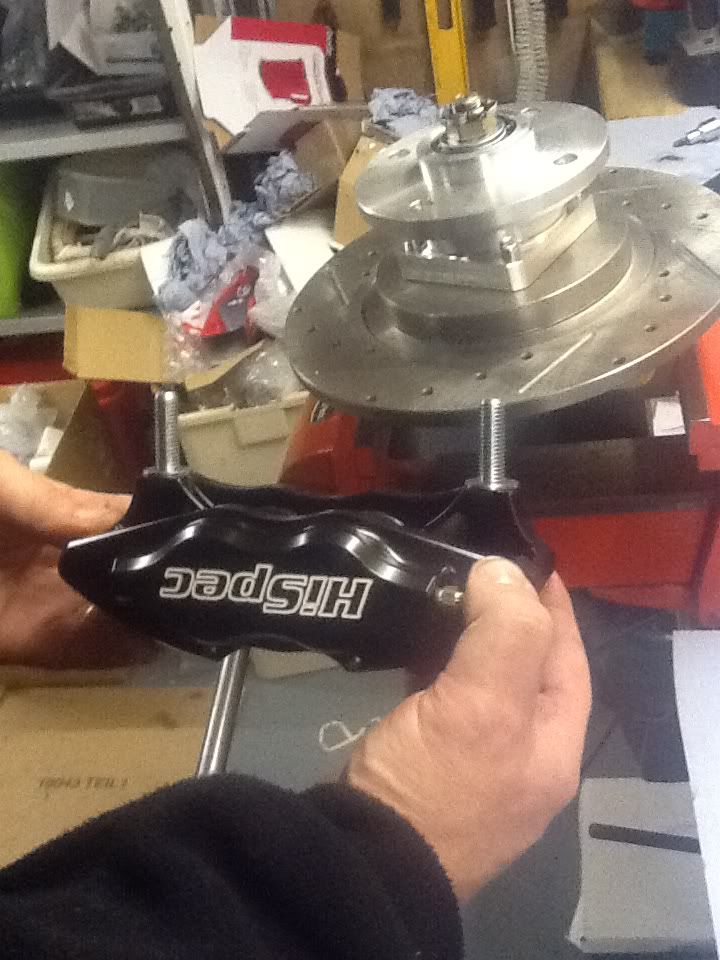 spacers on the brake calipers to make it the right distance from the disk.  Putting the oil seal in... 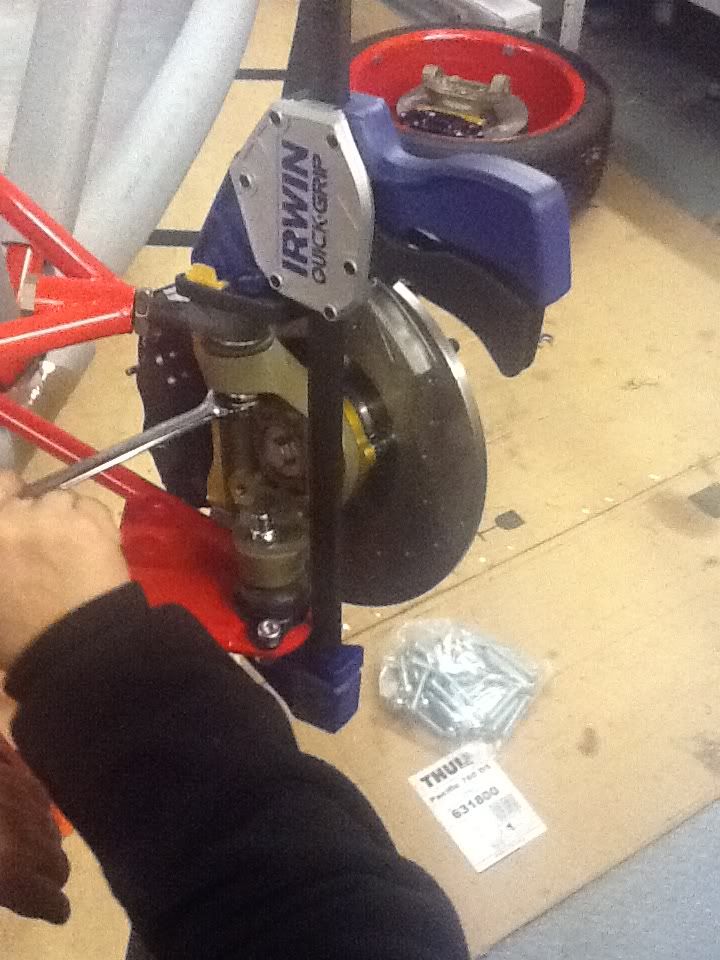 Clamp, to squeezer the balljoints so we could tighten the locknuts without turning the ball joint 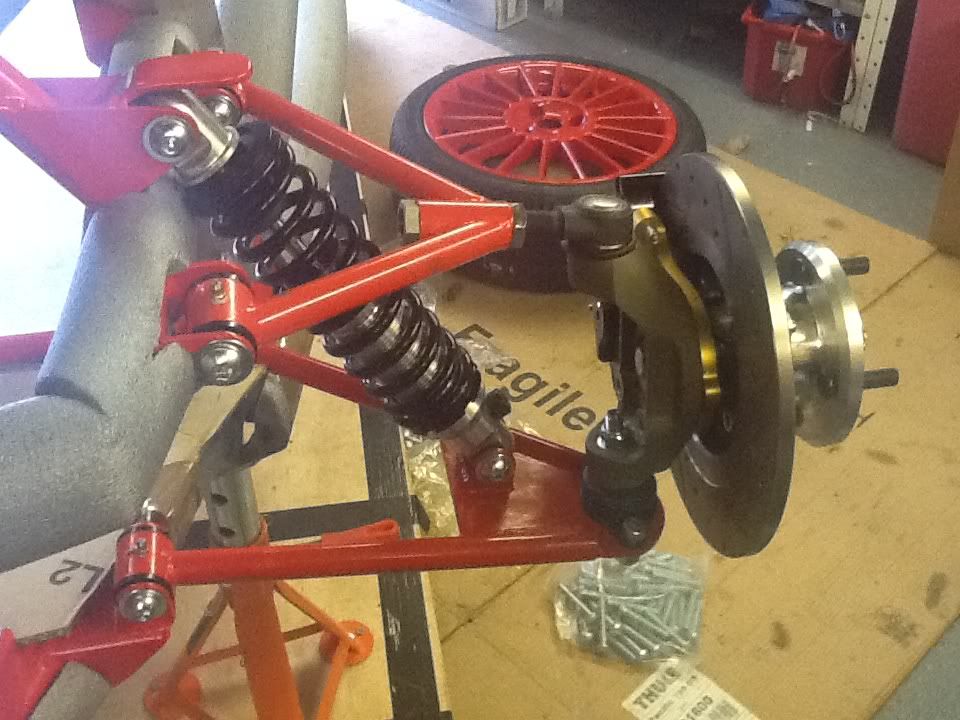 and done. Now imagine it all again! That, is where we are. (sorry about the picture quality will use proper camera nextime) |
|
jack
Junior
Posts: 76
|
Post by jack on Nov 25, 2012 15:47:30 GMT
Ok over the last 2 weekends we have been fitting the steering rack and then the willwod pedal box and Joker's accelerator pedal. Starting off with the steering rack this was relatively easy the only issue was the nearside mount : 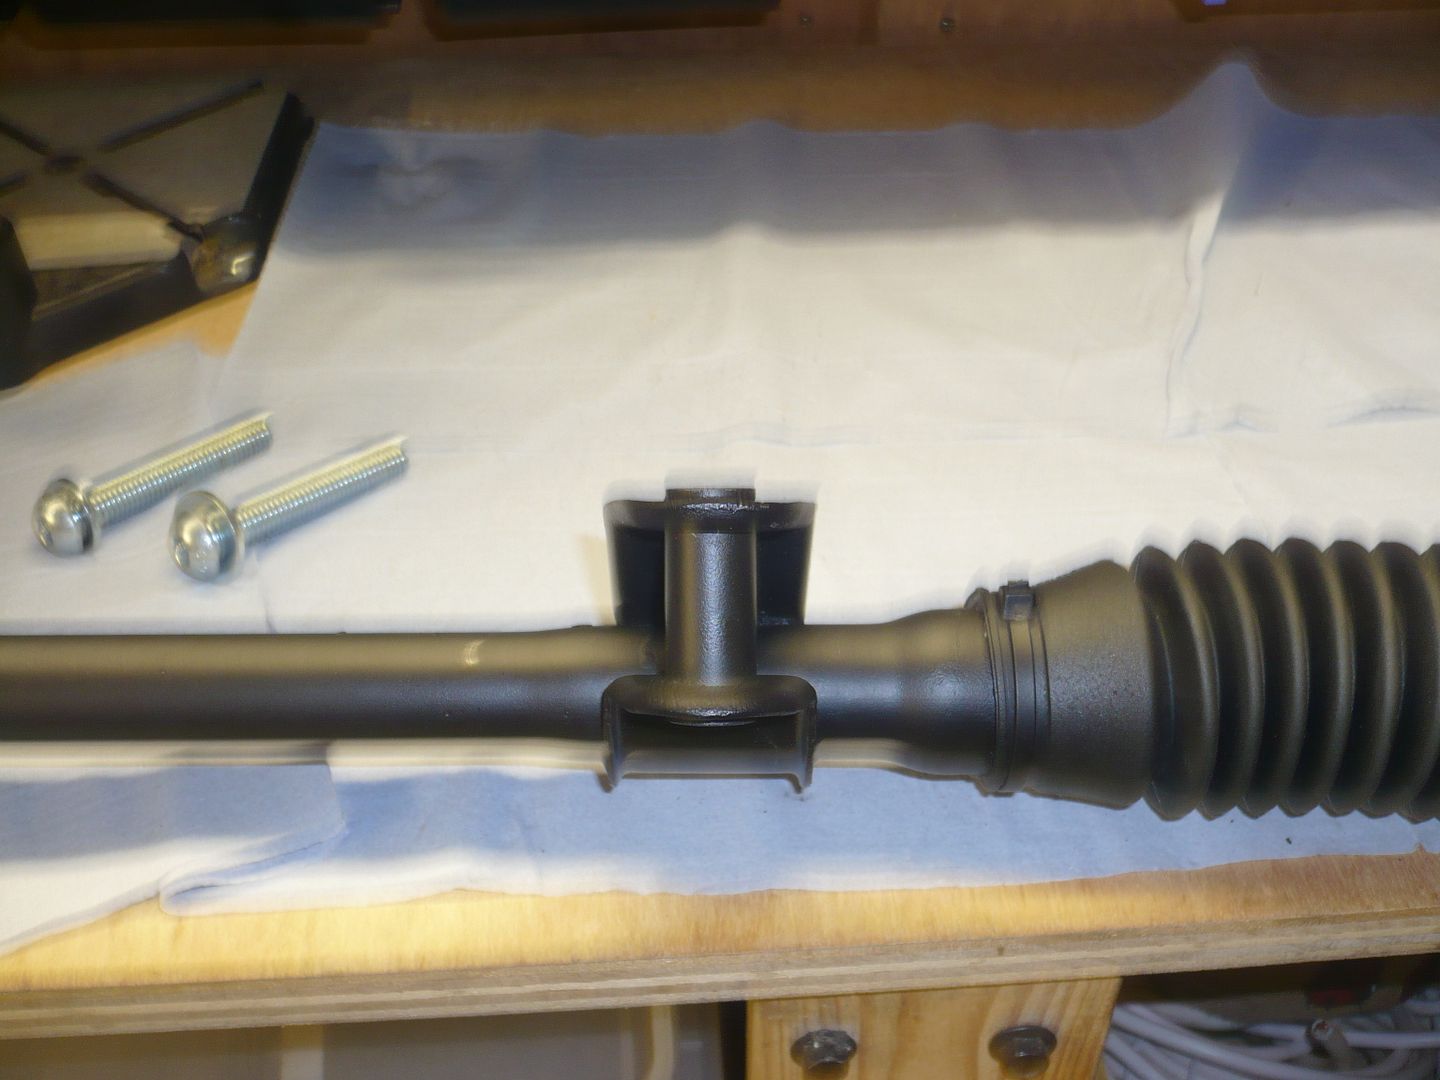 which is different from the offside mount: 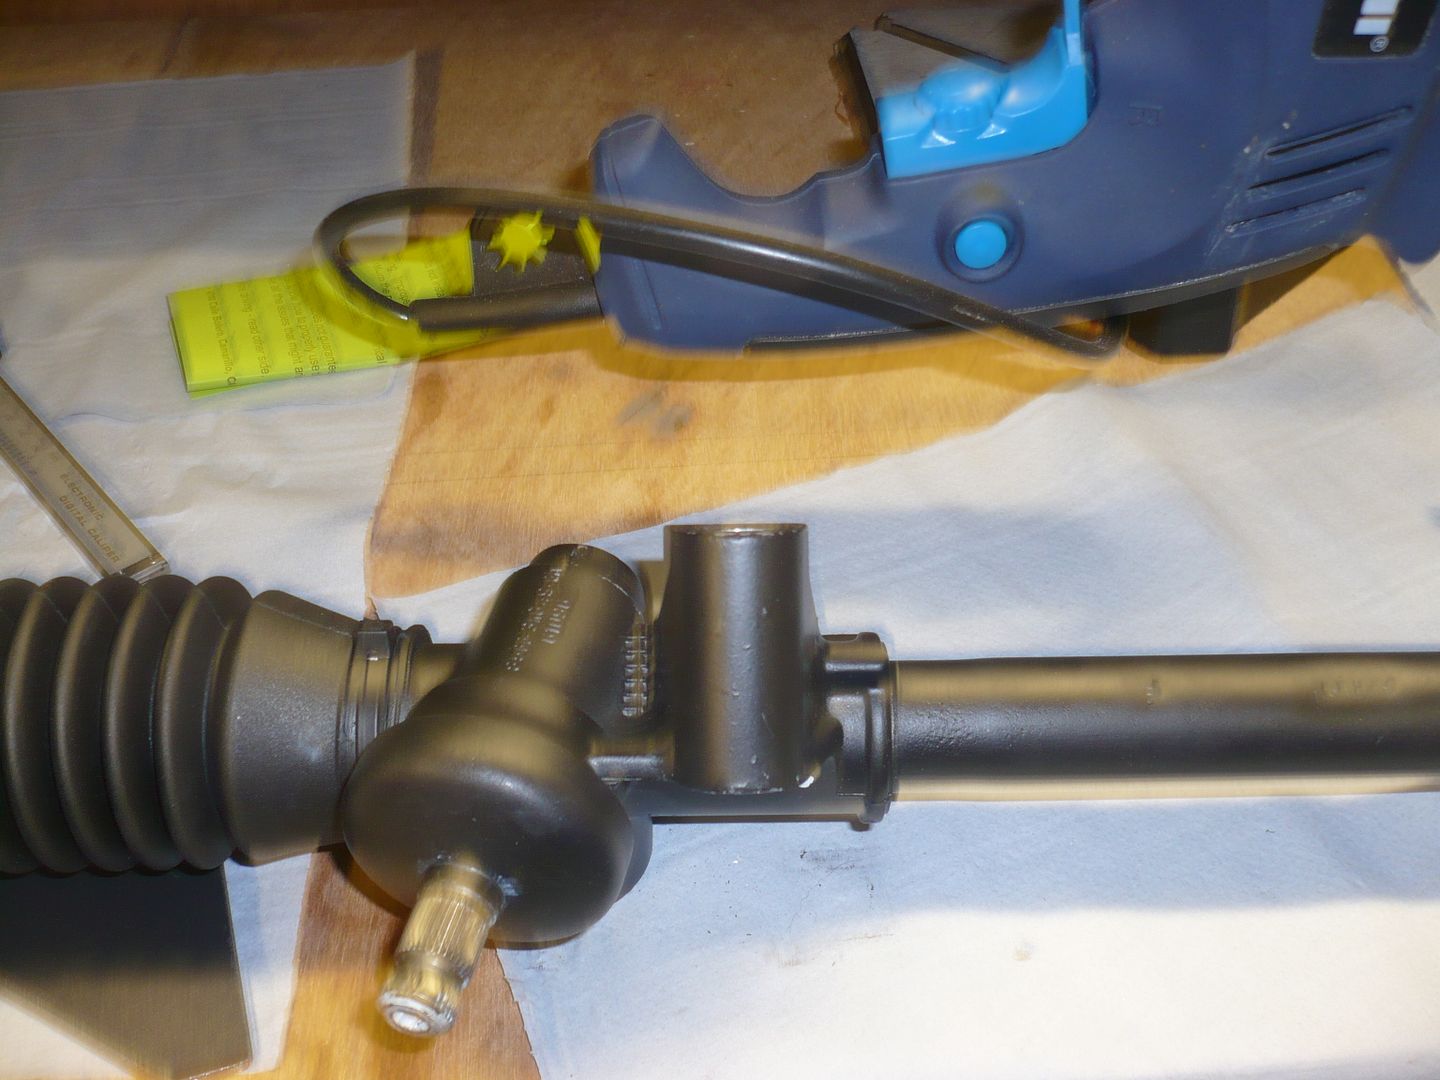 and when bolted too the mounting plate was a bit wobbly as it has quite a small area of contact ie the end of the crush tube, so dad and me made a large washer to go over the end of the crush tube and spread the load surface: 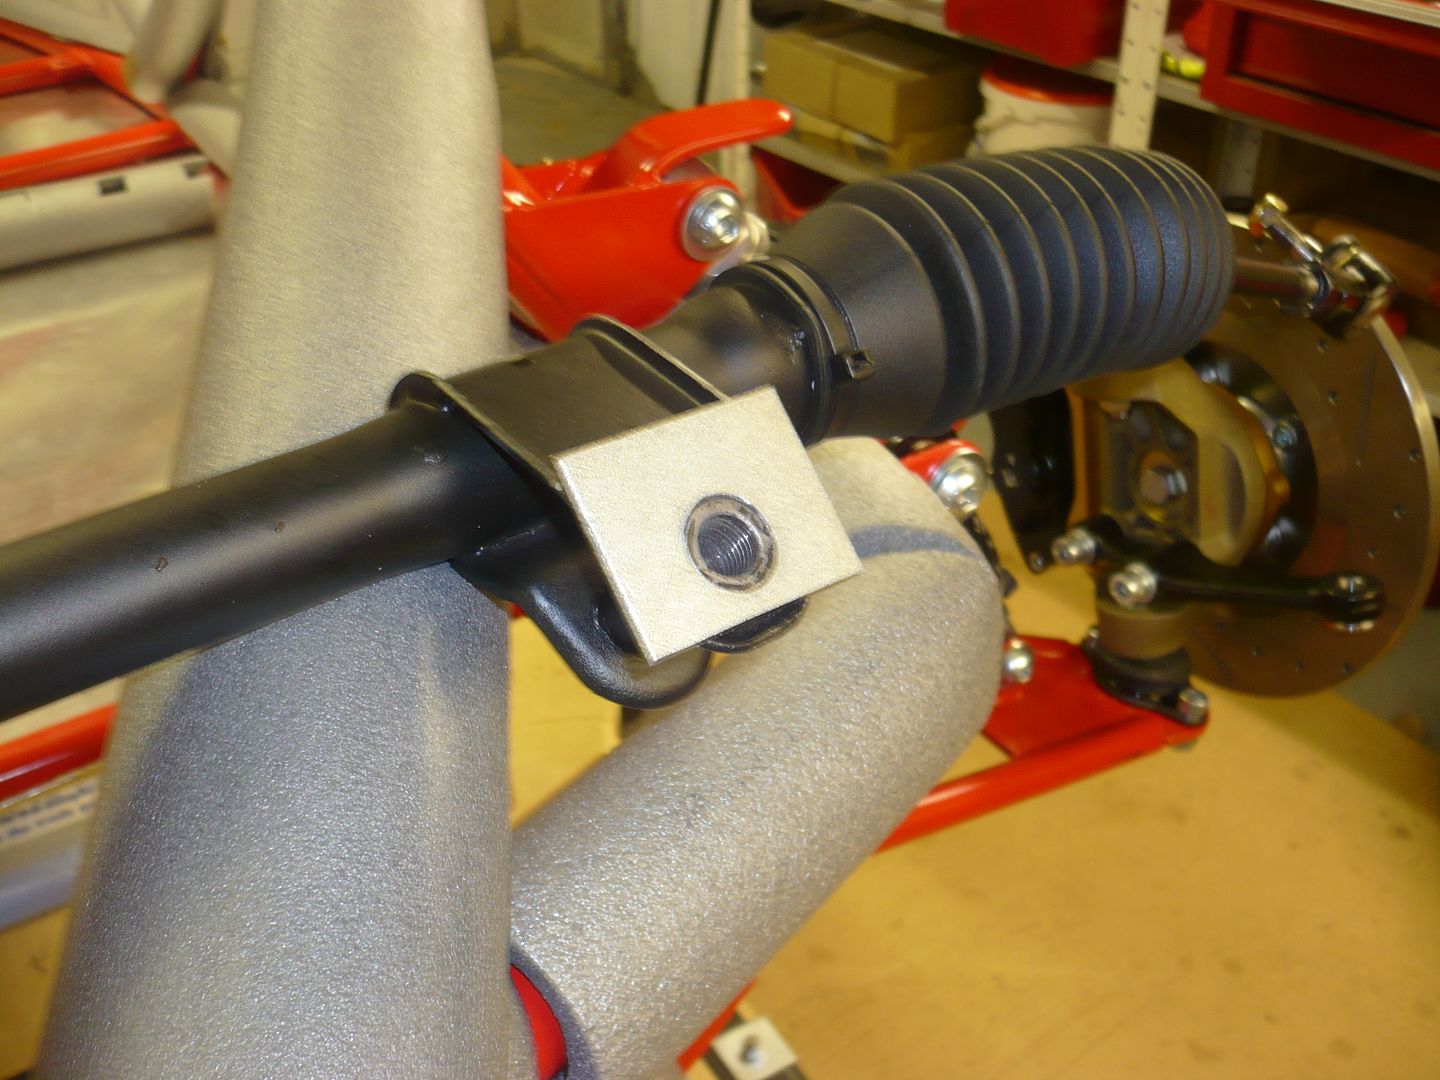 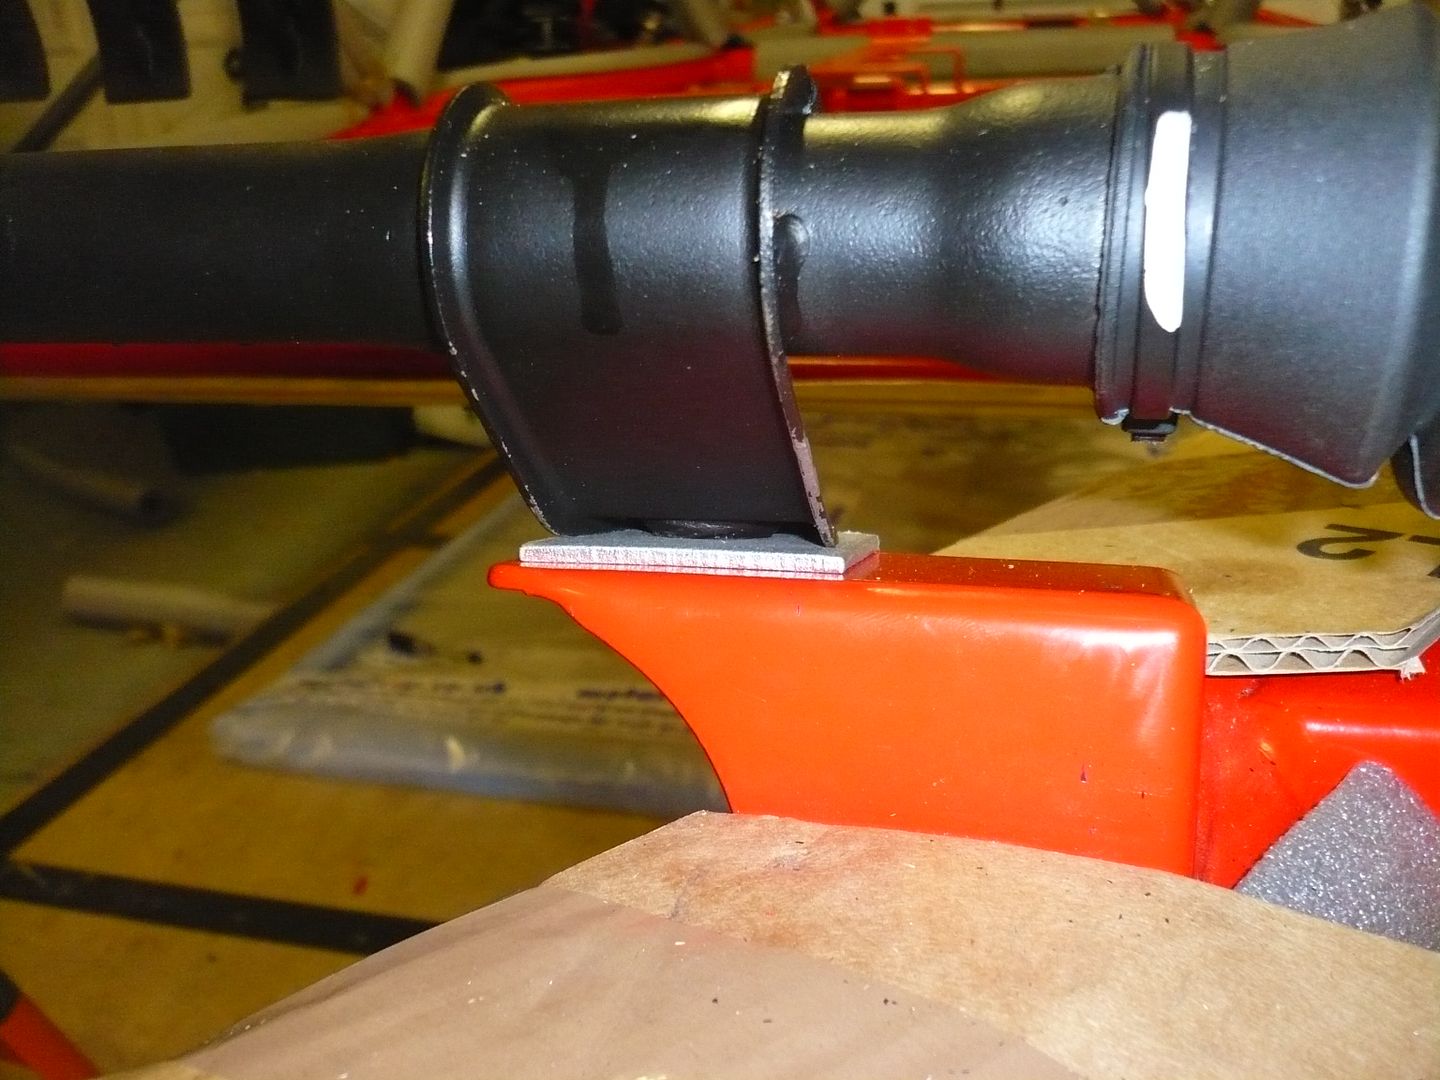 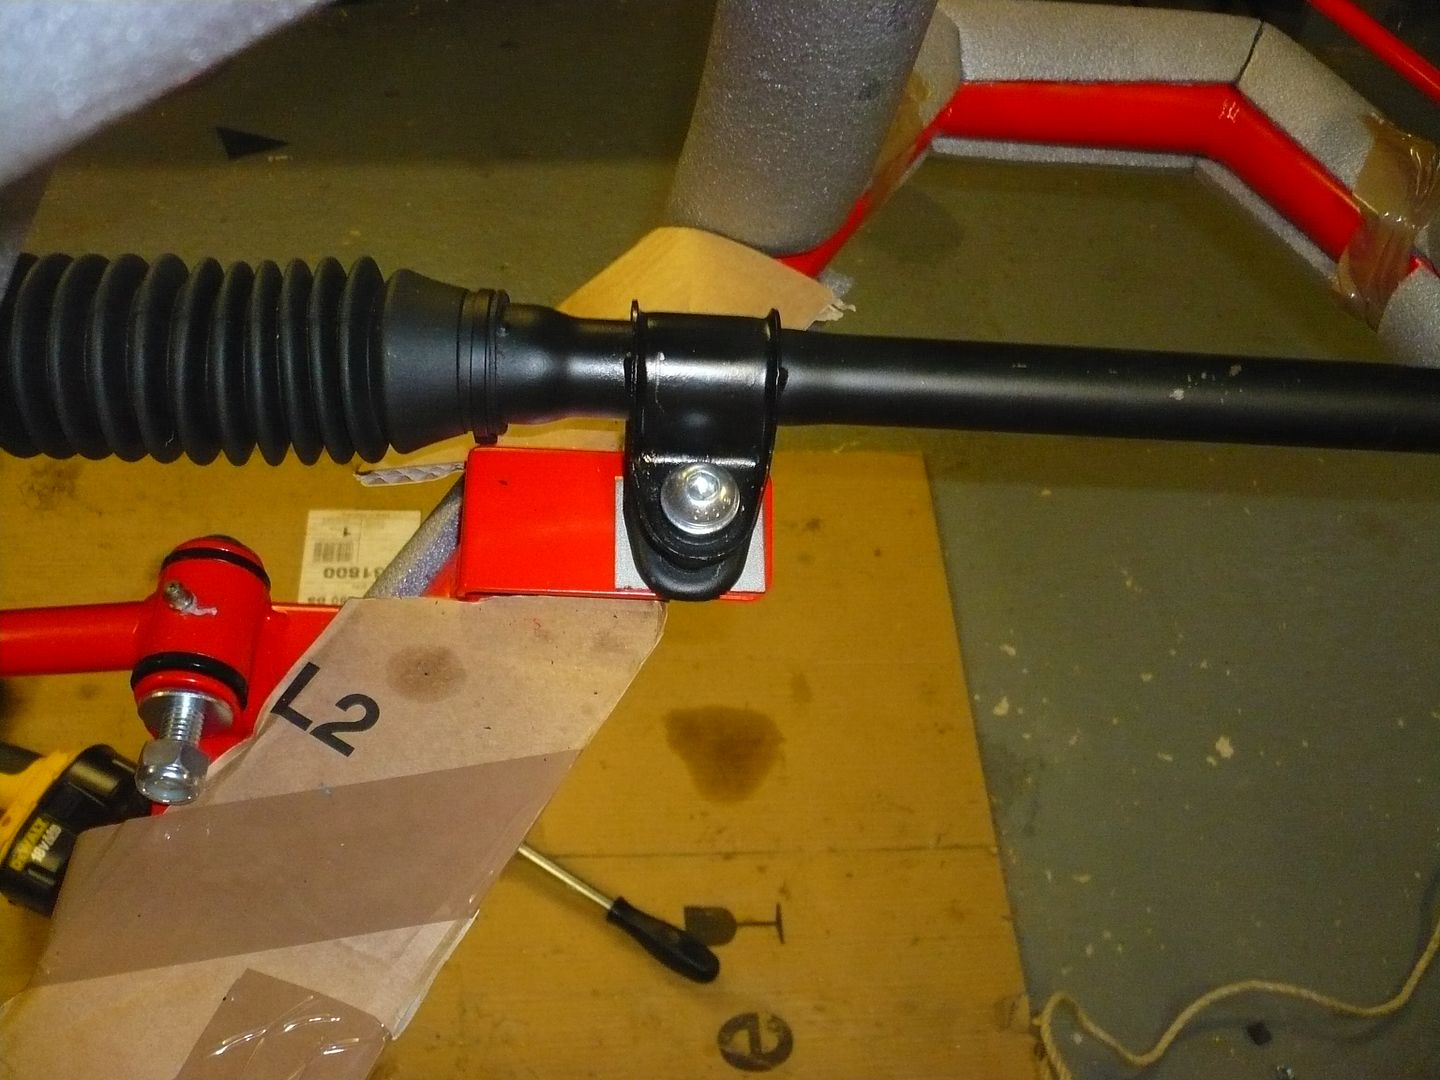 we then moved on to fitting the willwood pedal box : Drilling the holes: 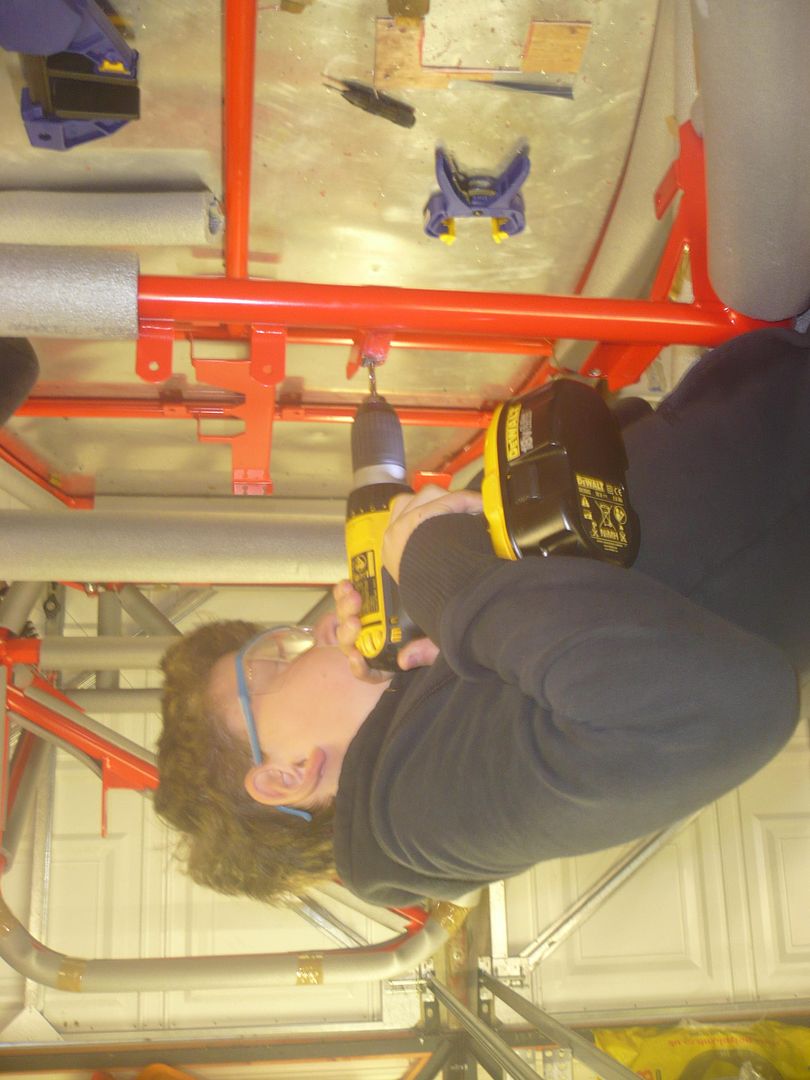 We first used 4 nuts as spacers:  then we used 2 as this pushed the pedals up a little whilst still allowing the master cylinders to fit under the chassis frame We then started on Jokers pedal which is great however in order for the pedal to sit at the same height as the brake and clutch pedals it needs to be fitted about 2cm lower than the bracket on the chassis and so we needed to make a bracket extension peice which we cut out of a 3mm steel plate dad had lying around so we got to play with dad's new angle grinder ;D 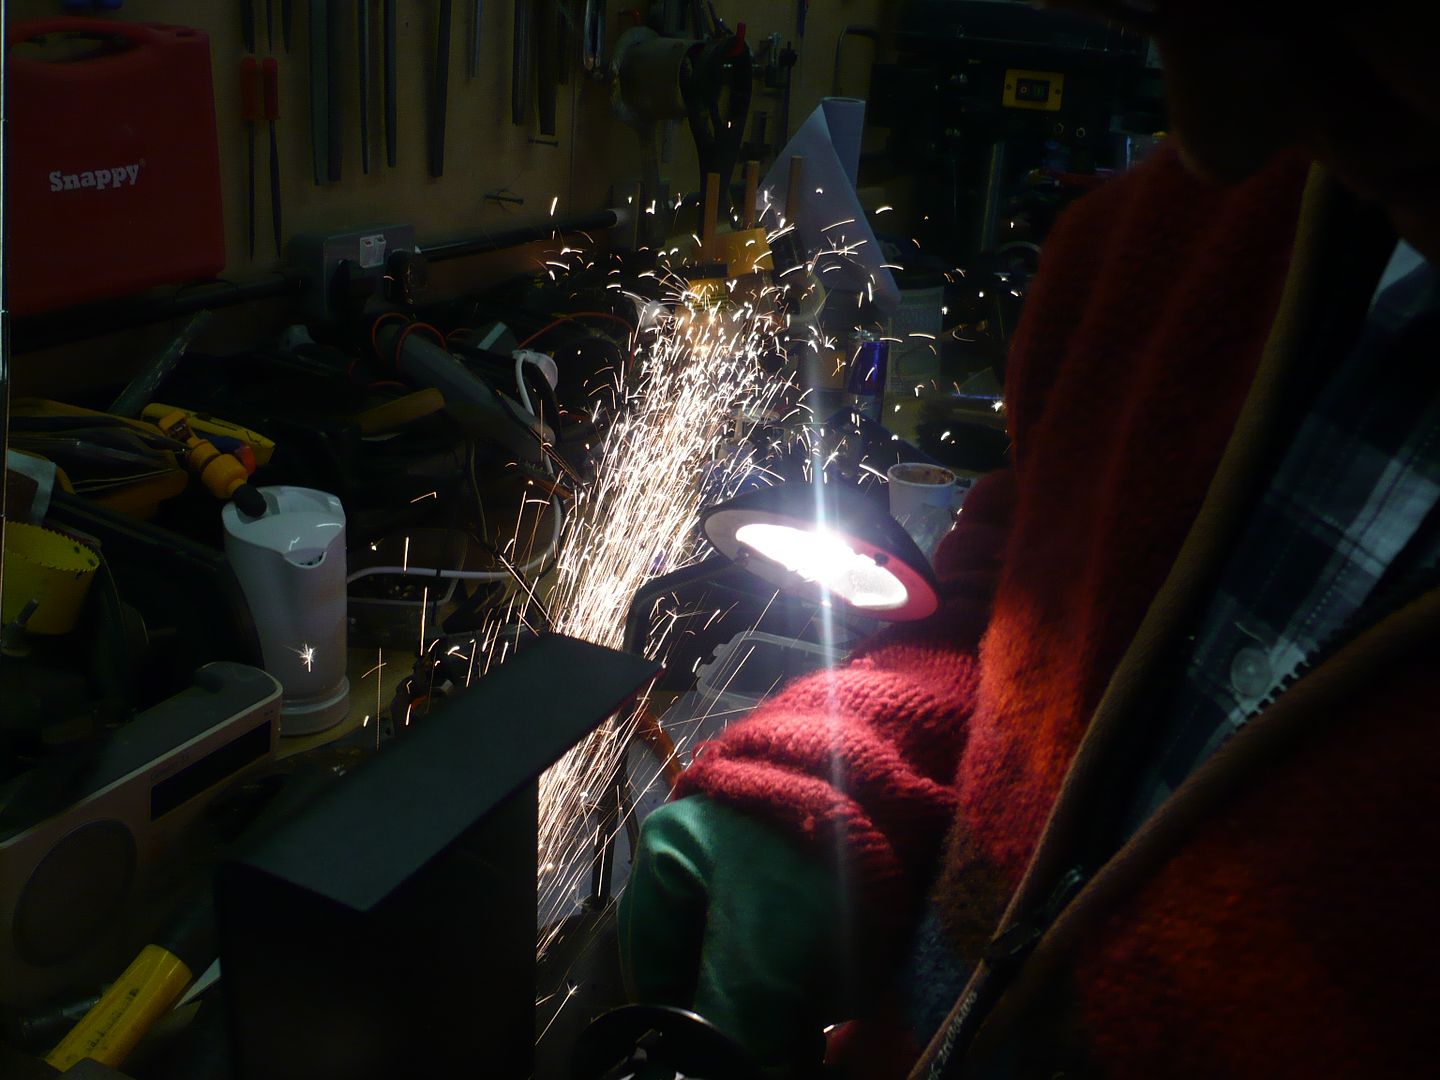 and i then filed off some smooth edges: 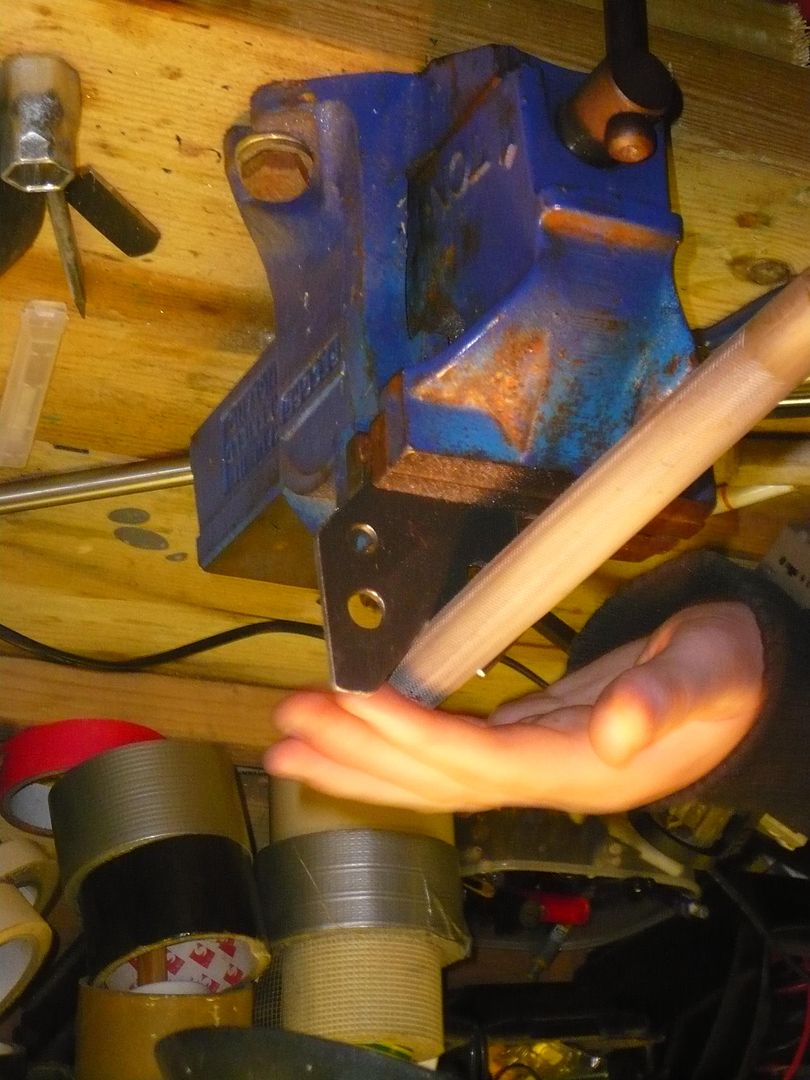 and then: 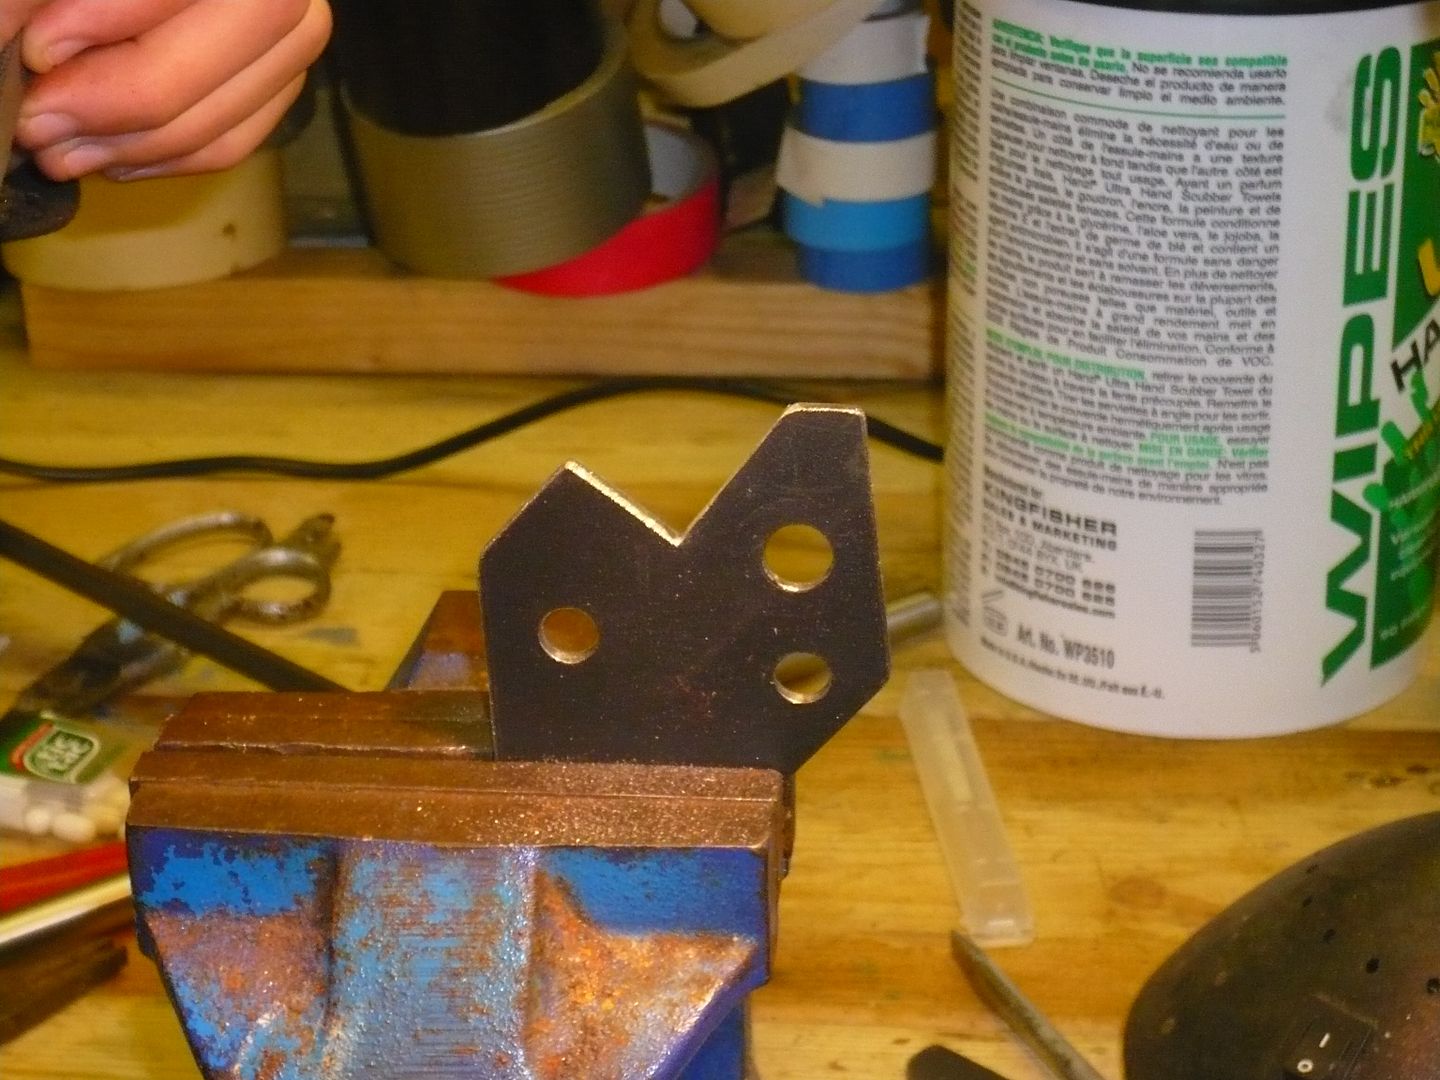 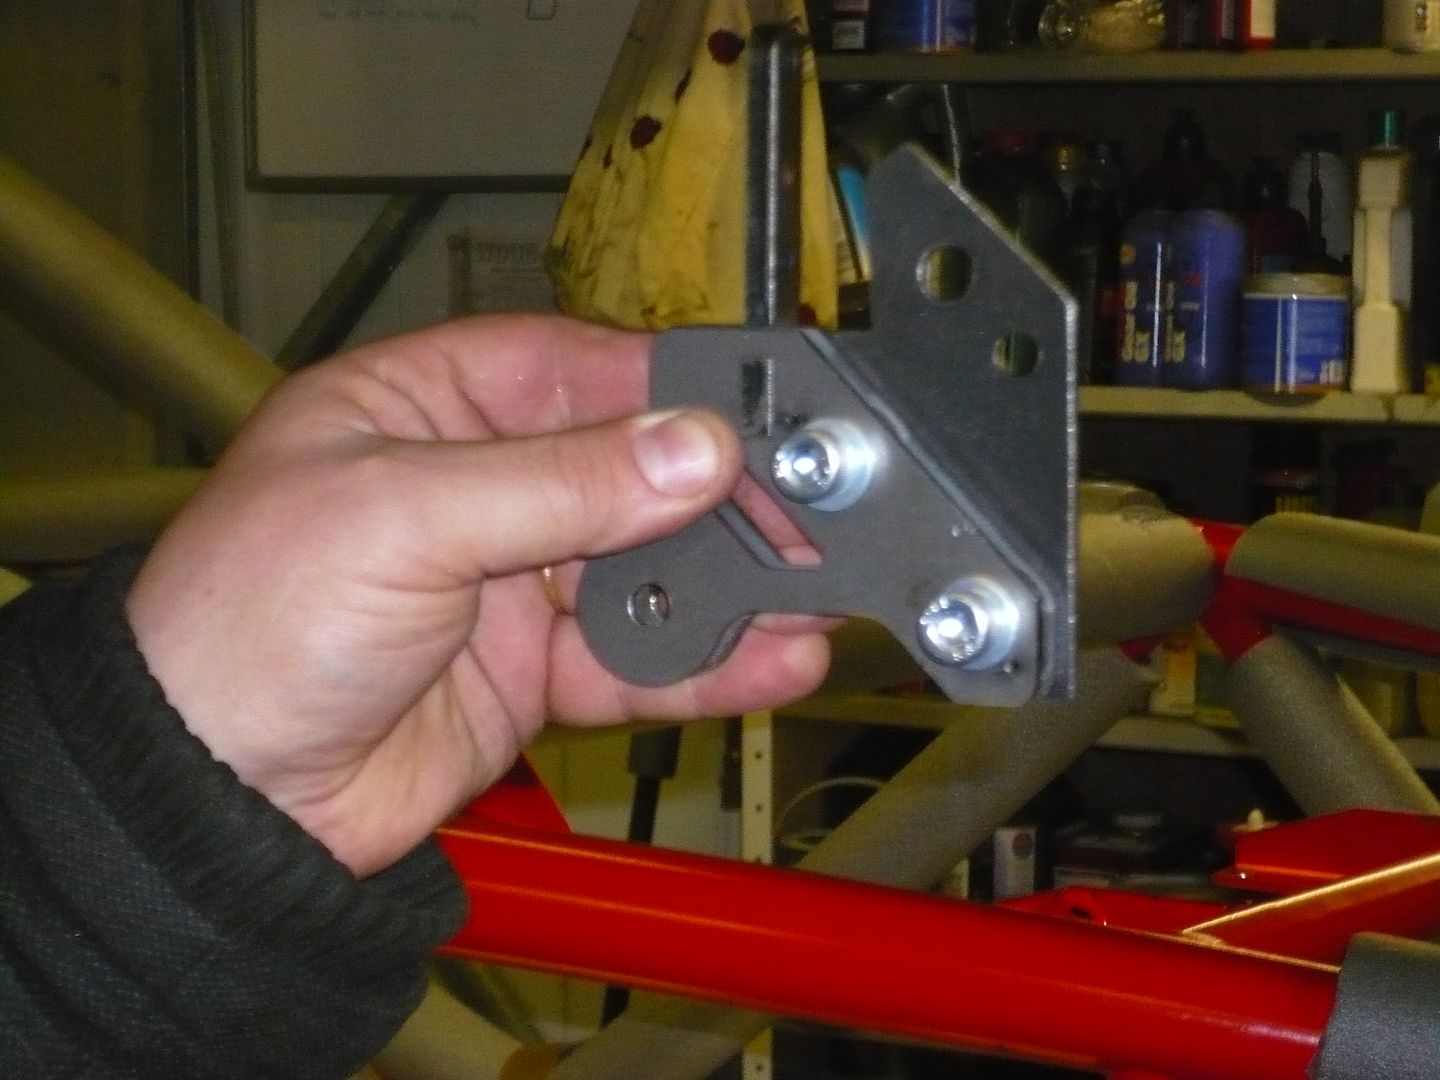 we then bolted it to the bracket and after a little bit of bracket re-engineering as dad like to call it (wacking as i like to call it  ) plus some ofsetting with a couple of nuts etc: 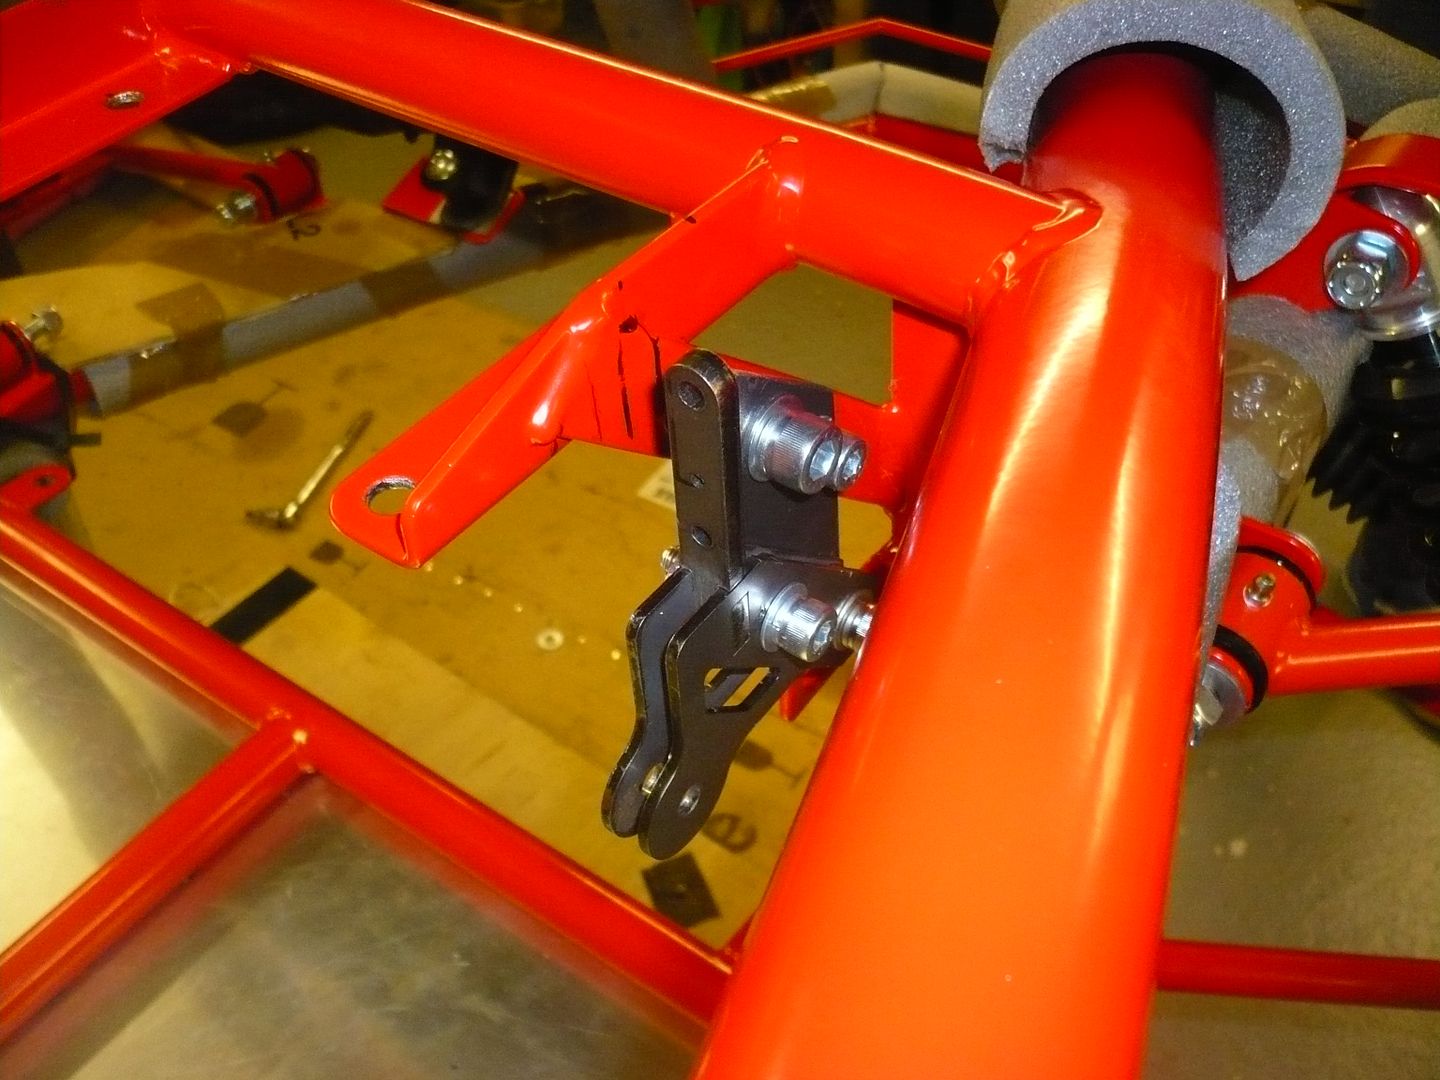 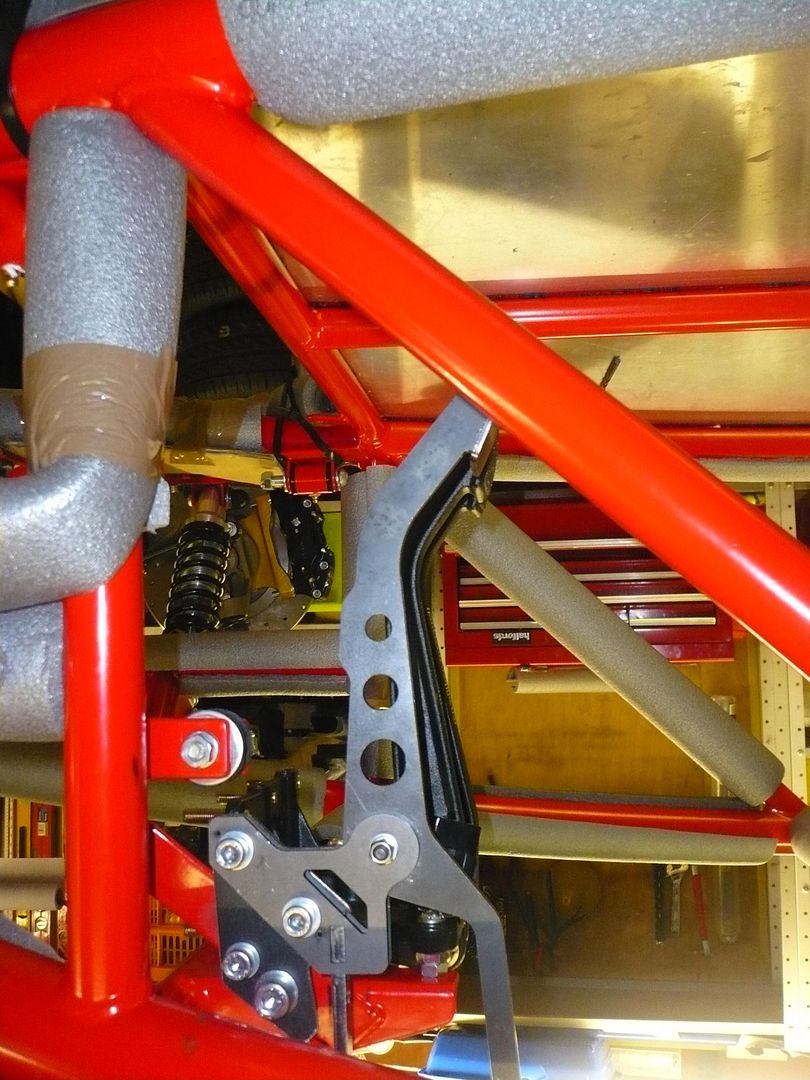 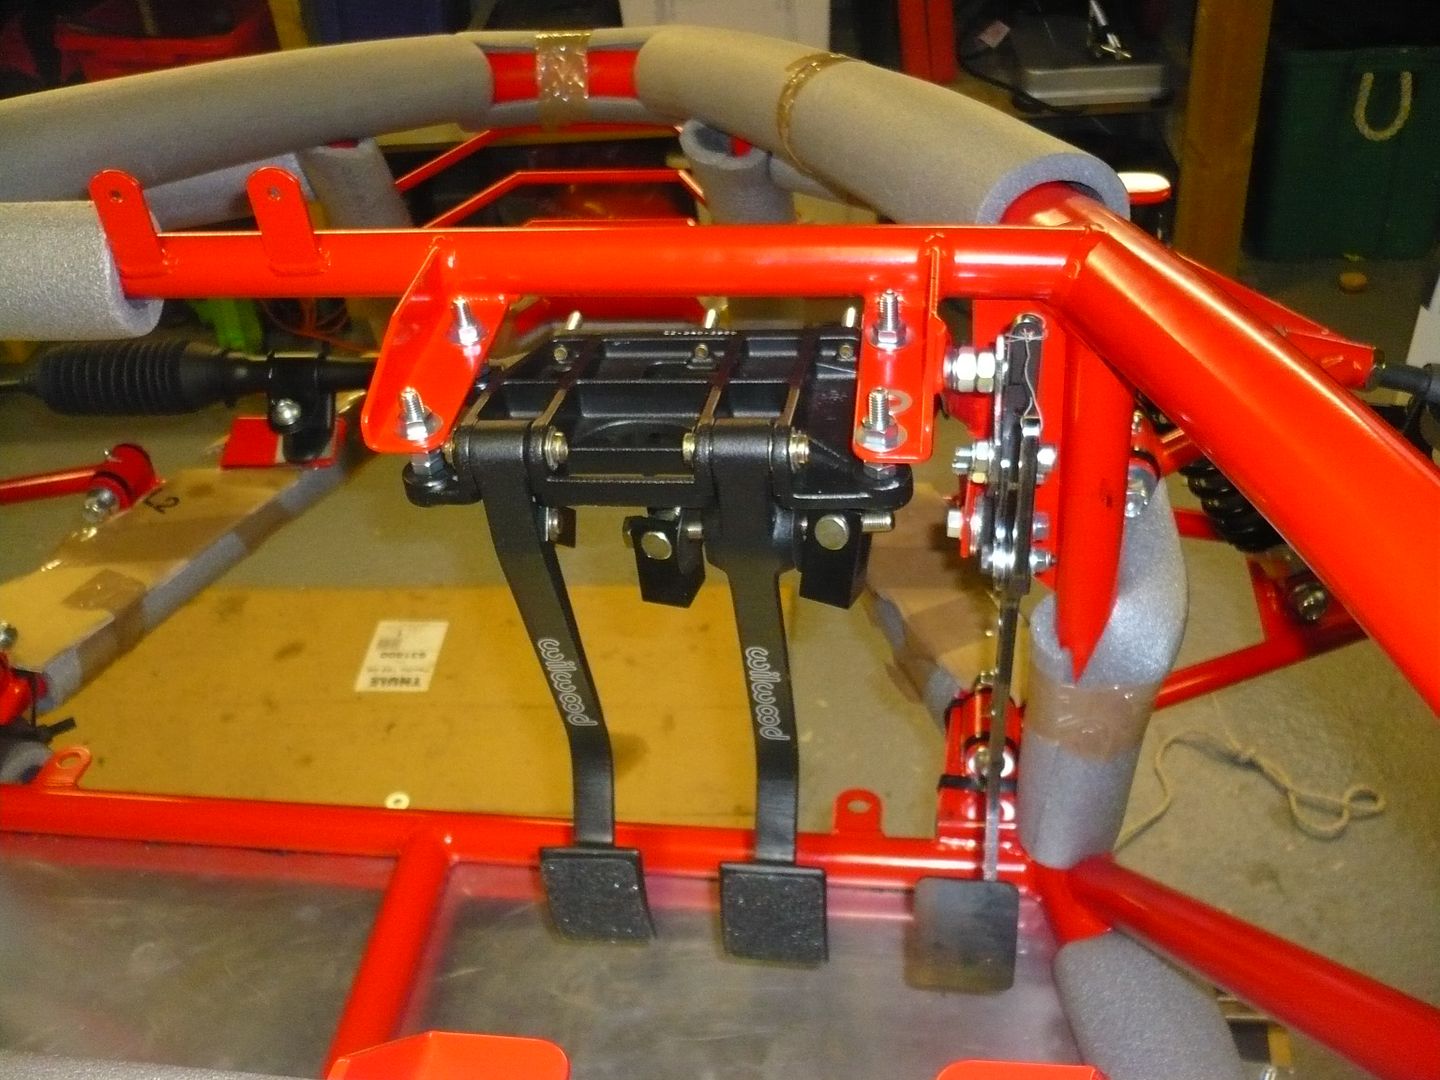 finally finished, doesn't seem alot for 2 weeks work but there was a lot of faffing around to get the accelerator bracket to fit and line up nice, need to find someone to weld the pedal on now. |
|


 . Are you saying that a few millimetres of discrepancy in the space either side of the disc is taken up by the pistons and some pad bedding in ?


 ) plus some ofsetting with a couple of nuts etc: