|
|
Post by seakiwi on Apr 30, 2012 3:16:11 GMT
Next job was to sperate the engine from the front frame. Hard to believe that is only held on by two 14mm studs. Soon had the engine hoist ready to go. 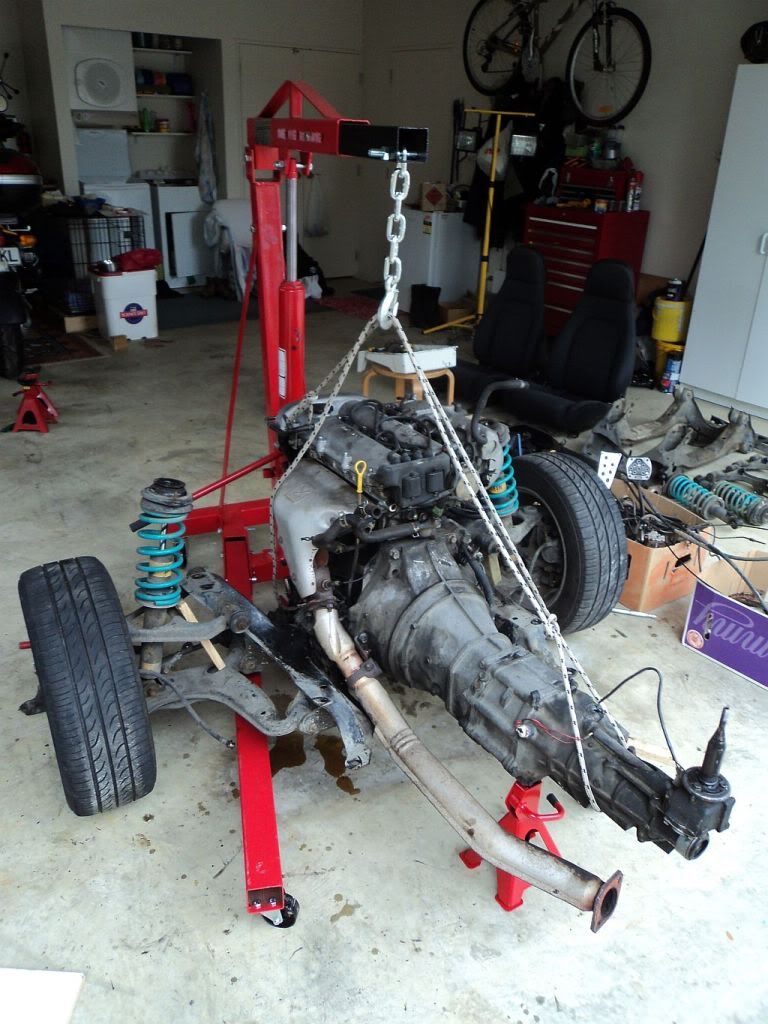 And a couple of minutes later the engine was hanging free. It took longer to make a nice block stand for it to rest on. 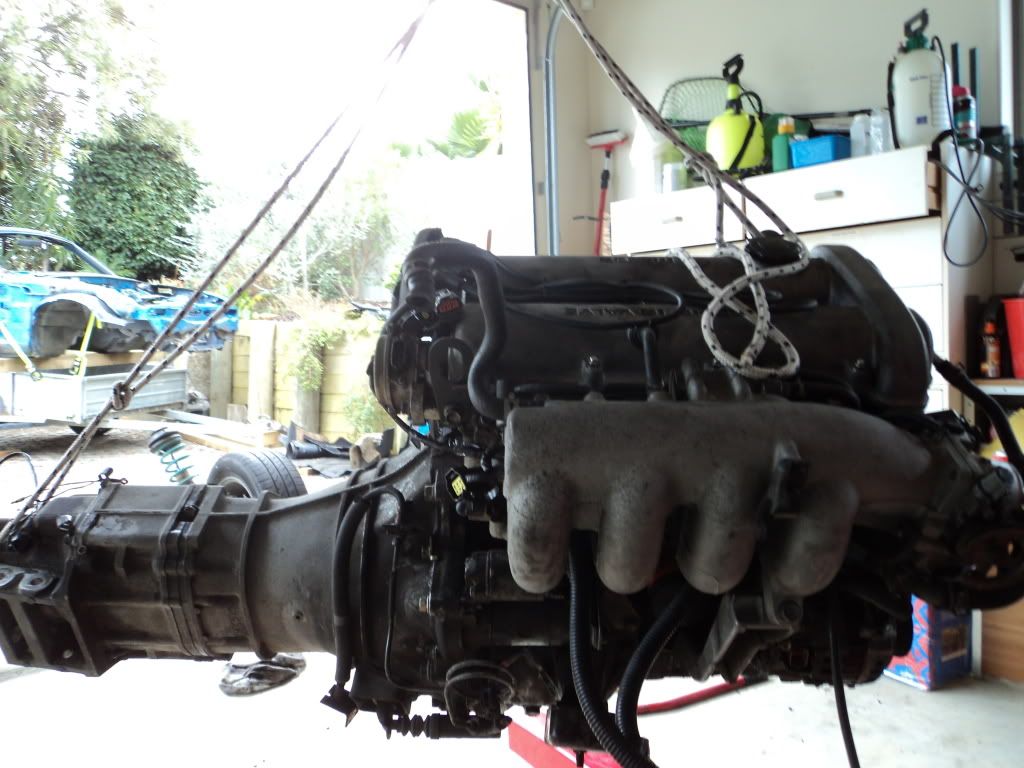 Now I can start pulling down the front end. I suspect I will have the same issue with the lower arm bolts. 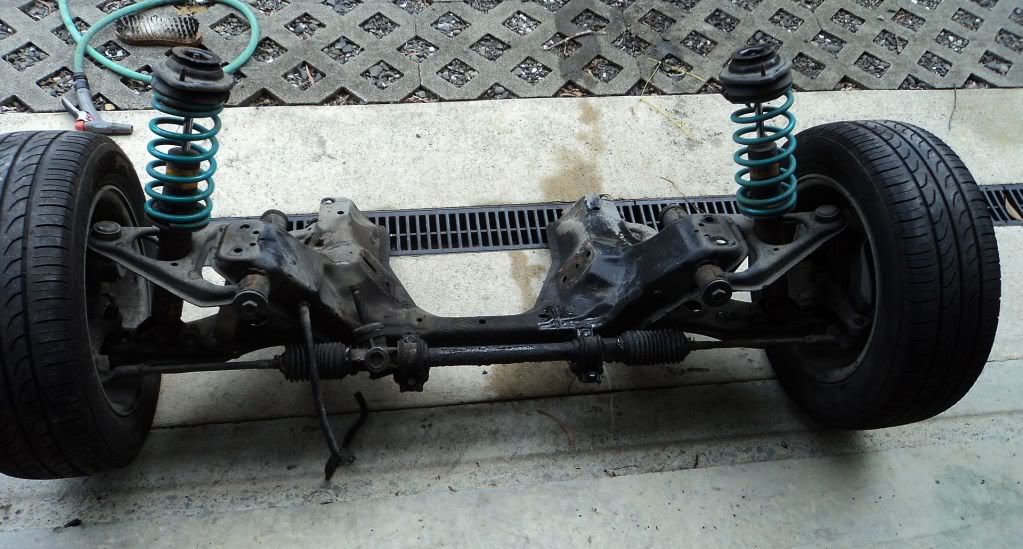 Given its now after 3:00 pm NZ time I think that may be it for today. Oh except for starting to sort out whats in what box, at present there is a lot of bits looking for attention. 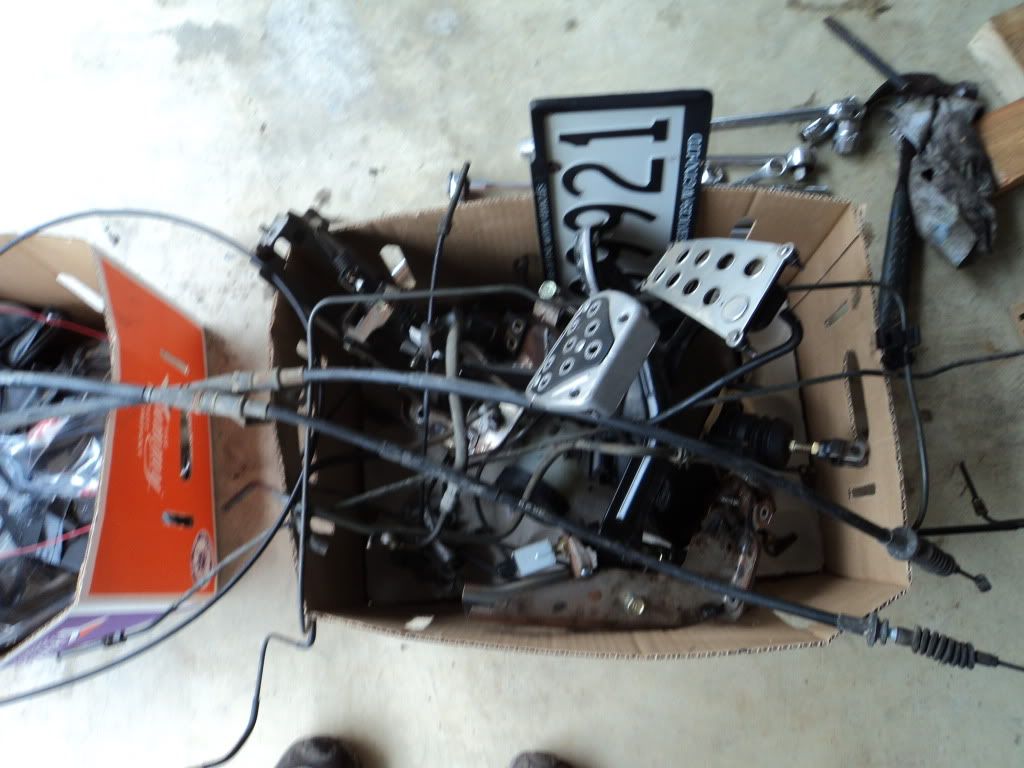 And even more loom to sort out 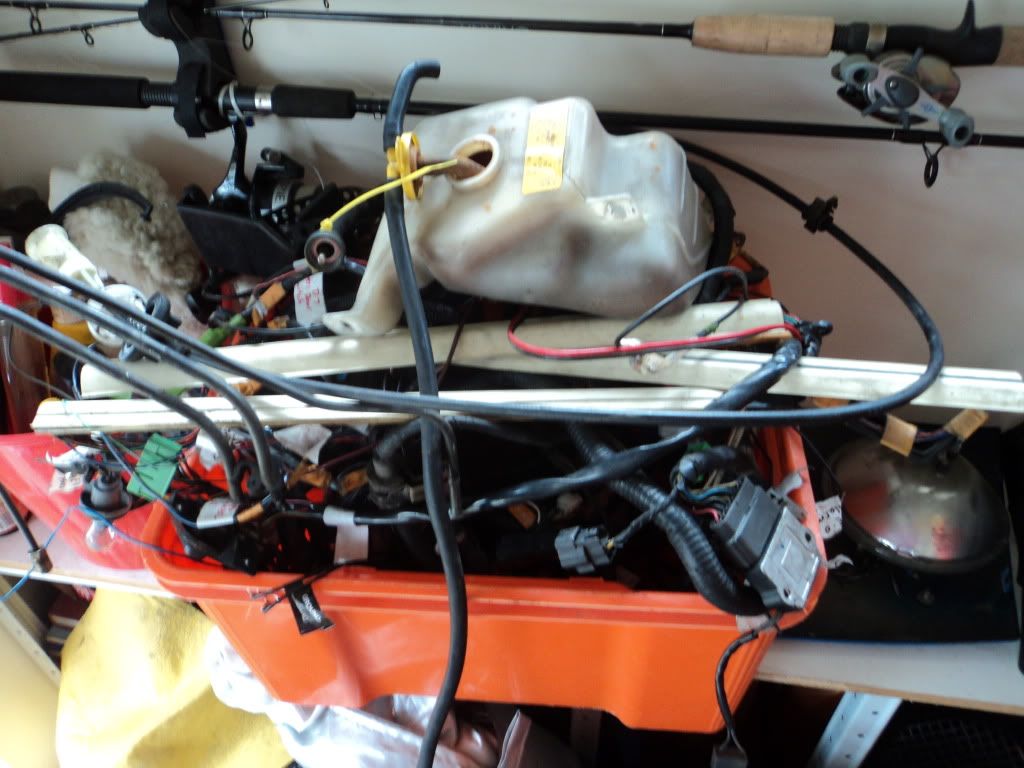 |
|
|
|
Post by gwnwar on Apr 30, 2012 3:45:54 GMT
Looks like it's time to load up the front and rear subframes and eng/trans and head for the do it yourself pressure car wash for a good cleaning with a greace cutting spray and a couple of brushs.. Your frames look good not much rust..
|
|
|
|
Post by seakiwi on Apr 30, 2012 8:09:42 GMT
pretty lucky in NZ, not much rust at all under the car. Even the brake / fuel lines still have good coating on them
|
|
|
|
Post by seakiwi on May 5, 2012 20:30:53 GMT
After getting down to the lowest level I could with my tools I still had a couple of problem areas. The long bolts in the lower rears were firmly stuck. Also I now had a choice of buying a press and spring compressor or talking to my local garage. 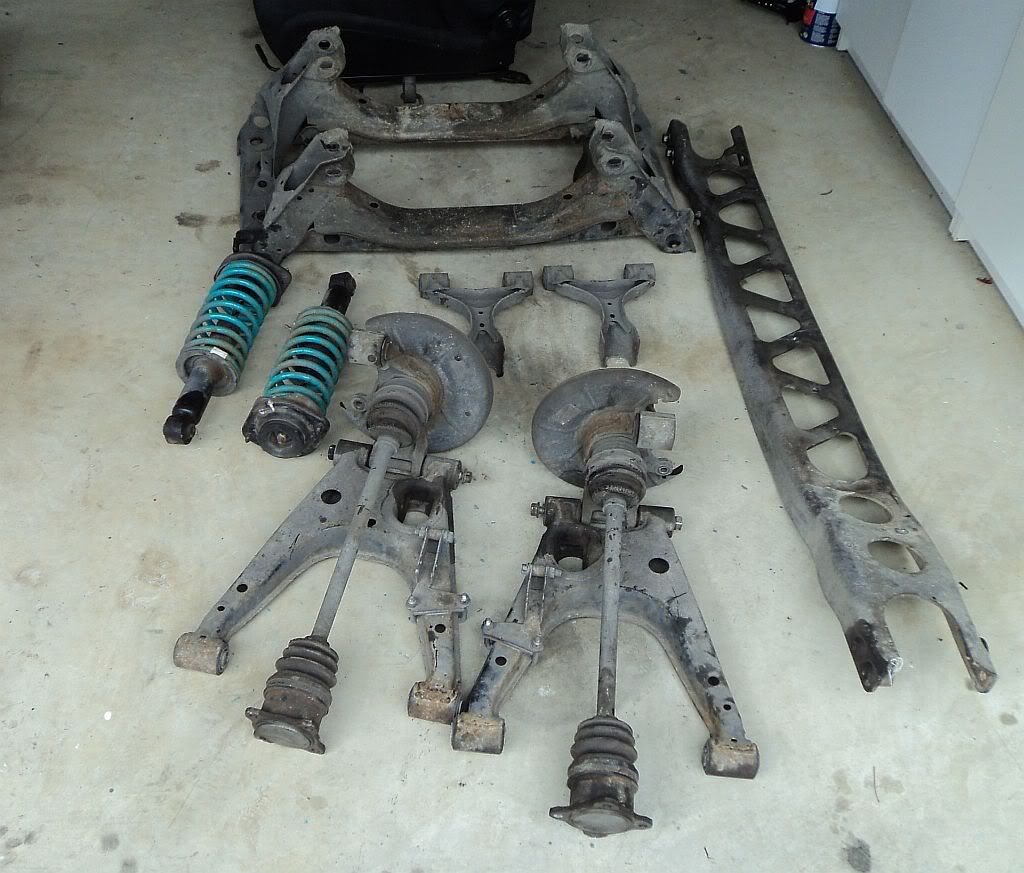 So I elected to spend a bit (about a third of the tool costs) to get him to have the fun of bushing removal. He happens to be about 6' 4" and build like a solid rugby prop so that and a large hammer and drift had the lot out in less than 2 hours. Also managed (with a bit of colourful language according to the office lady) to free the long bolts. Here the load is on my pickup ready to go to be "gently removed", yeah right! He pulled the springs off as well for me. The car has Bilstens on the front so I am hoping to reuse them. 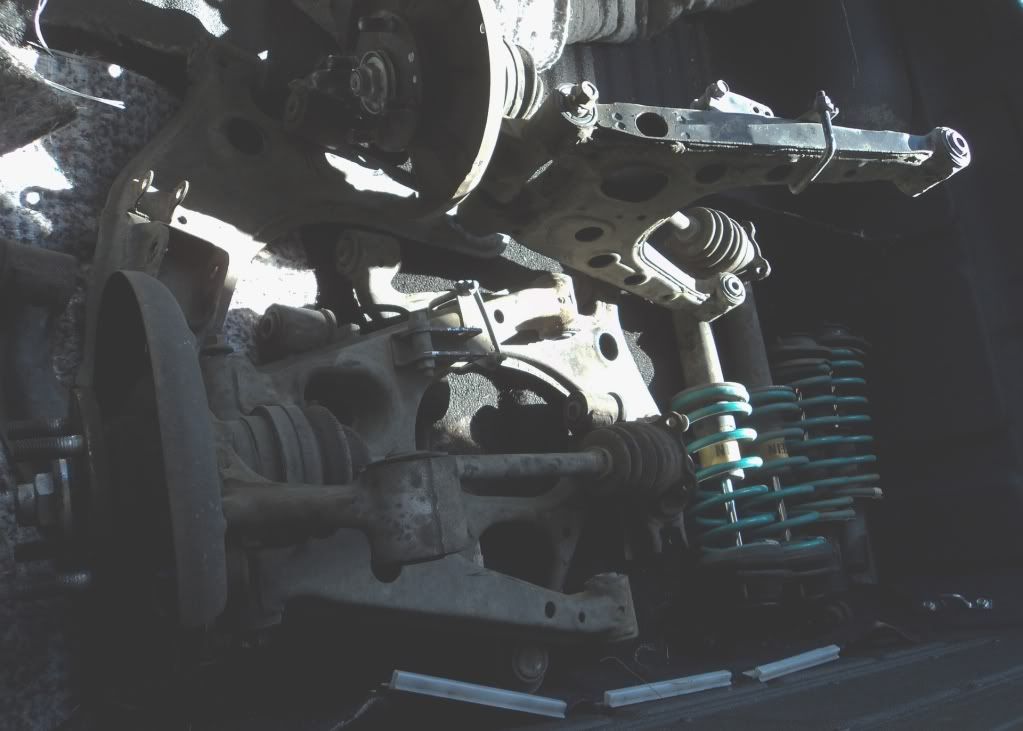 My next job was to get rid of all the oil and crud over the engine and frames. The car has a leak on the front seal and I'd tried decreaser and a wire brush, it hardly made a dent. So the local hire place did me a deal on thier hot water pressure washer. They dropped it into the back on my truck and I craned it up to 100C and it made short work of removing all that muck. 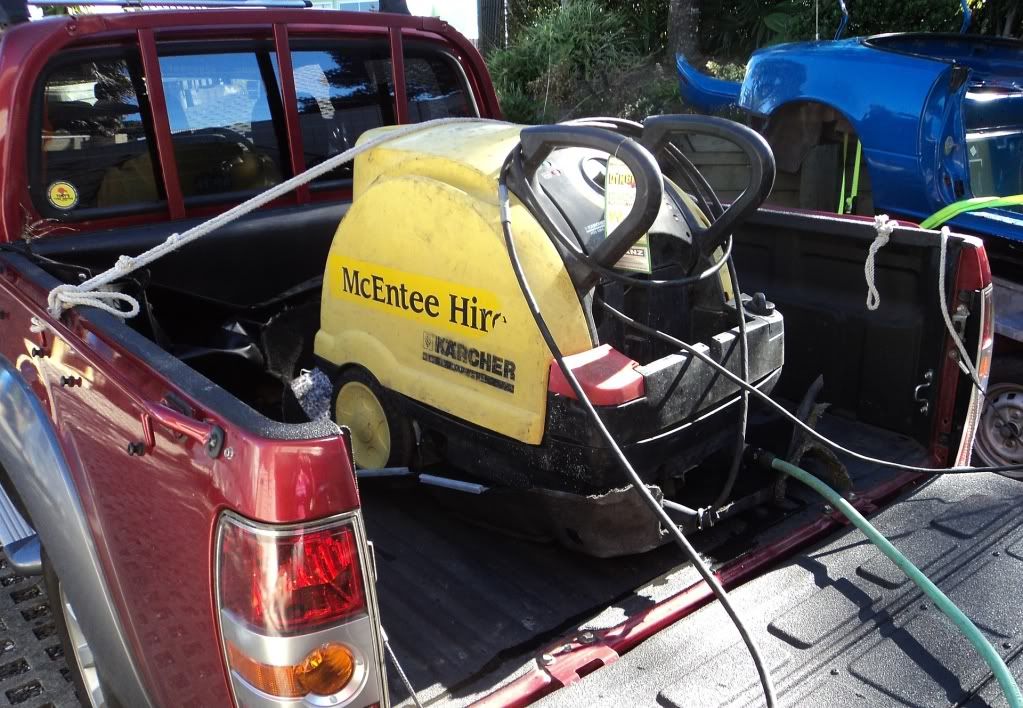 Came up looking like new. 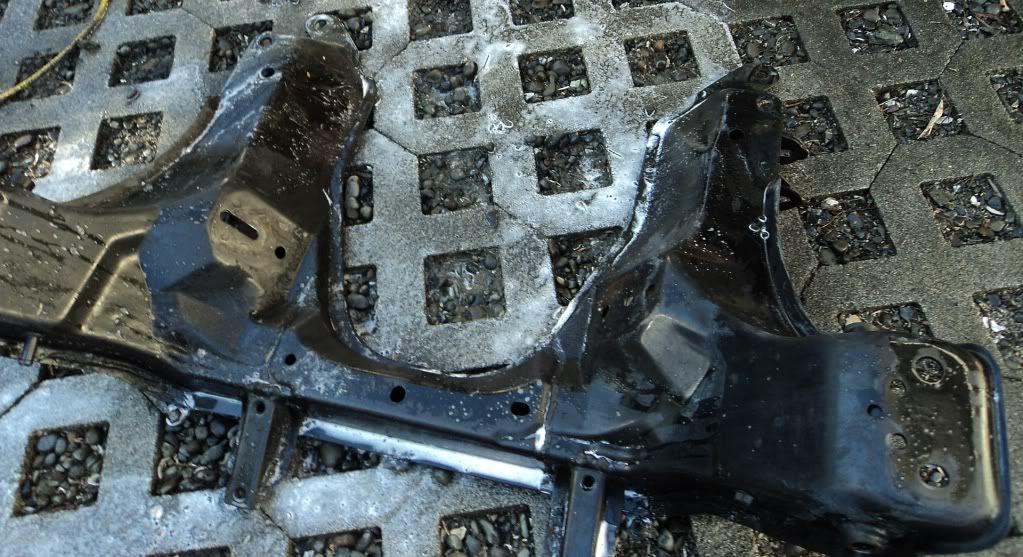 I even got some brownie points with my wife by cleaning all the oil off the drive and path. So next trip was to the powder coating. I now have to wait for all the bits to start being ready. So far for the NZ viewers I have managed to sell off close to $2000 NZ worth of bits from the donor. Its been a surprise to me what people want so the lesson I have learnt was 1, dont sell to cheap (I made a msitake with a couple of parts that I let go way to low) and 2, it may look like junk but someone may want it. Example was the plastic radio trim, I had two people fighting over it. Now off to hunt down master brake cylinder overhaul kit, upper ball joint boots and assorted seals for brakes. all suggestions of good suppliers welcome. |
|
|
|
Post by bauer on May 6, 2012 0:20:24 GMT
hey mate. good stuff so far as for suppliers of bits, have you seen these www.mx5mart.co.nz/never bought from them so have no solid recommendation www.mx5mania.com.au/These guys are in Sydney and easy to deal with but can be pricey. These would be one of the main "go to" guys for a lot of MX5 drivers in Australia. |
|
|
|
Post by seakiwi on May 7, 2012 9:53:01 GMT
Thanks, I will be talking to mx5mart .. they bought my car shell, again some stuff pricey compared to USA
|
|
|
|
Post by seakiwi on May 19, 2012 3:03:18 GMT
 Progress. After almost two weeks with little action except cleaning up parts I finally have the first bits back from the powder coating. 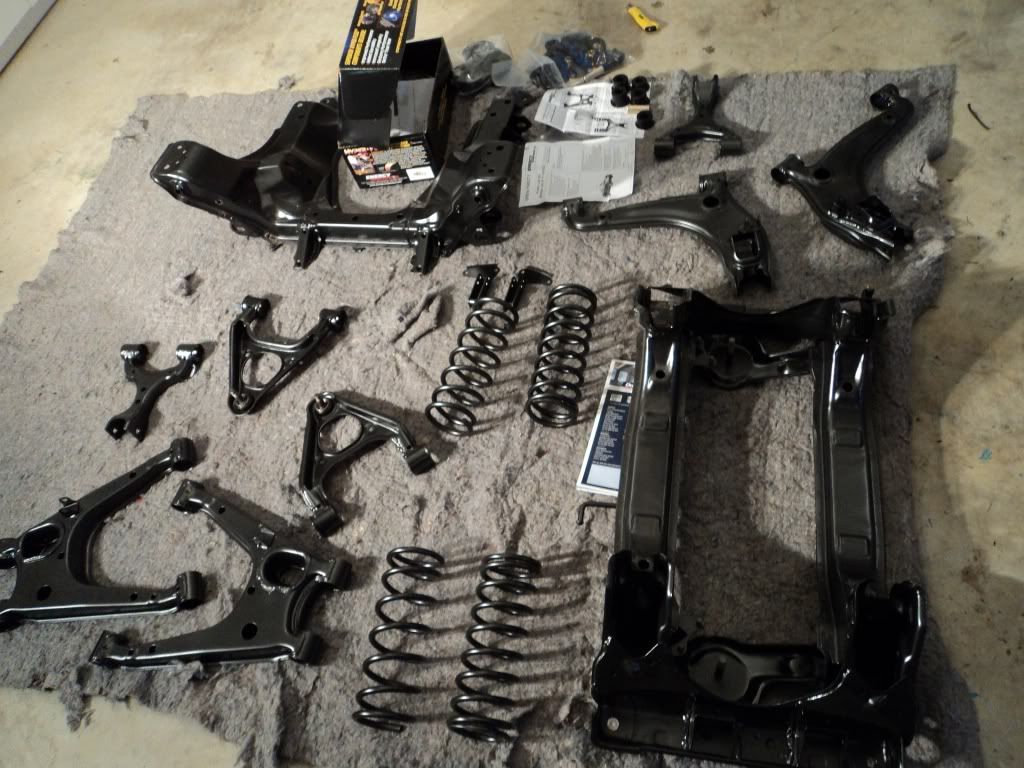 I had already ordered the nedd bushing so next step was to sort them out for install. I set up a temporary work table on my workmate and number a grid. 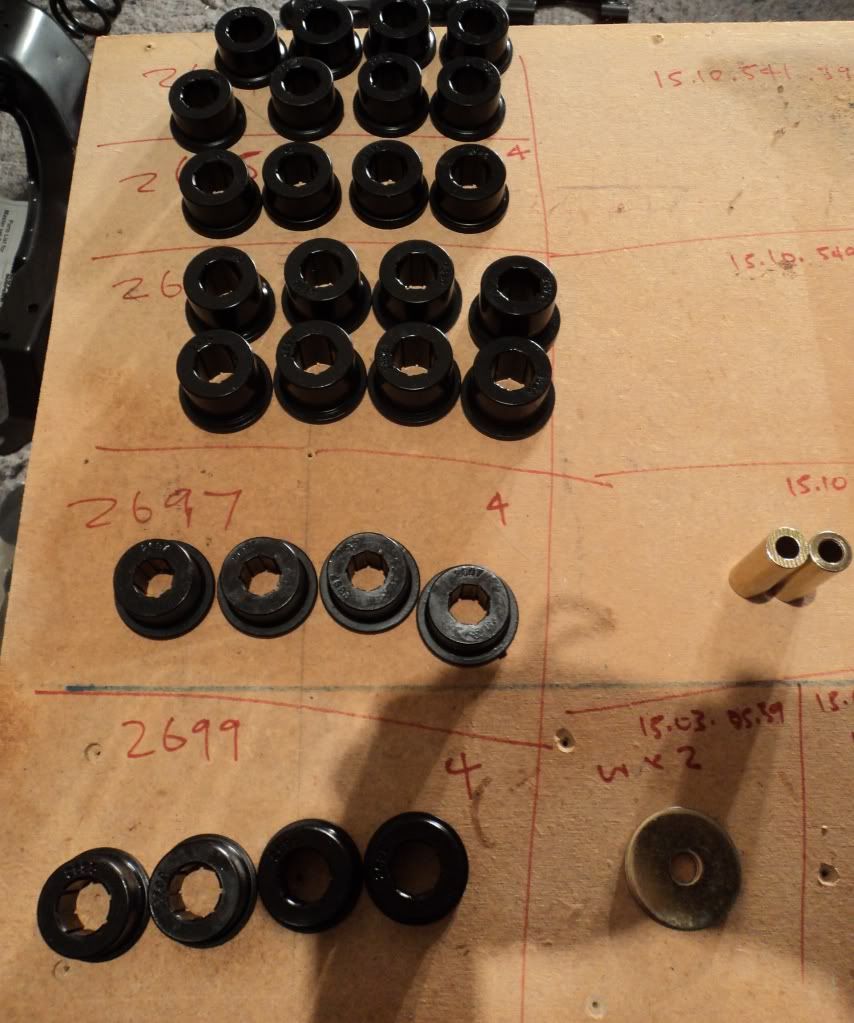 Take time to measure the bushing, they are pretty similar. Glad my capilers have both inch and metric as of course all the stuff from the USA was in decimal inches. 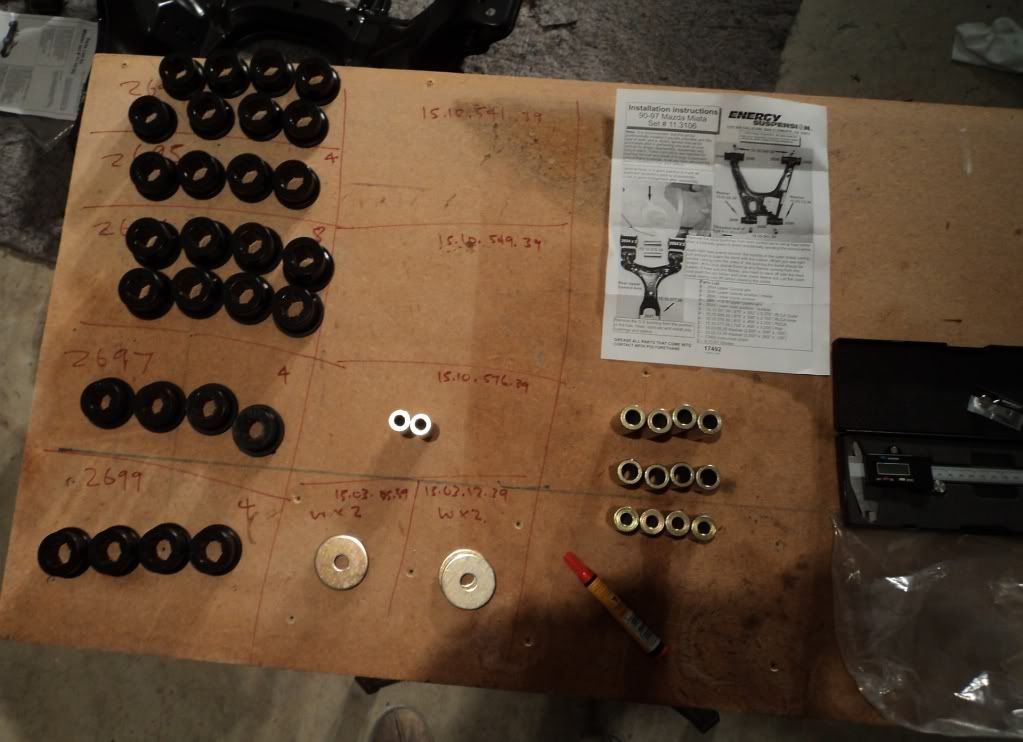 From there it was pretty stright forward. I used my large machist vice to press into the arms (ok I held the parts, my wife did the hard stuff). Finished product looks brand new. 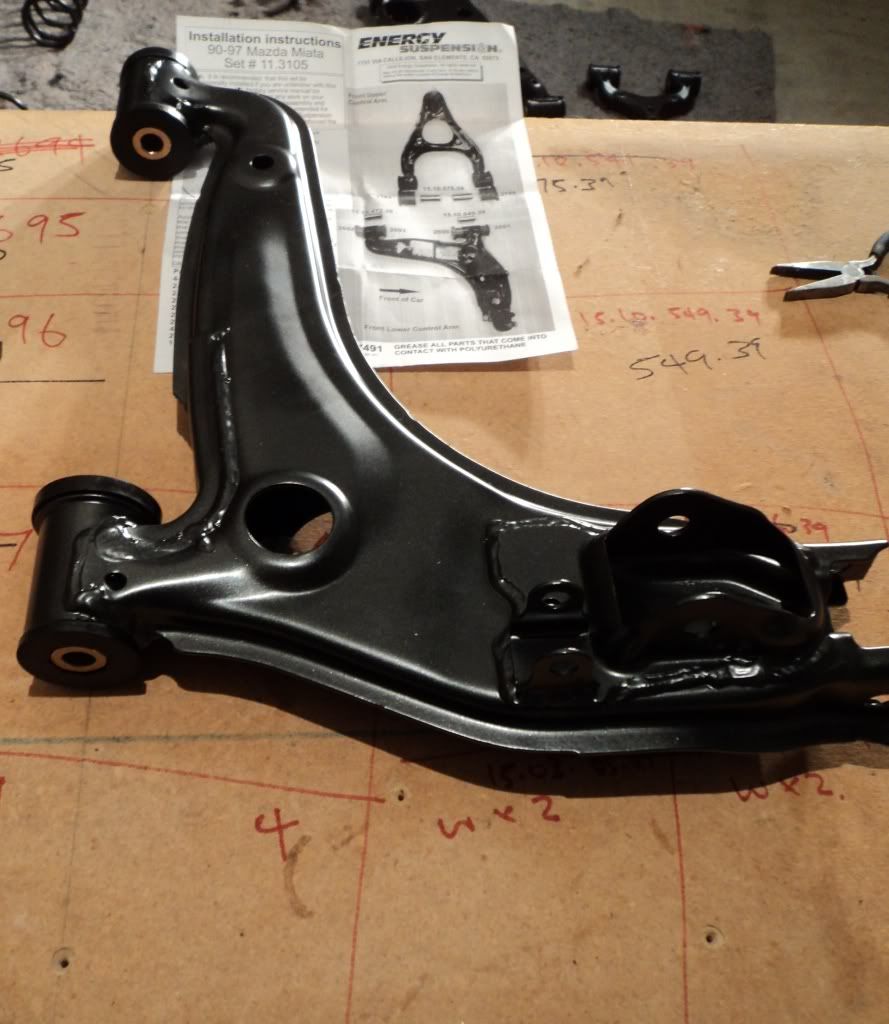 And this is what is now ready to put together. Hopefully the frame is here in a week or so, before then I will rebuild the sub frames and tackle the water pump and cam belt. For NZ readers to date I bought the donor for $2800 and have sold $2300 worth of parts (less TM fees). Bushing cost $420 landed and second set of bits (brake seal kits and the like) are on the way. Cam and water pump kit with seals was $159. I'll post a better tally on costs soon. Here is the whole donor ready to reassemble 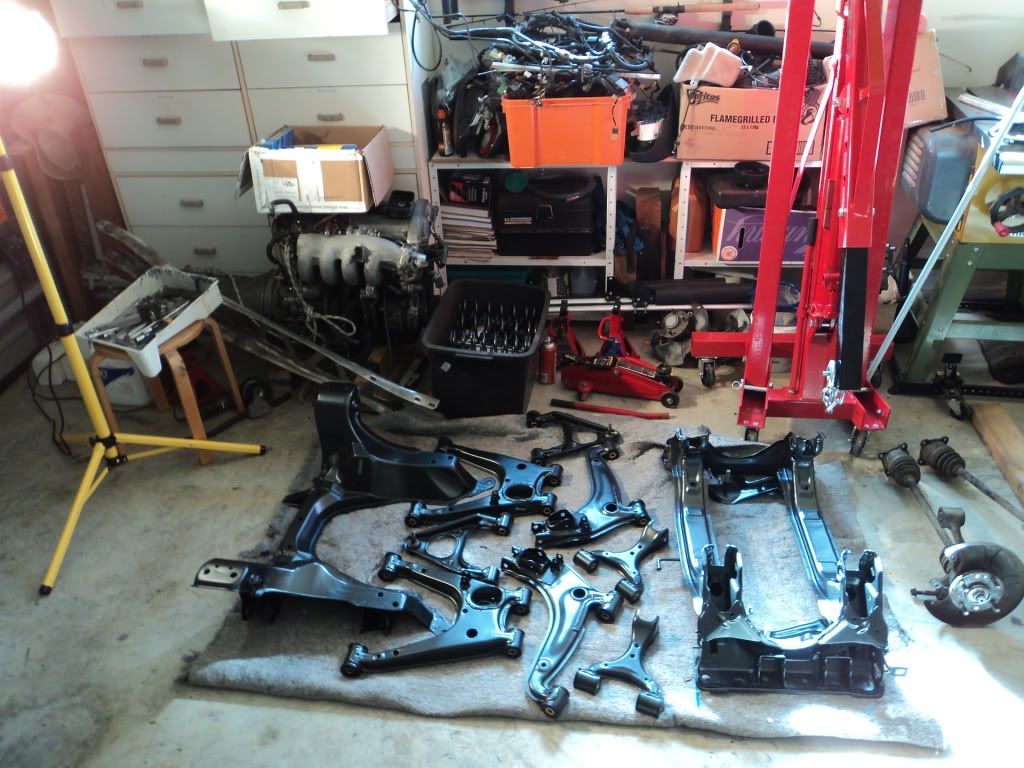
|
|
|
|
Post by seakiwi on May 19, 2012 3:07:57 GMT
By the way colour of the powder coating is called "Coal dust" and is in a stain finish. Little less black with tiny mica fleck.
|
|
|
|
Post by seakiwi on Jun 3, 2012 5:18:59 GMT
Ok its been two weeks but I have been busy. Both front and back have been re-assembled, hubs celaned off and painted. Apart from managing to catch my left thumb with the wire brush on the grinder in the process  its been a straight forward job. rear frame attached to PDF, diff installed: 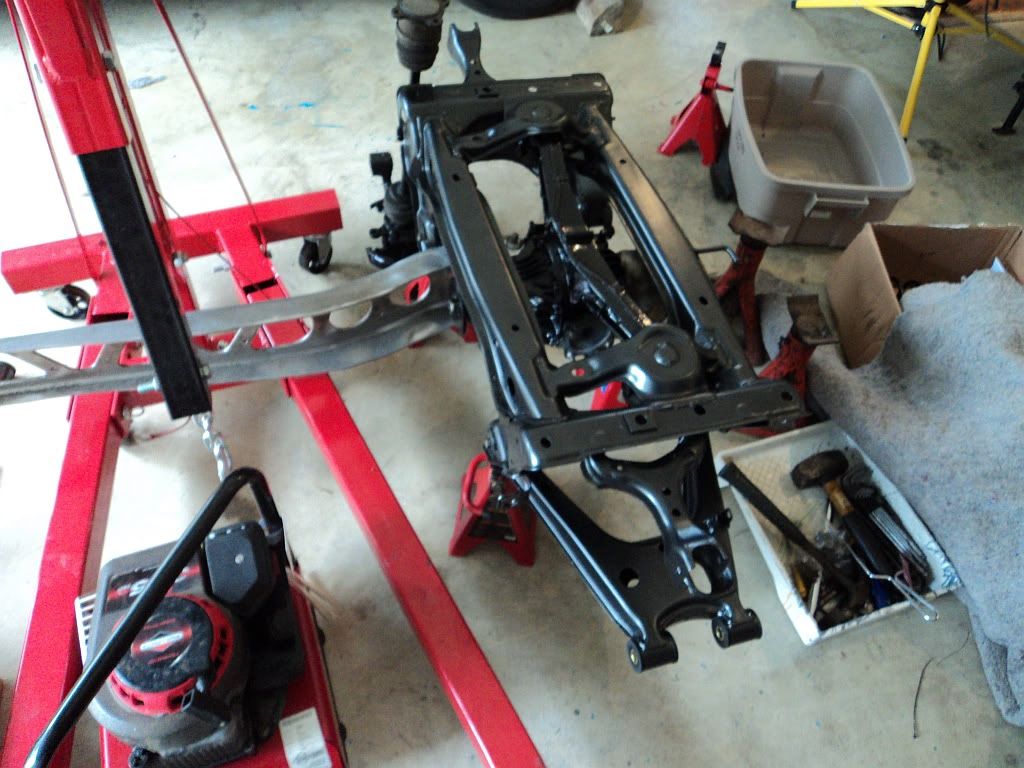 Next I attacked the engine. First job was to read up on beast (read easy) way to do cambelt. I elected to lock the cams using the hex flats and clamping the wrench and lock pliers together. This ensured that the cams could not move. Note my flash TDC indictor with the green handle. 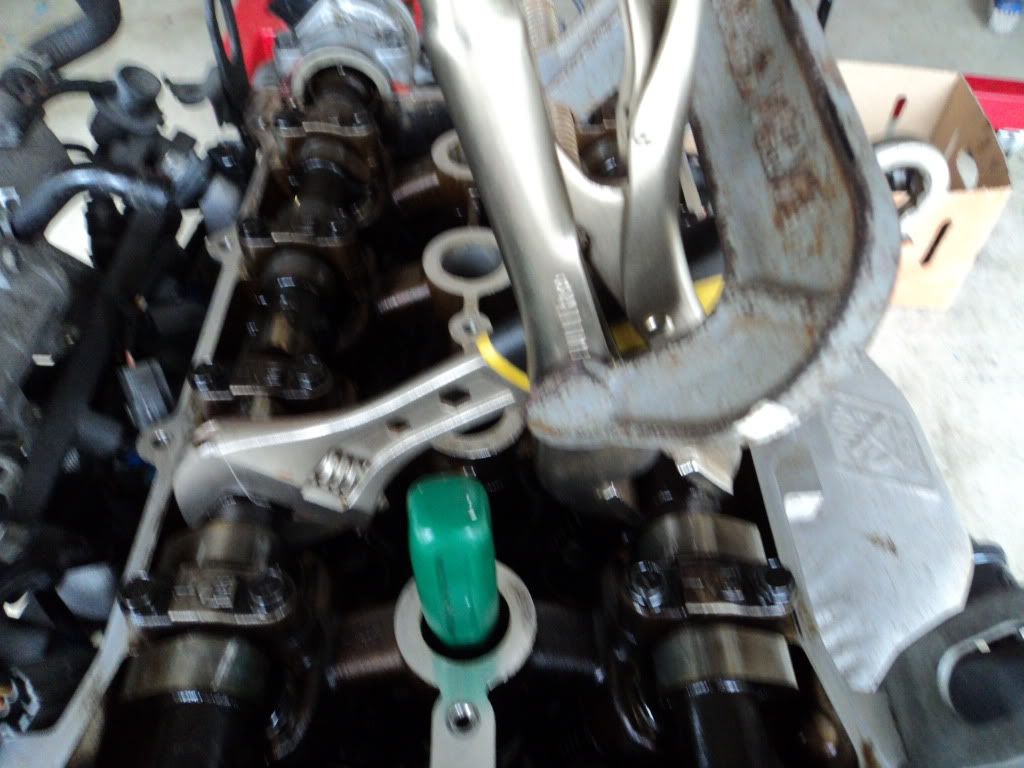 I replaced thje water pump, took two attempts as the first one had a flange on the left hand side and didnt fit so back to the friendly parts man. Did the lider and tension rollars and new cam belt. Checked the seals and they look pretty good so left them be for now. At some point I want to do a complete rebuild but for now I just want to crack on and get that frame. 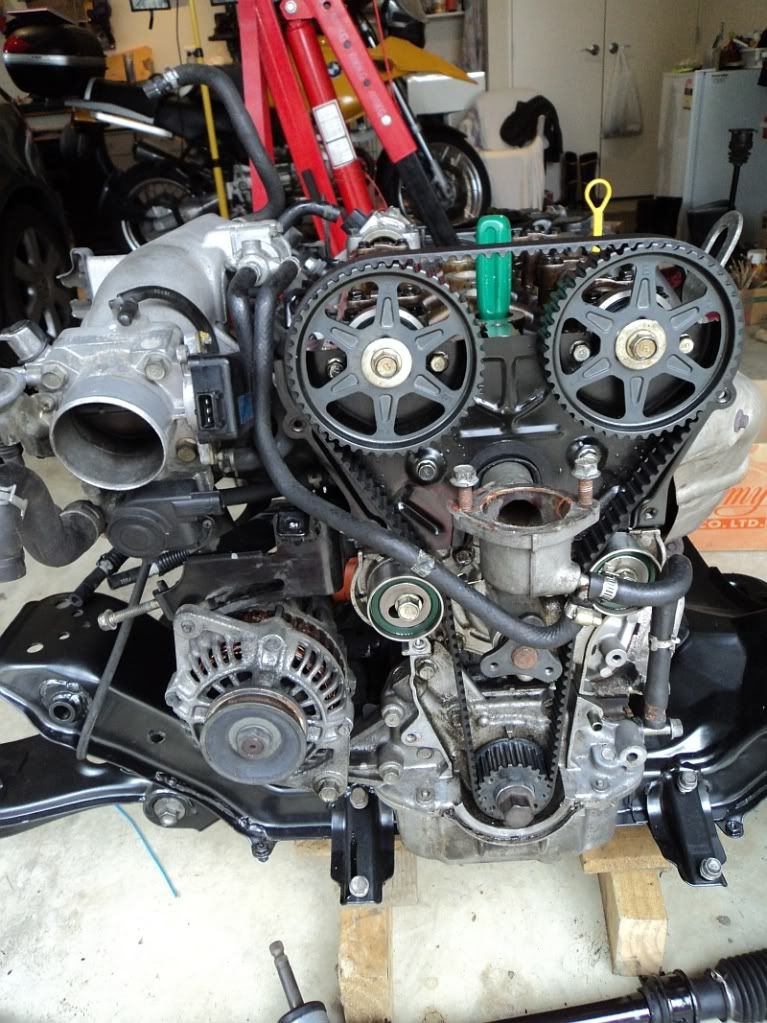 |
|
|
|
Post by seakiwi on Jun 9, 2012 5:14:32 GMT
Well an exciting few days. After what felt like a long wait things started to happen pretty fast. Tom dropped of the kit parts including the bonnett, nose and guards along with what felt like two christmas boxes of bits including the lights, morrors, bolts and all kinds of other bits to complete the car. Tom is making it easy for kiwi's as he has sourced all the extra bits and includes them in the NZ price. See www.exocet.co.nz for more details if you live down here. My bright yellow bubble wrapped bots: 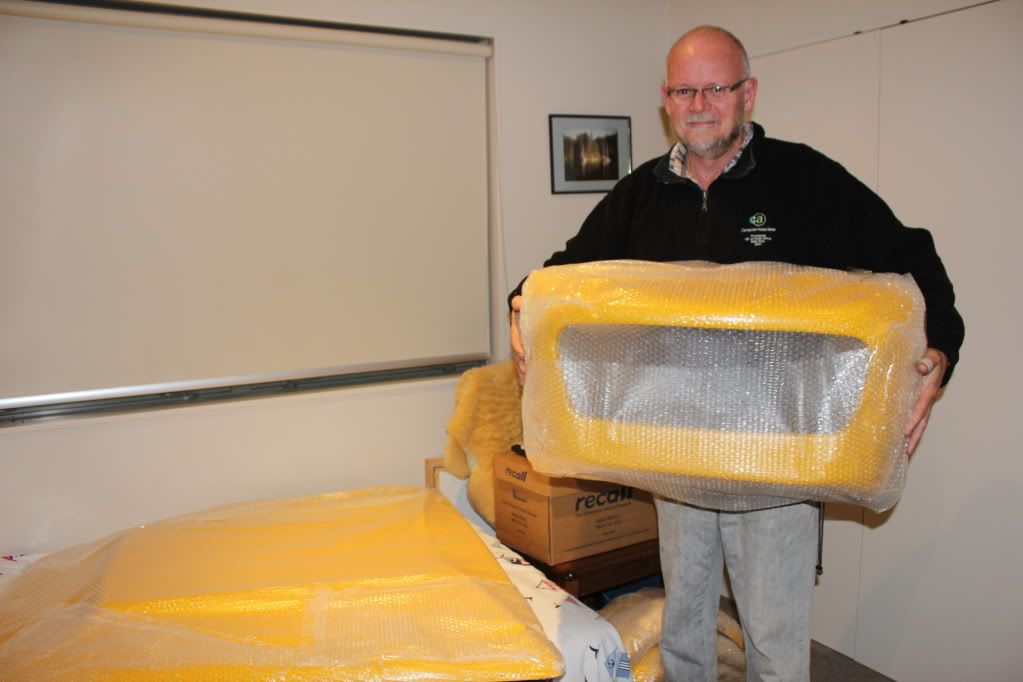 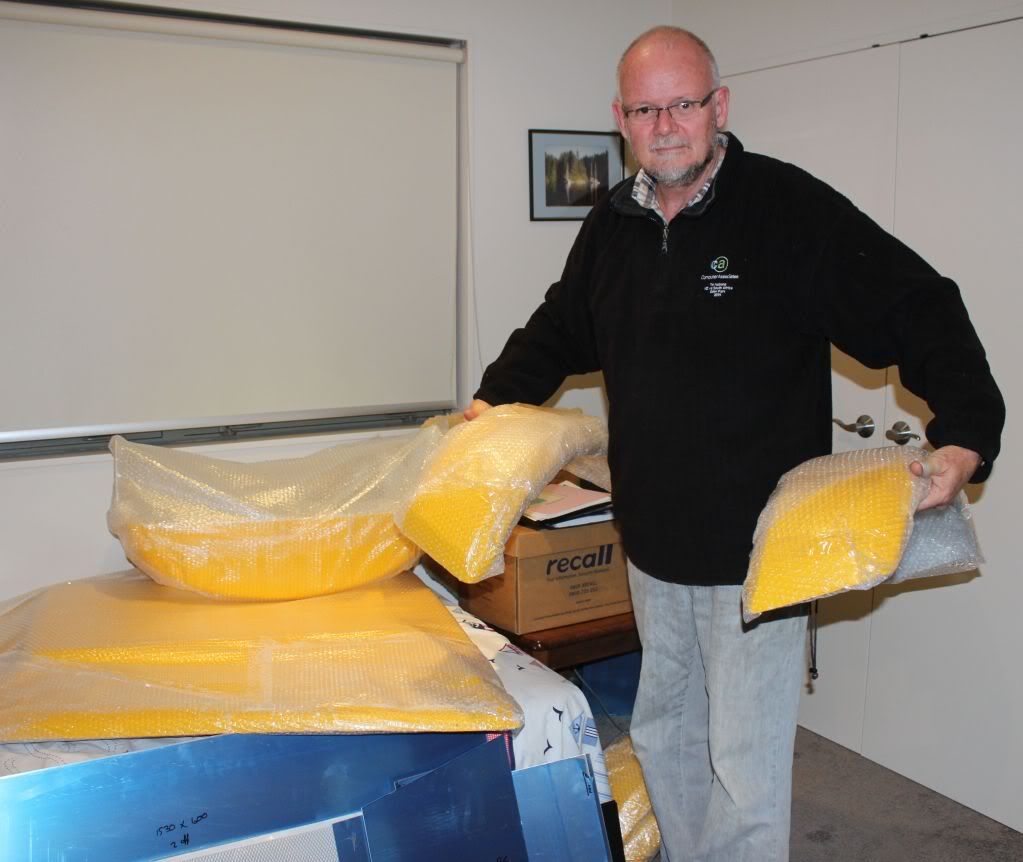 But still waiting on the frame ... but its almost here!
|
|
|
|
Post by seakiwi on Jun 9, 2012 5:15:46 GMT
The next day I got the news I was waiting for, the frame was at the powdercoaters. Tom had arranged for it to be dropped off and all I had to do was wait till the end of the week
|
|
|
|
Post by seakiwi on Jun 9, 2012 5:24:01 GMT
Saturaday is THE big day. It starts with getting the frame. javascript:add("%20:)") 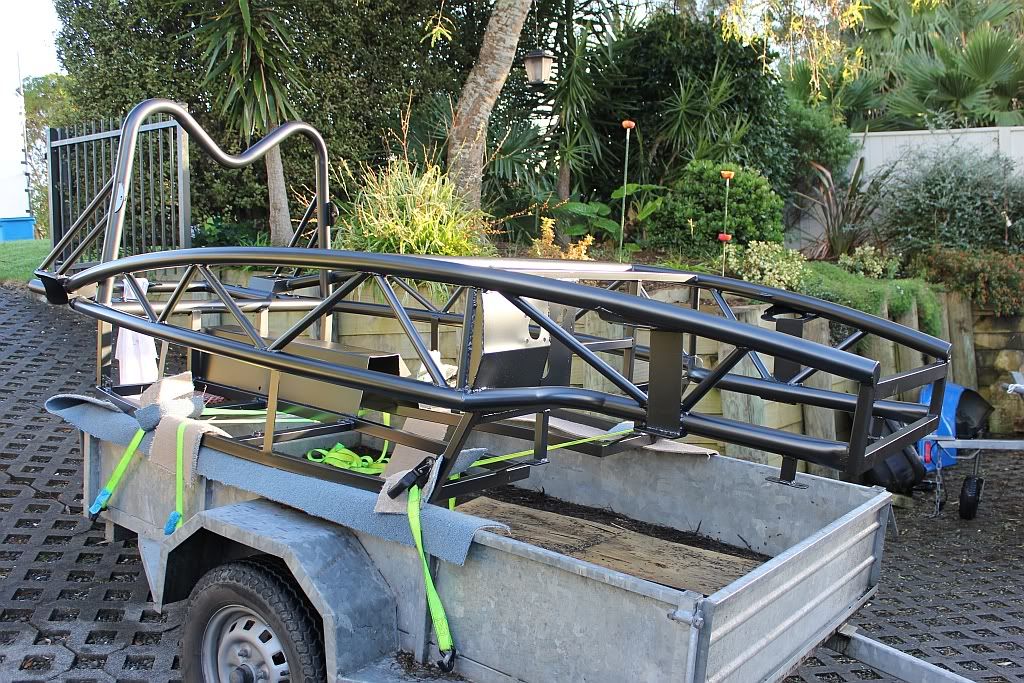 Its looking pretty smart in is "coal dust" finish. So off the trailer and into the garage (with a bit of a lift from my helpful neighbour). We wrapped it in carpet and rolled it over so I could measure the floor panels. 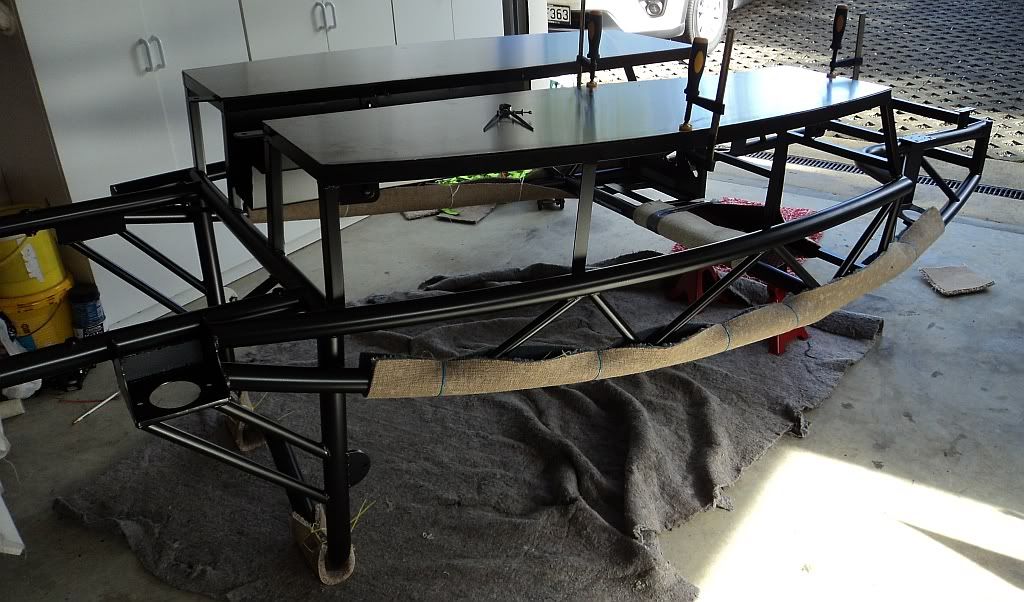 A trick once they are cut is to use a pair of dividers set to 1/2 frame width to neatly scribe a line around the panel. Then I set them to 100mm and laid out the hole markings. Only took about 10 minutes. I applied the PU sealer and after clamping to start about 40 holes later it was starting to look like this:  My heavy duty rivet setter made short work of putting them in, it only took me about 20 minutes a side from start to finish and it felt like half that time was cleaning up the swarf to make sure it didnt get into the holes. 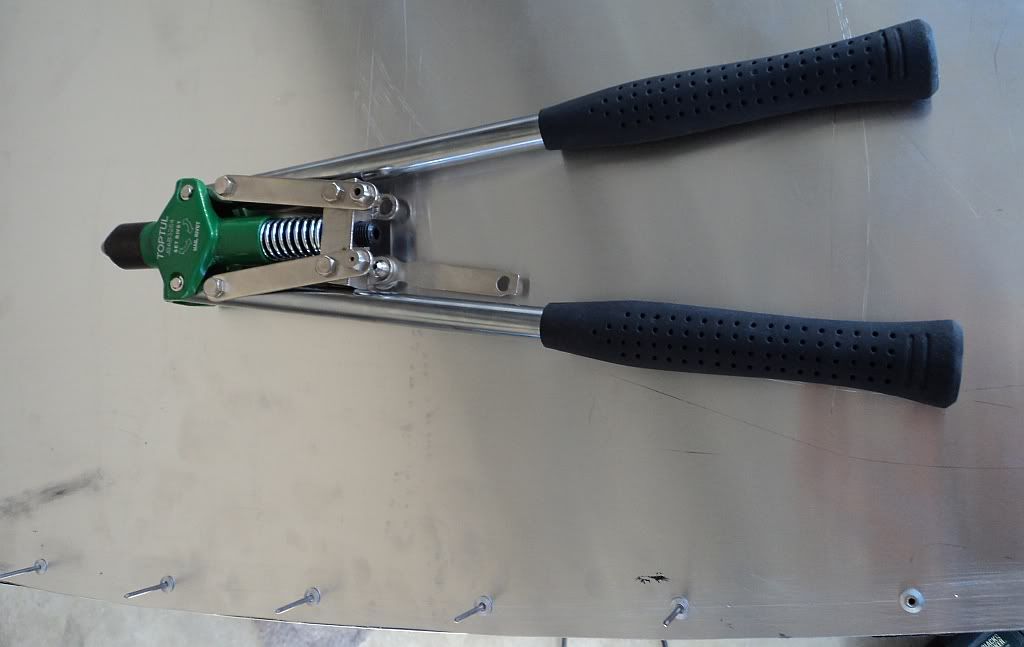 As I was by myself it took a bit of figuring to roll it back without any problems but all was done safely. |
|
|
|
Post by seakiwi on Jun 9, 2012 5:31:59 GMT
I was glad my wife was out, I needed the whole garage!. The sub fames got rolled out a bit to make room to get around it. I then set up the engine hoist to take the load on the frame. 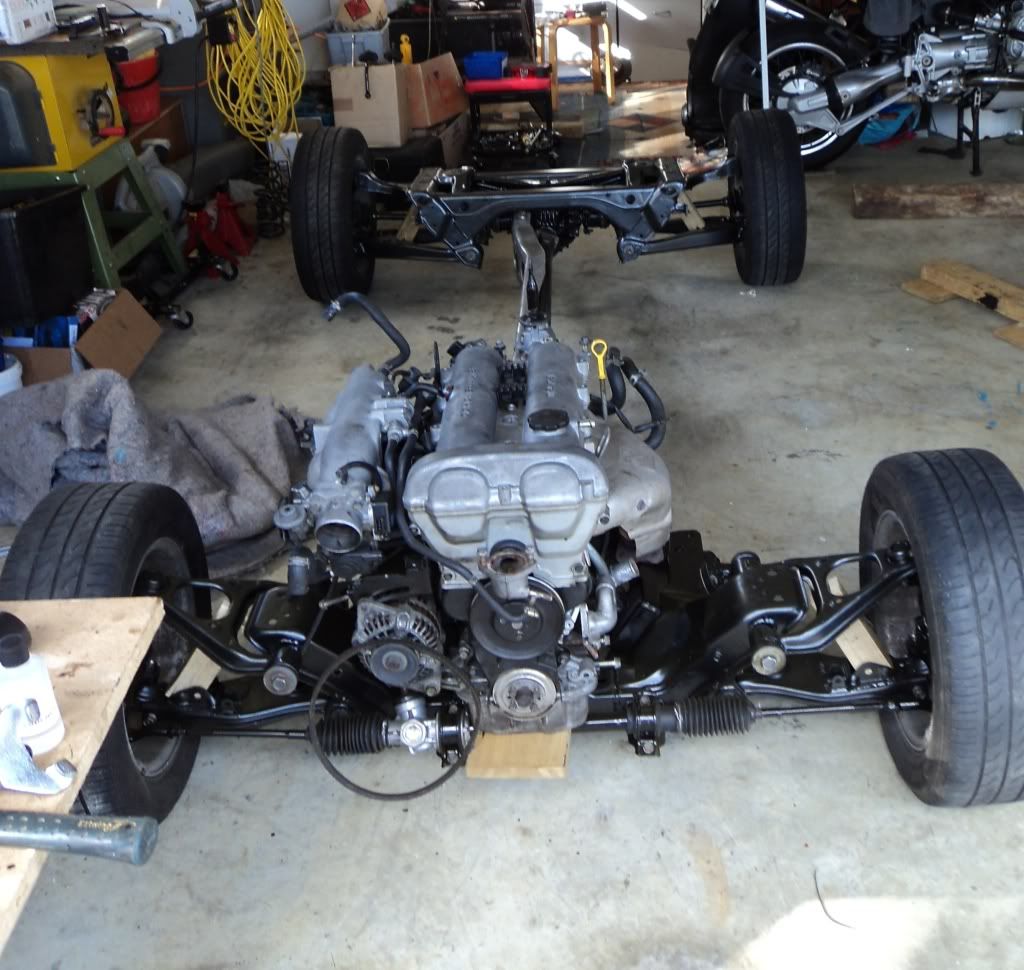 Spent a bit of time jacking and setting the stands to give me rooom to roll the hoist under the frame. Unfortunatly I didn't think about the same thing on the rest of it so when I did roll it over it wouldn't fit! (no photos of that part .. 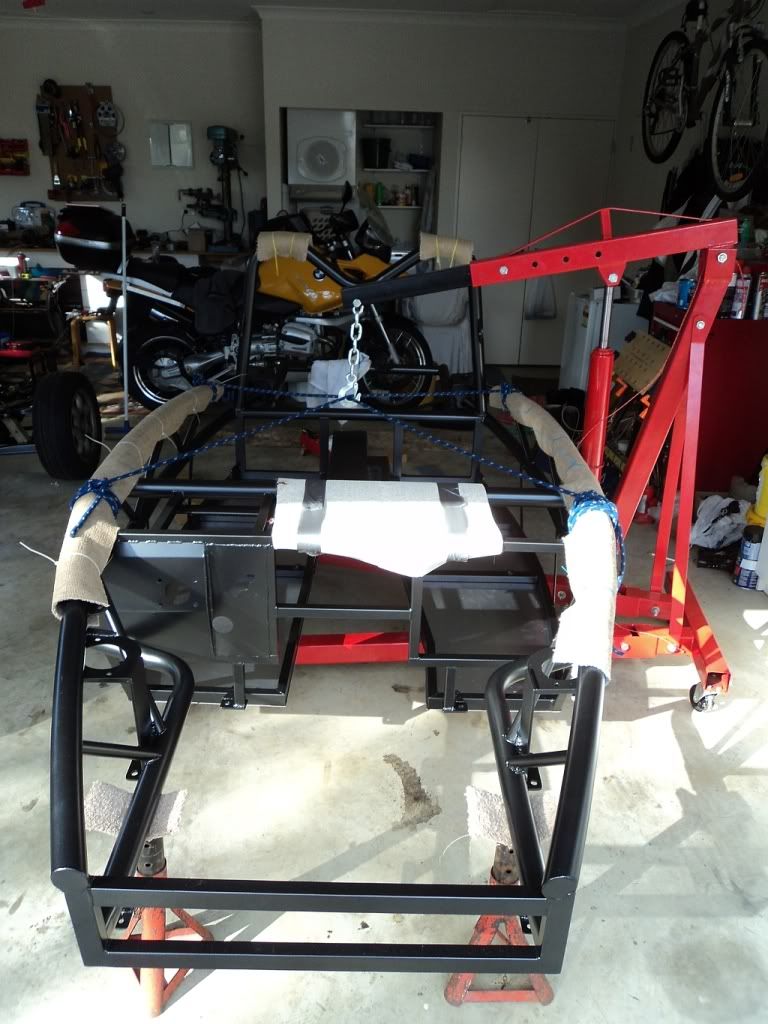 So jack up the back of the car section, set more axle stands (thank goodness for mates, I have had six in use at one point today) and back with the hoist. 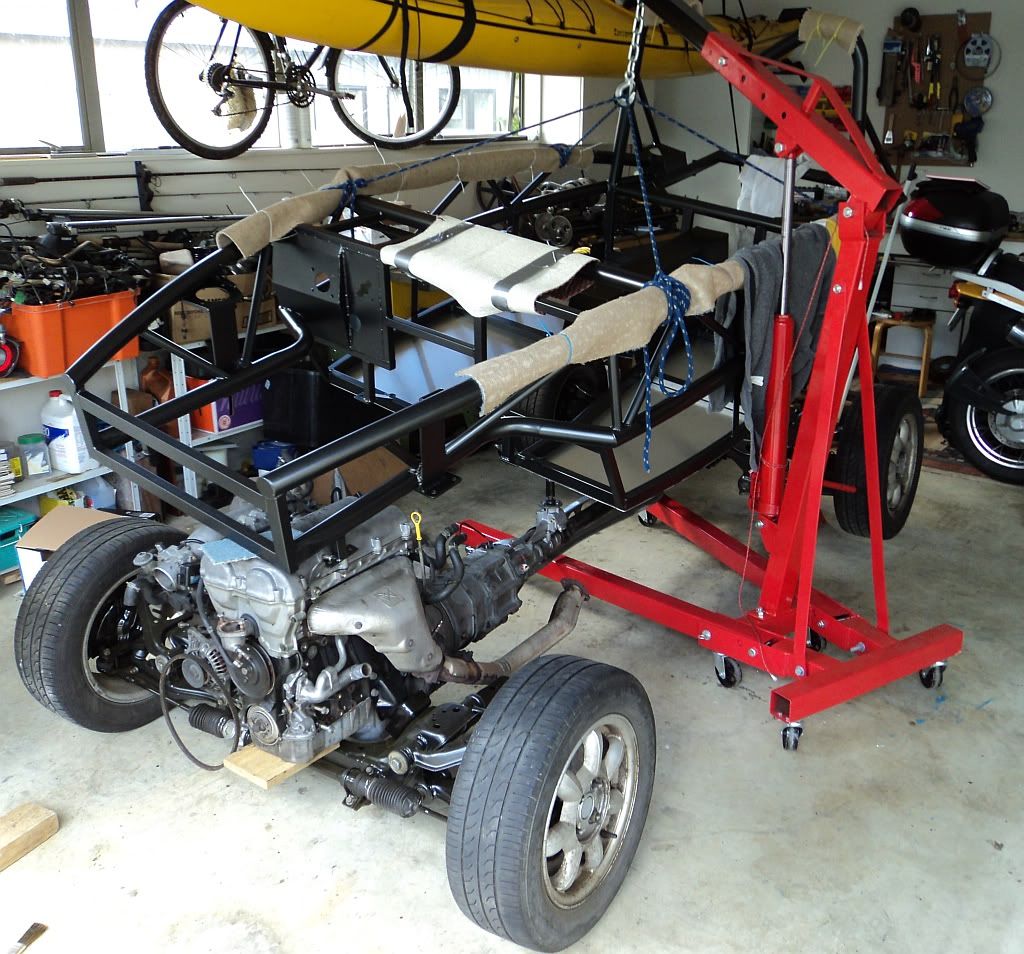 If you look carefully you will see the rear wheels off the ground, just sitting on stands so the hoist would fit under the PDF. Next time I will grab a couple of neighbours and just carry it, but it felt good to do it by myself. Suucess at last!!!! 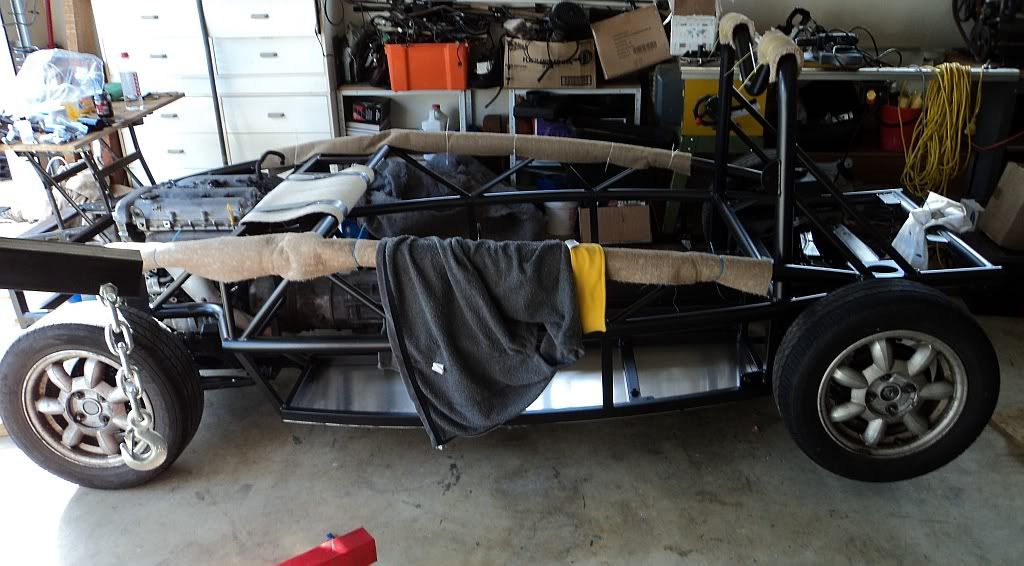 |
|
|
|
Post by red5 on Jun 9, 2012 7:07:21 GMT
Nice one mate - should be full steam ahead now !
|
|
|
|
Post by spyder on Jul 16, 2012 6:24:01 GMT
Nice work there.
Tony - Christchurch
|
|


 Progress. After almost two weeks with little action except cleaning up parts I finally have the first bits back from the powder coating.
  its been a straight forward job. rear frame attached to PDF, diff installed:
