|
|
Post by kerob1labs on Jun 8, 2018 20:42:56 GMT
I haven't got much idea about the cockpit, but but it's going to be glass cockpit kind of thing, the least buttons, all touchscreen. But first I must finish the body!
|
|
|
|
Post by kerob1labs on Jun 7, 2018 21:19:17 GMT
Moving on! Lots of work. Slow but steady! The foam-car has got a good coat of resin to harden the fragile foam.  The next step is to add filler. That's where the hard work start!  First coat of filler looks awful. There were some design problems that required lots of extra filler to correct.  Then lots of sanding, add filler, more sanding...takes forever!  After 2 months of work, there where we are:  I did a lot of sanding on the right side first, then started the left side. The previous photo was today with a couple of coats of filler. After dried, lots of sanding again. Next! |
|
|
|
Post by kerob1labs on Mar 13, 2018 7:35:16 GMT
More updates... The body is coming to the shape I want - i've done some rework at the back, window area and wheel arcs, and reinforced the wheel jig.  during winter all I could do is move the car around, warm up the engine, take it out for a "brake test"...  But then after the arctic blast temperatures jumped to 10 degrees, time to work! I worked out the cutting for the headlights. I used some spare braking copper pipes (relatively cheap) and made a contour about the headlight. Applied to the body and sprayed expanding foam:  With good temperature, form expands well and fills all the gaps.  and job done!  Now I guess is time for a lot of rubbing before the body filler. I will keep posted. |
|
|
|
Post by kerob1labs on Jan 11, 2018 20:58:19 GMT
After long while, lots of work, just time to post on Facebook, I think it's time to a proper update. Once I got the workshop, I moved the foam-car there, well, whatever I've done whilst in my garage:  Then carried on filling up gaps with more foam, as usual some insulation boards and expanding foam:  No sanding at this time, just shaping with knife and corrections with more expansing foam:  After a couple of weeks the car started to get to the shape!  Unfortunately I don't have photos making the front nose and back. I used side slices (instead of slices from front to back, if you know what I mean). These two empty gaps I left to allow the cast to be aligned. Well, I did my best.  Then I thought: what if a build a jig so I can "transfer" the wheel places to the cast?  I hope it works! I aligned using those 2 gaps and made wheel arcs:  Gaps filled and look at that!  After some cosmetics, it's really getting to what it should look like!  That's 4 months of work. After that, winter came, had business trips, holiday, so there wasn't much change since. I did some electrical work and I keep testing the brakes (lol). I'm trying to get hold of a heater so I can carry on during winter. My workshop has very poor insulation so it's very cold, also bad for glue, expanding foam, body filler, etc. |
|
|
|
Post by kerob1labs on Jan 8, 2018 13:04:01 GMT
I didnt consider contacting RD to drill myself (I mean, using CNC) the holes. I will check with them.
I didnt understand the issue with the 4 corners looking at the original 4-stud hub...
|
|
|
|
Post by kerob1labs on Jan 8, 2018 9:41:12 GMT
Does anyone know a 5-stud hub that fits this upright? (and use same bearings)
|
|
|
|
Post by kerob1labs on Jun 2, 2017 21:26:13 GMT
Finally I moved my project to a proper place!   looks to tidy, but I moved just today!  I will move my foam-car tomorrow, more photos to come. |
|
|
|
Post by kerob1labs on Apr 24, 2017 20:39:57 GMT
This is the pattern now. 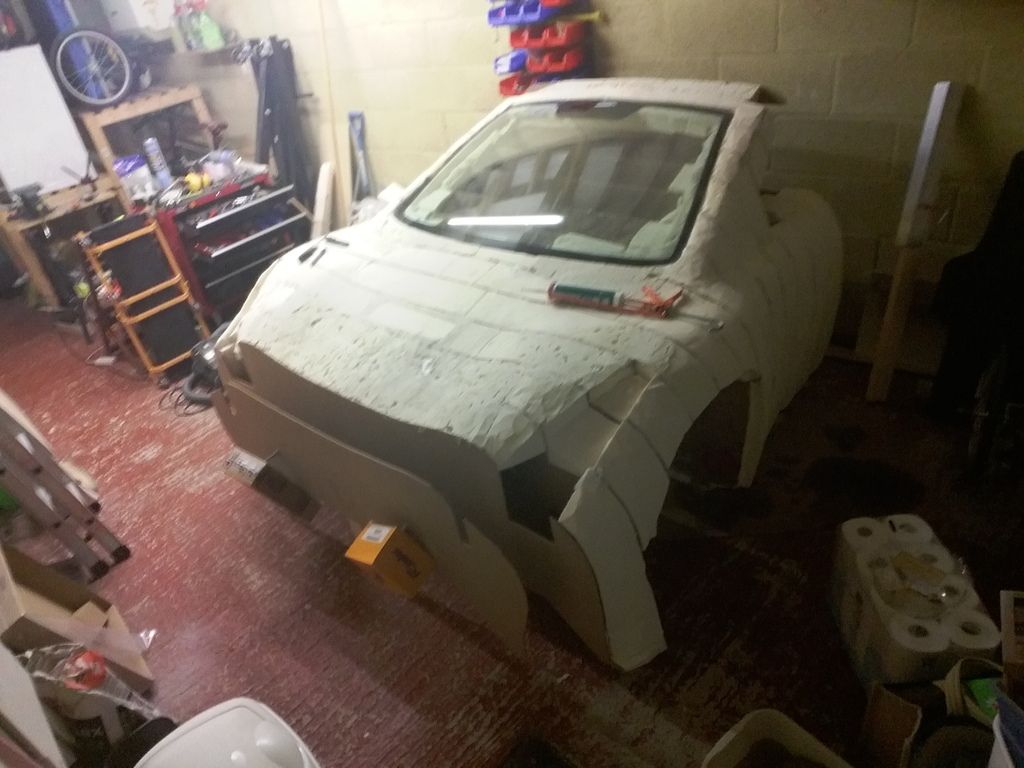 |
|
|
|
Post by kerob1labs on Apr 24, 2017 20:32:40 GMT
Lights on the chassis? Gosh you noticed it!! The car was in my garage, I drove to this please (photo) in the middle of the night, thats why I put some lights, but don't tell anyone.
Now I have no option put transport at daylight hence hiring a car transporter.
Thanks for the advice, yes I can se the hinges. I have in mind these "top and out", but i'm thinking of to trying hinges bolted at the bottom of the door panel. I also can see you have a quite wide fixed roof (where hinges are bolted). I know it won't be easy, I have a couple of escape plans (e.g. open roof) in case it doesn't work...i shall see soon!
|
|
|
|
Post by kerob1labs on Apr 24, 2017 6:17:44 GMT
Hi mikeeyboy...sorry I haven't been in the forum for a while. Yes, these are insulation board (celotex/kingspan). They are polyester resin resistant, easy to sand, cheap (1200x2400mm for £45 in the local depot). I'm also using expanding foam in some parts. I took this one yesterday (23/04). I'm moving to a bigger space to work on the body. 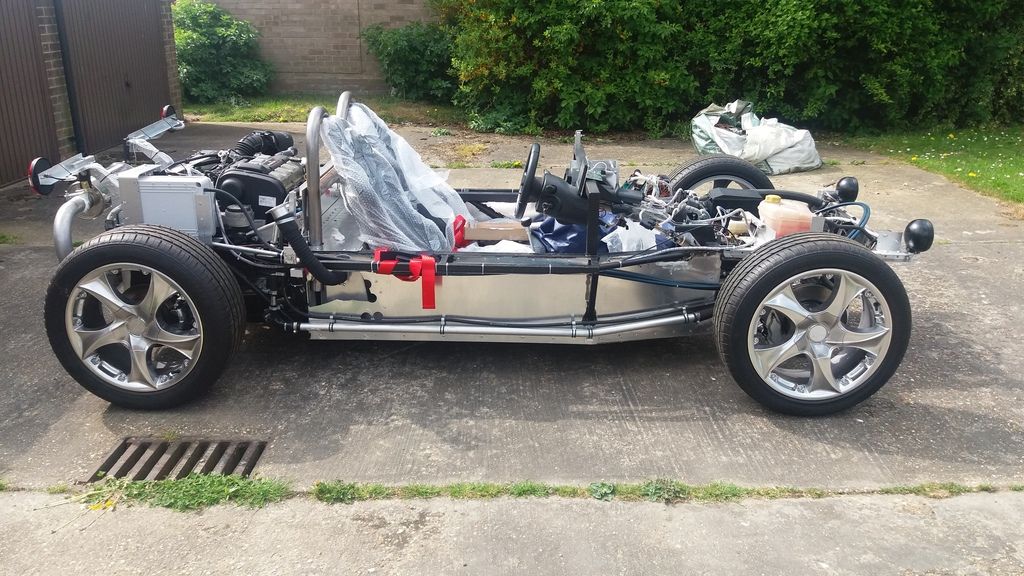 |
|
|
|
Post by kerob1labs on Feb 20, 2017 22:18:25 GMT
Thank you gwnwar, I will keep posting!!
|
|
|
|
Post by kerob1labs on Feb 20, 2017 11:37:03 GMT
Updates after a warm weekend - expanding foam and glue work better! 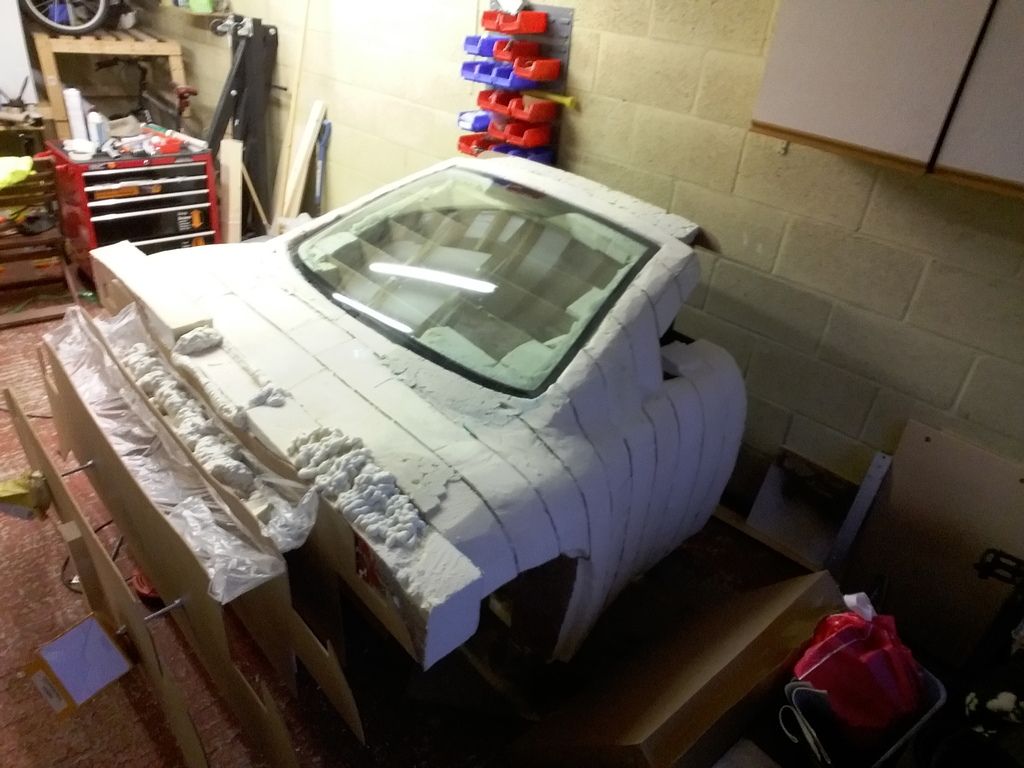 I managed to work on 3 slices. 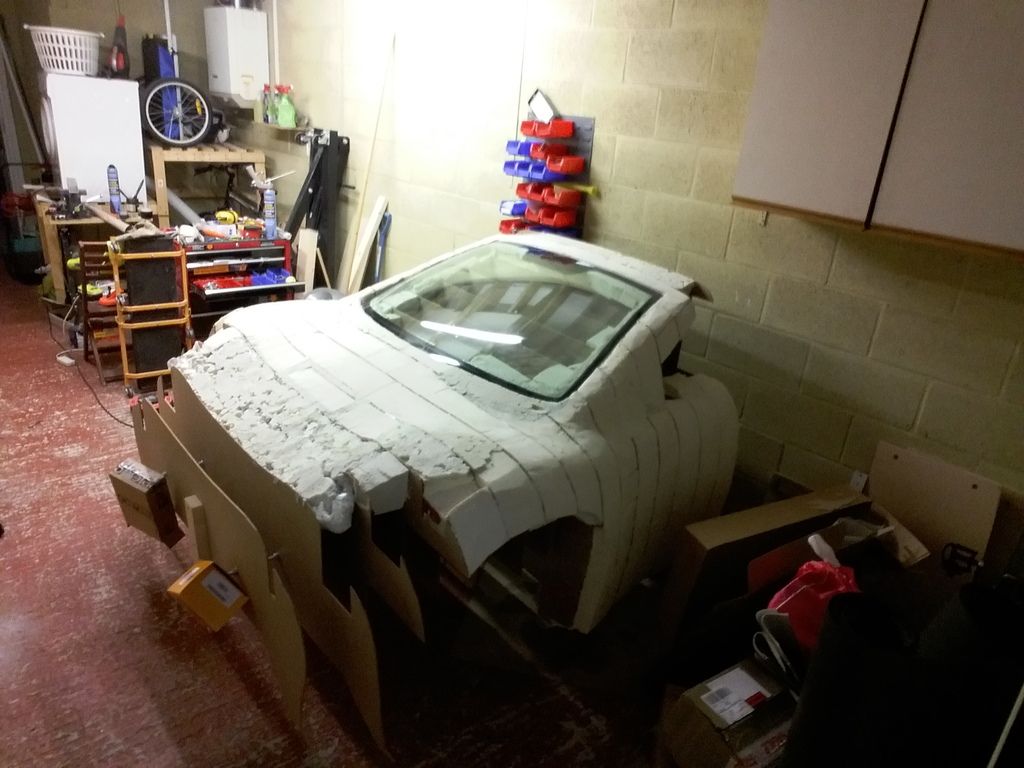 Thats how it looks like after shaped and expanded foam leveled. Still a lot of work to do! |
|
|
|
Post by kerob1labs on Dec 3, 2016 18:42:46 GMT
I moved the chassis to a storage to open space in my garage to start the body. From the design above I generated slices to be cut in plywood. I found a CNC guy to do the work for me. This is part of the front. I thought I would be able to do the work in a restricted space, but I was wrong. That's why I transferred the car to use my garage. 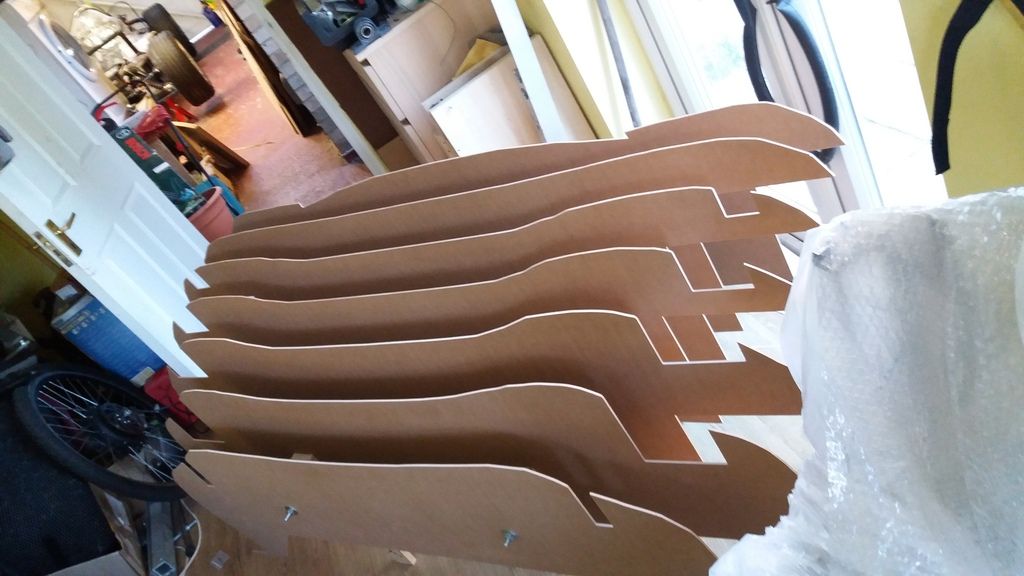 Once with the garage empty, I started building the model from where I will make moulds and then make the parts: 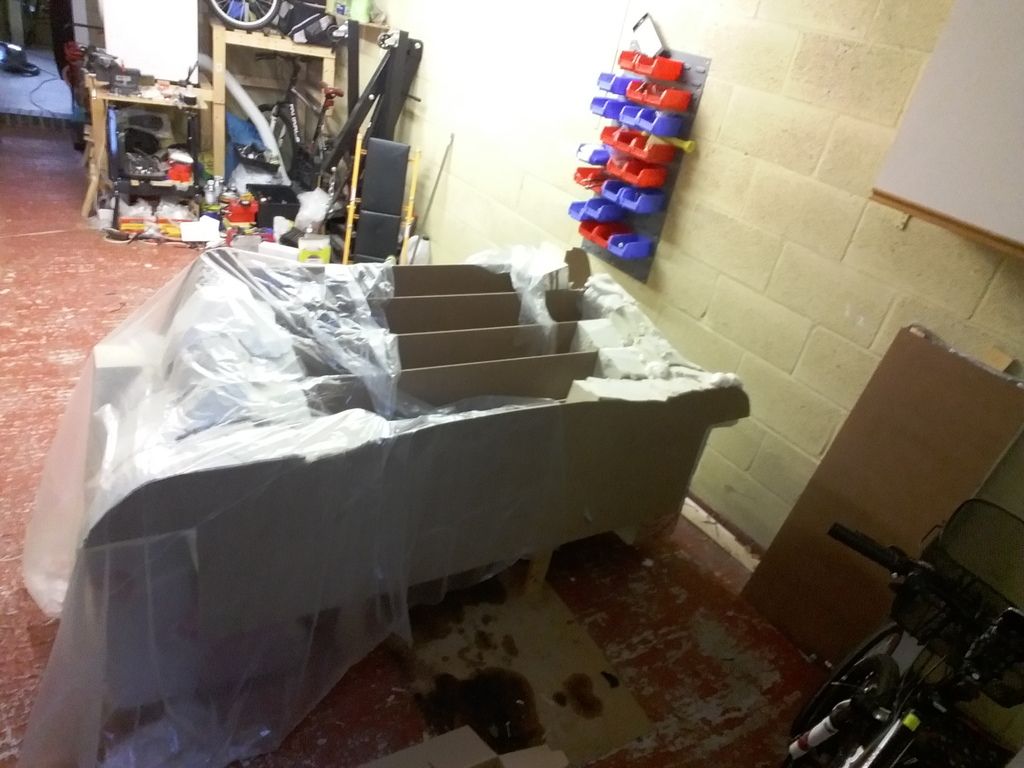 Eventually started to get to the shape... 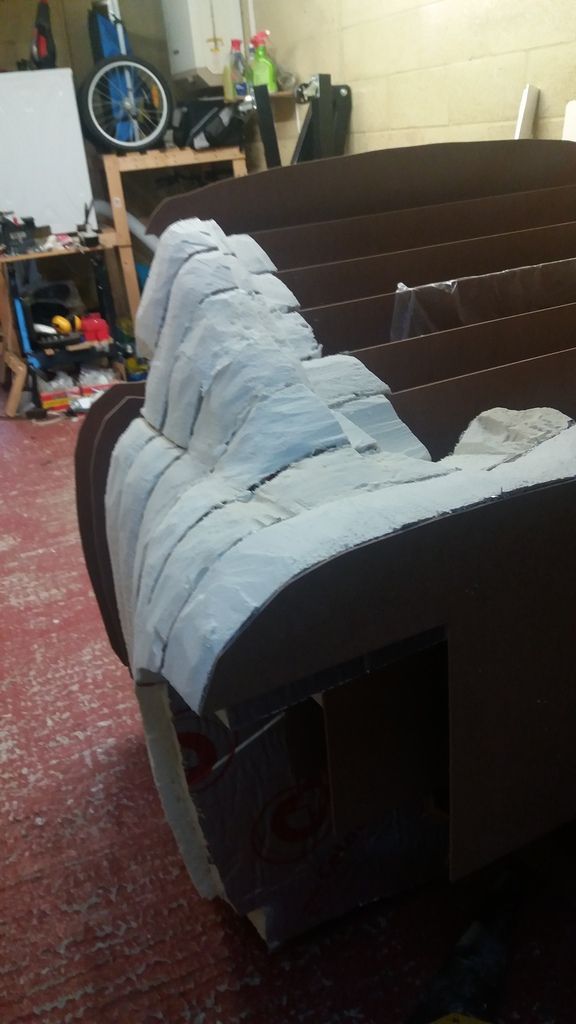 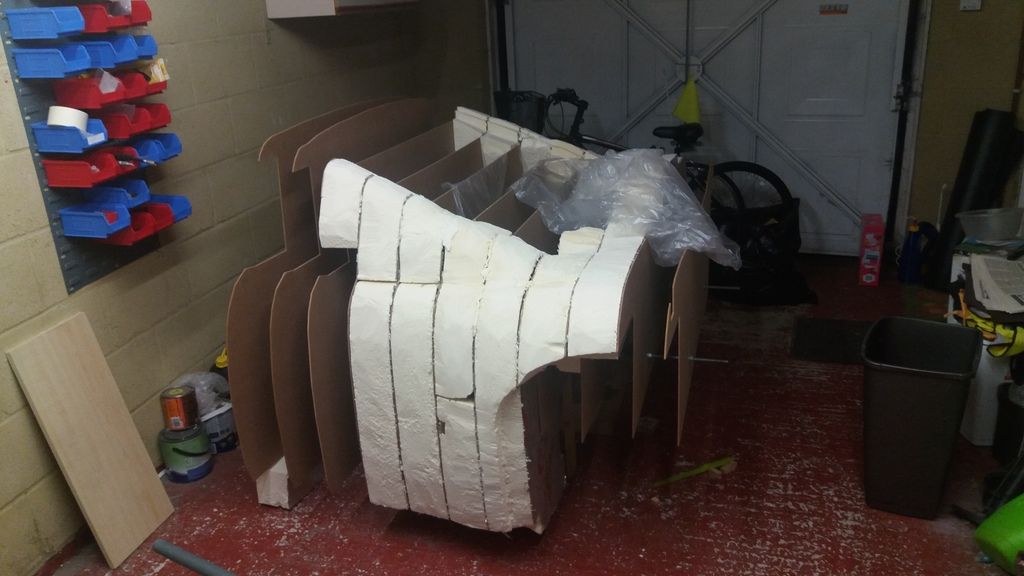 This one I took today: 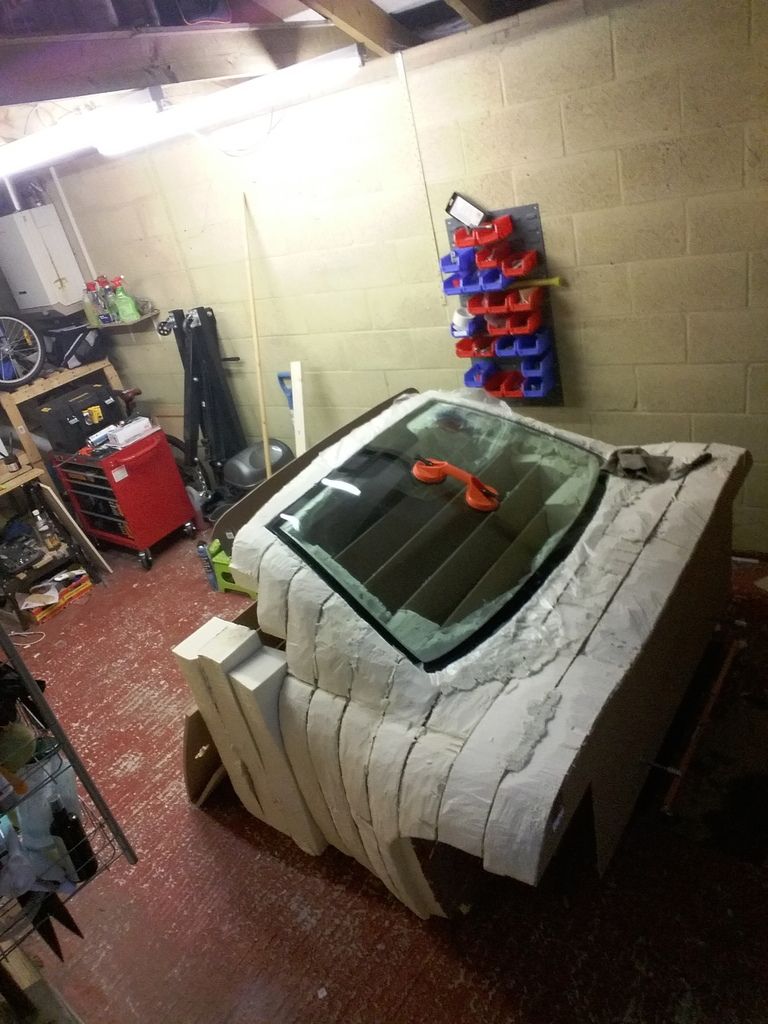 I'm using insulation boards with 120mm width to fill up the gaps. Basically glue them, let it dry, cut and shape, and then go to the next slice. It's a very slow and messy work, and it will get worse: at the end after a layer of epoxy and a lot of body filler, I will have to sand it for an eternity until it gets to the perfect shape. I got an used KA windscreen (£25) to make sure things are in the right size. In the glass border where the windscreen is glued onto the body, I used expanding spray foam and drop the windscreen on top of it and let is expand. I'm spending a lot of time in this part specifically to make sure there will be no gaps or water leaks when it's done. Hopefully I will keep taking photos and update this thread. |
|
|
|
Post by kerob1labs on Dec 3, 2016 18:23:34 GMT
Hi everyone! During the last 2 years I've been coming and going with little comments, short messages, posted some photos here and there, but I think it's time to make a proper thread. My goal is to build something like this: 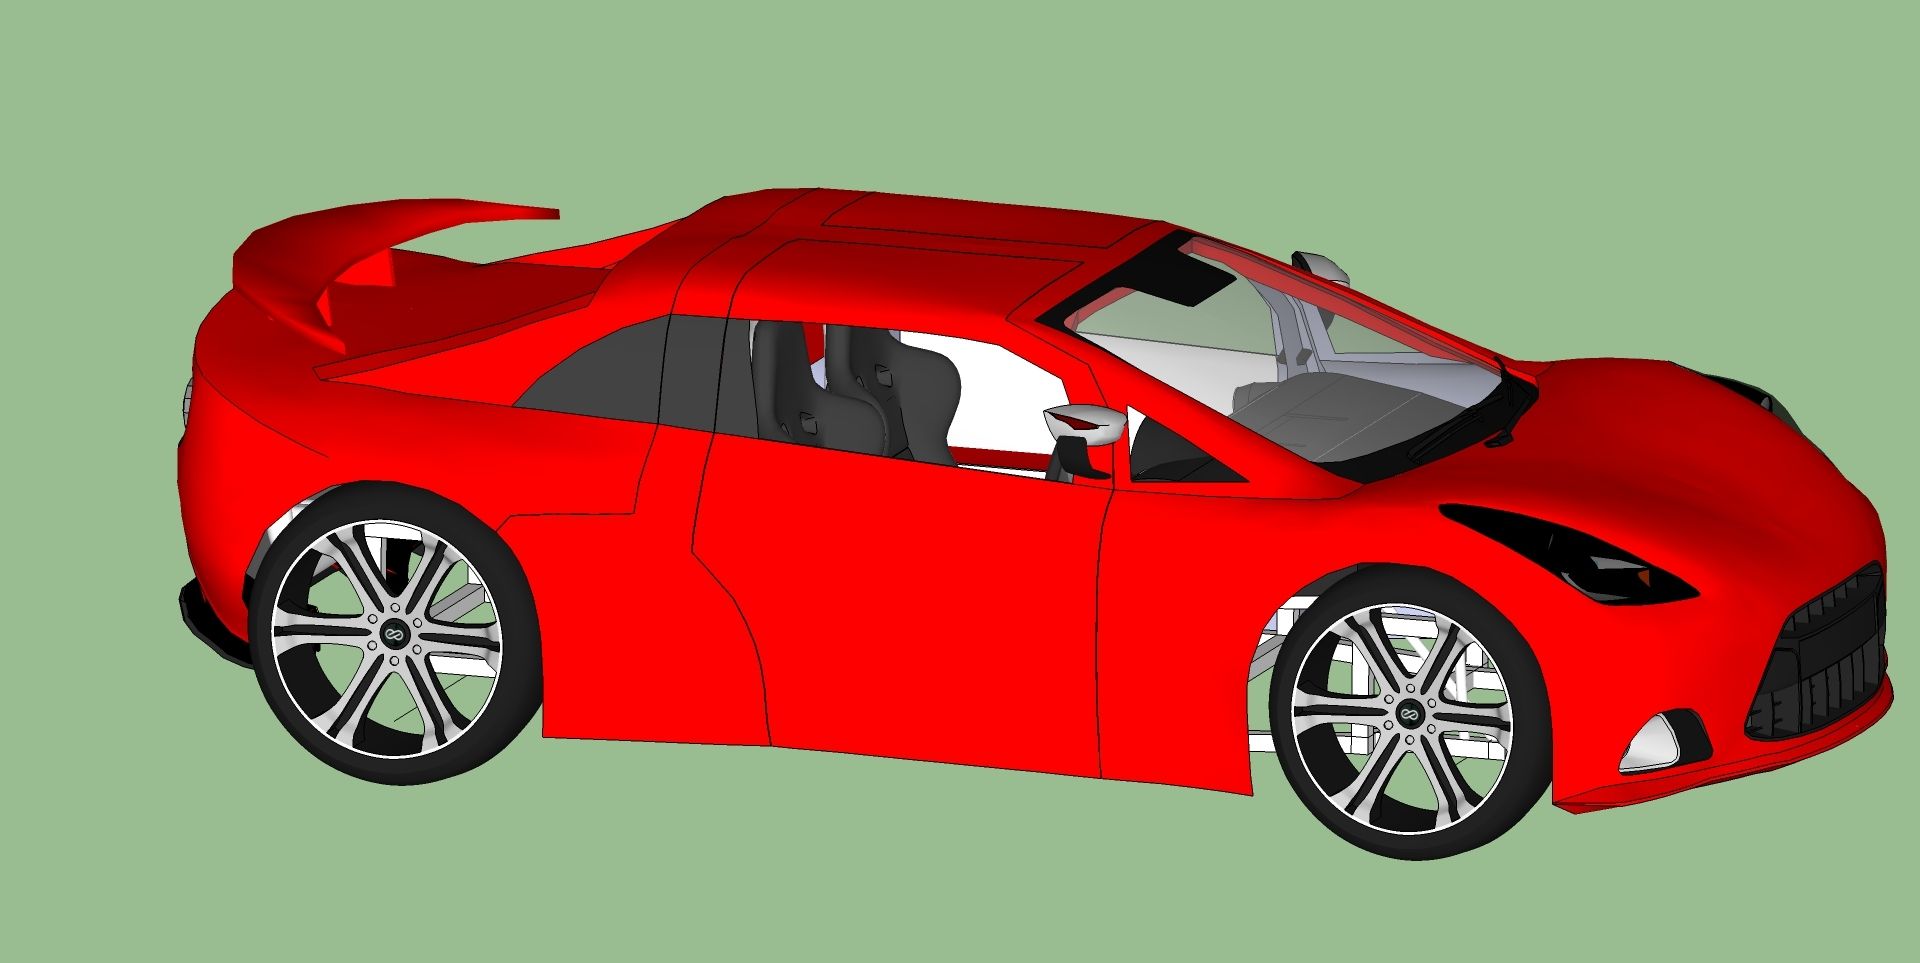 It's going to use Celica headlights, windscreen from Ford Ka, Fiesta front grill, 18x8 wheels, if successful fog lights from Corsa. Underneath is a modified Sonic7 chassis. I started getting a "donor", I found a car breaker that would cut off the front nose of a ST170 and ship to my garage! I got everything I needed. 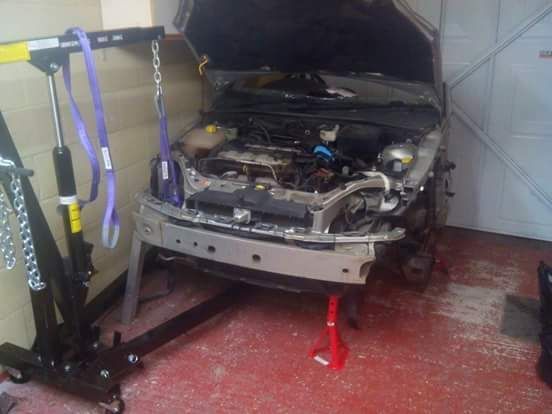 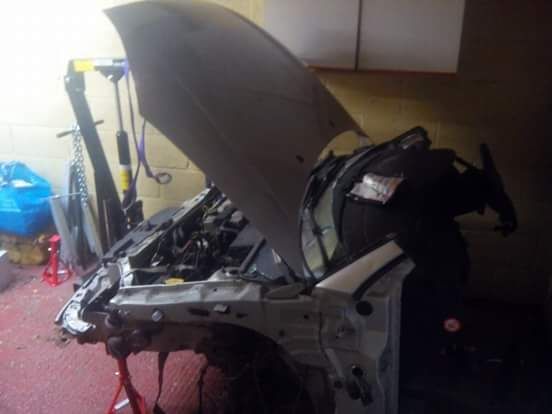 Engine sadly was in bad shape:  So I sent it out for someone more experienced to rebuild it. When it came back: 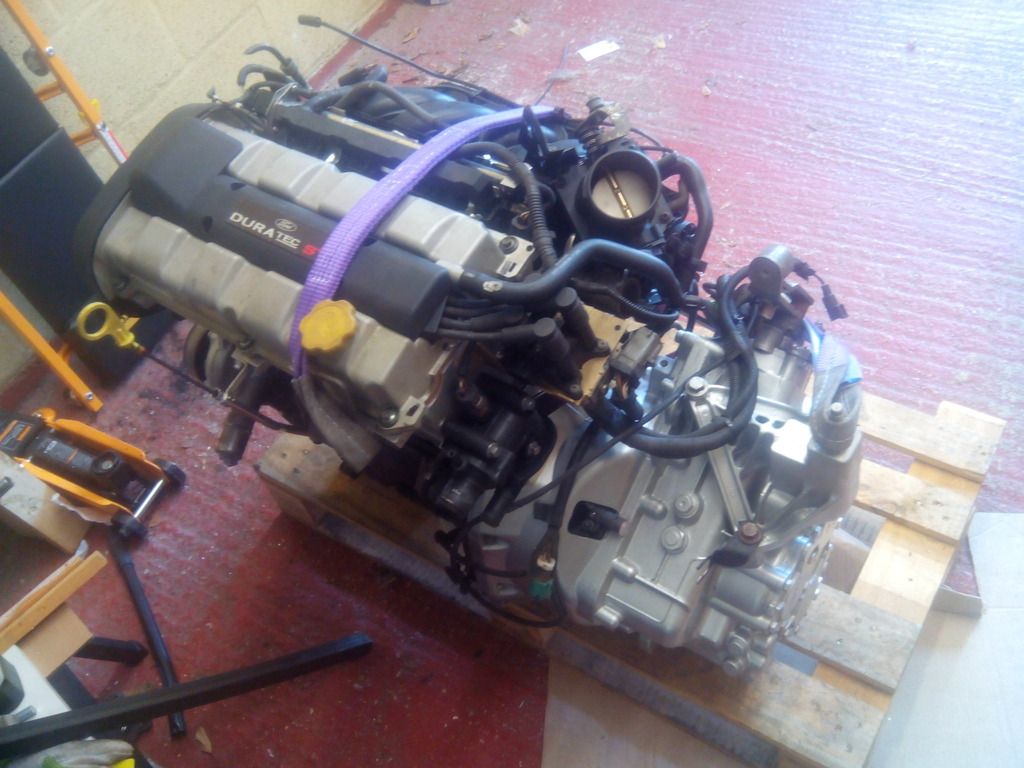 Chassis and other bits were in a storage due to house work, but when engine came back, the build started! 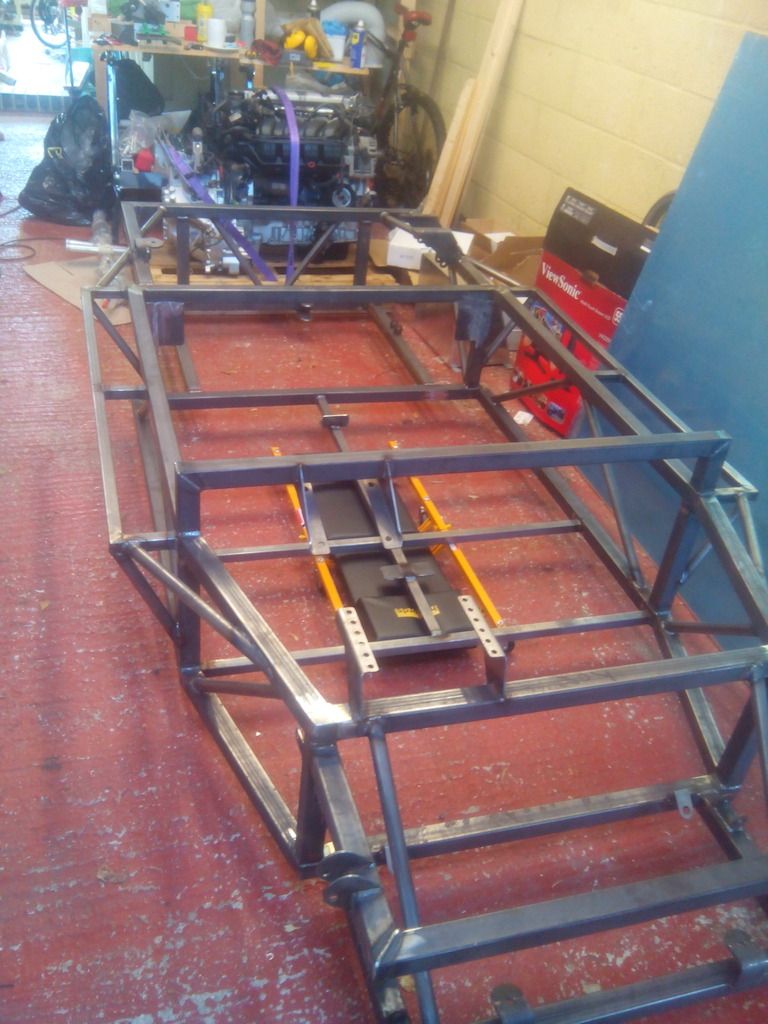 Chassis was modified to accommodate the longer exhaust: 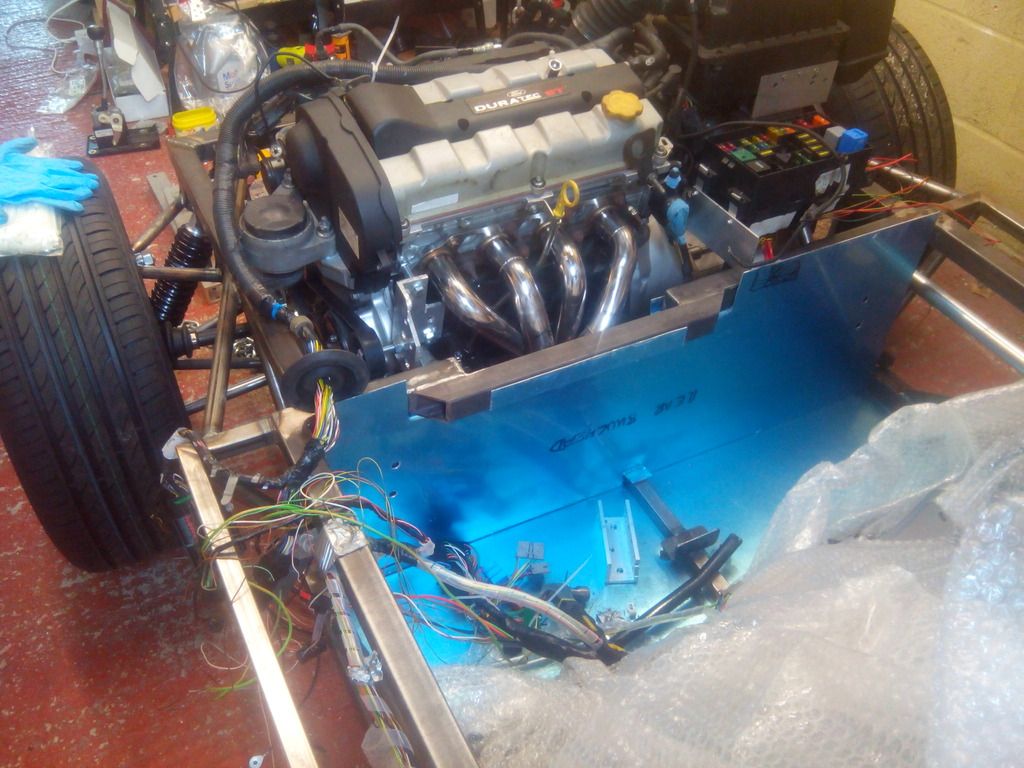 I don't do welding, so I asked someone to do the job for me. He also lifted the bar where the steering is bolted for leg clearance: 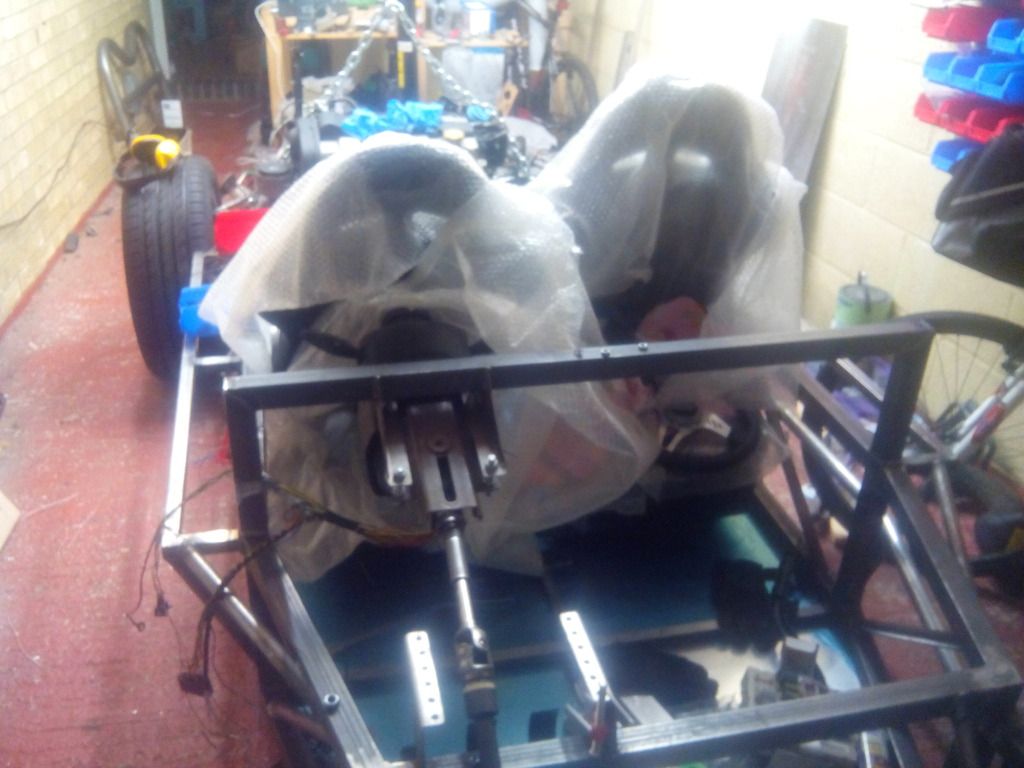 Wheels: Keskin KT9, 8x18. 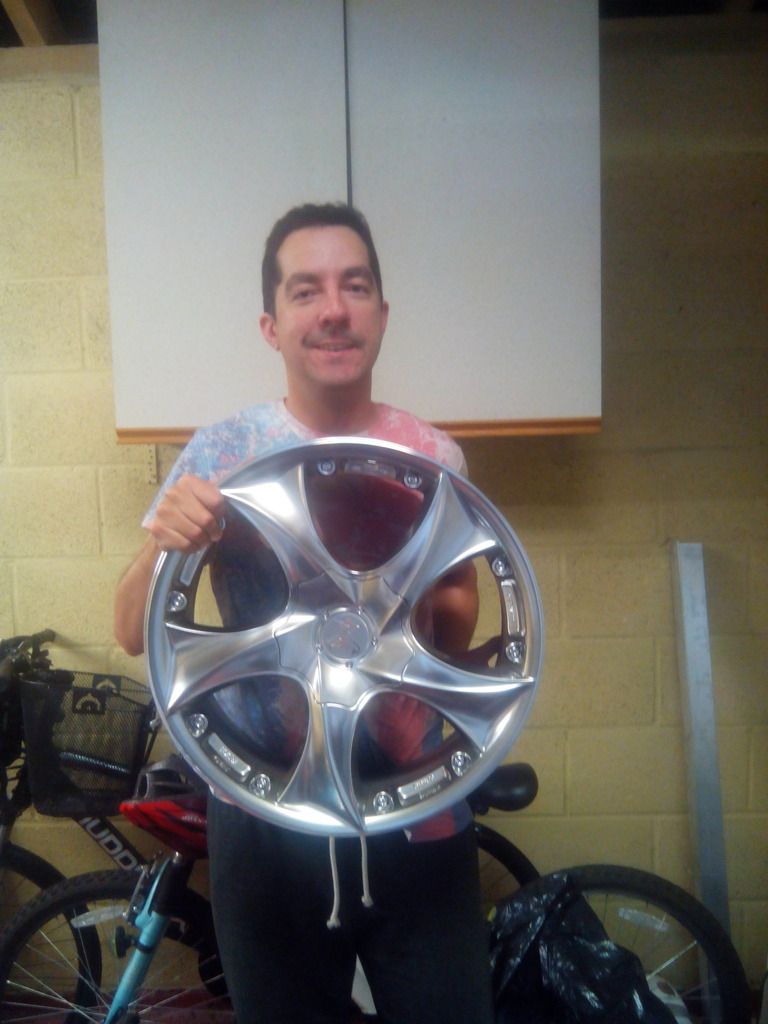 Decided to use front vented discs. I had troubles with brake balancer that solved with help from people in the forum. Thank you!  Exercised my patience sorting out the loom... 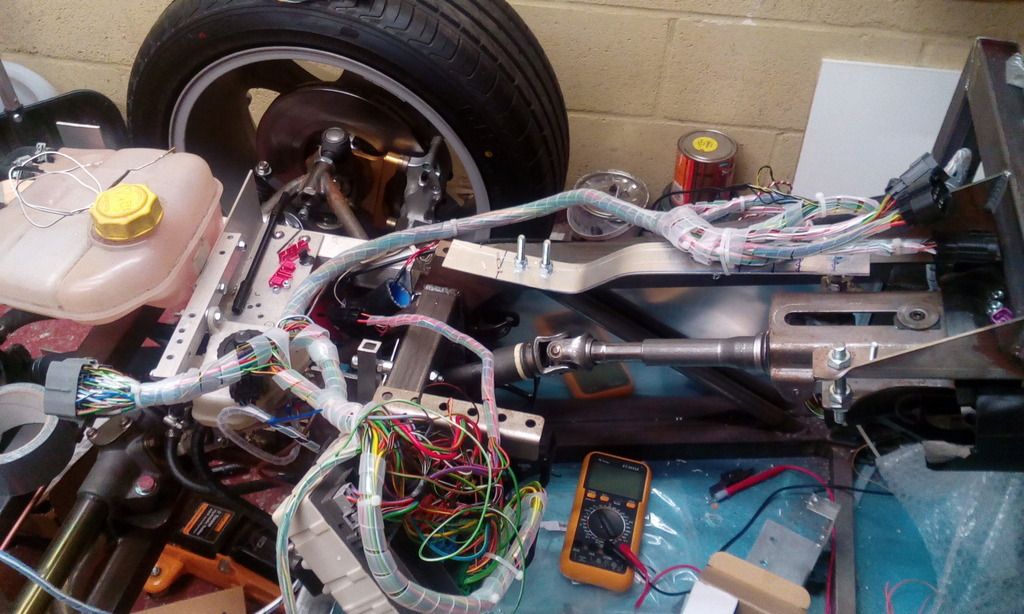 I ended up with two lines in each side. On the driver's side is signals, ECU stuff, sensors, etc. On the driver's side is power, lights, etc. Got a custom made tank: 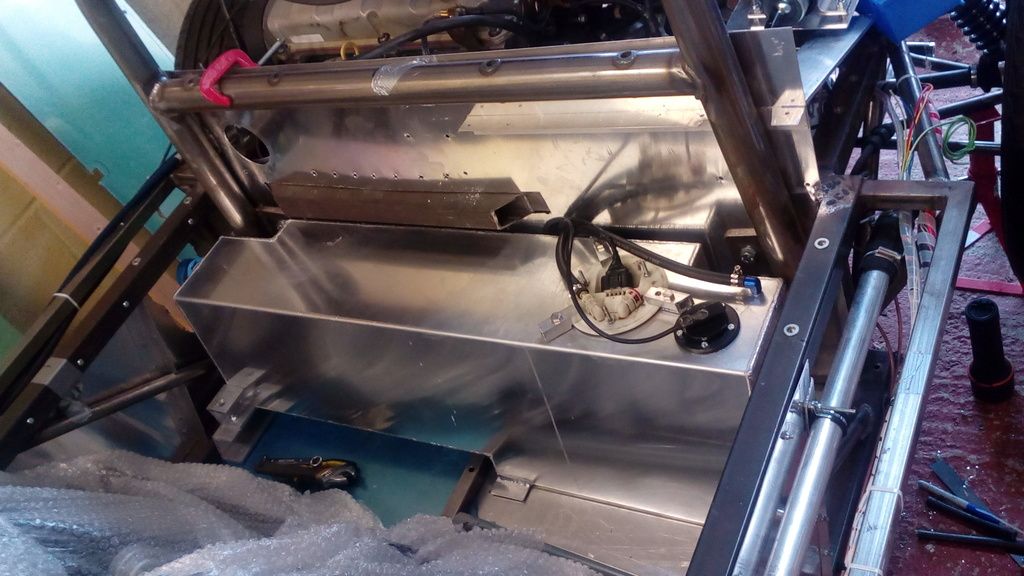 I need to make a proper bulkhead to enclose the tank. 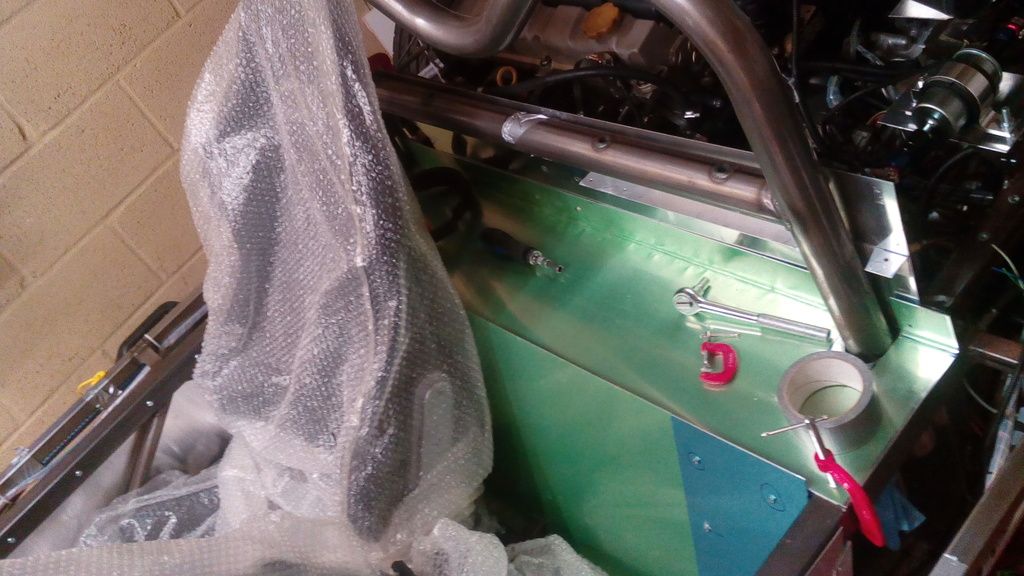 and because of my long legs, pedal block was moved forward: 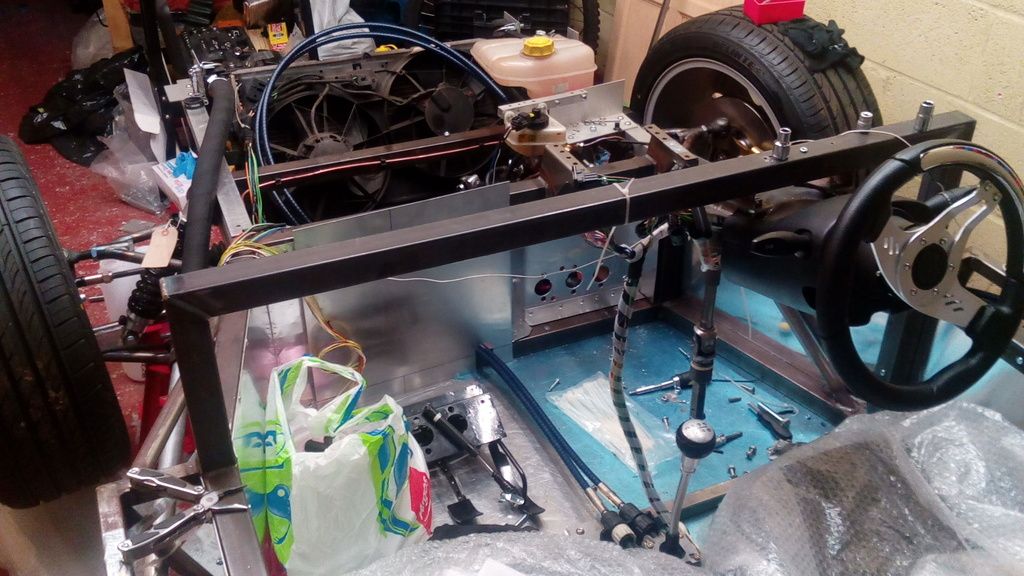 I haven't got a close photo to show the final work in the pedal block, but I had to put a bar with a bearing to hold the steering shaft and the pedal block onto the chassis. Unfortunately this steering wheel is not IVA friendly... Gear cables were custom made, goes all around the car to the back. I built my own instruments: 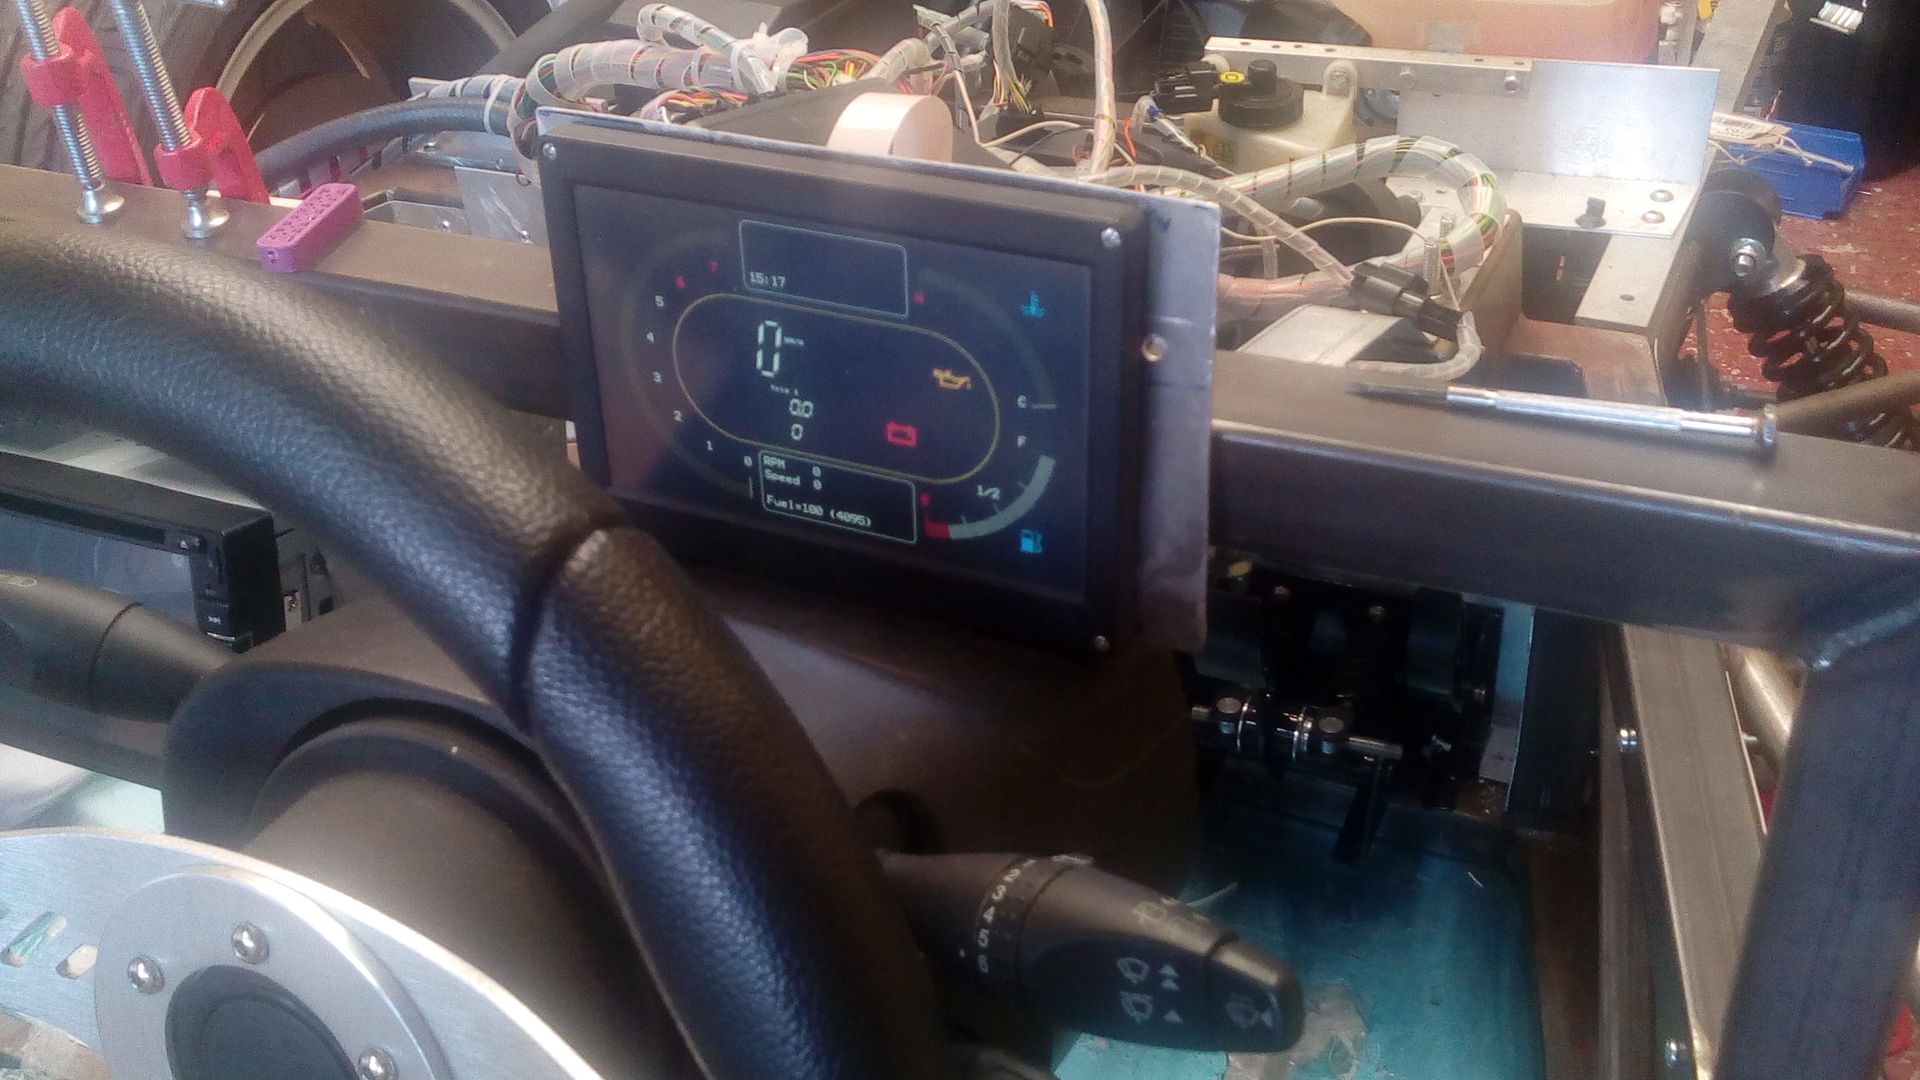 No, the tank was actually empty... I divided things in two control boxes: one for the general things on the right (indicators, wipers, doors, ventilation) and another for the display controller on the left. 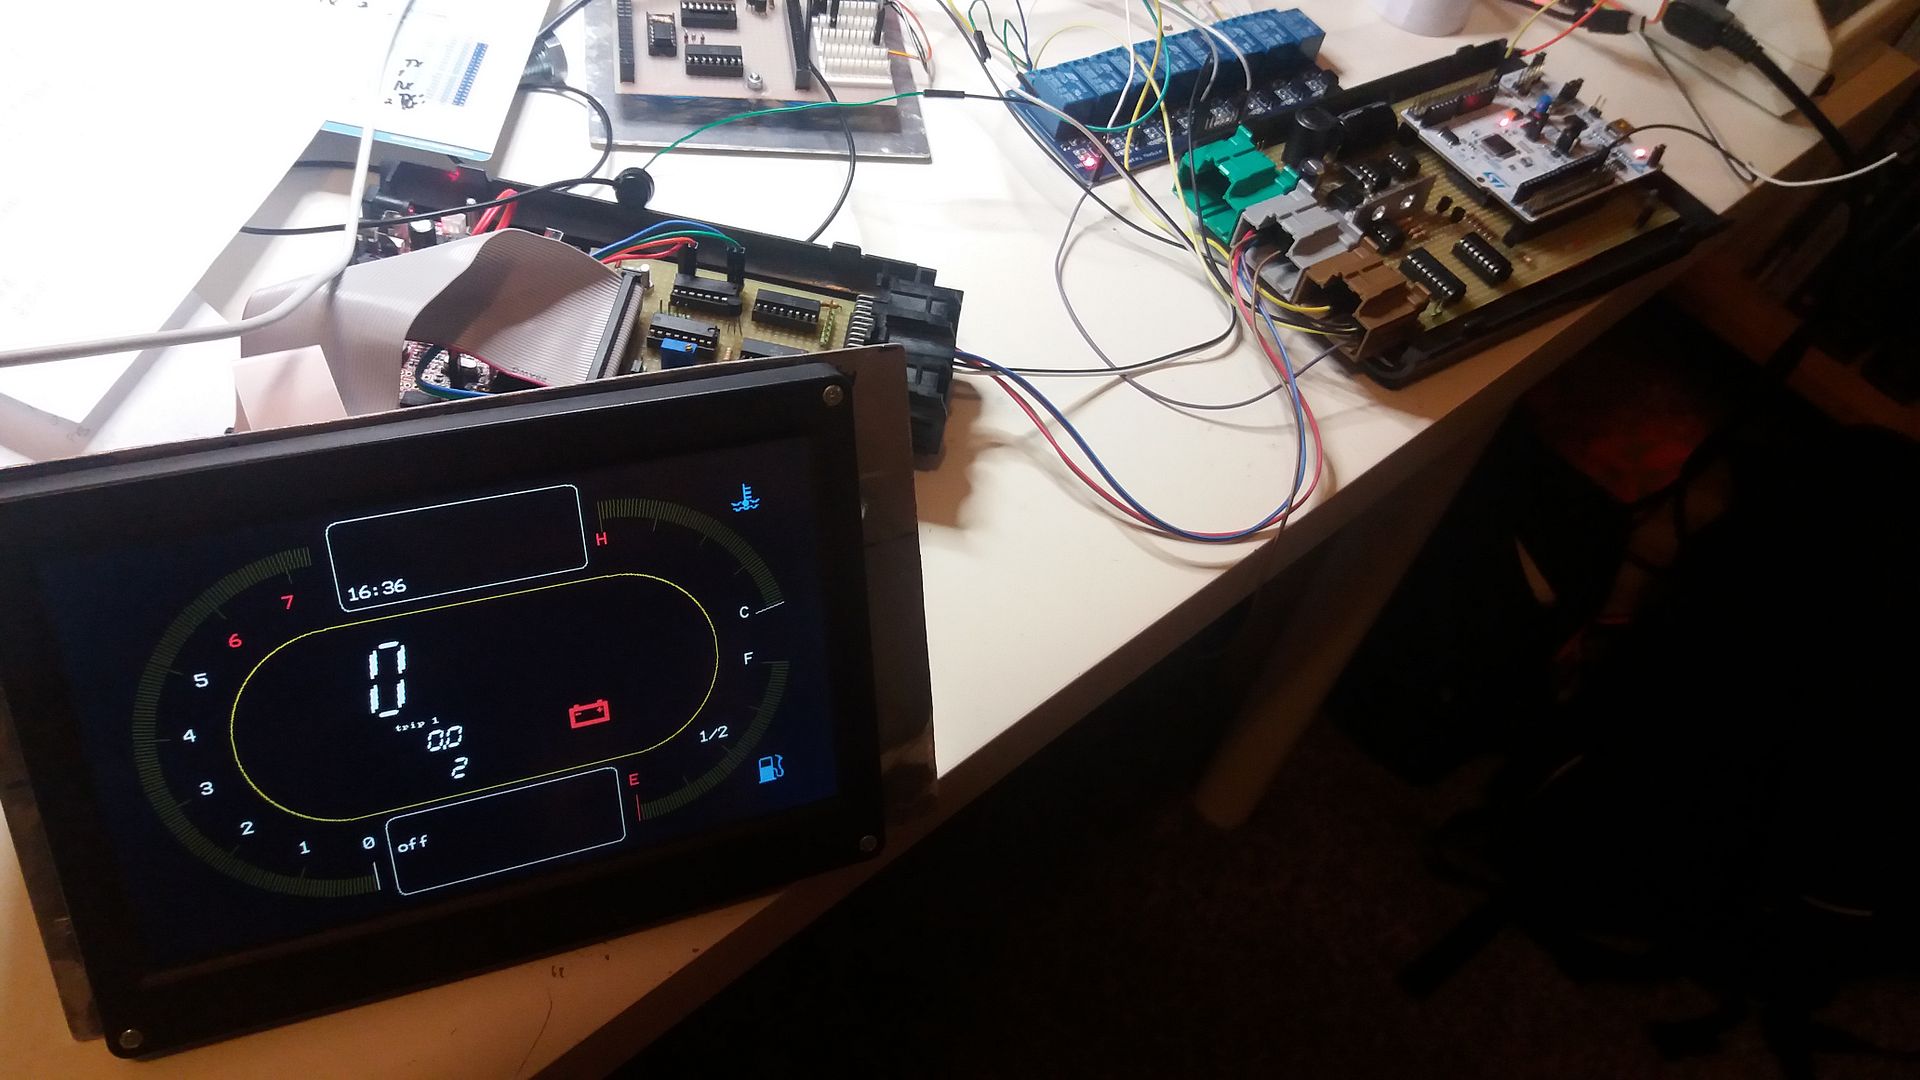 Here I'm running an OBD simulator where I get speed, RPM and temperature. Odometer comes from a pulse signal from the ECU: 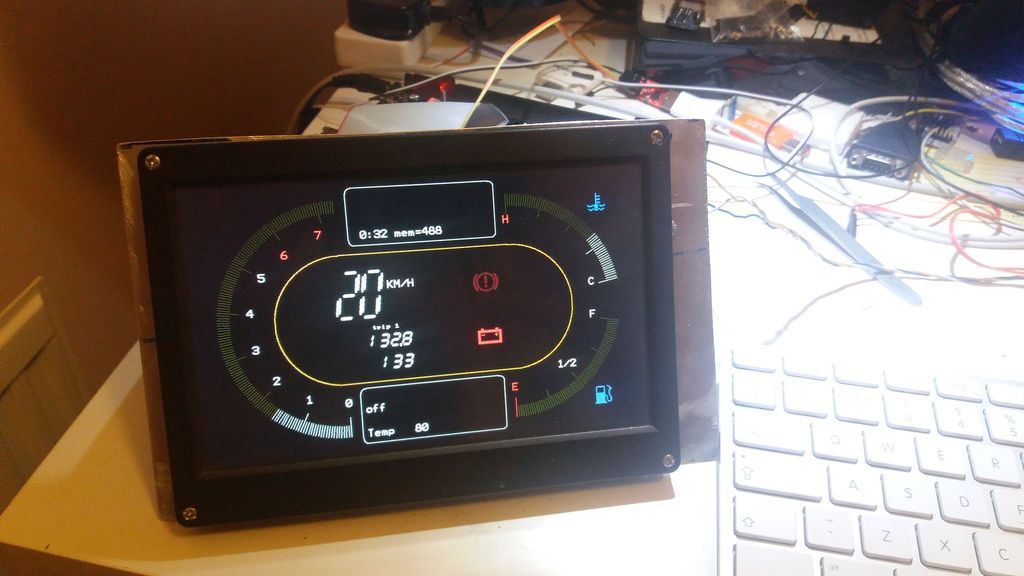 This is one of the last photo: 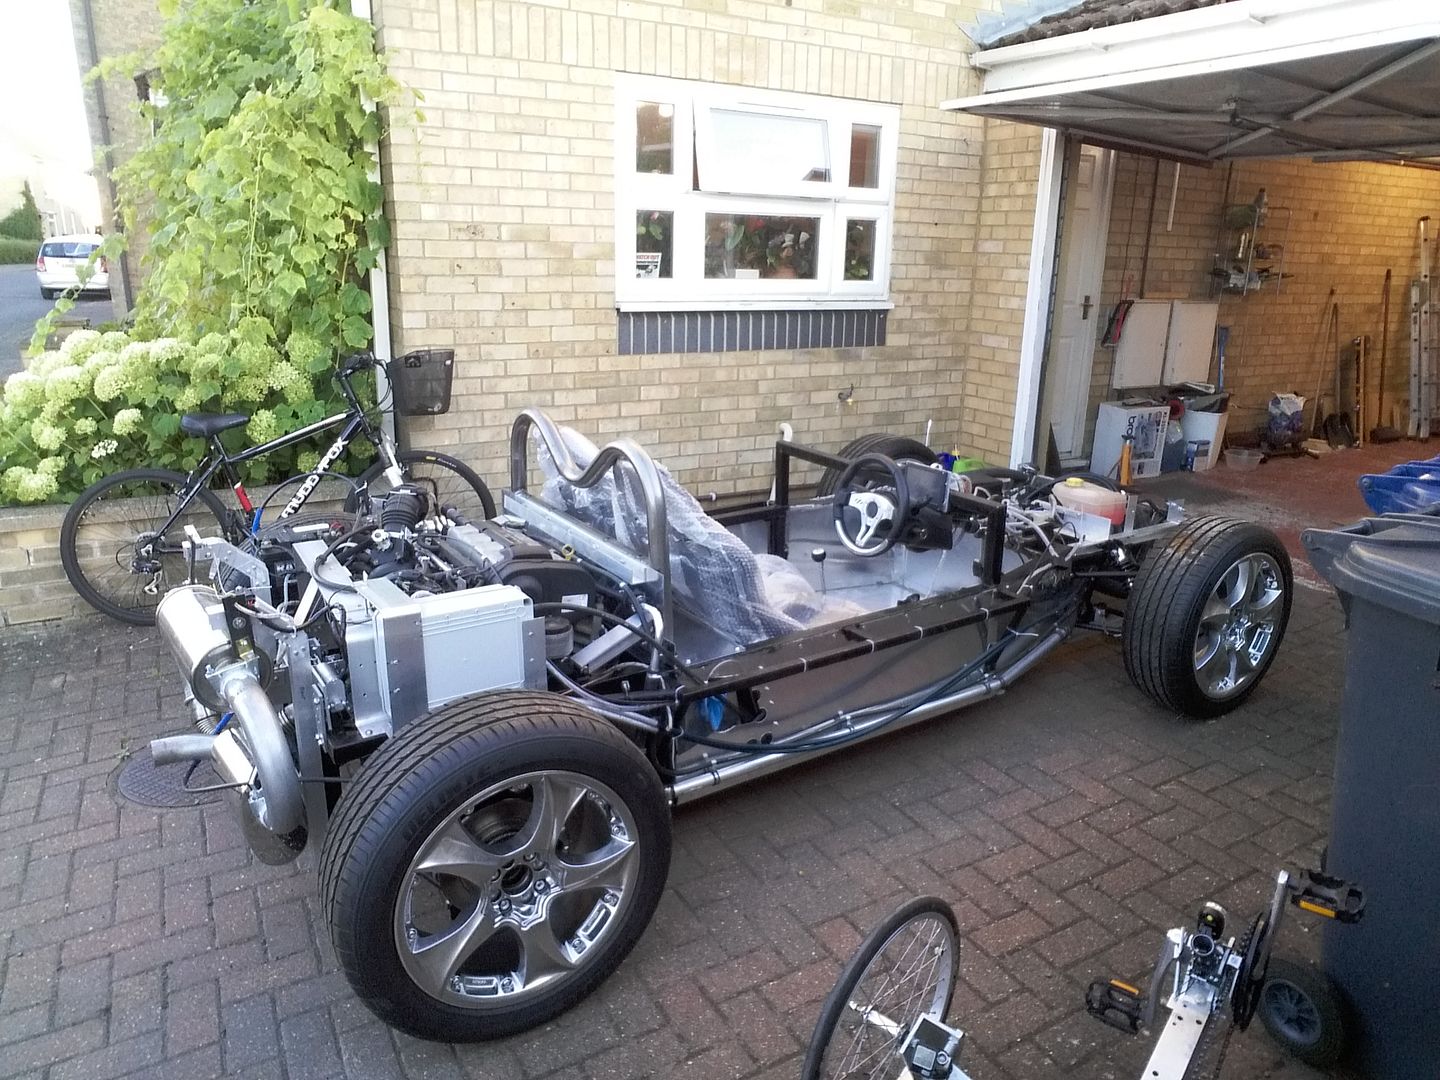 Inside this waterproof box is the ECU, fuel pump controller and barometer. There is a hose coming out from it so things are well ventilated. I'm using electric handbrake so I can have wider seats. I decided to use two silence boxes but I can change my mind and let more noise out. This thing is full drivable, and drives really well! In theory I never left the driveway, so I can't wait to get it done, IVAed, licensed etc! I will make another post with what comes next. |
|
|
|
Post by kerob1labs on Sept 22, 2016 21:53:45 GMT
Hi Mike, it's Marcio here. Of course you can come around and have a look. Spot on, I moved up the cross bar because of my seats. If you use GRP seats (lower) you won't need that. Ah, if you change the bar, then the original Sonic body panels won't fit. That's my case, but I'm going to make my own body panels. Extra: I'm using front vented discs, I had a special order from HighSpec: vented disc + Rally Design upright and HighSpec callipers. I also ordered a custom tank, you can find my post somewhere here in the forum. Because of my seat the front bulkhead had to me moved to give more room, played around with exhaust. Well there are loads of changes, one because of the other lol. The IMRC is under the battery. You can almost see it. I built a 'L' shape bracket so the battery tray, the bracket, and this flat bar coming from underneath the battery are all bolted together.  Cheers, Marcio. |
|

