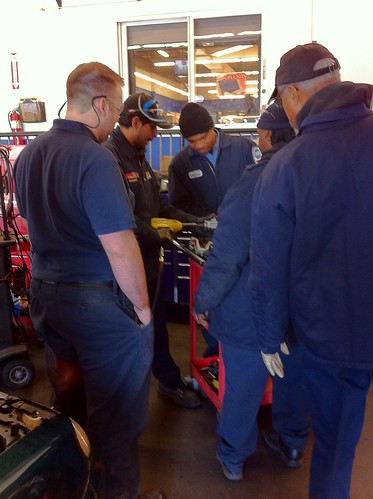
Post by Kevin Patrick on Jan 18, 2011 19:26:49 GMT
Since the delivery of the Exocet was again delayed due to Snowmageddon 2011 in Atlanta I figured I would get back in the garage over the weekend and get a few more items knocked off the to-do list.
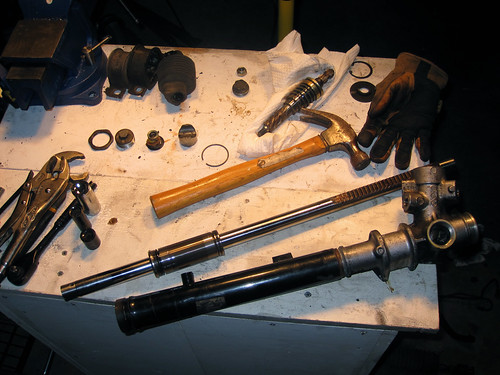
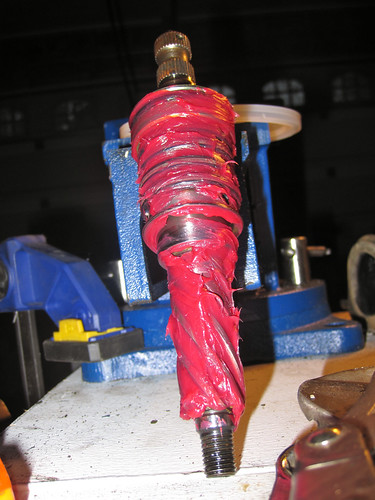
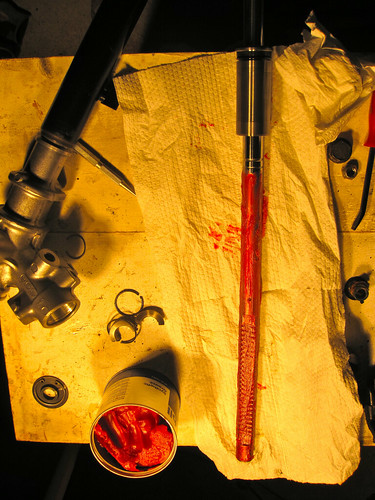
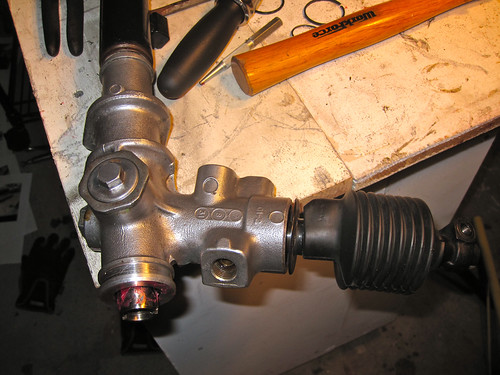
1. Depowering the Miata's power steering rack.
I followed Flyin' Miata's walkthrough at flyinmiata.com/tech/depower.php. The only thing I did differently was following tlight's recommendation of using a hack saw instead of an angle grinder to cut the seal out. In general I felt like this gave me much more control when cutting and allowed less chance for the shaft to be damaged due to a flailing angle grinder. After the seal was cut down as far as I could, a couple of whacks with a chisel popped the seal out with no damage to the shaft.
Before

Disassembly
Greased up Pinion
Greased up shaft
Done
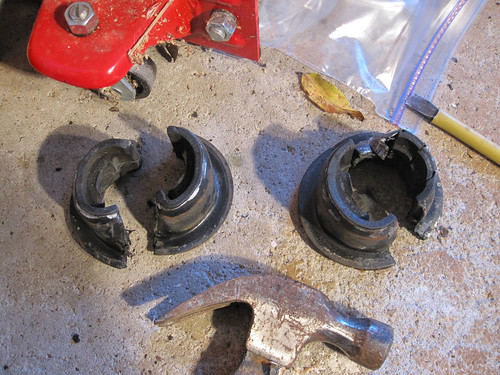
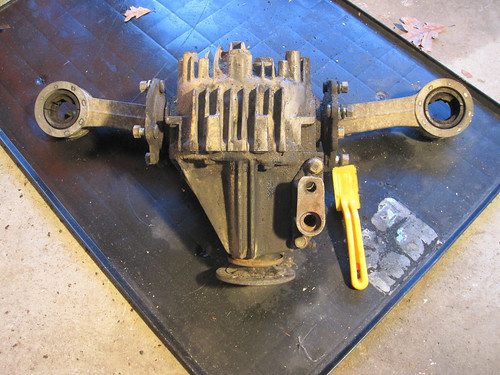
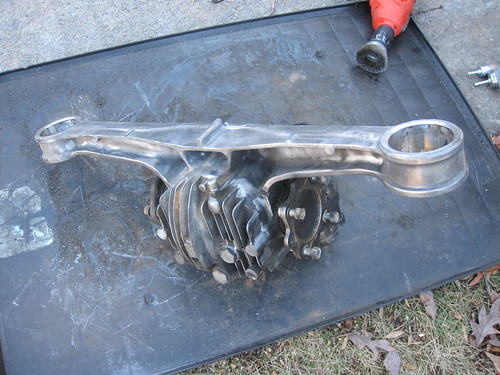
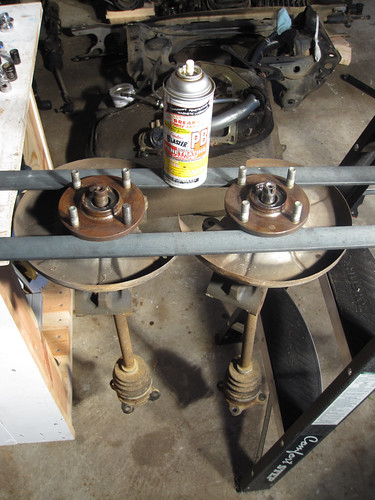
2. More attempts to free the axles from the rear uprights.
In hindsight, I should have added a $99 12-ton shop press to my last Harbor Freight order. I suspended the hubs across two pieces of steel and soaked them in a bath of PB Blaster… for three days straight. Rented a puller from Pep Boys to try to get them out. Didn't budge. Taking them to a shop to have them pressed out this week.
3. Removed front lower arm ball joints
Replacements arrived this week and I wanted to remove them before sending the suspension off to be powder coated.

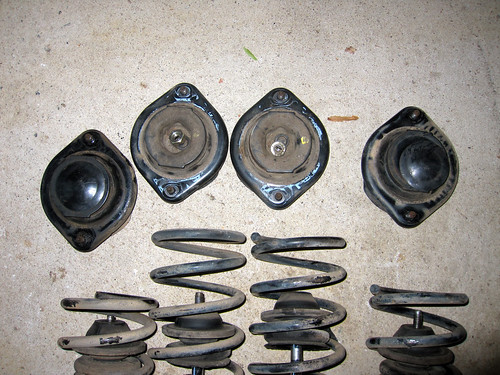
4. Removed upper shock mounts
Took the spring compressor out of the closet and got to work on getting the upper mounts off. I'll likely be going with Raceland or Rokkor coilovers so I'll the need the mounts for those soon.
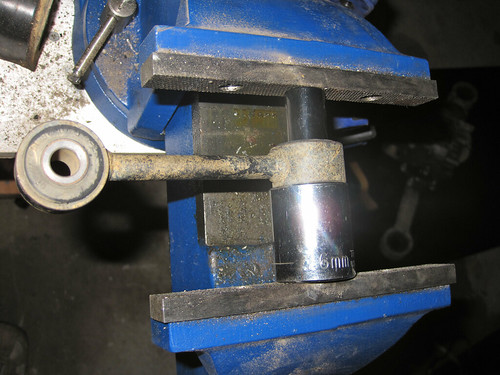
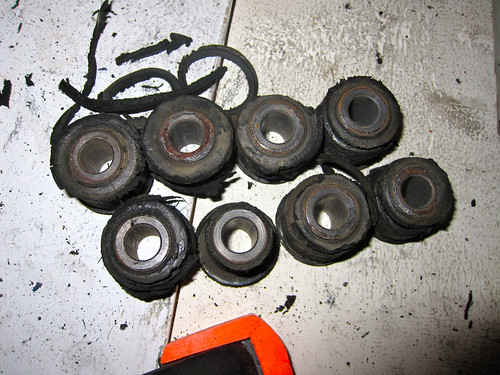
5. Disassemble Sway Bars and remove old bushings
Since the Energy Suspension master bushing kit includes new sway bar end link bushings I figured I would remove all the old ones before cleaning and repainting the sway bars. I did hit the sides of the end links with a torch for a few seconds to heat up the metal and break the seal with the rubber. After they are heated up, the effort to push them out is reduced by about half.
Front Sway Bar
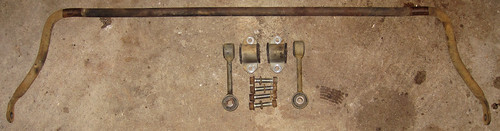
Rear Sway Bar
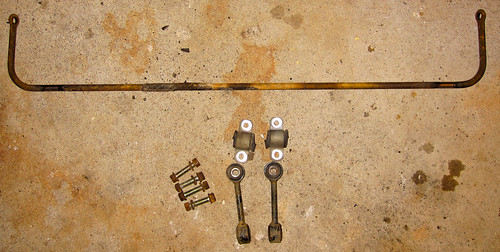
Using a vise and sockets to push out the old bushings
Old bushings
1. Depowering the Miata's power steering rack.
I followed Flyin' Miata's walkthrough at flyinmiata.com/tech/depower.php. The only thing I did differently was following tlight's recommendation of using a hack saw instead of an angle grinder to cut the seal out. In general I felt like this gave me much more control when cutting and allowed less chance for the shaft to be damaged due to a flailing angle grinder. After the seal was cut down as far as I could, a couple of whacks with a chisel popped the seal out with no damage to the shaft.
Before
Disassembly
Greased up Pinion
Greased up shaft
Done
2. More attempts to free the axles from the rear uprights.
In hindsight, I should have added a $99 12-ton shop press to my last Harbor Freight order. I suspended the hubs across two pieces of steel and soaked them in a bath of PB Blaster… for three days straight. Rented a puller from Pep Boys to try to get them out. Didn't budge. Taking them to a shop to have them pressed out this week.
3. Removed front lower arm ball joints
Replacements arrived this week and I wanted to remove them before sending the suspension off to be powder coated.
4. Removed upper shock mounts
Took the spring compressor out of the closet and got to work on getting the upper mounts off. I'll likely be going with Raceland or Rokkor coilovers so I'll the need the mounts for those soon.
5. Disassemble Sway Bars and remove old bushings
Since the Energy Suspension master bushing kit includes new sway bar end link bushings I figured I would remove all the old ones before cleaning and repainting the sway bars. I did hit the sides of the end links with a torch for a few seconds to heat up the metal and break the seal with the rubber. After they are heated up, the effort to push them out is reduced by about half.
Front Sway Bar
Rear Sway Bar
Using a vise and sockets to push out the old bushings
Old bushings