|
|
Post by jgilbert on Jul 21, 2014 19:27:04 GMT
Ryan, Gearbox looks smart  Did you remember to drain the old oil from the box? New sealing washer under the drain, same as engine and diff so buy 3. Re the top front ball joints. Common practise is to leave them alone. Mask up well and tell the blaster what you have done. Yes you can wire brush and use a rotary wire brush in a grinder or drill but you will never get the same finish as blasting. Blasting will give you a rust free surface that will provide a great 'key' for either paint or powder. |
|
|
|
Post by greg on Jul 21, 2014 19:53:22 GMT
. Yes you can wire brush and use a rotary wire brush in a grinder or drill but you will never get the same finish as blasting. Blasting will give you a rust free surface that will provide a great 'key' for either paint or powder. Leaves a decent profile for the powder to bond with as well. Something I did with my last car restoration though, was to use a wire brush on a drill to help smooth some of the rust pitting (then sand blasted the part). This gives a much much nicer finish after the powder coating. |
|
|
|
Post by Stewart on Jul 22, 2014 15:54:12 GMT
I didn't have any issues with the upper ball joints. You could wrap some rag and tape around them, should help protect them.
Also, you won't need the under braces coated. I had them done on mine and they're still sat in the garage.
|
|
|
|
Post by exoRy on Aug 3, 2014 20:41:08 GMT
Hope everyone has been enjoying the good weather as much as I have.
As the old saying goes: Make progress on your kit car whilst the sun shines! Progress has been steady, but feels minimal recently.
Finally managed to get the PPF and diff separated. Tried and tried using gwnwar's method (but on closer inspection my spacer doesn't appear to have a thread - wonder if this has been replaced previously?), however after half an hour it didn't want to budge.
All separated, however this happened: 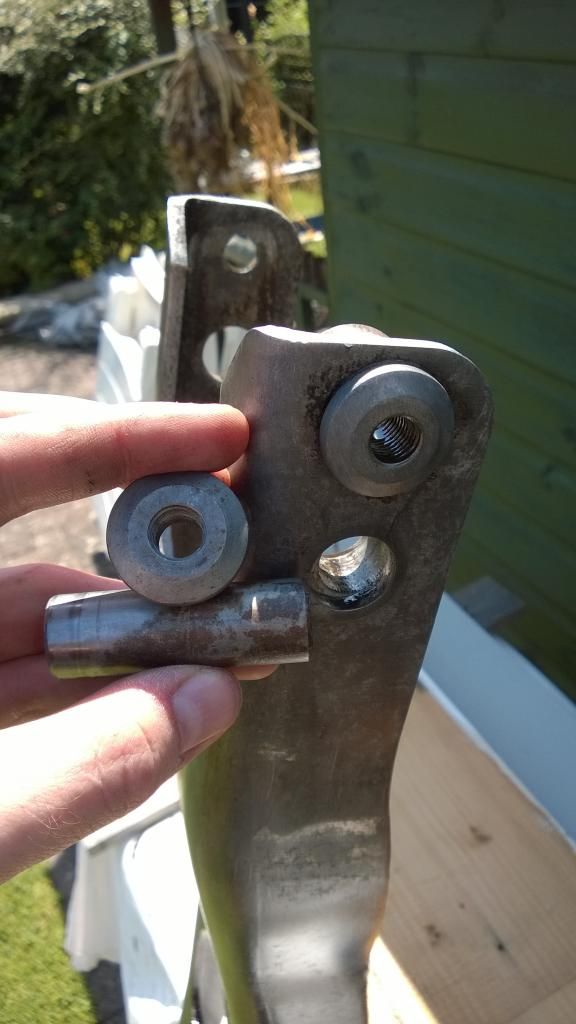
It came out very cleanly and the splines all look untouched and intact. Have read the horror story in the manual - "Replace the PPF if this comes out", but have also seen some sites that say that this should be ok......have others had this pop out too and has the bolt stayed in???
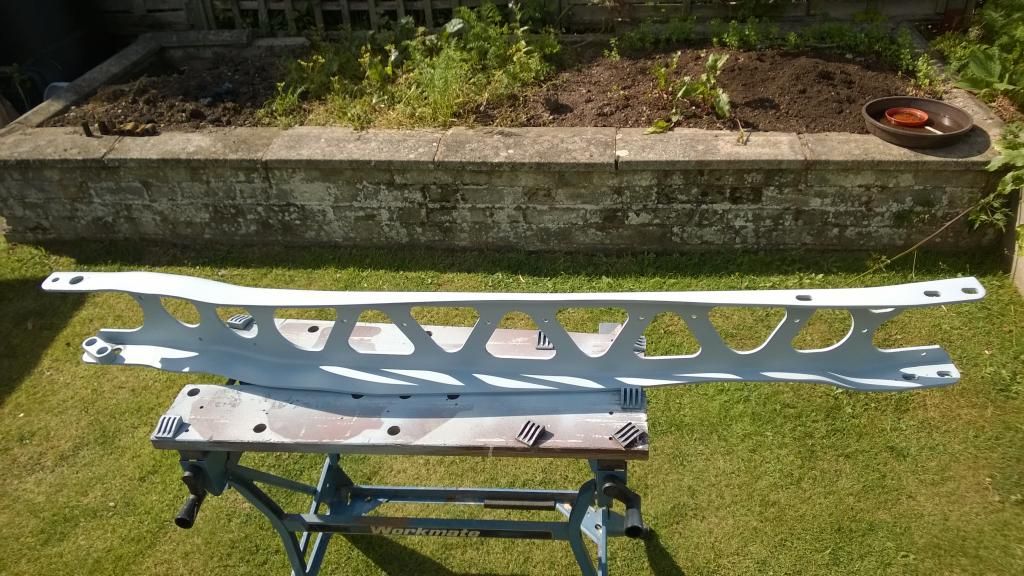
Spent all of today cleaning the ppf and the diff. Got the ppf cleaned and primed:
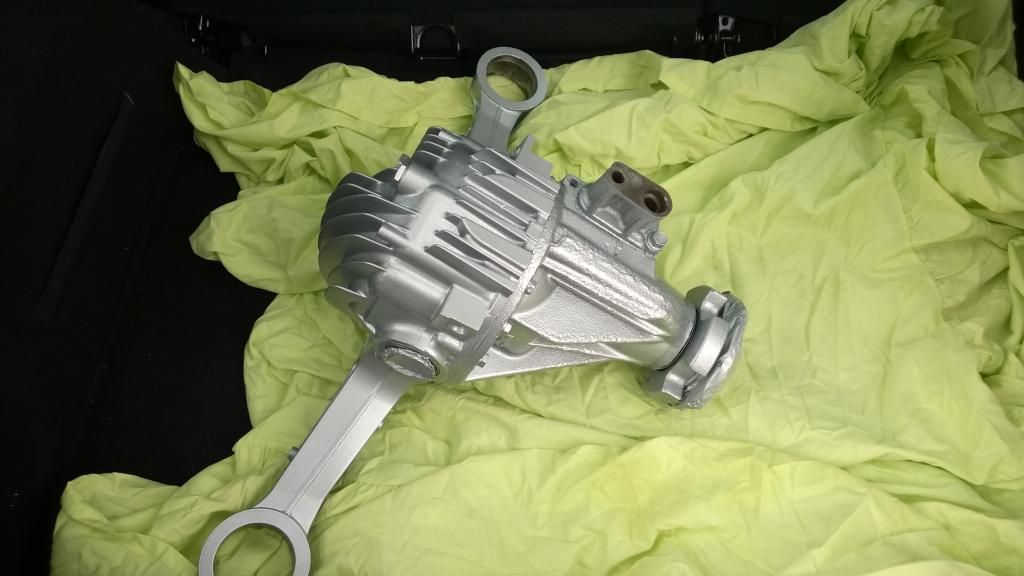
Got the diff cleaned, but didn't have a chance to paint so will be tackling this sometime this week.
Going on hols end of this week, so this pretty much sums up this chapter of the build. Am sure I'll be thinking about this thing constantly and "head planning" (I'm sure others do this all the time) all the stuff I need to get done when I get back.
One quick question; I've got the driveshafts out and the boots look fine, have you guys changed the boots regardless or just cleaned and painted the shaft where you can and left the boots in-tact?? |
|
|
|
Post by gwnwar on Aug 3, 2014 21:24:54 GMT
With the PPF nut put back in and then stake it in 4 places that should hold it.. I would leave the boot in place if they look good.. Unless you want to get to know your drive line even better..Not a hard job just messy.. Have a good holiday..
|
|
|
|
Post by exoRy on Sept 21, 2014 19:20:55 GMT
Been a bit busy adjusting to post-holiday life and there's been loads of overtime going at work so have been getting involved (want some Gaz Gold Pros!!!).
With most of the weekends been tied up in birthdays and various activities its been difficult to get some solid uninterrupted time on the car.
Got the diff bushes out
then went on to prime/paint - same as the PPF - Acid Etch primer and Hammerite silver:
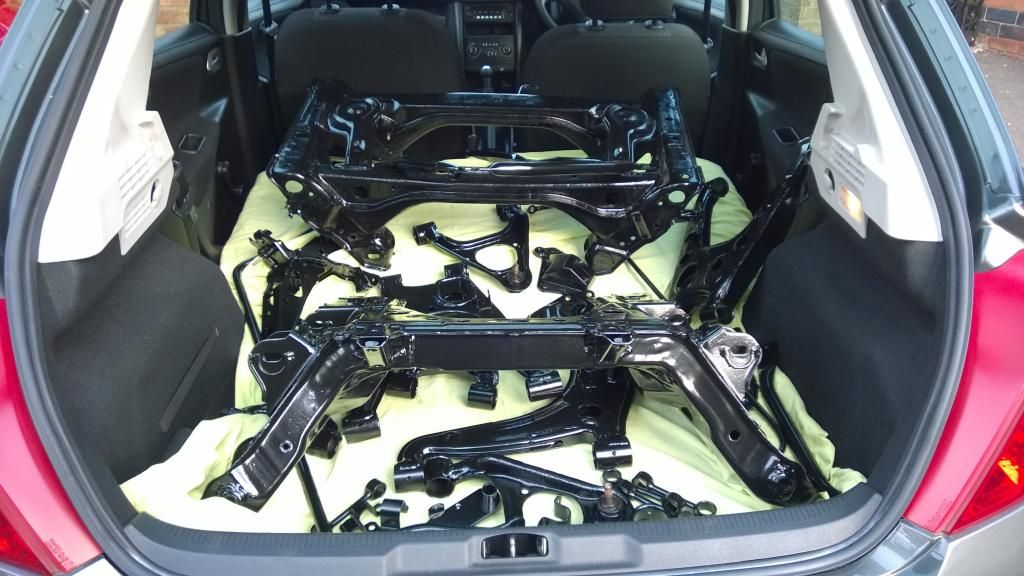
Managed to get stuff sorted for blasting/powder coating.
Went to 3D Finishers in Coventry (just behind the Ricoh Arena), got to say I was absolutely chuffed with the finish. Got all this done for a very reasonable £150:
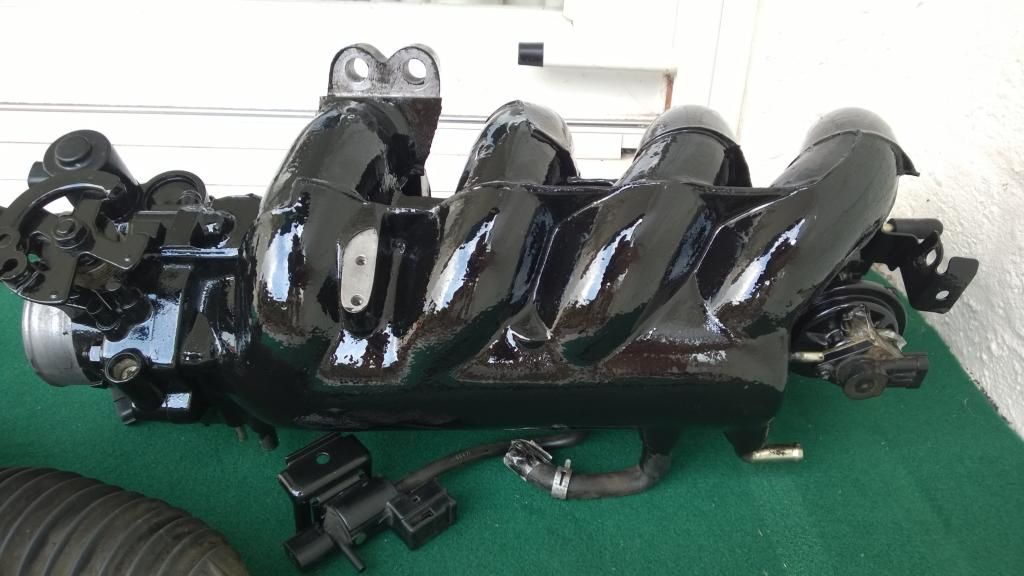
Spent this weekend cleaning the intake manifold and steering rack. Had the F1 on today as I was painting both in POR15: 
Intake:
Few weeks ago, painted the aging/corroding alloys (again in POR15), did this as I want them to look half decent when taking the exocet to its IVA, thought i'd get it done now as I had the stuff out. Will get new alloys after its passed its test, probably bigger than standard wheels as many others have done, however just wanted it to pass the speedo-reading test!
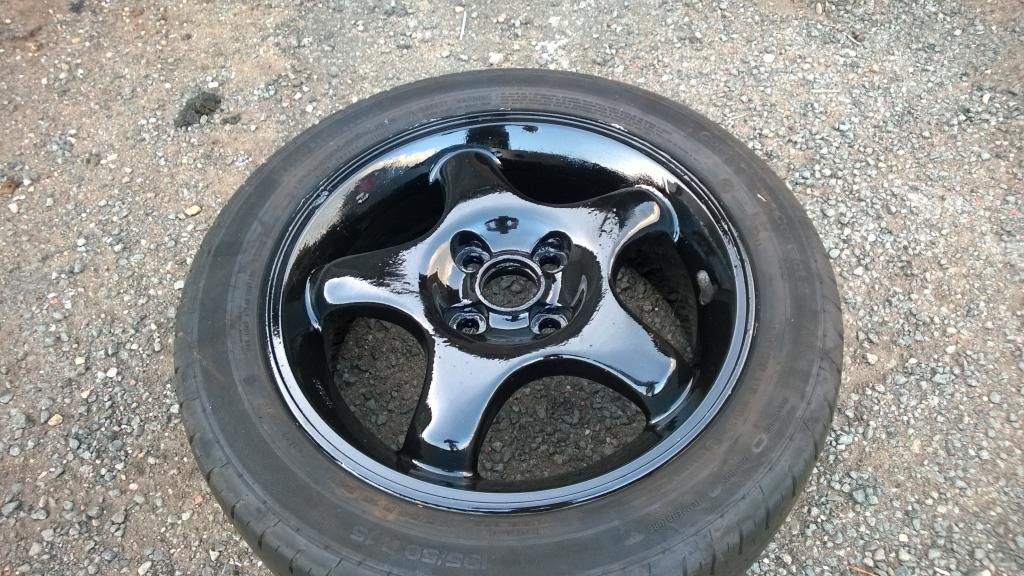
Came up quite nicely I think for 2 coats and no more than 1.5 hours work (drying time between coats not included)
Spent the last few hours of daylight today fitting the energy suspension bushes in the suspension arms and droplinks. Saw others have used vices etc some had frozen some bushes to make them more easy to get in.
However I just used a flat bit of wood. and leaned on it and they slowly slid in. Didn't take as long as I thought, one note: that "grease" is very sticky, did think they'd wrongly supplied me with a pot of PVA glue instead :S
Sticks to your hands and wont wash off - bit of the old white spirit and it came off no probs.
Can't say the same for the POR15 - boy does that stuff stick, ran out of rubber gloves, but just decided to just get some parts painted and take the hit...
Next weekend will see more cleaning - need to get the rear hubs cleaned and painted - then will take them to a garage to get the last lower bolt out (has had a serious going over but will need a tad more persuasion), garage will put the new wheel bearings on too
Then after that its engine clean/paint/service time. Need to get this done before I start putting the chassis back together as space is a little restricted in the garage and given the weather will be getting worse, didn't want to roll the chassis out in the (likely) rain whilst working on the engine.
|
|
|
|
Post by petee on Sept 23, 2014 17:07:35 GMT
Sorry for my ignorance, what does PPF stand for?
|
|
|
|
Post by martinw on Sept 23, 2014 17:20:32 GMT
Power Plant Frame - it's the big girder thing that links front and rear subframes on the MX-5. Unrelated, but it also stands for the Pension Protection Fund......which was established to pay compensation to members of eligible defined benefit pension schemes, when there is a qualifying insolvency event in relation to the employer and where there are insufficient assets in the pension scheme to cover Pension Protection Fund levels of compensation.  I'd stick with the first definition on this forum tho!  Martin |
|
|
|
Post by mawdo81 on Sept 23, 2014 17:24:39 GMT
You try shot blasting the second
|
|
|
|
Post by petee on Sept 23, 2014 19:21:09 GMT
Cheers Martin.
Ryan, is the por15 heat resistant? Thinking about the intake manifold.
|
|
|
|
Post by exoRy on Sept 27, 2014 17:16:06 GMT
petee - POR15 is heat resistant to ~450F (232C) - I think the main concern with POR15 is that its UV sensitive and painted parts will apparently start to turn grey/white if left out in the sun for prolonged periods.
More cleaning today, cleaned up the clutch slave cylinder and painted. Cleaned and painted one of the drive shafts (the other is still attached to the hub) - garage will be getting that out when I take the hubs to have their bearings fitted!
There's still a lot of car bits at the house, but they're slowly moving in the right direction (to the garage).
Came across these I removed from the diff/rear subframe.... 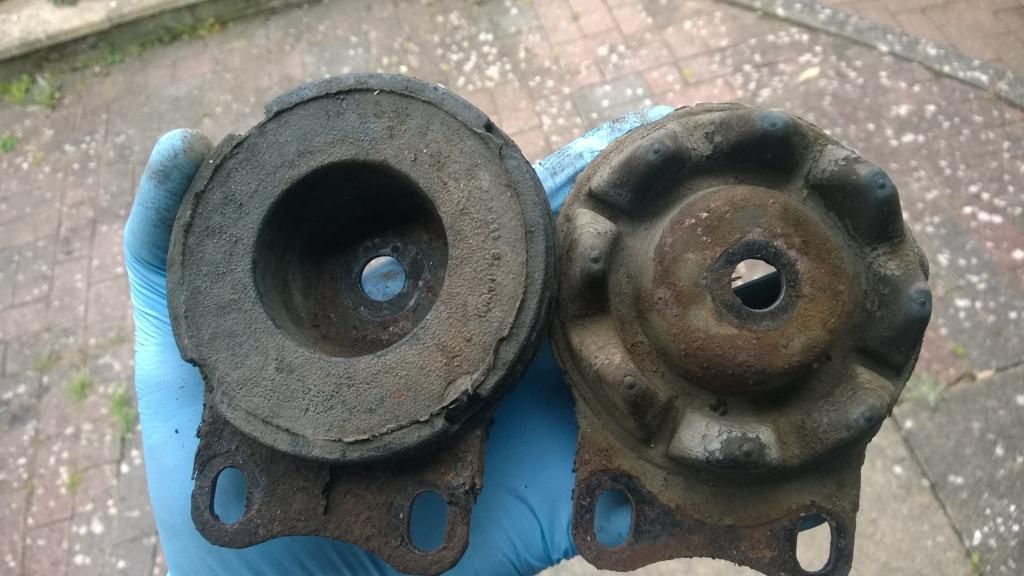
I take it these are still needed? what have others don't to clean them up?? if anyone has at all...
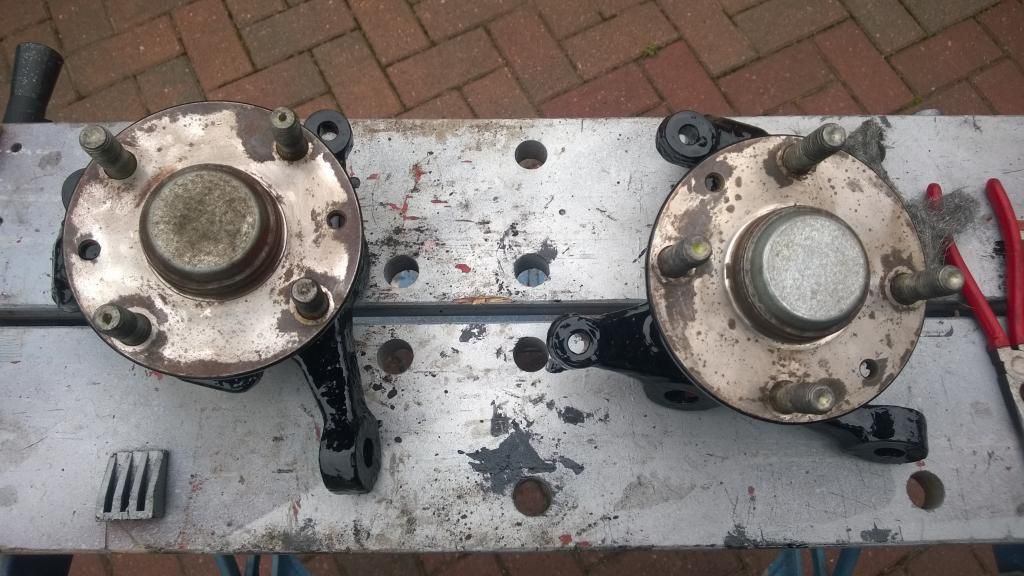
Also have noticed a few rust spots appearing on the painted front hubs, the face of the hub is pretty flat (the darkened areas have been wired wool'd down), however was wondering if I could get away with painting it to protect from rust?
Or if it needs to stay clean to sit flush with the brake disc?
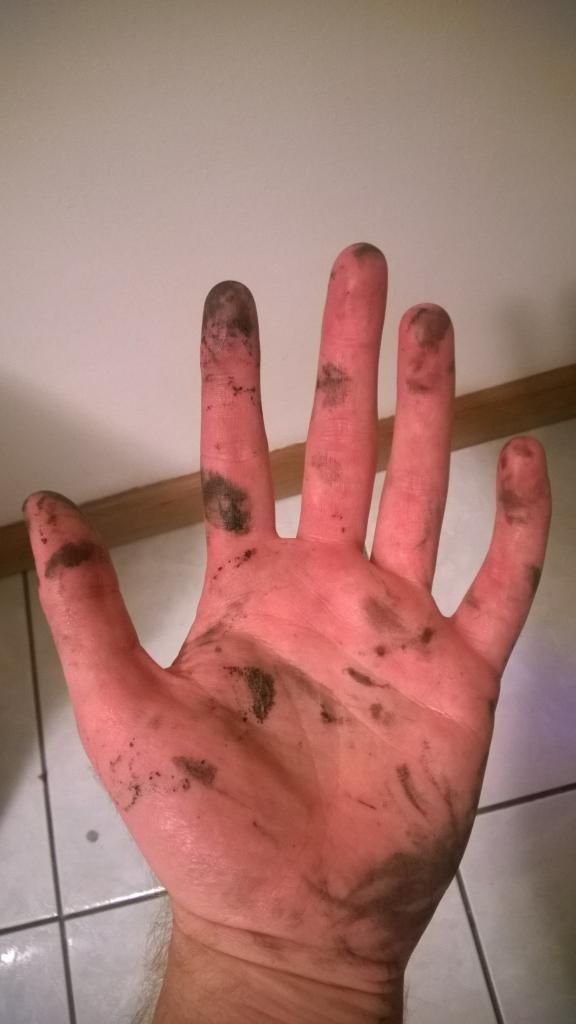
The eagle eyed will notice I bought some more gloves! Will be able to get some work done this week without people asking me every 5 mins - "What have you done to your hands???"
The black patchy hands also scared my mates 2 year old daughter - either she takes a dim view on lax hand hygiene or she thought I was some kind of monster :/
|
|
|
|
Post by jgilbert on Sept 27, 2014 19:56:46 GMT
Yes, 1st photo are the sub frame mounting bushes. Depending on what bush set you got you many have replacements. The energy suspension kits include these. From memory you can pry them off. Clean up and POR the metal brackets.
|
|
|
|
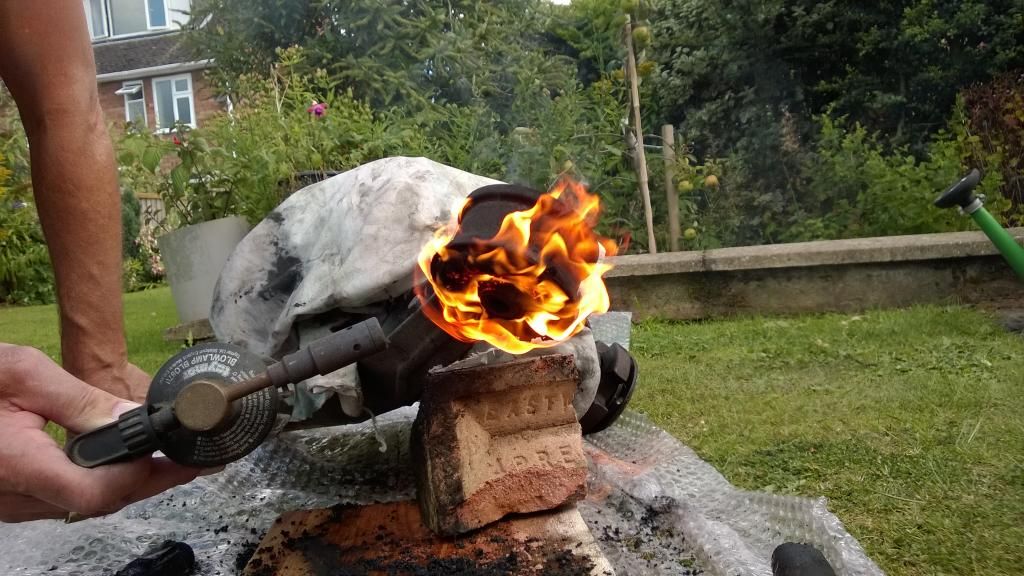
Post by exoRy on Sept 30, 2014 19:15:50 GMT
Cleaned the sub frame mounting brackets after burning the rubber off. Just enough heat to get the rubber going then let it sit burning for a while and used a length of wood to help encourage the "teeth" on the underside of the mount - the bit of rubber on top just fell off easily! No warping to the brackets and give them 2 coats of POR15. Also cleaned up the lower ball joints and more POR15 - will get 2 boots on order as they are looking a bit tired. What grease do you use for ball joints? I have a pot of Lithium (High temp/high pressure) grease and wondered if that'd do the job. Reassembled the pedals on the bench as best as I could ready to just pop into the car and connect a few bits. Used the Lithium grease on all the parts which move - used the enthusiasts manual which clearly pictured which bits need coating and made it a painless experience. Will be moving the engine into the centre of the garage on Thursday (will give easy access to all angles whilst the garage is still free from subframes/wishbones etc.), ready for a full weekend getting it ready for a de-grease and paint! Looking forward to getting the engine done as that'd mark the 99% majority of cleaning/painting parts and I can just get on with the build! Still wondering about the hub faces in the previous post if anyone could quickly chime in I'd be really grateful |
|
|
|
Post by exoRy on Sept 30, 2014 19:22:23 GMT
The cleaned and painted brackets 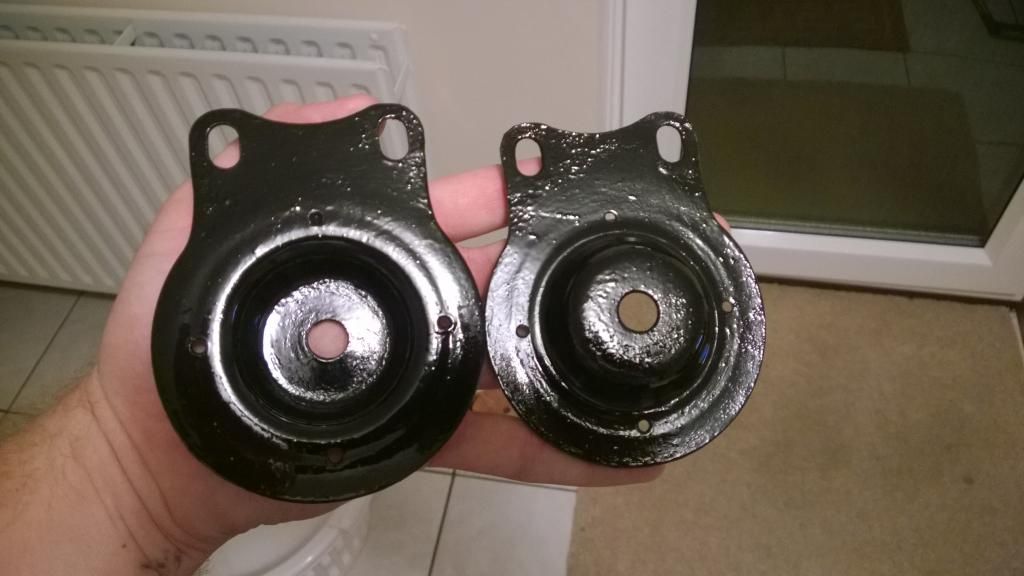 Rock 'n Roll  |
|
|
|
Post by donboy1983 on Sept 30, 2014 21:59:46 GMT
I used the fire method tonight and it worked a treat, got a little fire going, put them on and 5 minutes later the rubber fell off :-) cheers Ryan.
Cleaned them with a wire brush and coated in primer ready for some hamerite tomorrow.
|
|


