|
|
Post by ancsportscars on Oct 5, 2017 7:27:31 GMT
That is strange bearing in mind mine is a 98; it does look like my engine is further back than yours I'll take some measurements tomorrow from back of cam cover to bulkhead and post. I don't think the position of the engine is the issue. if you compare the position of the member in question to that of Tojeiro's, you will see that his is sat some 3/4" or so further back on the subframe (using the hole in ther subframe as a reference.) Have you removed and repositioned the mounting plate as it is significantly offset to the rear - in relation to the member? (rather than welded centrally.) This is a picture of the master chassis in the jig which hopefully shows what I mean. (Whoops! 2nd picture is top picture turned 90 deg to match orientation of yours!)   |
|
|
|
Post by R2S on Oct 5, 2017 16:32:57 GMT
Good spot you are right it looks like my early chassis is somewhat different to current ones with the bolt hole you show on mine being behind the frame rather than in line.
I do think there is some merit in checking the engine mounts I just couldn't get them undone today and had other things on my to do list.
Electrics are coming along and quick fit of grp dash shows this will also need some modification if I am to get seat, steering and dash 'display' to line up.
|
|
|
|
Post by R2S on Oct 6, 2017 16:13:45 GMT
Well she runs and really sweet too, four years since the donor was stopped and all wiring ripped out. Have to confess its the same fuel in the tank that was there when stopped!
Few minor hiccoughs, battery light goes out on start up but comes on after about thirty seconds of running, fuel gauge not working, and that, touch wood, appears to be it............really dont know what I was worrying about.
As for the exhaust clearance tried loosening off the engine mounts but little or no difference, in the short term its going to have to be the Big Friendly Hammer.
|
|
|
|
Post by tojeiro on Oct 6, 2017 17:14:36 GMT
Result. It’s a big relief when it runs and really seems like progress has been made.
Weirdly I had exact same issues with fuel gauge and battery light. Both solved themselves without me doing anything particular, maybe an earthing issue.
Way behind with my updates, spent last 2 weeks welding brackets and exhaust (nearly done)
|
|
|
|
Post by gwnwar on Oct 7, 2017 5:16:20 GMT
At the fuel plate ground the wire for gauge I believe it is the yellow wire.. With the key on the gauge should swing full.
This takes a few seconds.. also check both black ground wire into the connector..If it does swing wires are good and problem is in tank.. Some time after a tank sits the gauge float sticks. Hitting top of tank with a rubber mallet some time helps..If that does work
pull the unit..
|
|
|
|
Post by R2S on Nov 12, 2017 11:02:58 GMT
Few photo updates from Friday mornings visit to workshop. I have placed firewall/bulkhead on engine side of chassis/frame 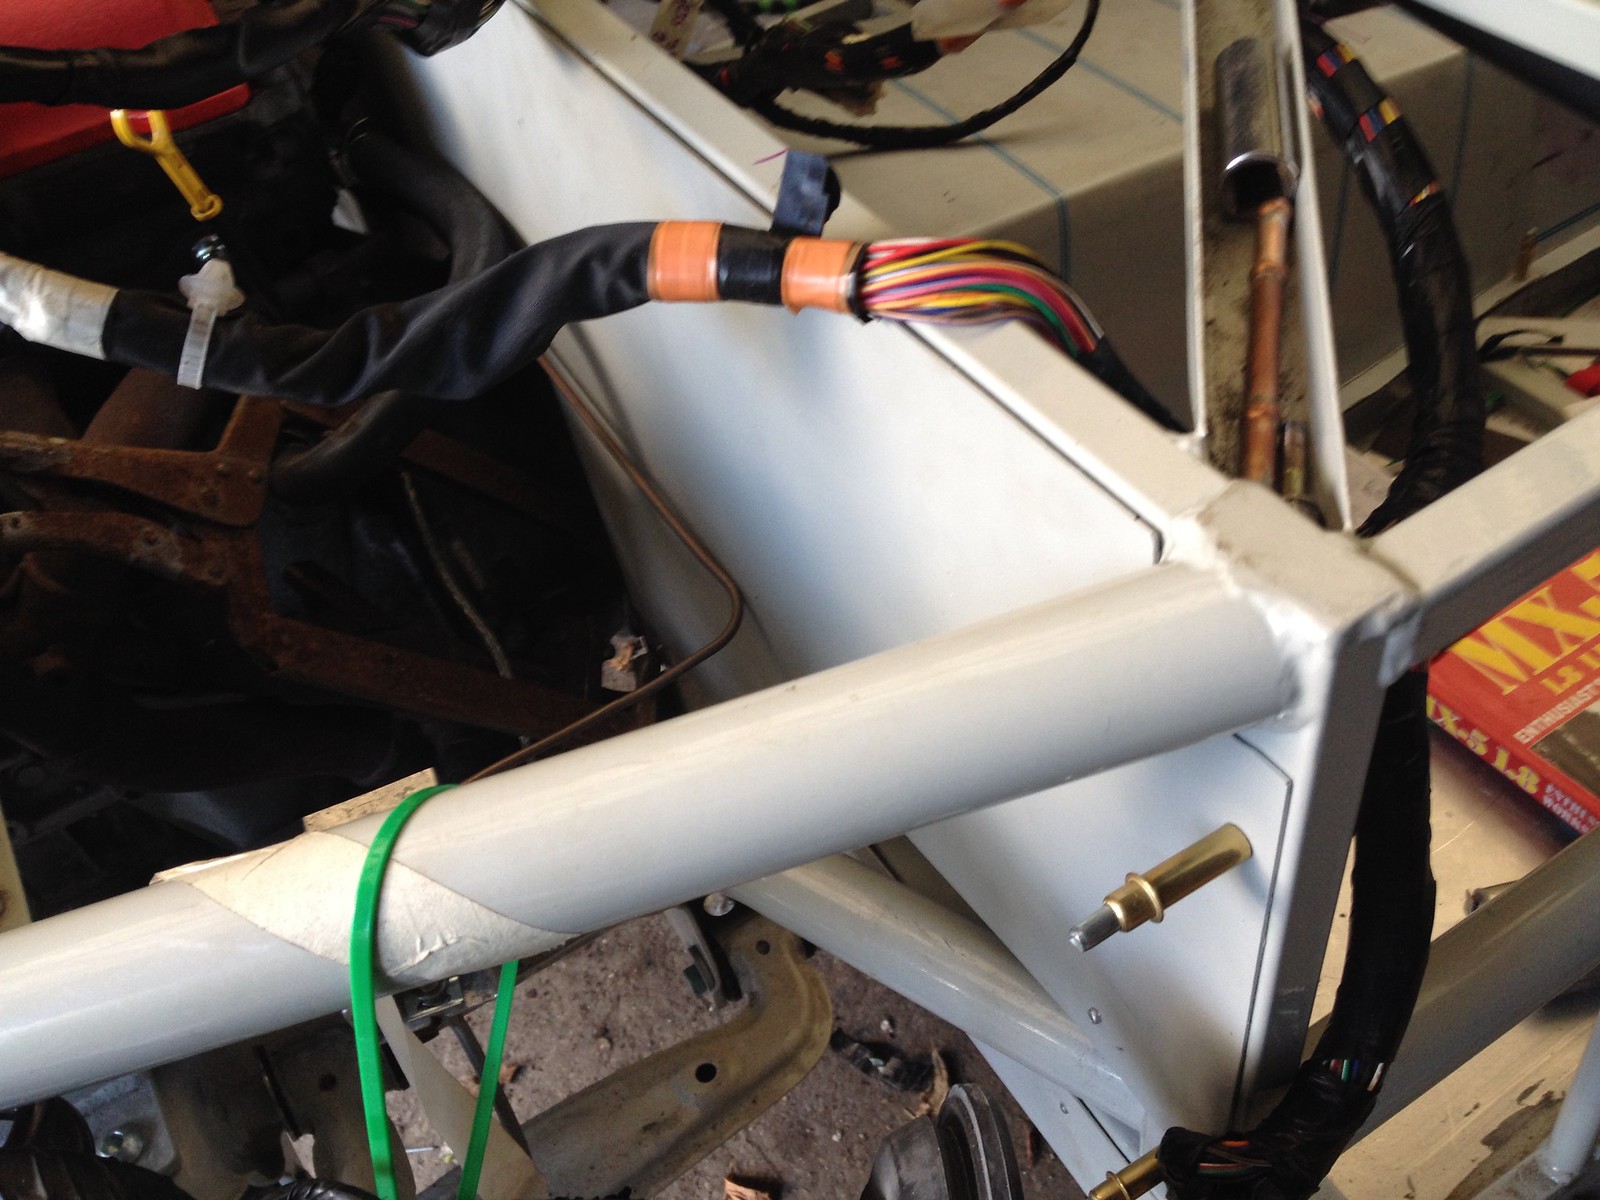 which required a small plate to cover the curved chassis rail as it enters cockpit (sorry photo a bit out of focus) 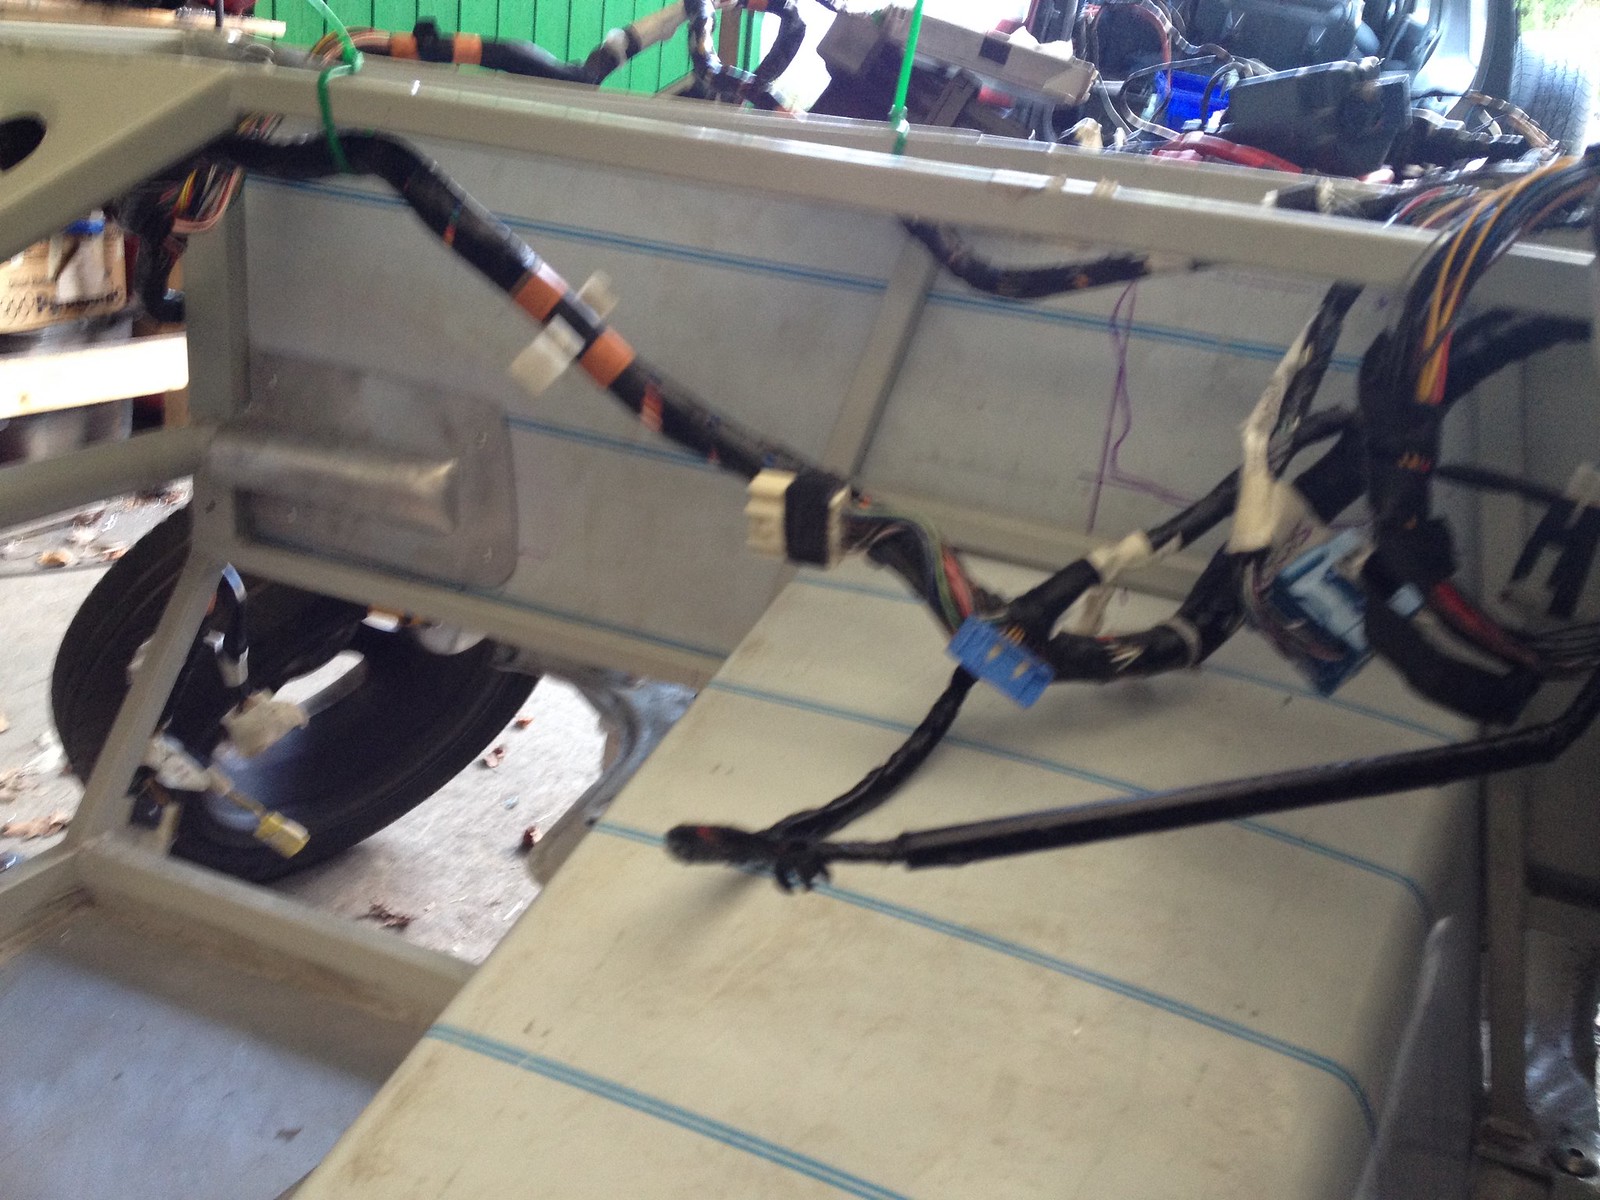 And transtunnel now nearing completion. 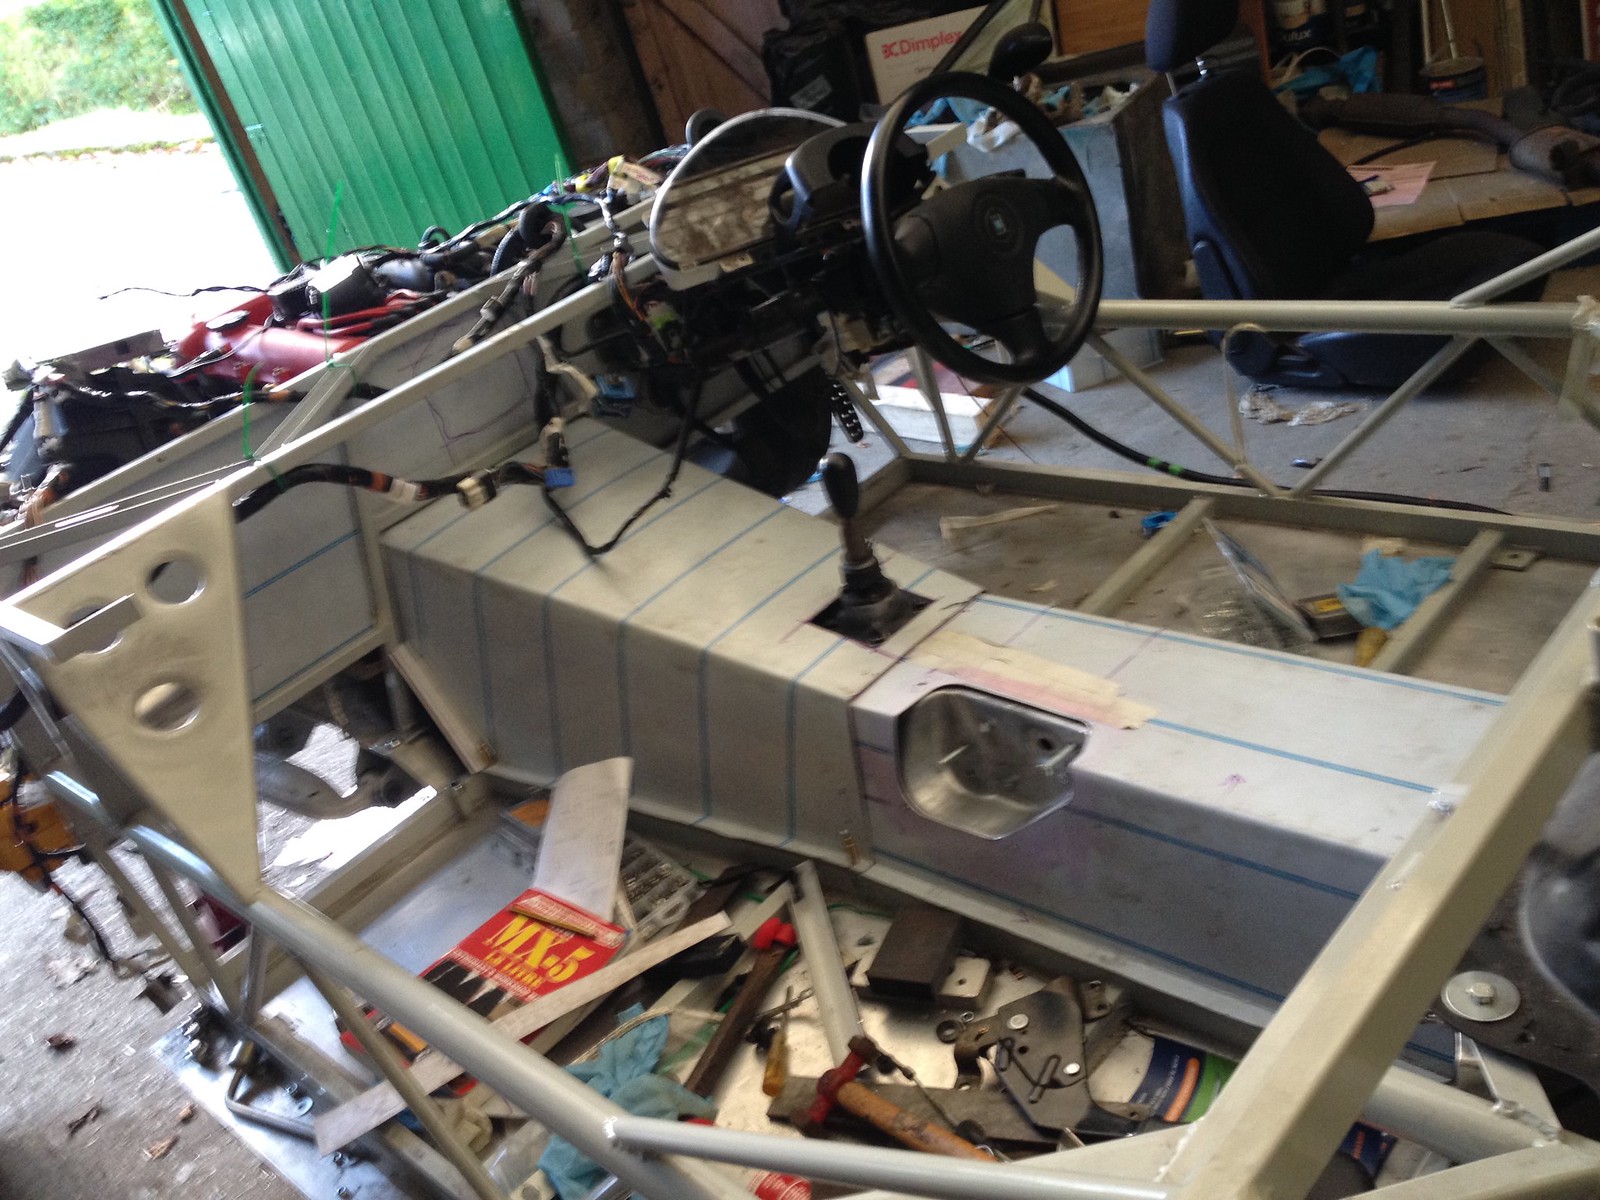 |
|
|
|
Post by R2S on Nov 28, 2017 18:20:40 GMT
Today I offered up the body to the chassis for the first time.....................I can see light at the end of the tunnel 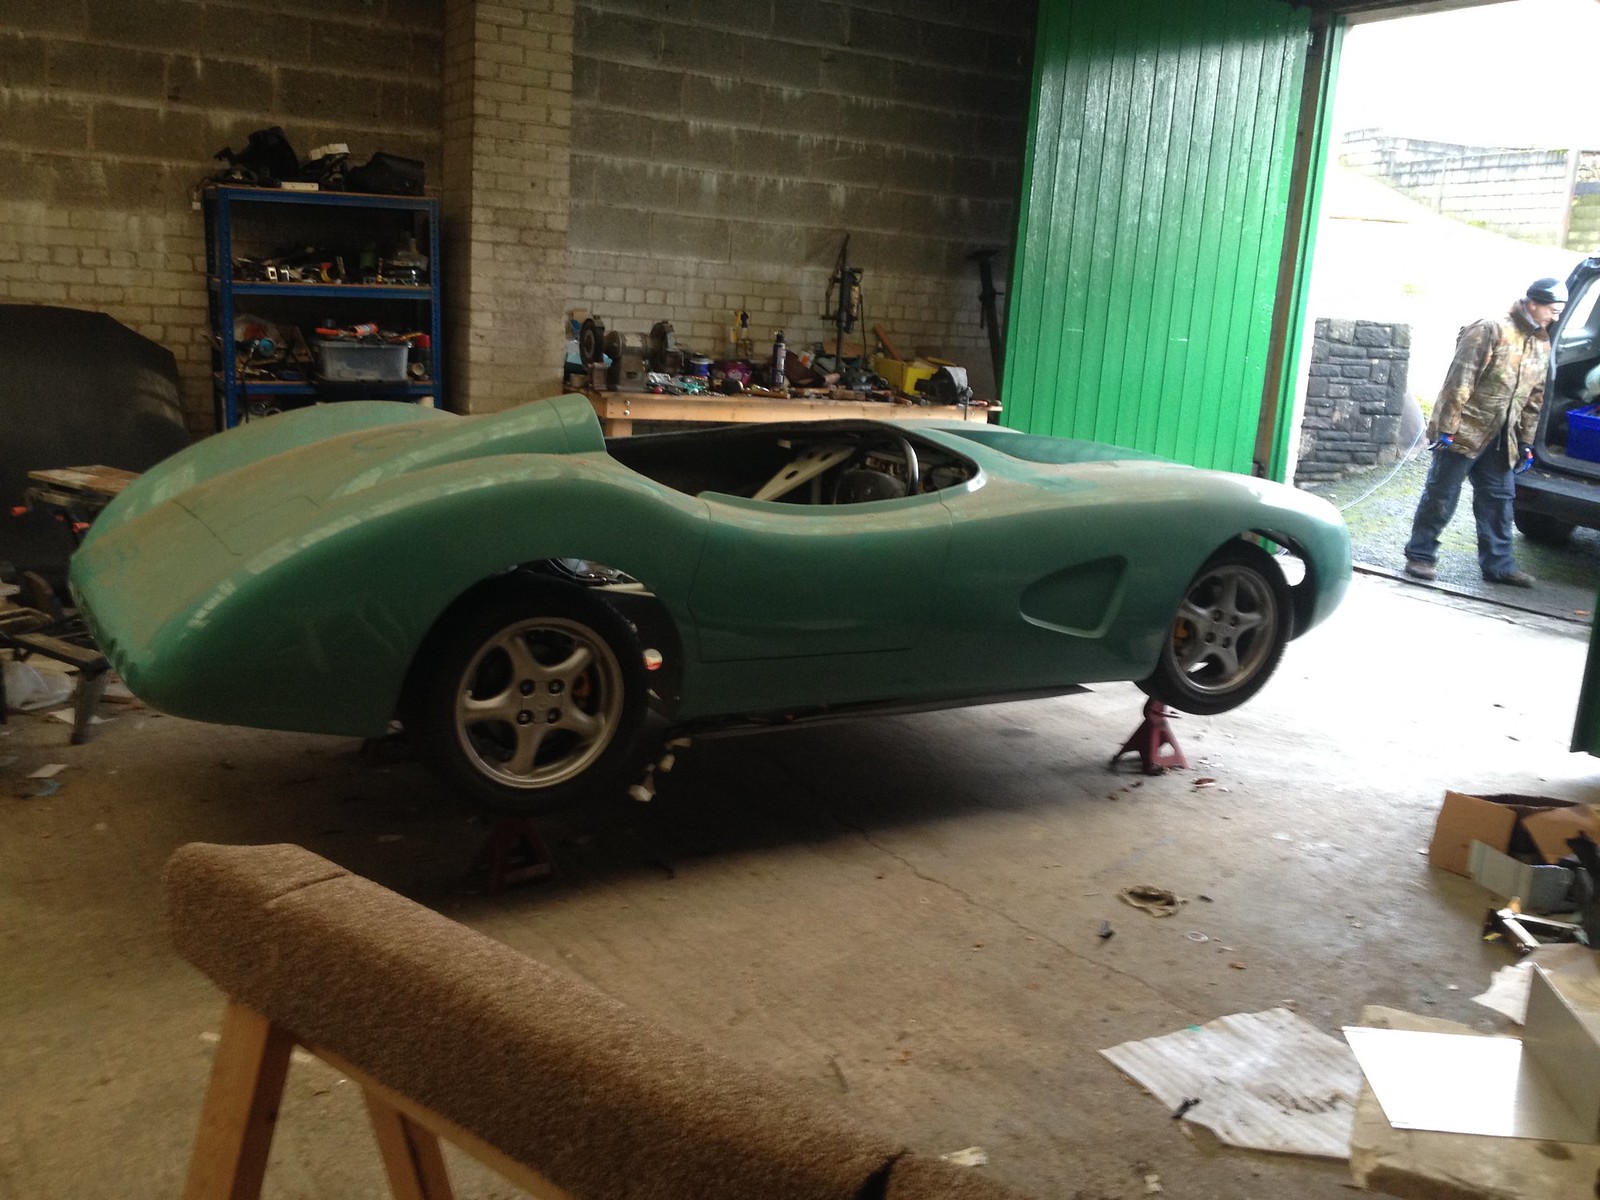 Can I ask those who have fitted their bodies does the position relative to the rear bulkhead cross rail and radiator cross rail look about right? 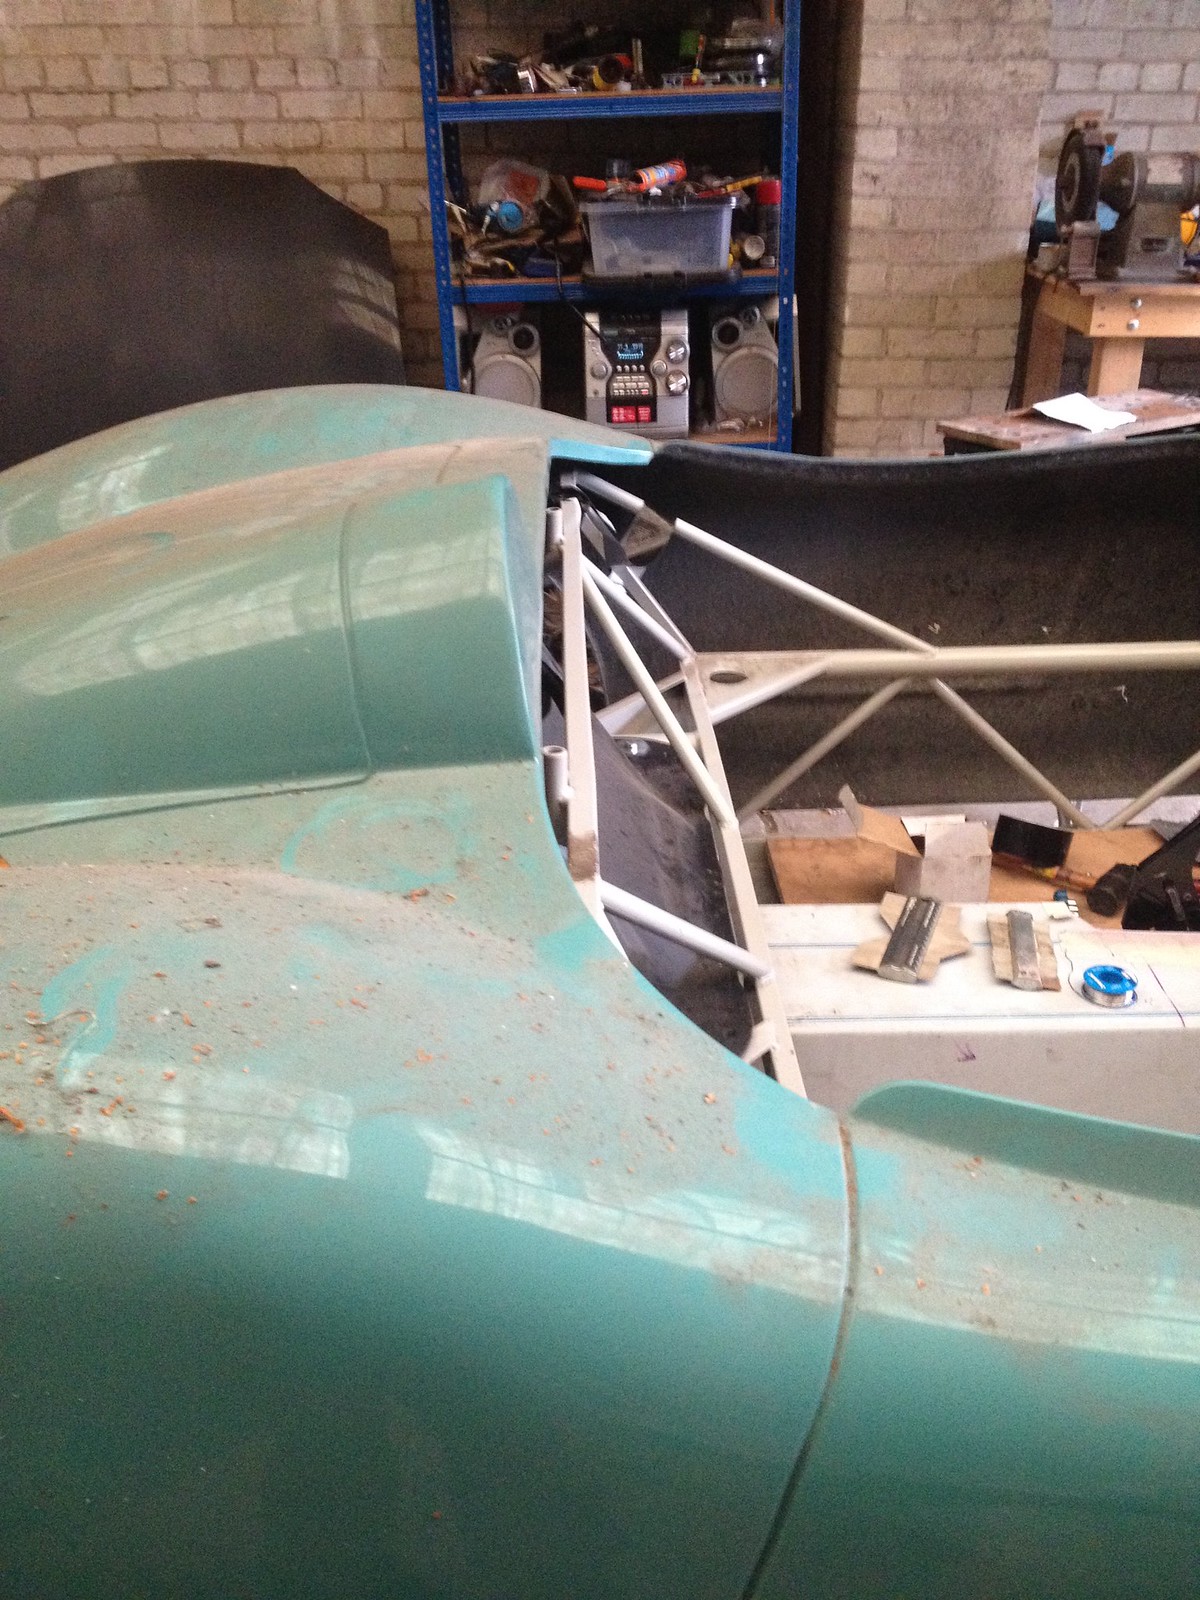 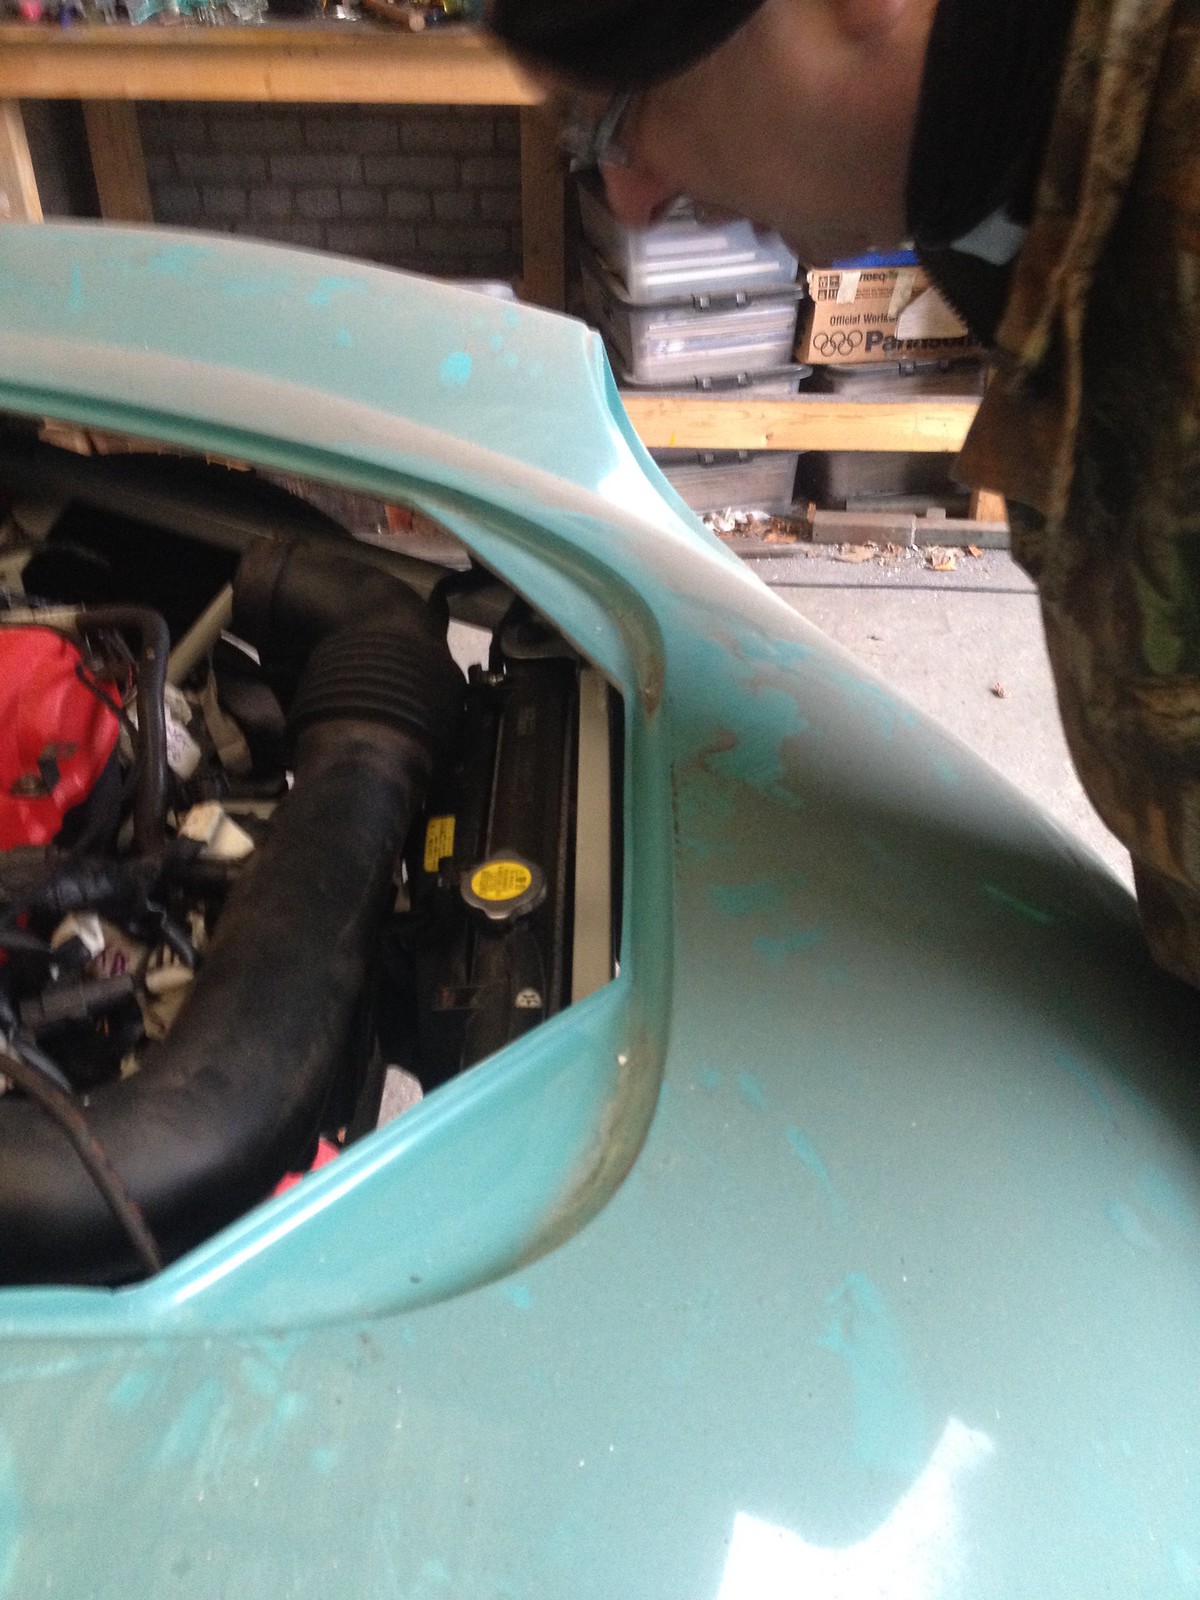 Also front track looks strangely narrow under the body, anyone else noticed/thought this? |
|
|
|
Post by tojeiro on Nov 28, 2017 18:33:46 GMT
MX5 front track is quite a bit narrower than rear, thinking about 10mm spacers on front and 5mm on rear on mine, but will need new extended studs.
|
|
|
|
Post by stevednorris on Nov 28, 2017 20:28:36 GMT
I’ve put 27mm spacers on the front and 25mm on the rear from Freaky Parts.
|
|
|
|
Post by R2S on Nov 28, 2017 20:58:48 GMT
I’ve put 27mm spacers on the front and 25mm on the rear from Freaky Parts. Did you IVA with the spacers in place? Rears dont look too bad on mine but fronts really look wrong. Also longitudinally am I somewhere close to position you settled on (using the two cross beams as reference)? |
|
|
|
Post by Stiggy on Nov 28, 2017 21:51:54 GMT
The body looks to be about in the right place.
The Replicar width is 60mm wider than an MX5. When we fit the chrome wire wheels the offset is low and hence they look correct. You may need 30 mm spacers all round, same applies with the BMW Mini wheels, spacers still needed to look right.
Also your tyres look quite low profile so they will not fill the arches very well.
|
|
|
|
Post by R2S on Nov 28, 2017 22:23:57 GMT
I dont have any tyres on the wire wheels I have but will take them across on Thursday and have a look where they sit relative to body sides.
|
|
|
|
Post by stevednorris on Dec 1, 2017 17:00:45 GMT
I put the spacers on after the IVA.
|
|
|
|
Post by R2S on Apr 12, 2018 22:19:38 GMT
Can anyone who has completed build and used original dash post a picture of reverse of GRP to show just how high up it needs positioning as Id like to do this job next but dont have final position of dash established and therefore dont know how much Ill be cutting out to clear the steering rack. Hopefully this request makes sense; presume it will to those who have faced this particular challenge.
|
|
|
|
Post by ancsportscars on Apr 13, 2018 8:48:47 GMT
Gary, You need to get it as high as possible but still being able to push in connectors without fouling. In order to do this, I removed material with a dremmel from the top left of the cluster housing (viewed from rear) but be careful not to damage the flexible PCB in doing so. I'll try to post pictures if I can. (if not, I'll send them to you via messenger on my FB page.) I'll update my build blog in the fullness of time anyway (am flat out at the moment getting the demonstrator as complete as I can for Stoneleigh and dealing with orders etc..) Andy.      |
|


