|
|
Post by dgibson on Oct 27, 2013 13:34:08 GMT
Thanks for the feedback - much appreciated. I will certainly keep an eye on the paint - the POR 15 seems to be a bit different than other paints, but previous experiences with clamped surfaces is well noted.
Reading the manual, there is a note buried in the text (Picture 7) about the front and rear top A arms are different lengths. It is a bit hard to tell, as the front brackets are open to adjust the camber. So I can fit either set in front. So I concentrated on the rear and the right A arms fit with very little effort.
Indeed, the rubber mallet has been used a few times already!
|
|
|
|
Post by dgibson on Oct 28, 2013 1:01:58 GMT
Thought I should take picture of my e-brake setup before taking it apart and switching sides so the cable comes out the top, instead of the bottom. Once the bolt in the middle of the picture is removed, it took some gentle rocking back and forth and leverage from below to get the bracket off the splined shaft. 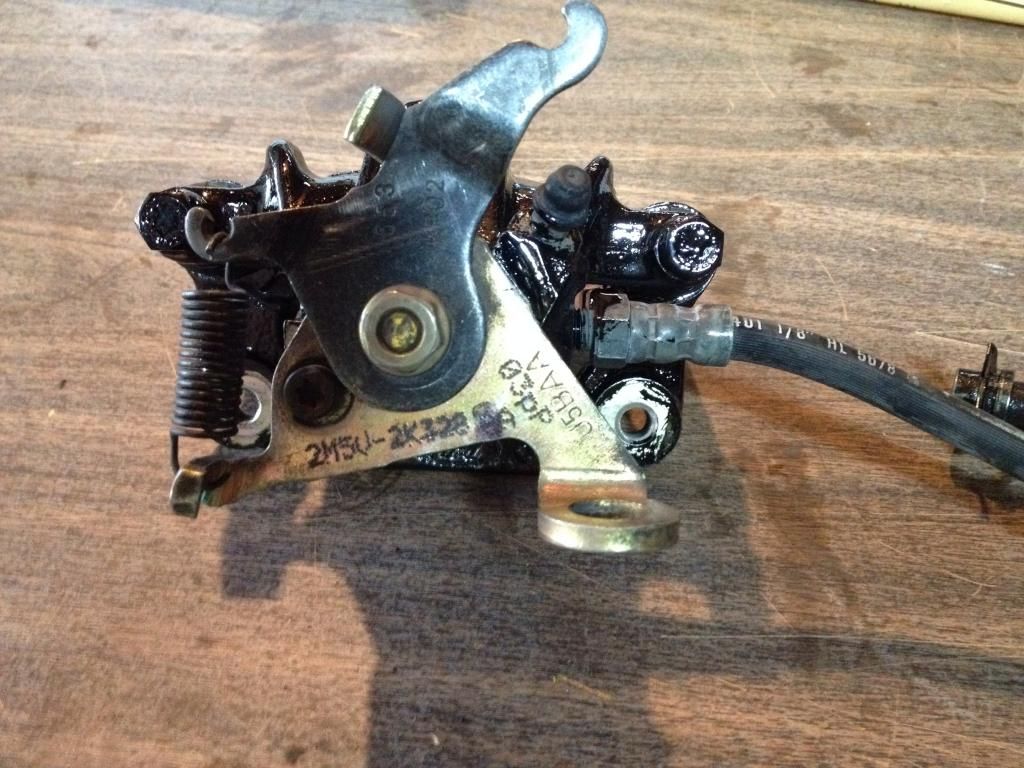 With the photo at hand, was simple to put it back on the other side with the proper orientation. Could not resist mocking up the front suspension - thought it would make sense to have it held level, given the comments of several people who have had the rubber on the suspension ball joints crack. Would it be easier to set up my suspension with it level? 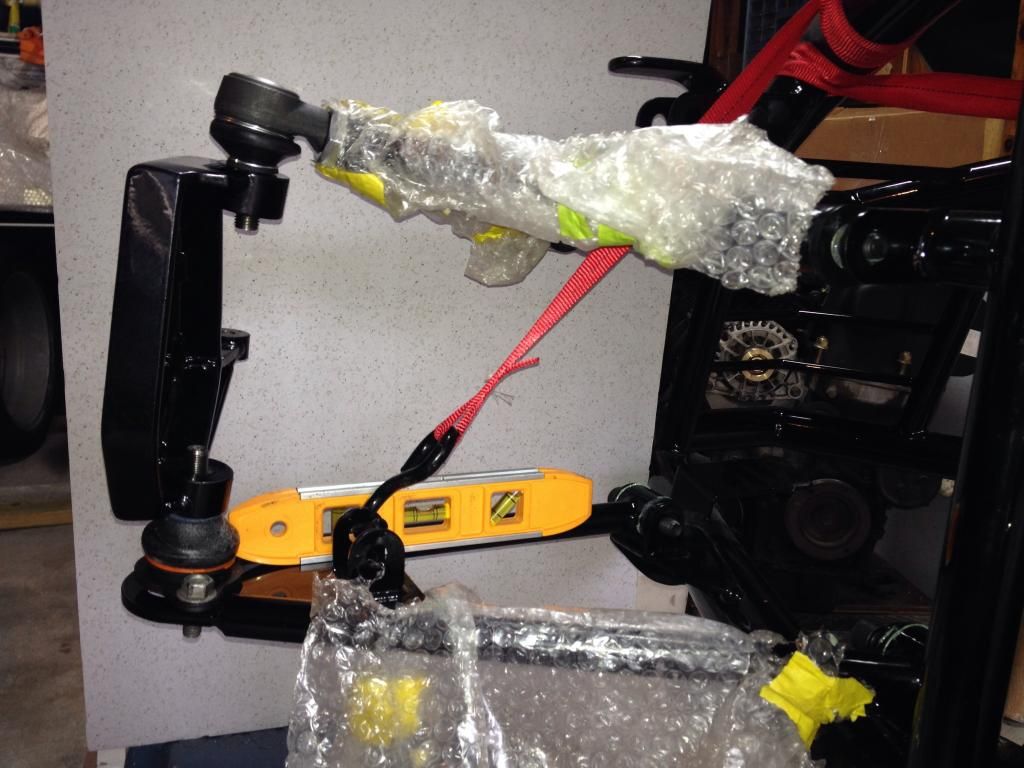 A few more bits added to the rear suspension mockup. 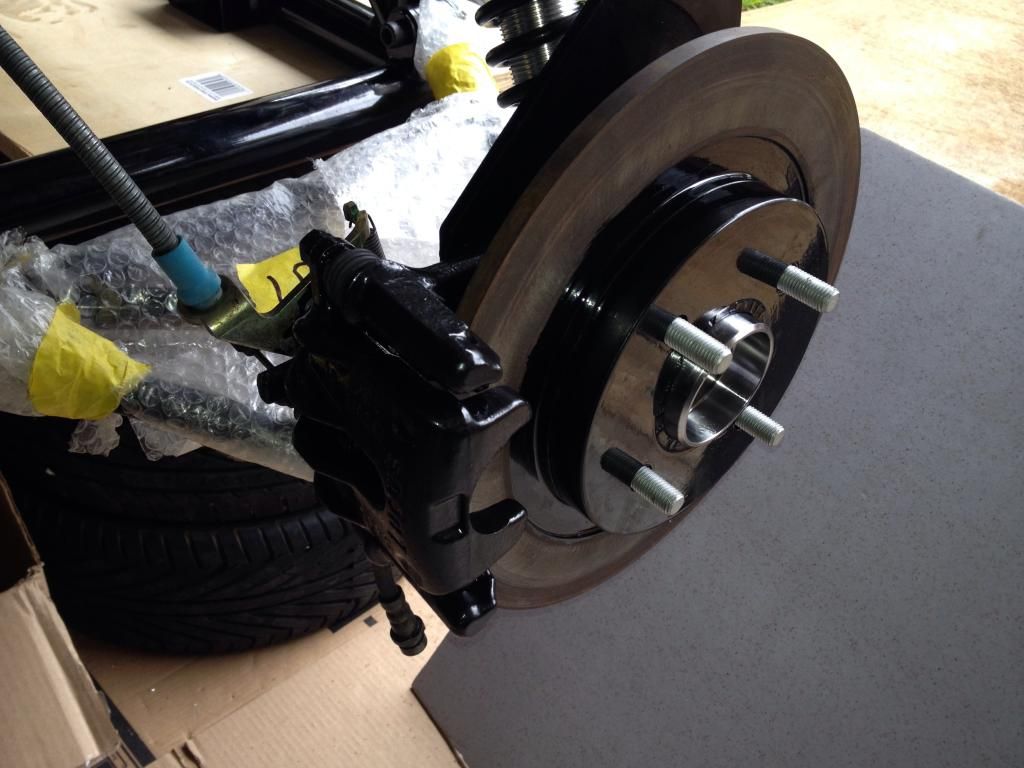 |
|
|
|
Post by kiwicanfly on Oct 28, 2013 7:09:41 GMT
Could not resist mocking up the front suspension - thought it would make sense to have it held level, given the comments of several people who have had the rubber on the suspension ball joints crack. Would it be easier to set up my suspension with it level? I keep my suspension on support blocks at all times, not to keep it level so much but to prevent loading in the wrong direction, with the wheels on there is quite a load pulling on the shock. Maybe not required but certainly gives me piece of mind at zero cost. By the way when did you escape NZ? |
|
|
|
Post by dgibson on Oct 31, 2013 0:33:29 GMT
After fiddling around with the front hubs and orientations - I checked out the Technical section and saw how it is done. Front Mount Exploded diagram with approximate orientations  and from the back side - does this offset from the Wilwood mount to the caliper look about right? it is about 25mm (1") 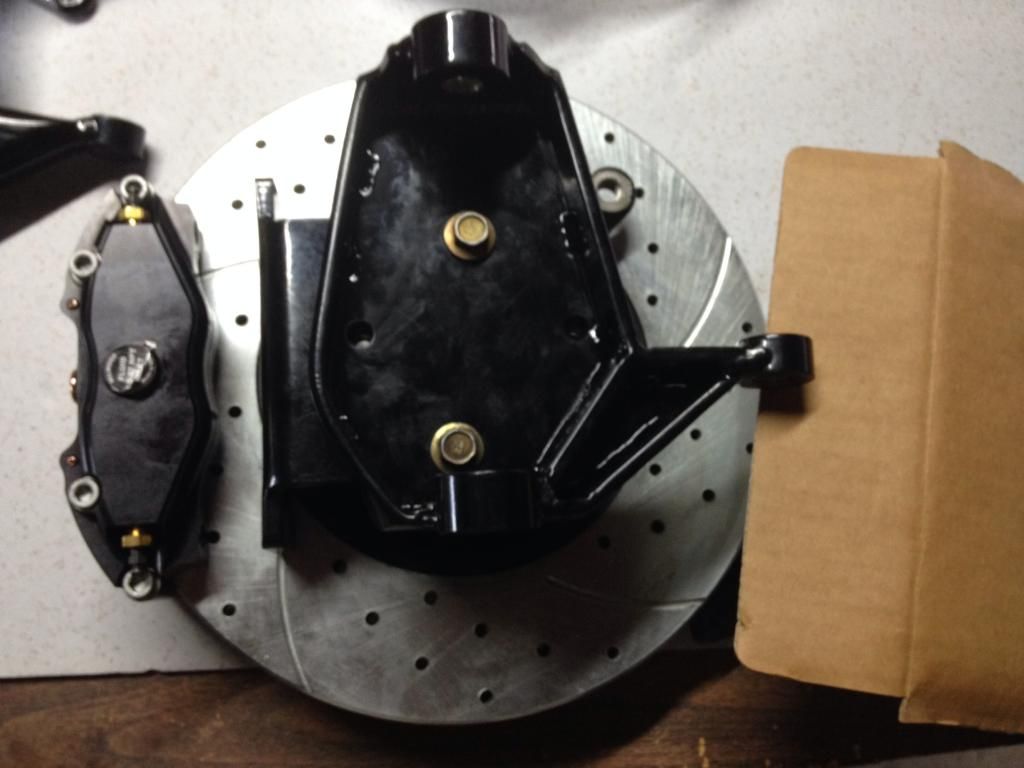 Rigid Suspension Not sure if that title makes sense - but while it is off the floor, want to avoid the dreaded droop, and damage the rubber ball joint covers, so leveled the lower A arm, and then put a piece of thick wall pipe in place of the shocks. it might help me do a preliminary alignment when I get it on the wheels. right now, it is under tension, but when on the wheels, it will be under compression. It is a straight pipe, so I figure it is a fairly solid triangle. (ie, it should not collapse on me!) I 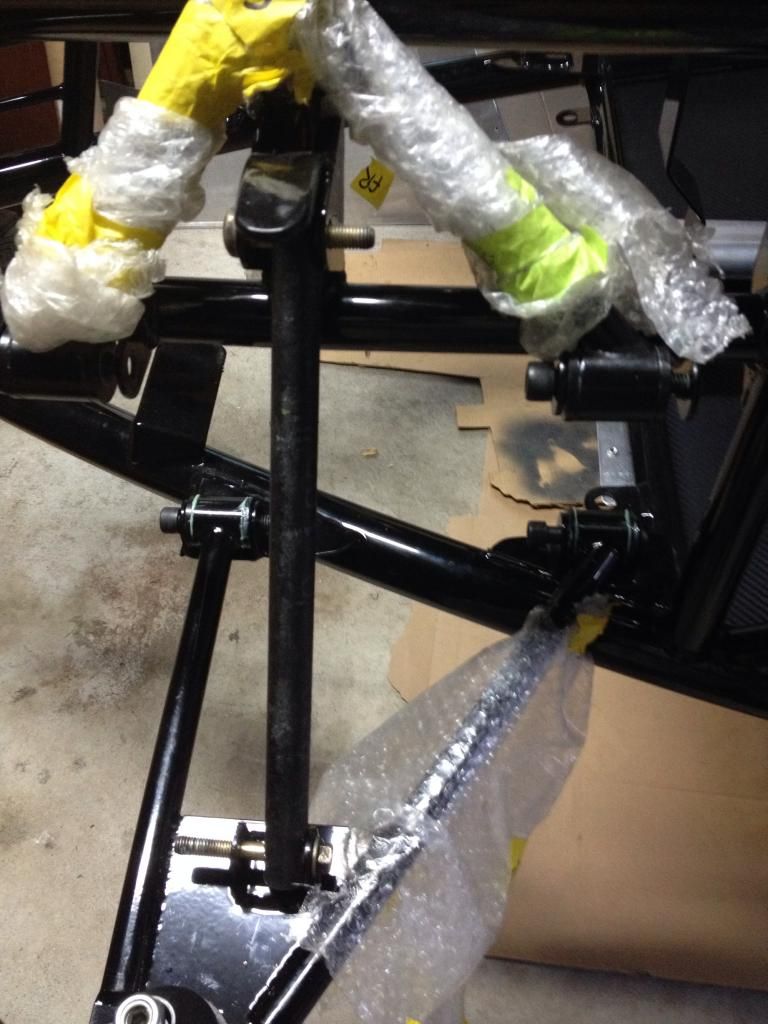 |
|
|
|
Post by drbrian on Nov 3, 2013 2:53:18 GMT
It is looking great David,
Everyone else, I am the red head fellow in the first picture on the first page of this thread, living down the street (literally) working on my own sonic.
I can't wait to come over and do some building this week with you!
Brian
|
|
hd2000
Newbie
 doveracing.net USA DISTRUBTOR of MEV KITS
Posts: 10
|
Post by hd2000 on Nov 6, 2013 0:41:29 GMT
It looks good
|
|
|
|
Post by dgibson on Nov 7, 2013 15:20:43 GMT
Thanks for the kind comments! After spending an awe inspiring weekend on a Leadership Development Ropes course (I volunteer with them on the support team) it's back to the Rocket. Found some Banjo fittings for the rear calipers that fit the flex hoses that were part of the brake kit purchased. This is so the flex hose does not come out facing the ground, but at right angles to the caliper. Will have to wait to see how it seals, but took the time to fine sand the caliper mating surface. 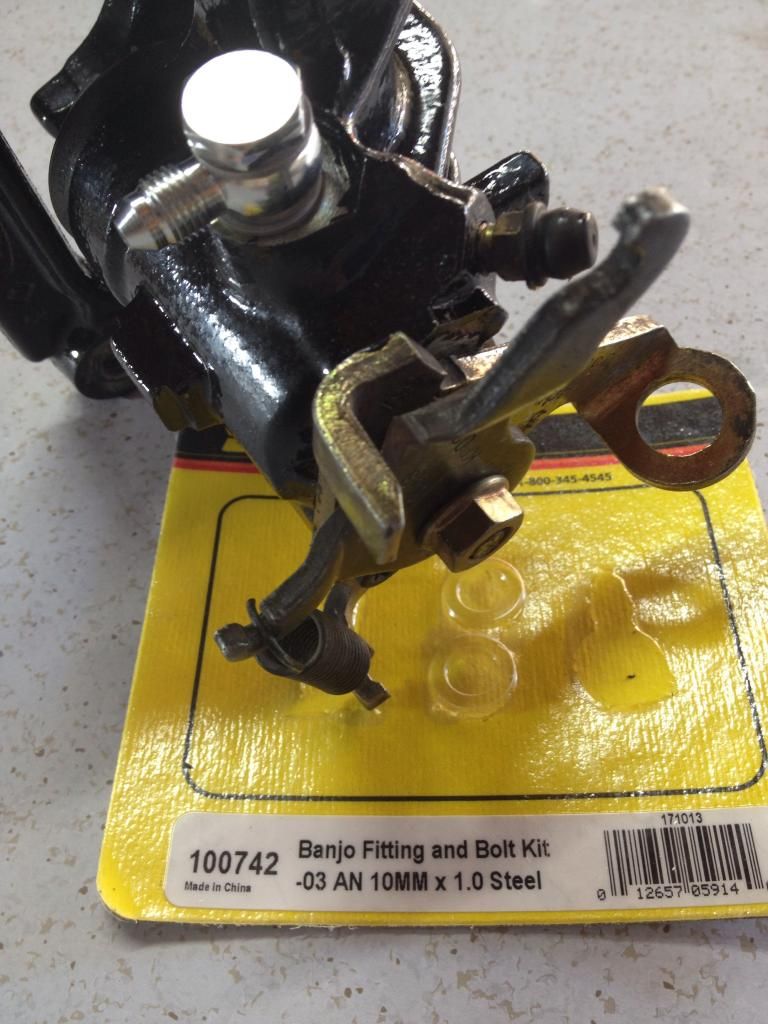 Last night installed the Steering Rack. Measure twice and drill once. In this case, I measured not just the mounting tab - but from the lower rear A Arm bracket to where I planned to drill the mounting holes for the rack - and everything matched up. 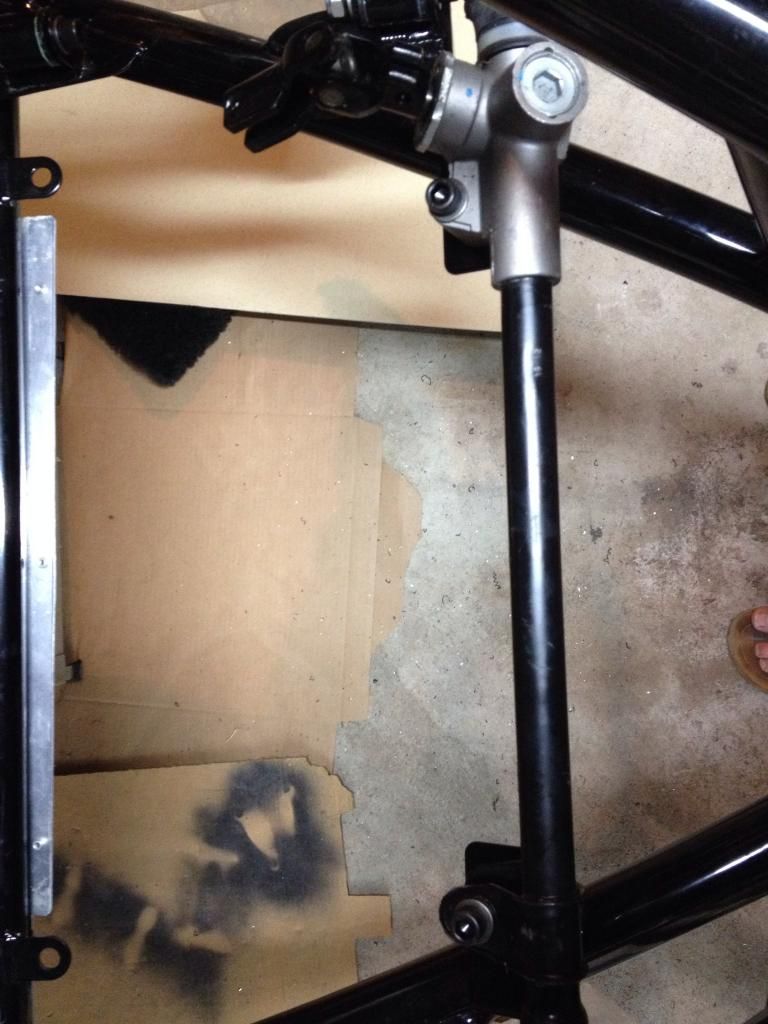 Next Steps - the front hubs! |
|
|
|
Post by martinw on Nov 7, 2013 17:16:40 GMT
I tried banjo fittings on the rear of my Sonic for the same reason - with the Focus calipers. All seemed well initially until the day before my IVA I embarked upon some "enthusiastic" braking up and down outside our house to bed the brake pads in. Sadly the banjo unions developed a very slight weep, and whatever I did I couldn't stop it.  I have since read in a thread on here that annealing the copper washers helps with sealing, so may be worth doing should you have a similar issue with them. I ended up replacing the hoses with Hel ones made up by Russ Bost - he managed to put an angle of more than 90 degrees on the fittings for me, which have been great, and no issues with leaking.  Good luck! Martin |
|
|
|
Post by pjku79 on Nov 7, 2013 17:32:03 GMT
Where in south TX? I am in SA.
|
|
hd2000
Newbie
doveracing.net USA DISTRUBTOR of MEV KITS
Posts: 10
|
Post by hd2000 on Nov 8, 2013 0:33:43 GMT
Got to love it when a plan comes together David! Hey pjku79 check out www.doveracing.net we are here in Texas as well. |
|
|
|
Post by dgibson on Nov 8, 2013 1:07:33 GMT
I like the Kawa green on Black frame, glad it is on the road.
Working on my front hubs, will post some pic's tomorrow. Have a few questions on offsets, will read the tech sections first!
|
|
|
|
Post by dgibson on Nov 8, 2013 20:39:11 GMT
Spent some time putting the front hubs together - picked up some new hubs and bearing, installed those after cleaning up the spindles. and then put the spindle, Caliper Mount and steering arm all together. The Caliper mount interferes with the brake disk, so put a small spacer so the caliper lines up with the disk when everything is bolted down. Once all lined up, I can perhaps cut a solid plate the same depth. 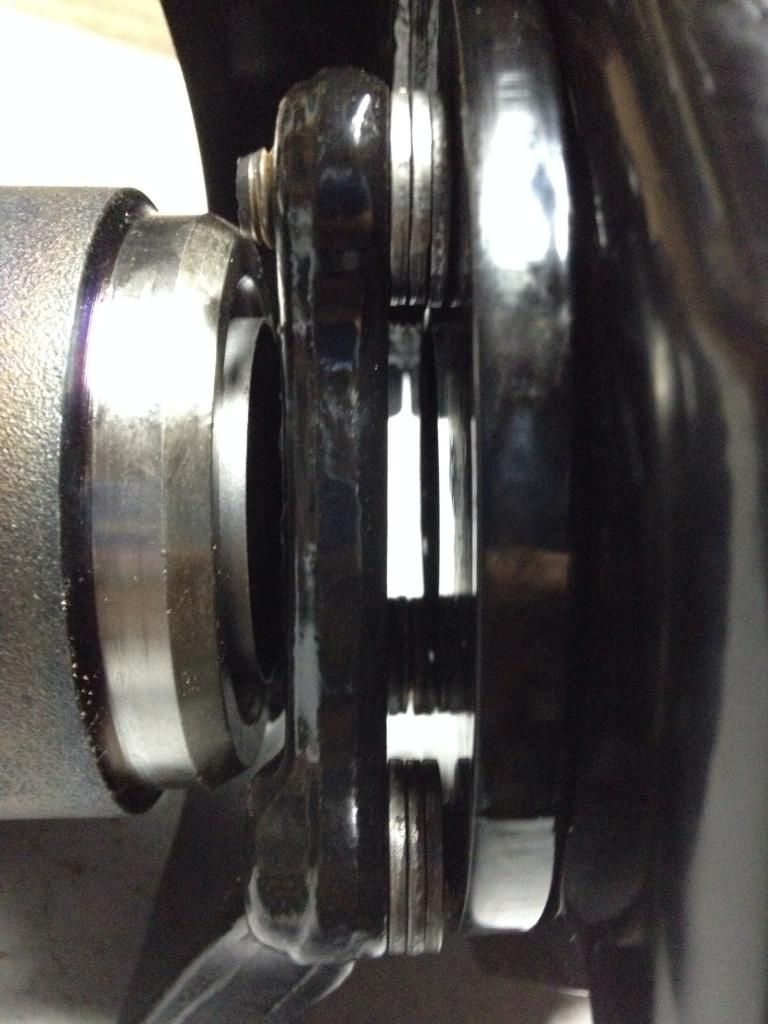 To make sure the caliper clears the disk when installed, temporarily set a couple of washers to give the clearance while we measure for the spacer required (around about 1" or 25mm it looks like)  and I end up with a wheel assembly that looks like this  Encouraging! |
|
|
|
Post by dgibson on Nov 10, 2013 0:02:10 GMT
Started work on the front bulkhead today - which means the pedal assembly was needed. Did quite a bit of looking at other peoples builds on the front bulkhead - some very nice one's out there. So started a mockup in Foam board, although to be honest, there is enough cardboard from all the boxes of stuff, I probably did not need it.  There seems to be some discussion on putting the master cylinders through the aluminium to add some strength, although to me the bracket appears to be quite sturdy. From a fitment perspective, have to lower the pedal bracket about 12mm (1/2") as the top bolts of the master cylinders interfere with the top tube. And from the drivers side 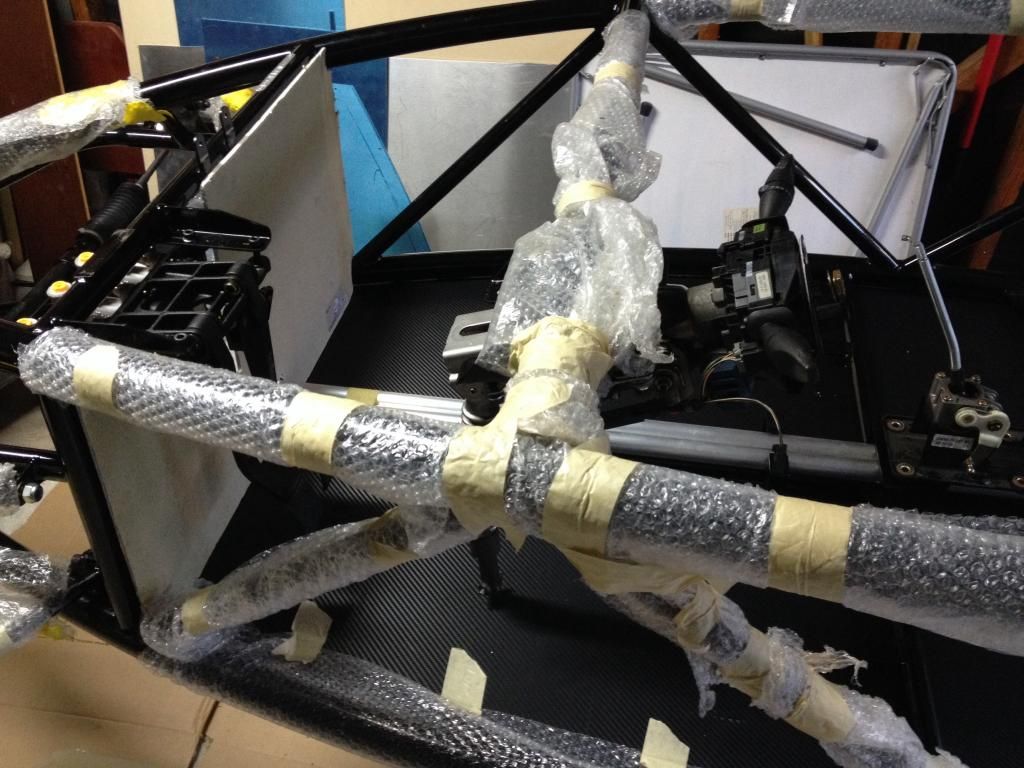 DrBrian came by and helped out this morning, with additional assistance of wrapping the tubes (I have a few scratches!!) 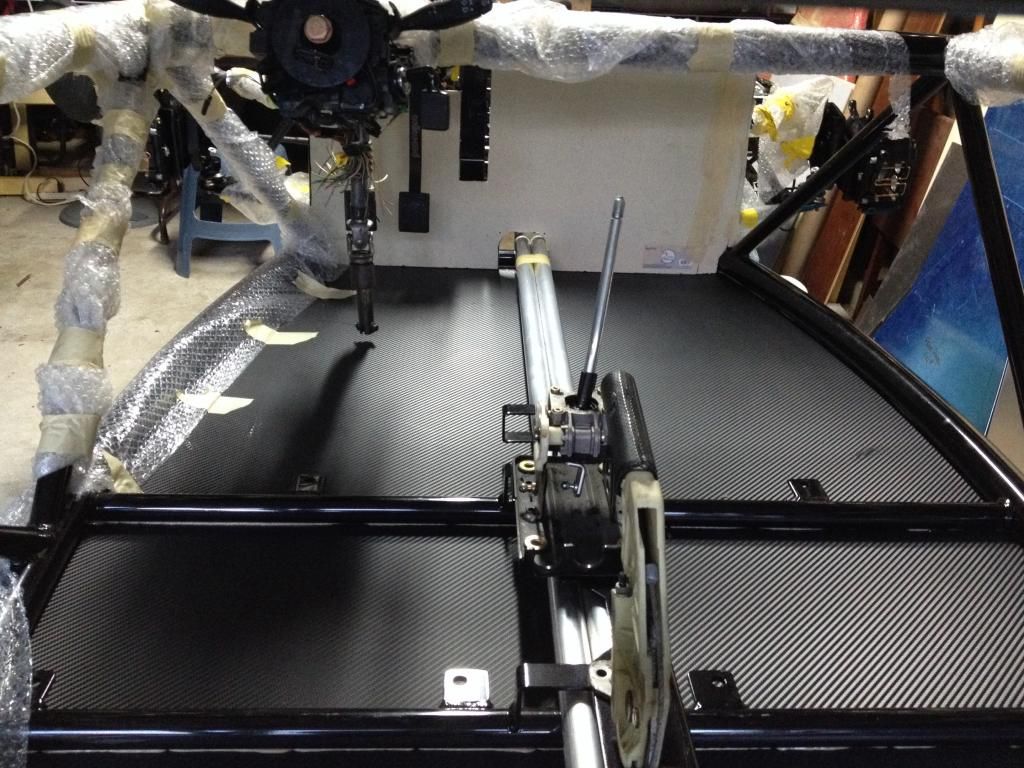 Starting to look like a real car! |
|
|
|
Post by petik on Nov 10, 2013 5:12:40 GMT
Very nice progress. What size rotors are those in the front?
When placing the throttle pedal, there was one thing that I found out too late on a wrong-hand drive car. Due to where the clutch+brake pedal mounting bracket is, there ended up being very little room for your right foot between the brake and the side of the center channel. I had to get creative in bending the center channel out of the way but was limited by the coolant tubing. I might move the whole brake/clutch setup later, but i'm stuck wearing some very narrow shoes to be on the safe side...might want to check if they fixed that on your chassis.
|
|
|
|
Post by dgibson on Nov 11, 2013 0:14:27 GMT
Rotors are 12" vented.
Well spotted on the pedals. Indeed it is very tight. On the LHD the clutch master cylinder is very close to the left top tube, even fiddling a bit with the exact location of the wilwood pedal mount, and a size 11 wide shoe does not fit very well between the brake and the tunnel.
Took out the wrong bit of my front bulkhead, even with measuring it 10 times, and taking it in and out very carefully to not mar the paint. So it's off to the local hardware supplier for some aluminium panel!.
|
|


