|
|
Post by dgibson on Oct 13, 2013 23:54:25 GMT
The Adventure Begins We have been looking at Exo-skeleton cars for a year or two, and after spending quite a bit of time on the forum looking at the high quality builds and lots of support and sharing of ideas, decided to take the plunge with the Rocket. Discovered Dove Racing here in Texas, and went up for the day to talk with Pete, test drive, and a deposit placed. Found an 2003 SVT Donor - and with the checkbook handy (should that be Cheque book?) the donor was decided on. Black powdercoat done, donor stripped, and loaded in a trailer ready to go. Nice surprise - a new Sonic owner in the Southwest, so that came down at the same time. To see the pictures - follow this link to Photobucket while I figure out how to move them all somewhere else. 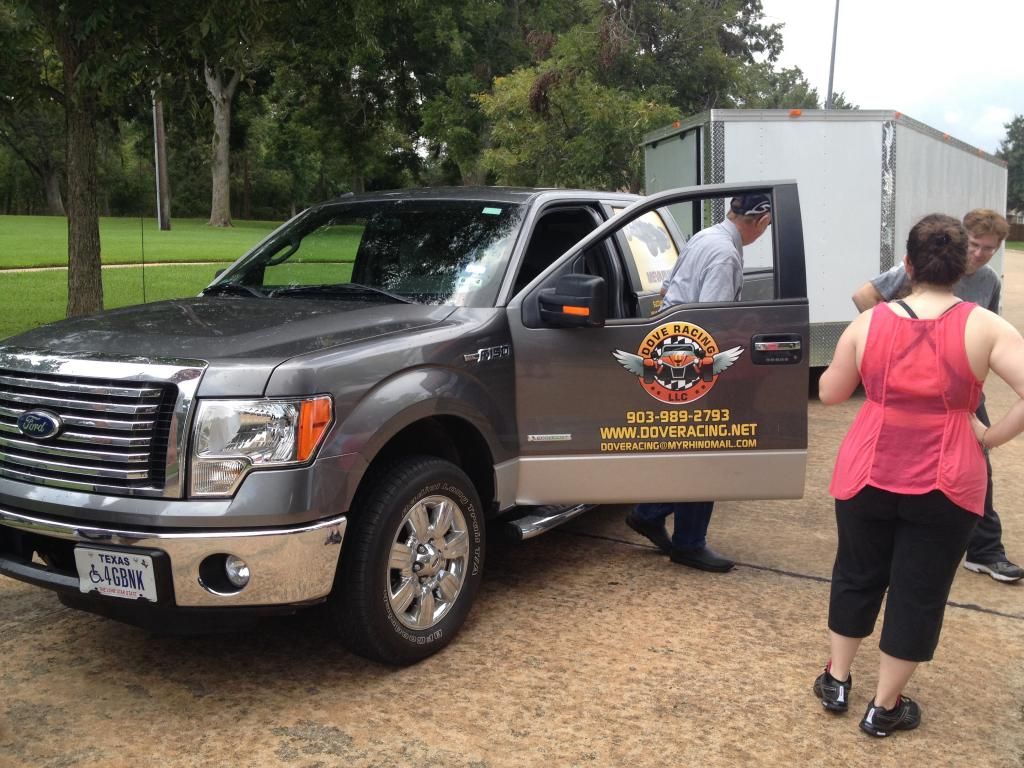 The Rocket was loaded first, so the Sonic gets unloaded first!  Unloading the SVT lump 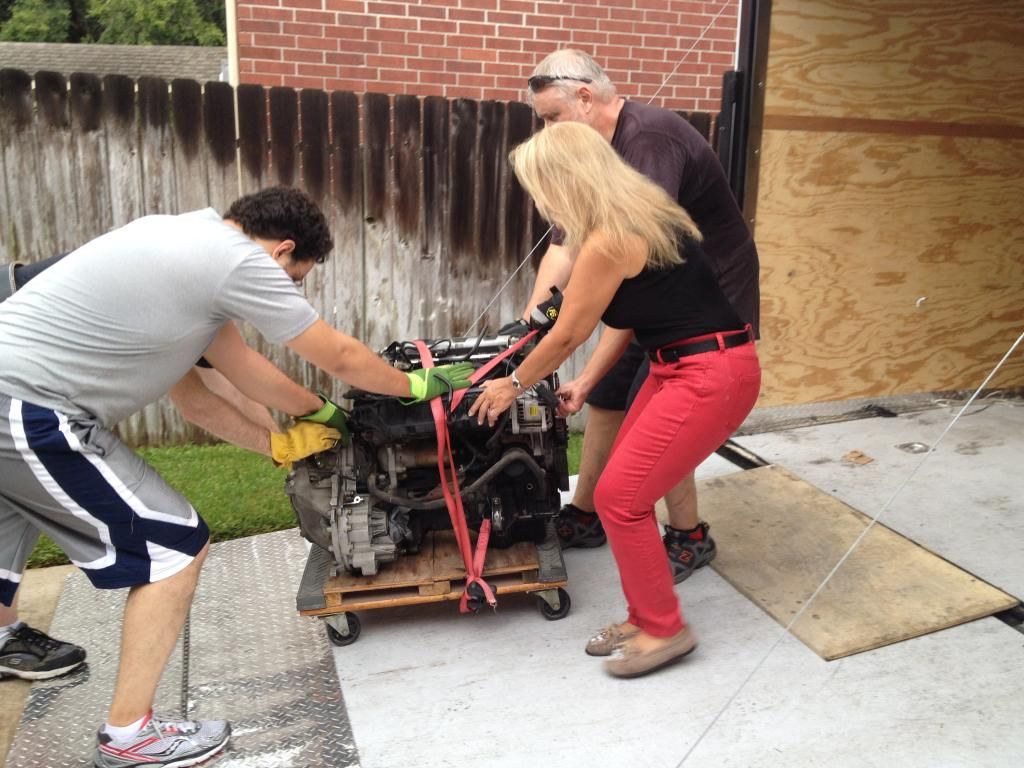 |
|
|
|
Post by minuit on Oct 14, 2013 0:54:32 GMT
Great to see! I talked to Pete on Friday night and he was telling me how he was delivering a Rocket and a Sonic this weekend. My Rocket kit should be arriving in the next couple of weeks and I picked up a 2002 SVT last week.
Good luck on the build!
|
|
|
|
Post by petik on Oct 15, 2013 3:36:21 GMT
Congrats! Whereabouts in Texas are you? I just got my Rocket on the road about 2 months ago here in Austin. Would love to see another one on the road around.
-pete
|
|
|
|
Post by dgibson on Oct 16, 2013 1:59:16 GMT
Next steps - mark up the floor, wrap it up to protect some of the tubes, and turn it upside down. Some great suggestions from other threads on marking up both sides of the tubes, and then marking the center line of the tube and offsetting a 1/4 inch (6.35mm) which will then be rolled to fit the tube. My Sonic build partner has some electric shears - he says it's like cutting butter with a hot knife. Should get this done next weekend if all goes well. 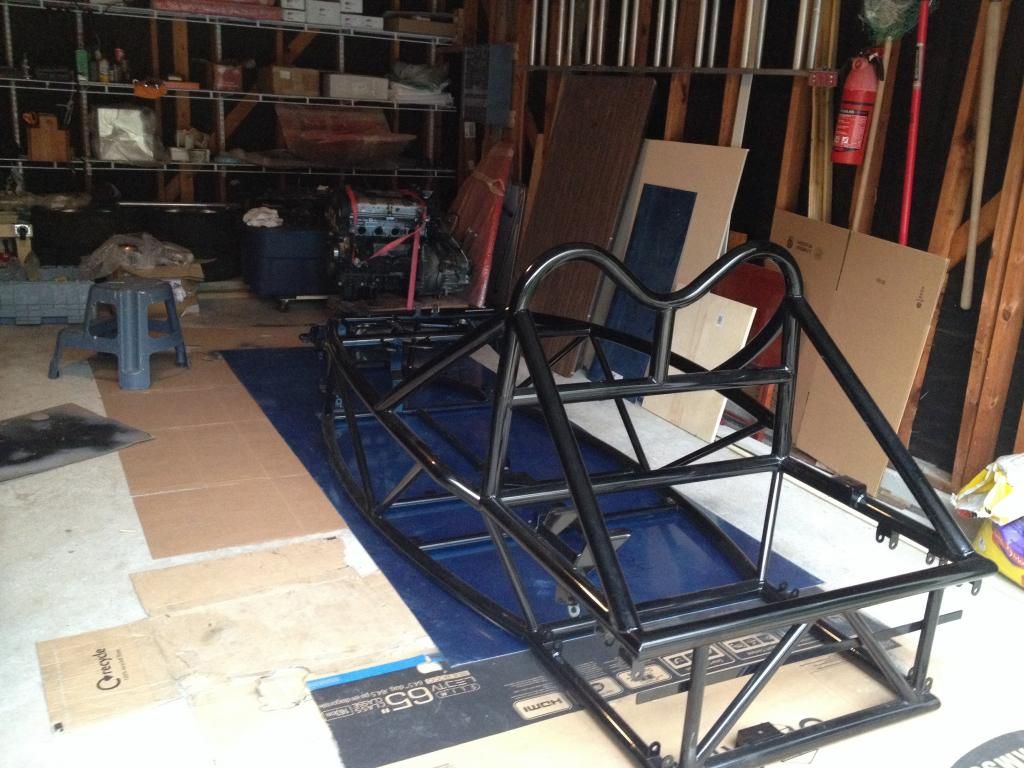 Followed by turning it upside down! Funny, I was more worried about turning it upside down than actually cutting and fitting the floor!. Turns out a little bit of planning and two strong guys, (nice to have my son Keith around especially this weekend!) have it turned over in a flash. The roll bar is actually about 2 inches (50mm) from the floor - measured twice to make sure the shiny black powdercoat was no where near the floor. 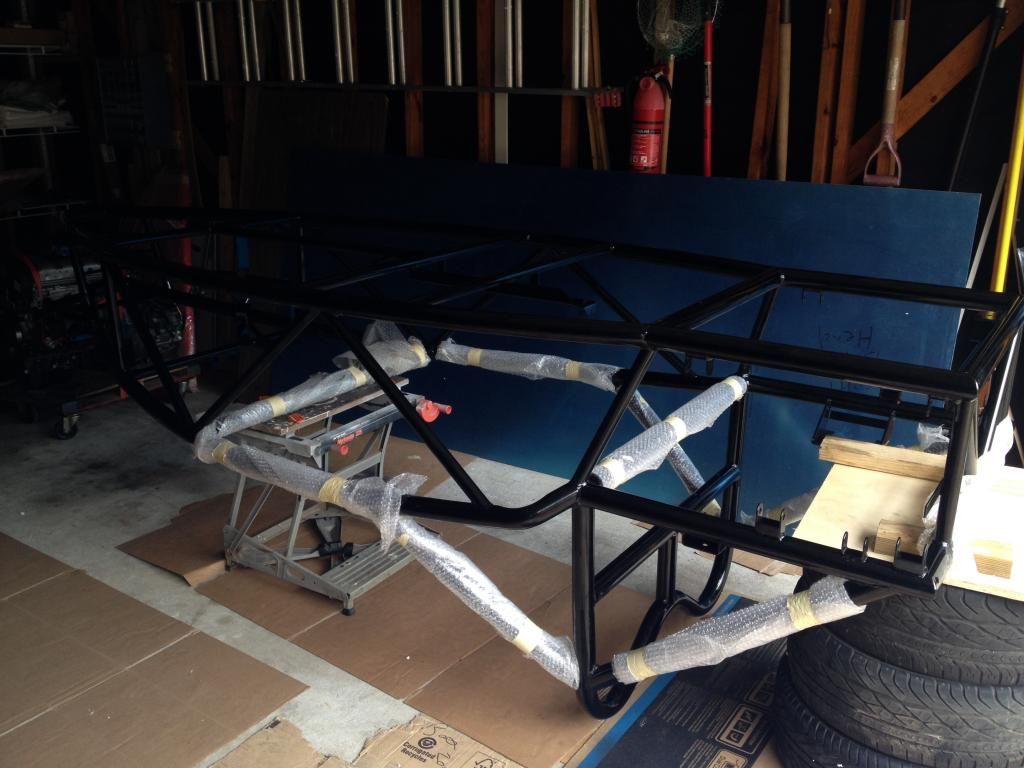 Next steps, nail down the floor - in a manner of speaking! |
|
|
|
Post by petik on Oct 17, 2013 1:34:45 GMT
The first steps are always very exciting. If you haven't seen some of the other builds, it's a great idea to put a bead of silicone or other "dampening" product between the frame and floor before you rivet it down to avoid vibration. My kit doesn't have it and man, when you hit just the right RPM, it's like a mini thunderstorm right inside the car.
|
|
|
|
Post by dgibson on Oct 18, 2013 15:42:07 GMT
Thanks for that - the plan is to work on this over the weekend. Getting hold of some electric shears that cut the ally like a hot knife through butter. Measure twice, cut once!
|
|
|
|
Post by dgibson on Oct 20, 2013 1:00:37 GMT
Cut and fit the floor today - must have had it on and off 10 times to make sure the fit is right, and all the rivets are in the middle of the pipes. Do not be afraid of the hairy glove fingers. Got this idea from several builds,, and with a little right angle shelf mount, marked it up for the middle of the pipe, and also used it to mark a nice offset from the pipe edge. 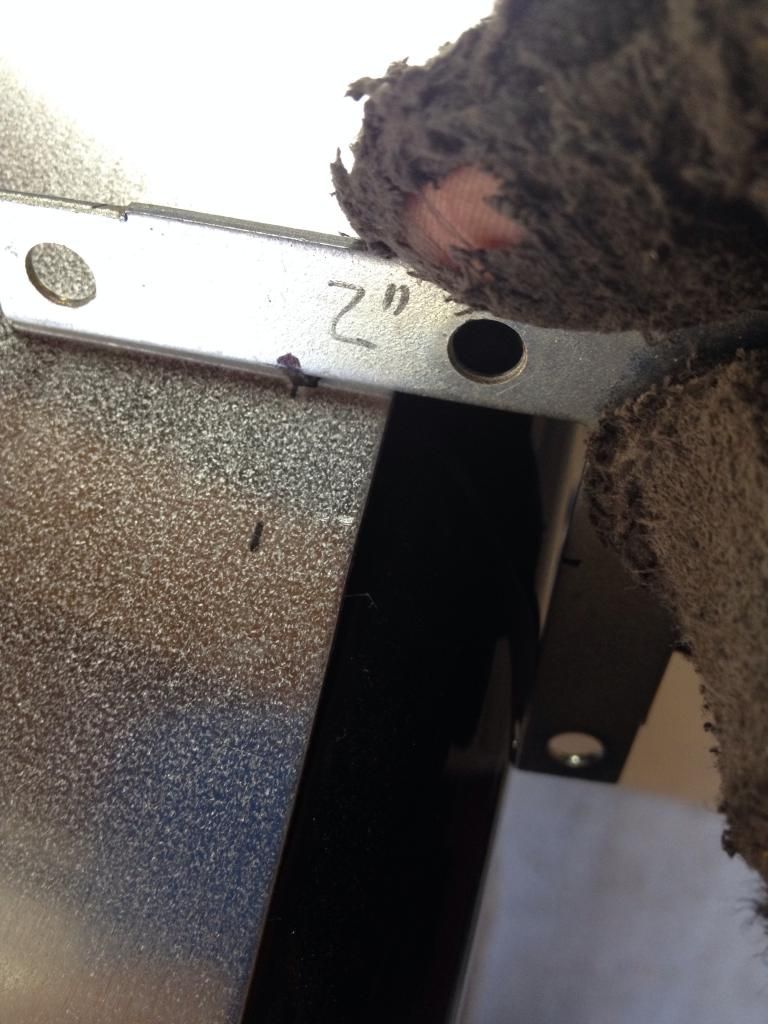 Our other builder in Sugar Land has an electric shear, and it really does cut like butter through this. Measure Twice and cut once. And it is very easy to shave off 1/16 (1.5mm) at a time. Followed up with a 12"(30cm) length of alumnium angle with some fine grit sandpaper - and the edge comes up very smooth, with a nice curve. Decided to go ahead and build a nose piece floor, that will be removable. Easiest to do when it is upside down. So put a little tab under the front floor 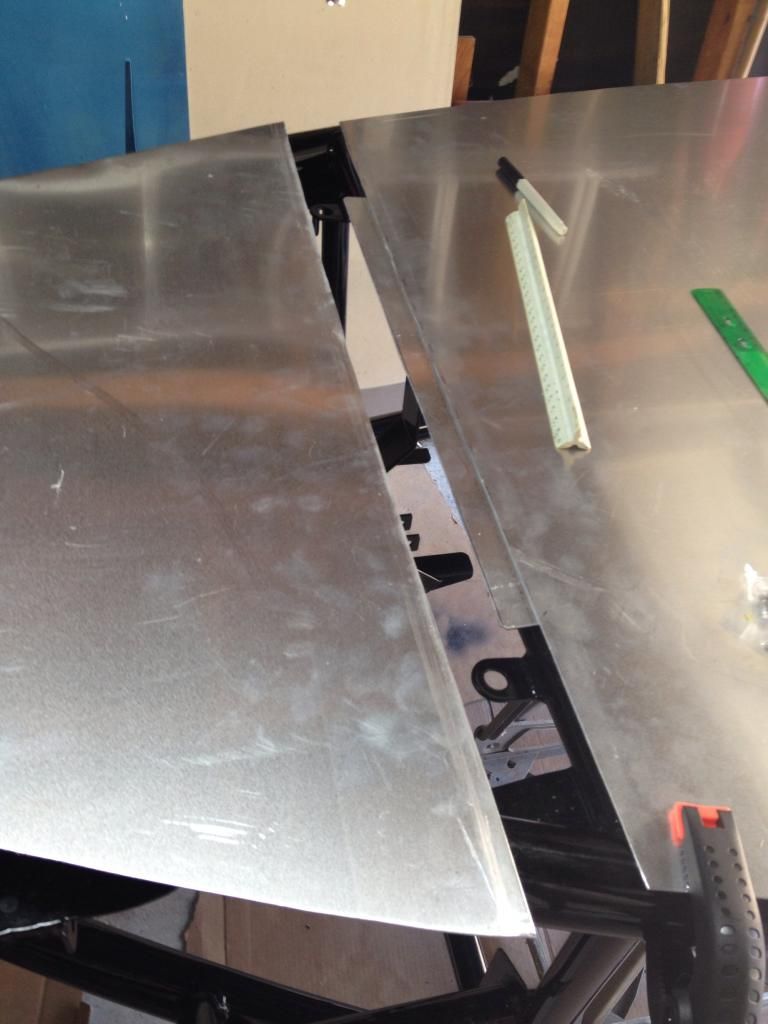 and then measure out and drill all the holes - small hole first, then the size for the rivets. 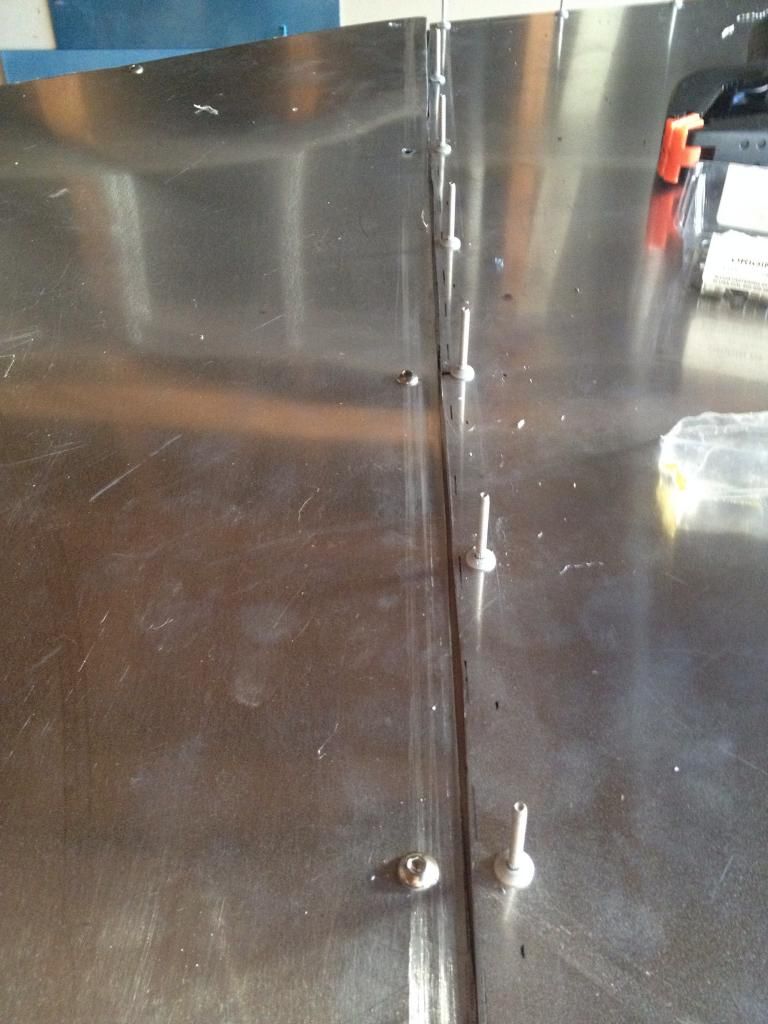 The nosecone floor is held with Rivnuts. 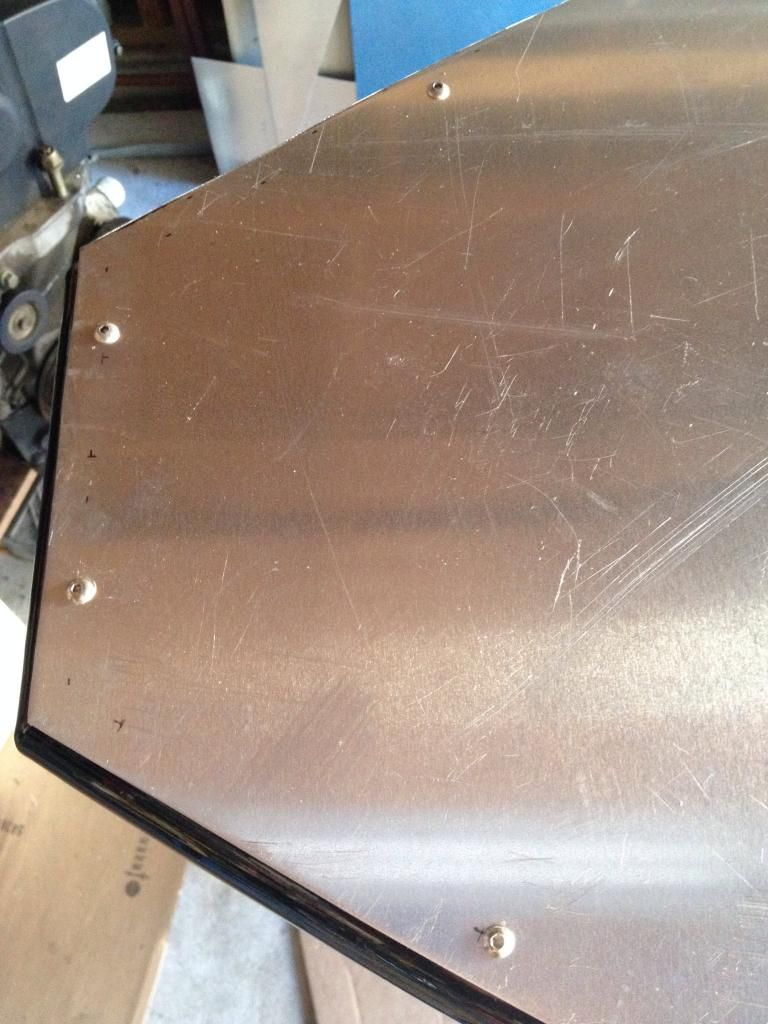 On the advice of Petik and several others, the floor will have silicone sealer when we get to rivet down the floor, so we don't have a lot of rattle. |
|
|
|
Post by dgibson on Oct 22, 2013 17:19:03 GMT
Suspension Bushings are chamfered using a barrel sanding tool on an electric drill and took off the sharp edges on the crush tubes, makes everything fit very nicely 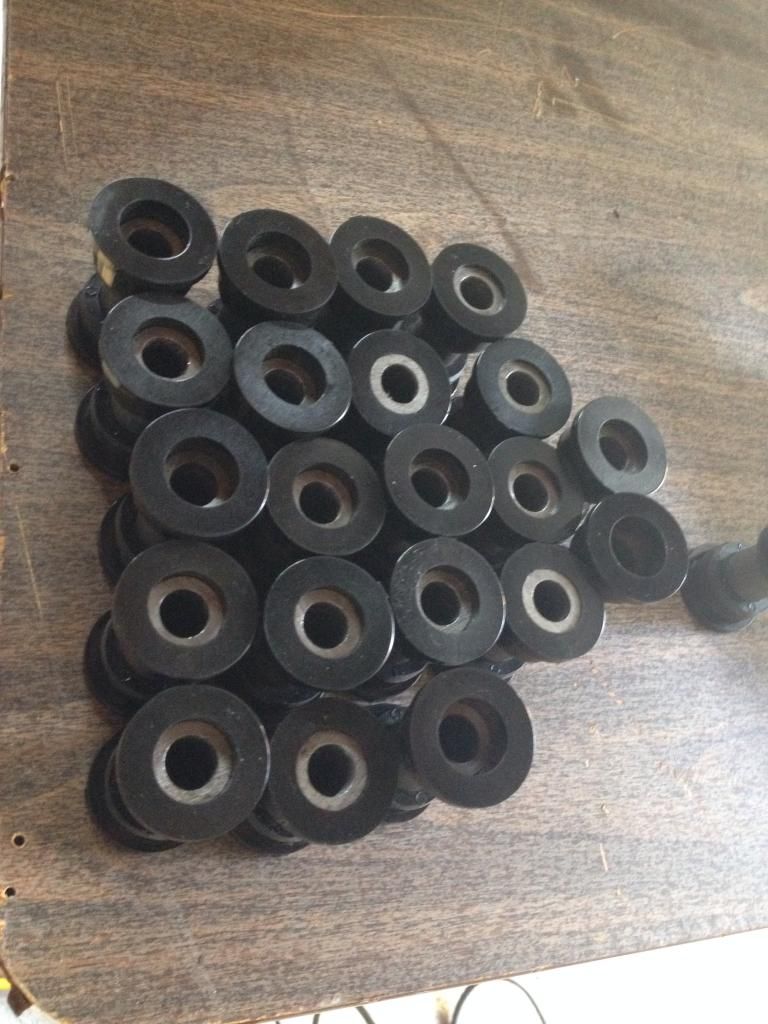 and clean the powdercoat from the suspension bolts and "A" arms. All ready to go together later today 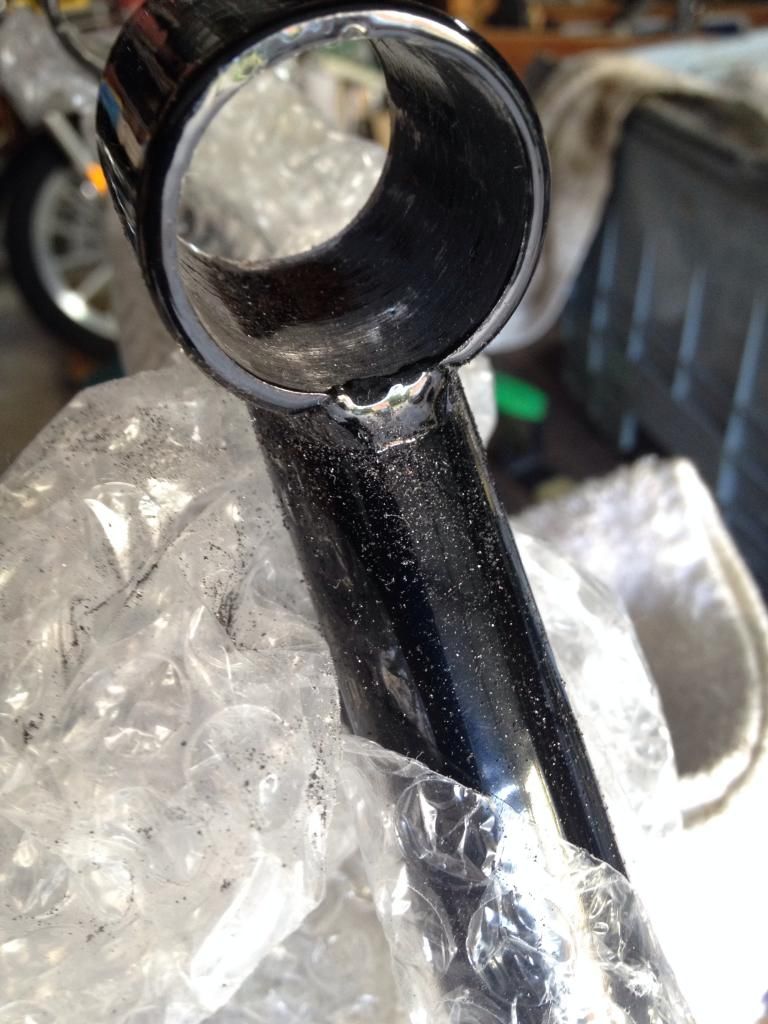 |
|
|
|
Post by dgibson on Oct 25, 2013 1:43:31 GMT
Thought it was time to get the frame right side up - added a few details  While it was upside down, it seemed to make sense to make the floor conform to the lower tubes, so a 10lb deadblow plastic hammer covered with a towel, and some gentle persuasion made it fit nicely. I dry fit the rivets all around so nothing would slide around while tapping away. We decided on some Carbon Fiber wrap on the floor so measured twice and cut once. and roughed up the edge of the aluminum sheet for the silicon adhesive - did the same to the powdercoat - seemed a shame, but it is under the floor. 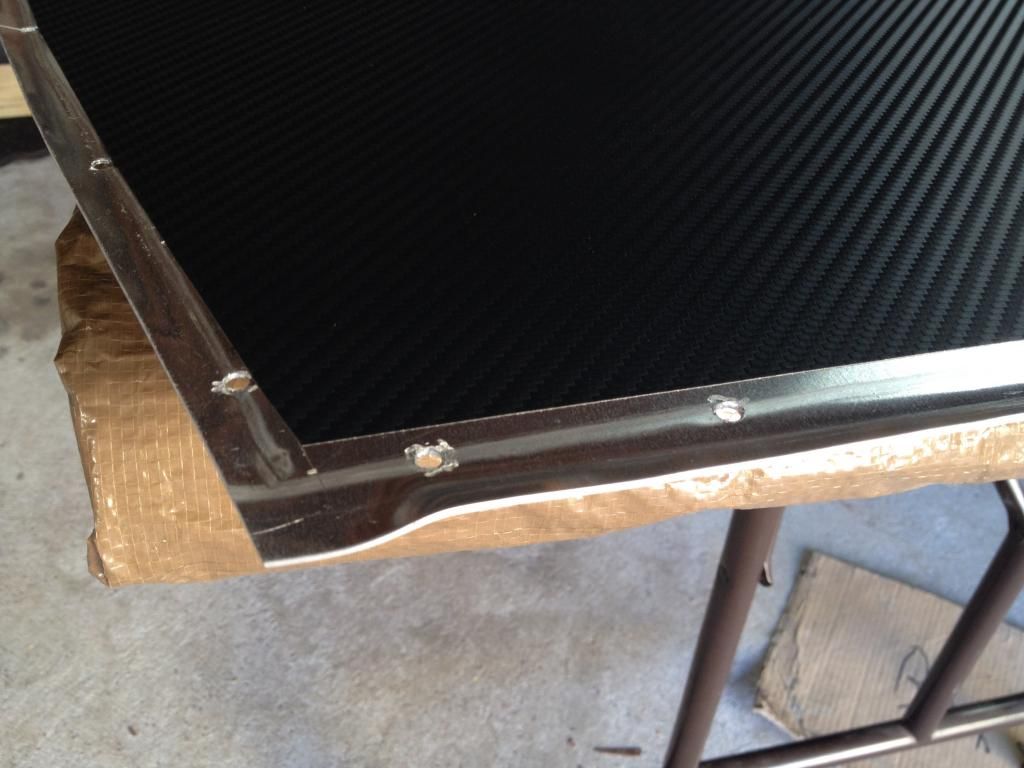 With all that ready we ran a bead of Loctite silicon adhesive along the tubes of the frame, and then very carefully positioned the floor directly over the matching rivet holes. and then nailed it all down...  must have used about the right amount of silicon as just a little popped out the sides. and then we flipped it over. Very nice if I do say so myself! 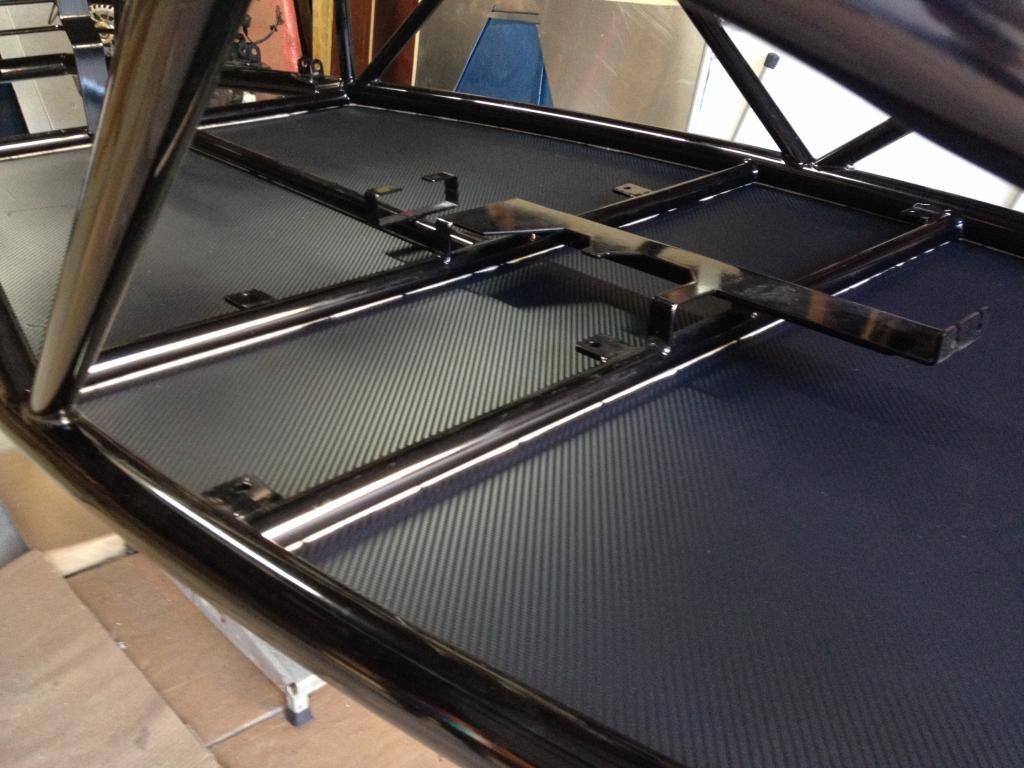 Back now to fitting the bushings and crush tubes! |
|
|
|
Post by minuit on Oct 25, 2013 3:52:24 GMT
You are getting to it quick! My kit is supposed to be here tomorrow
|
|
|
|
Post by dgibson on Oct 25, 2013 15:33:42 GMT
Great - I figure if I pick up one little piece every day, or perhaps every few days, depending on my real job, it will get done. there are several excellent comments on other builds - take our time, measure twice and cut once, and don't buy a lot of stuff ahead of time - enjoy the build! We look forward to your build thread!
|
|
|
|
Post by dgibson on Oct 27, 2013 0:57:42 GMT
Hummmm, looks like my crush tubes on the A arms are a bit too long. Using a bolt and a socket in a vice, was able to push out the crush tubes and shorten them, re-bevel, re-grease, and they mostly slipped back into the A arms with a little wiggling as I was tightening the vice. 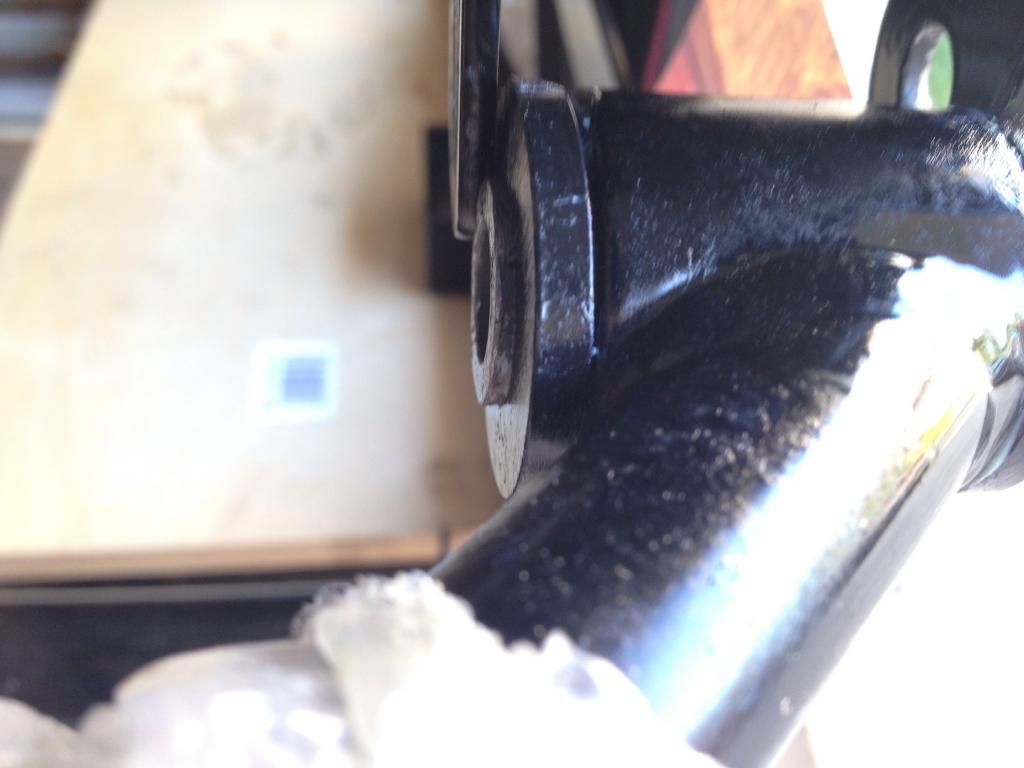 I don't have a very fancy workbench - 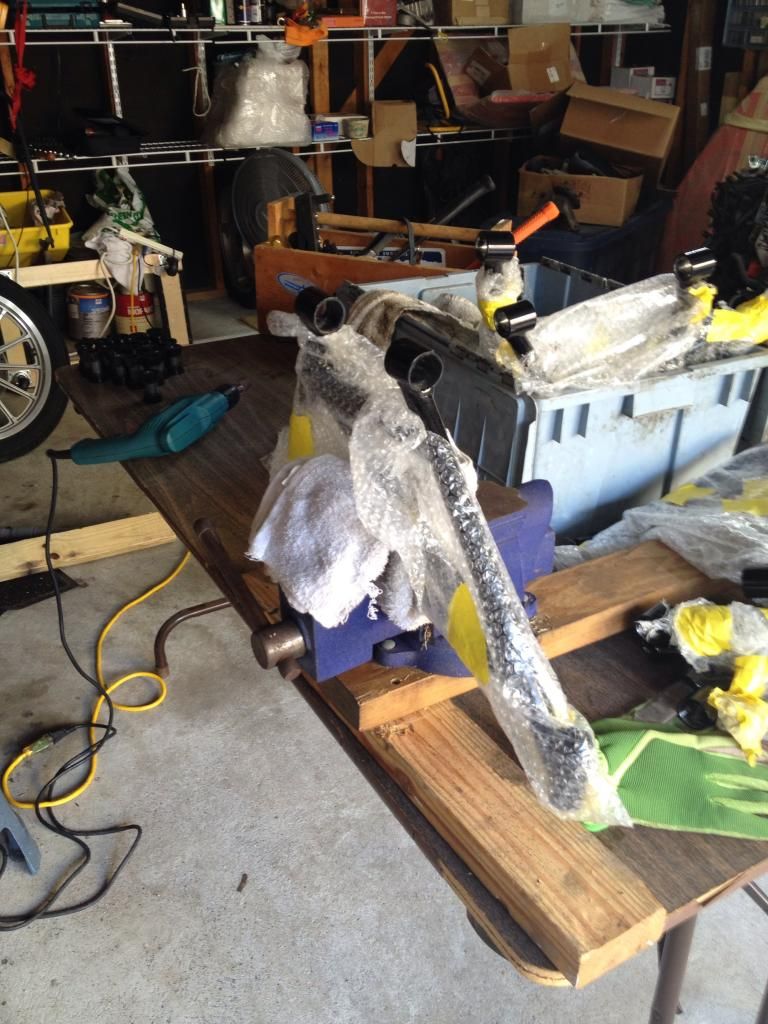 But it got the job done! Next, clean up the donor brakes. After a bit of a clean with a brush, water and some biodegradable cleaner, they came up fairly nicely 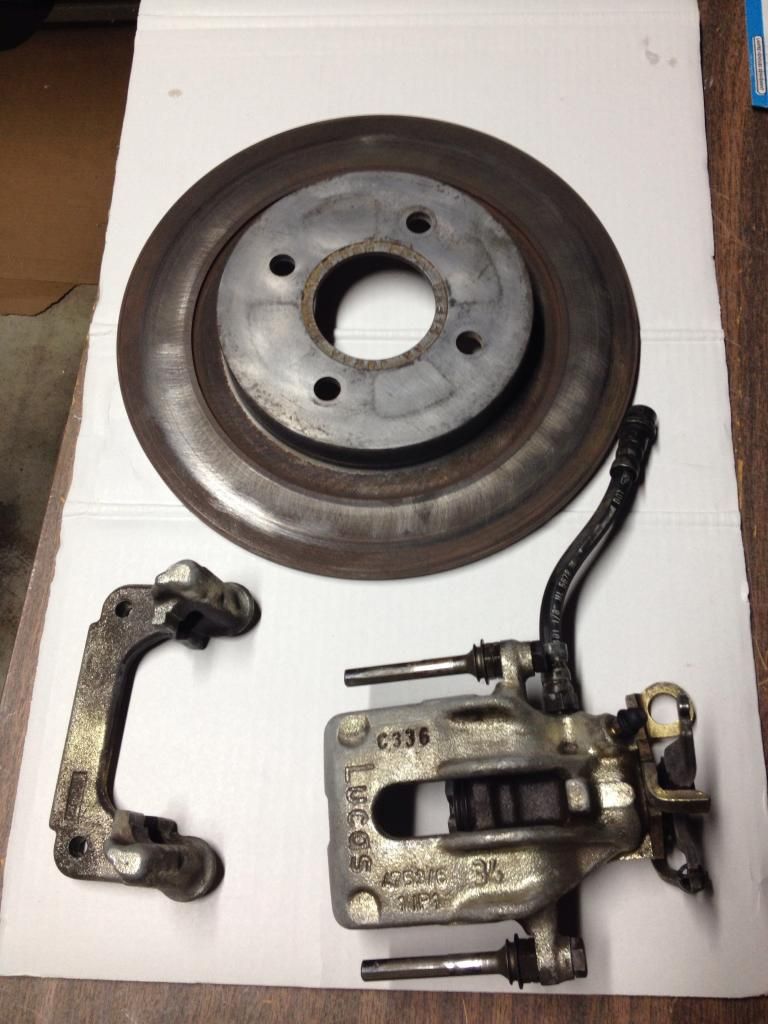 But as I have nice Black Wilwoods on the front thought I should make these the same so hit them up with some POR 15. Making sure not to get it on the sliding surface of the caliper or caliper holder Looks quite good if I do say so myself!. 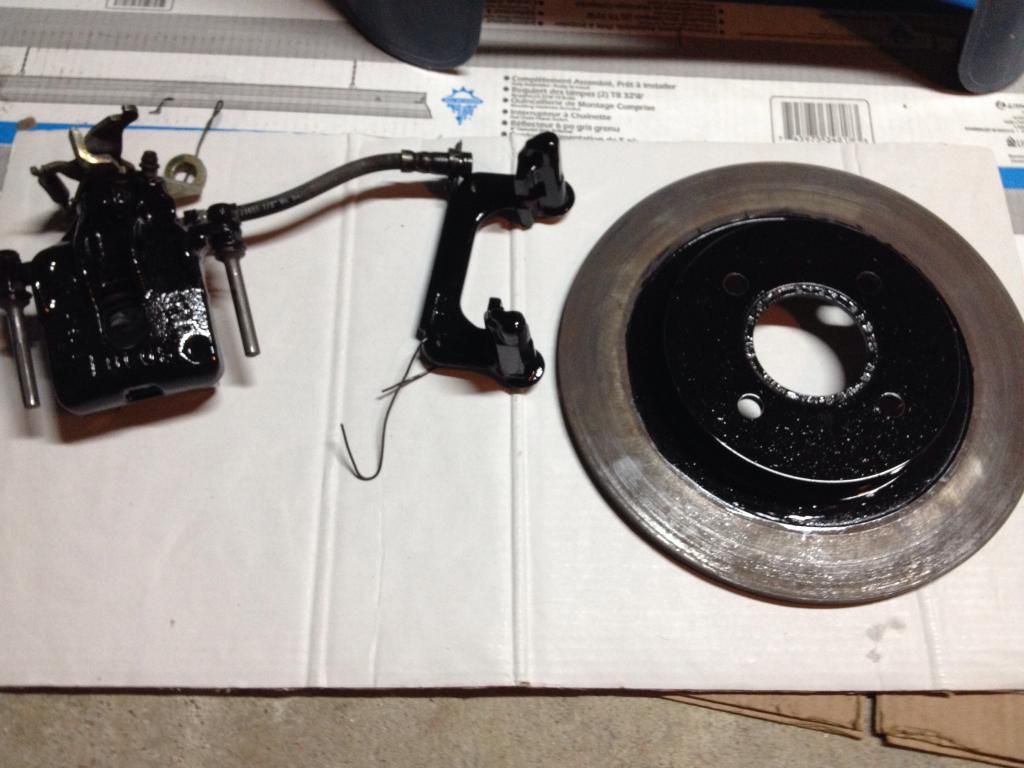 After fixing all the crush tubes and re-installing them, could not resist mocking up the rear end suspension using some of the donor bolts just to hold everything in place. 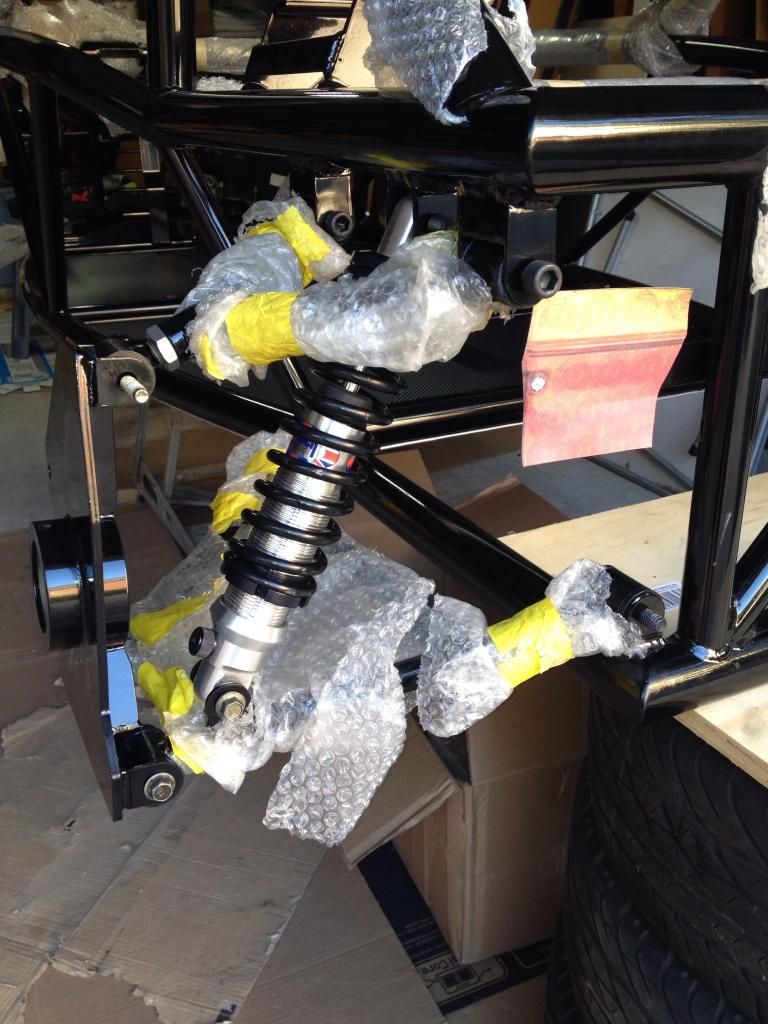 |
|
|
|
Post by Froggy on Oct 27, 2013 8:49:38 GMT
The crush tubes are supposed to be longer, its the tube which is clamped on the brackets, the bush and wishbone then rotate on the tube. good work so far too. wayne.
|
|
Deleted
Deleted Member
Posts: 0
|
Post by Deleted on Oct 27, 2013 8:50:54 GMT
Try to watch the paint on clamped surfaces. Example:- painting a disc, you bolt your wheel to it, great.. Drive like a lunatic, your disc gets hot, paint goes soft, your bolts holding the wheel on just lost a sh1tload of torque, plus if you've painted other mounting faces.. I did this many years ago.. And I'll openly admit it. A nicely painted engine to a gearbox, lost me a drivetrain, A rear disc conversion I painted up? Nearly lost a wheel at 70mph. And, they were all torqued up before;) On checking my car over, numerous other painted faces were exibiting similar problems. Looking really good though!!!  |
|
|
|
Post by Froggy on Oct 27, 2013 8:55:52 GMT
Looking again at your pics, it is quite normal for the brackets for the wishbones to be too tight, and yes you will have to take the rubber hammer to them, and yes to that freshly powder coated frame! lol.
|
|


