Post by nzexo on Apr 16, 2012 11:46:15 GMT
Hi all,
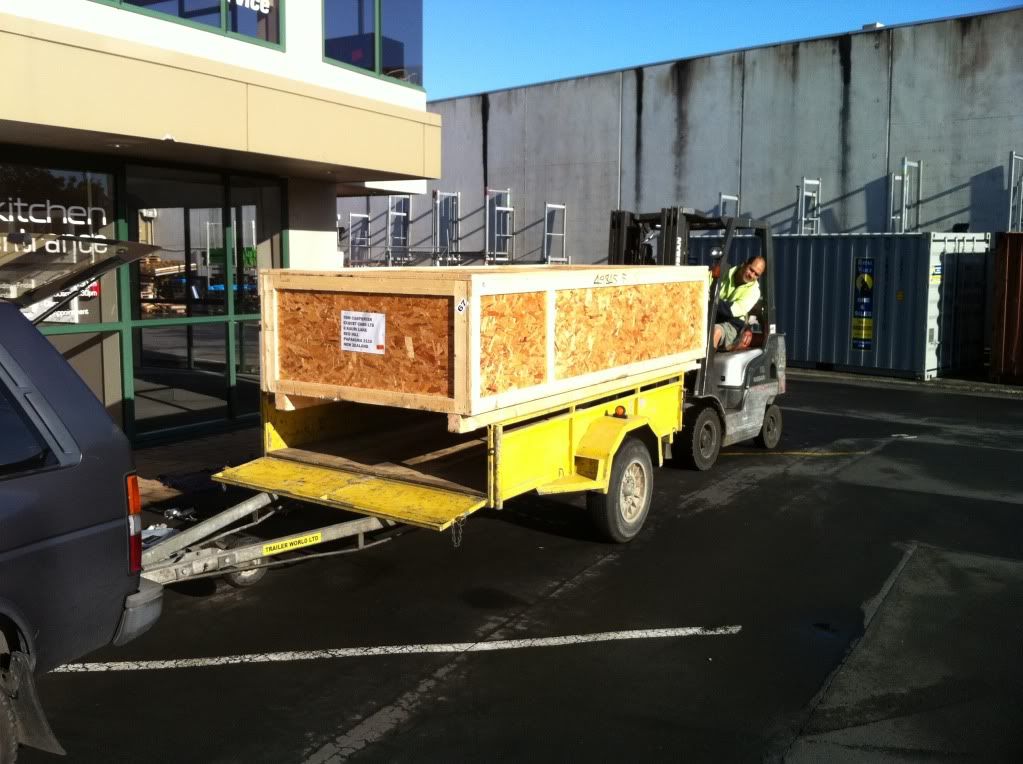
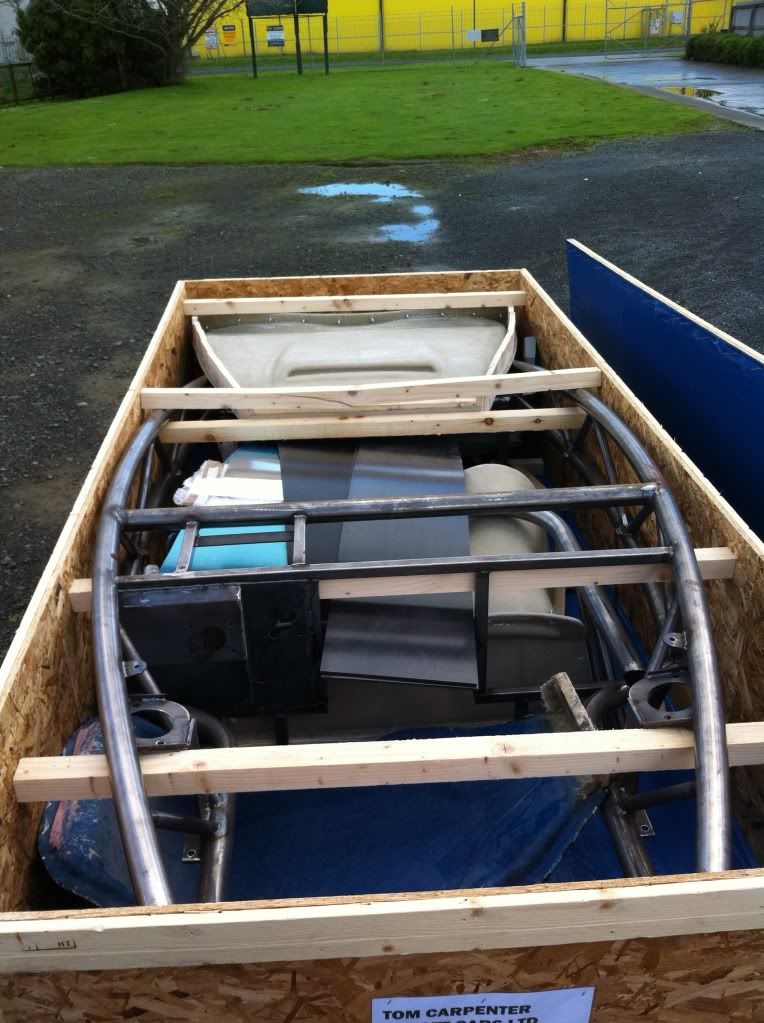
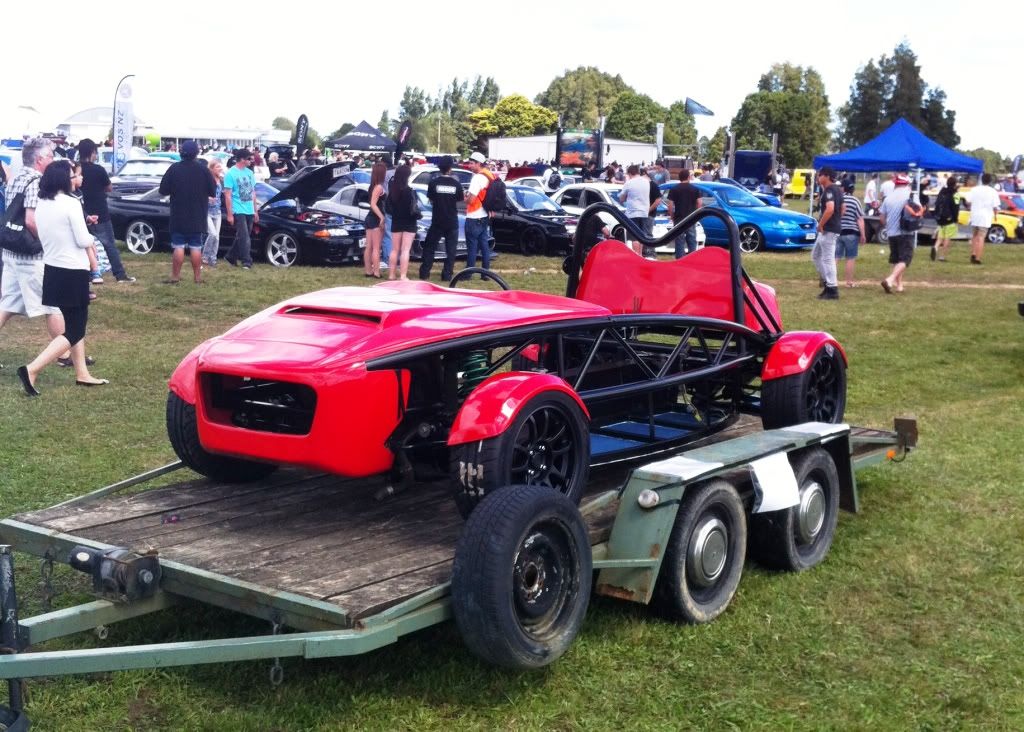
Firstly an introduction - my name is Tom Carpenter, and I have the license to manufacture the Exocet here in New Zealand. Actually, a deal was struck with Stuart almost a year ago, and I've been busy putting the company together and building and marketing the first Exocet in this part of the world (all in my spare time).
You could say I have a bit of a back-log of posts to put in here, but better late than never!
I'm an Englishman expat, living here in Papakura, Auckland for 2 years, after a 5 year spell in Melbourne. I've followed the UK kit car scene for many years, and it has been a long-seated dream to build my own kit car.
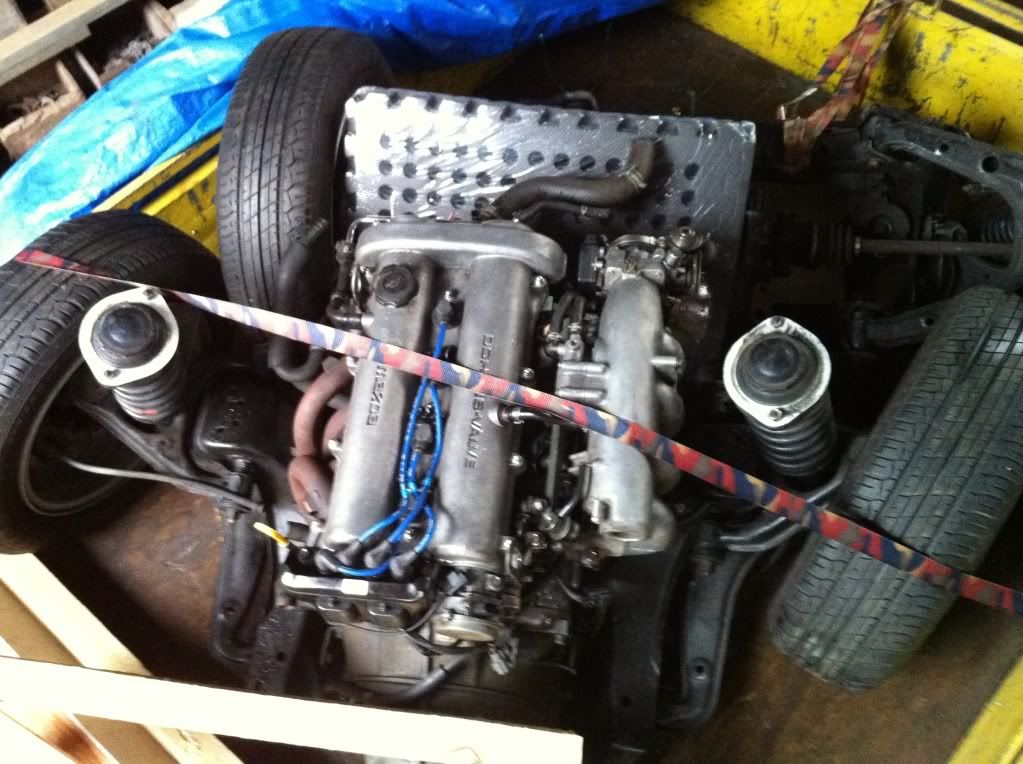
First off - I bought most of an MX5 from a guy in Taupo. The parts were destined to be an MG TF replica but it never happened.
This was a 1989 1600 import, with power steering and LSD. 149,000km on the clock.
The font and rear subframes were complete and there were about 4 boxes of other filthy miscellaneous parts. Obvious omissions were the radiator, seat belts and power-plant frame bar.
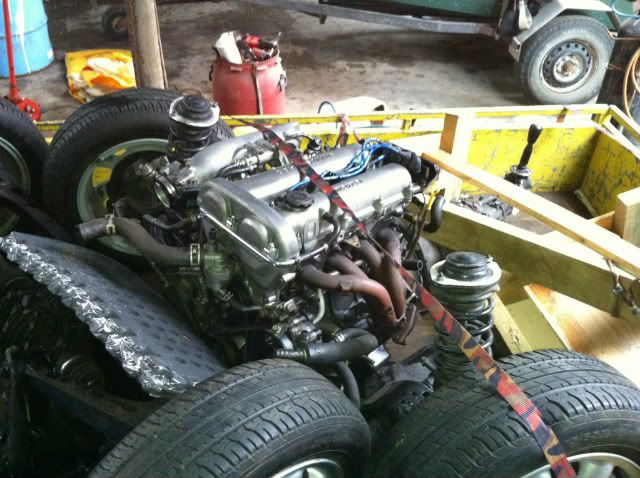
They just about fitted in my trailer for the journey home
 .
.
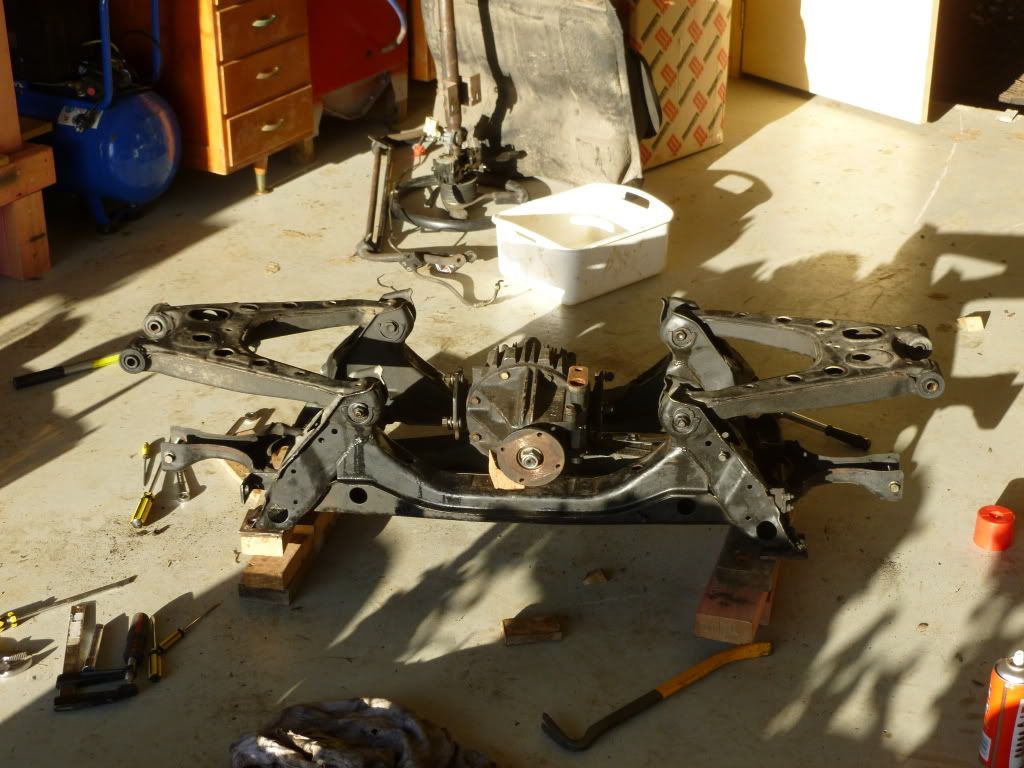
This was April 2011 and I had not yet bought the license and kit - so I had some time to fill. I stripped the donor right down and either powder coated everything or cleaned it up, overhauled it and painted it.
Actually, the condition of the parts was excellent - I had none of the issues many people seem to have with seized bolts and corroded parts.
The best disassembly tip I had (thanks Kev) is for ball joints - I had broken one puller and a splitter I had didn't fit - the solution - to put a bit of gentle downward force on the arm with the ball joint on the end (in this case the tie-rod end) and then give the outer housing of the hub carrier/upright a whack with a hammer. The shock seems to free it better than ever trying (and mullering) to hit the ball joint itself.
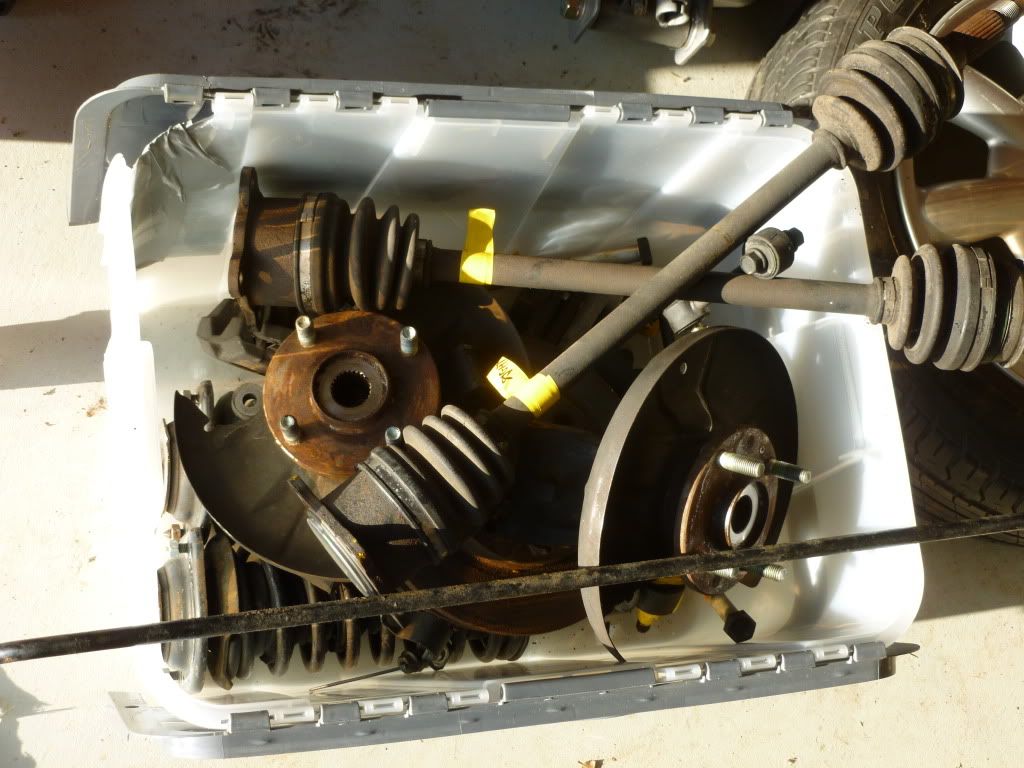
I kept everything together as I dismantled, putting bolts into labelled zip-lock bags and assemblies into the same bin.
Back from the powder coaters
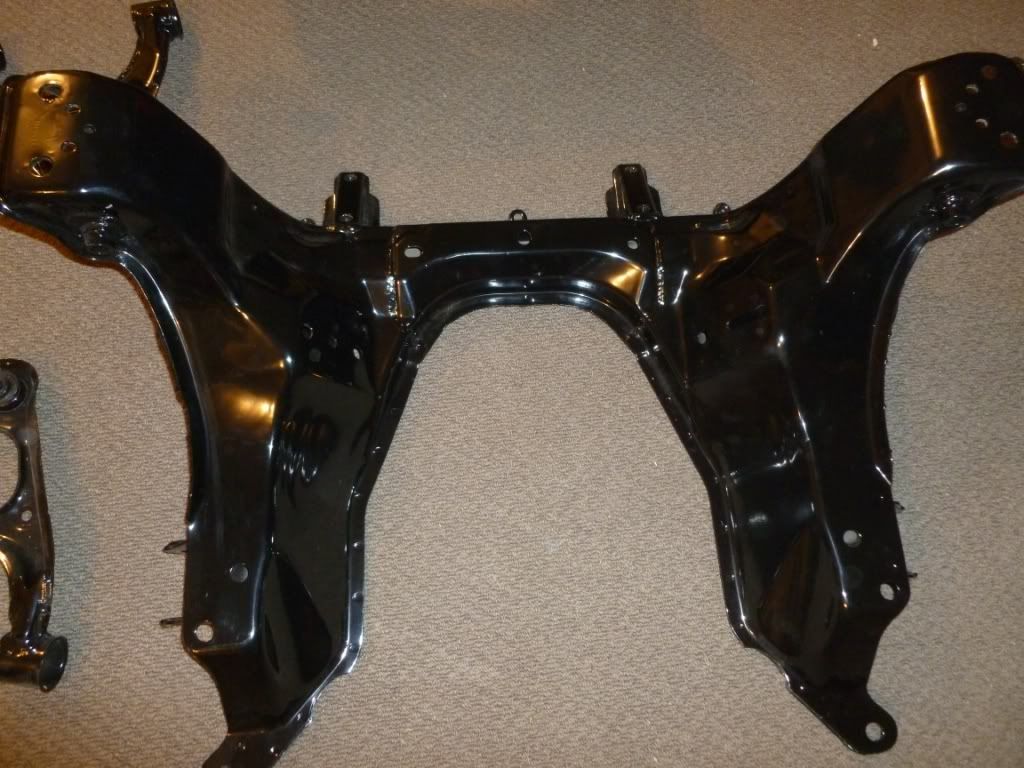
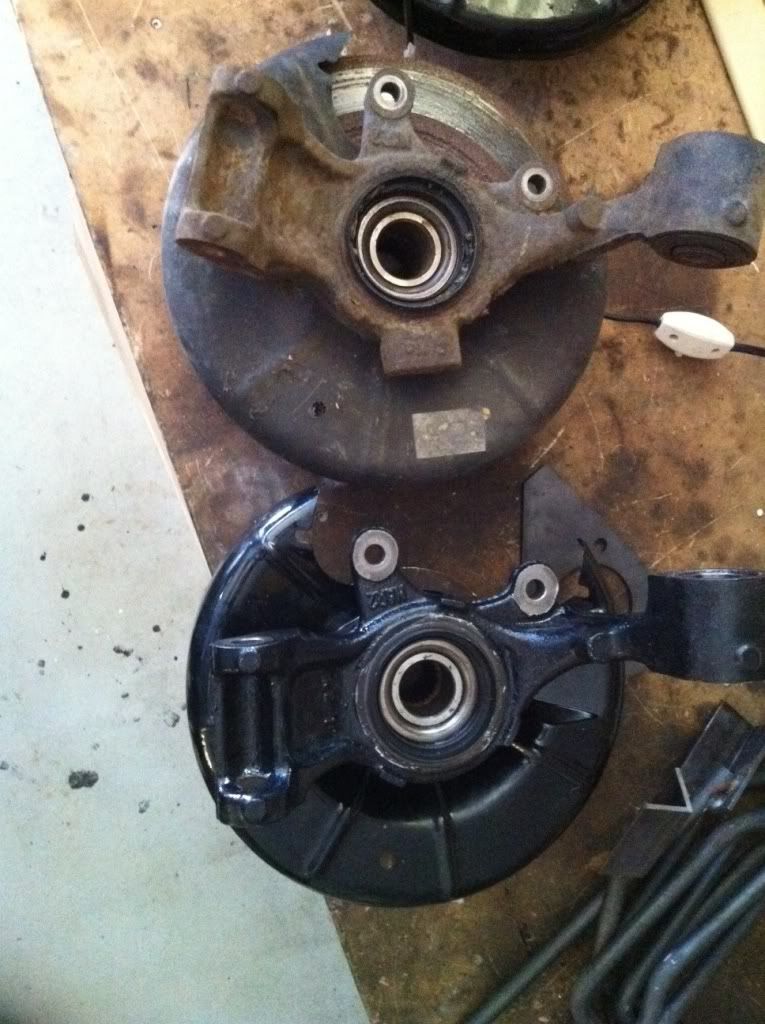
To clean the parts I first used a de-greaser, then had a wire brush on the drill and the angle grinder. Undercoat and then an epoxy top-coat made the parts look a lot tidier
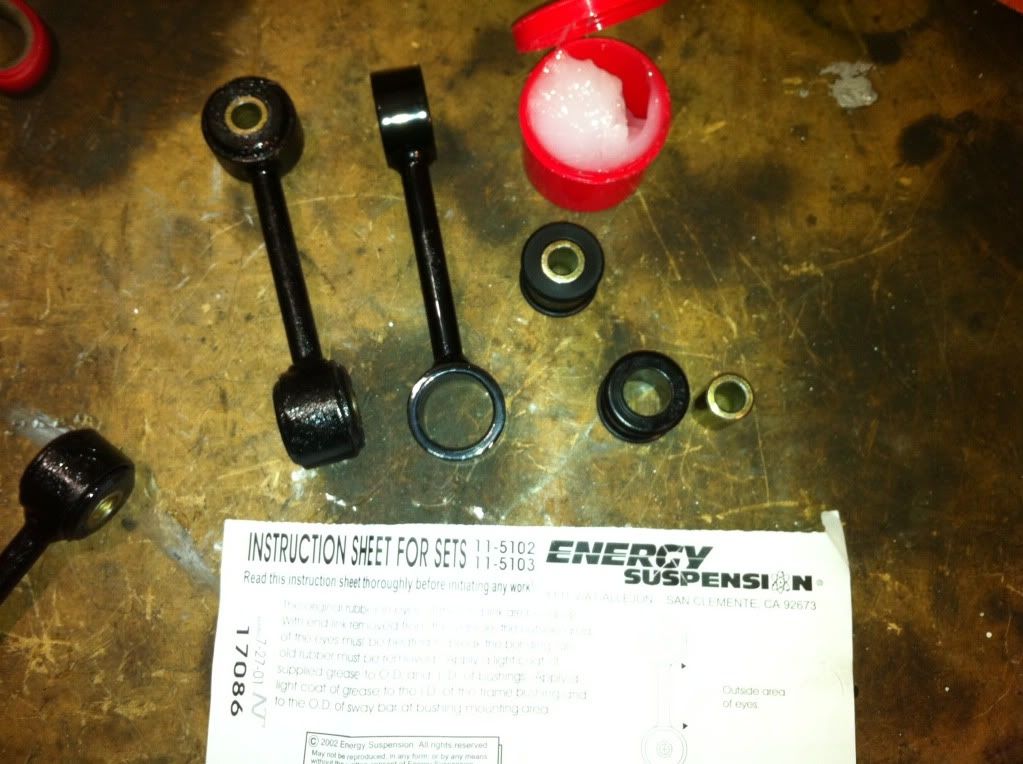
I had a local engineering shop press out the bushes for me - I ordered a full car set of energy suspension from 949 racing.
That lubricating grease is seriously sticky stuff!
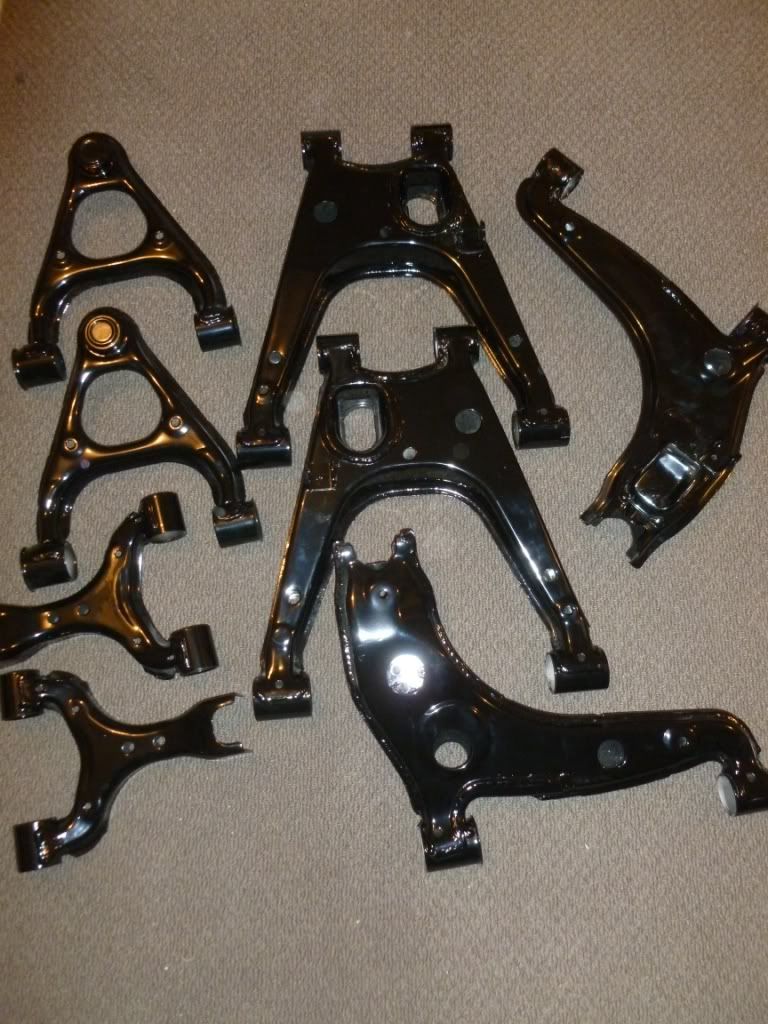
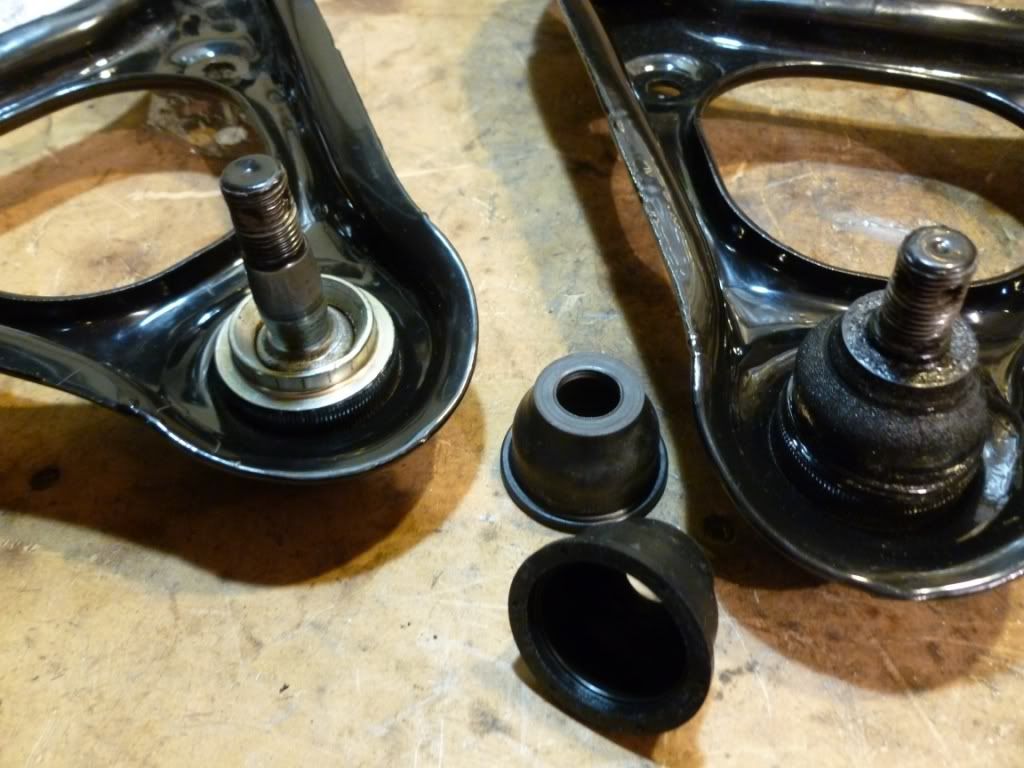
The first set of front upper wish-bones had the ball joints pushed out in error, and after asking around, I decided to scrap them and bought new ones from a scrap yard. These ones just had the rubber boot removed after powder coating to allow for new grease and a new boot to be installed. I've since seen the after market replacement ball joints, but replacement arms was the quicker and easier fix. Apart from the first pair of boots I split using the wrong sized socket to press them on. Back onto the net to import another couple from the UK!
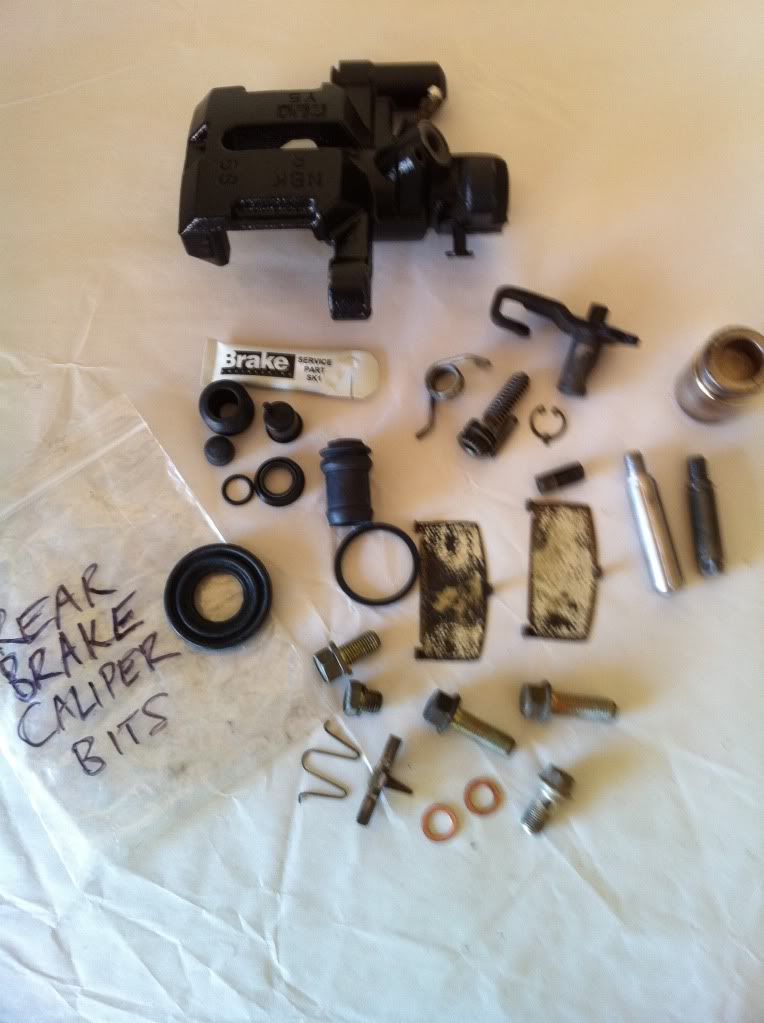
Front and rear callipers had an overhaul
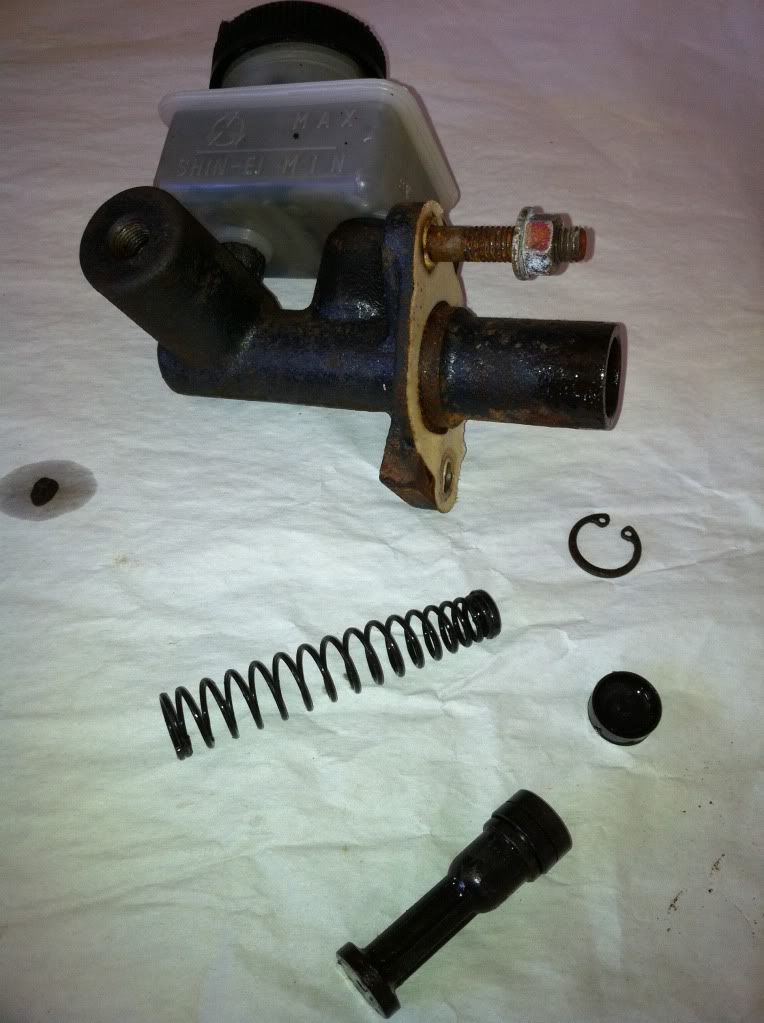
As did the clutch master cylinder (not painted in this photo)
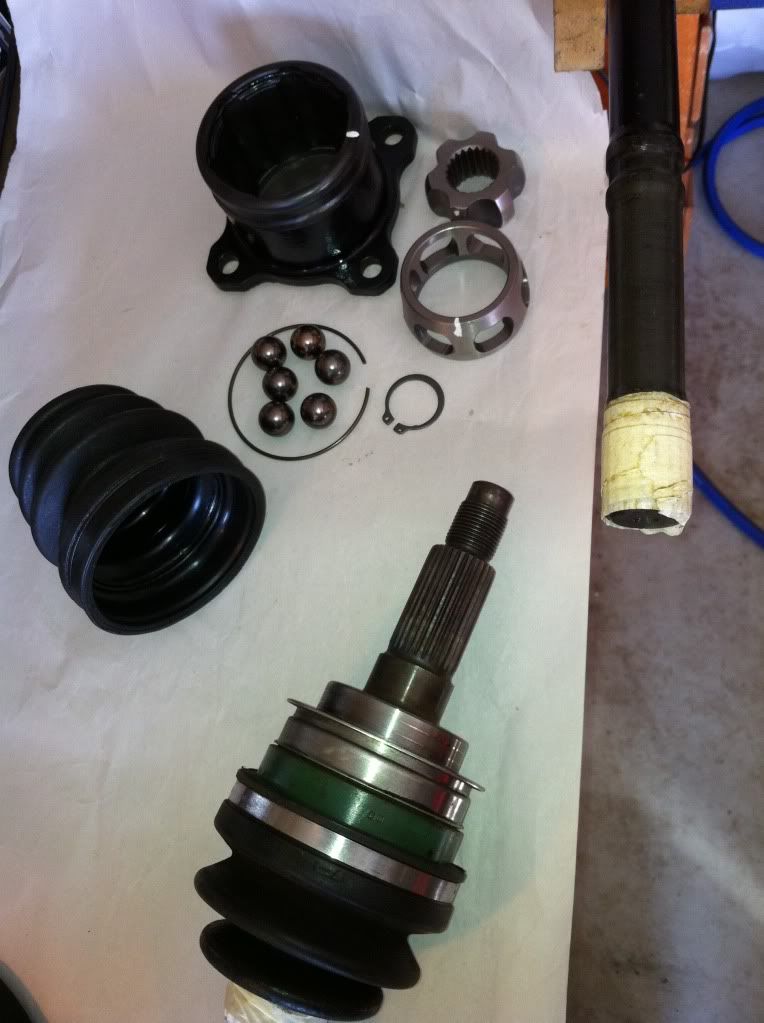
And the CVs
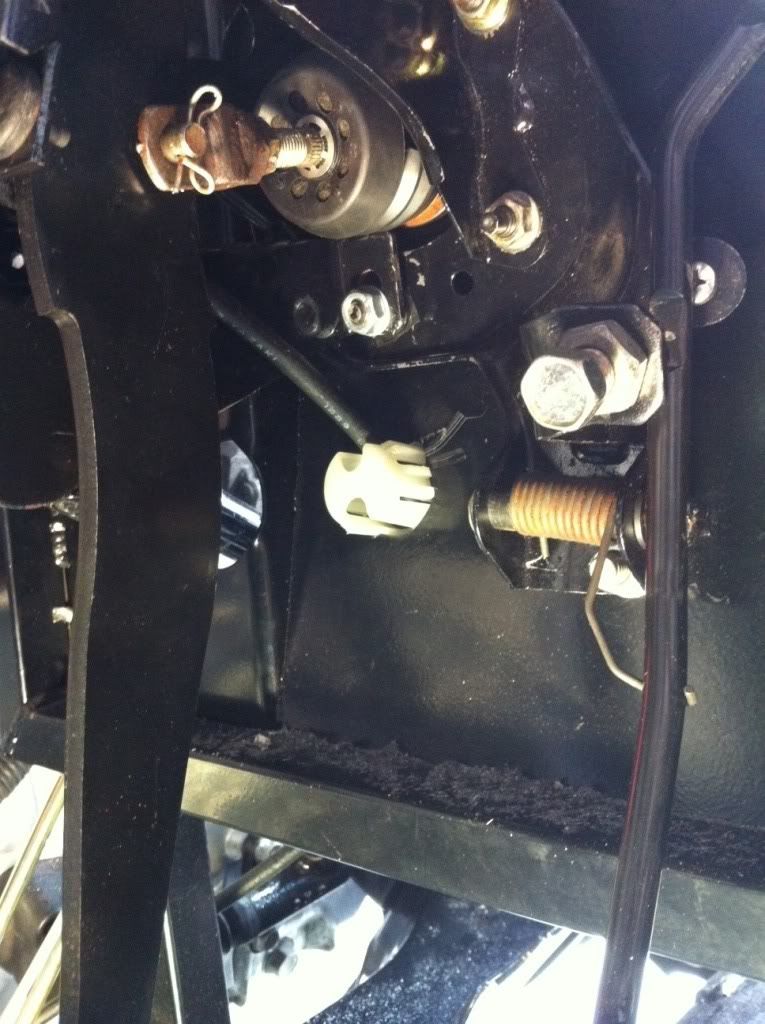
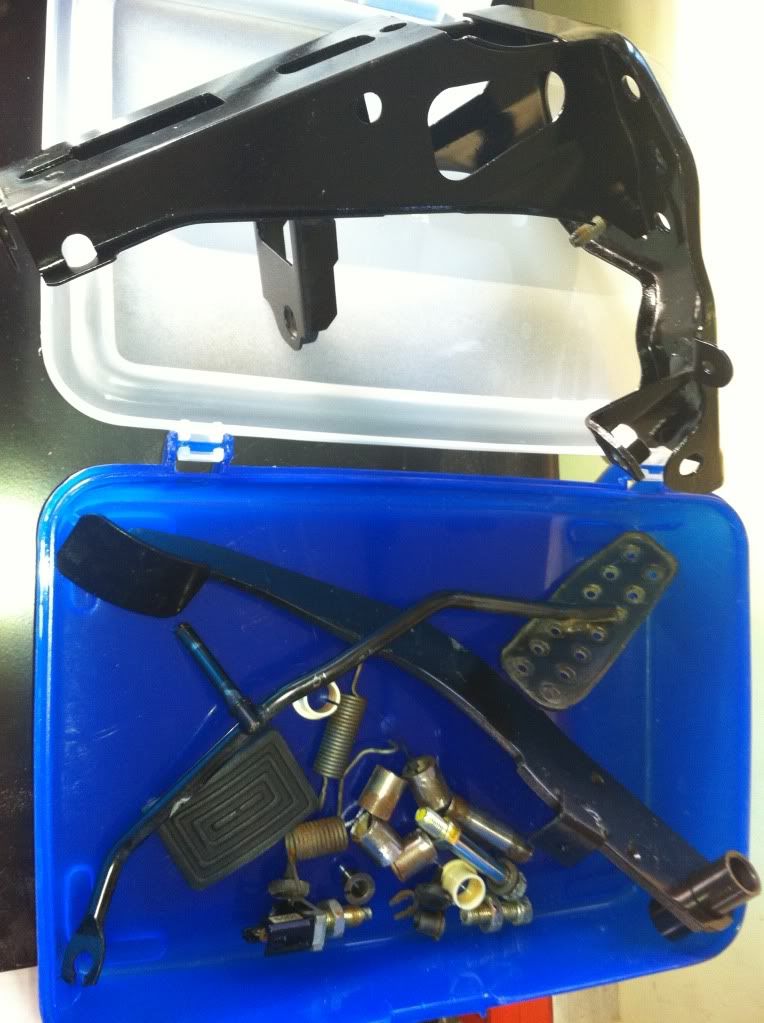
I took apart, rust cured and painted the pedal assemblies
I also replaced the tie-rod ends and the lower ball joints up front.
The wheels my donor parts came with are actually modern mini wheels and no good for the Exocet. One of the differences from the UK is that we are not allowed 32 mm spacers. My research indicated that the maximum size permitted is 20 mm. I've since discovered that in fact bolt-on adapters can be 27 mm. Anyway - I was going to base the wing mounts on a 25+ offset (from the stock 45+) so builders could retain the MX5 wheels with 20 mm spacers. I decided to avoid spacers myself, I'd buy a new set of wheels with 25+ offset. They're from Tire Rack, Fedex'd over. The Kumho Ecsta XS tyres have a great reputation over here (well, Melbourne is where I have a friend with a set) and they cost a fortune. Importing wheels from Tire Rack, with tyres fitted and balanced worked out to be very cost effective.

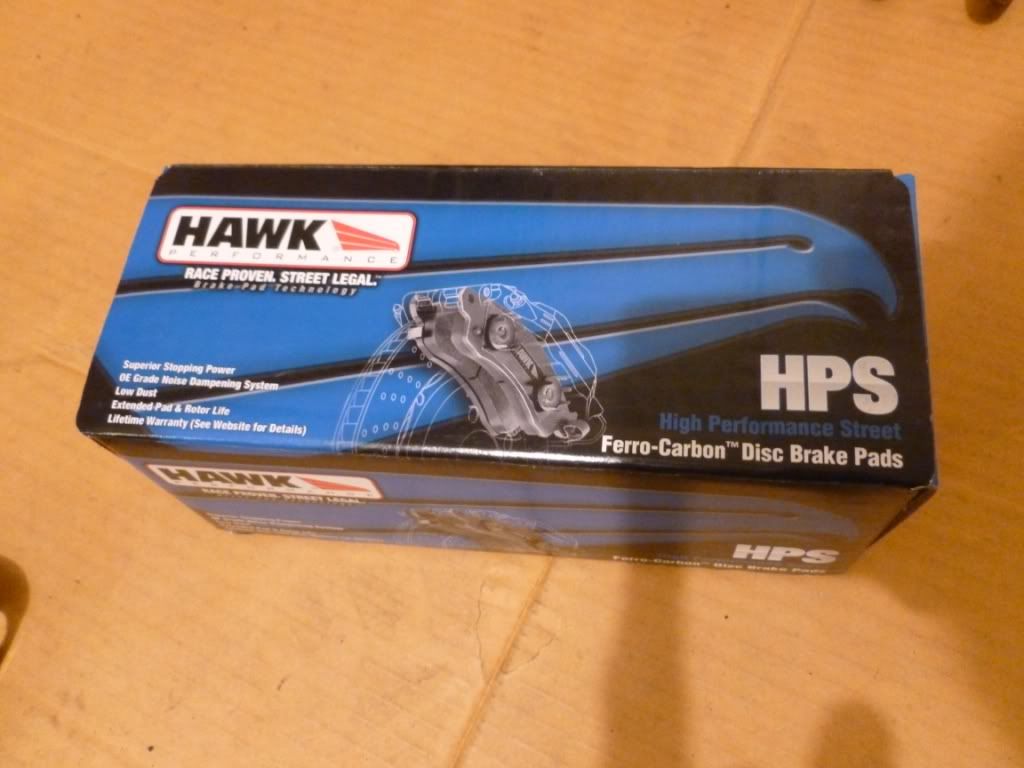
I also bought new grippy brake pads too
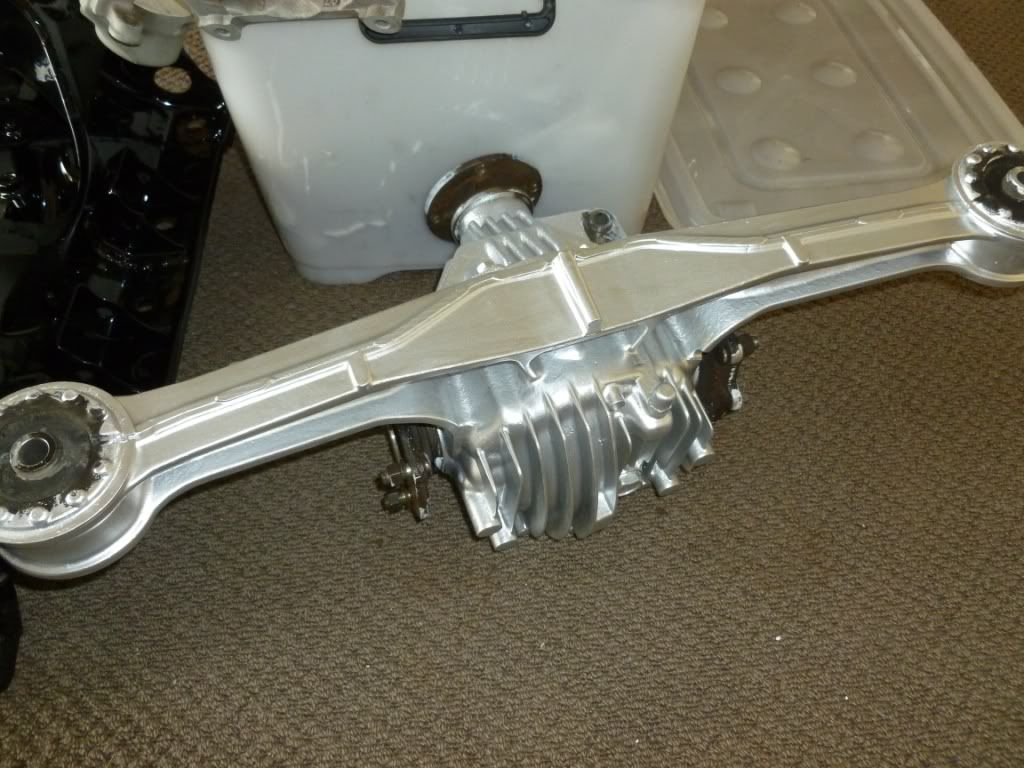
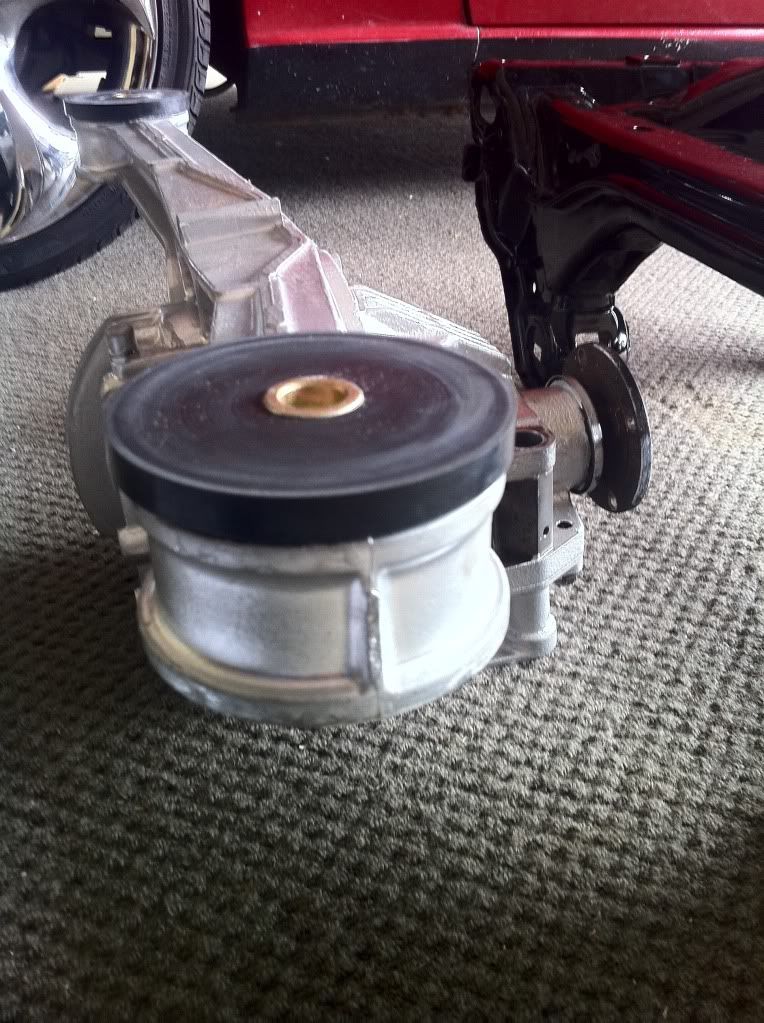
One of the biggest missions was to get the old differential bushes out - to the extent that I would recommend you leave well alone. The approach suggested includes heating the rubber up to brake the bond with the arm. Trouble is, there's not a lot to push against with a press - as the bush has a flange that sits on the edge of the arm. I got there in the end and the new ones went in without dramas
One of my favourite photos - proving that all a car is, is nuts and bolts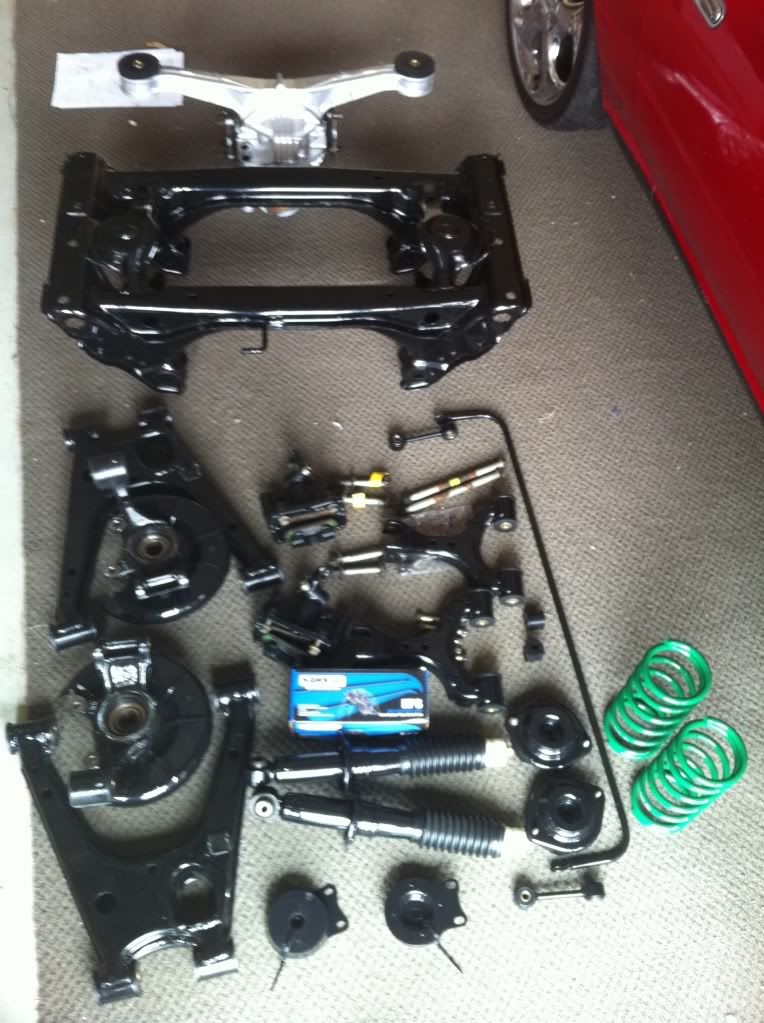
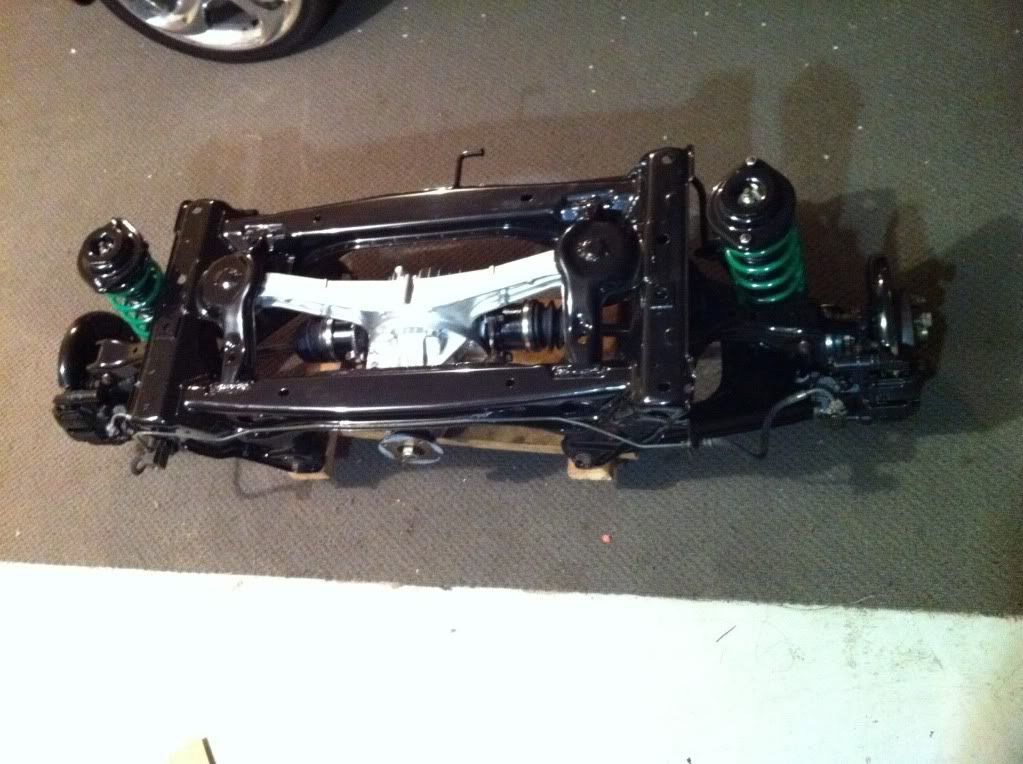
And then assembled
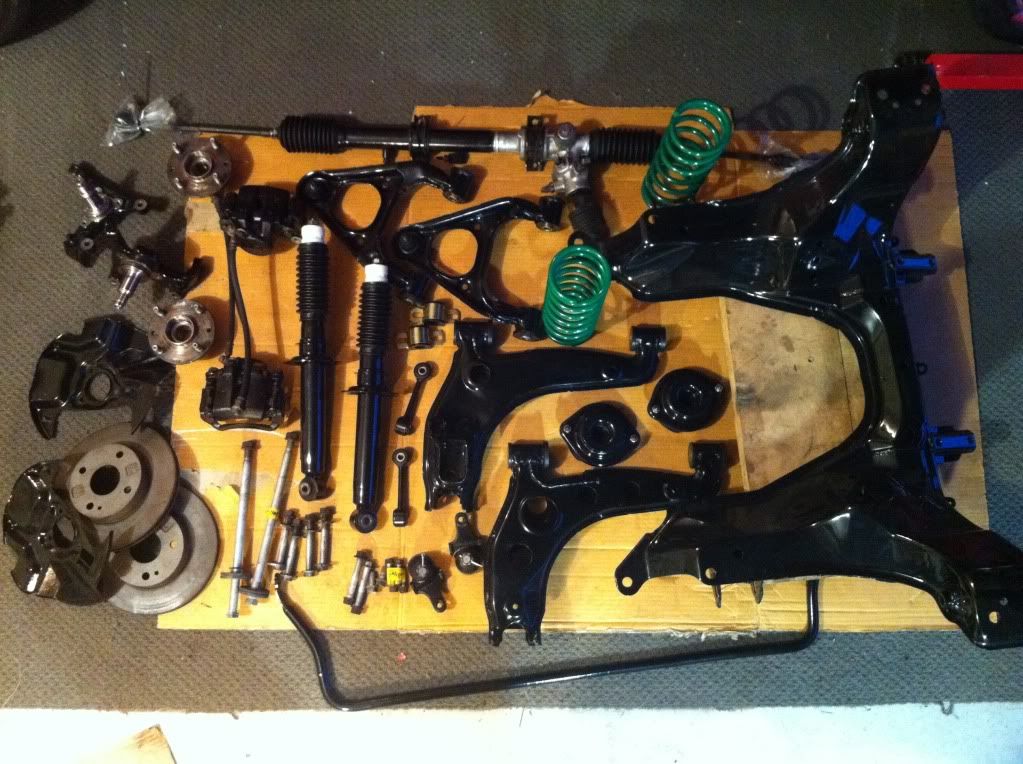
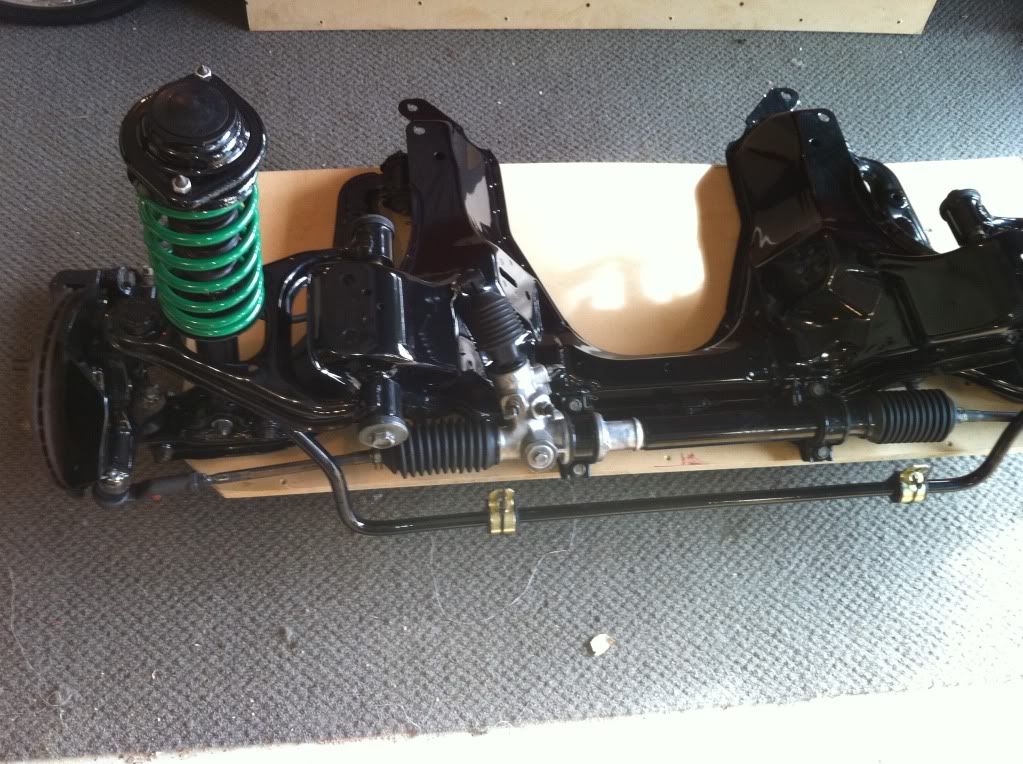
same deal with the front end
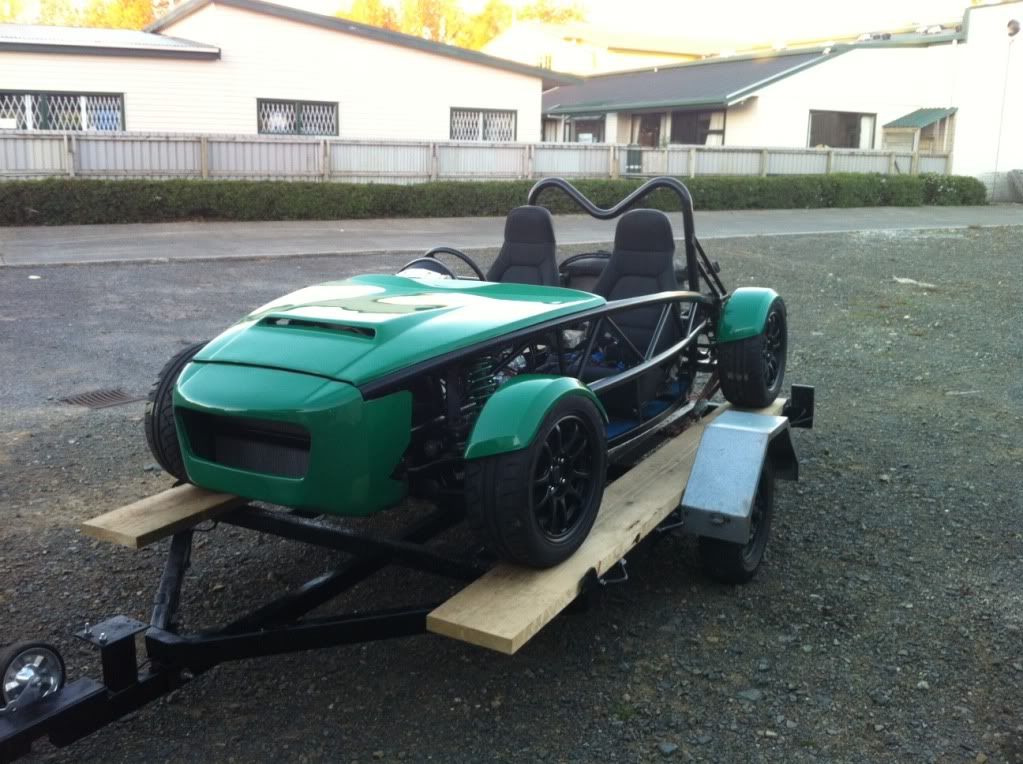
Finally, after a long time (mostly of in-action, with such a long deadline) I had the donor parts back together. I picked up a few parts that I didn't have from a couple of breakers, mx5mart in Hamilton and Cascade breakers in Auckland. Those mini wheels look all wrong!

Firstly an introduction - my name is Tom Carpenter, and I have the license to manufacture the Exocet here in New Zealand. Actually, a deal was struck with Stuart almost a year ago, and I've been busy putting the company together and building and marketing the first Exocet in this part of the world (all in my spare time).
You could say I have a bit of a back-log of posts to put in here, but better late than never!
I'm an Englishman expat, living here in Papakura, Auckland for 2 years, after a 5 year spell in Melbourne. I've followed the UK kit car scene for many years, and it has been a long-seated dream to build my own kit car.
First off - I bought most of an MX5 from a guy in Taupo. The parts were destined to be an MG TF replica but it never happened.
This was a 1989 1600 import, with power steering and LSD. 149,000km on the clock.
The font and rear subframes were complete and there were about 4 boxes of other filthy miscellaneous parts. Obvious omissions were the radiator, seat belts and power-plant frame bar.
They just about fitted in my trailer for the journey home
.This was April 2011 and I had not yet bought the license and kit - so I had some time to fill. I stripped the donor right down and either powder coated everything or cleaned it up, overhauled it and painted it.
Actually, the condition of the parts was excellent - I had none of the issues many people seem to have with seized bolts and corroded parts.
The best disassembly tip I had (thanks Kev) is for ball joints - I had broken one puller and a splitter I had didn't fit - the solution - to put a bit of gentle downward force on the arm with the ball joint on the end (in this case the tie-rod end) and then give the outer housing of the hub carrier/upright a whack with a hammer. The shock seems to free it better than ever trying (and mullering) to hit the ball joint itself.
I kept everything together as I dismantled, putting bolts into labelled zip-lock bags and assemblies into the same bin.
Back from the powder coaters
To clean the parts I first used a de-greaser, then had a wire brush on the drill and the angle grinder. Undercoat and then an epoxy top-coat made the parts look a lot tidier
I had a local engineering shop press out the bushes for me - I ordered a full car set of energy suspension from 949 racing.
That lubricating grease is seriously sticky stuff!
The first set of front upper wish-bones had the ball joints pushed out in error, and after asking around, I decided to scrap them and bought new ones from a scrap yard. These ones just had the rubber boot removed after powder coating to allow for new grease and a new boot to be installed. I've since seen the after market replacement ball joints, but replacement arms was the quicker and easier fix. Apart from the first pair of boots I split using the wrong sized socket to press them on. Back onto the net to import another couple from the UK!
Front and rear callipers had an overhaul
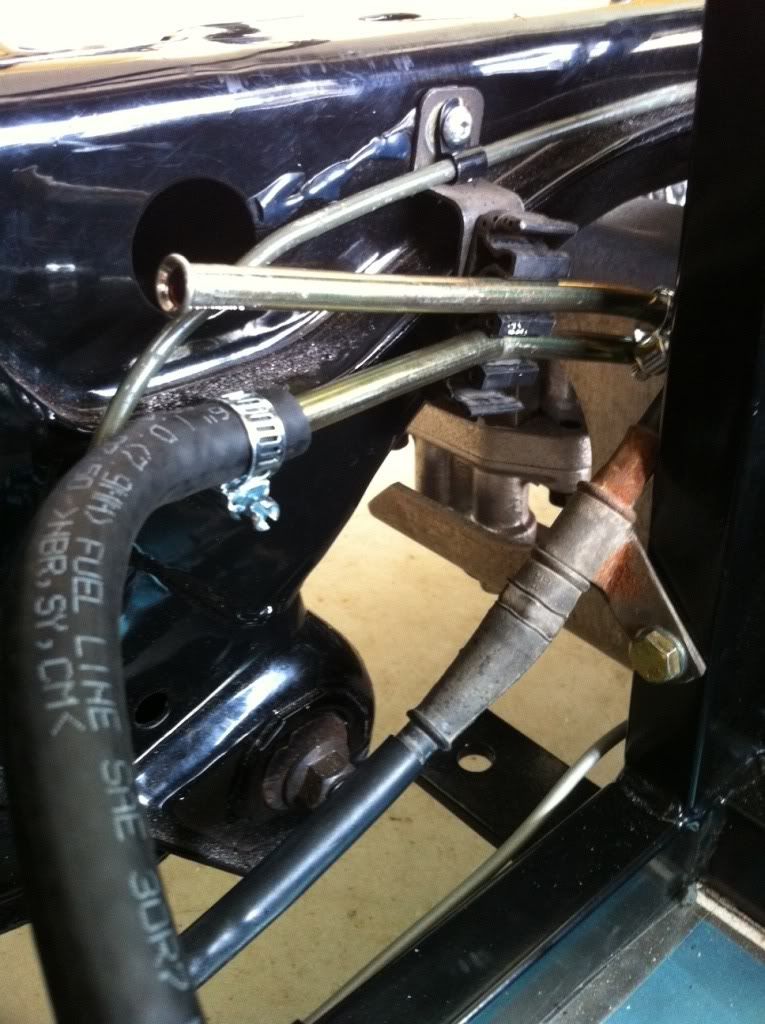
As did the clutch master cylinder (not painted in this photo)
And the CVs
I took apart, rust cured and painted the pedal assemblies
I also replaced the tie-rod ends and the lower ball joints up front.
The wheels my donor parts came with are actually modern mini wheels and no good for the Exocet. One of the differences from the UK is that we are not allowed 32 mm spacers. My research indicated that the maximum size permitted is 20 mm. I've since discovered that in fact bolt-on adapters can be 27 mm. Anyway - I was going to base the wing mounts on a 25+ offset (from the stock 45+) so builders could retain the MX5 wheels with 20 mm spacers. I decided to avoid spacers myself, I'd buy a new set of wheels with 25+ offset. They're from Tire Rack, Fedex'd over. The Kumho Ecsta XS tyres have a great reputation over here (well, Melbourne is where I have a friend with a set) and they cost a fortune. Importing wheels from Tire Rack, with tyres fitted and balanced worked out to be very cost effective.
I also bought new grippy brake pads too
One of the biggest missions was to get the old differential bushes out - to the extent that I would recommend you leave well alone. The approach suggested includes heating the rubber up to brake the bond with the arm. Trouble is, there's not a lot to push against with a press - as the bush has a flange that sits on the edge of the arm. I got there in the end and the new ones went in without dramas
One of my favourite photos - proving that all a car is, is nuts and bolts
And then assembled
same deal with the front end
Finally, after a long time (mostly of in-action, with such a long deadline) I had the donor parts back together. I picked up a few parts that I didn't have from a couple of breakers, mx5mart in Hamilton and Cascade breakers in Auckland. Those mini wheels look all wrong!