|
|
Post by chrisw on Sept 1, 2011 19:16:28 GMT
Brilliant! thanks for the link - something to think about later on.
|
|
|
|
Post by h5ngs on Sept 1, 2011 20:28:46 GMT
|
|
|
|
Post by PardonWhat on Sept 4, 2011 9:49:17 GMT
Brilliant thread! Do you know what I like best? Your attention to detail when explaining what you are up to. I really hope you are able to sustain it through the build coz it will become another really good archive of information for other builders.
Do you know what else I like? Your attitude.
Yes new bricks are only £100 for 400 but like you say, you have good bricks already they just need some effort to clean them up.
Repair and reuse where possible and you'll be surprised how much dosh you can save. I say this as though it comes from a point of experience but that would entirely false as traditionally I treat money with wild abandon. However I am looking forward to changing my ways and doing it more like you.
Well done, keep it up.
I'm starting my build this winter too and also intend on using forced induction so it'll be interesting to compare notes, so to speak.
More pictures please....
P//
|
|
|
|
Post by h5ngs on Sept 4, 2011 14:27:43 GMT
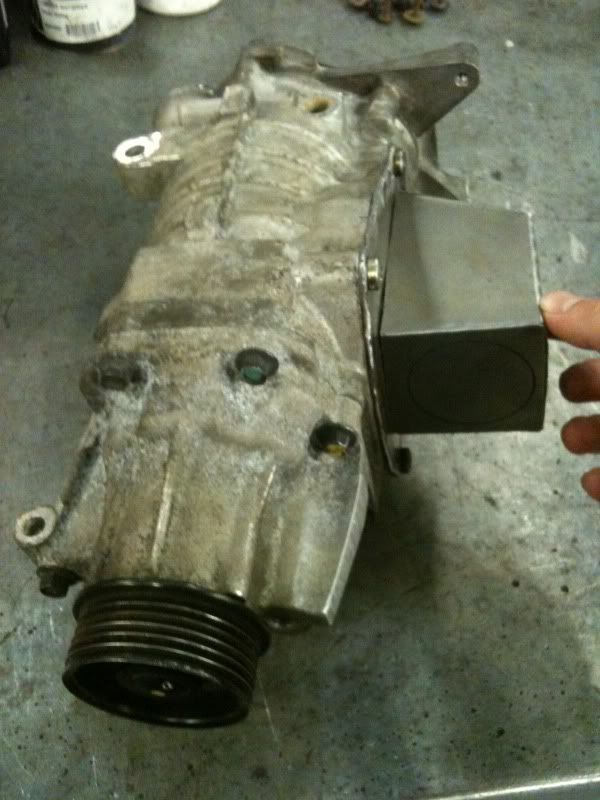
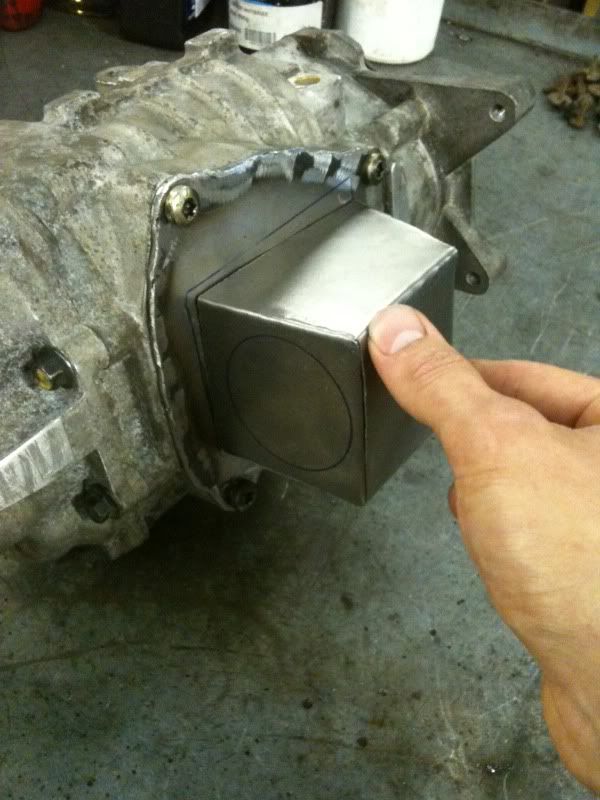
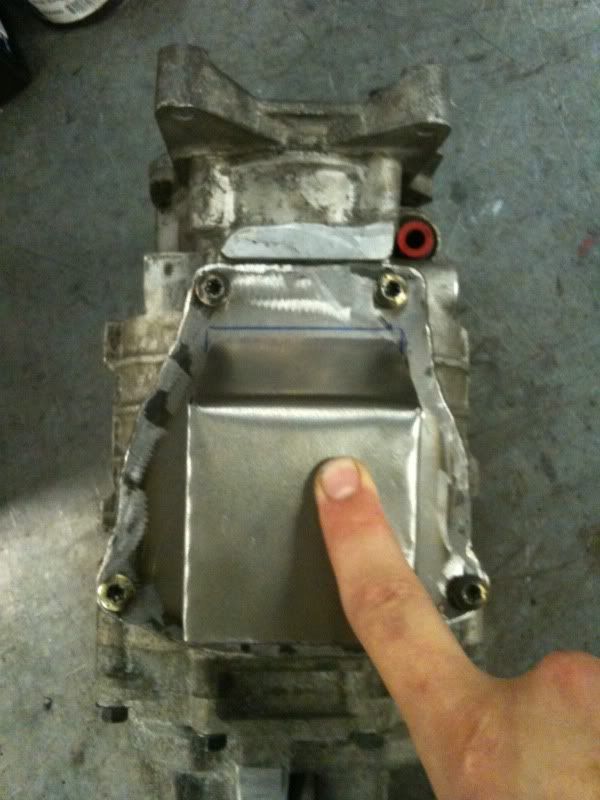
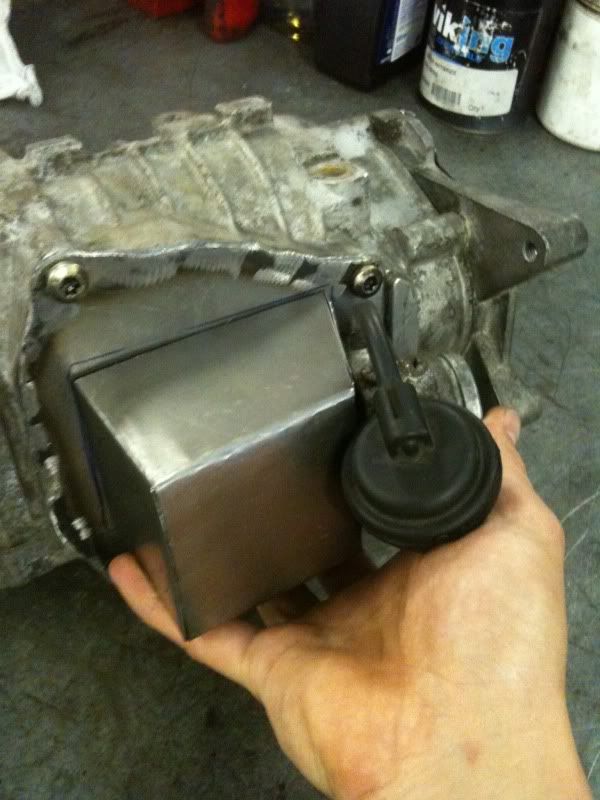
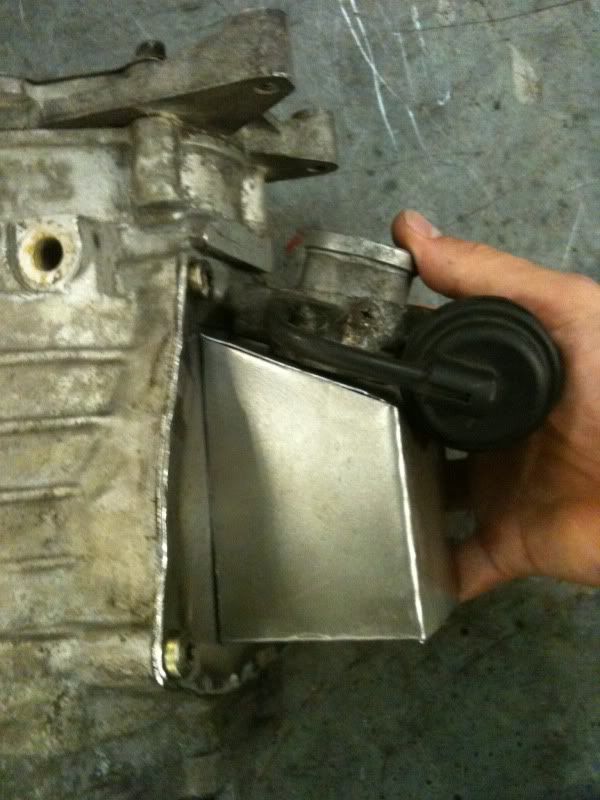
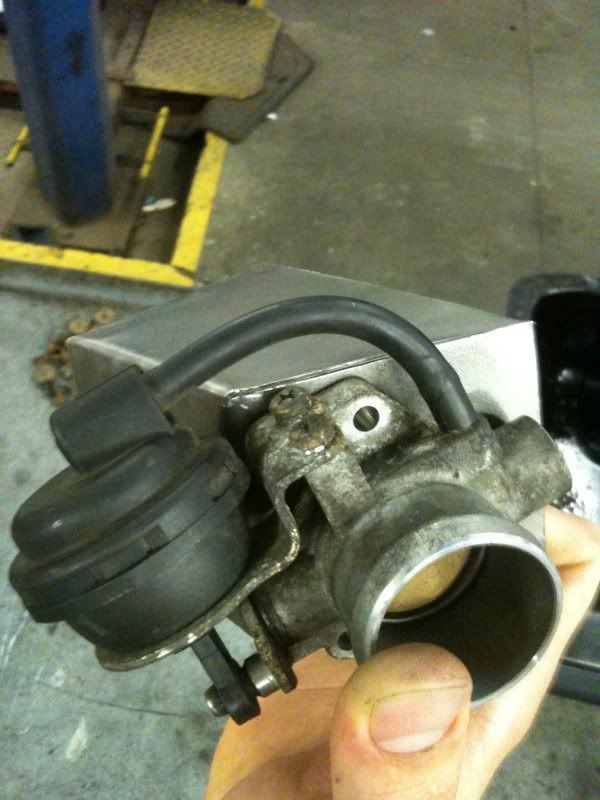
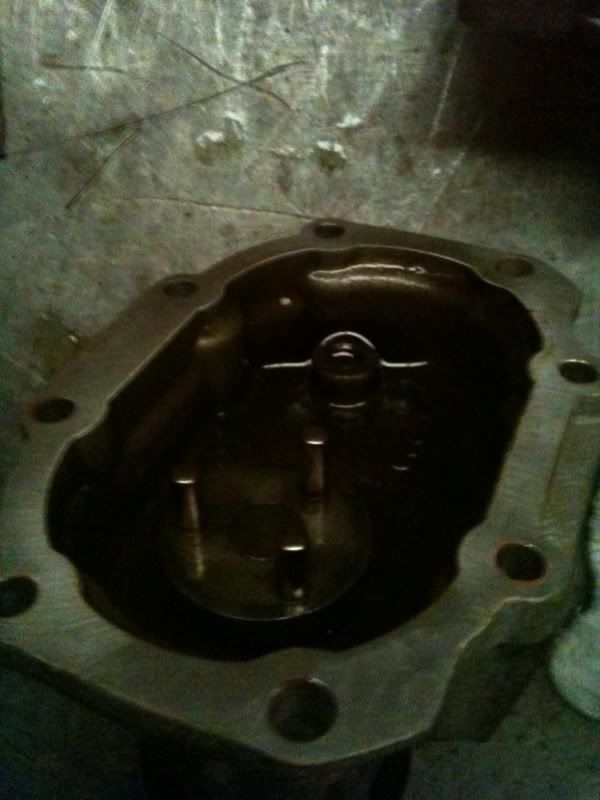
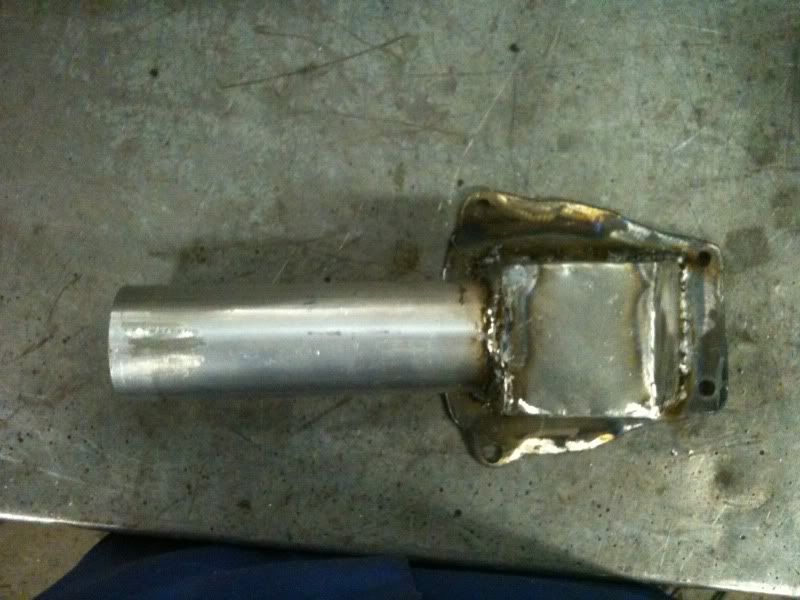
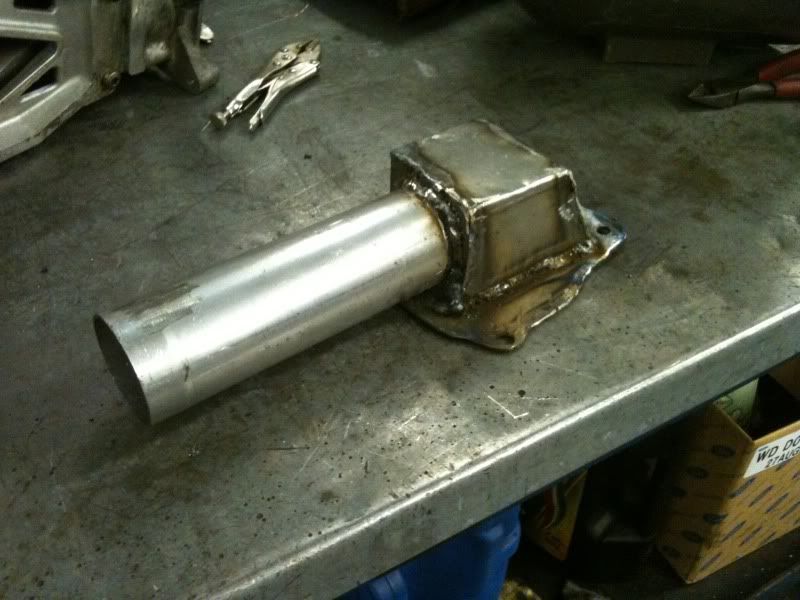
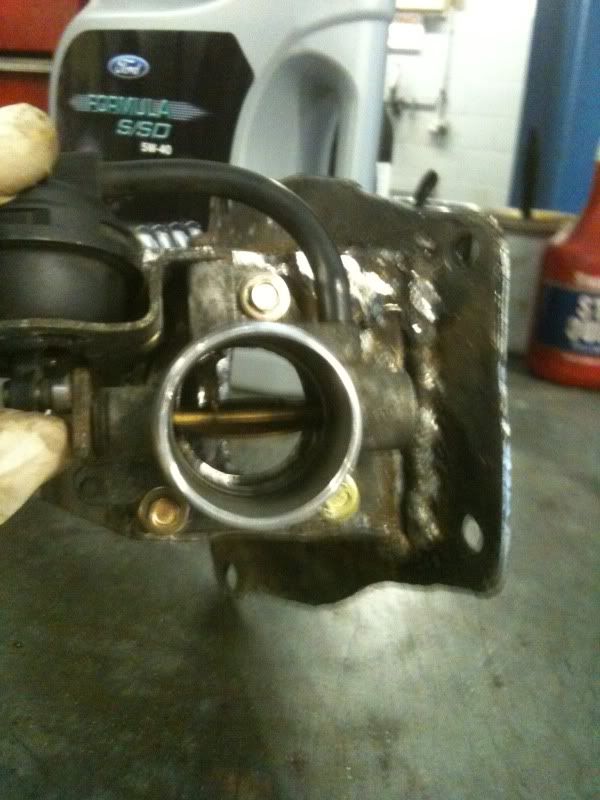
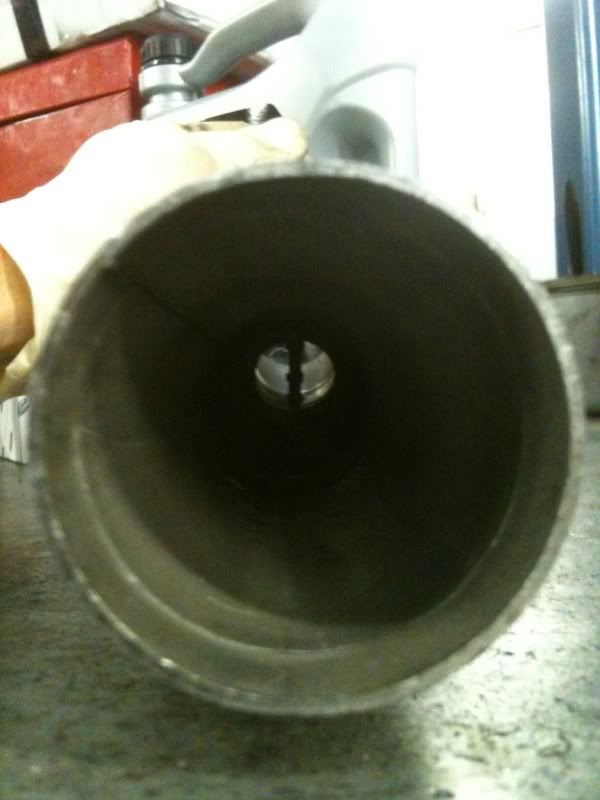
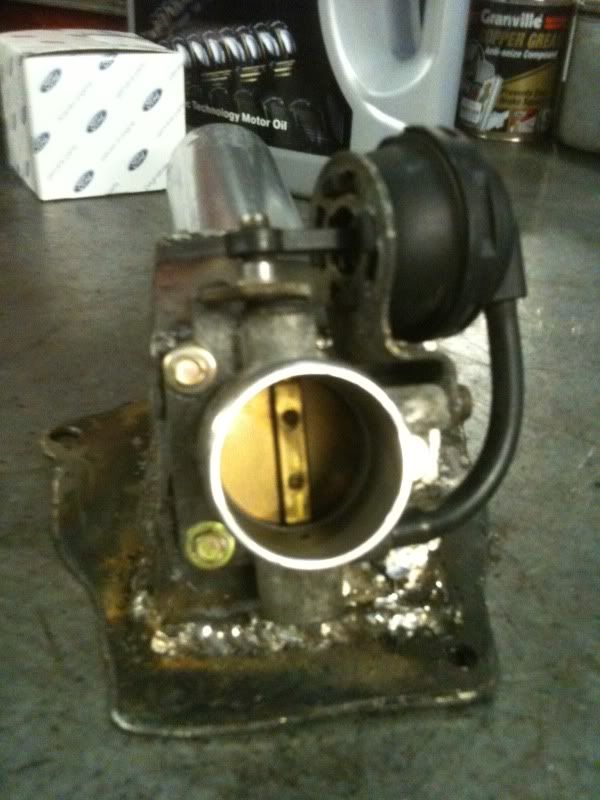
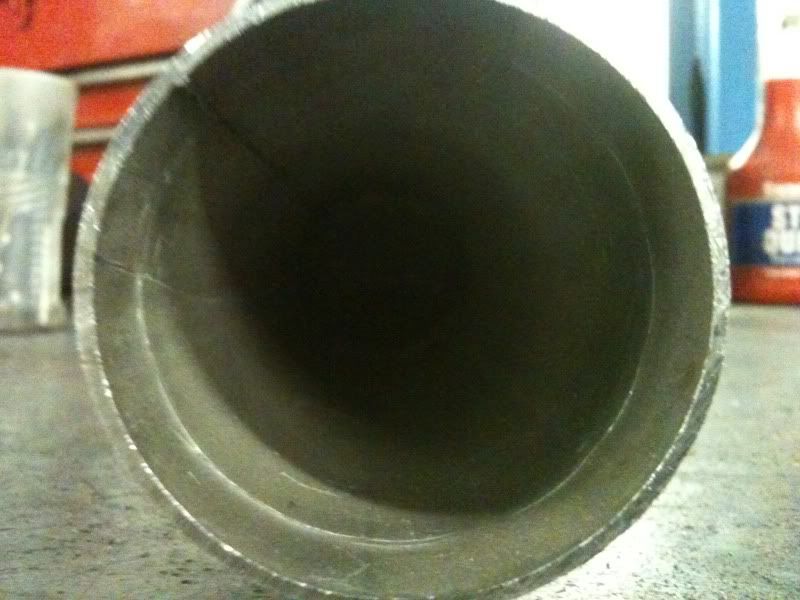
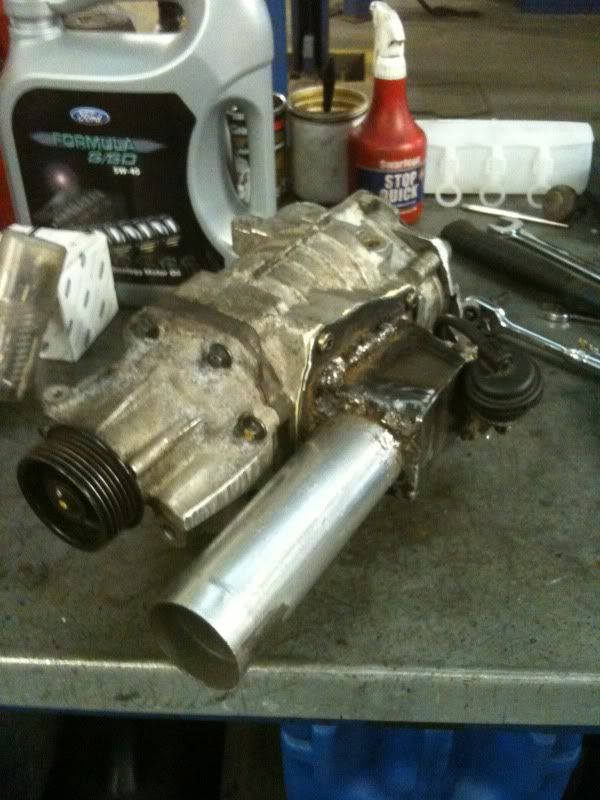
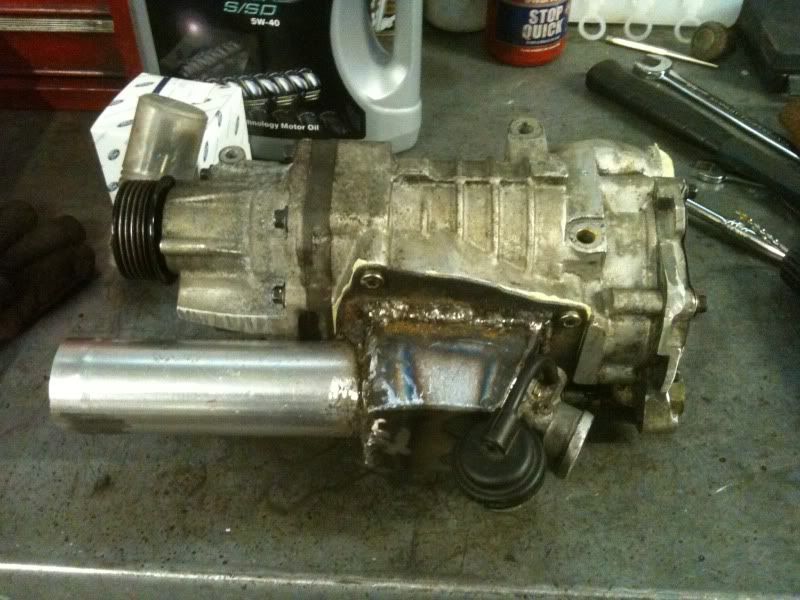
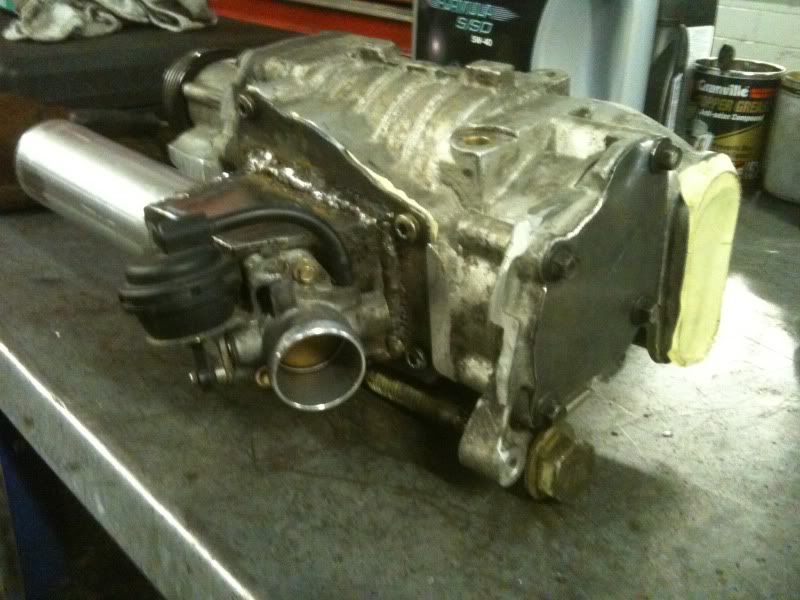
Cheers for the positive comment, ill try and keep my car build updated frequently with lots of pictures hopefully my workshop will be built this weekend coming if not next weekend so can finish the garden and then get started.  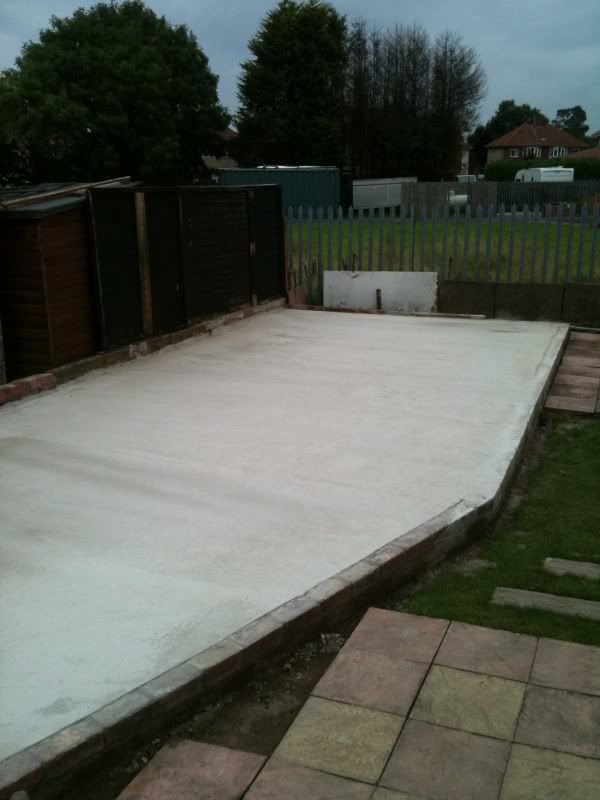 Now here's a little update with the car build rather than my workshop  might interest people a little more. I bought my mini supercharger which i said before is an eaton m45, it doesnt have a built in bypass valve so you need to get the one fitted to a mini. This is needed for running at idle so the intake air can bypass around so the charger. also i got a 1.6 throttle body for duel set-up for idle issues. As i cant go any further with the garden or start my donor yet i decided to spend a couple of hours making some blanking plates for the charger and throttle body, also made a start on the inlet plate and outlet plates. you can buy these but i decided to give it a go and make them instead, they are in the rough mock up stages at the moment so need lots of adjustments and finishing but ill get there. Here are a few pictures of the work so far. Throttle body with blanking plate (i got the throttle body plate and the silver blanking plate off a member of mx5nutz and made the others)  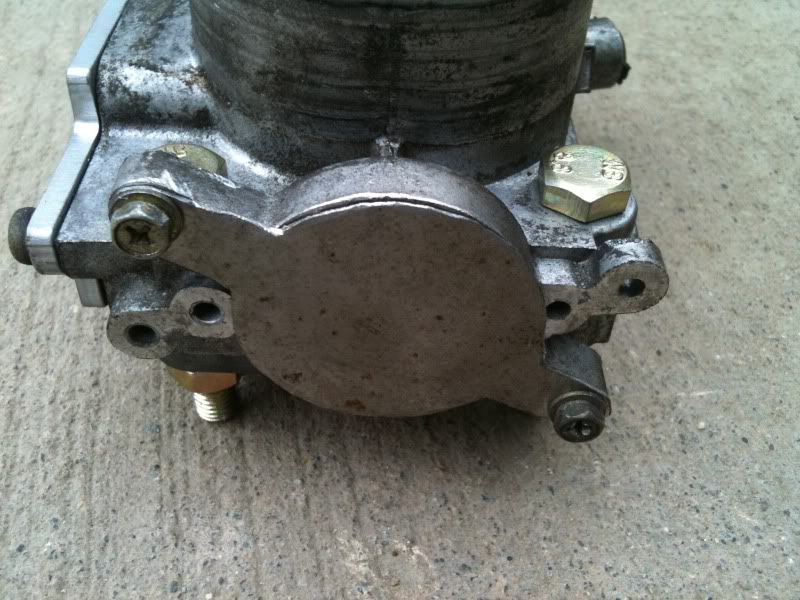 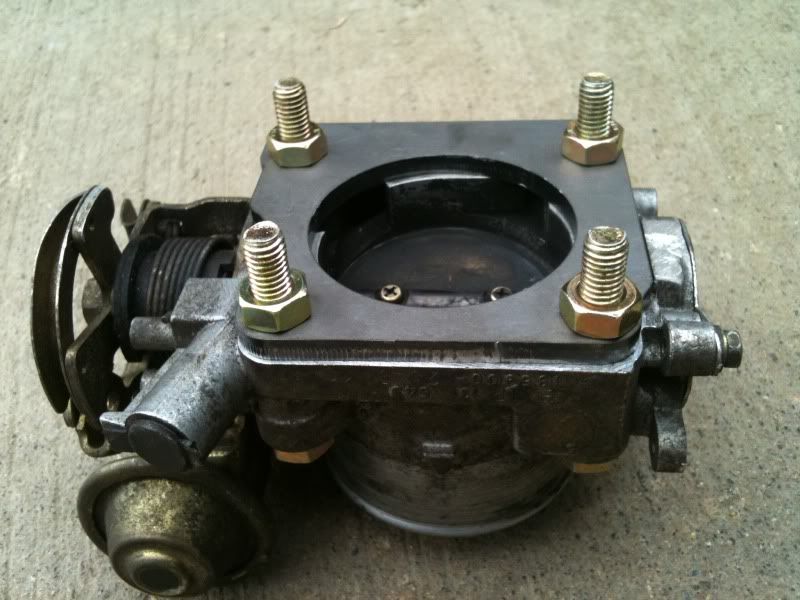 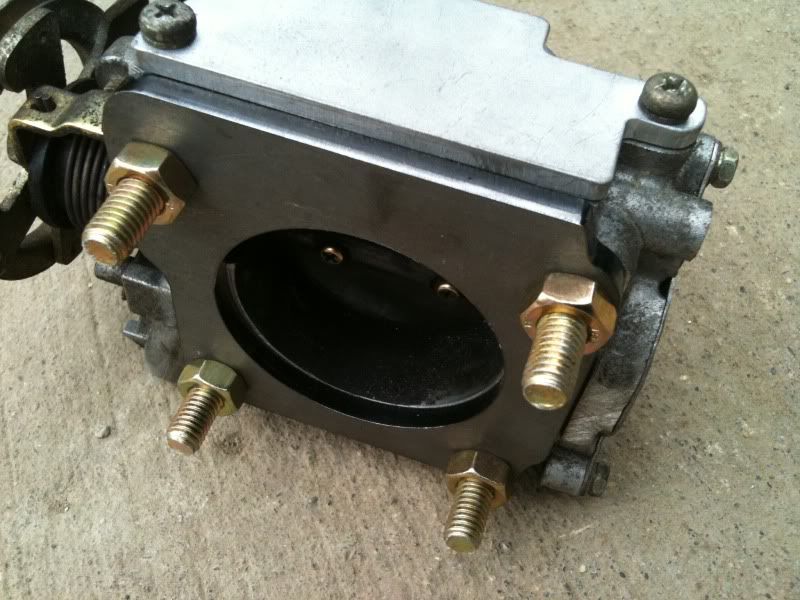 i am removing the power steering on the car so thinking of utilising its brackets etc to make the tensioner, i also have a tensioner off a vauxhall mavaro van which was changed at my work, i seen it has a good idea as its adjustable with a 6mm bolt to create the tension and has a wide range of movement (see pics) also comes attached to a solid metal plate which might make securing easier but will need to check on the engine, so its just there as a maybe for the time being 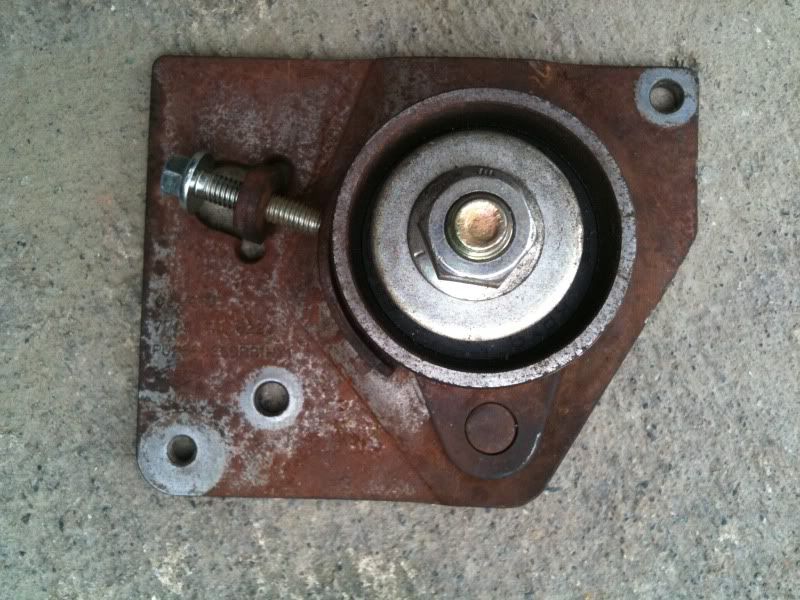 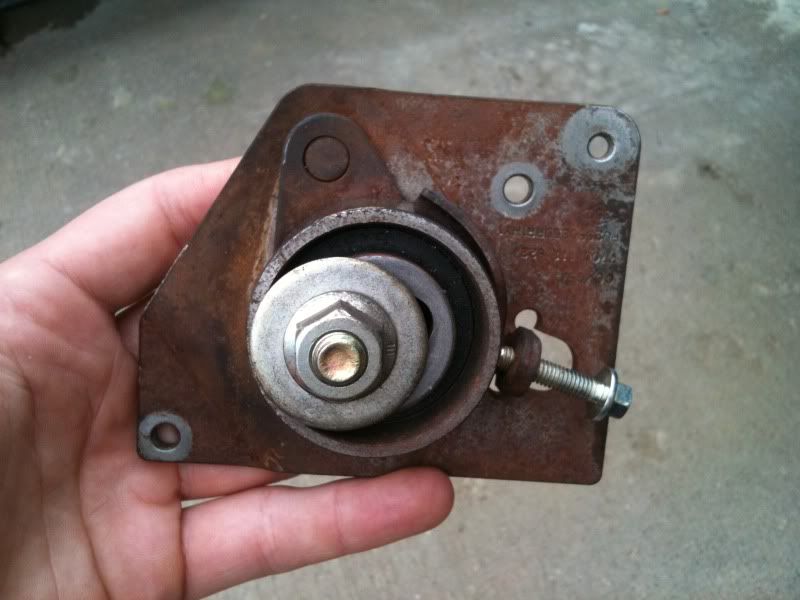 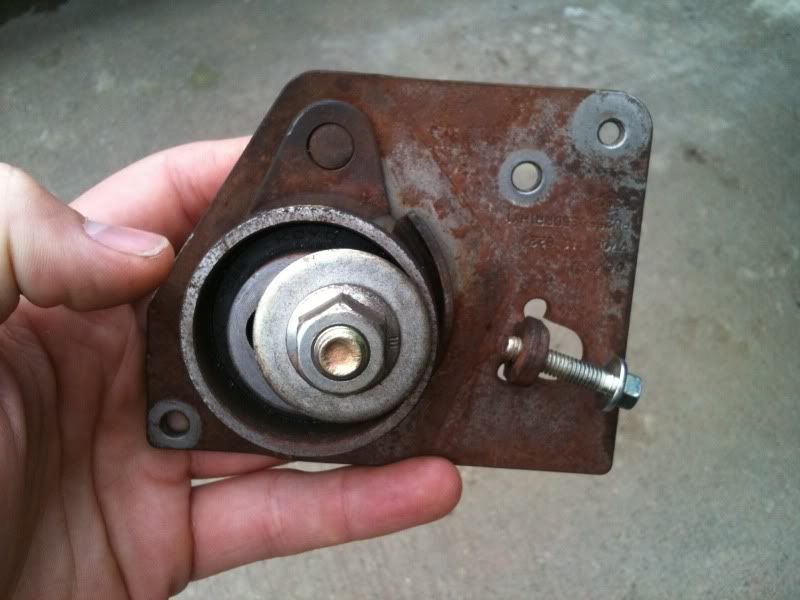 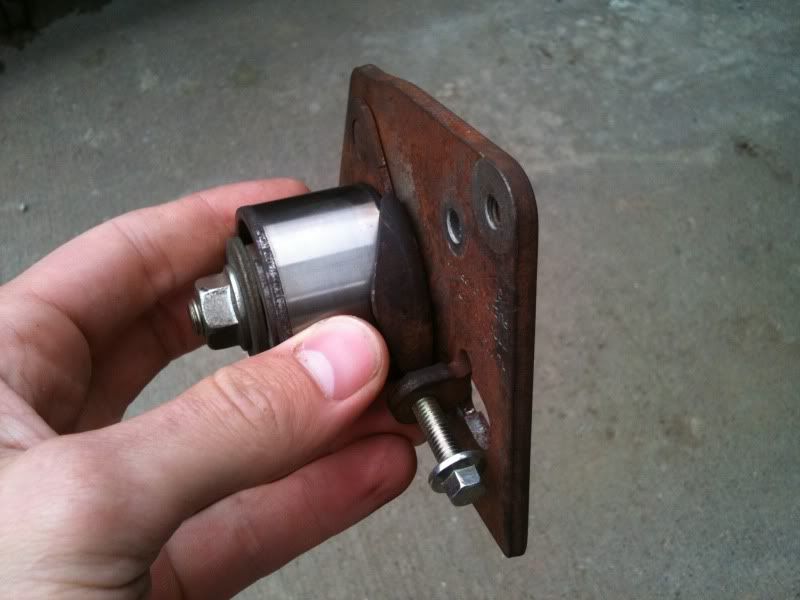 mini bypass valve, 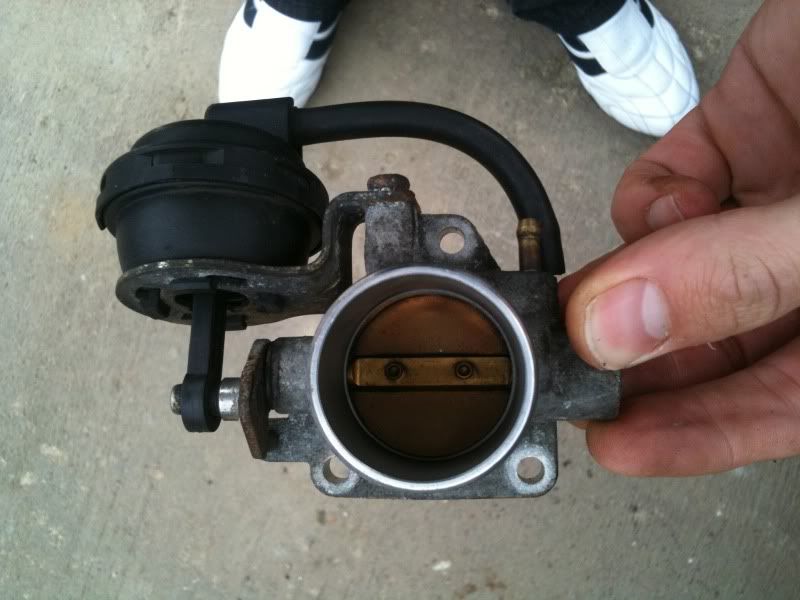 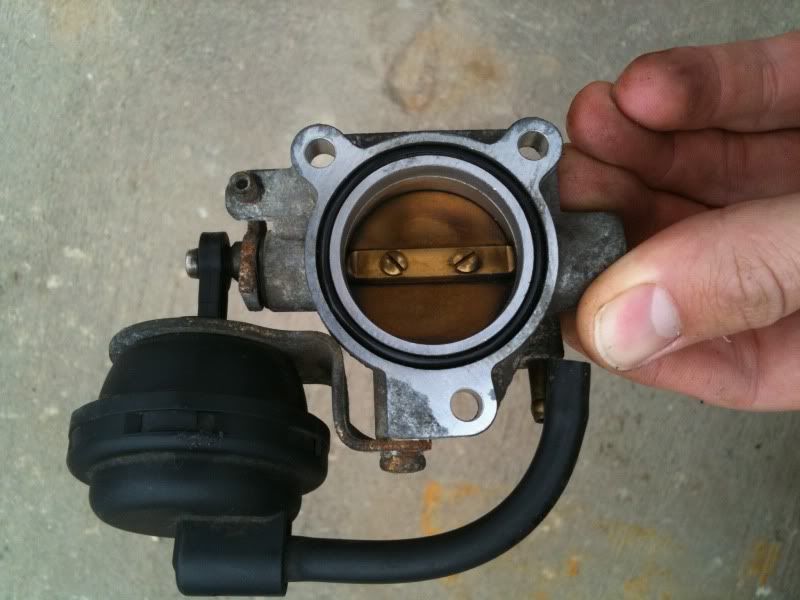 and super charger and plates, the outlet plate i used 1mm thick mild steel sheet, cut out 3 templates and clamped them together, then i seem welded them together and cleaned up alittle with the grinder, not pretty (yet) but functional and saved me the £32.50 that demon tweeks sell them for, as mine was free. the inlet pipe was just a trial to see ideas of how i could make one, to be honest its not the best so will end up remaking it. 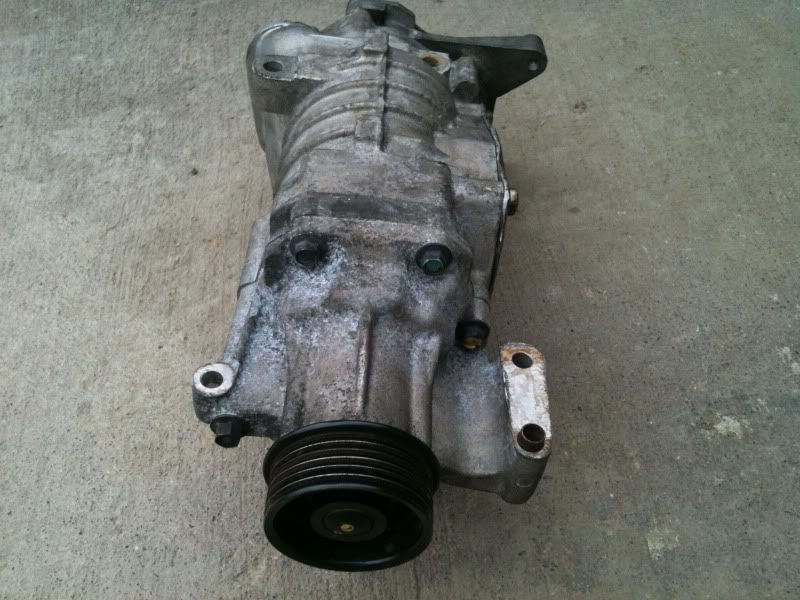 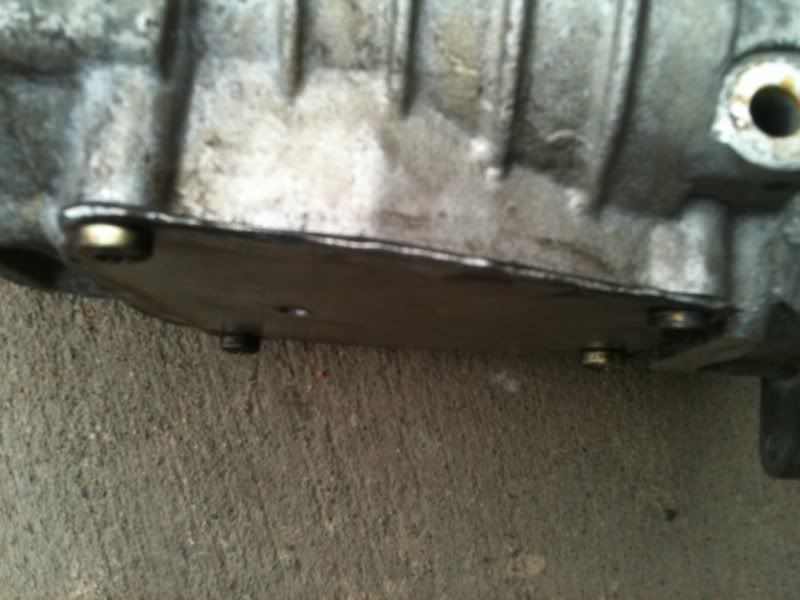 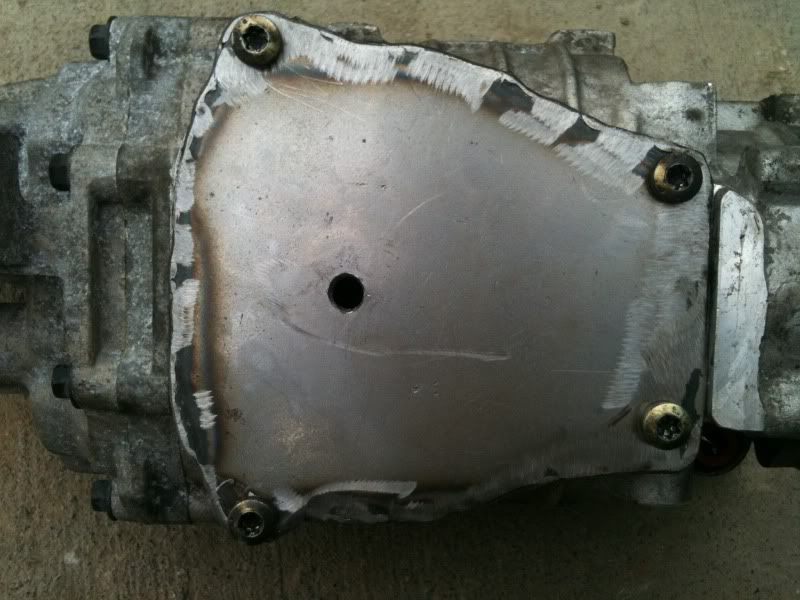 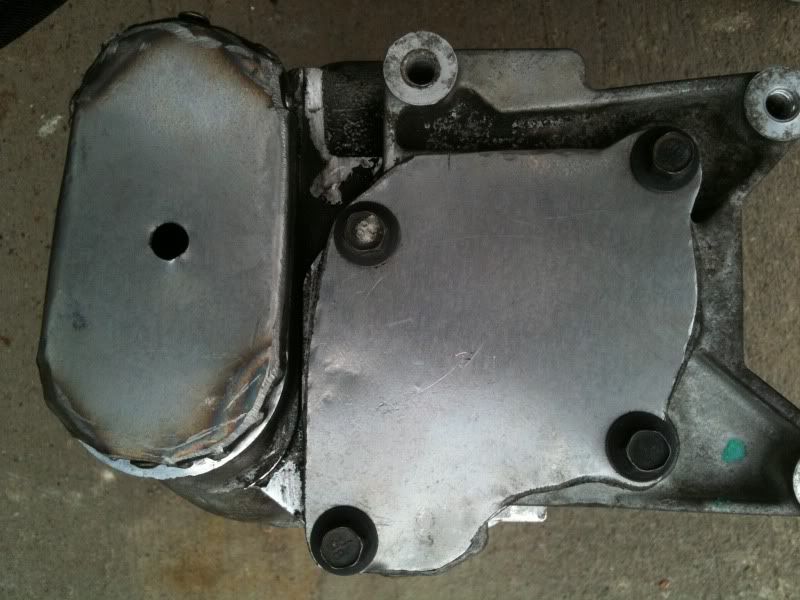 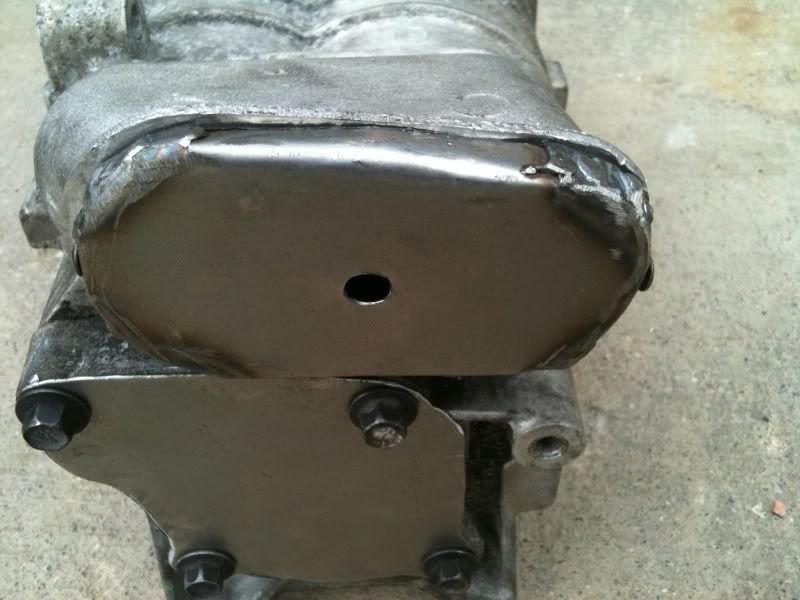 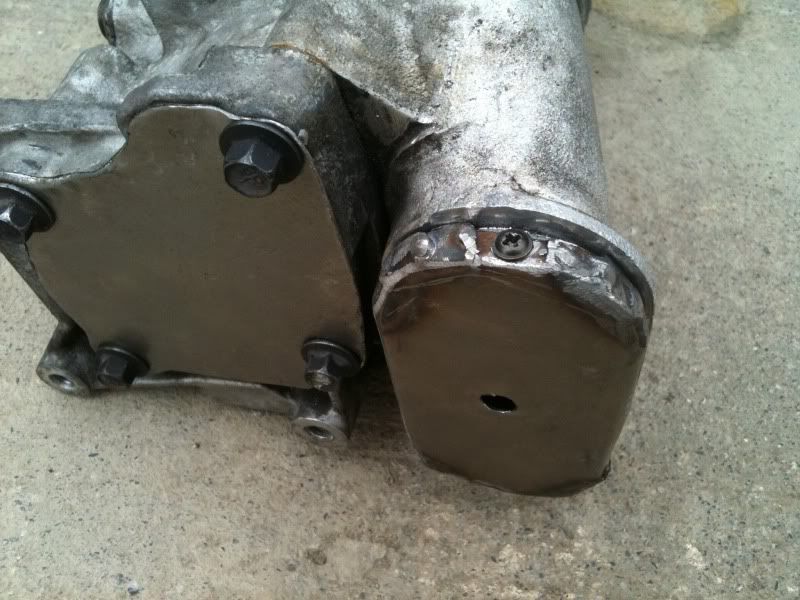 the second blanking plate is for the PTO used for the water pump on a mini engine so not needed and can be blanked. I cant wait now to start my build and have some good idea with it that i want to try out. Cheers for looking. Craig |
|
|
|
Post by h5ngs on Sept 5, 2011 19:44:29 GMT
|
|
|
|
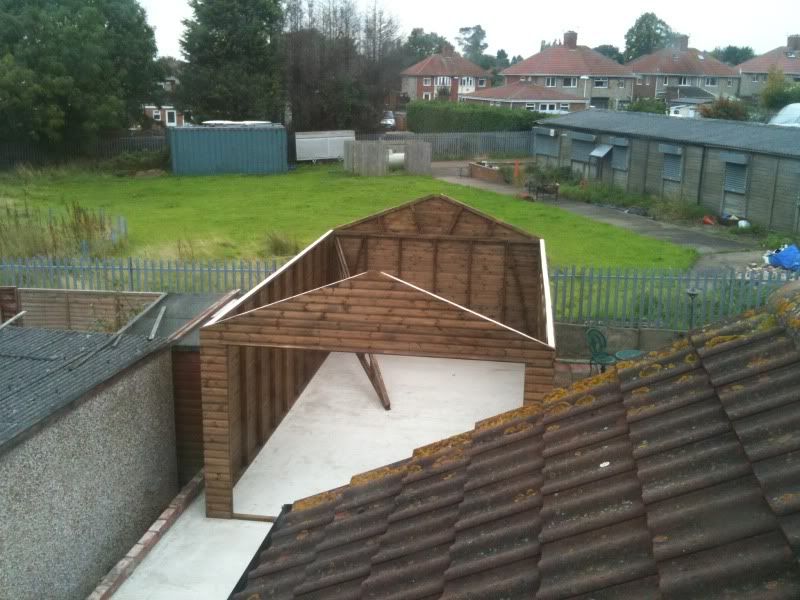
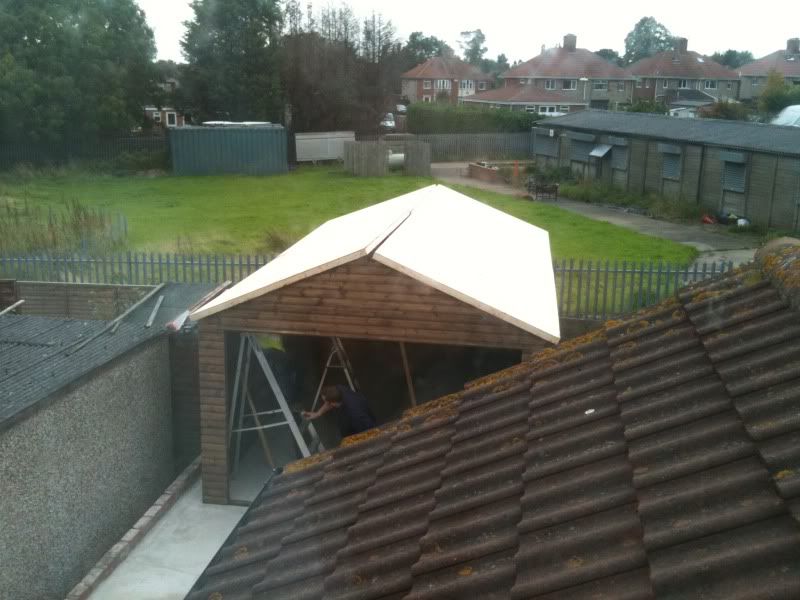
Post by h5ngs on Sept 8, 2011 18:49:17 GMT
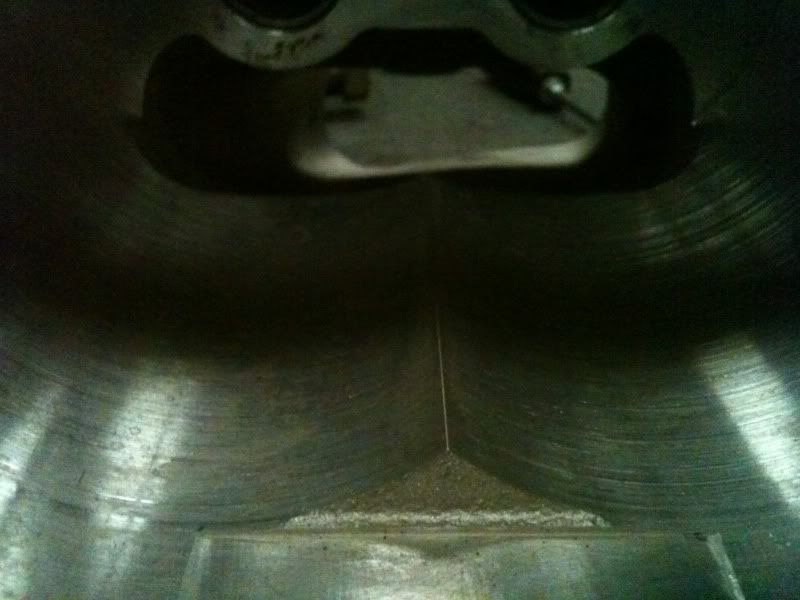
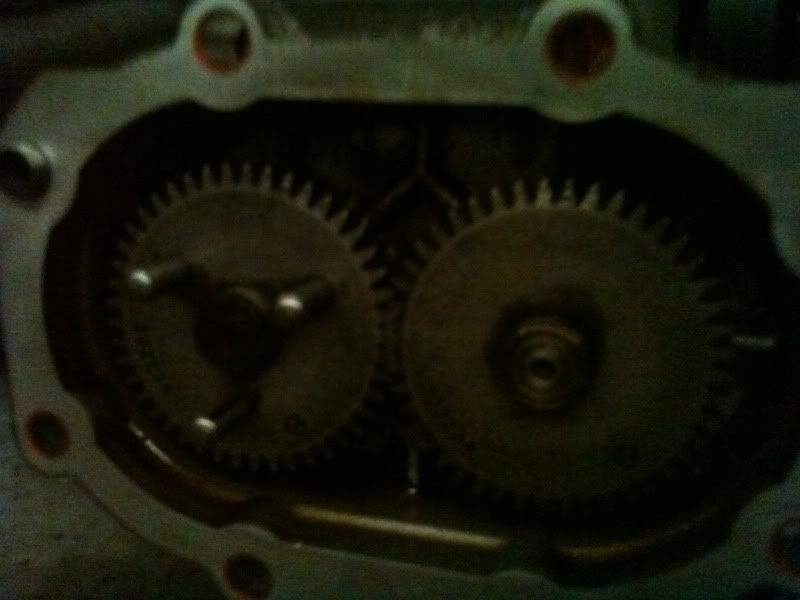
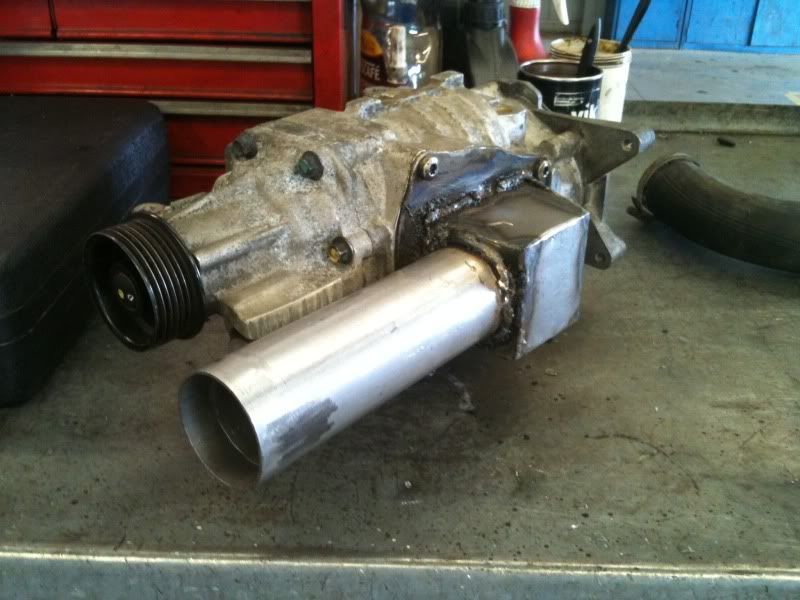
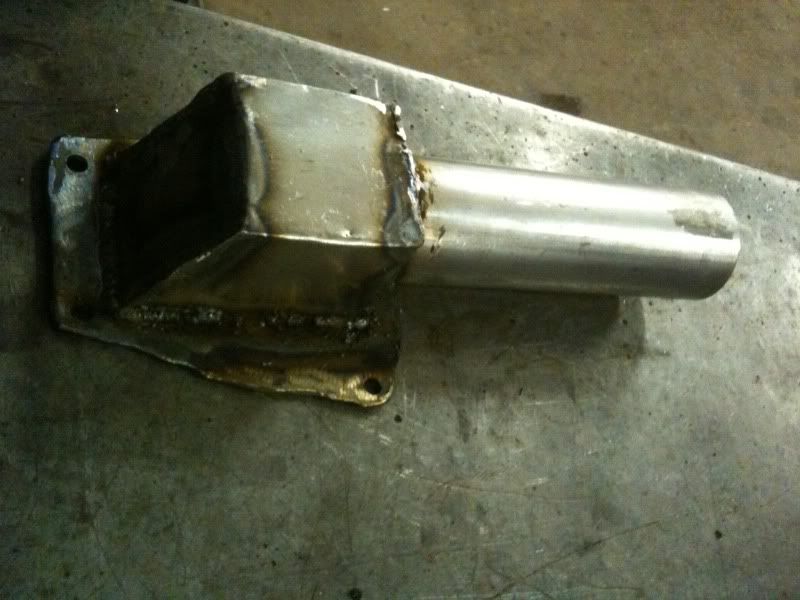
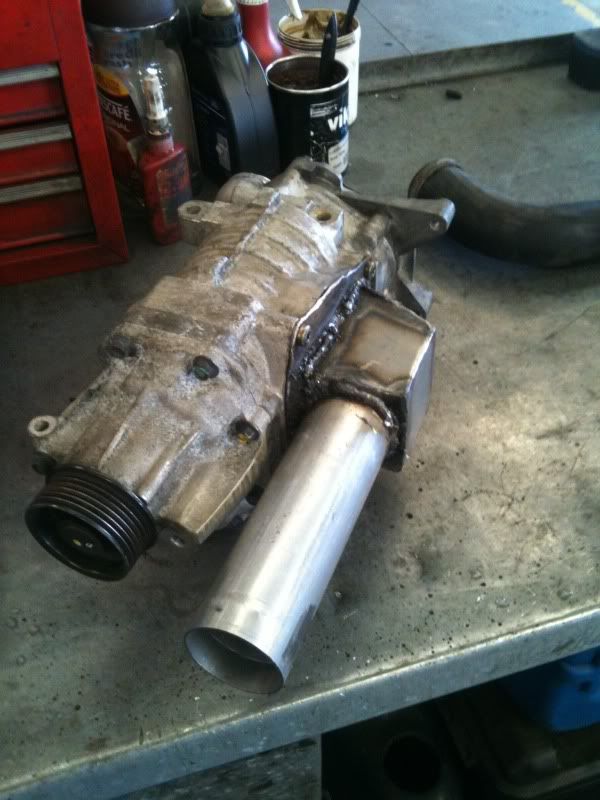
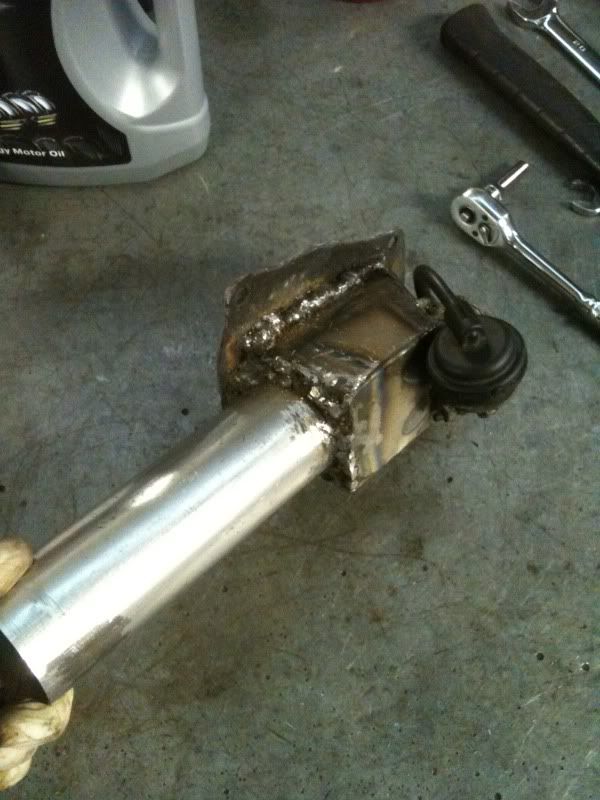
More progress made on my supercharger outlet pipe but also had a bit of a mishap with the charger, some swarf go into the rotors causing it to lock up (this is what i found later on that caused it) so i stripped it down to inspect. Checked the 2 needle roller bearings which were ok as was the front pulley bearing, all seals are ok too and no contaminates in the oil which was good. So a good clean and rebuild and it feels much much better now, turns freely and no scraping noises, part problem was the guy who i bought it off had it stood around for ages with the ports open so suppose it needed a once over anyways Ill post some pictures up of the completed supercharger outlet later once ive uploaded them onto my laptop. I managed to get the supercharger bypass valve fitted tonight making the hole in the plate on the end, will be easier to describe with pictures. On a good note spoken to the company who is building my workshop and dates booked for next friday afternoon to come and fit it cant wait to get a start on the kit car now. |
|
|
|
Post by chrisw on Sept 8, 2011 19:18:05 GMT
Good work on the 'charger.
Looking forward to seeing the workshop too.
|
|
|
|
Post by h5ngs on Sept 8, 2011 20:44:43 GMT
|
|
|
|
Post by h5ngs on Sept 10, 2011 20:23:03 GMT
Had an idea on the inlet not the same flowing inlet as most have made but should still work, also found that the engine bay is a little smaller in the exocet so space is tight so had to sacrifice to get it all in. Sorry no making pictures as i wanted to get it finished so just the afters. 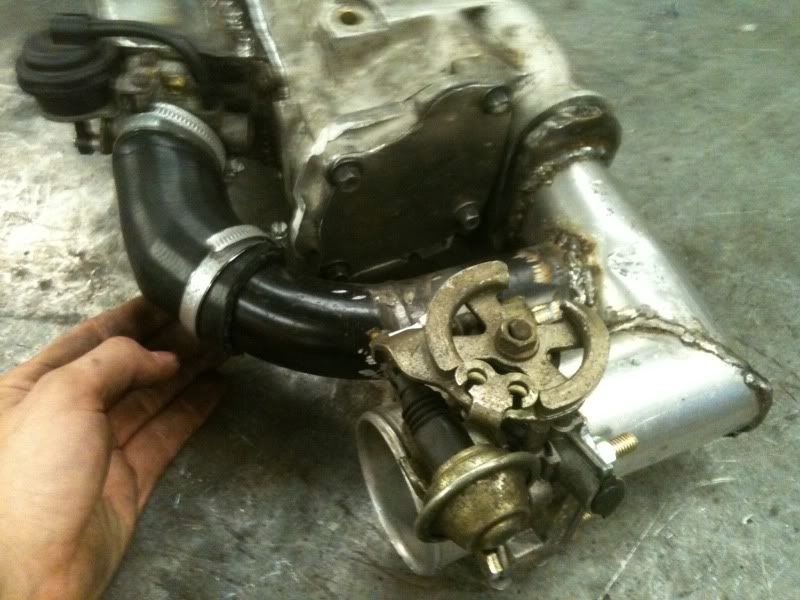 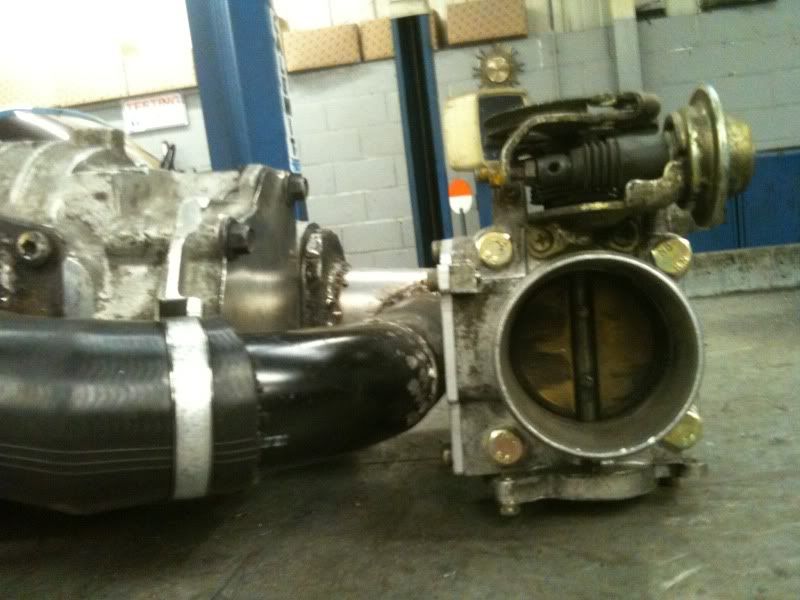 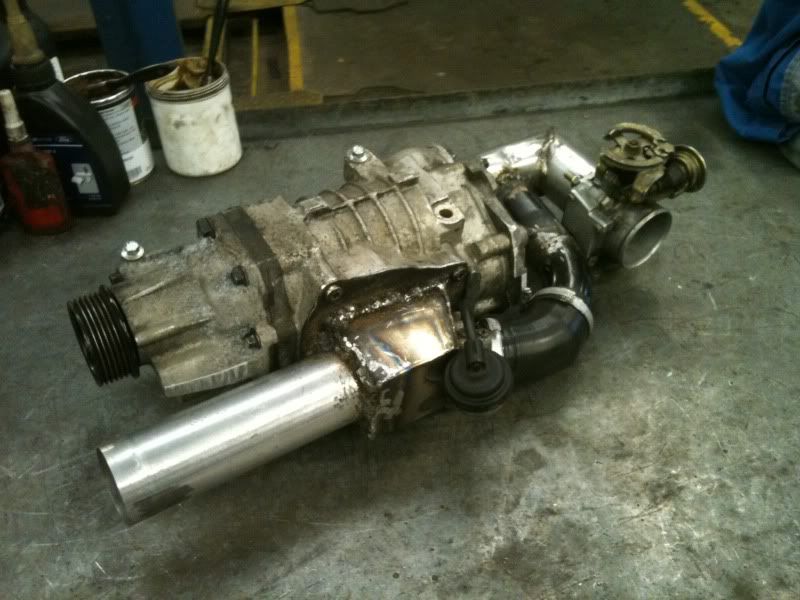 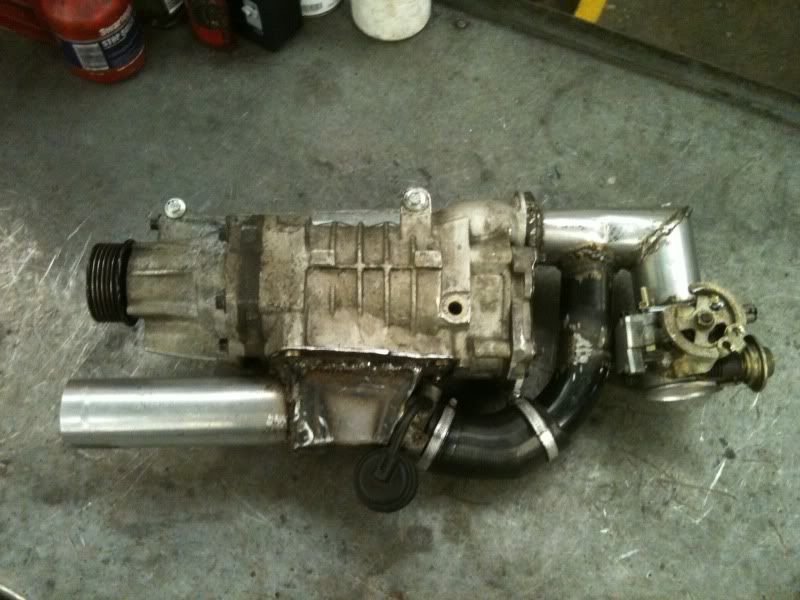 Then made the mounting bracket which is adjustable for getting the belt alignment sorted, need to make a bracket to attach to the front as a support. 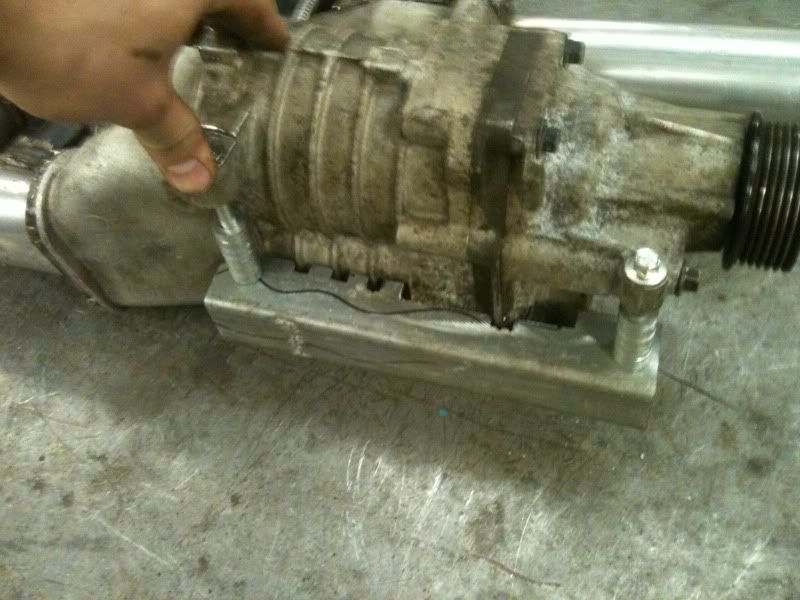 Test fitted the Maf sensor using the standard intake pipe to connect it to the second throttle body. 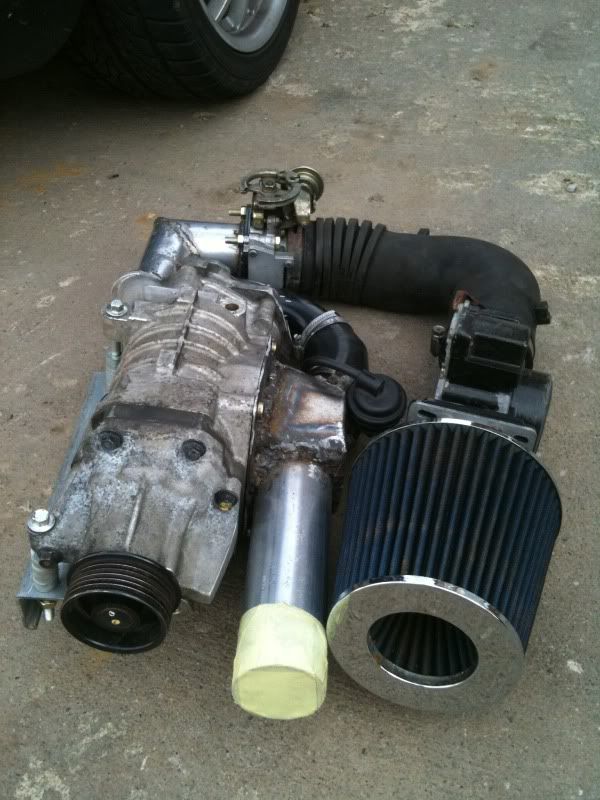 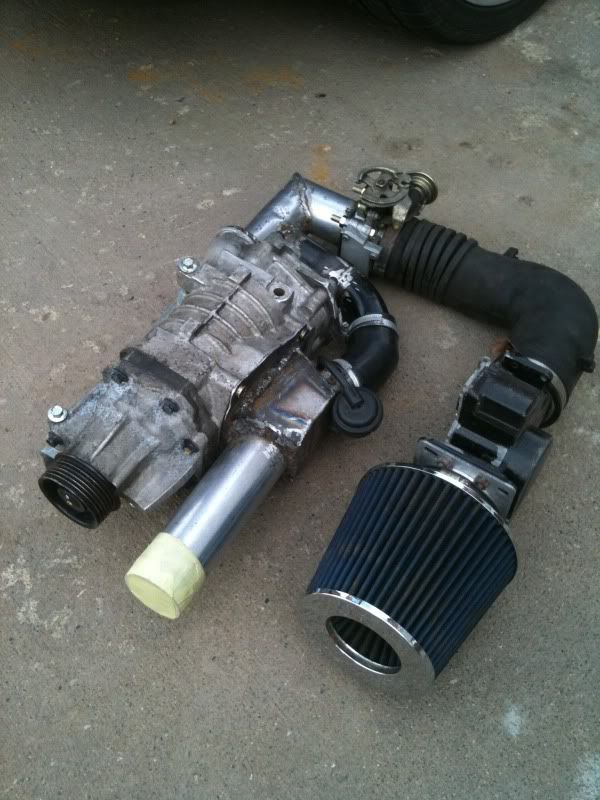 Then trial fitment in the mx5 engine bay looking good. 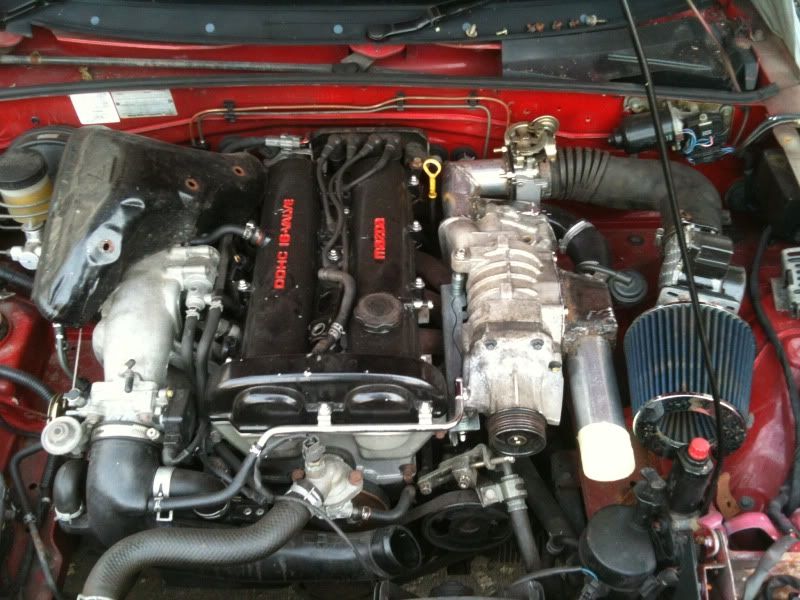 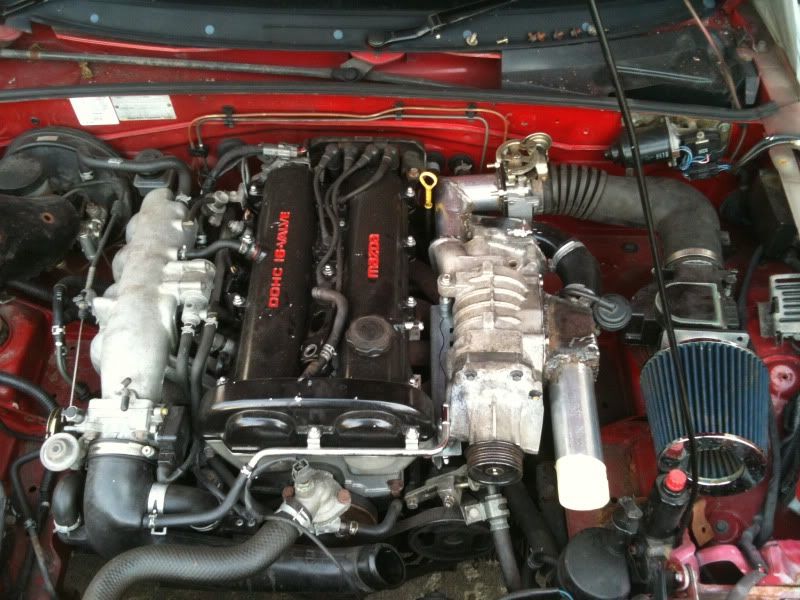 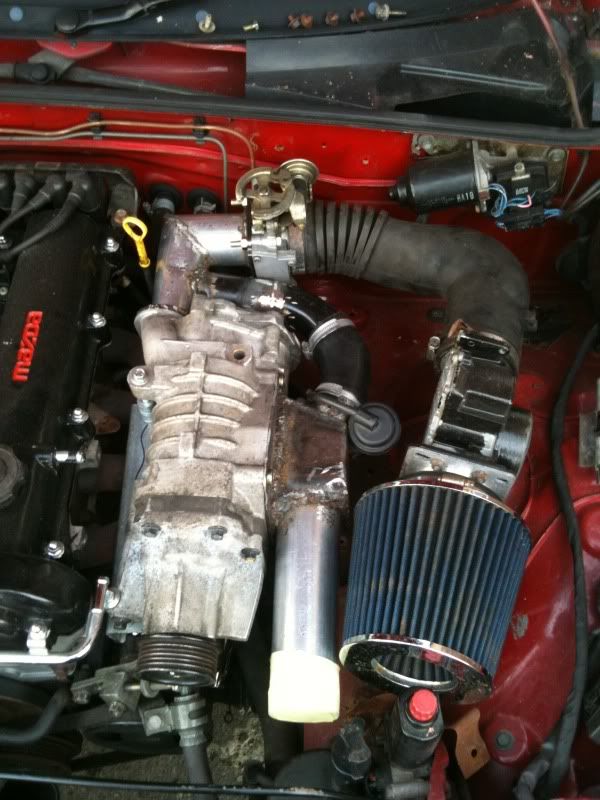 Looks good and so far hasnt cost a lot, Charger, bypass valve and 1.6 throttle body £200 metal plate for inlet/outlet etc... £ free from work 2m of 2.25 inch tubing (also needed to make crossover tube) £15 nuts/bolts again £ free from work tensioner (which i may use) £ free from work So a grand total of £215 so far and a week spent making it in my free time at work, all in not too bad but will update as i can. Ill be removing the power steering for the build and using a manual rack so will sort out the tensioner when i get chance, once the workshop is built and i finish my garden off i will be able to get started on stripping the donor and rebuild ready for the kit. So i will have lots to do and ill keep it updated, Cheers for looking. |
|
|
|
Post by h5ngs on Sept 16, 2011 14:42:08 GMT
|
|
|
|
Post by h5ngs on Sept 16, 2011 16:33:15 GMT
|
|
|
|
Post by h5ngs on Oct 6, 2011 19:14:09 GMT
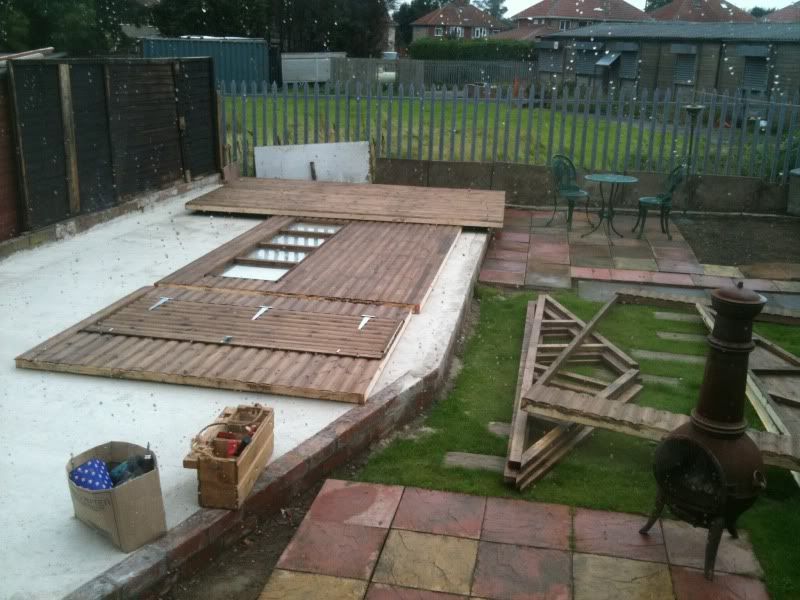
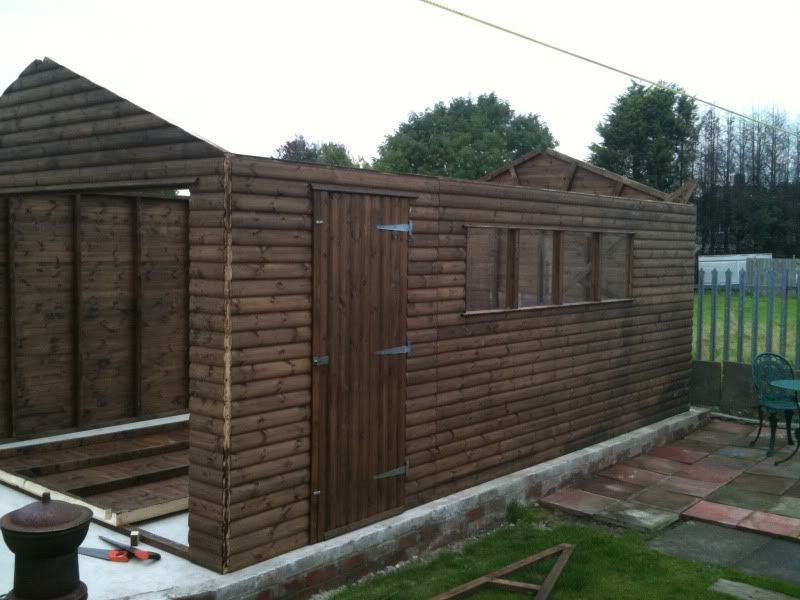
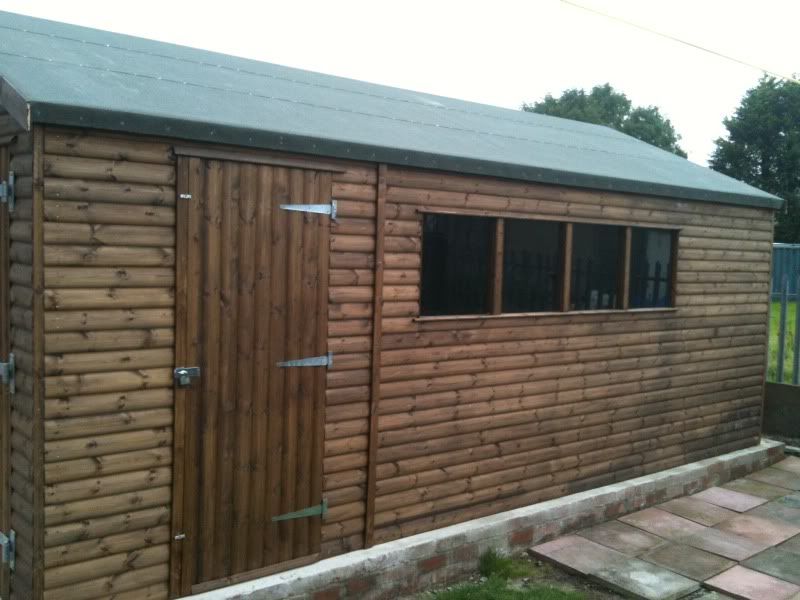
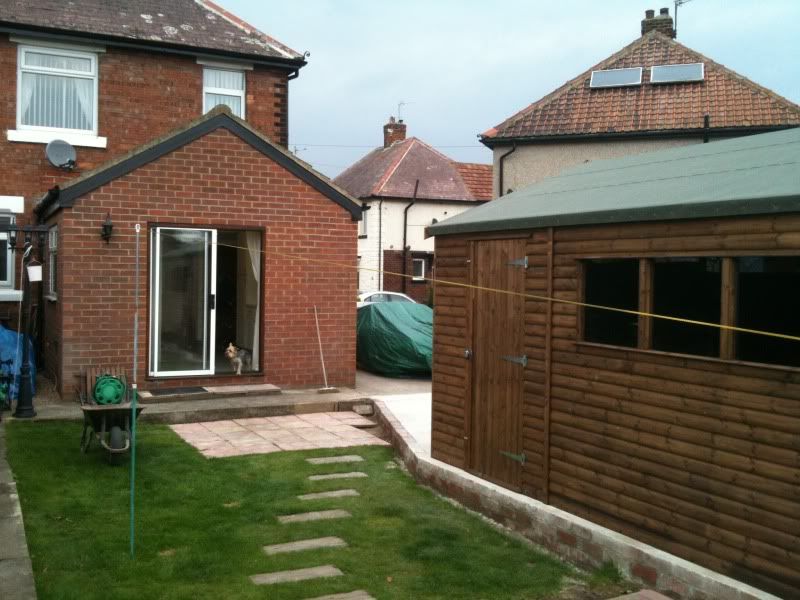
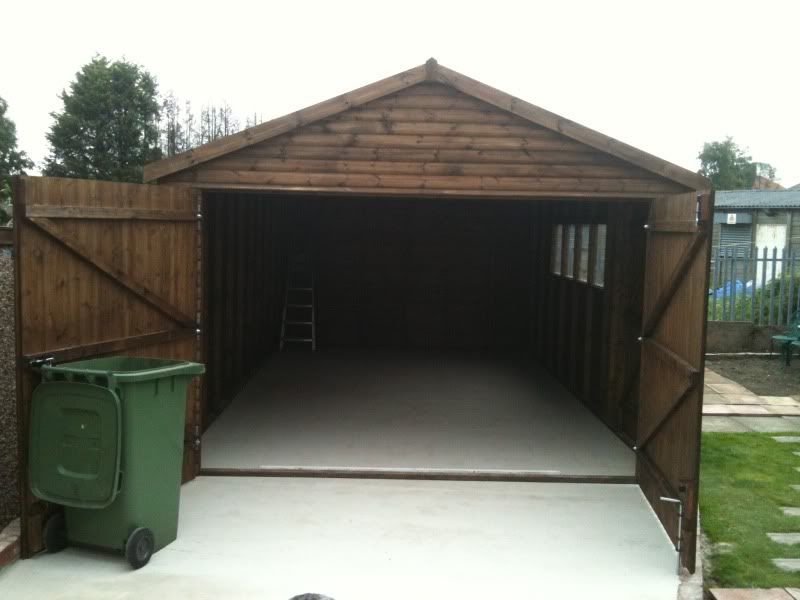
Hi all, just a little update for the workshop build, i had a water leak problem on the side next to the wall but i think i've cured the problem now with some rolls of flashing and silicone sealer, however now i have a damn leak on the back and other side walls now, luckly this is only very minor that can easily be delt with i may even use the same idea with the sealant and flashing on all sides. Ive had a week off this week also so decided to get the fencing done to give the garden some privacy again, also stop the bloody wind howling through. I got the fence delivered saturday afternoon so made a start painting them. I bought some cuprinol sprayable as i borrowed my mams boyfriends earlex hv 3900 paint spray system and it was an absolute doddle, so quick and easy, no paint wasted and easy to clean the gun afterwards. I used one and a half tubs to paint 8 panels on both sides and 8 posts, Only downside is that the paint is £15 a 5 Litre tub but worth it in time saved. I also went and bought some bags of postcrete, now this is a little expensive but my god is it worth it. Its the first time ive jused the stuff and it works great, wickes is by far cheaper than BnQ as if you buy over 5 bags at wickes the prices drops from nearly £6 a bag to £3.71. I bought 8 bags to set my fence posts and i would recomend it to anyone. It was easy as, dig hole, put in post and level, pour in water, pour in bag of postcrete, stir with big stick, recheck level and hold for a minute or so, go dig next hole and by the time thats done its set rock soild. It really is great stuff, suppose you could mix your own with a setting agent in it but just for sheer ease of use this works great. I do advise if putting a 6 foot fence up a helping hand could be handy as i did this on my own so when fitting the fence panels at the bottom where the soil is i raised the panels up so the moisture isnt draw into the bottoms of the panels, however raising the panel, lining it up, setting with spirit level, drilling pilot holes, then screwing the fence together did prove to be fun at times especially doing it on a windy day lol but i managed. I still need some finished pictures of the side next to the garage where i have angled some fence panel to cover the gap down the side on the garage and also of the bottom of the garden as it is all painted now. I did it on monday and finished off on tuesday as i was waiting for one more panel to arrive. 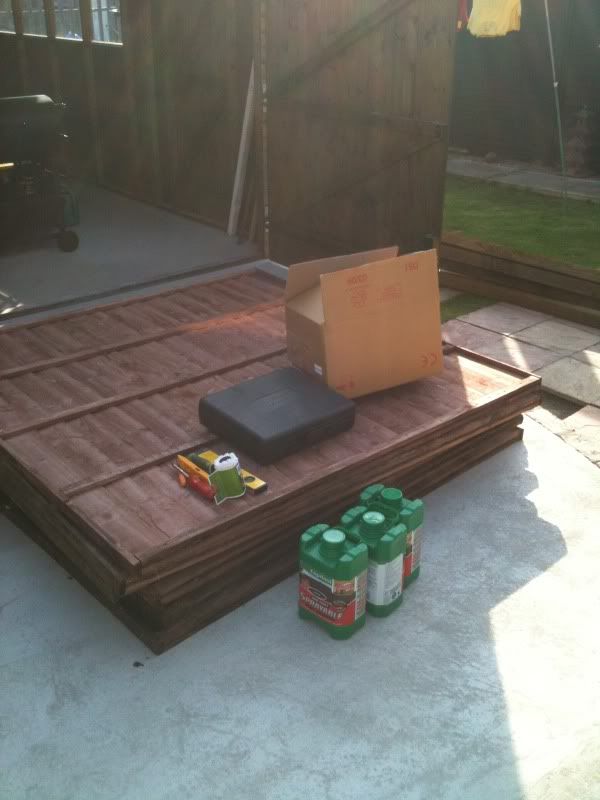 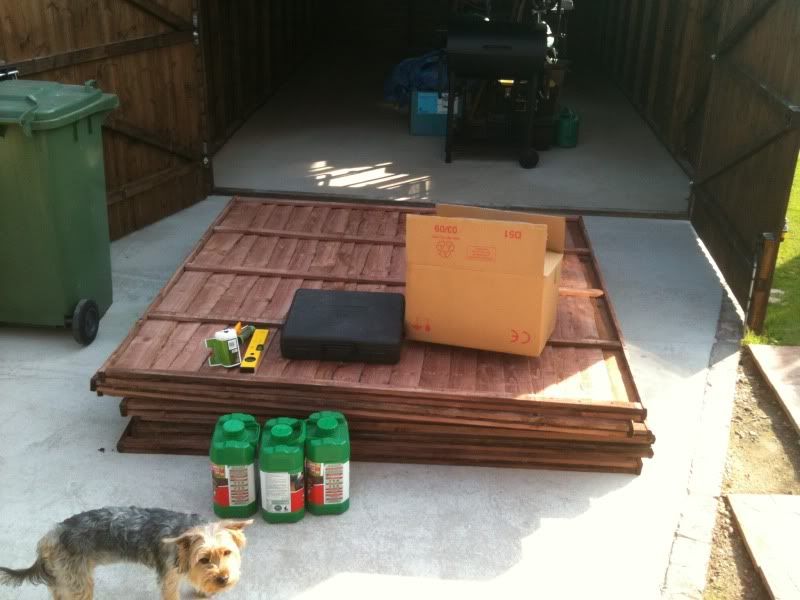  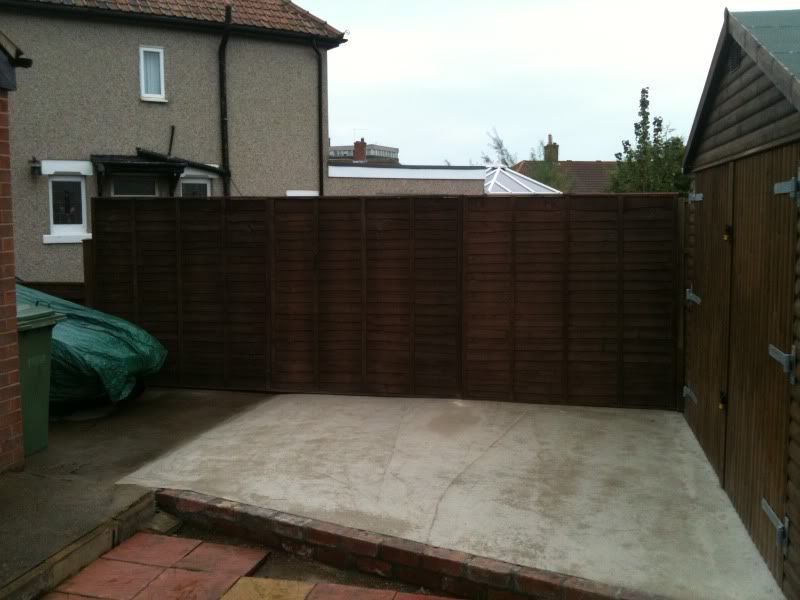 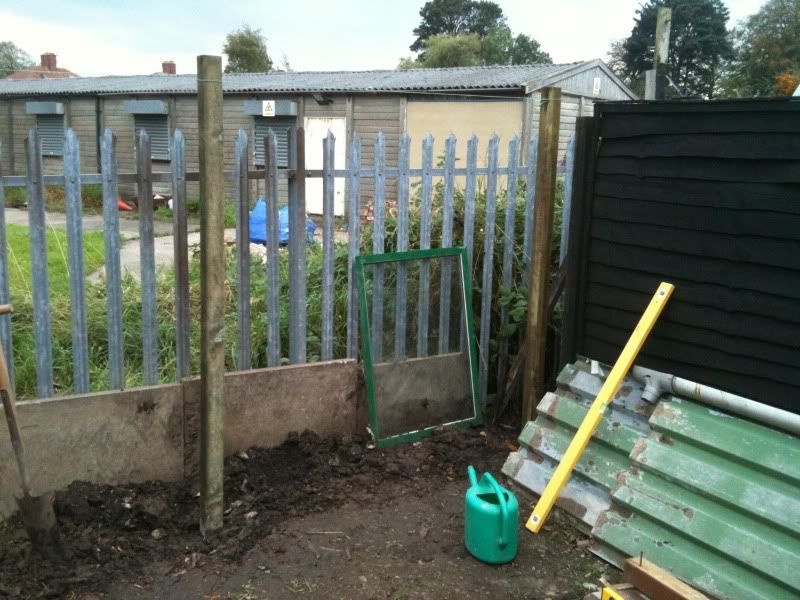 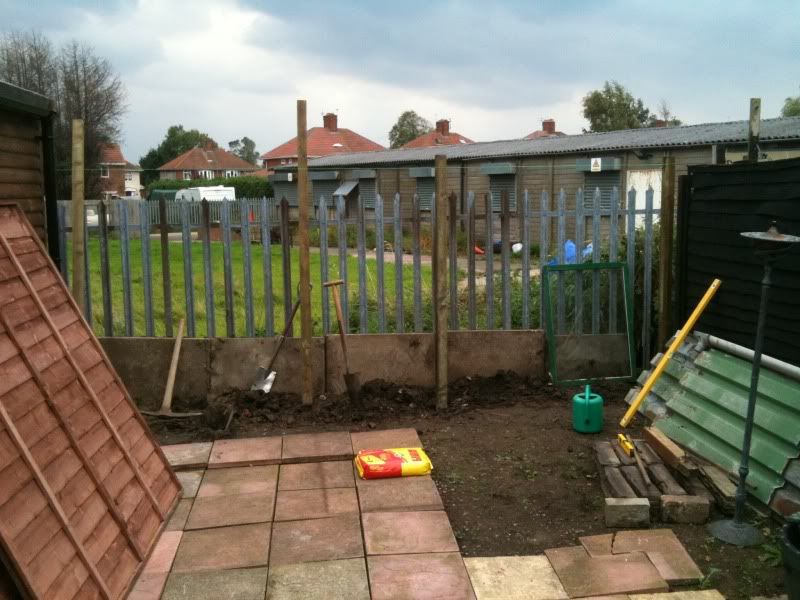 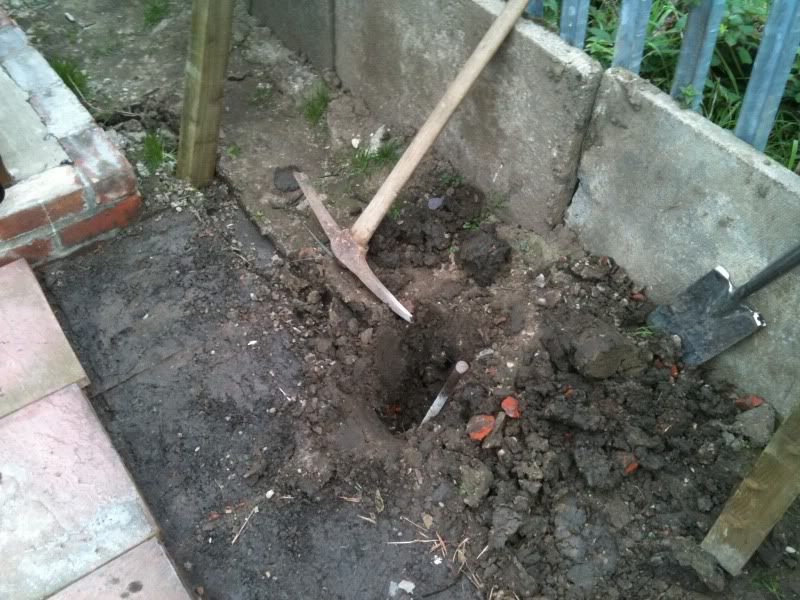 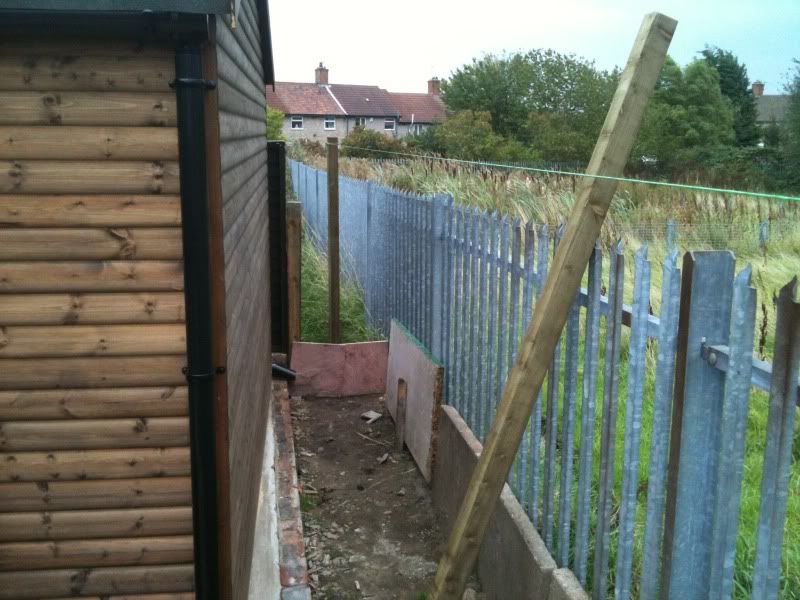 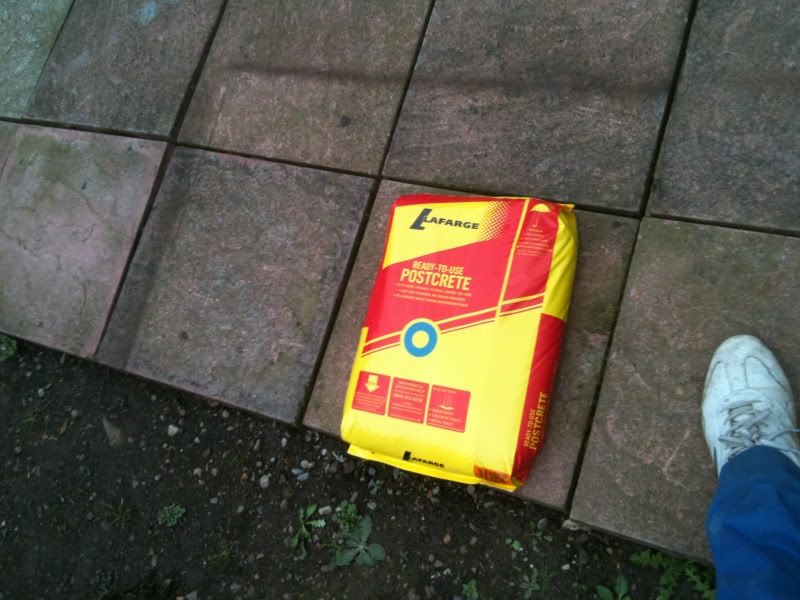 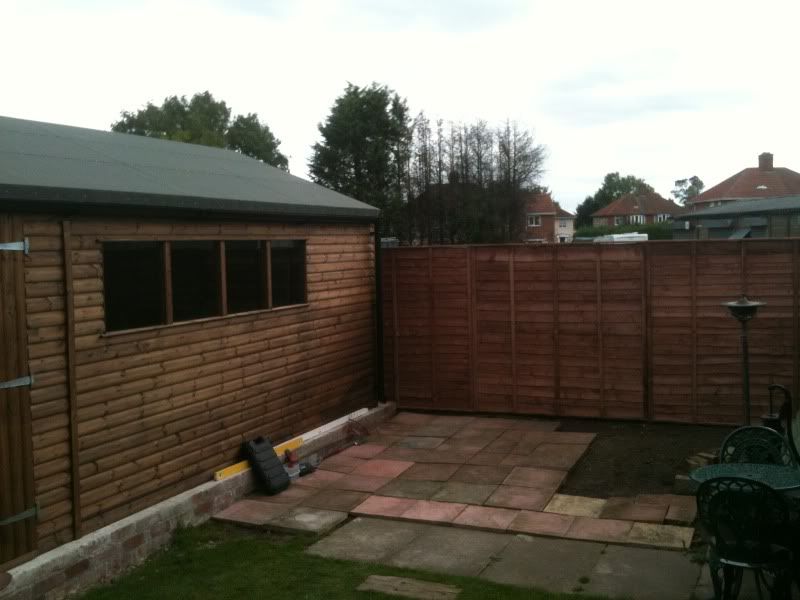 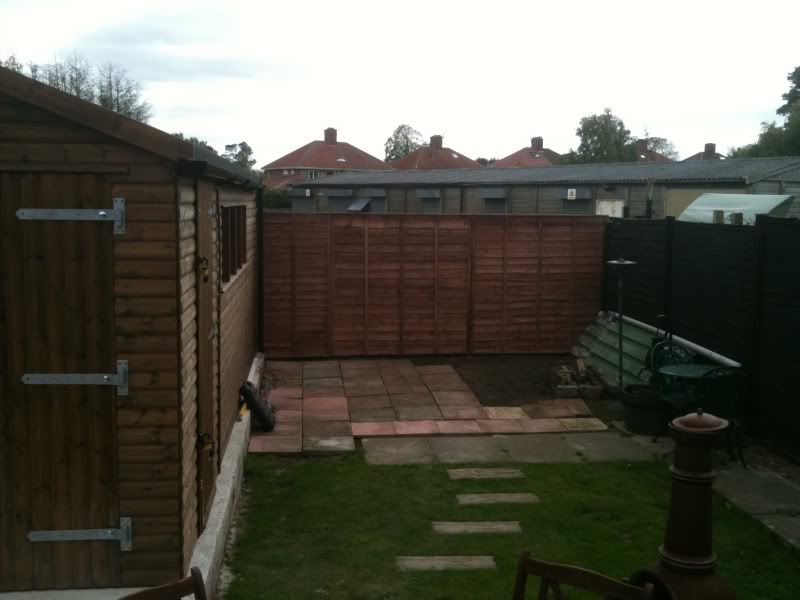 Ill get some finished pictures tomorrow and put them up, just need to now sand and paint the old garage doors and hang them as a set of double gates on the side of the house to full enclose the garden. That should be a real fun job |
|
|
|
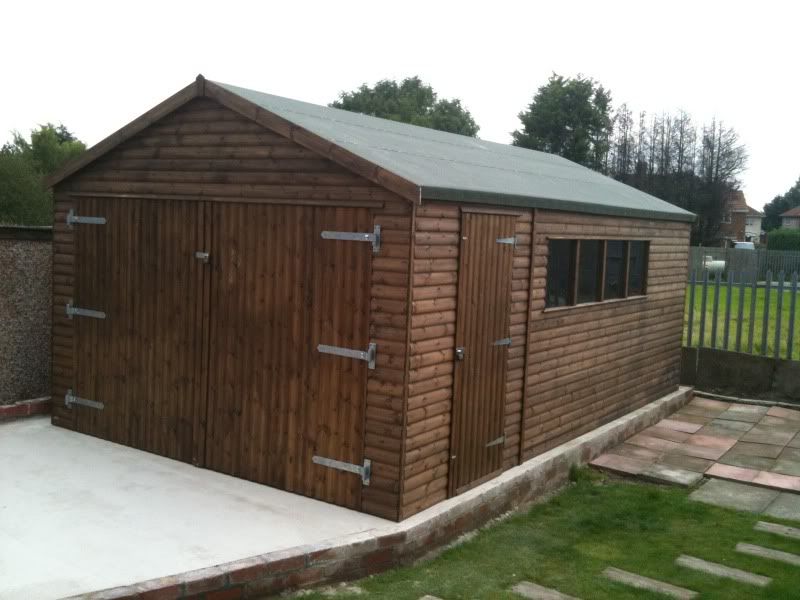
Post by h5ngs on Oct 17, 2011 17:17:49 GMT
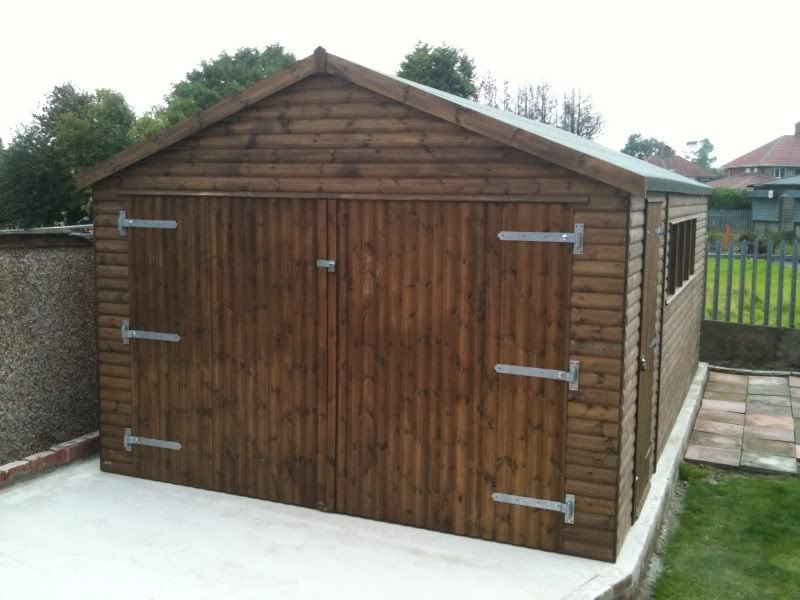
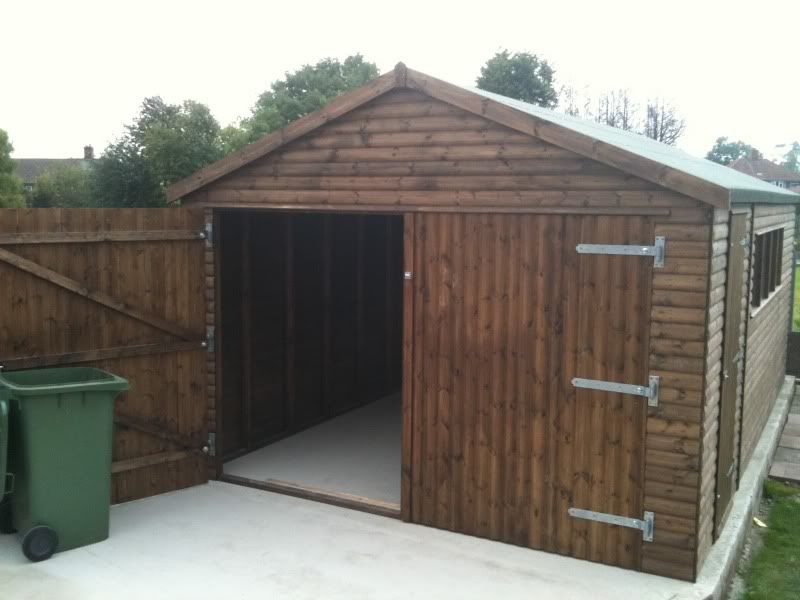
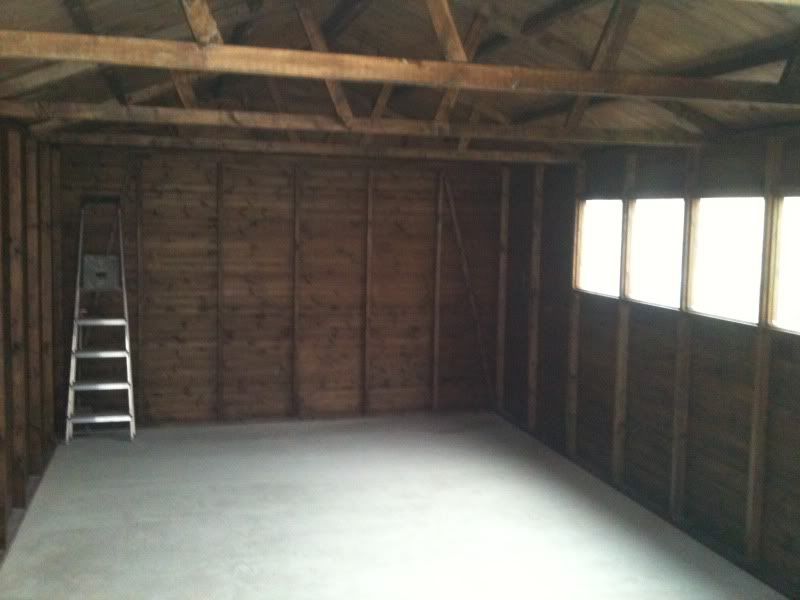
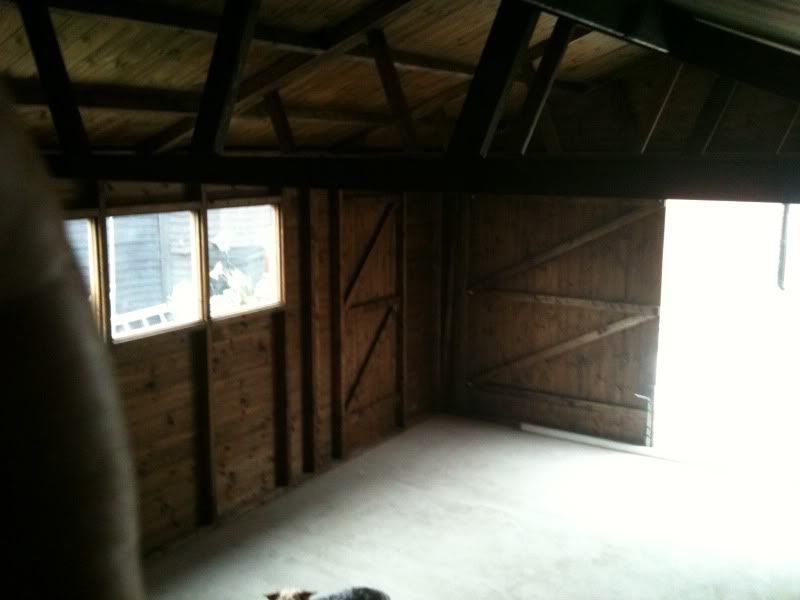
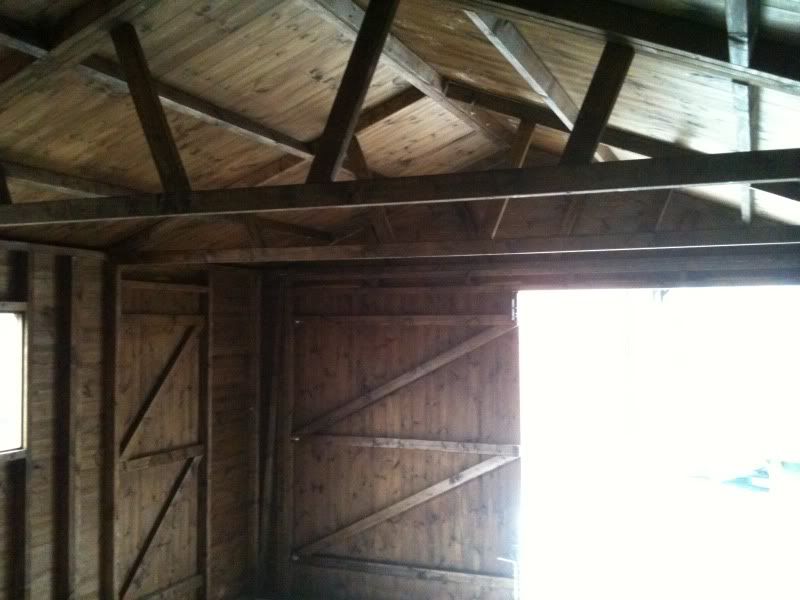
Hey guys sorry to be bothering everyone with the workshop build but the further it goes the more excited i get for starting to build my car, both donors are itching to be stripped down for some serious cleaning and refurbing in the winter months I've managed to concrete seal the floor outside the workshop to stop any moisture penatration which has work well and siliconed all stopping all water leaks i had. Ive not had chance to start work on the inside due to it now being dark when i get home from work and i need electrics in there soon as. Ive finished all the fencing just need to put the posts up and hang the double gates and get them painted. And as far as the outside goes that will be it this winter until i deck the bottom next year. Im getting a friend in to do the electrics so will be ran from the fuse box in the house to the workshop, then its own board inside and 2 sets of double strip lights, and a few double sockets put in. Also i want a security light fitting to the top of the front apex with motion sensor. Well ill update as i can but progress is now slow as im stuck on working in the dark and also waiting for other people now, here are some pictures from tonight. 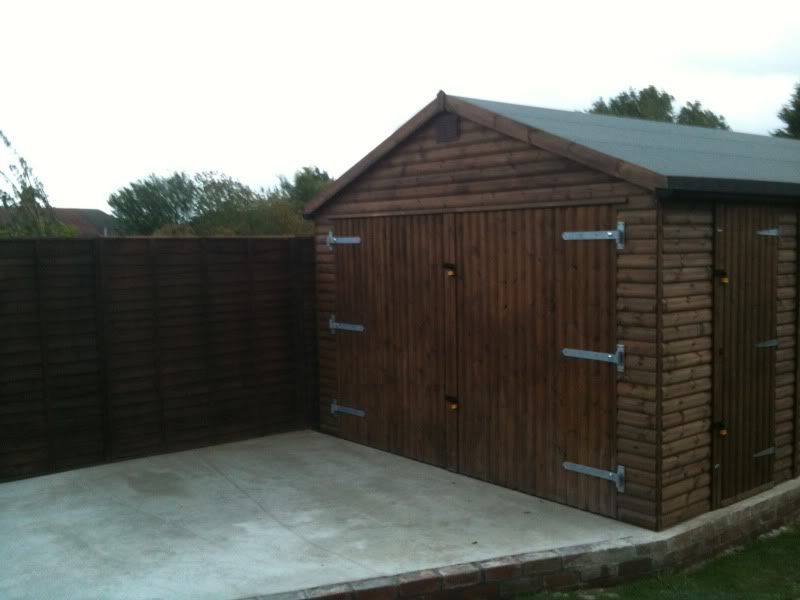 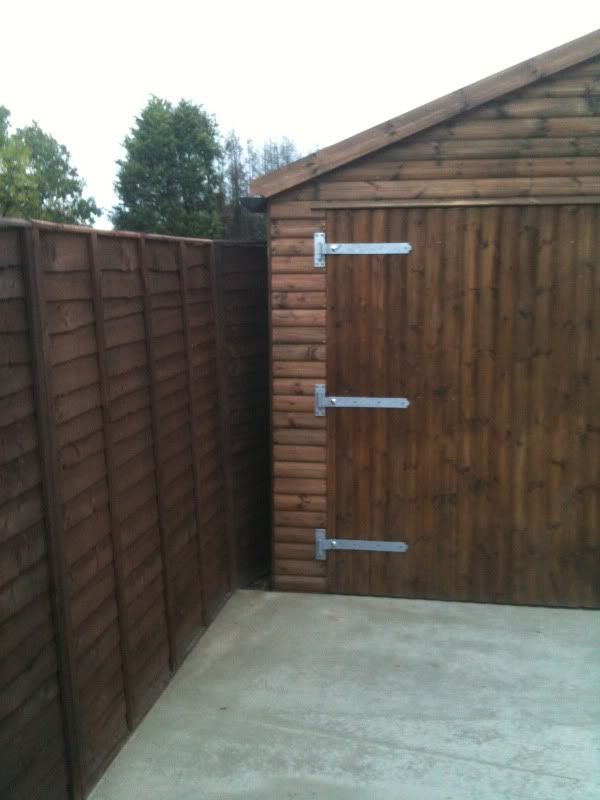 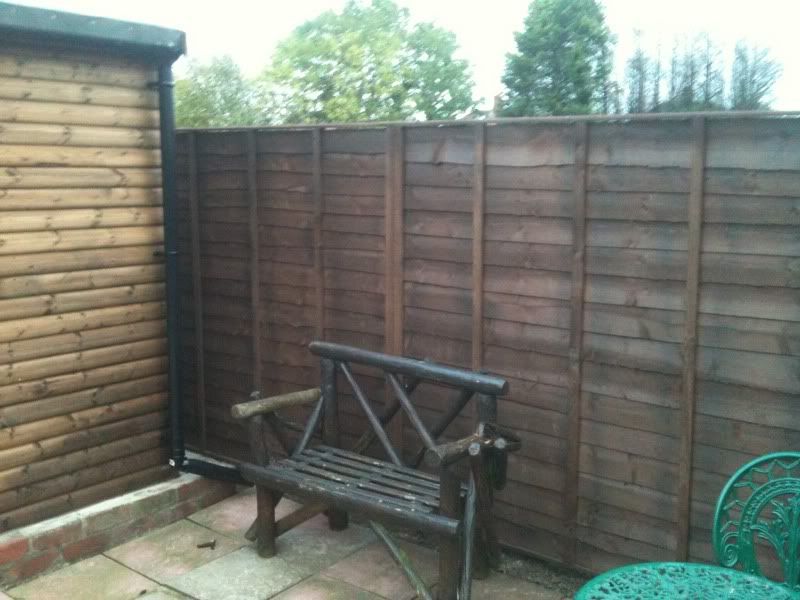   hope you all like it as im very pleased with it. Hopefully this weekend i can get the floor painted inside ready to move one of the donor cars in so at least ill be able to work on them on a weekend until i get the lights in there and i can just move in to start my build |
|
|
|
Post by sspogman on Oct 17, 2011 21:41:11 GMT
Looks fantastic to me, you should be rightly very proud of it. Well done mate.
|
|
|
|
Post by Stewart on Oct 18, 2011 8:45:30 GMT
I wired my own garage out, and thought about the strip lights. Ideally you want one each side of your car, and one at the front and one at the rear, otherwise you'll find yourself working in your own shadow. Plus striplights aren't expensive either, and get the slightly lower power and you wont see your meter going round like a spinning top Plus, you have the added benefit of them giving off a little heat for the winter! Oh, and if you've got a workbench in there, stick one above it too... can never have enough light. I think I picked mine up from the local electrical wholesalers. See if there's a WF Electrical local to you. |
|


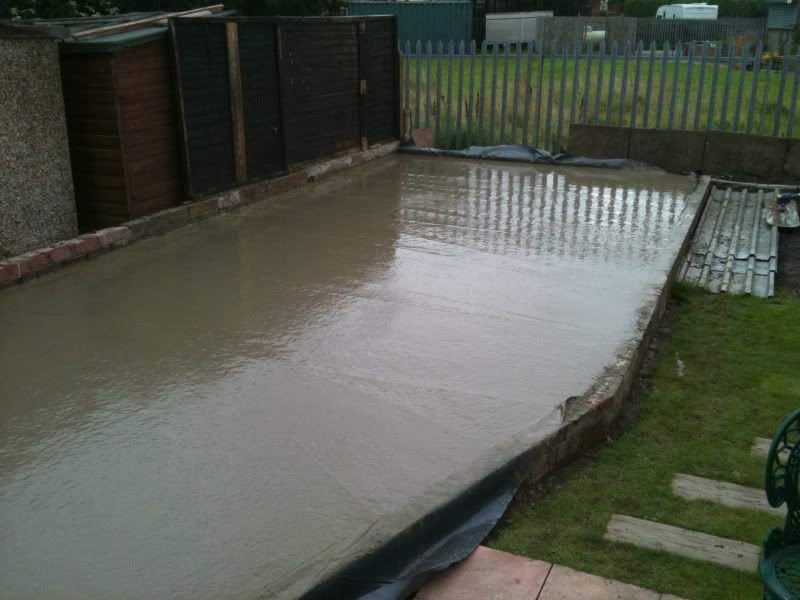
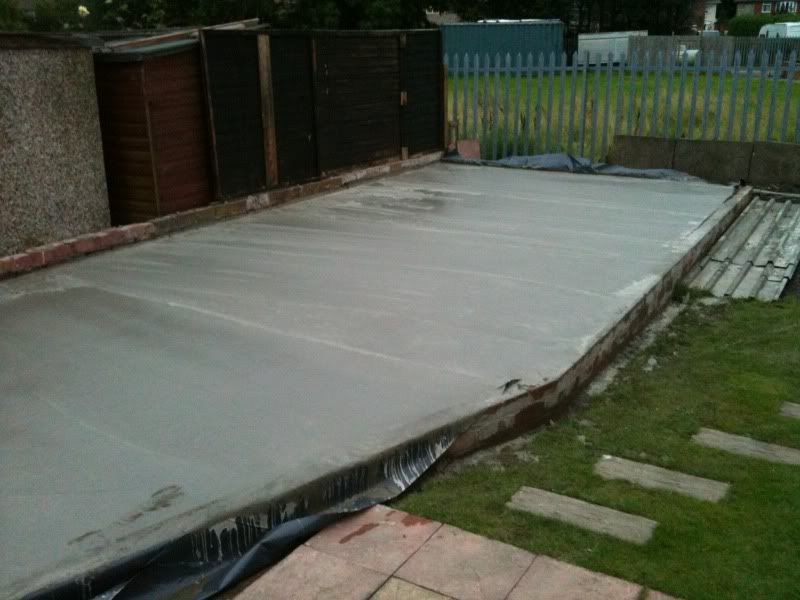
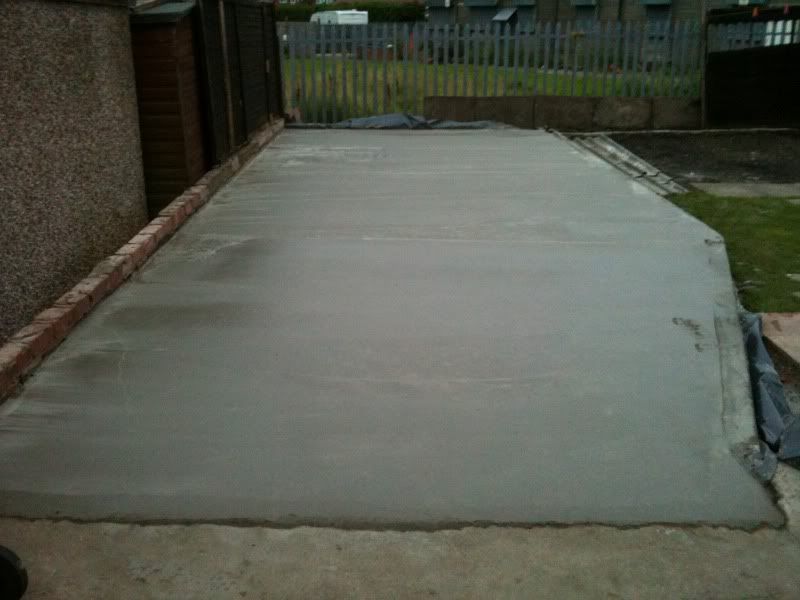
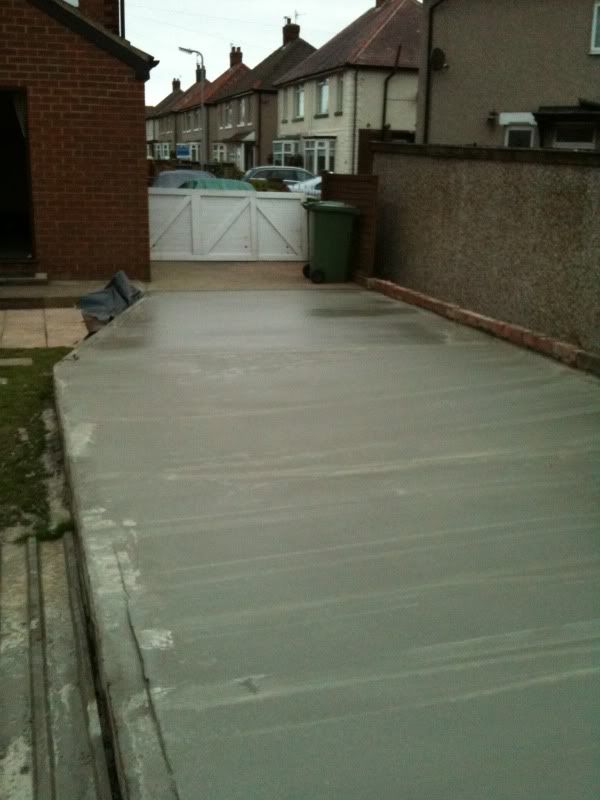
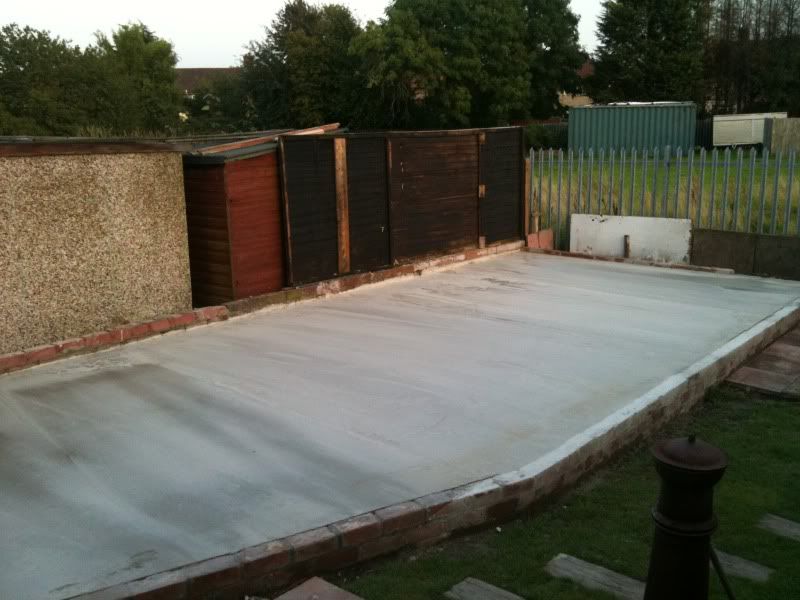
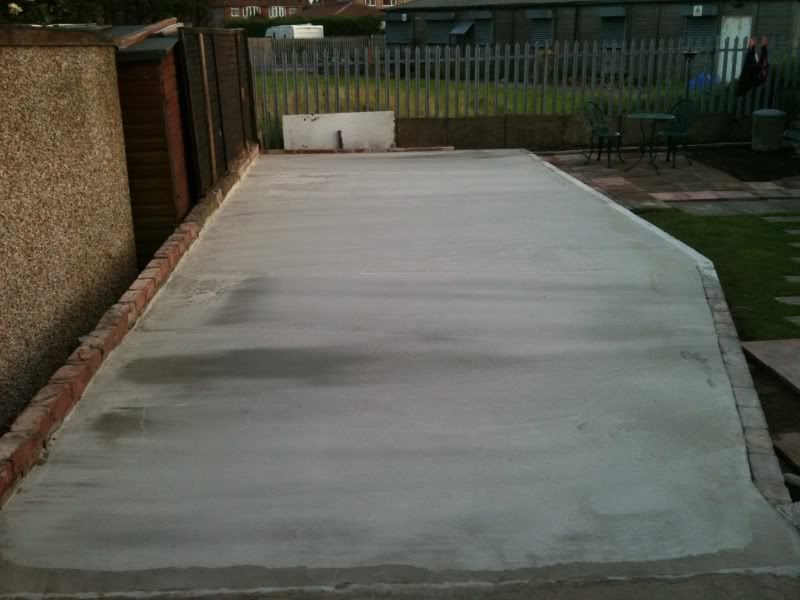
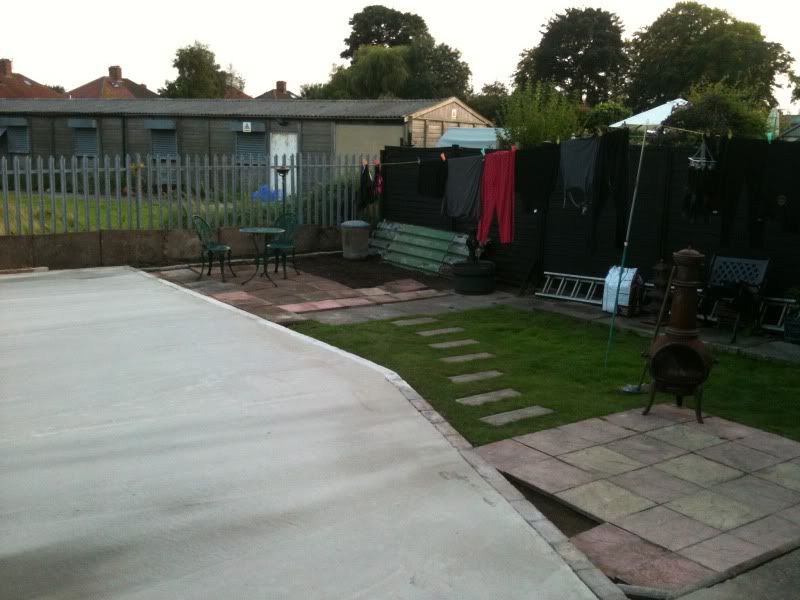
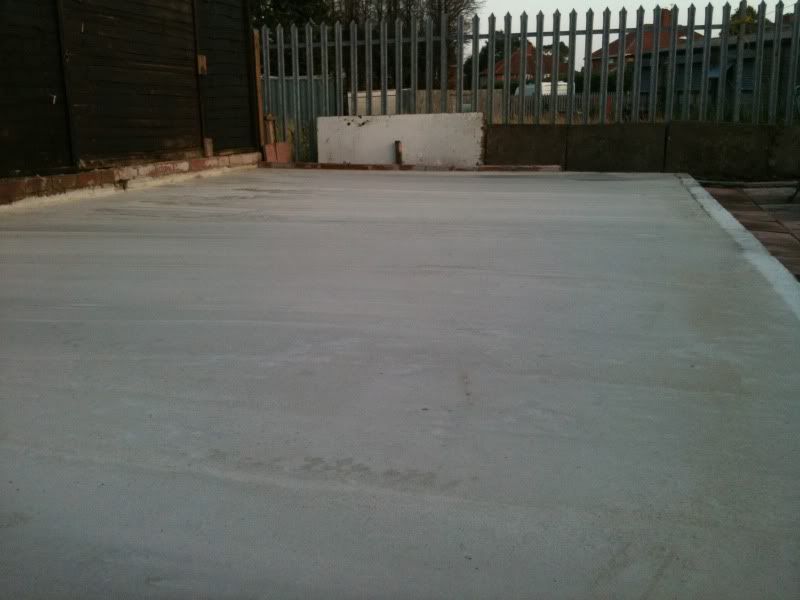
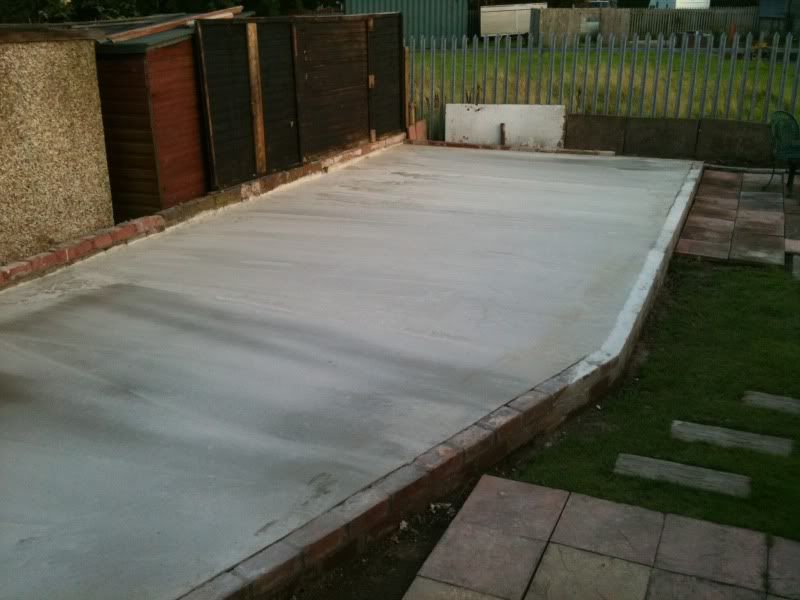
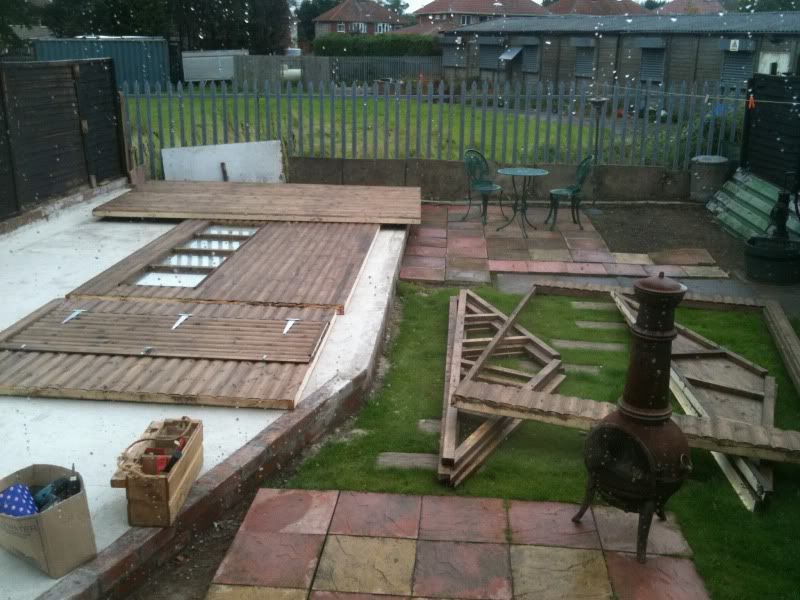
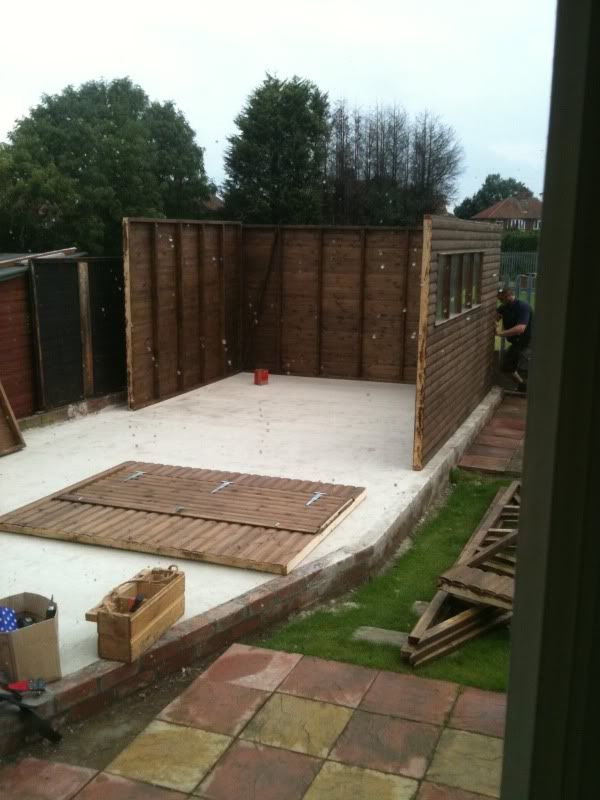
 its just settling and drying out now, need to wait for the base to dry and then cut off the excess damp proof around the edges. So no real updates to post until the end of next weekend when hopefully the new workshop should be built, cant wait now so i can get started on my kit car build.